Needless to say, I got the Weber on. Also, it was not the problem. Well, I'm sure the old carb was a little bit of the problem, but I've got bigger issues.
I'll just start posting pictures and we'll go from there.
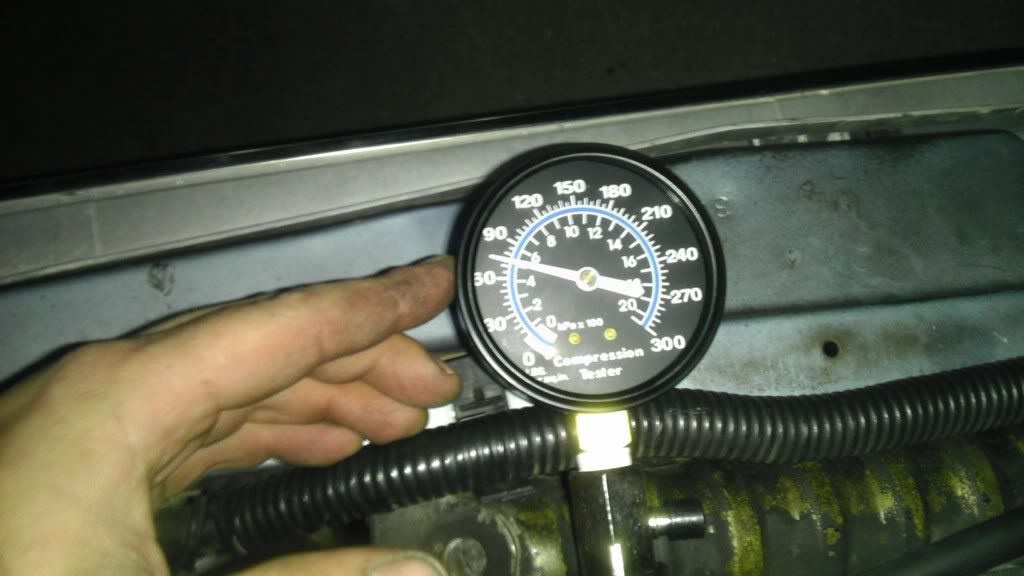
I couldn't get it to run right still with the Weber, so I broke down and bought a compression tester. Wish I woulda done that sooner.
Cylinder 1
2
Uh oh.
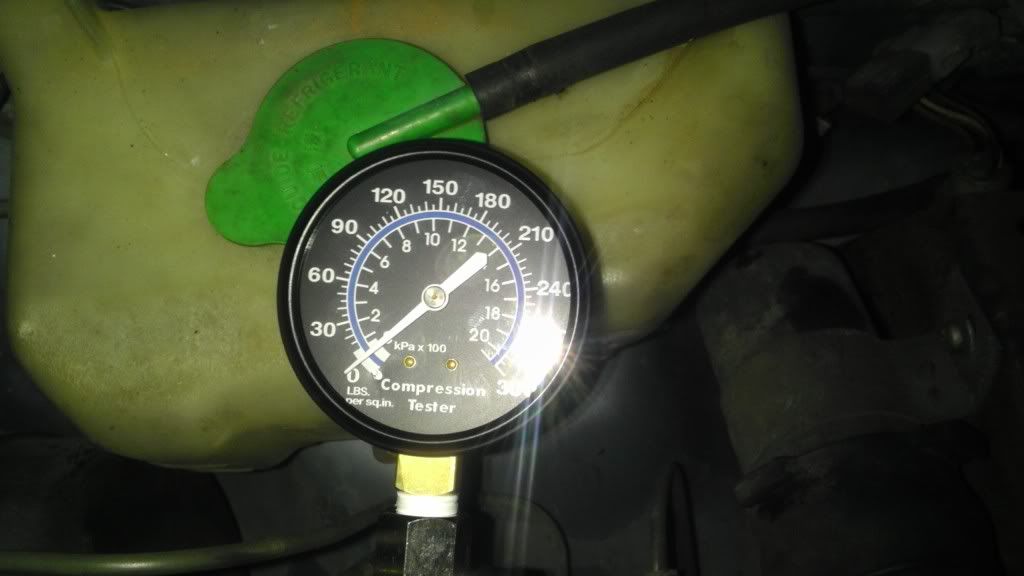
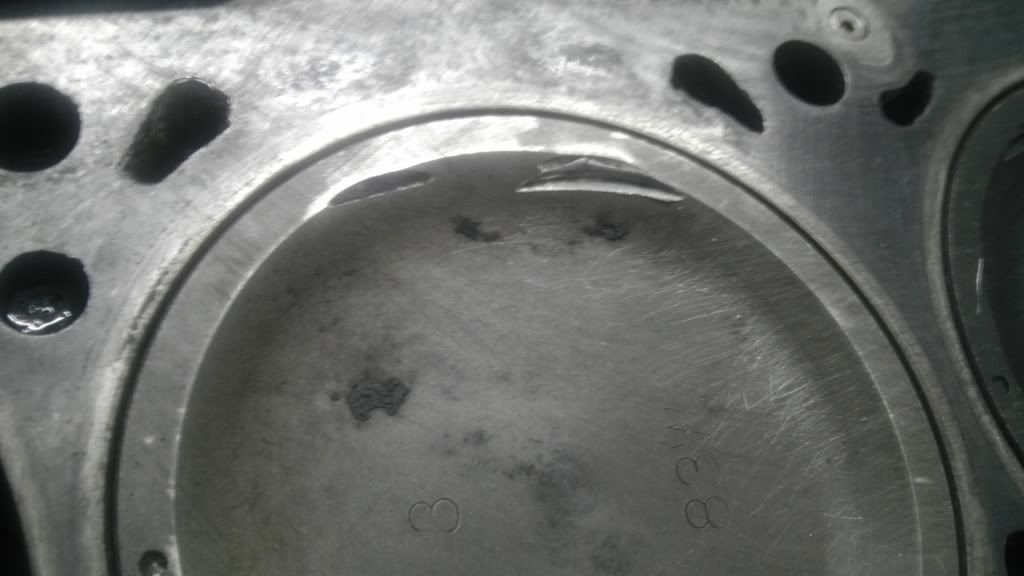
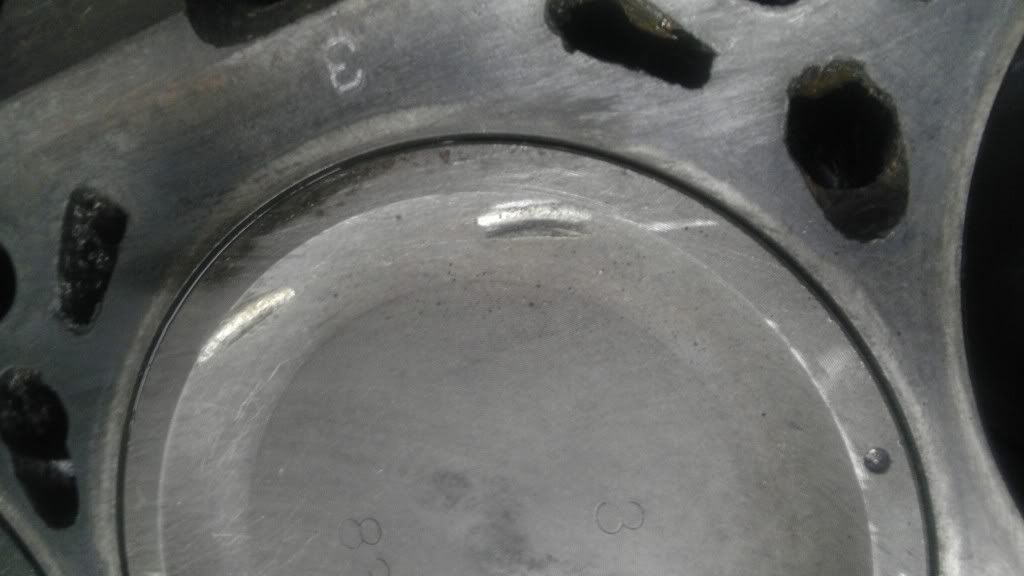
3

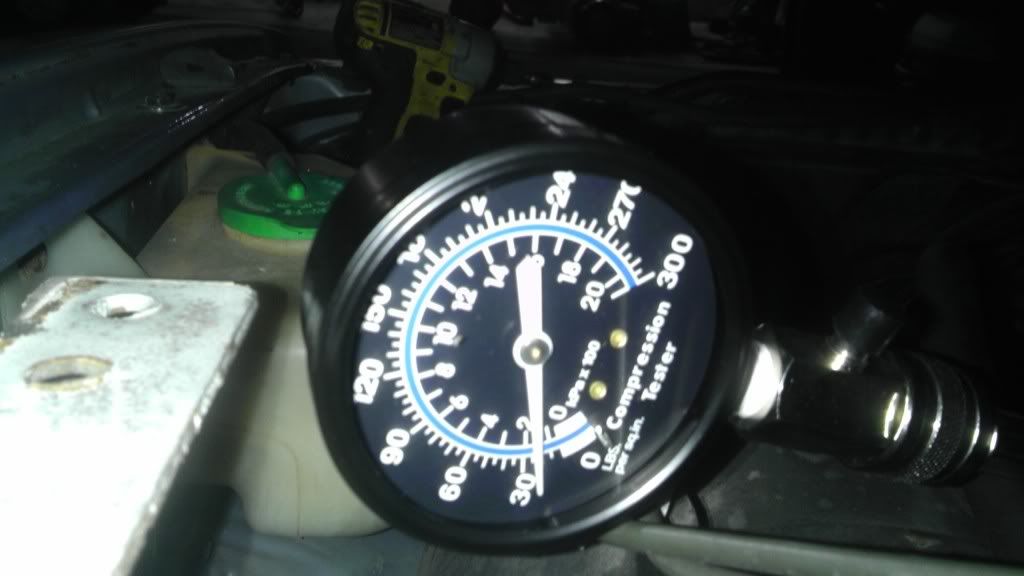
4
This was while cranking. It would instantly fall when I would let off the key.
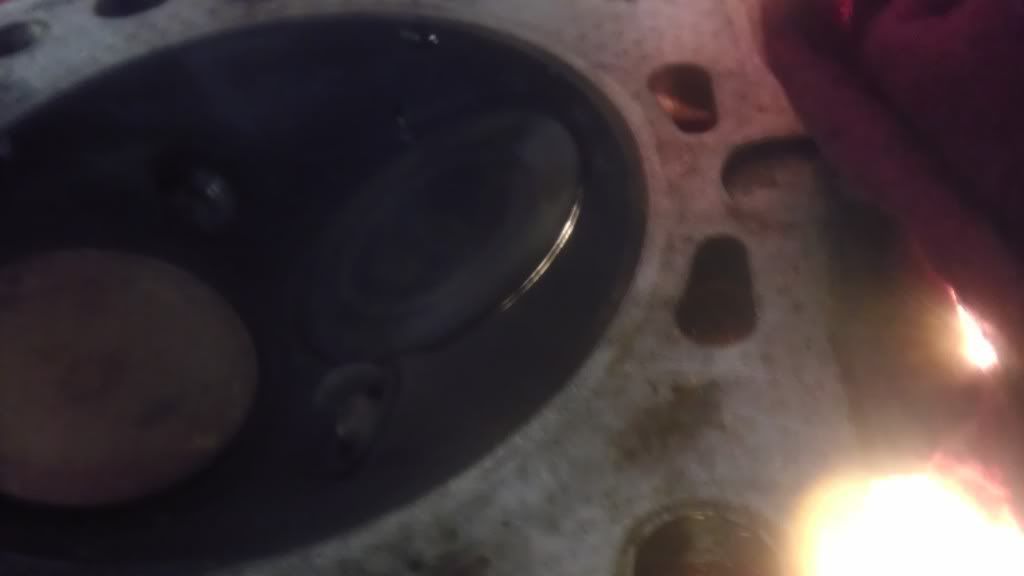
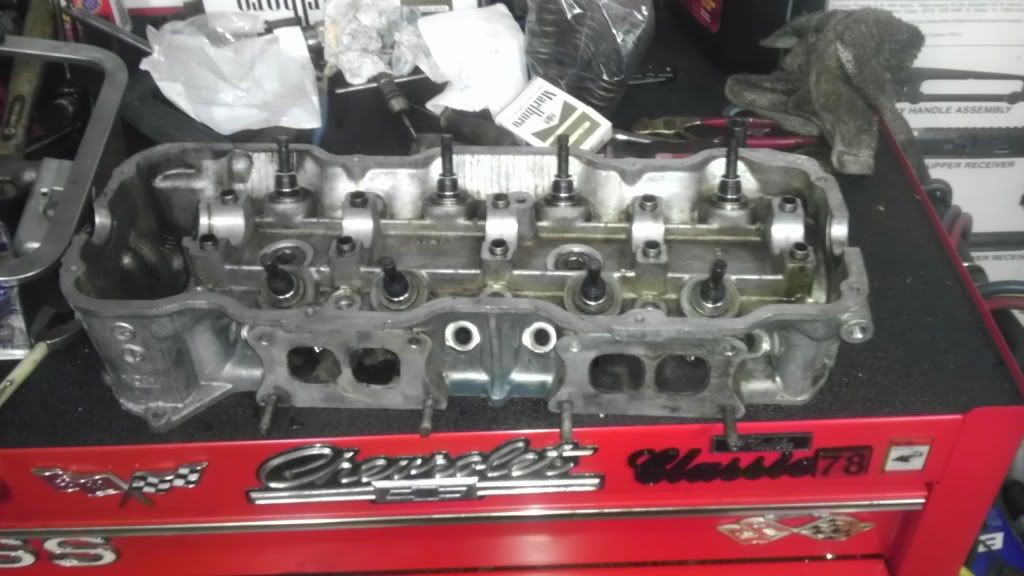
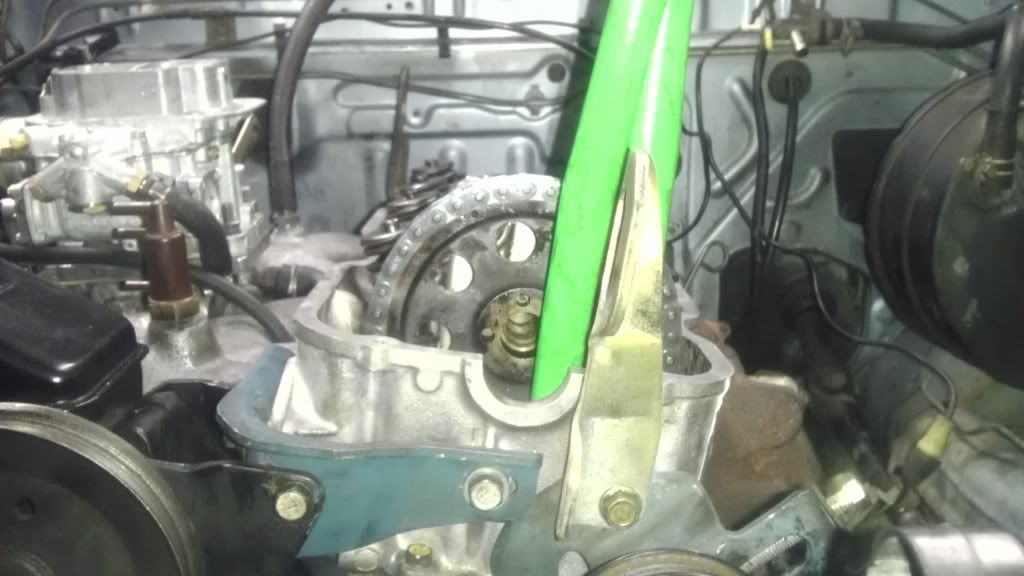
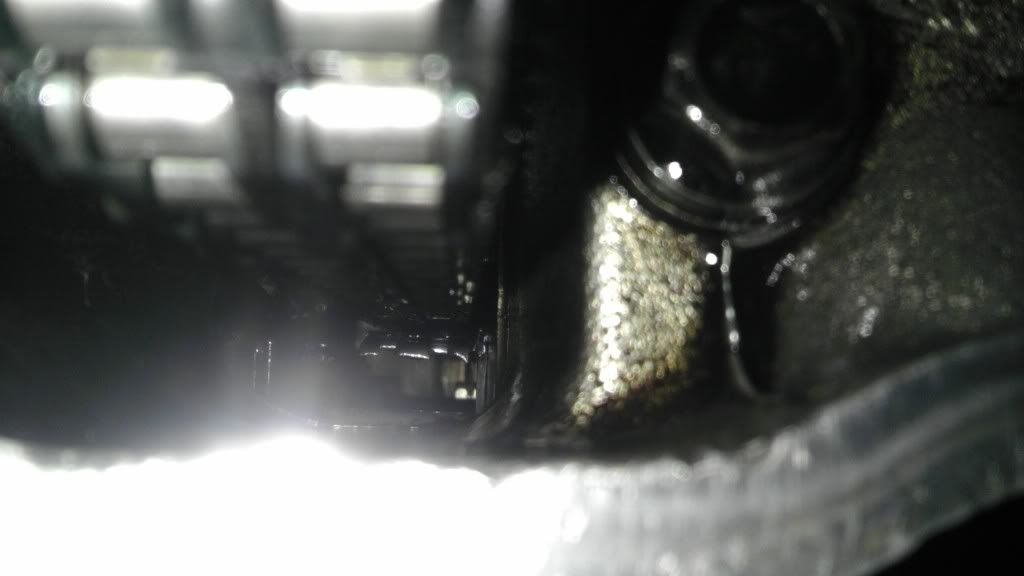
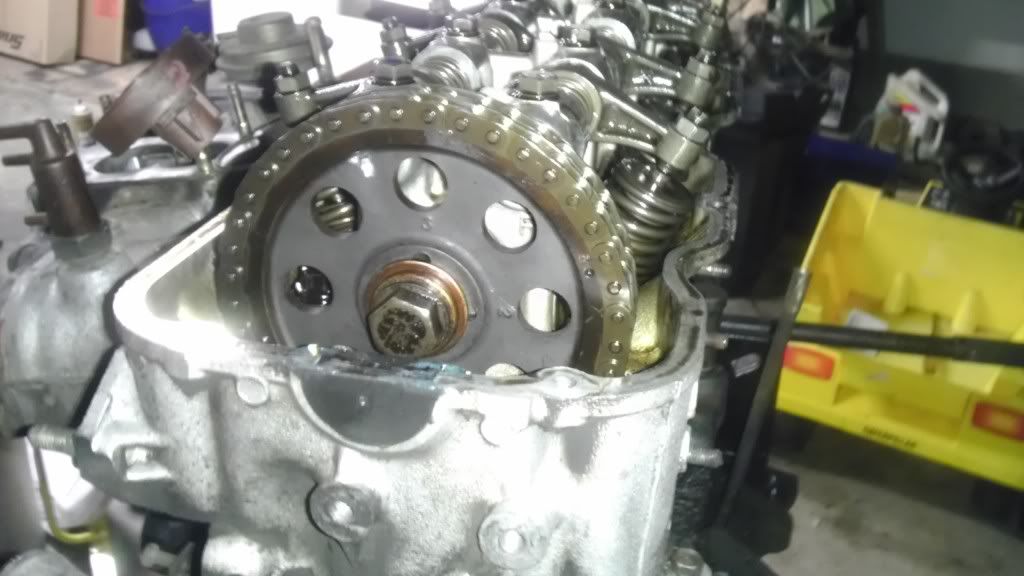
So, I pulled the valve cover
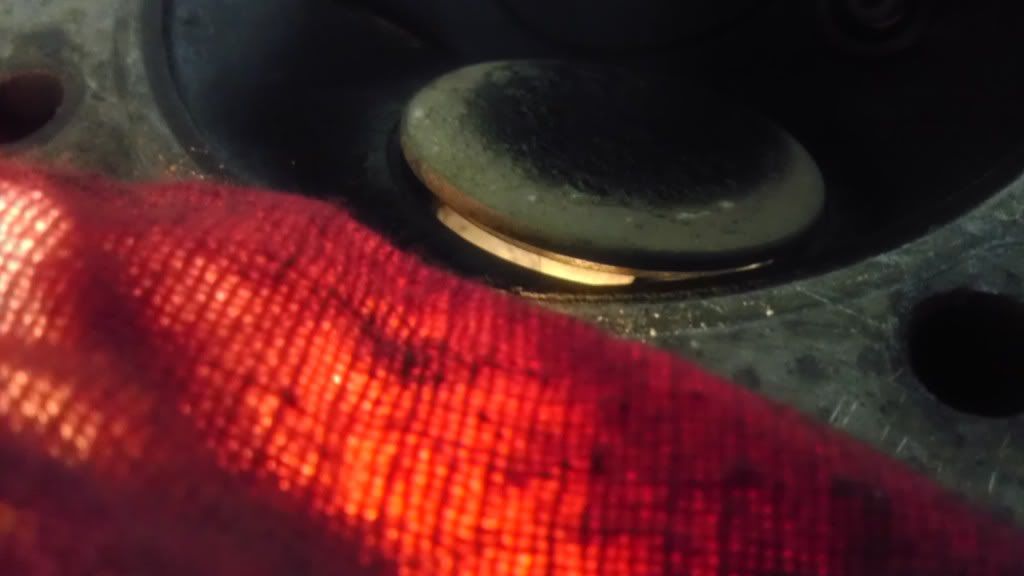
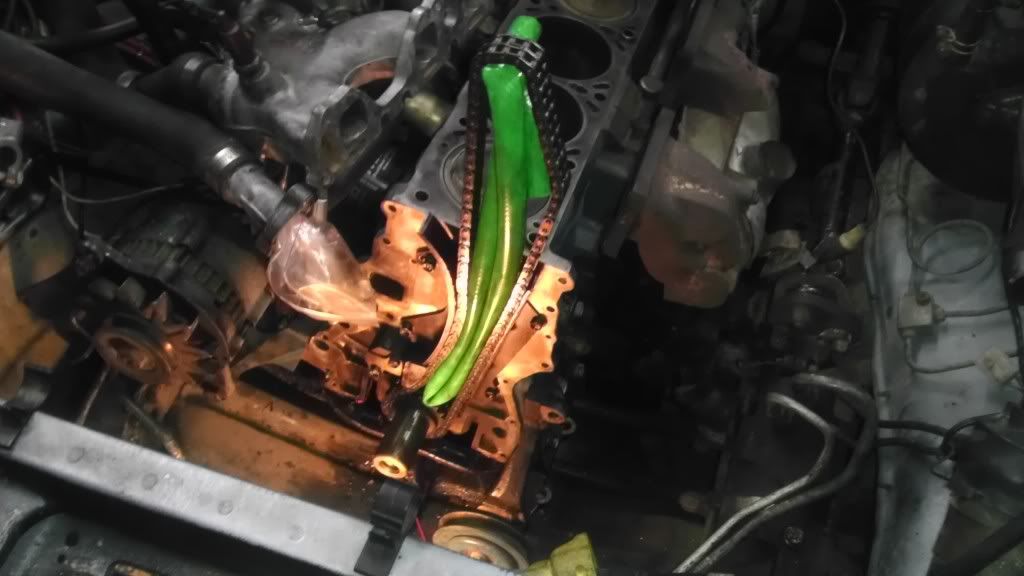
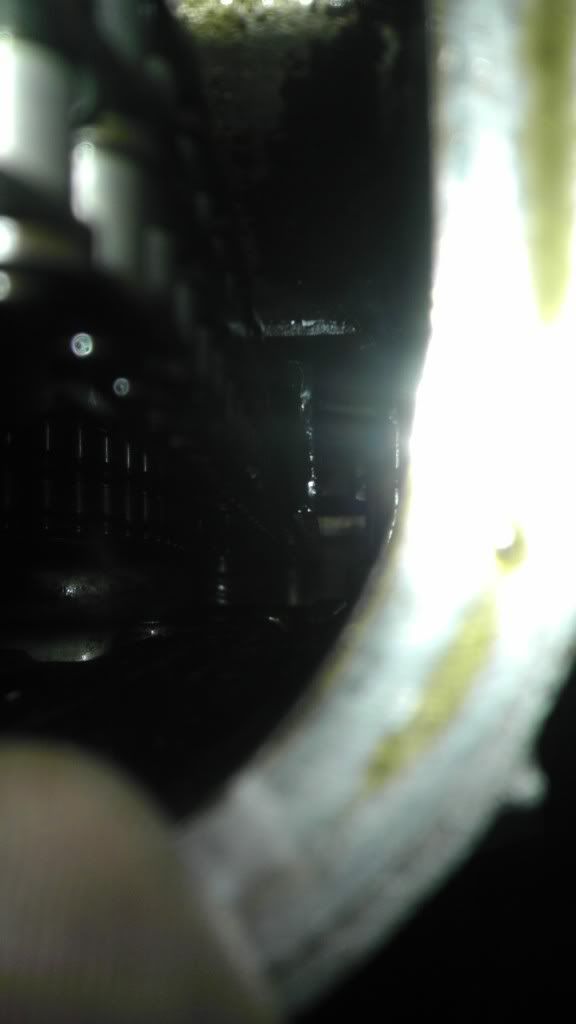
I forgot to mention, I found this when I pulled the pan. We didn't know what it was at the time, but I know now.
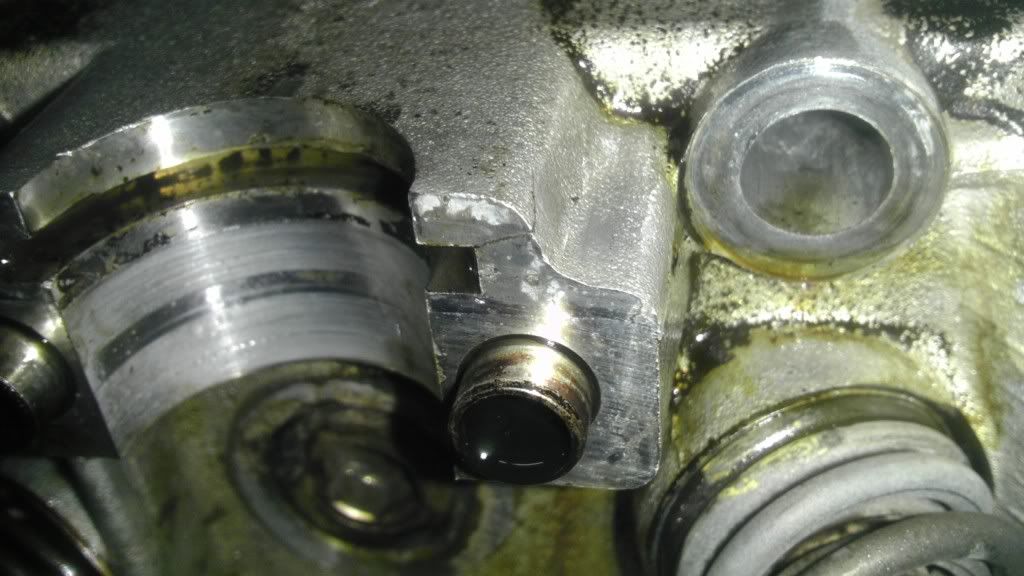
Timing chain tensioner.
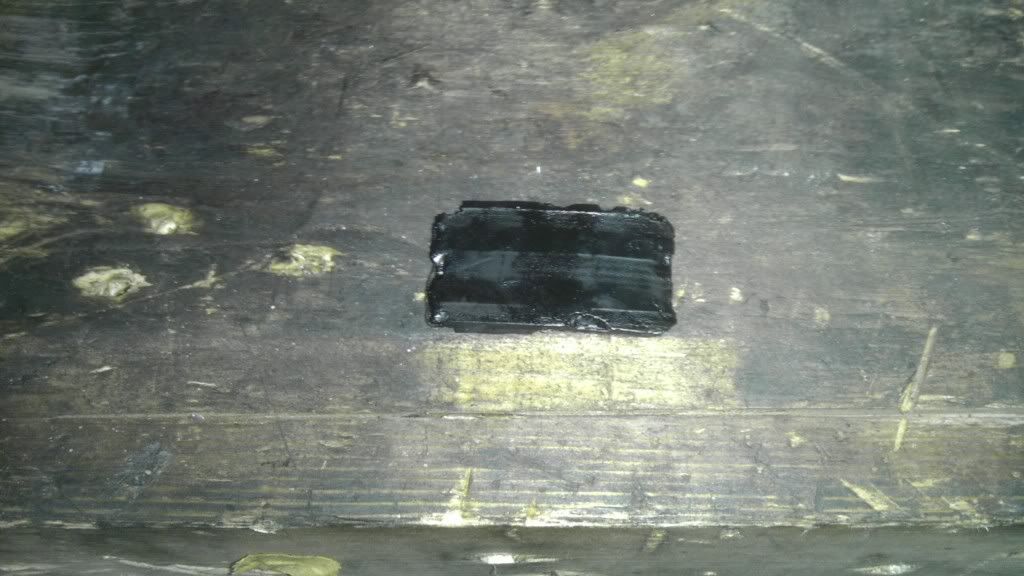
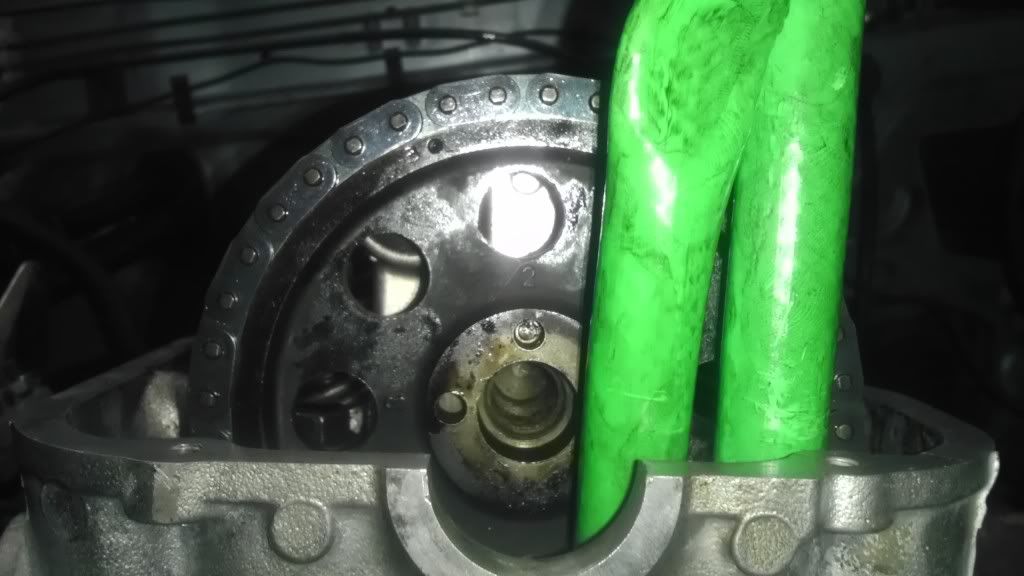
Inside look at the tensioner.
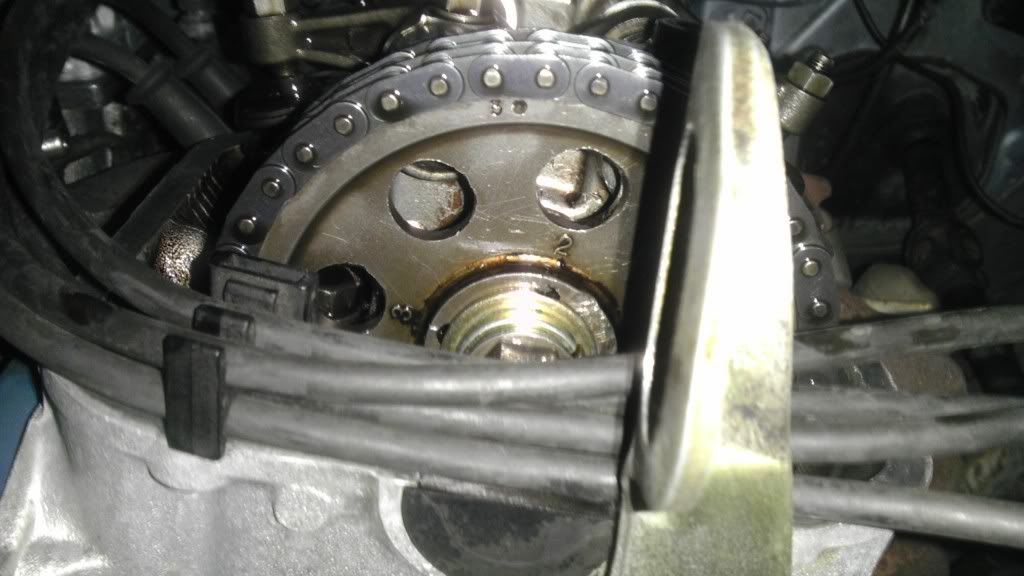
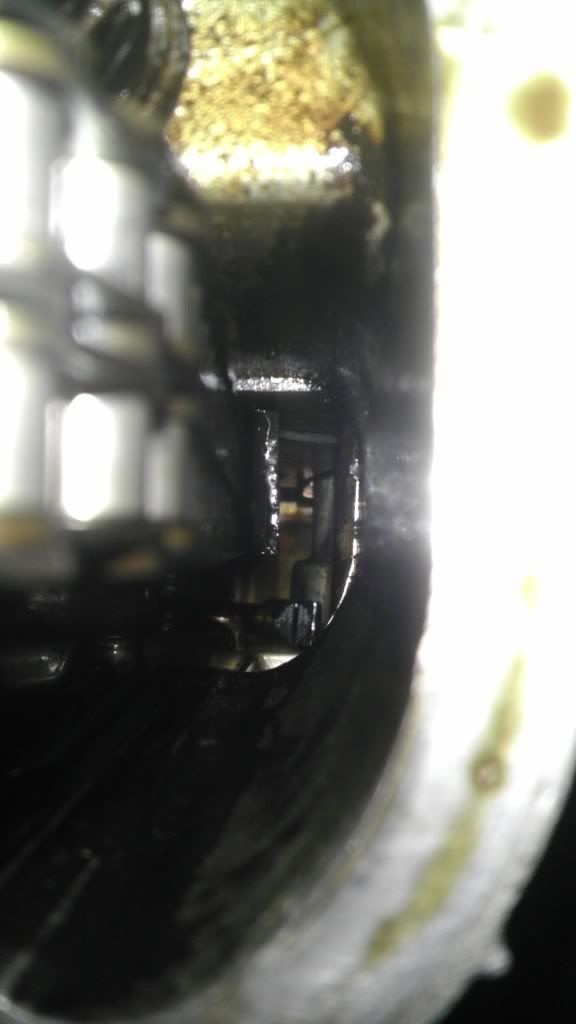
Somebody has been in here before...
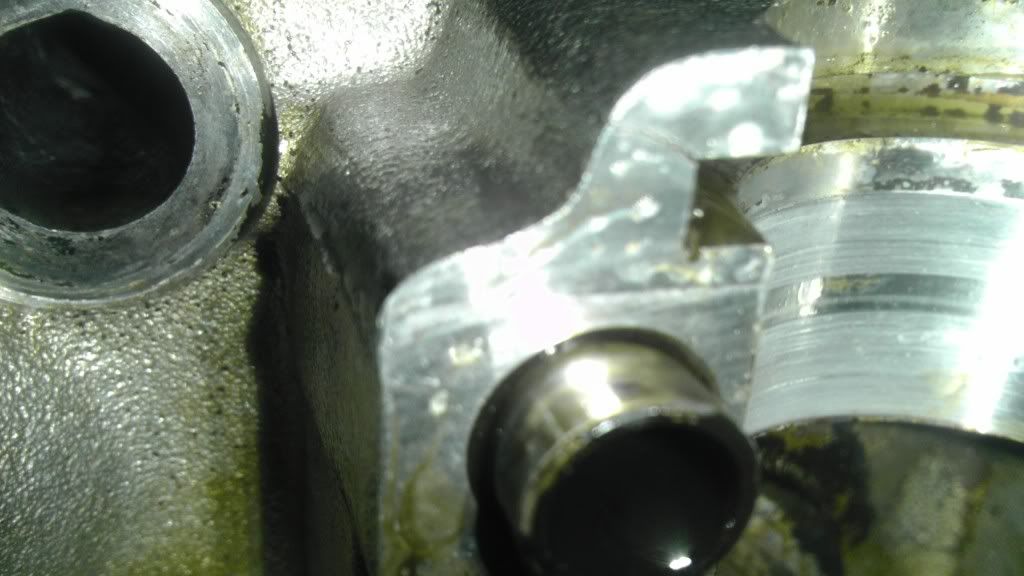
New chain.
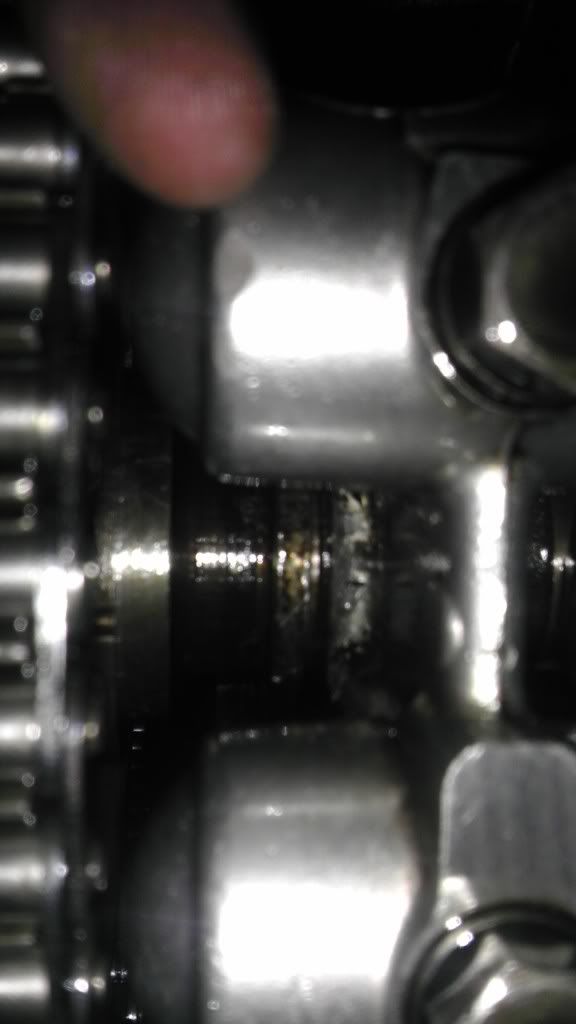
Boogered up, so I know it's been messed with.
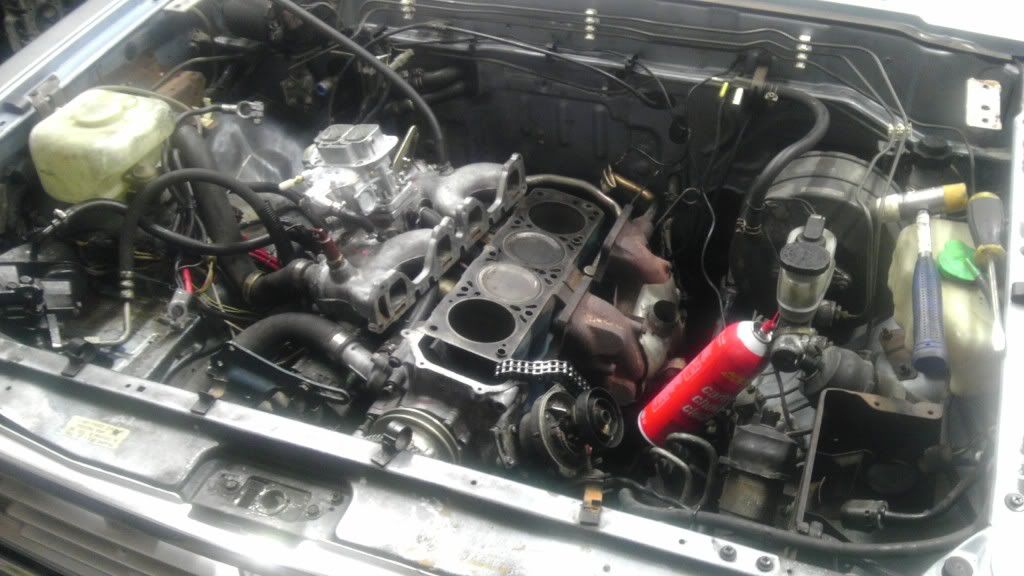
This is my OLD MOTOR ON THE STAND. This is what it should look like.
See how much taller it is?
Different chain.
I put together a "How to install your Weber" post. I got a metric s*** ton of pictures of that.
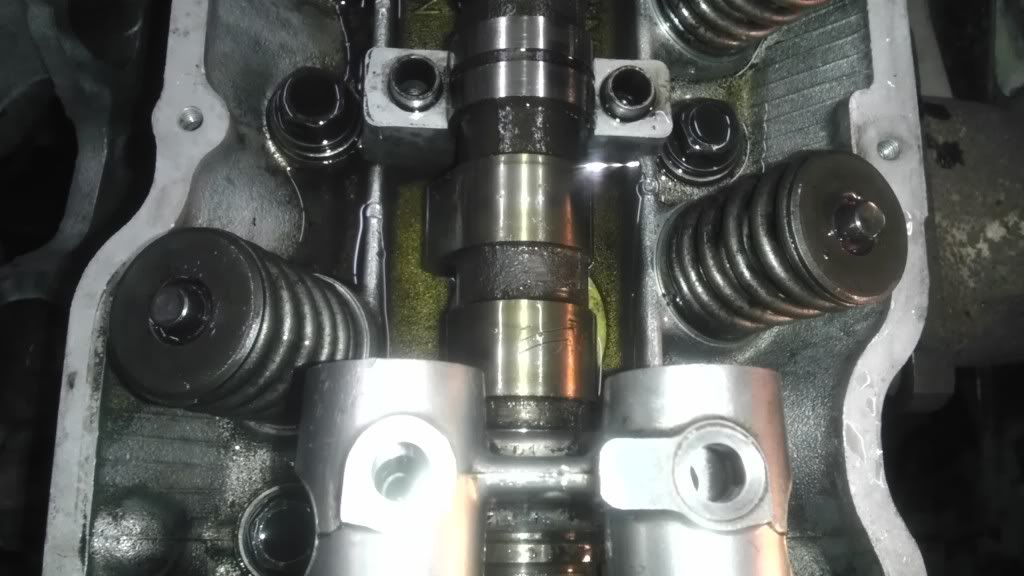
So... Comparing my old motor to the new one, I've concluded that the cam isn't out of time. Putting #1 on TDC compression, I noted that the cam gear and cam itself are in the same positions. Turning the engine over and checking valve lash, I've concluded that #4 exhaust is too tight, which is probably the cause of the low compression in #4.
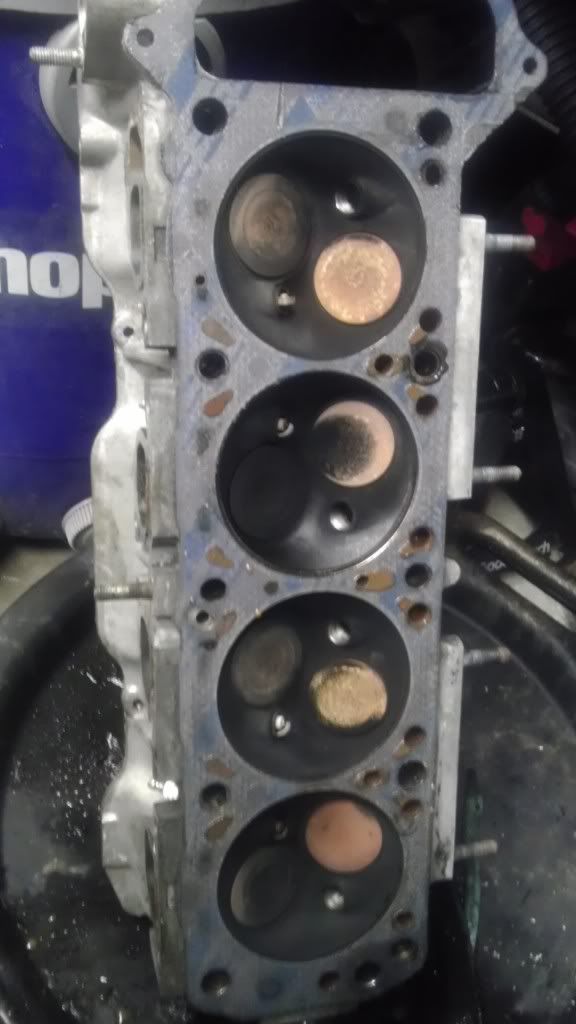
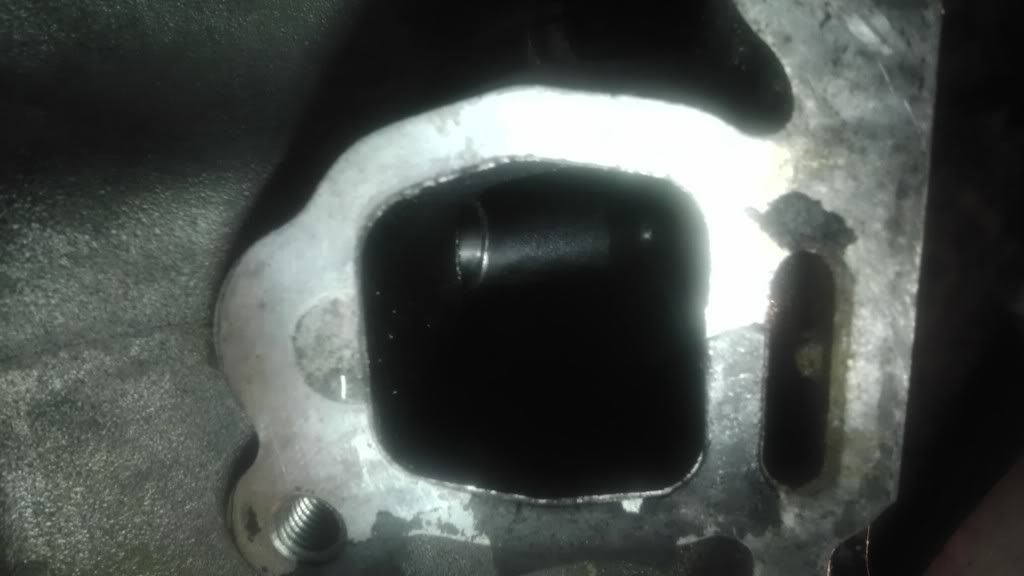
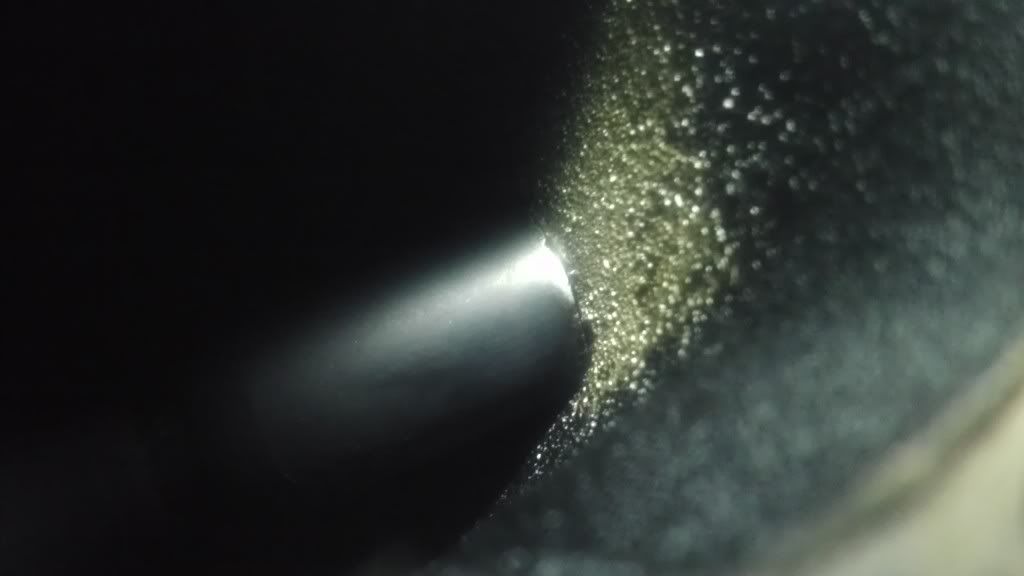
I pulled the schrader valve out of my compression tester and used compressed air to see where I was getting my leakage. Low and behold, it's coming out both intake and exhaust on #2, intake on #1 and I didn't bother checking the others. Looks like the head is coming off. It either got really hot and the valve seats fell out, or somebody floated the valves and bent them. Either way, it's f***.
Oh, and I just pulled the head on my core motor, both valves are bent on #1, the broken rod cylinder, and the thrust face for the cam is cracked.
f***.