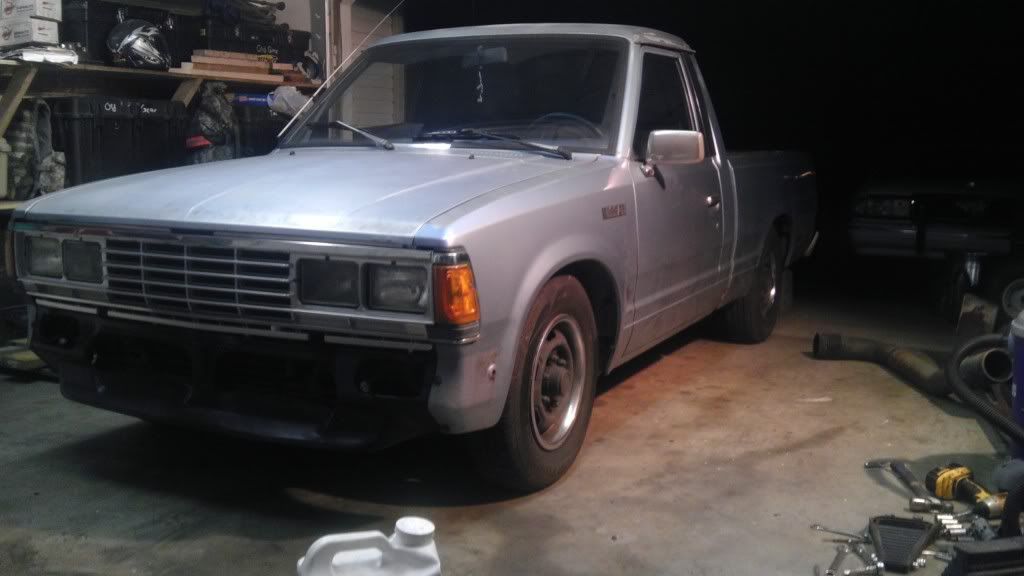
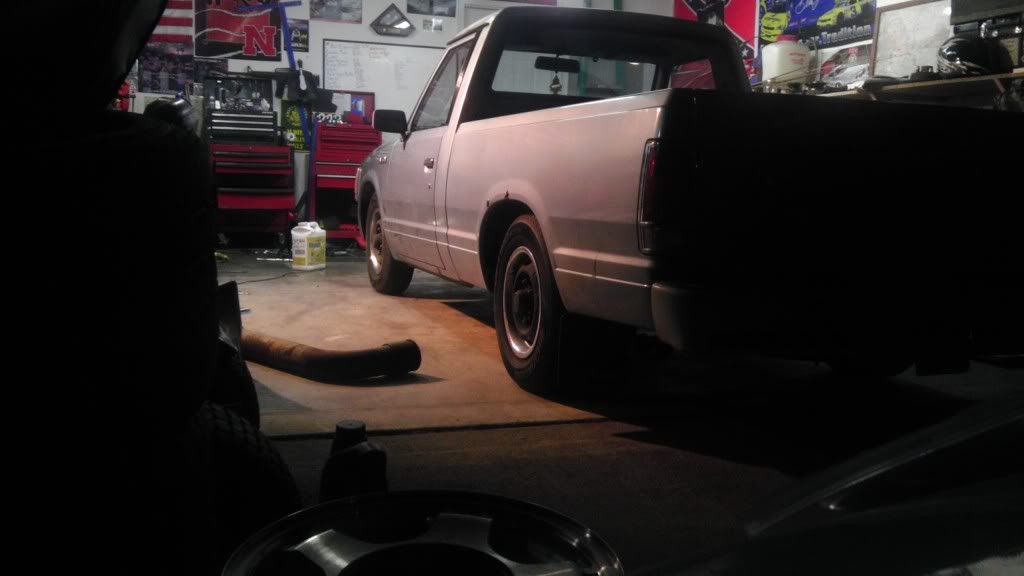
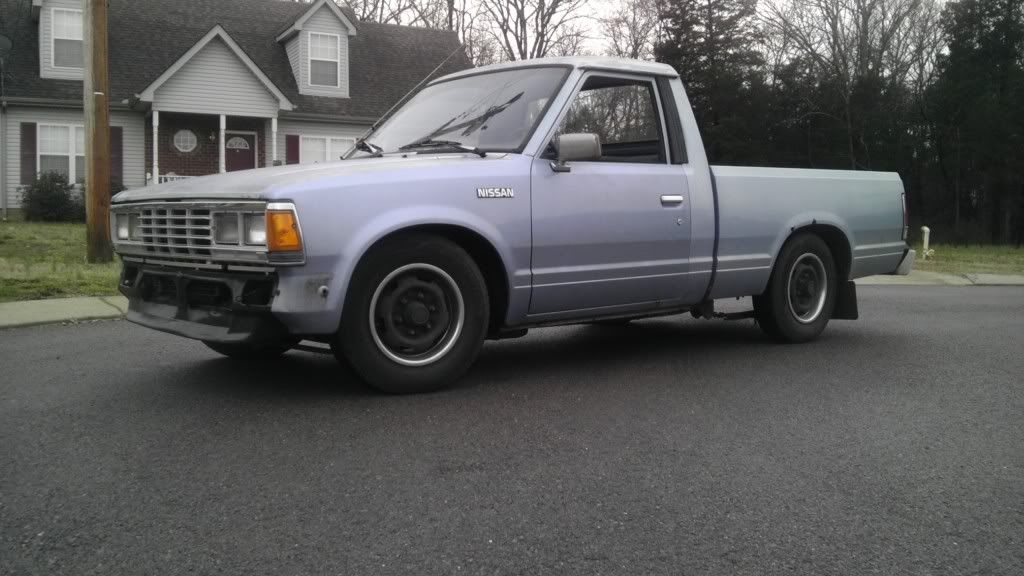
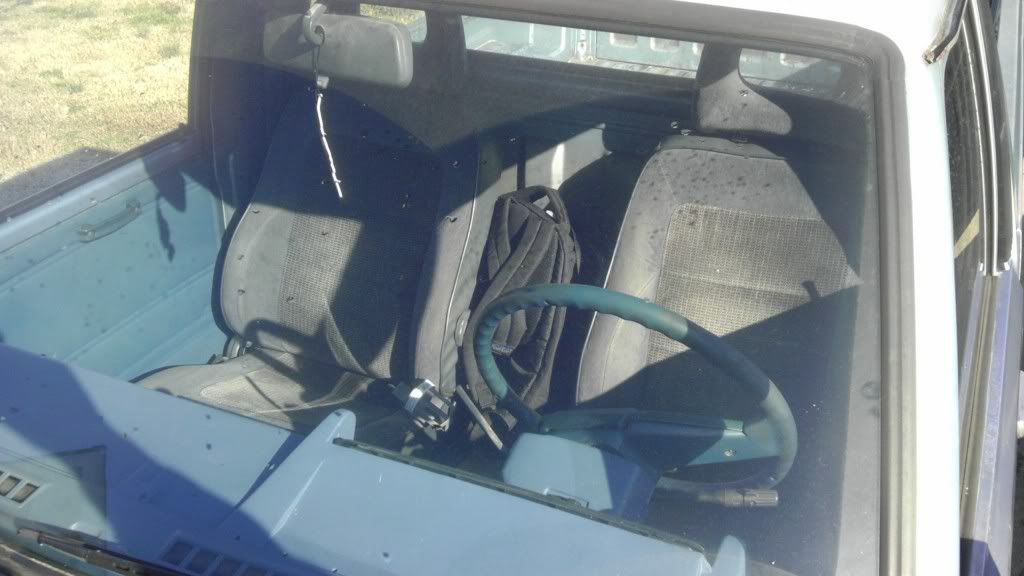
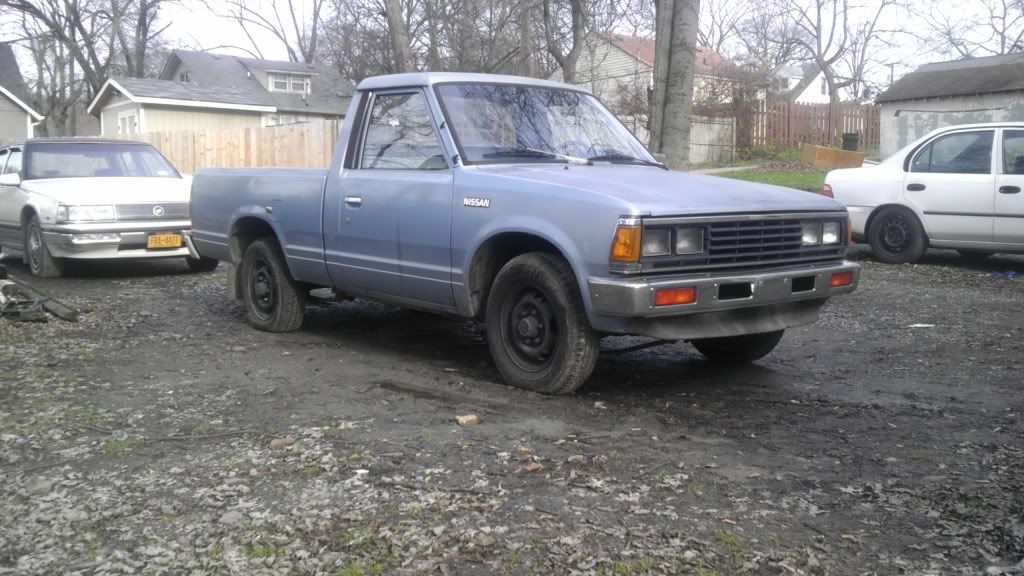
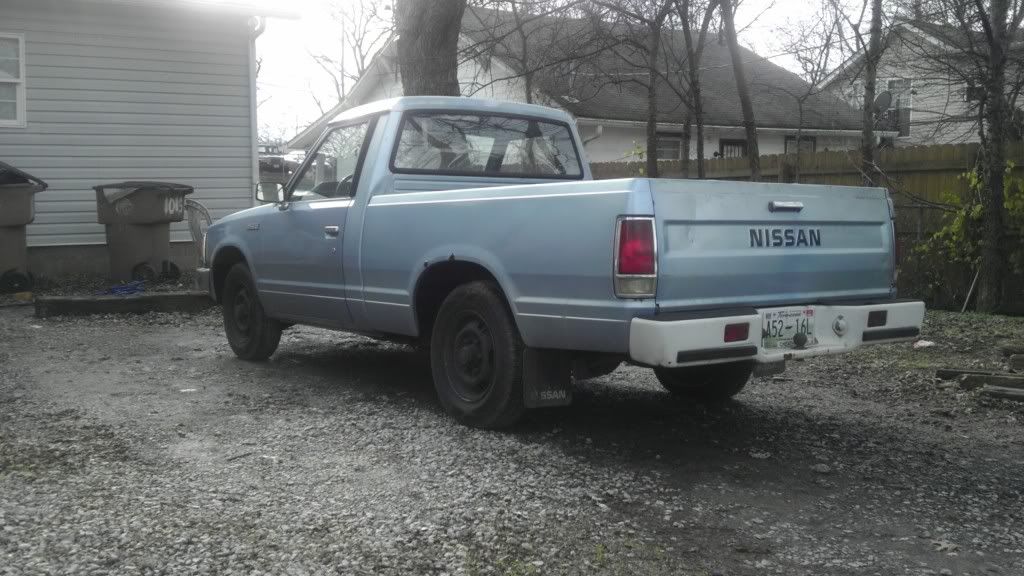
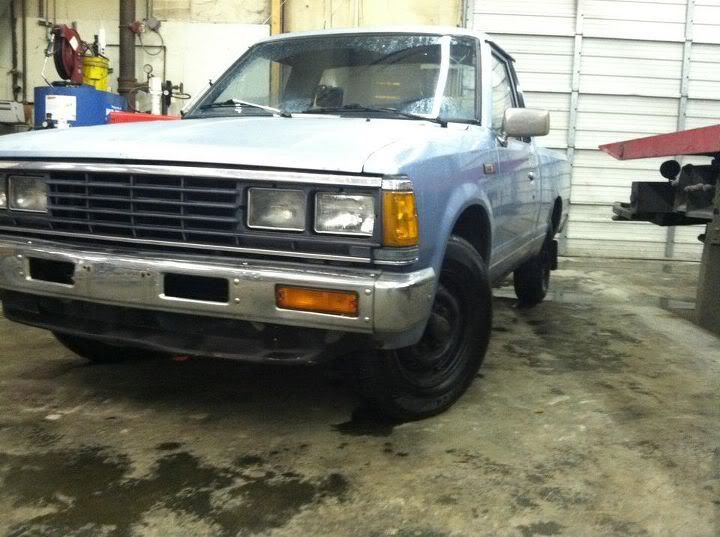
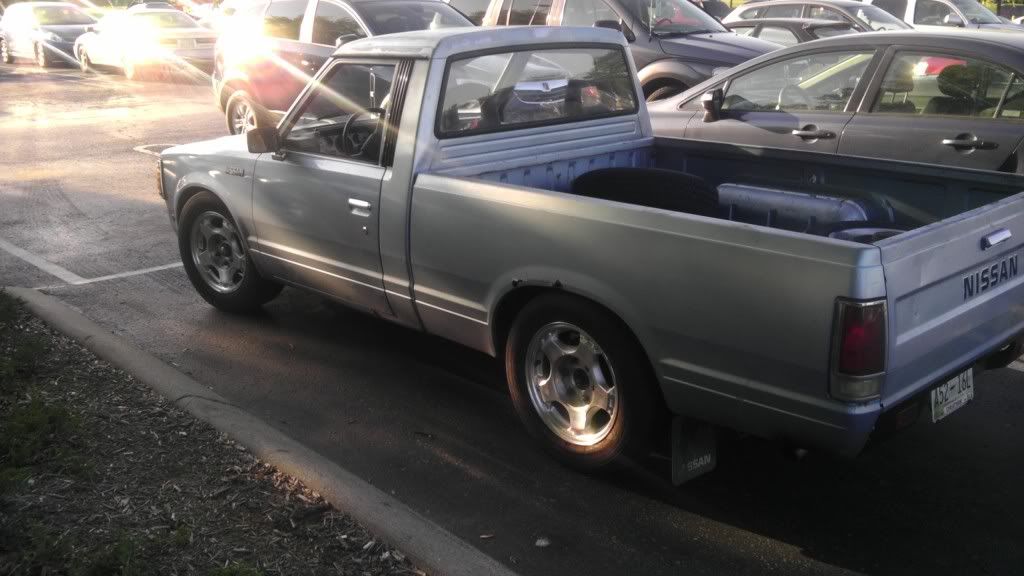
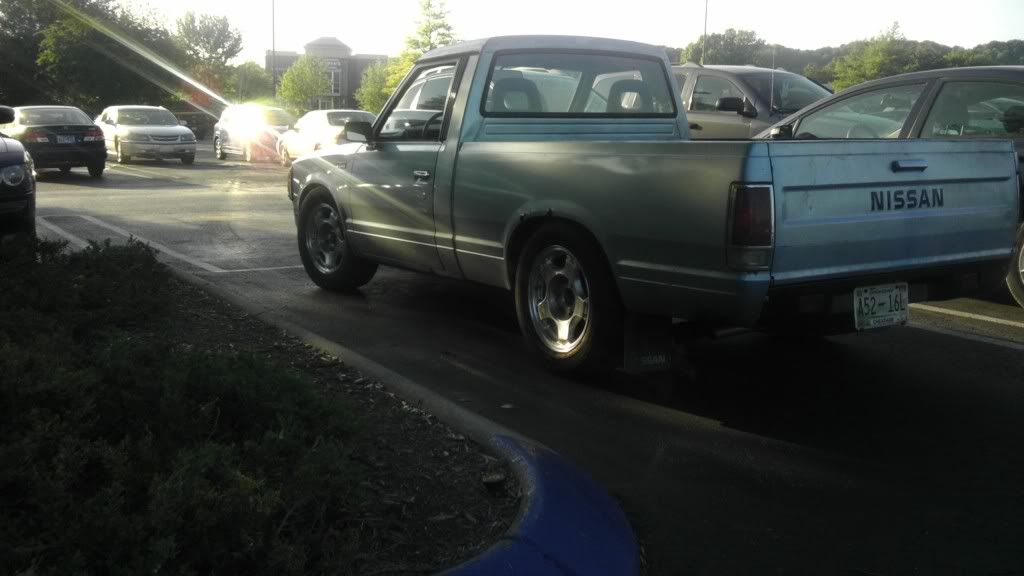
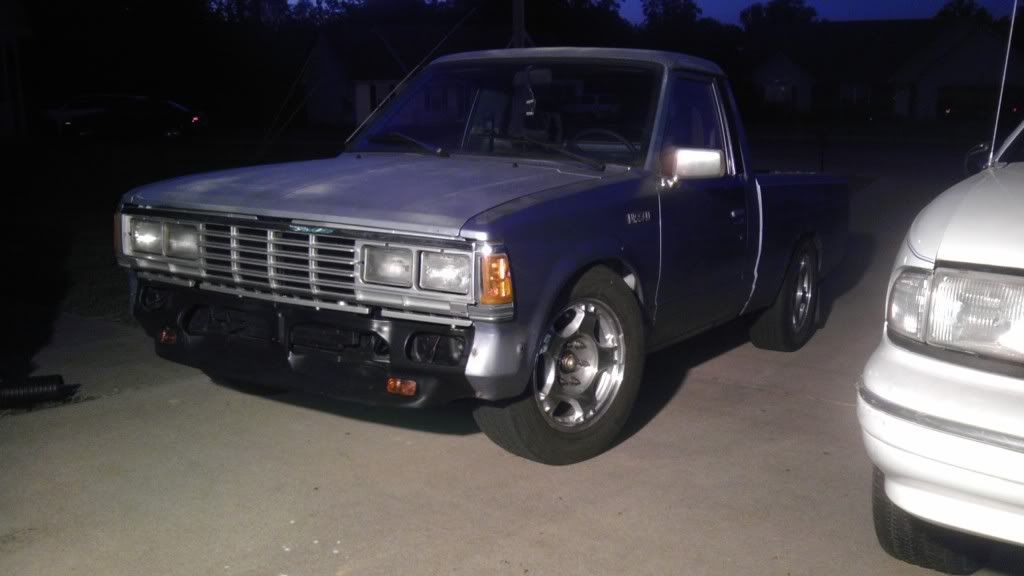
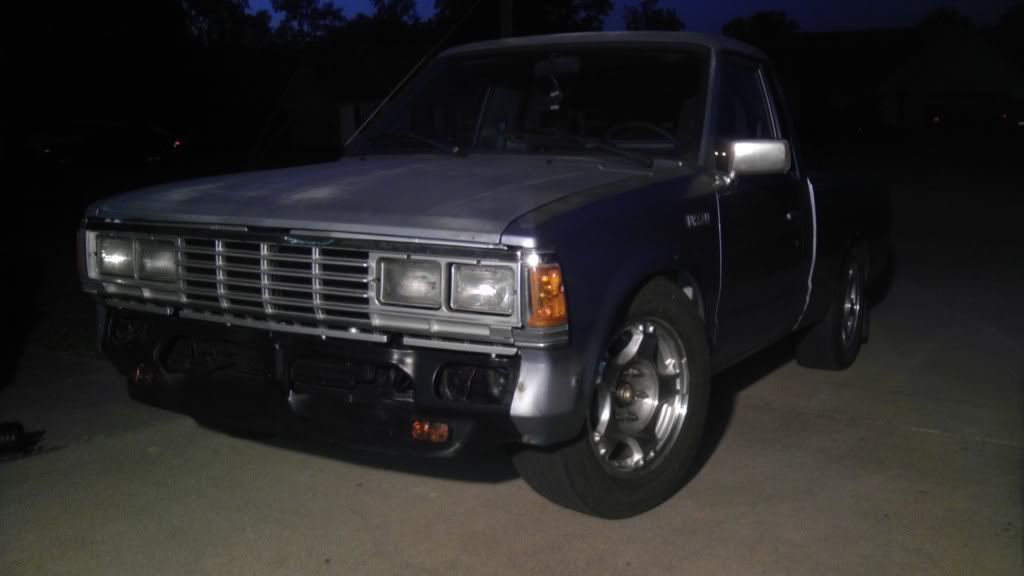
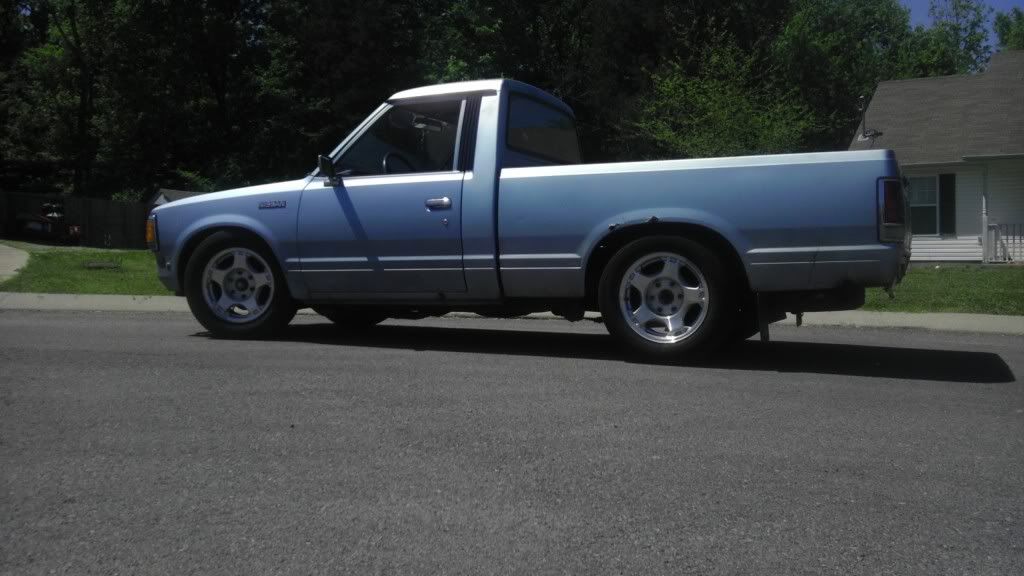
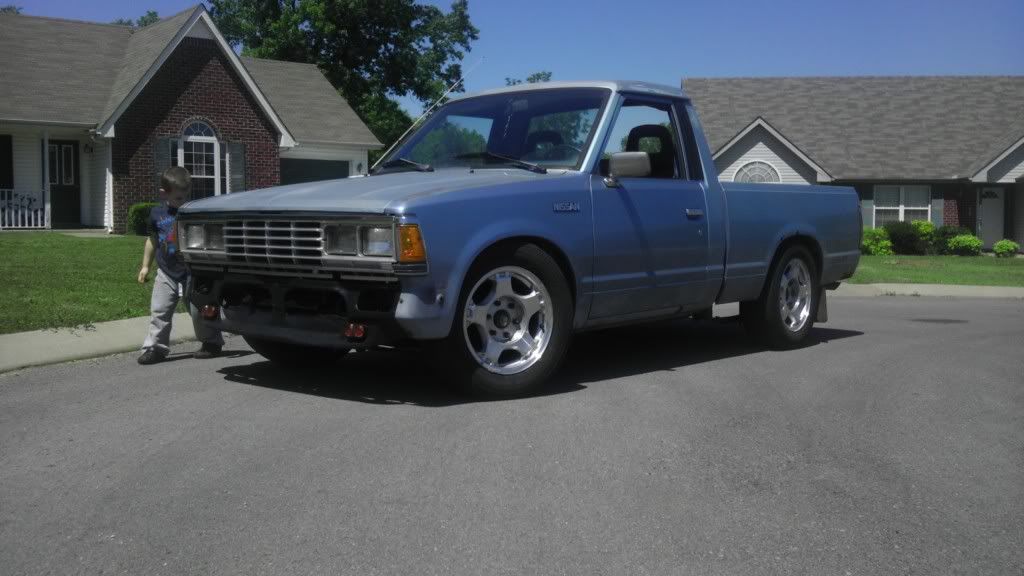
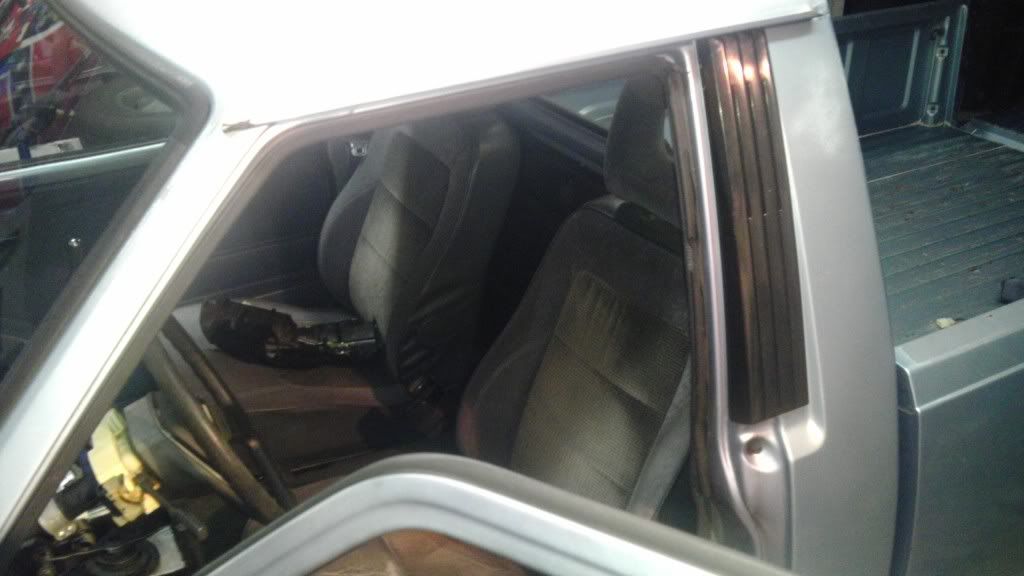
My "I bought this 720 and its a POS, so let's fix it" thread

1980-1986 Datsun 720 forums. All 720-specific topics and discussion can be found here.
Smyrna720
Posts: 67
Joined: Wed Dec 21, 2011 8:13 am
Car: 1985 Nissan 720 2WD stripper
1996 Chevrolet Caprice (The fast one)
1997 Dodge Intrepid (The beater)
Location: Smyrna TN, Home of the 720
Contact:

Post

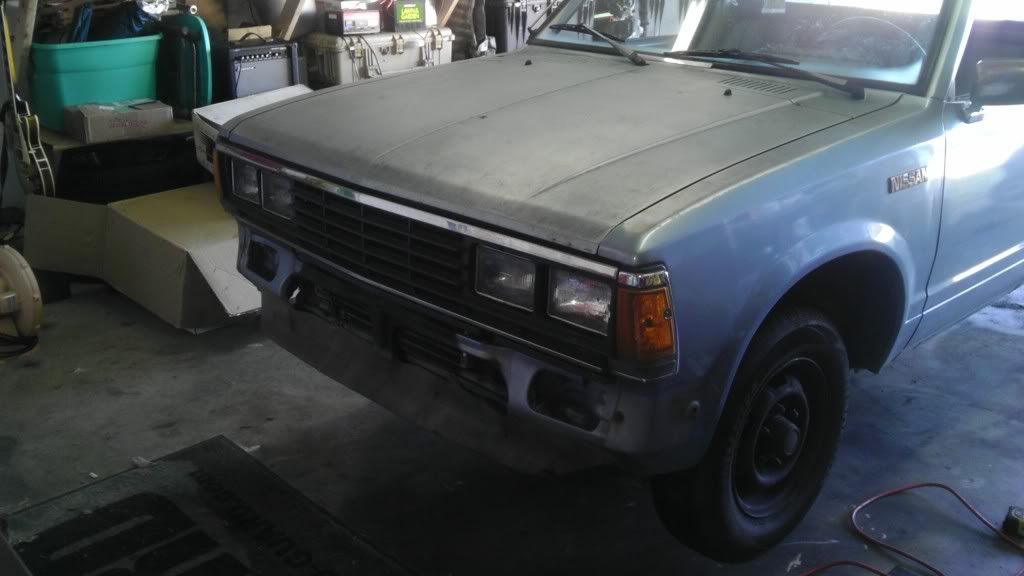
Lolz, just kidding. Actually I really like it. Well, it does have some issues, so lets get to it.

Tailgate no open. Screws and access plate missing.
Solution: Clean out bed, find plate, no screws. Dig and find some license plate screws. Remove 2 screws to lower linkage down. Bend up tab where handle contacts linkage. Reassemble. Tailgate still rattles on the catch though, so we take some rubber tape strip stuff and wrap around catch on bed until rattle disappears. Rinse wash repeat.

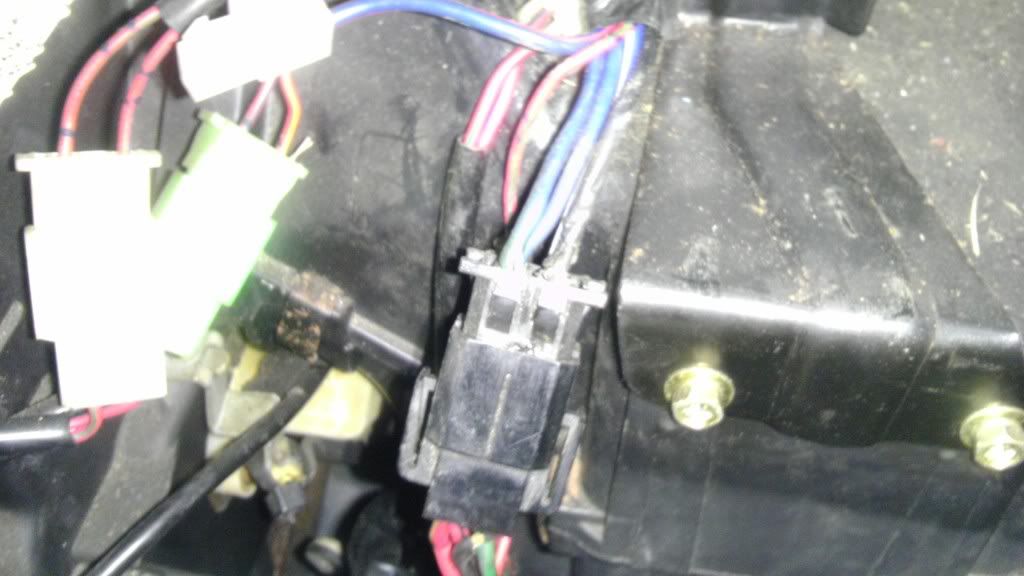
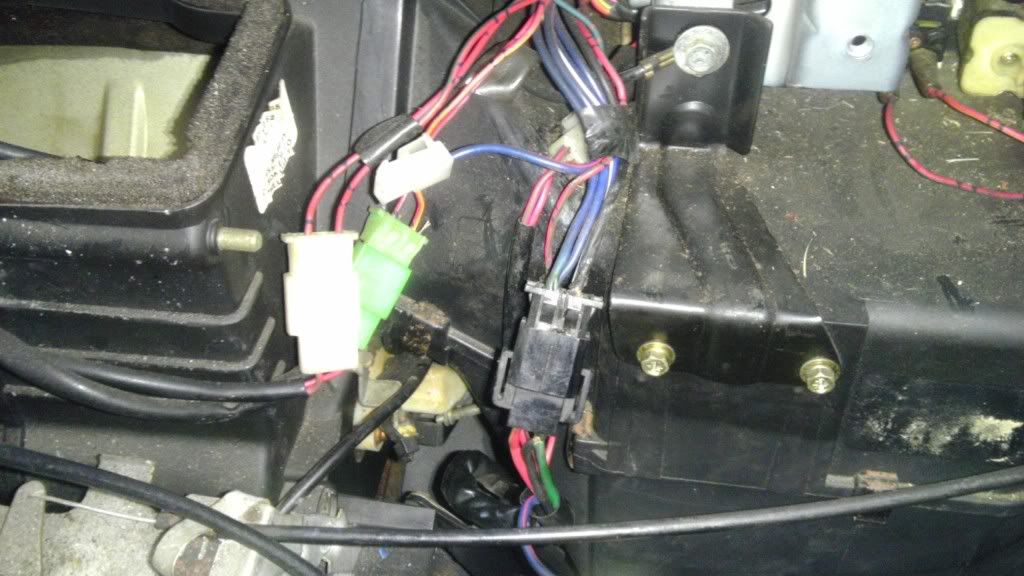
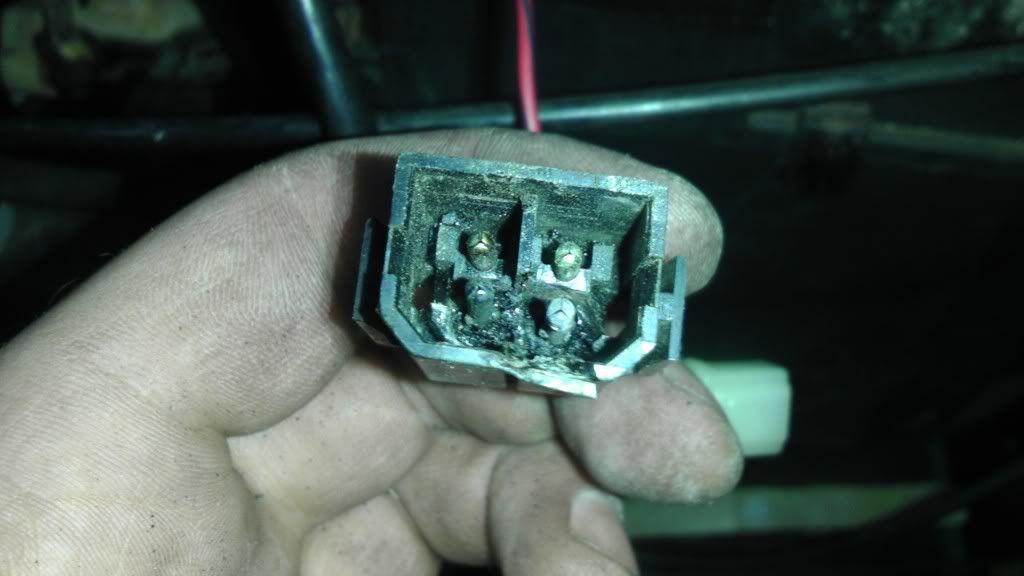
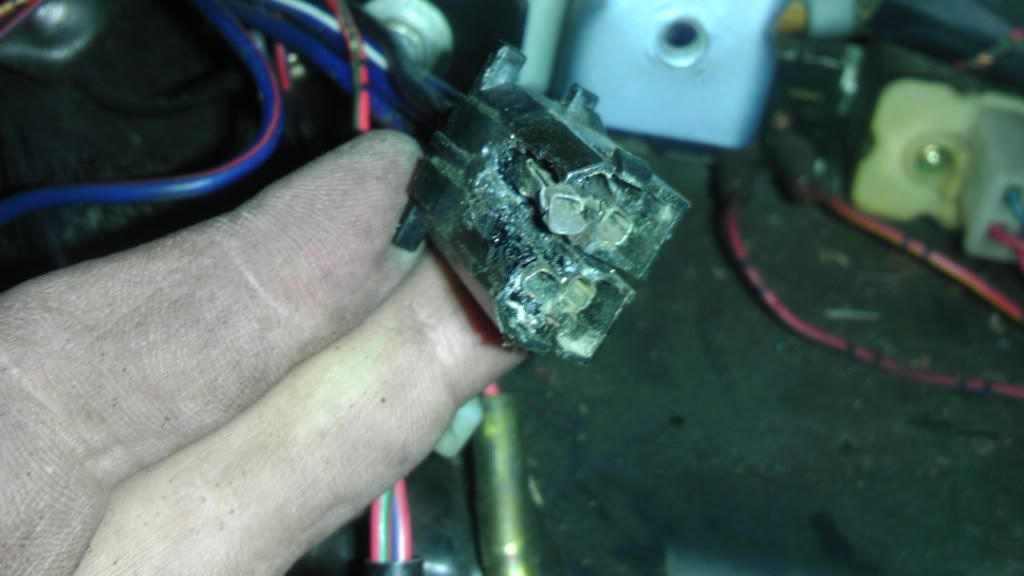
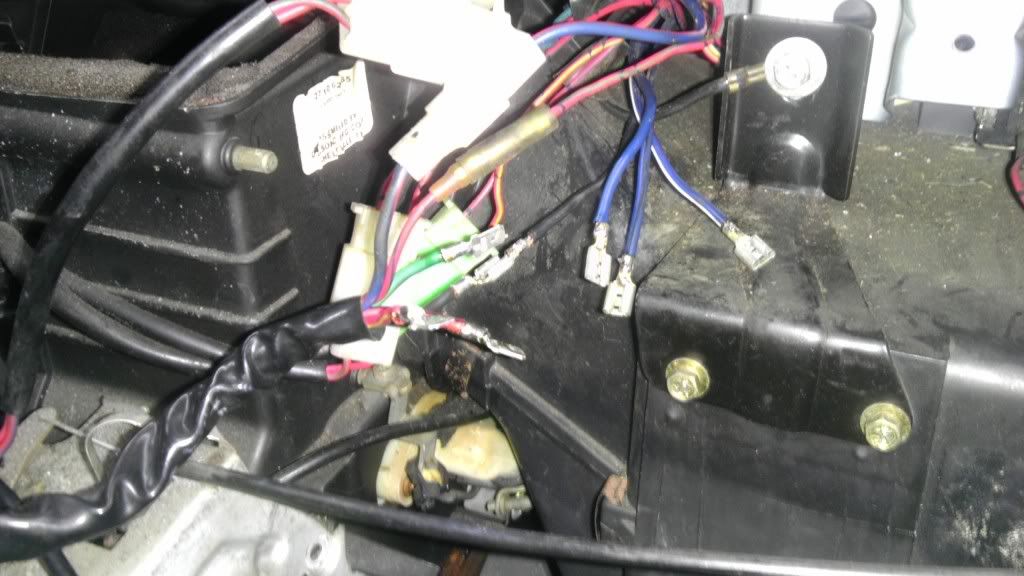
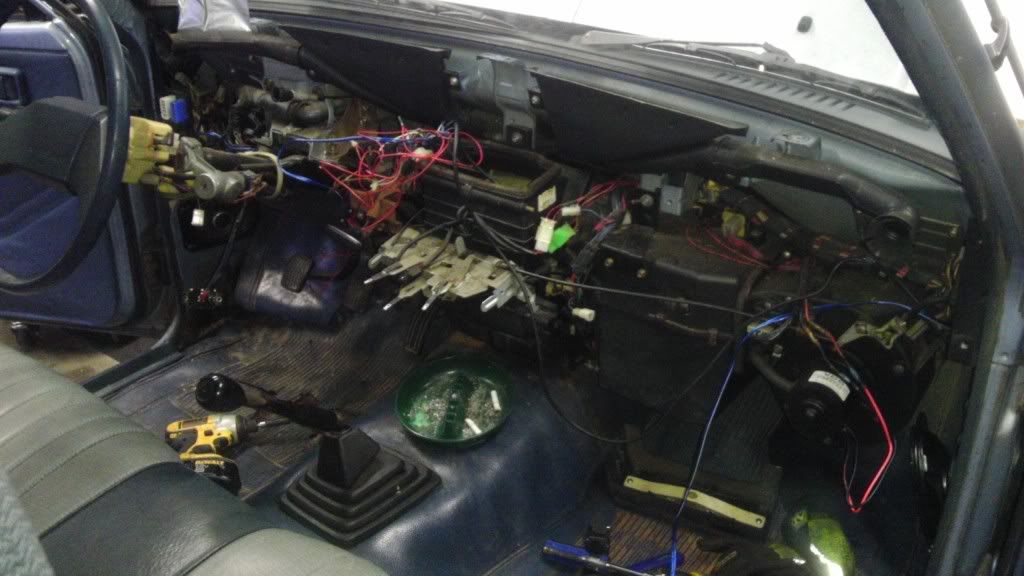
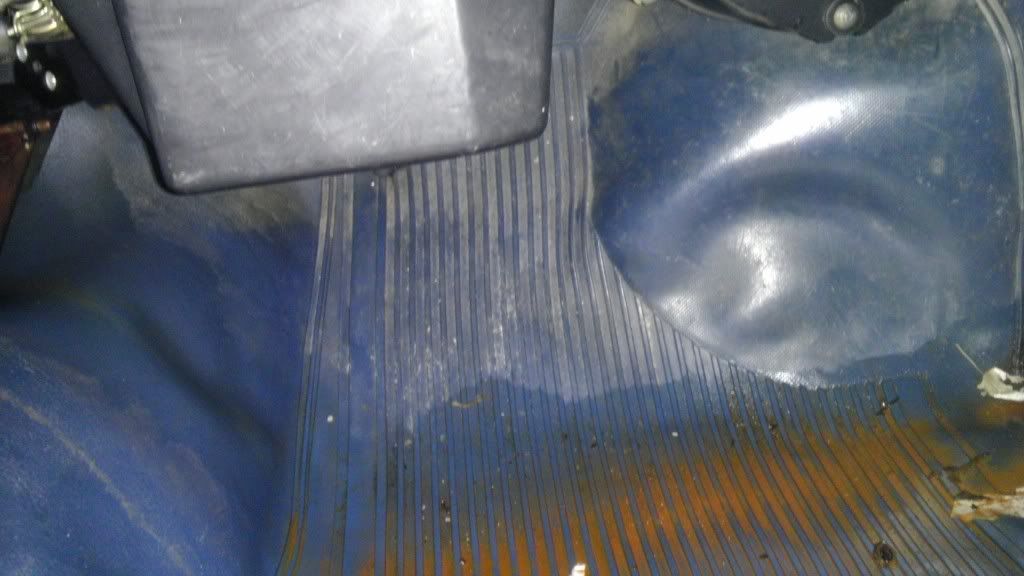
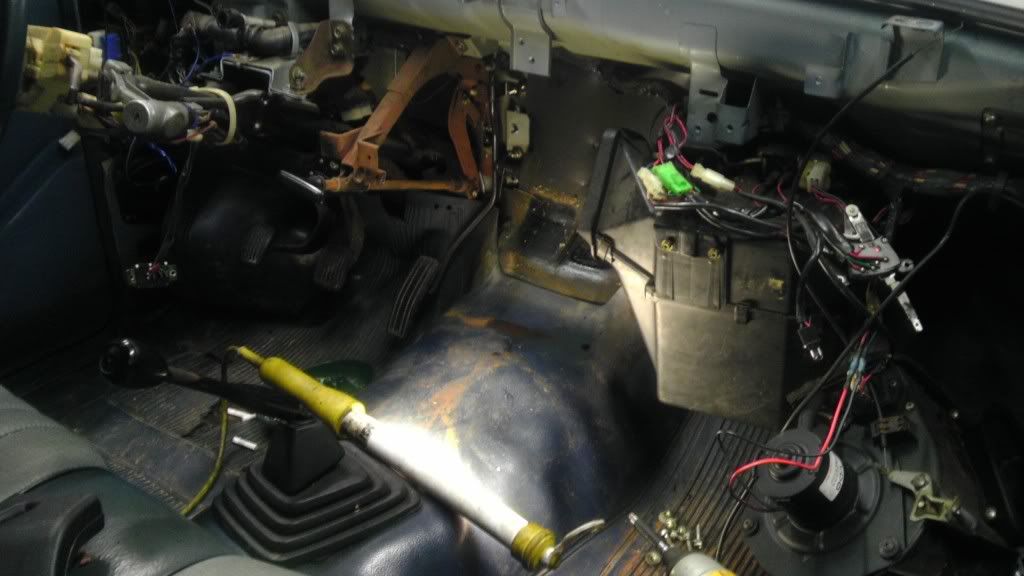
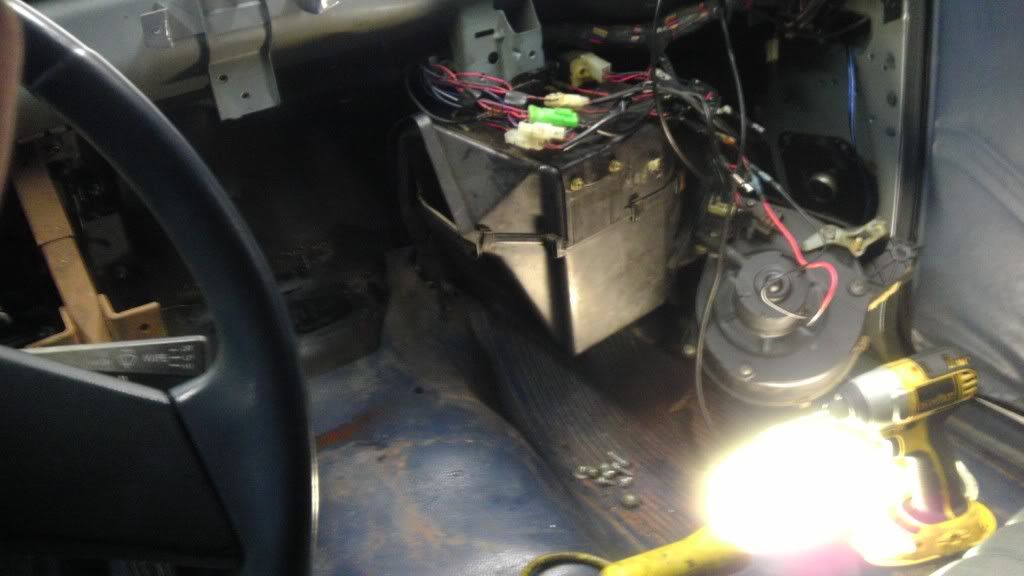
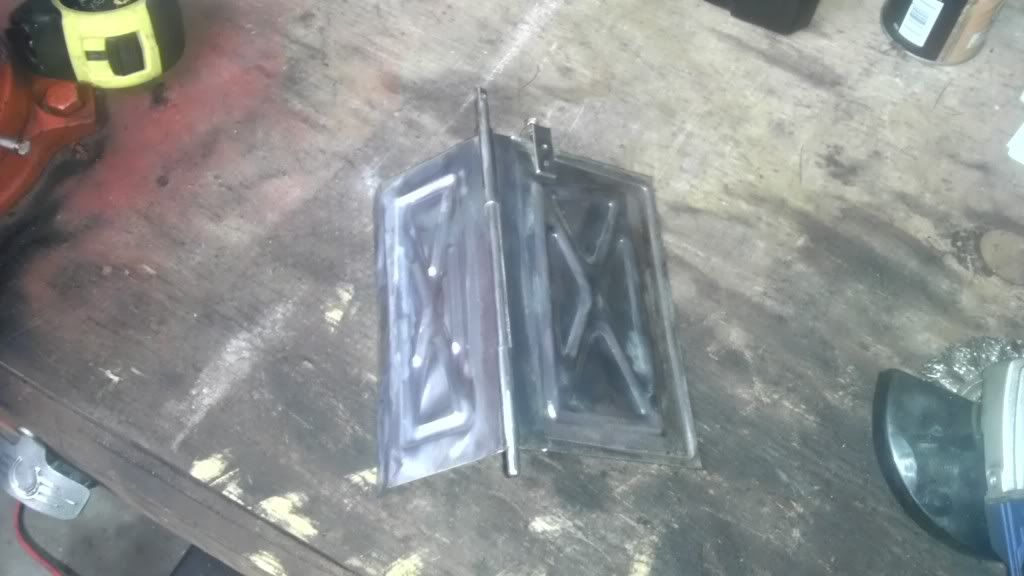
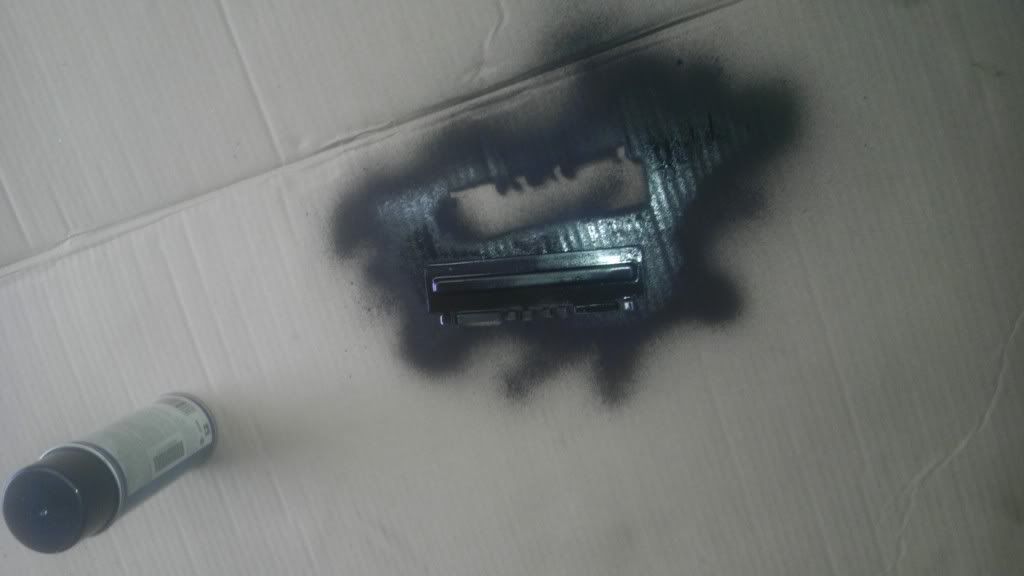
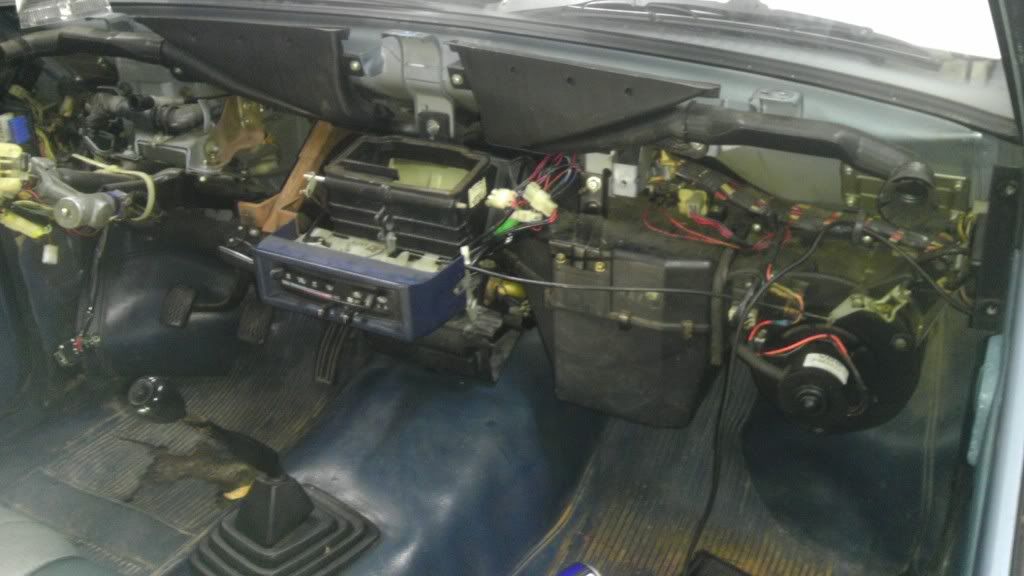
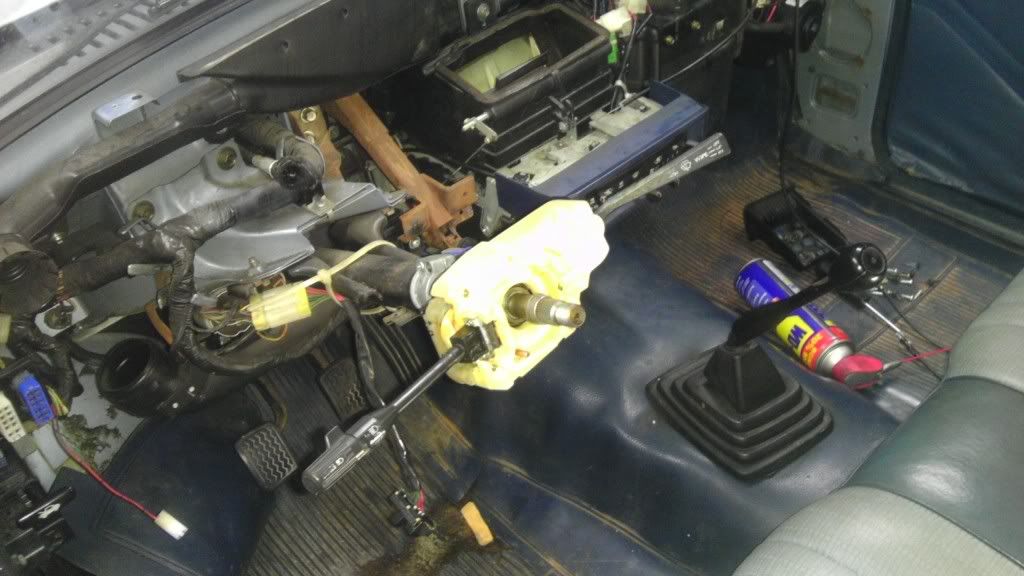
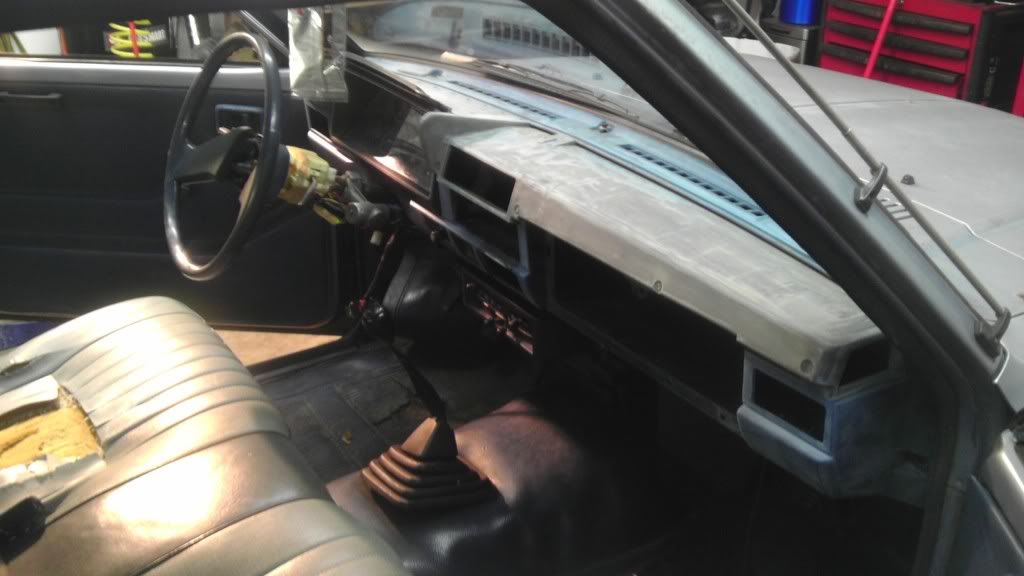
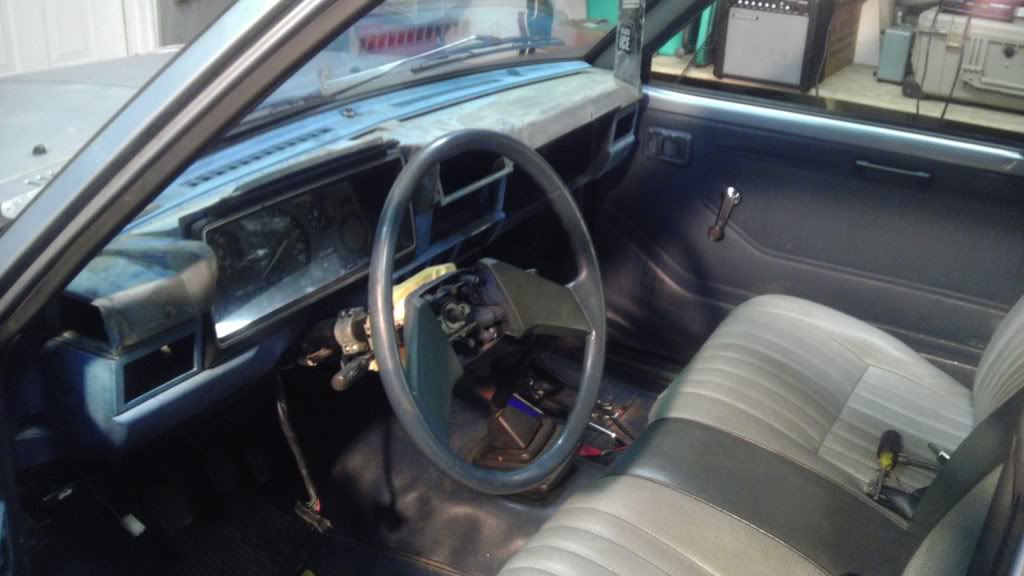
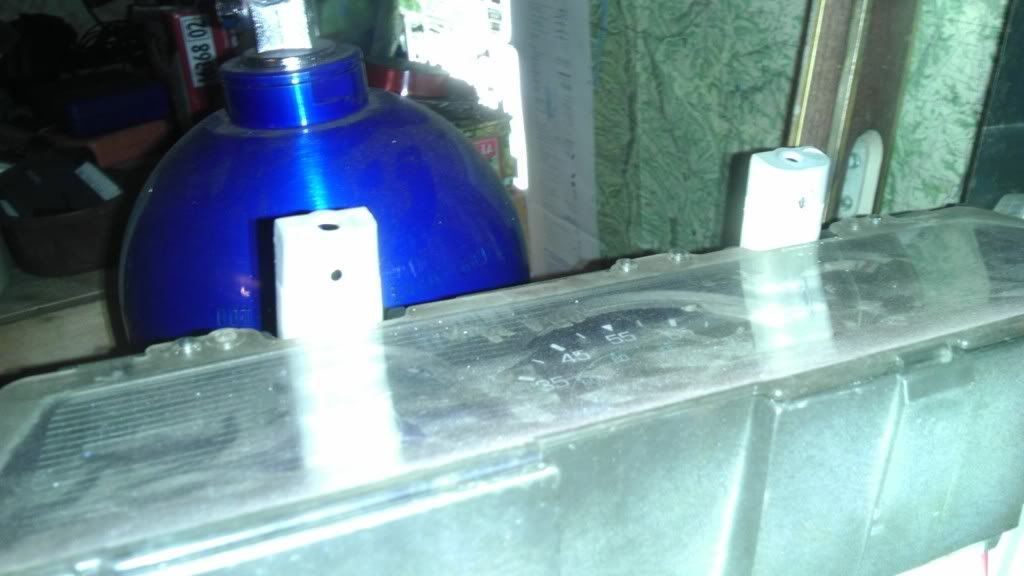
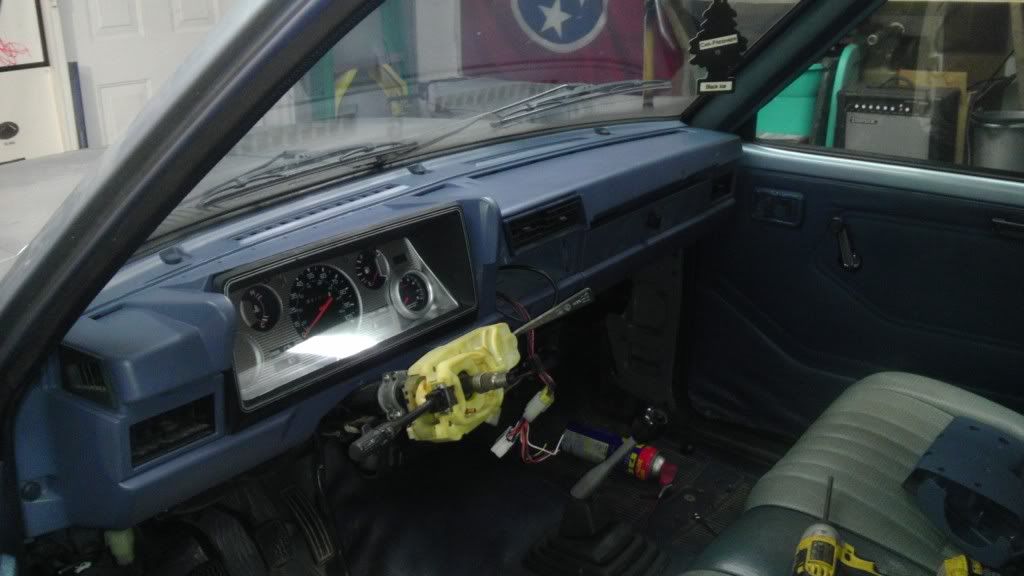
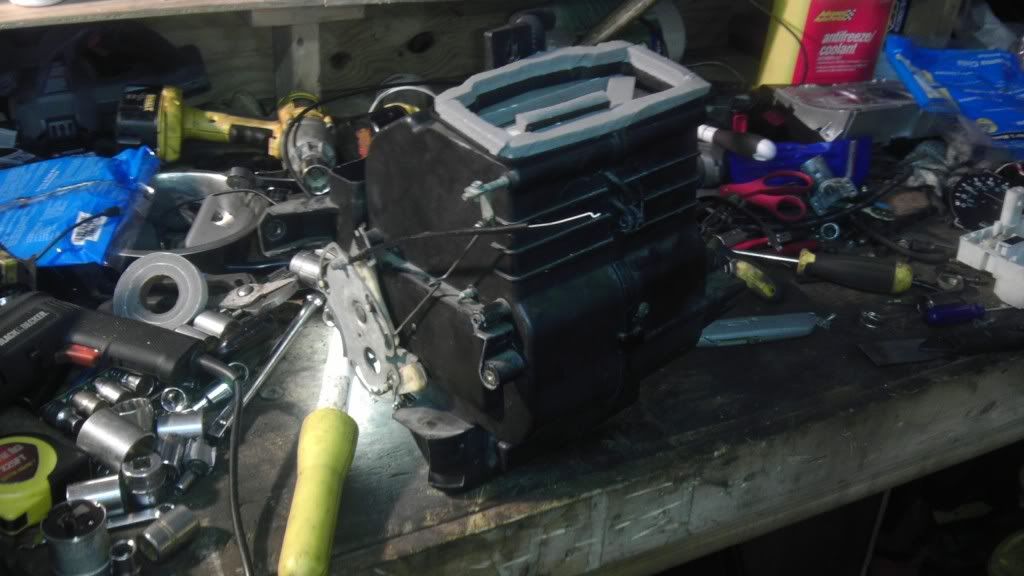
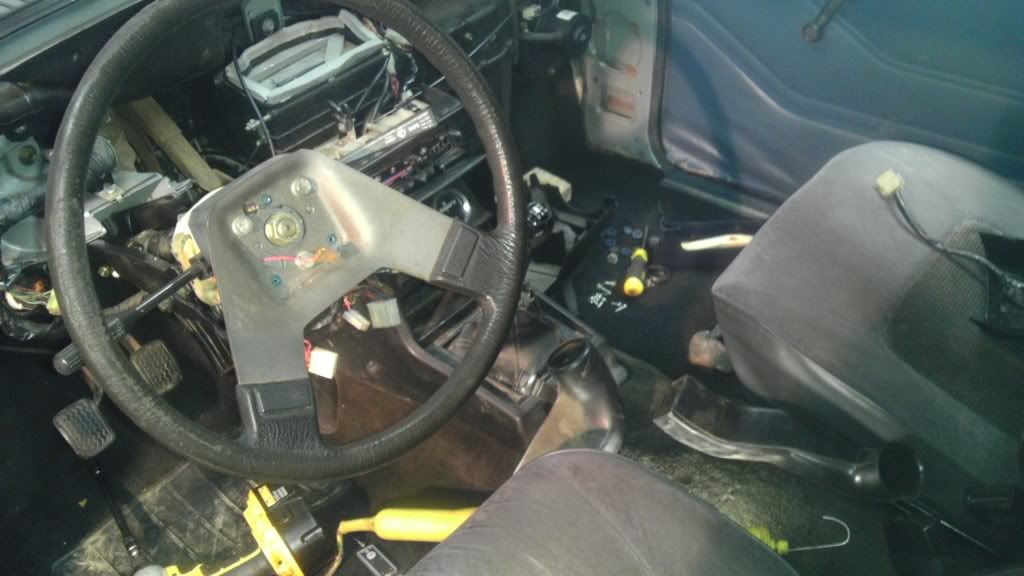
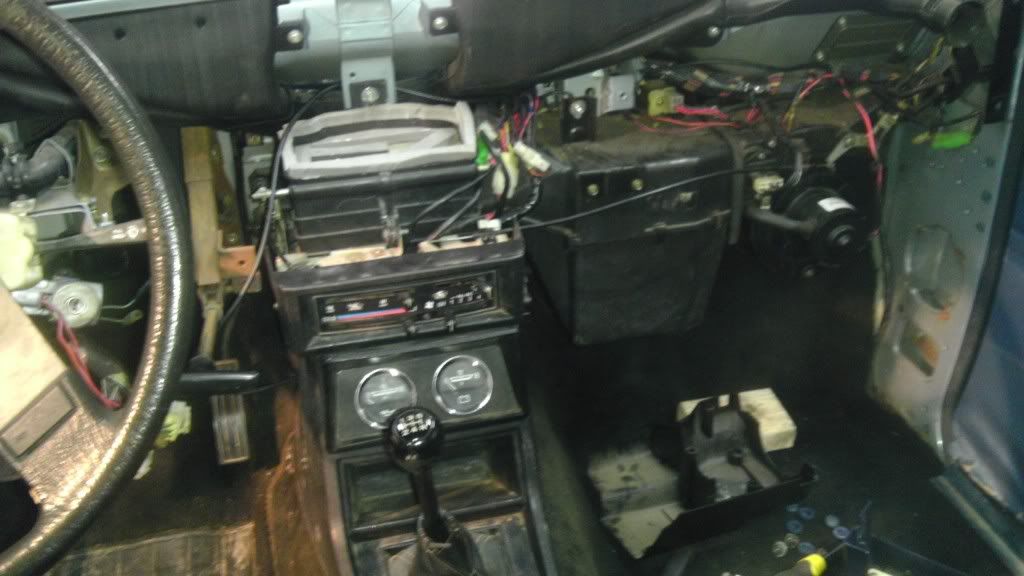
Second order of business. Blower motor won't blow. Long story short, I traced the wiring schematic with colored pencil, looked, looked and looked and could not find why the blower motor wasn't getting power. Well I finally found it. Needless to say, when you jiggle the wiring and the fan comes on, you have to take the entire dash out to fix it correctly. FML.

Image

Image

Image

Image

Getting fixed!

Image

Yes, those are soldered on. Butane soldering iron FTW!

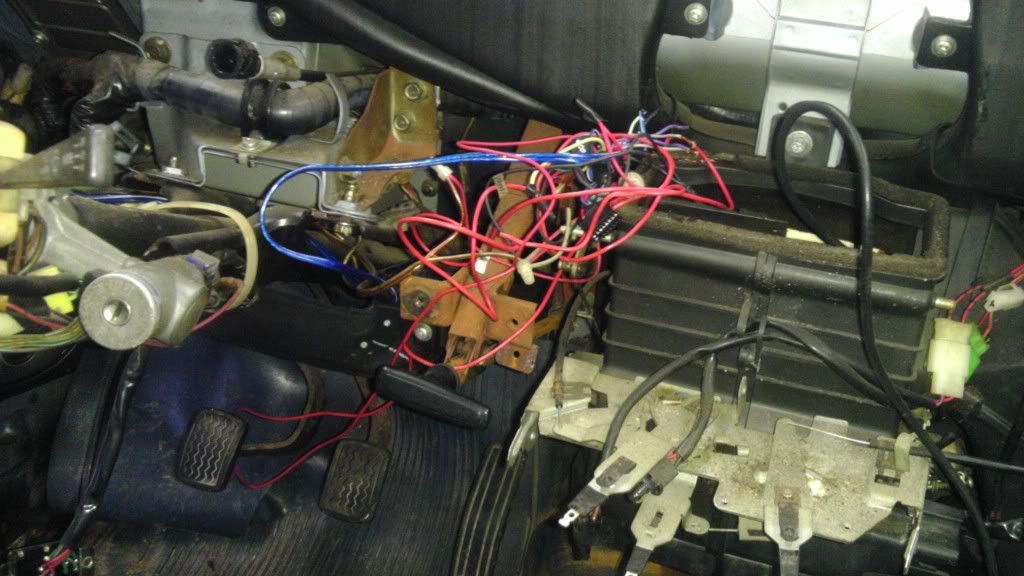
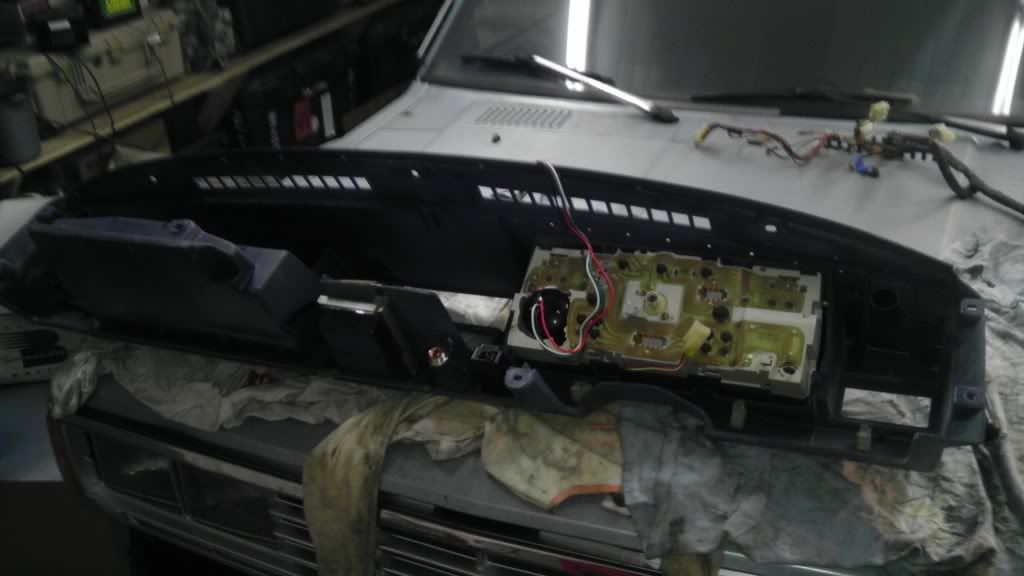
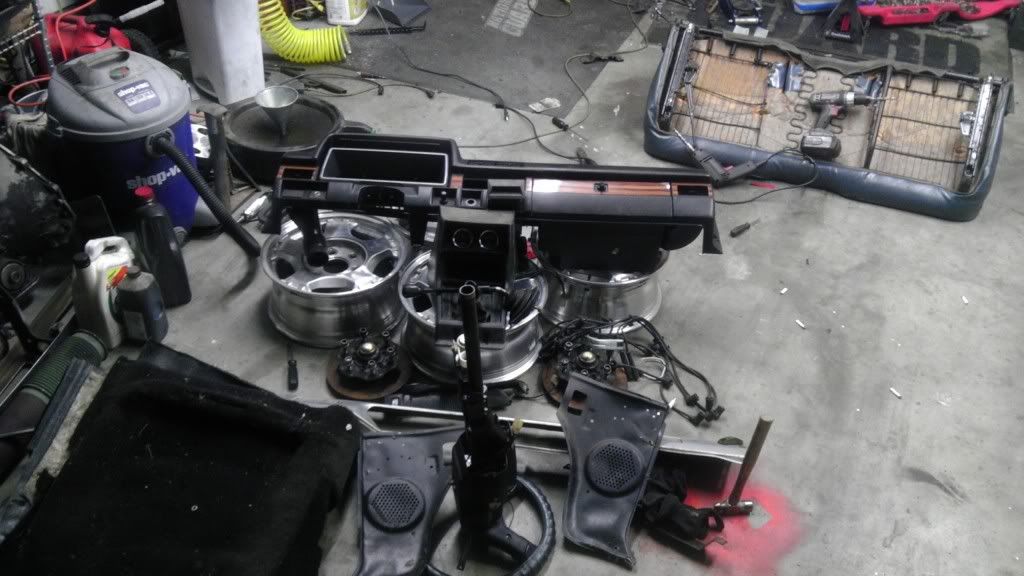
But look what I found when I tore the dash apart!

Image

Image

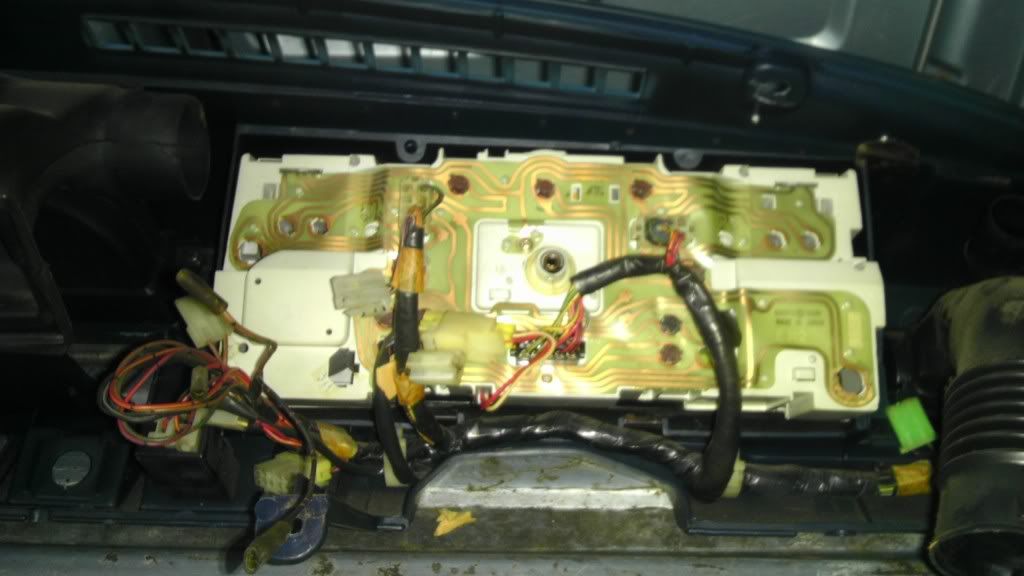
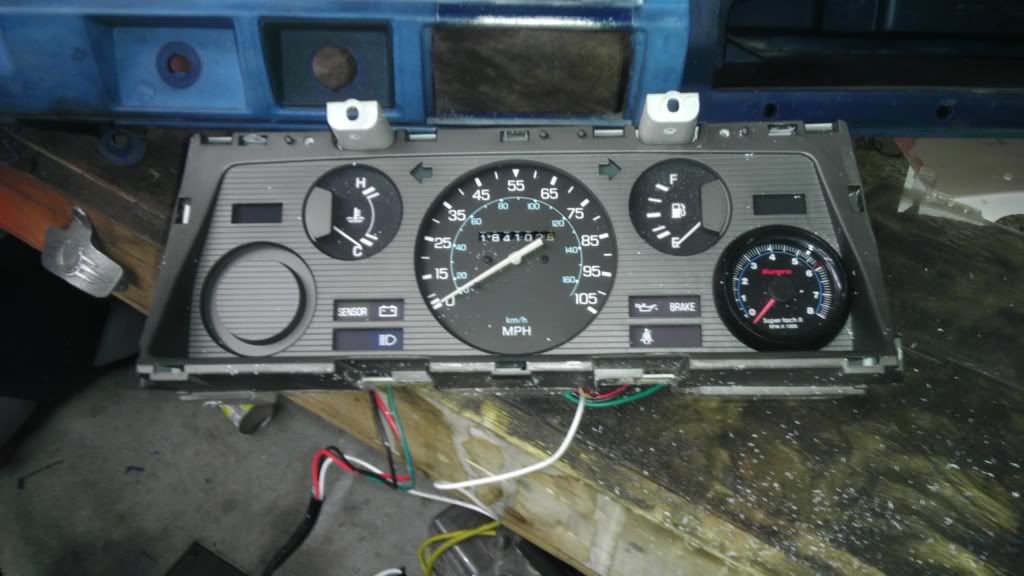
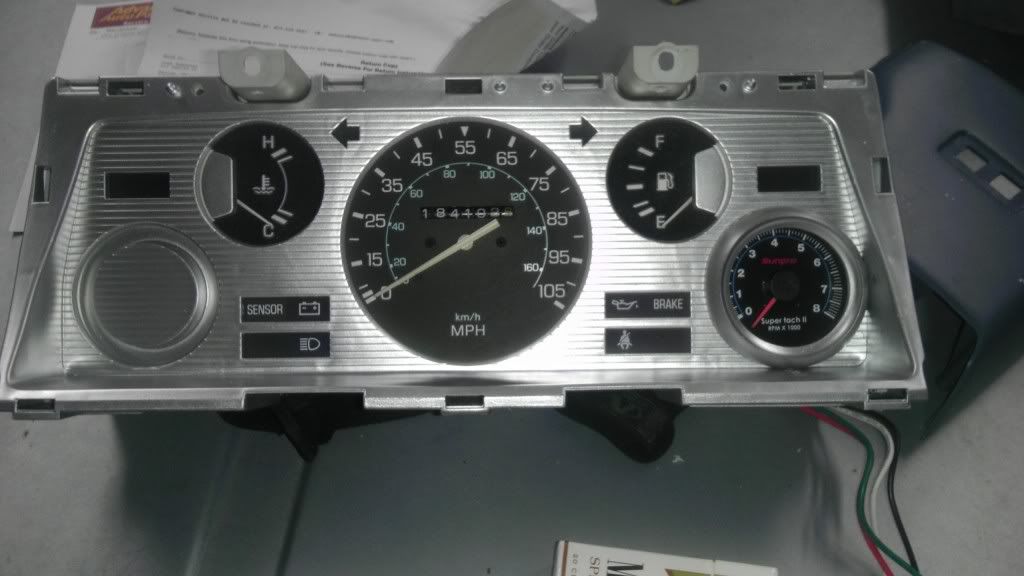
The truck didn't come with a factory radio or cigarette lighter so these items were "added". This is the wiring mess they did. Hell, the lighter wasn't even in the lighter hole, it was stuffed in the ash tray because the retard couldn't get the jam nut thing off the back of the lighter. One of these were run straight to the battery, two others were jammed in the fuse box. Bare wires jammed straight in. Grounds? Try bare wire, wrapped through a hole, twisted together, with a little duct tape for added security. Talk about rigged :wtf2: I have since liberated the radio and lighter wiring from the stock harness that was taped up, and will go from there when I put the dash back in. I've already installed the cigarette lighter and wiring in the dash. I'll probably add a tach too as I've located that wiring on the cluster also.

Image

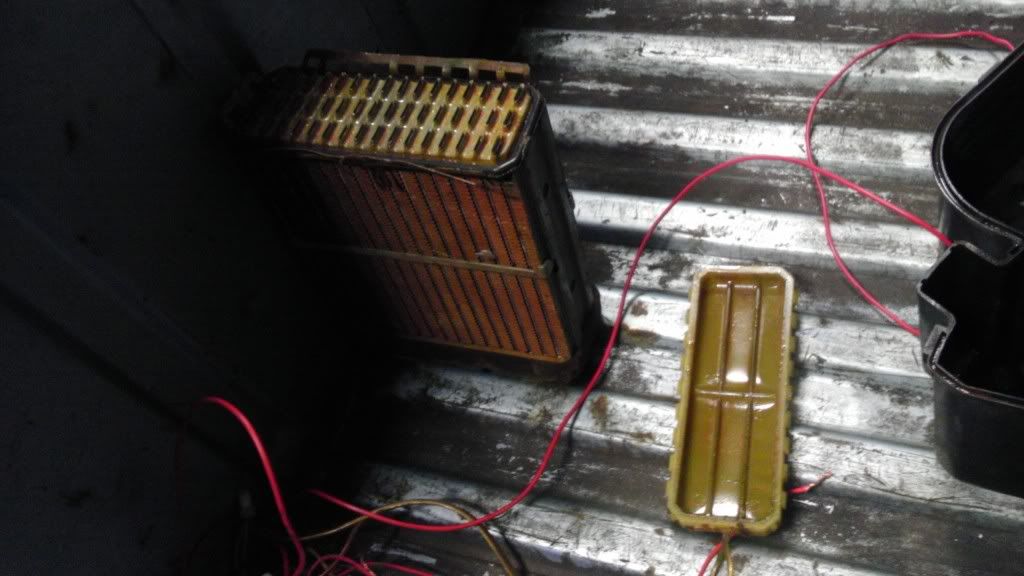
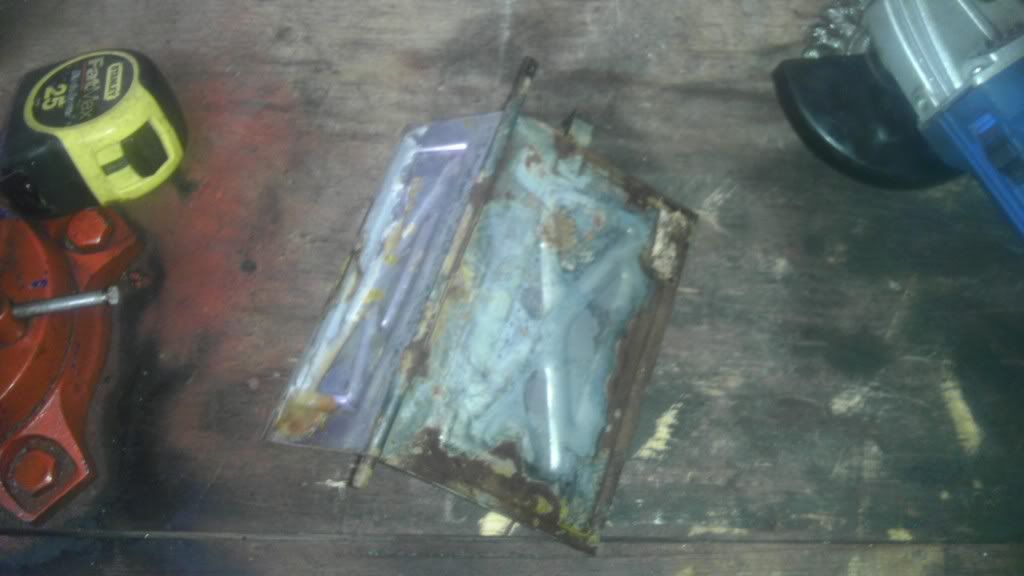
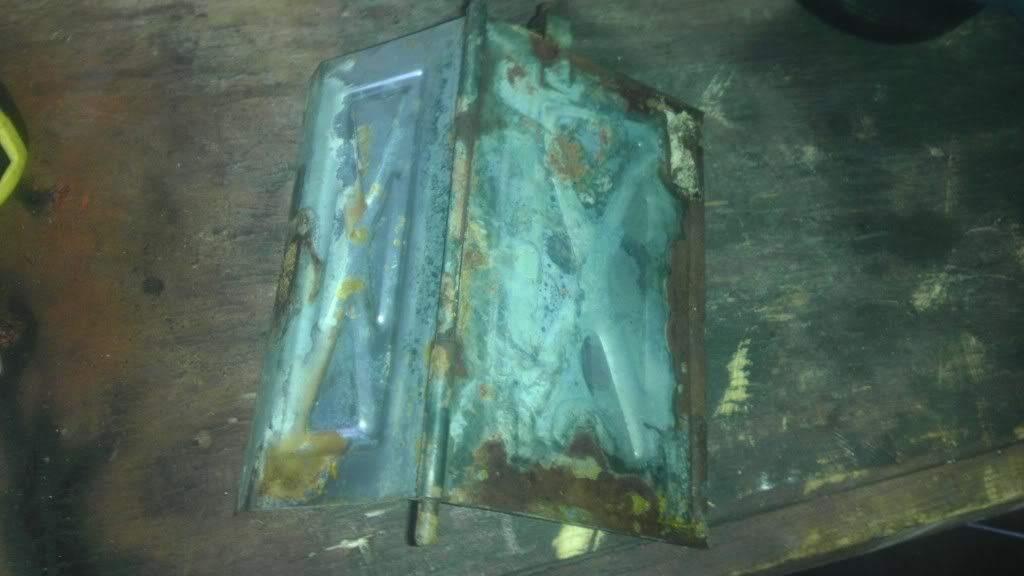
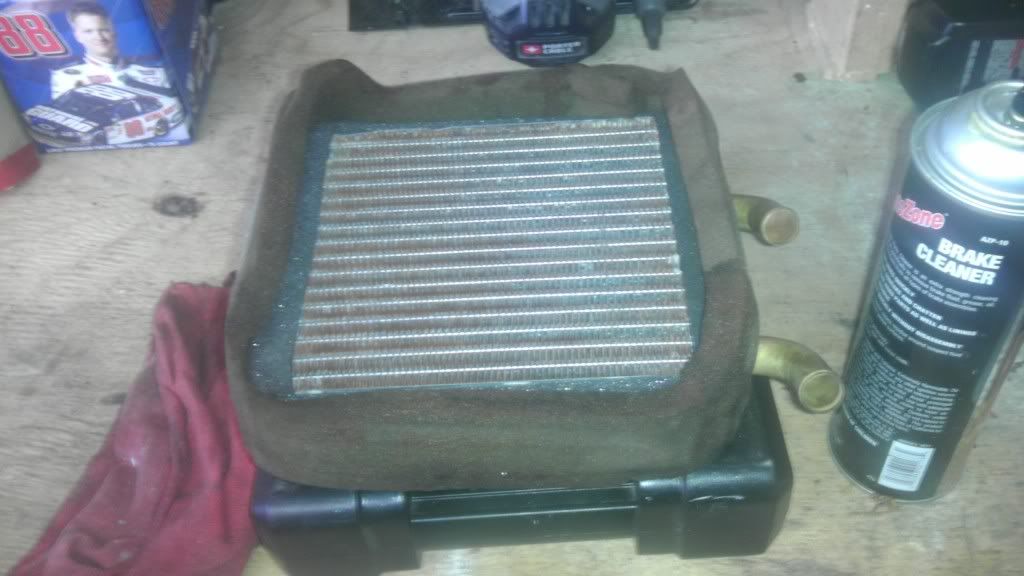
Next. The heater core leaks

Image

Image

Yes it does.

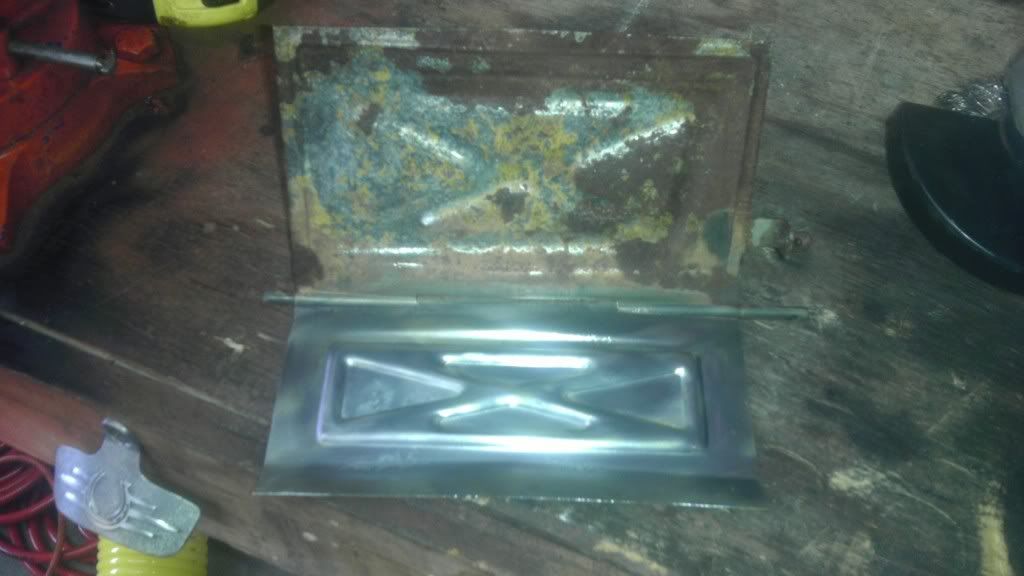
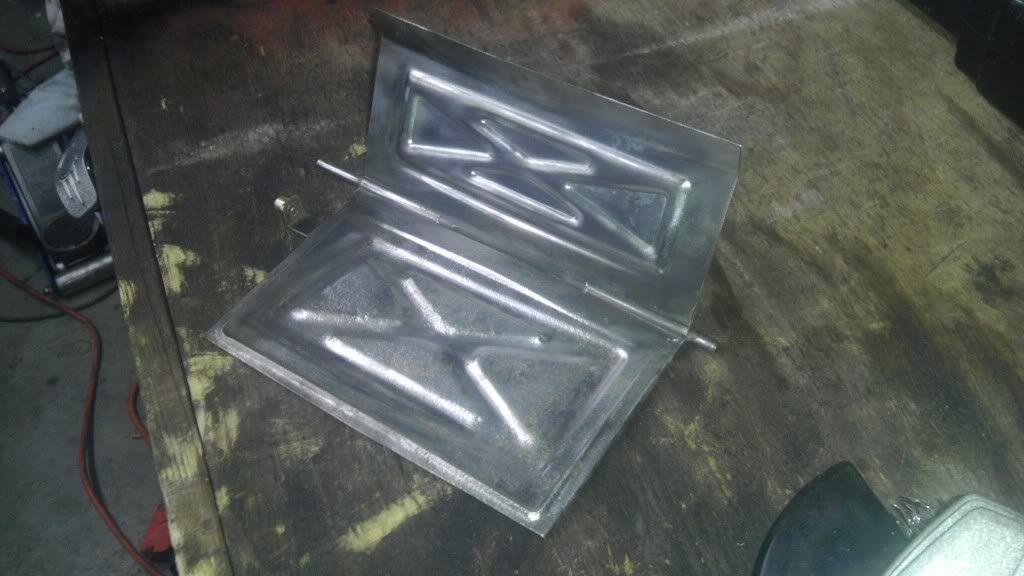
Split at the plastic seams. Typical. Core from Advance will be picked up directly. Like in about 20 minutes. Rusty items are soaking in vinegar and derusting in an ammo can as we speak. After, it will be painted silver and reinstalled.

Two more pics for the road.

Image

Image

Next up: Check front suspension and install exhaust. Well, most of the exhaust anyways. Steering box is loose inside. I will probably be messing with the adjustment. Yes I know what I'm doing. Next weekend.


User avatar
PEZi
Posts: 21113
Joined: Thu Dec 11, 2008 8:21 am
Car: Mitsubishi Lancer Evolution IX Mitsubishi Racing Edition
Location: Pikes Peak, CO
Contact:

Post

There are no issues... only possibilities! Welcome...

Smyrna720
Posts: 67
Joined: Wed Dec 21, 2011 8:13 am
Car: 1985 Nissan 720 2WD stripper
1996 Chevrolet Caprice (The fast one)
1997 Dodge Intrepid (The beater)
Location: Smyrna TN, Home of the 720
Contact:

Post

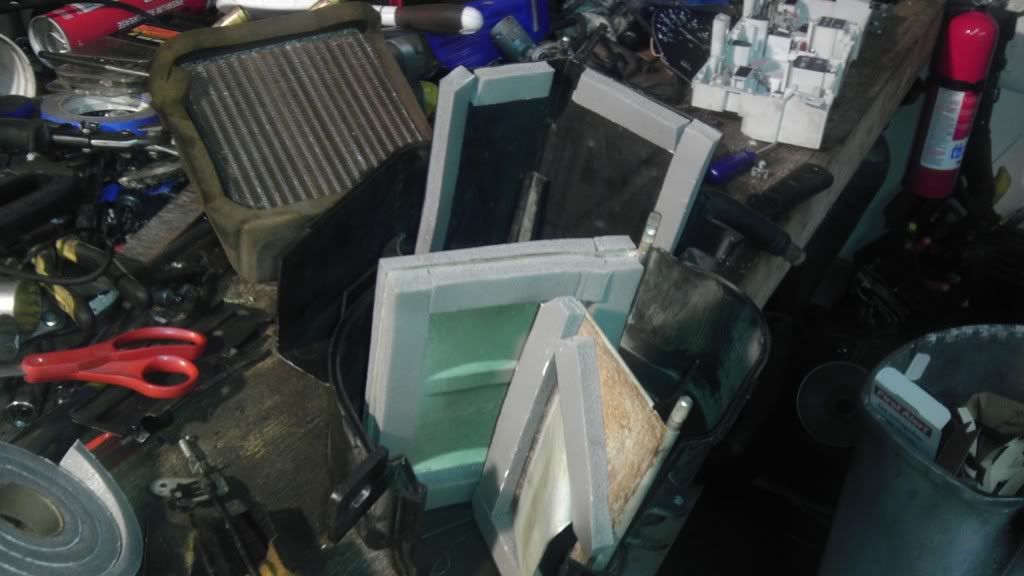
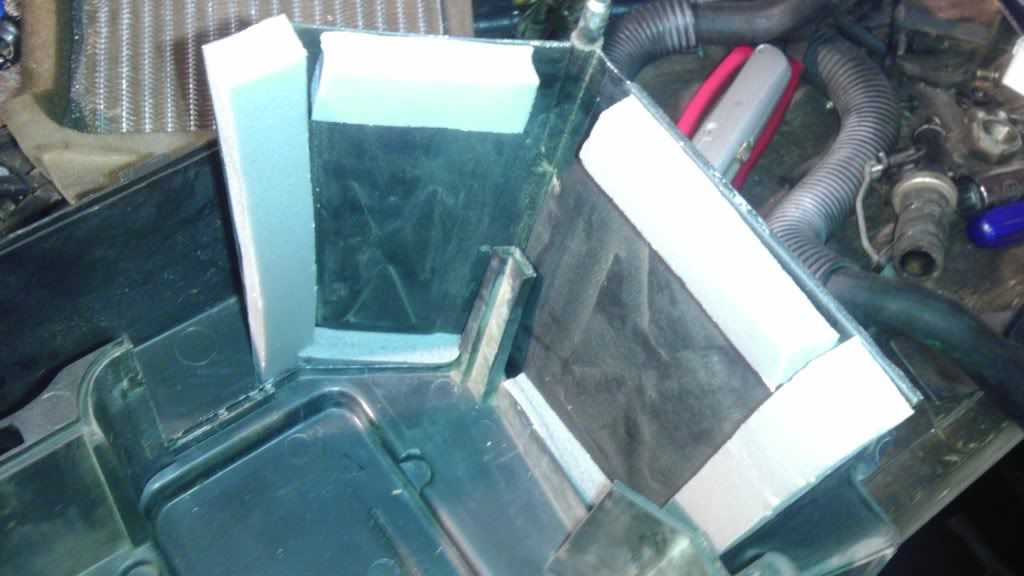
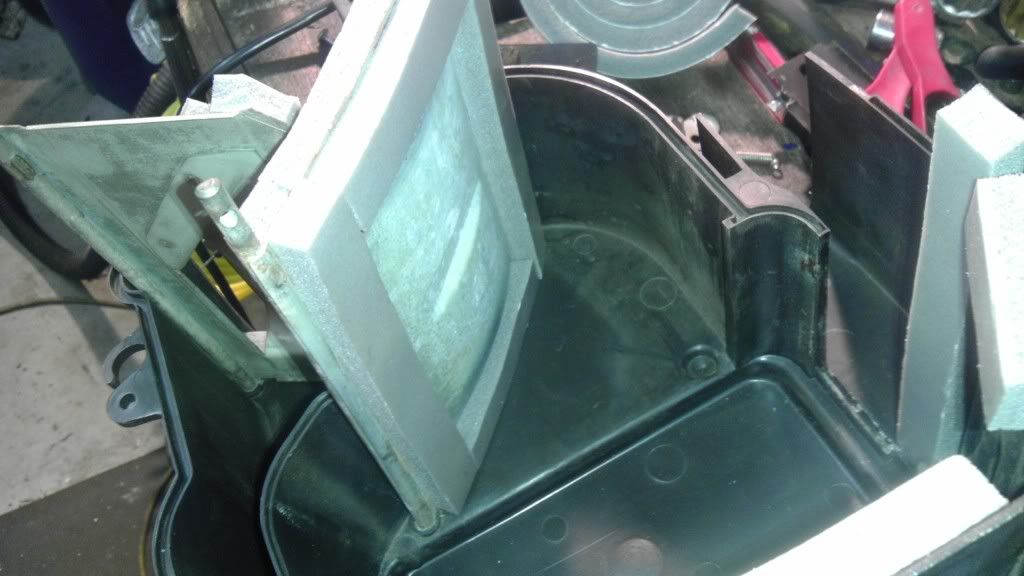
Ahhh, had a good weekend and made some good progress. The biggest thing is I got the heater box all cleaned up inside and the HVAC system all back together. It was a nasty b**** though.

Image

Image

Image

Image

Image

Image

Image

Image

Hooray! Also, I went through the entire multifunction switch and cleaned to to look brand new. All the contacts had corrosion and nastyness on them. When I turned on the left blinker, if I wasn't careful, I would turn on... 3 of the headlights. WTF. No pics of inside, but believe me, it was gross.

Image

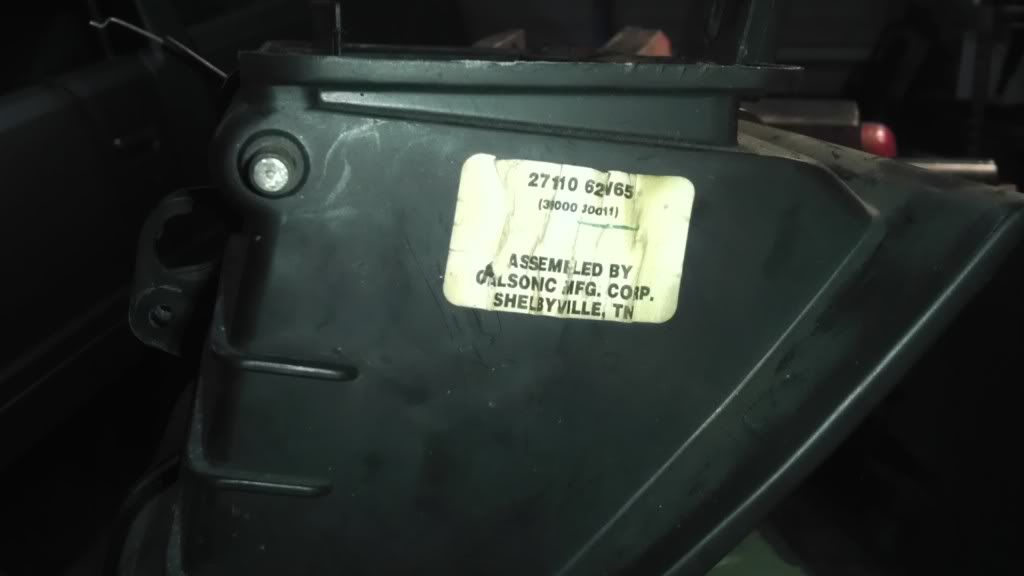
Look, made just down the road in Shelbyville TN.

Image

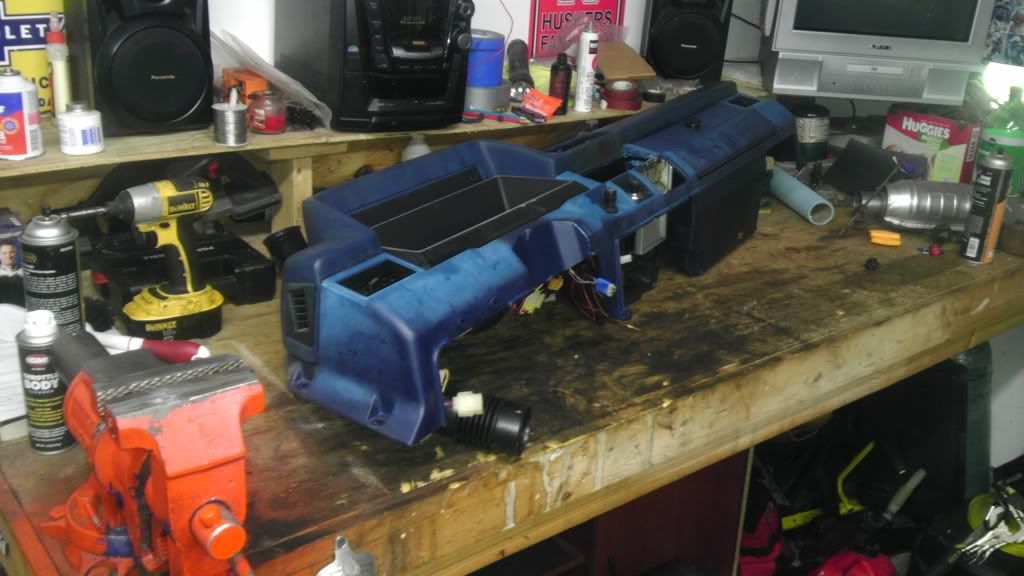
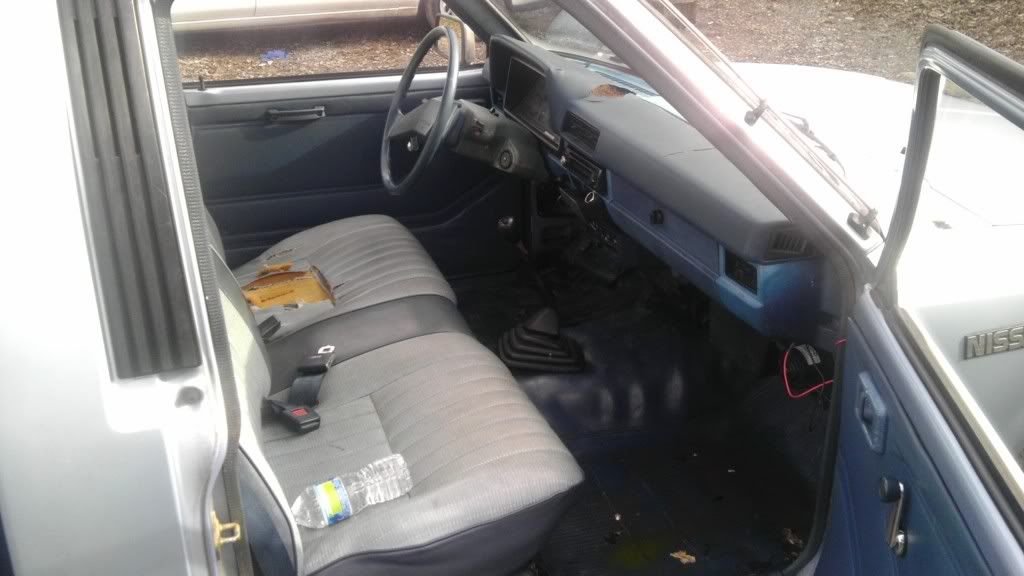
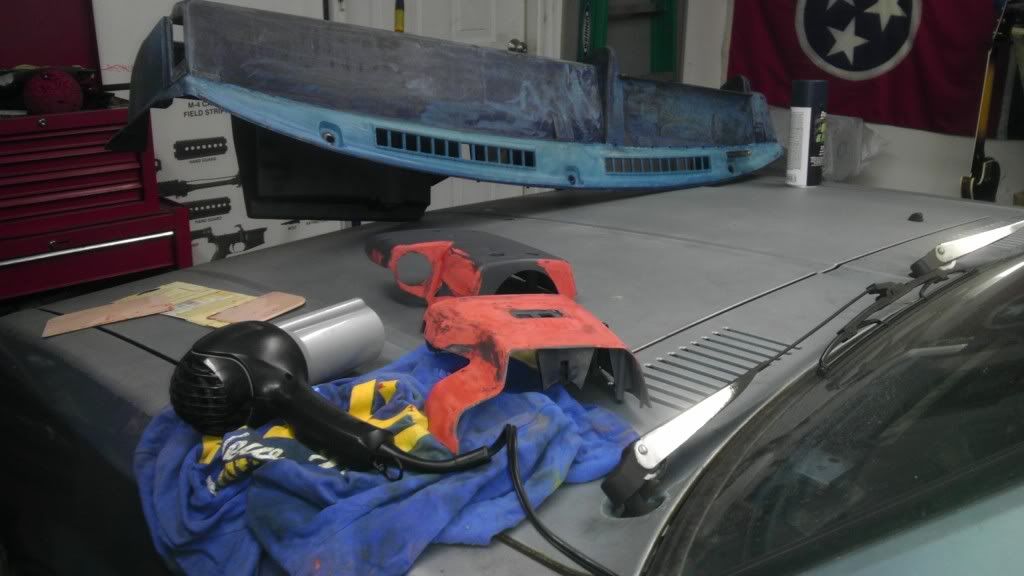
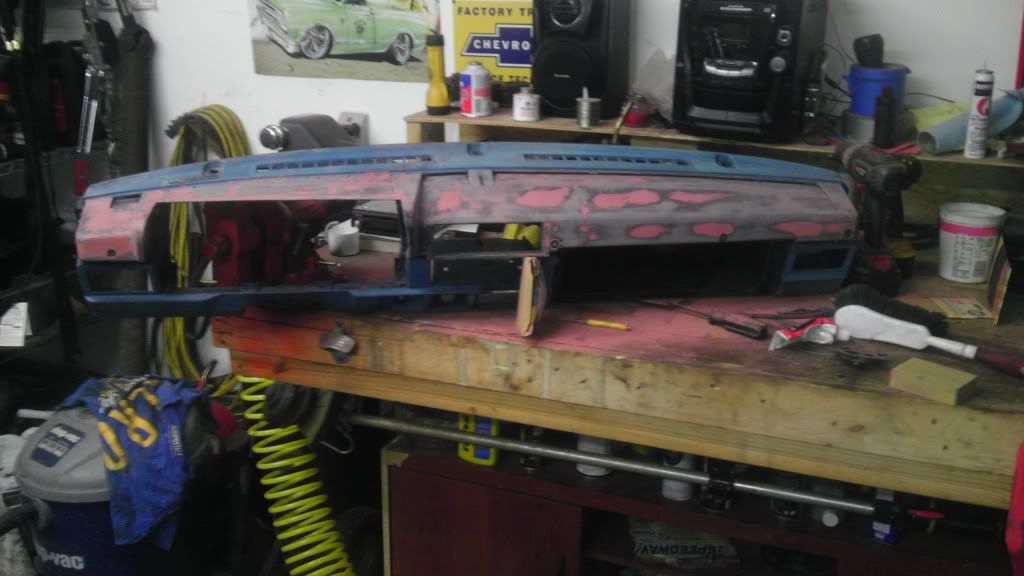
Now, the dash is still out because I'm still planning on adding a tach in the instrument cluster, but there is something I just don't like about the dash... I'm not sure what it is....

Image

Image

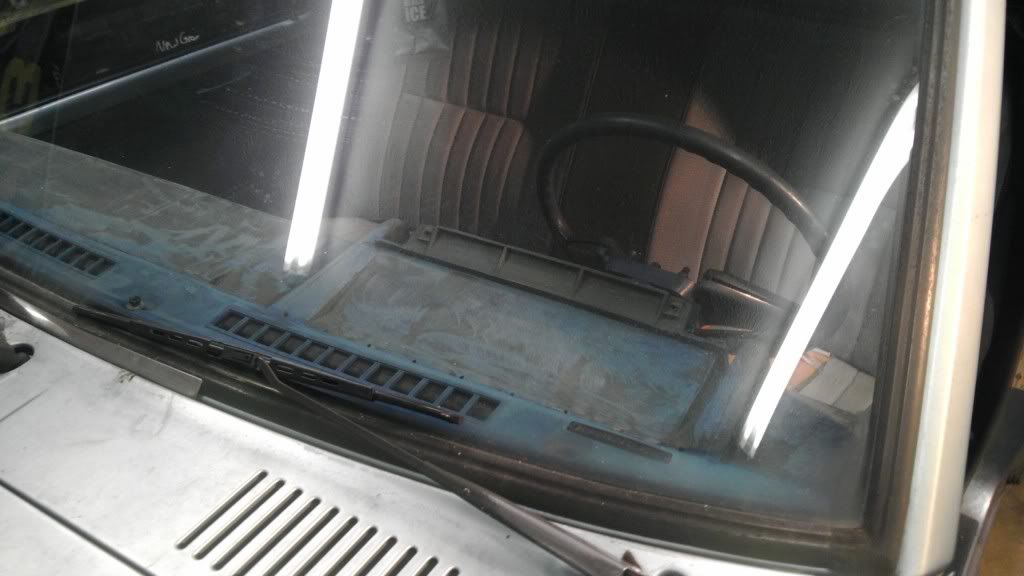
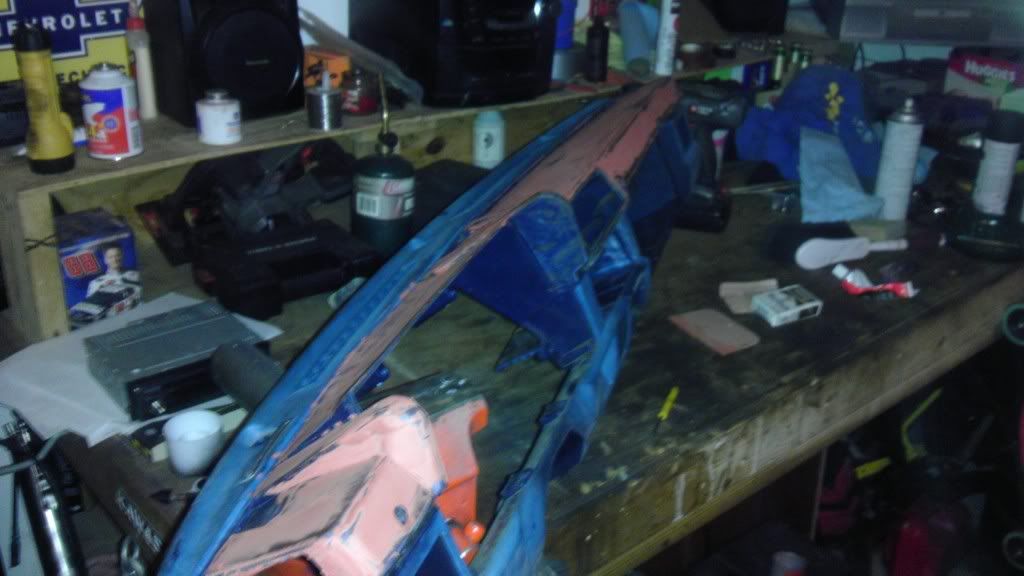
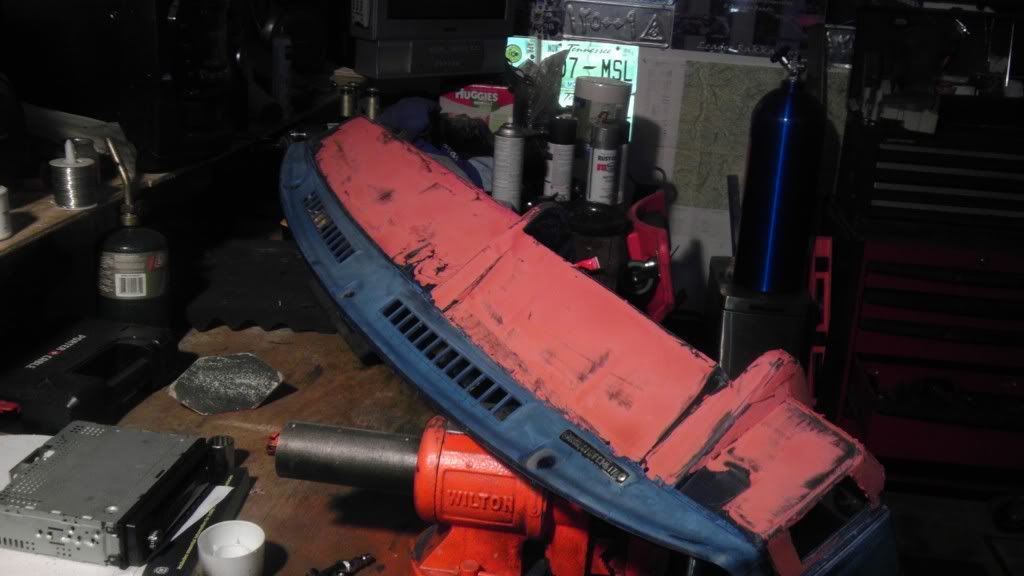
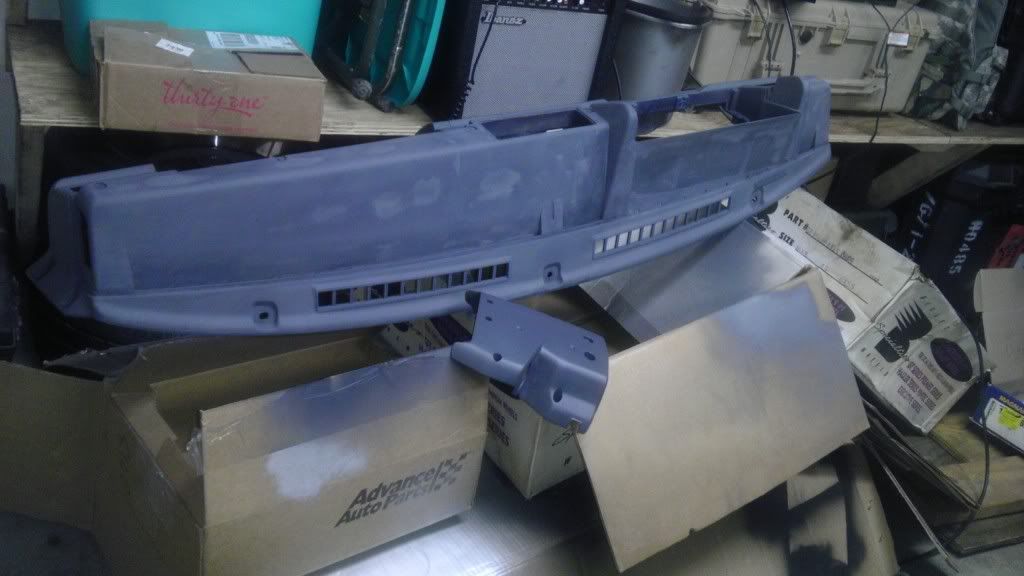
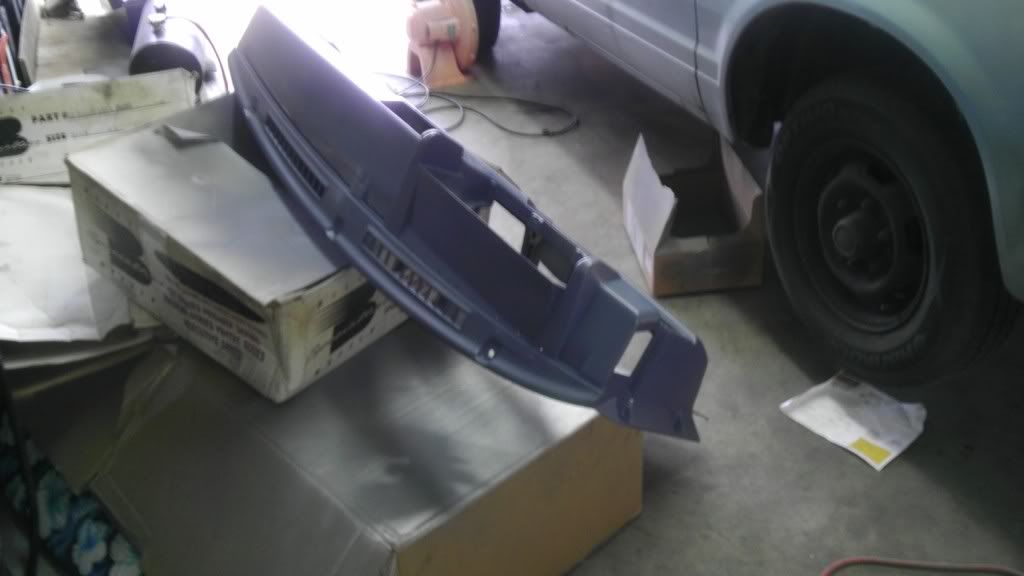
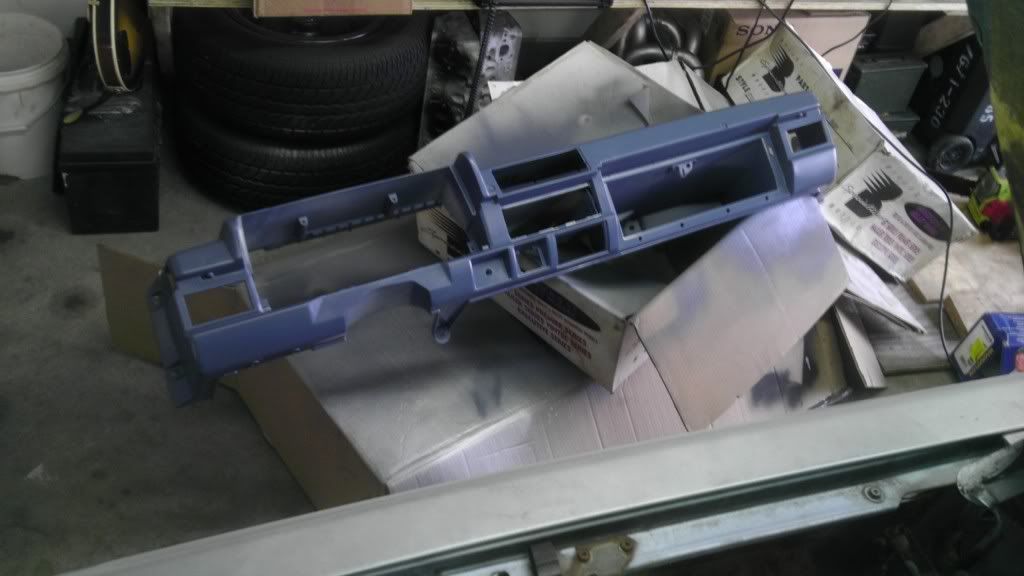
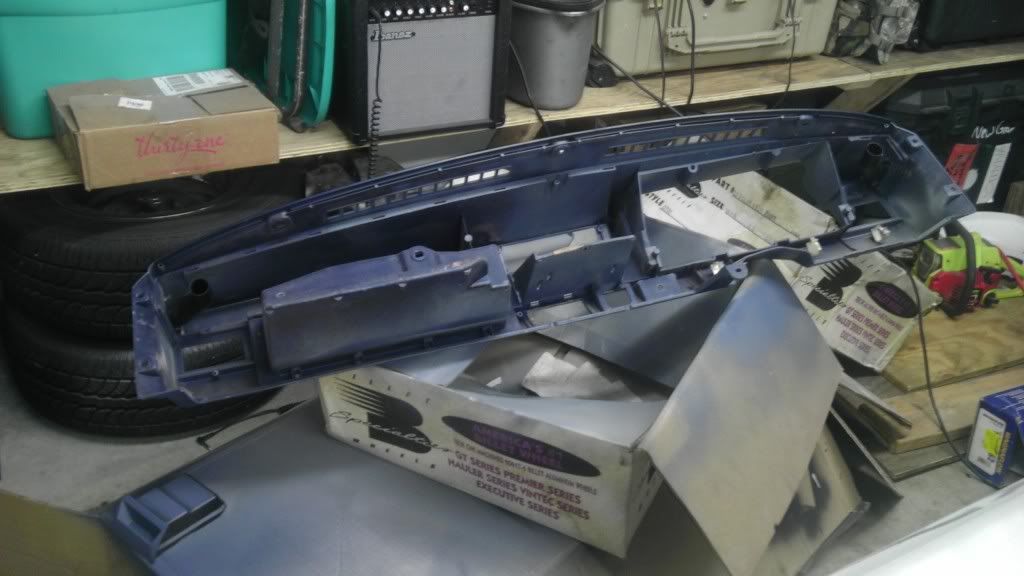
Oh I know, it's that garbage a** foam pad crap that's all cracked to hell. F that thing, I got something for that a**.

Image

Image

Image

Now, don't get me wrong, It's by no means finished. The plan is to sand all the rest of the foam crap off so I can seal it, hit it with some glaze, prime it and paint it back like a stock blue color. Then exhaust work, then it's junkyarding for some carpet and seats. And I reckon I ought to change the earl sometime soon here.

Smyrna720
Posts: 67
Joined: Wed Dec 21, 2011 8:13 am
Car: 1985 Nissan 720 2WD stripper
1996 Chevrolet Caprice (The fast one)
1997 Dodge Intrepid (The beater)
Location: Smyrna TN, Home of the 720
Contact:

Post

Well.... I was doing a little messing around last night. Found out the lower ball joint on the driver side is wasted. Upper looks tight. I need to check out the other side, but I'm sure it's the same story.

The whole reason I was messing was for deez. Deez what?

Image

Image

Image

Image

Image

Image

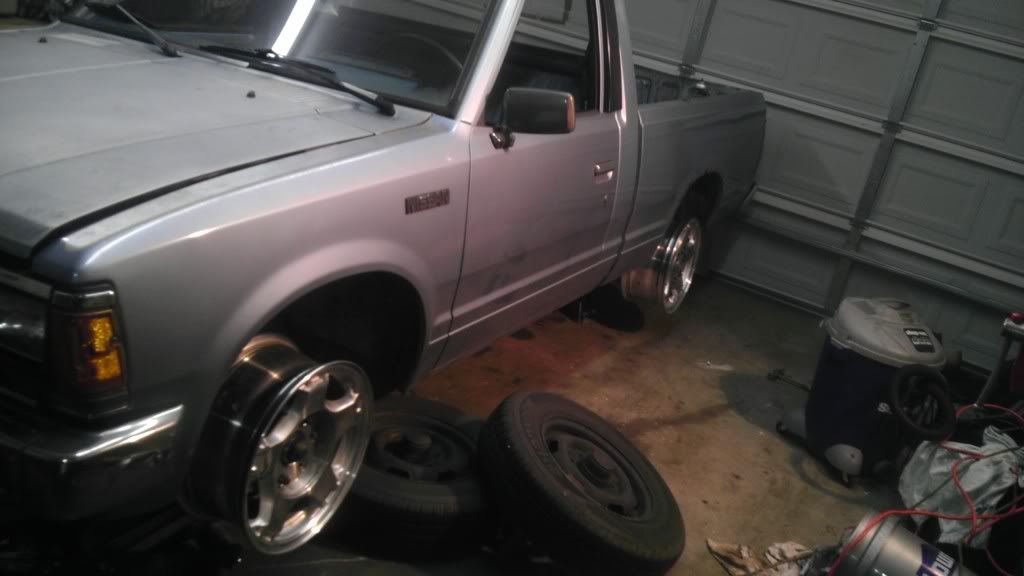
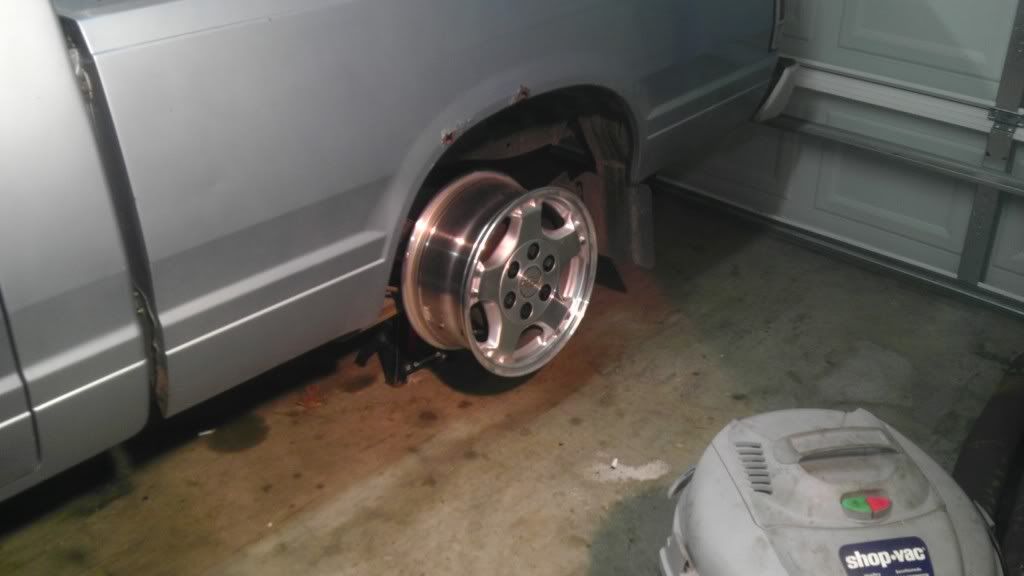
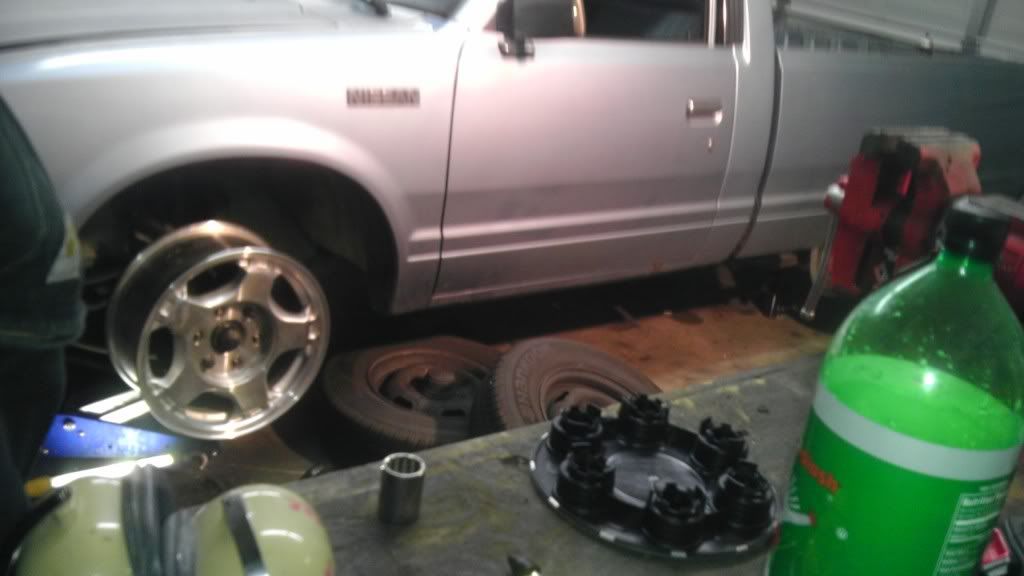
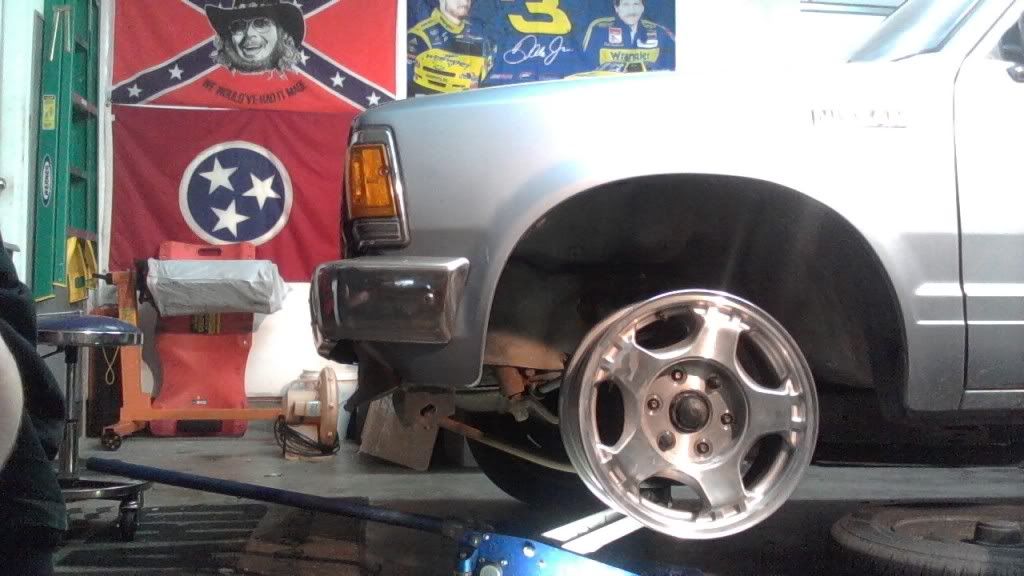
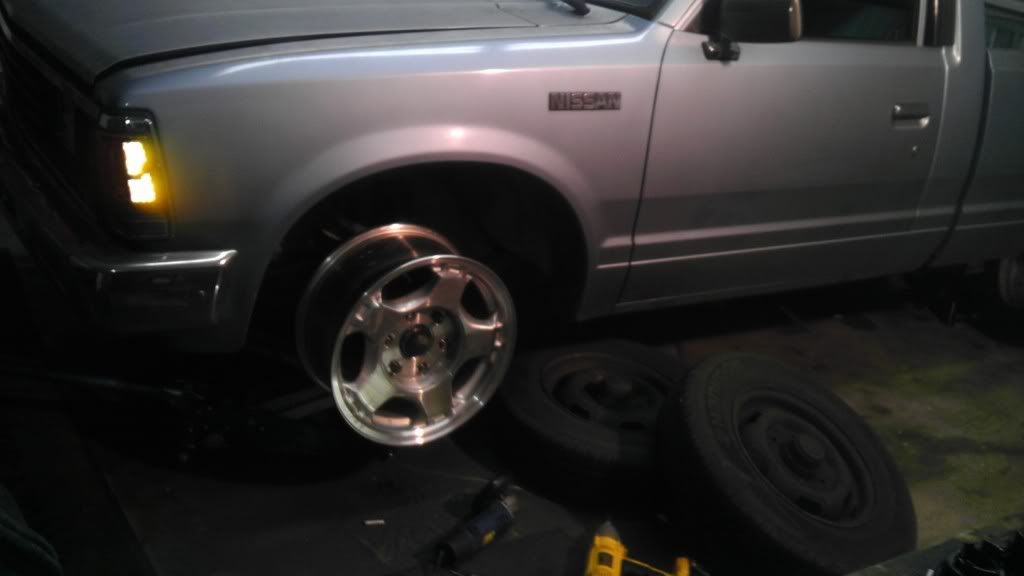
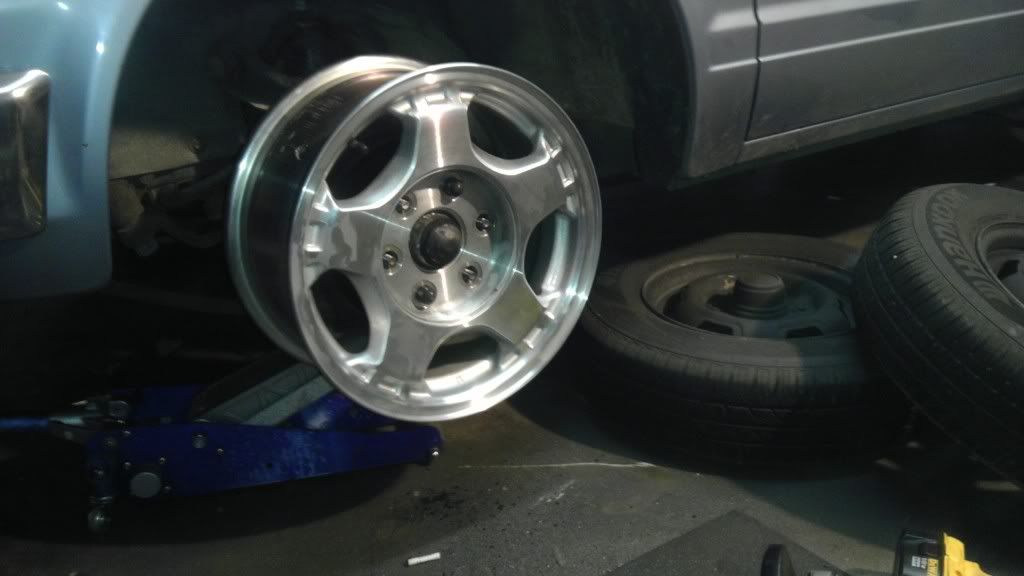
Deez, uh, wheels. Not quite as cool as nuts, but still.

Now, how did I get the fronts to fit? With a die grinder and an angle grinder.

Image

This weekend: Finish interior and exhaust. Drive the somebish. I'll put the wheels on when I can find some cheap tires.

Davezilla
Posts: 95
Joined: Mon Dec 19, 2011 5:40 pm
Car: 1990 300ZX
1986 720 4x4

Post

That dash looks Way better just by removing all that foam and cracked plastic...

CUBCOOP
Posts: 12
Joined: Sun Jan 22, 2012 8:52 am
Car: 1986 Nissan 720 Pickup

Post

Nice truck, do you work at NIssan in Smyrna?

Smyrna720
Posts: 67
Joined: Wed Dec 21, 2011 8:13 am
Car: 1985 Nissan 720 2WD stripper
1996 Chevrolet Caprice (The fast one)
1997 Dodge Intrepid (The beater)
Location: Smyrna TN, Home of the 720
Contact:

Post

Nah, but a lot of my friends do. I work in nashvegas and live in Smyrna. Thanks guys!

Smyrna720
Posts: 67
Joined: Wed Dec 21, 2011 8:13 am
Car: 1985 Nissan 720 2WD stripper
1996 Chevrolet Caprice (The fast one)
1997 Dodge Intrepid (The beater)
Location: Smyrna TN, Home of the 720
Contact:

Post

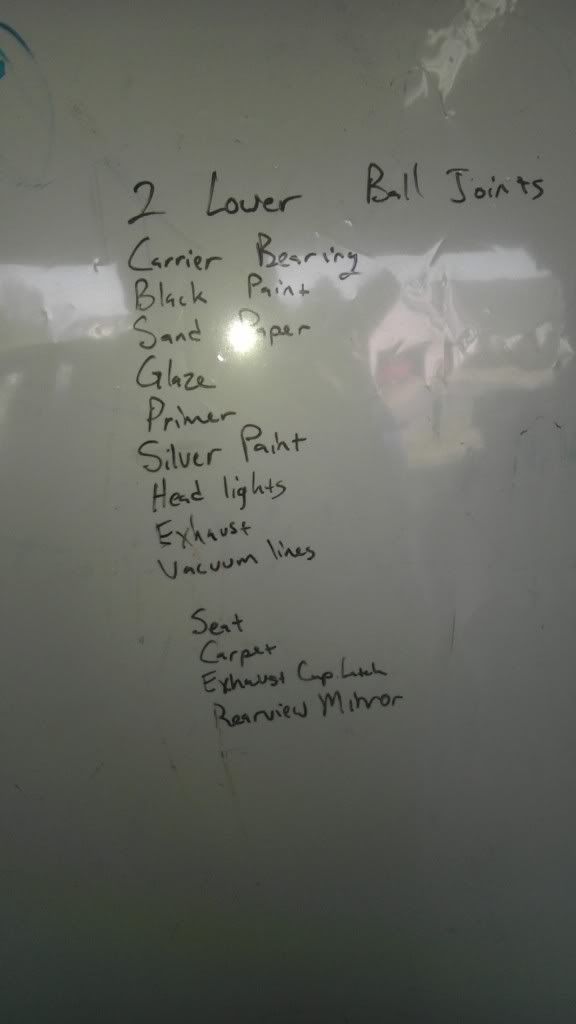
Made a little progress this weekend, though not as much as I would like. Did a little digging and made a shopping list.

Image

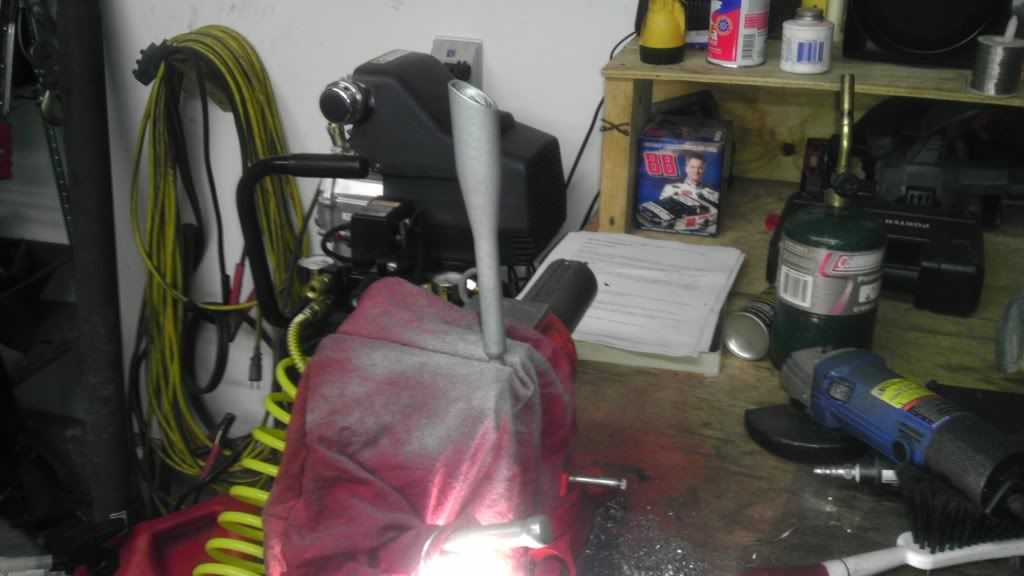
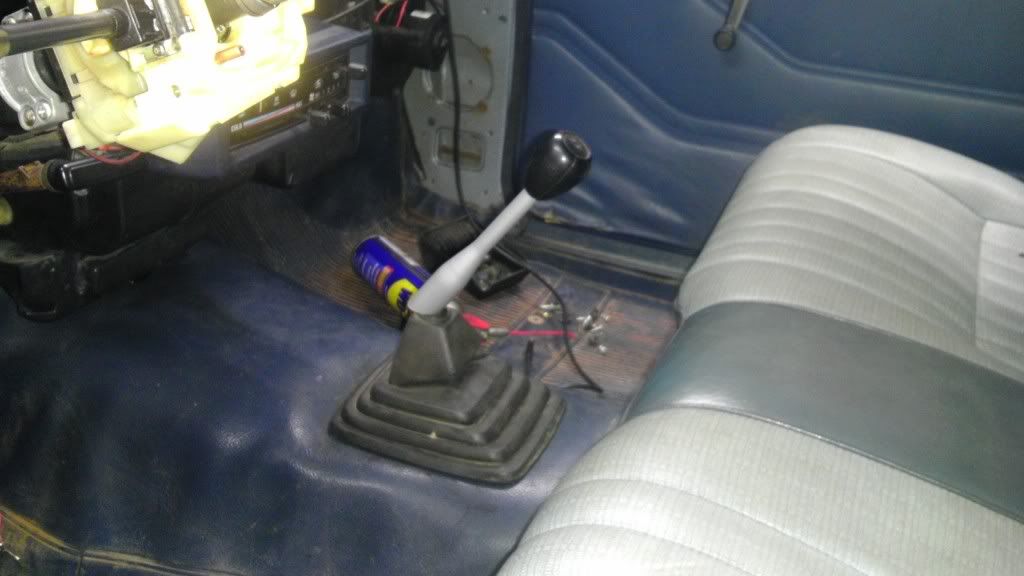
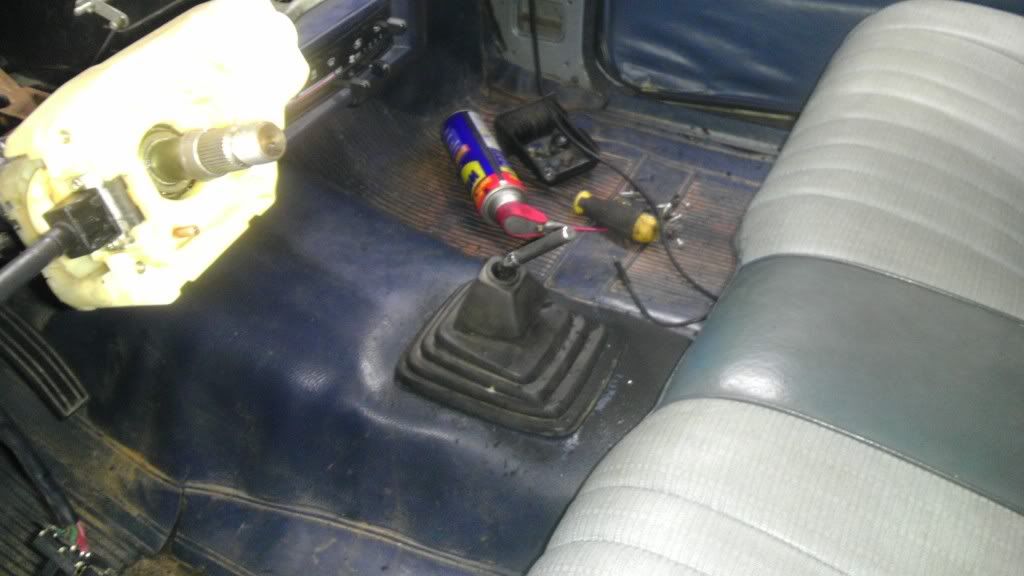
I guess one of the littler dumber things I did was take about an inch out of the shifter and paint it silver. Also fixed the shifter boot that was not attached to the grommet in the floorboard.

Image

Image

Image

Little shorter throws, and it puts it in more of a comfortable position.

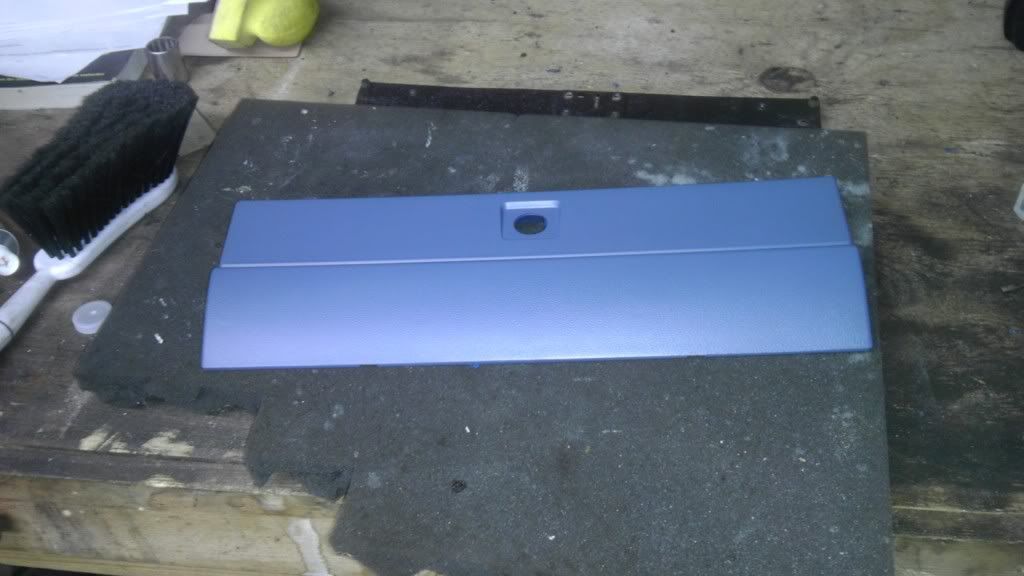
Also, did some work on the plastics. Repainted the glovebox door and got it put back together.

Image

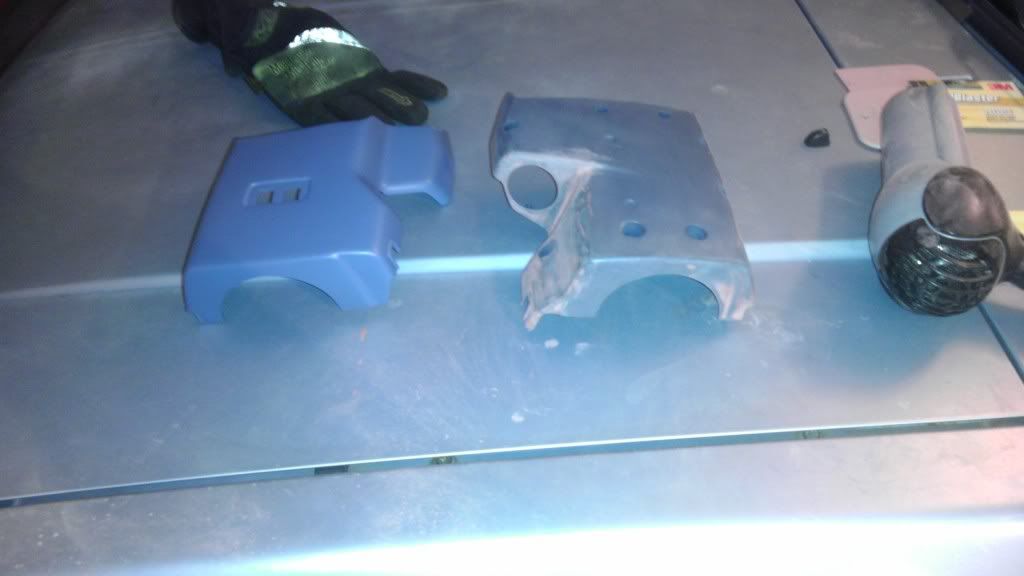
Started on the column surround. The top part is all filled, primed, painted and done. The sanding on the lower half is almost done. It should be painted by the end of the week.

Image

Image

I just got the filler thrown on the dash, but no sanding done.

Image

Image

If you look real close and compare the new pics to the last ones I posted, you can see I hacked off the ugly mounting tab for the gauge trim piece. I also cut off the matching piece off the trim. Instead of mounting screws up there, I drilled a couple holes in the trim, and used trim screws to screw it directly to the cluster. I'll throw up some pics of that tomorrow. Now, there will be a gap between, well, most of everything that goes in the dash because of the missing foam. I plan to use single side adhesive foam tape to fill the gaps and make it look and seal correctly. More on that when I'm closer to finishing.

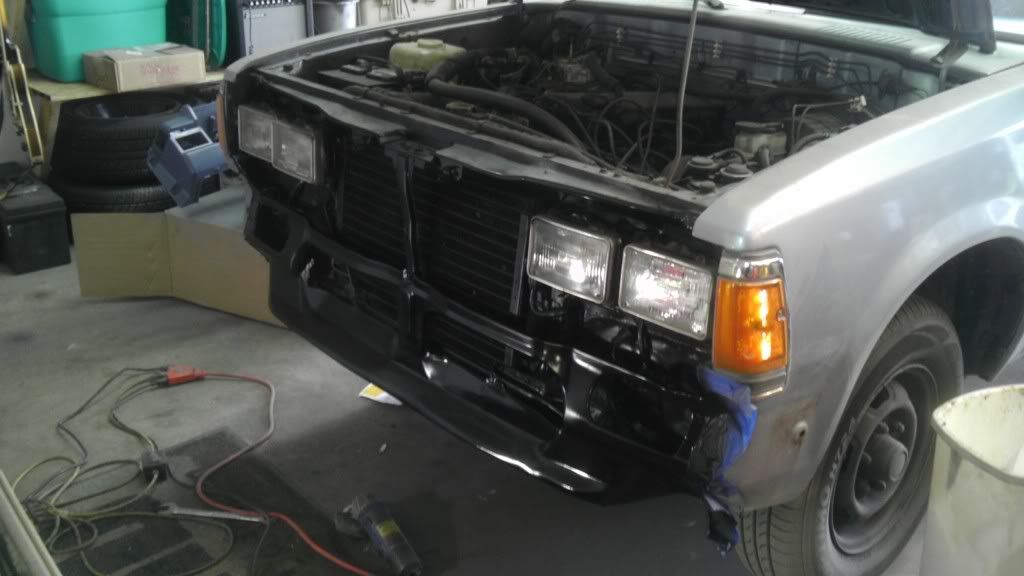
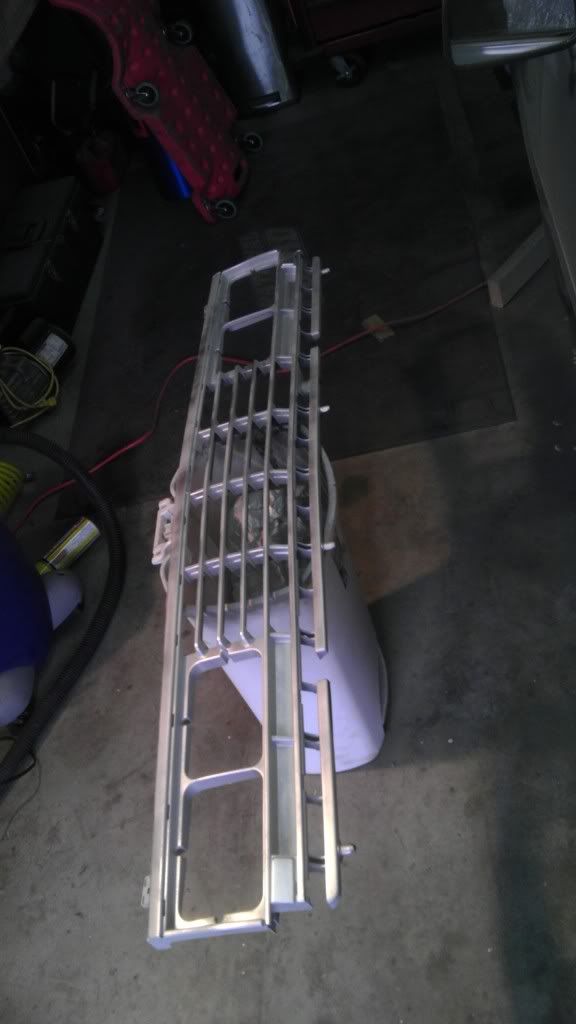
Last thing I did was take off the front bumper. I like it better like that. I will be painting the grille silver, the lower part of the valiance flat black, along with the hood and top of the fenders. I'll probably put the park lights back in the valiance somehow. On the flat black hood, I'm going to paint a satin white gumball, and in the middle of that will be a Nissan "Z" like is on the valve cover in silver. That however, is a little farther back on the list.

Image

Found out too that it needs a carrier bearing something fierce. The rubber is torn out all the way around. I have no idea how it drove as well as it did. I guess that's all until tomorrow.

Smyrna720
Posts: 67
Joined: Wed Dec 21, 2011 8:13 am
Car: 1985 Nissan 720 2WD stripper
1996 Chevrolet Caprice (The fast one)
1997 Dodge Intrepid (The beater)
Location: Smyrna TN, Home of the 720
Contact:

Post

On with the show!

Ok, I said I'd show you some pics on how I mounted the gauge surround so here they are.

Image

Image

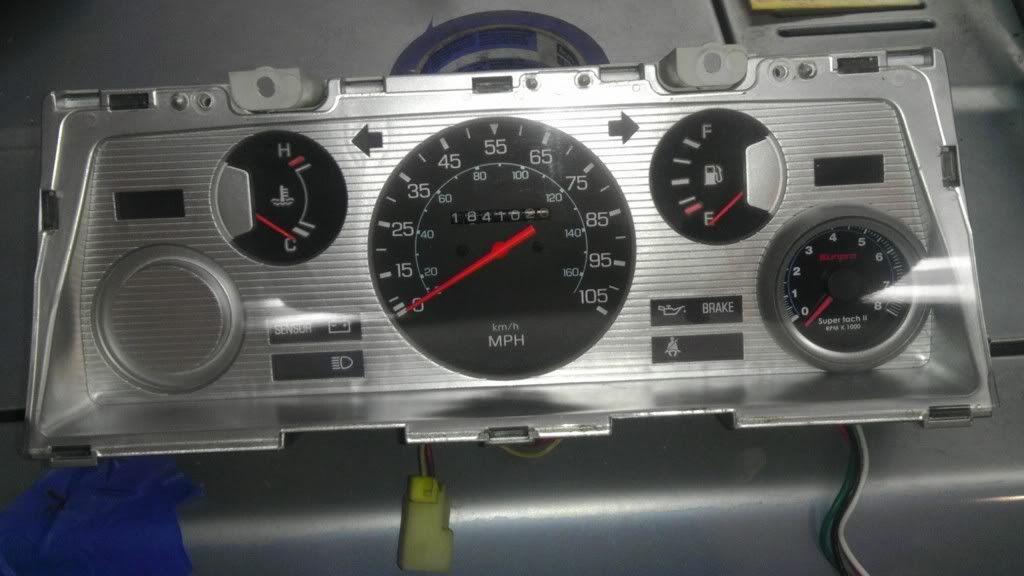
s*** pics I know, but you should get what I'm talking about. Also, my tach came in the mail yesterday.

Image

And it fits, more or less. I had to bust out the die grinder to make room, but yeah. There's something I don't like about it though...

Image

That's a little better. I still need to paint my old needles orange, but we're almost there. I did a little sanding on the dash last night too.

Image

Again, getting there. I need to fill a couple spots that still had gouges, prep, prime and paint. I can't wait until this bastard is done, so I can fix the things that the truck actually needs. I just have a really hard time putting something back together if it's not how I wanted. I'm lazy and I don't want to have to do it again.

Smyrna720
Posts: 67
Joined: Wed Dec 21, 2011 8:13 am
Car: 1985 Nissan 720 2WD stripper
1996 Chevrolet Caprice (The fast one)
1997 Dodge Intrepid (The beater)
Location: Smyrna TN, Home of the 720
Contact:

Post

Well, the good news is the truck is drivable now. The bad news is why I had to do it all this weekend. Something in the transmission broke in my Intrepid, so I had to get this done. Either way, pics!

We'll start with interior, since that's where we left off last time. I got the dash and the lower column surround primed here.

Image

Getting color.

Image

Image

Reassembly.

Image

Image

Needles painted up.

Image

Ta-da! For somereason I didn't snap a picture with the column together and the wheel om. Don't know why, Ill throw one up later today.

Image

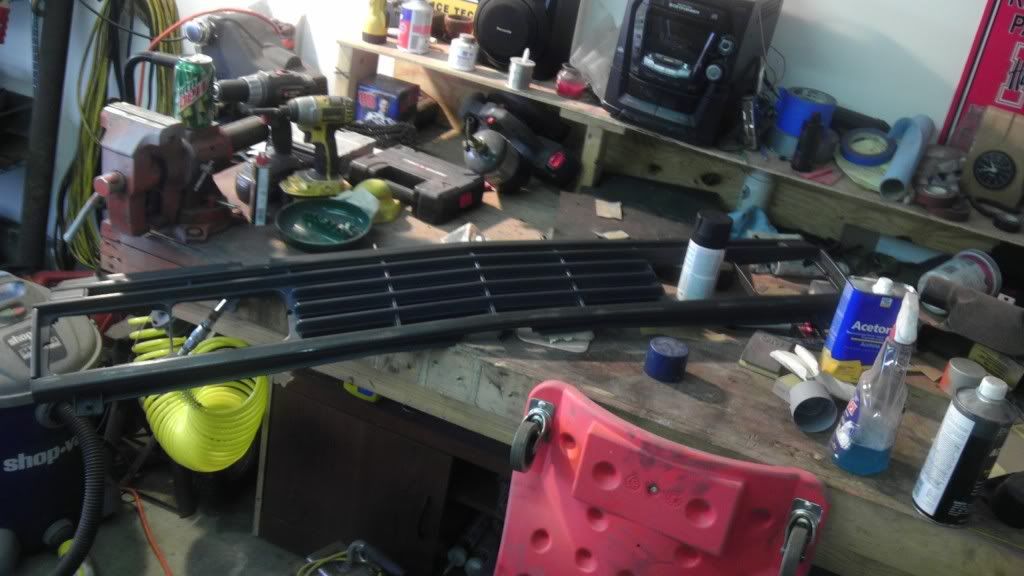
Got behind the grille and the vailiance area cleaned up and shot with some satin black.

Image

Grille, after a good washing.

Image

Grille painted.

Image

Stainless shined trim up and cleaned.

Image

And installed

Image

Right before I drove it out

Image

Hell yeah. Still got a bit more to do. Change the oil, wheels and tires, brake cable, carrier bearing, headlights, and some other minor stuff. All in all, I think it turned out pretty well.

Smyrna720
Posts: 67
Joined: Wed Dec 21, 2011 8:13 am
Car: 1985 Nissan 720 2WD stripper
1996 Chevrolet Caprice (The fast one)
1997 Dodge Intrepid (The beater)
Location: Smyrna TN, Home of the 720
Contact:

Post

Moar pictures.

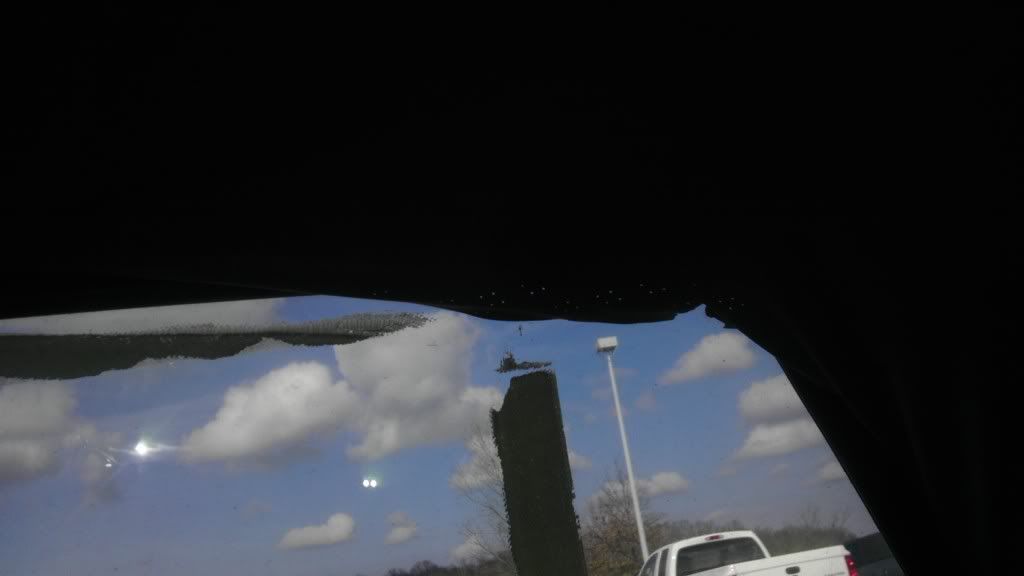
Bad pic, but the corner of the headliner is a little fubar'd. I also need a cover for the dome light. And scrape the tape s*** off the window.

Image

Yeah, the floor mat sucks floppy donkey d!ck.

Image

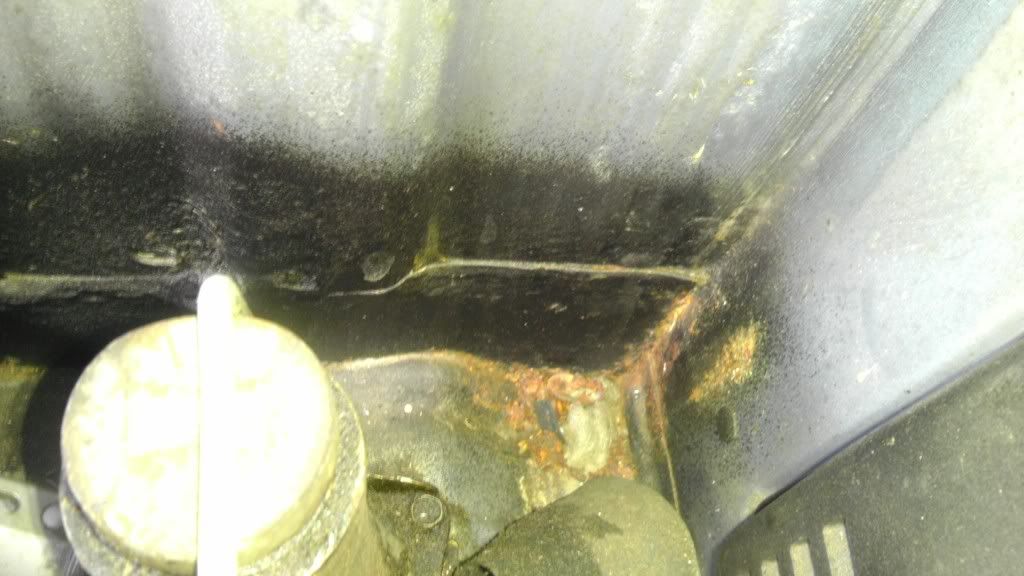
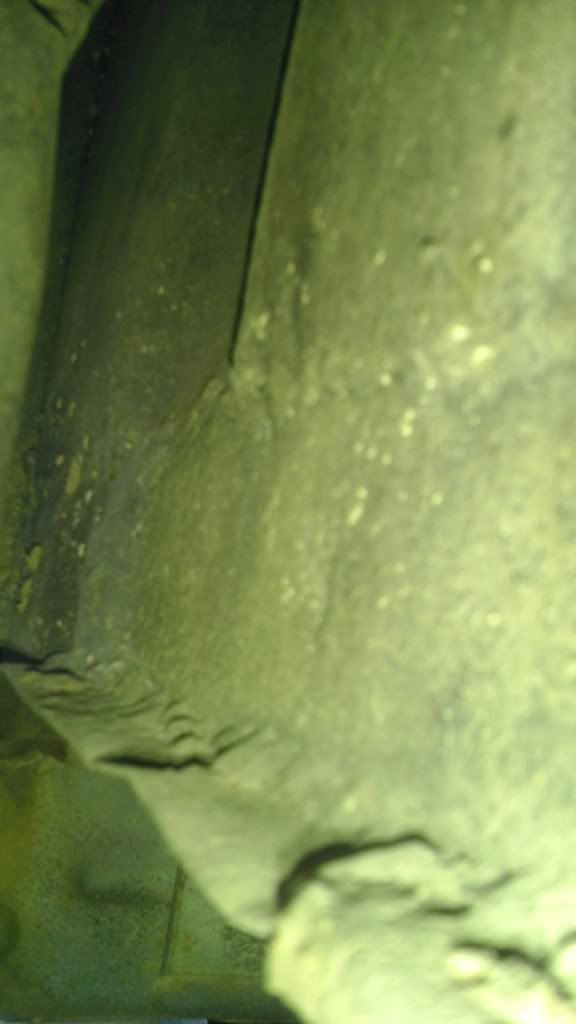
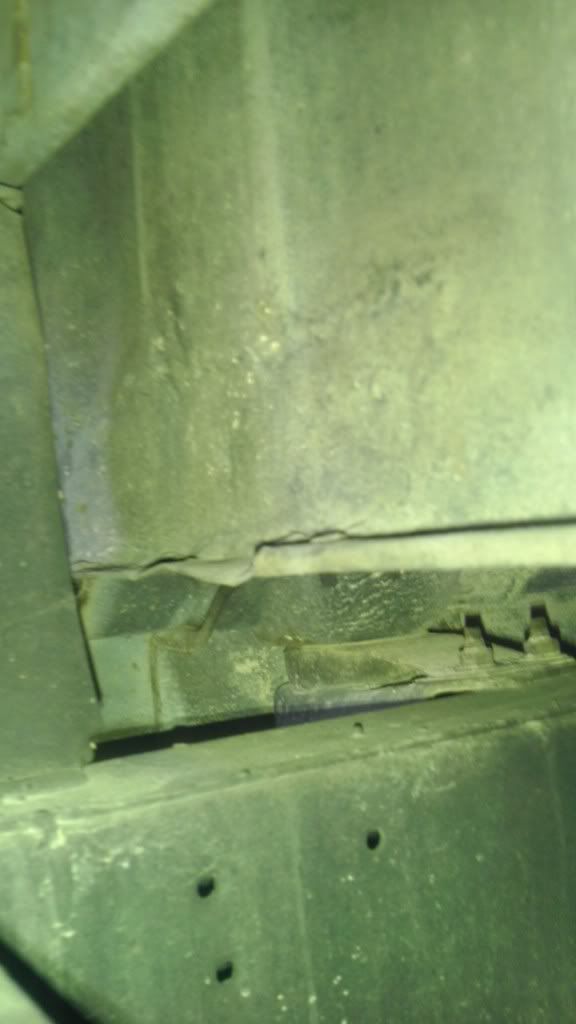
Now, for the weird s***. For some strange reason, there are plates where the frame kicks up around the axle. They're flame cut, 1/4" steel. Same on both sides. WTF? Also, notice the bump stops are removed. I'd say somebody was towing with it.

Now weird patch panels in the cab. I know the cab wasn't so rusty that somebody patched it. I think somebody cut a hole in it to run something in, then patched it when they were done. I have no idea what or why, but that's my thought. Anybody else got any good ideas on what the hell that might be for?

Driver side

Image

Image

Image

Passenger side

Image

Image

Image

Image

Image

jdavlaw
Posts: 14
Joined: Sun Feb 12, 2012 5:49 pm
Car: 1984 Datsun 4x4 720

Post

HEY!!!! Smyrna, Tn here too, just found this forum today. I have a little 720 4x4, 1984. Nothing to say here, just thought it was cool to see Smyrna here. Take care/and/or read the only post I made, and see if you can figure it out. LOL.

flinterman2000
Posts: 1011
Joined: Mon May 04, 2009 5:32 pm
Car: 2000 Nissan Wingroad, 85 Datsun 720 Pick Up.

Post

Well Tn, heres some news for you. Everyone has some thing to say >>>> I love my truck. Its been two years its off the road but I be starting soon, got the body to do and upholstery but I LOVE MY TRUCK. :woot:

Smyrna720
Posts: 67
Joined: Wed Dec 21, 2011 8:13 am
Car: 1985 Nissan 720 2WD stripper
1996 Chevrolet Caprice (The fast one)
1997 Dodge Intrepid (The beater)
Location: Smyrna TN, Home of the 720
Contact:

Post

You guys ready for a couple more pictures?

Before we get to that, I ended up getting a bunch of stuff done this weekend. Some things that I've really been needing to do but putting off, like the E-brake cable on the driver's side I fixed. The dash light that was burned out on the right side of the cluster. The cigarette lighter that didn't work and wouldn't charge my phone. The carrier bearing that was torn to shreds. Oh, and that hardbody rearview mirror to replace my broken POS. All better now. No pictures, but that's pretty mundane s*** right there. Besides, I'm sure you know what an e-brake cable looks like, and you've already seen my dash in a million pieces. Oh, and I changed the oil too.

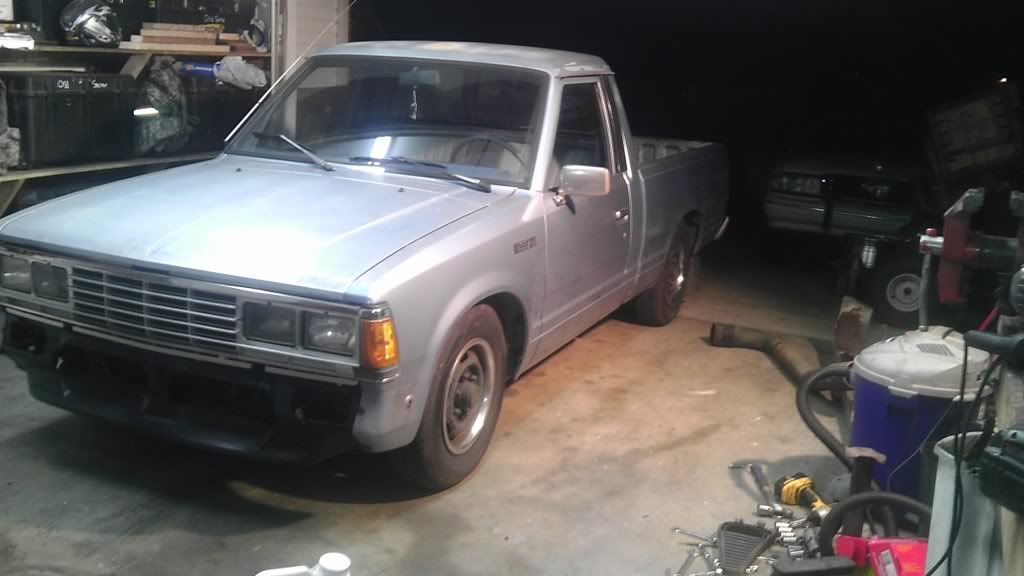
Now, there were a couple things I did that were worthy of taking pictures of. The 3" drop...
Image

Image.

Image

Image

And the bucket seats...

Image

Sorry no better picture of the seats, with a phone camera with no zoom, it's really hard to get a decent picture.

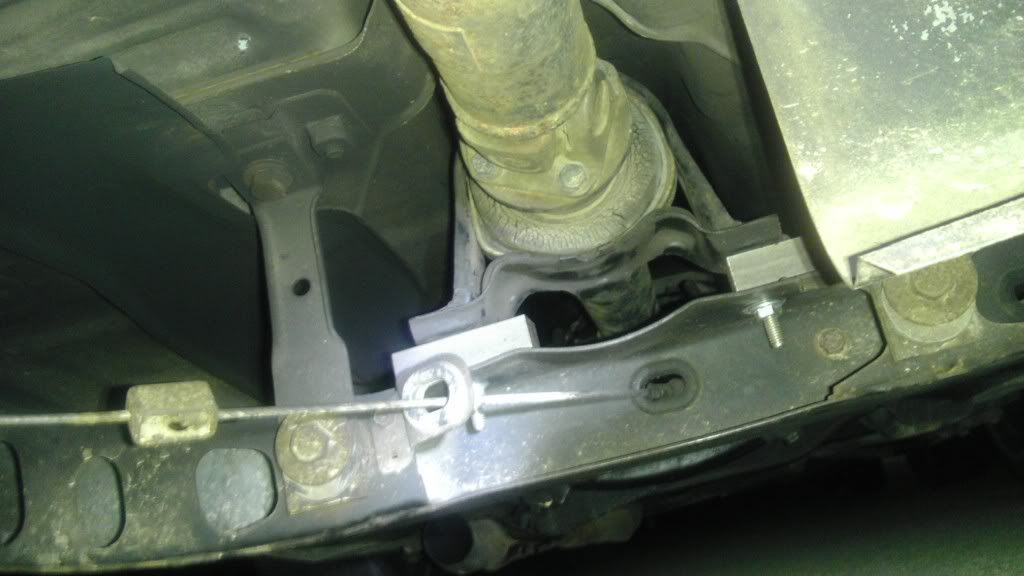
Now, the drop was easy as it gets. 3" block kit in the back from O'Reilly's, loosen the torsion bars in the front. I didn't know how far to go, so I just made the bolts finger tight with no load on the suspension. I just wanted to see where I was at, but it ended up being perfect. I just tightened the lock nuts, and finished it up. I know it's toed out a little, but I'll get it aligned here in the next couple weeks. Also on the topic, since I had to replace the carrier bearing anyways, (just got a whole drive shaft from Pull-A-Part) I went ahead and took some 1" bar stock and spaced the bearing up 1". If I had to do it again, I think 1.5 would have been better, but it'll do for now. If I end up dropping it another inch, I'll be spacing the bearing up another inch.

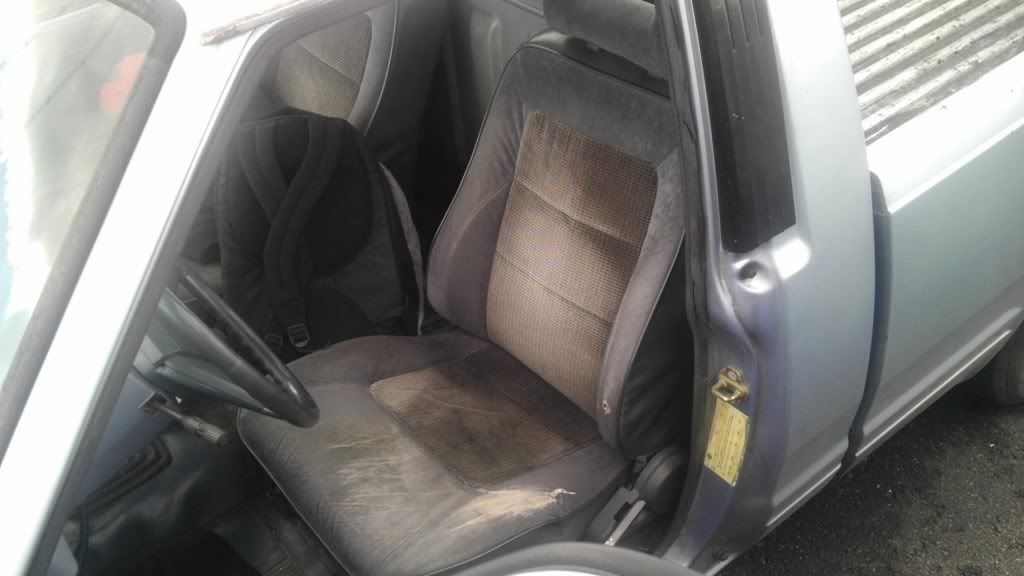
Now the seats... The seats are out of a 1989 Mitsubishi Montero. I chose these because they most closely matched the color of my interior.
Image

I then liberated the seat tracks from a 1993 Rodeo, which I thought would be a direct fit. Oh no, rest assured they weren't. Then, I jacked another set of bench seat tracks from the last 720 in the yard. More on that later. First things first, mounting the tracks to the seat. Well, I needed to move a bolt hole about an inch since the seat's mounting holes were about an inch closer together than the Rodeo's tracks. Next, I took a piece of 2" flat plate and moved the outside most track inboard, because the Montero seats have 16" on center mounting, and the 720 is 15".
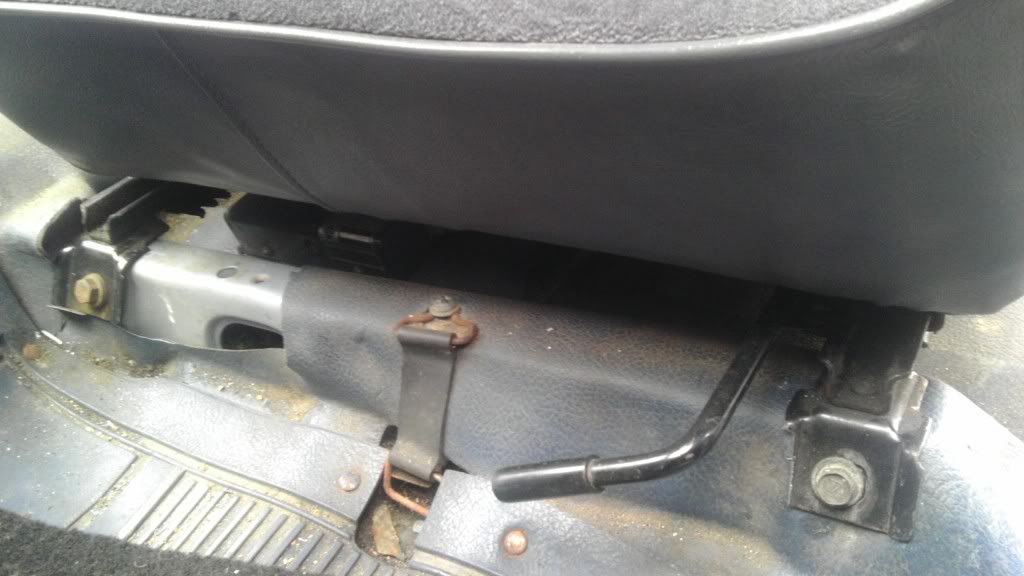
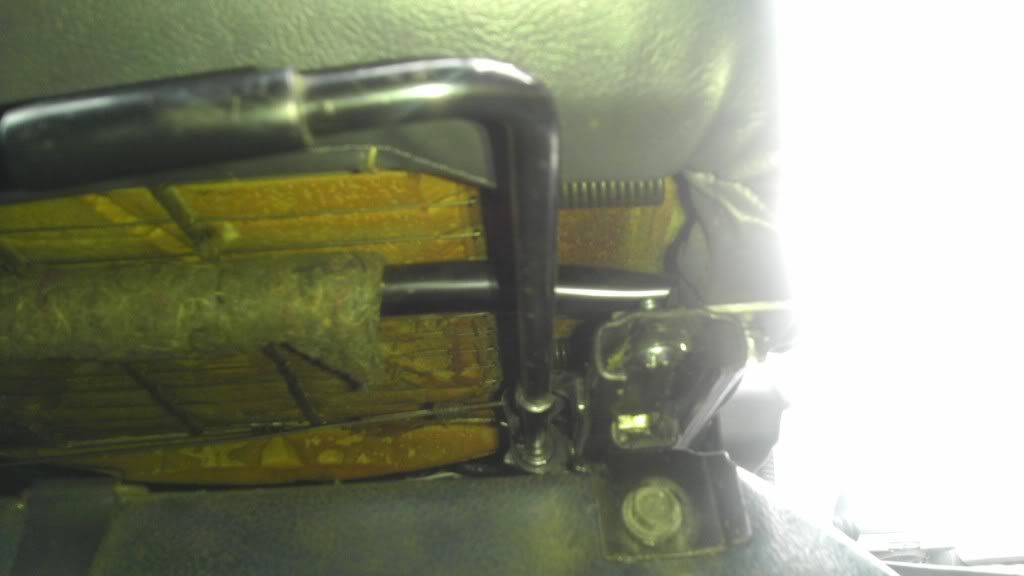
Image

Image

You can almost see the plate all the way to the left here.

Wait, that's not all! The seat tracks are an inch too short. They wouldn't reach to the rear mounting bolts. I then took the 720 bench seat brackets (I had 4 at this point), cut the feet off, and bolted them back on to the rodeo seat tracks after cutting THOSE feet off.
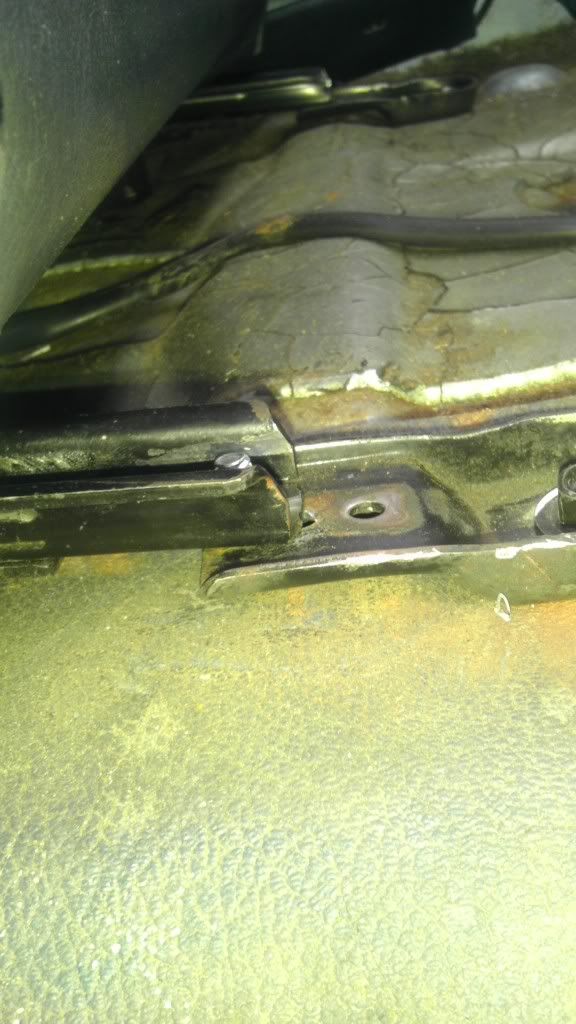
Image

Now they finally bolted in. Almost. Until I realized that while unbolting the bench seat, I had pulled the threads out of the factory nuts because the threads were all seized up. This is when I drilled the holes out to 8mm and retapped to 8x1.25, since I had a mess of those bolts because that's what the Rodeo used for seat bolts. Now we're bolted up.

Impressions: Instead of moving the outside track inboard, I should have moved the inside track outboard. I sit a little off center and a little too close to the door. I'll fool with it later. Also, because the seat is thicker, my legs are closer to the wheel, and because I can't go as far back, a little too close to the pedals, BUT, if you get in a little recline action, it actually feels kinda sporty. Add to the fact that you sit so close to the door, it just begs for the window down and elbow out. And the lumbar support in these things are BANGIN! Much gooder than the old slip'n'slide bench-o-roni noodle.

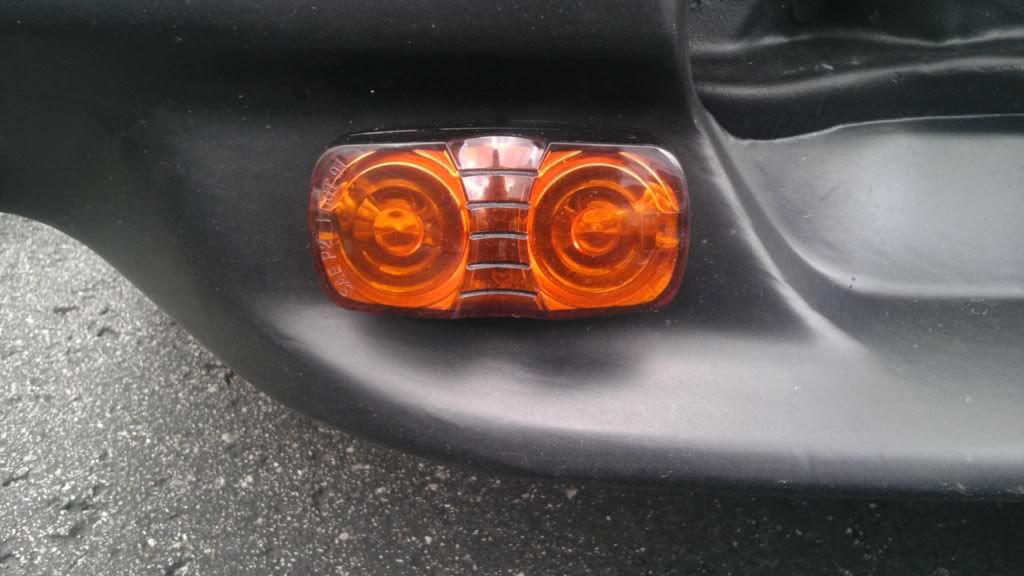
I also added some new blinkers on the front. Pretty simple. Took them out of the bumper that is no longer there. I wouldn't have put them on, but the corner lights don't blink, and the rear lights wouldn't trip the flasher without more current flow from the front lights. Blah. When I get some, I'll probably niteshades the lenses.
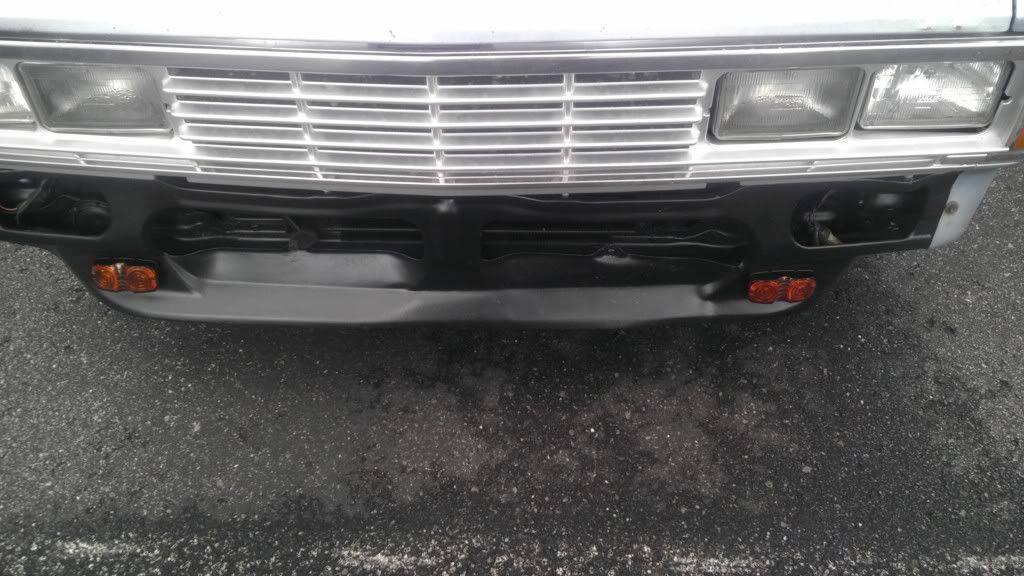
Image

Image
Last edited by Smyrna720 on Tue Feb 21, 2012 12:15 pm, edited 1 time in total.

User avatar
Chewbacca117
Posts: 22
Joined: Thu Feb 16, 2012 6:35 pm
Car: 79 Chevy Stepside- Sold
02 VW Jetta Turbo- Sold
87 transmission Am GTA- Sold
91 Nissan hardbody-Sold
91 240sx Coupe- Sold
95 240sx- Current project
93 Mazda Miata-Beater
Location: Central Cal

Post

Wow man this little truck is looking bad a**. Keep up the good work

Smyrna720
Posts: 67
Joined: Wed Dec 21, 2011 8:13 am
Car: 1985 Nissan 720 2WD stripper
1996 Chevrolet Caprice (The fast one)
1997 Dodge Intrepid (The beater)
Location: Smyrna TN, Home of the 720
Contact:

Post

Before and after shots.

Image

Image

Image

Image

Image

Image

Smyrna720
Posts: 67
Joined: Wed Dec 21, 2011 8:13 am
Car: 1985 Nissan 720 2WD stripper
1996 Chevrolet Caprice (The fast one)
1997 Dodge Intrepid (The beater)
Location: Smyrna TN, Home of the 720
Contact:

Post

And the saga continues! I got an email Friday from Pull-A-Part saying that they had gotten an 84 720 in, so Saturday morning, I went to check it out. It was a fairly decent looking KC, so I RAPED IT! Here's what I got.

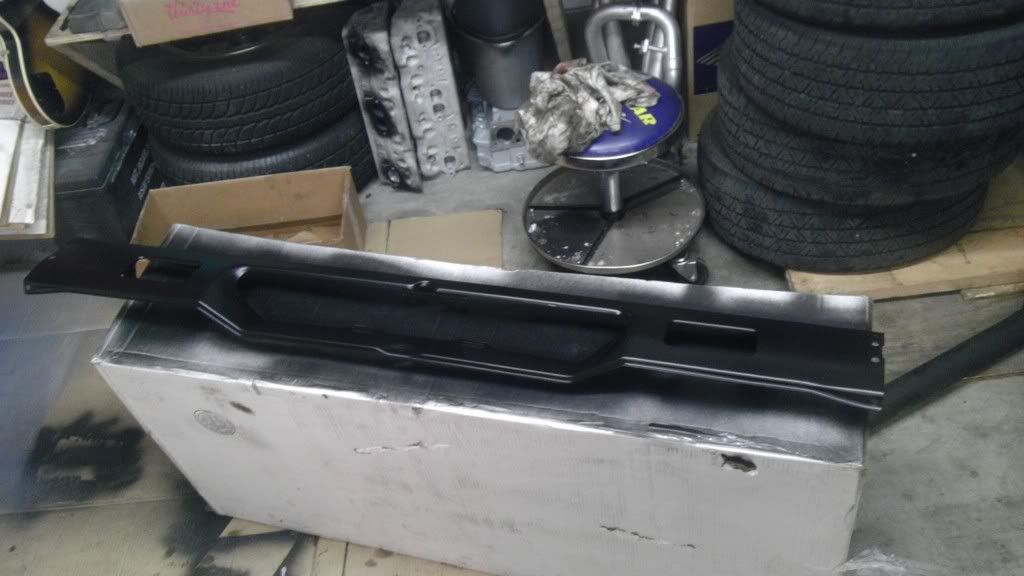
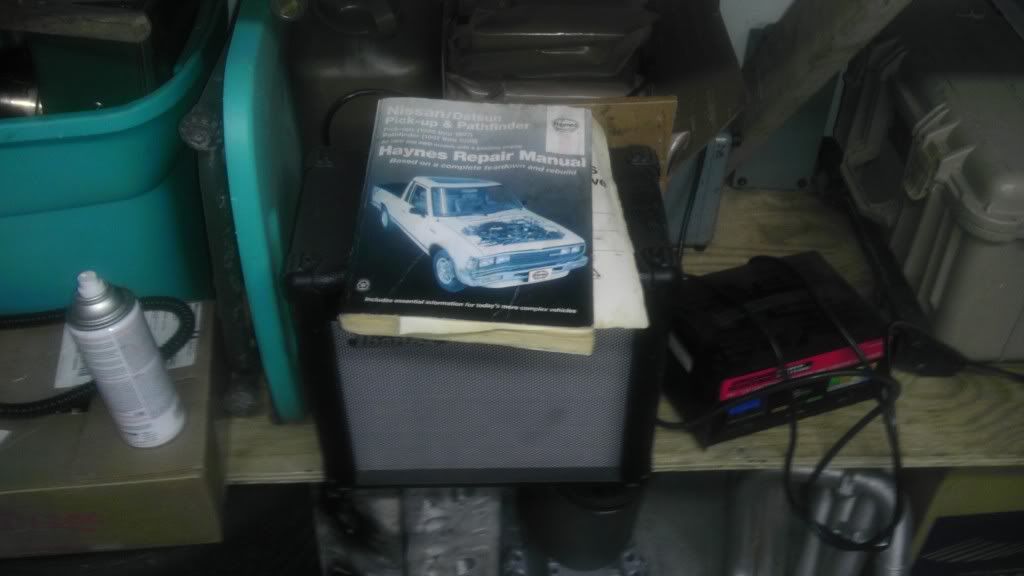
Tons of stuff. Lets start with a minty fresh black dash. Tilt column with intermittent wipers switch. Half console thing with gauges. Shifter. CARPET! Cardboard kick panels. Interior door handles. Door lock pulls. New plug wires and brand new NGK laser plugs. Rotors with new studs. Rear roll pan. Bucket seat seatbelts. Haynes manual. Not pictured: new wire brush and some electrical connections
Total expenditure: $130 out the door.

Hells yeah.

Image

Image

Image

Image

Now, I'm normally not inclined to reuse wear items like plugs and wires, but there were boxes in the back of the truck indicating that they were recently replaced, like 3 months ago according to the receipt.

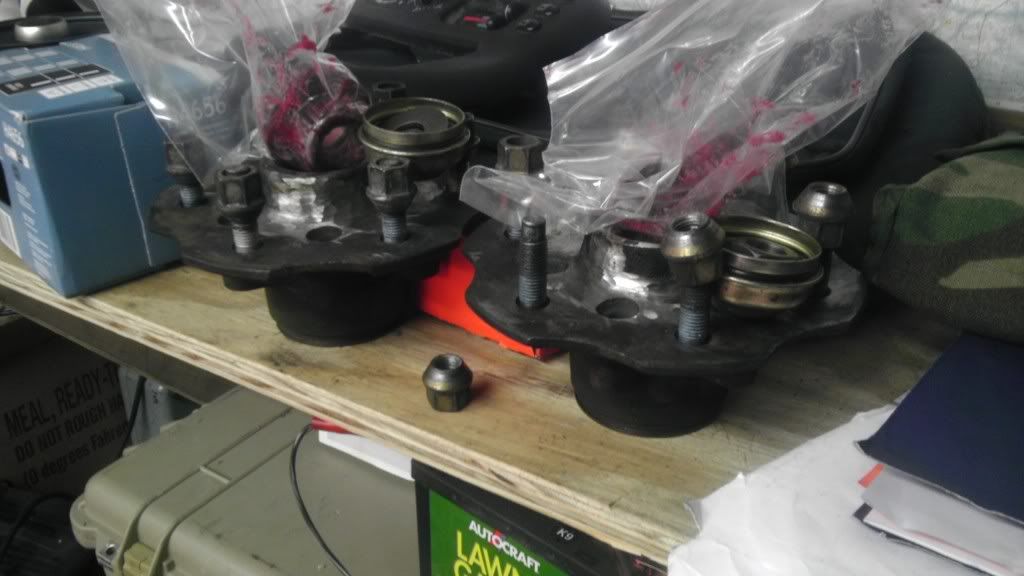
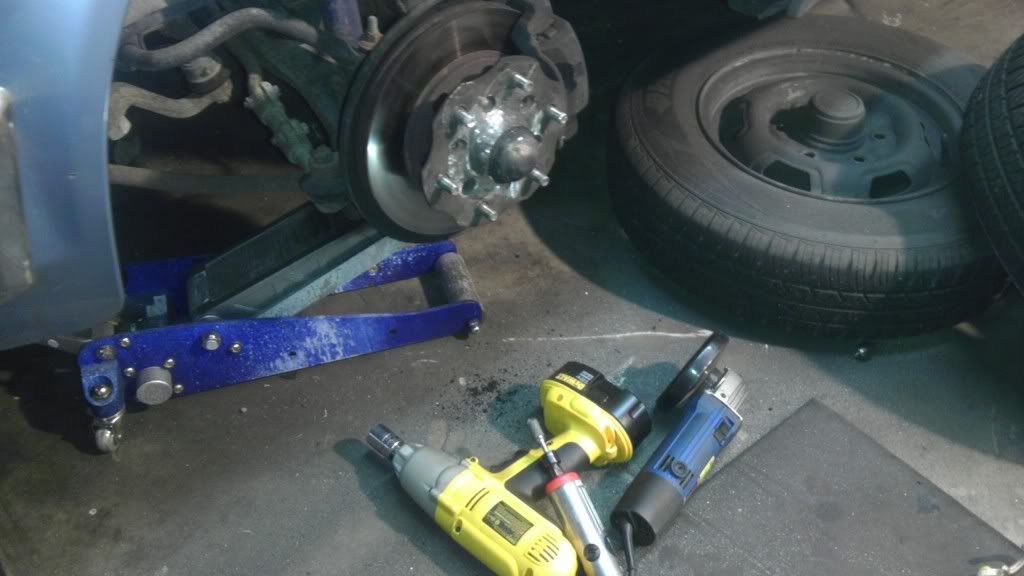
For the rotors, you might notice different wheel studs. I used late model GM studs that had a .500" knurl and a speed starter thingy. They came out of a 99 Cadillac Fleetwood, a 1995 Camaro and a 2000 Chevy Venture minivan. I needed to make a stud change so I could get the right lug nuts to run my Chevy wheels. They are now 12x1.5 thread. Also on the hubs, I ground the centers down so I can run the Chevy wheels. Bearings are packed and ready for wheel seals.

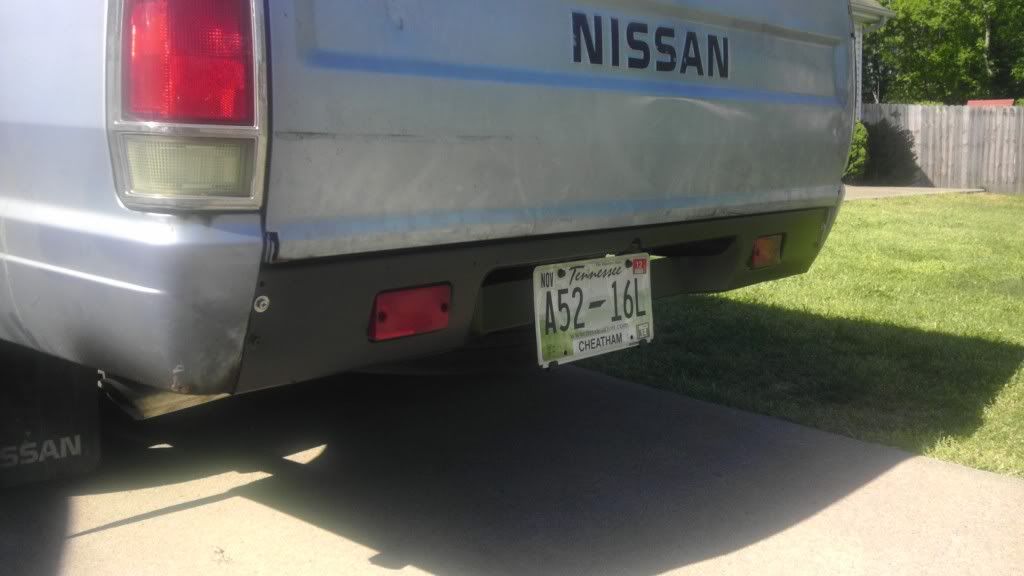
My truck for whatever reason, didn't come with a roll pan so some idiot could install this gay looking rear bumper so I'm gonna install this bitchin lookin rear roll pan. I'll also try and rig up my receiver hitch that's been sitting under my bench for the last 3 years.

Pictures I should have posted earlier.

How I raised my carrier bearing:

Image

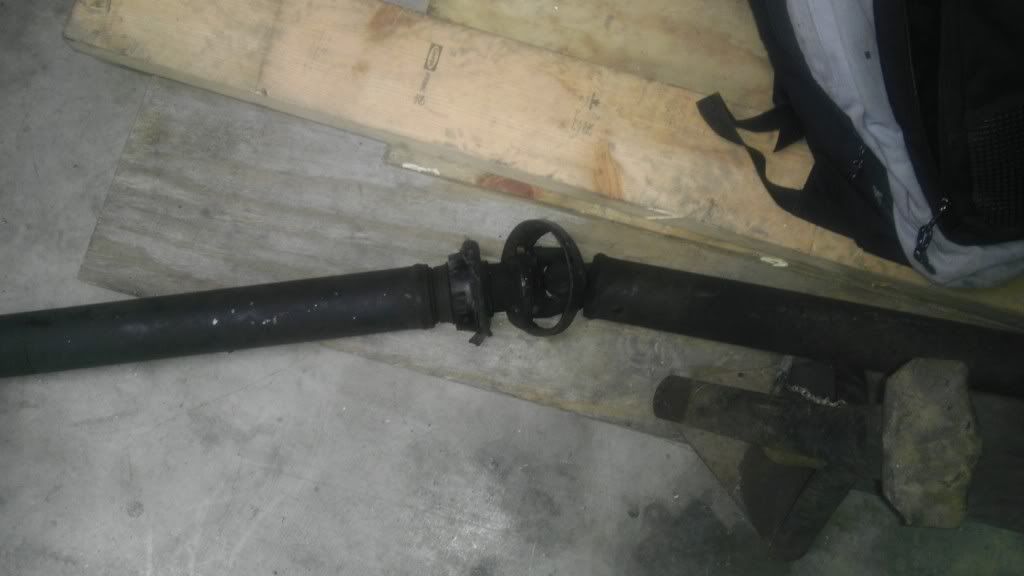
Yeah, the rubber looks a little s***, but it's one of those junkyard specials. Look what came off of it!

Image

Now, I have an extra DS I can replace the carrier bearing on at my leisure.

User avatar
Rev_D21
Posts: 6897
Joined: Sun Jan 12, 2003 9:49 pm
Car: 1986.5 D21 LB HD 2WD V6 5Speed
1991 D21 Reg 2WD Auto
1995 D21 Reg 2WD 5Spd
1996 D21 Reg 4WD 5Spd
2012 Versa 1.6S 5-Speed
Location: Somwhere in Western NY
Contact:

Post

YEh NICO 720 forums is totally dead, you should post this on RATSUN. WTF? Ratsun links to us when they need info. Have fun over there.

User avatar
PEZi
Posts: 21113
Joined: Thu Dec 11, 2008 8:21 am
Car: Mitsubishi Lancer Evolution IX Mitsubishi Racing Edition
Location: Pikes Peak, CO
Contact:

Post

We try to make a good haven for the 720 over here. Traffic has been down as of late, but it's something we're working on. Don't be afraid to keep updating, as I promise the updates aren't being cast aside... we love new pics and progress on keeping the ride we love going.

Smyrna720
Posts: 67
Joined: Wed Dec 21, 2011 8:13 am
Car: 1985 Nissan 720 2WD stripper
1996 Chevrolet Caprice (The fast one)
1997 Dodge Intrepid (The beater)
Location: Smyrna TN, Home of the 720
Contact:

Post

Rev_D21 wrote:YEh NICO 720 forums is totally dead, you should post this on RATSUN. WTF? Ratsun links to us when they need info. Have fun over there.
Oh it's already posted over there.

http://community.ratsun.net/topic/40035 ... wner-here/

I started the thread here, transmission it over there, but I keep up on both sites. Neither one has a whole lot of traffic. Seems the 620's are a whole lot more popular.

User avatar
PEZi
Posts: 21113
Joined: Thu Dec 11, 2008 8:21 am
Car: Mitsubishi Lancer Evolution IX Mitsubishi Racing Edition
Location: Pikes Peak, CO
Contact:

Post

It's because the ratsun guys are "true datsun" people... no love for the 720 since it is technically a nissan. That's why we try to build a home for those that love the 720, but it's just hard to keep traffic for a somewhat rare vehicle that is 20-some years old.

Smyrna720
Posts: 67
Joined: Wed Dec 21, 2011 8:13 am
Car: 1985 Nissan 720 2WD stripper
1996 Chevrolet Caprice (The fast one)
1997 Dodge Intrepid (The beater)
Location: Smyrna TN, Home of the 720
Contact:

Post

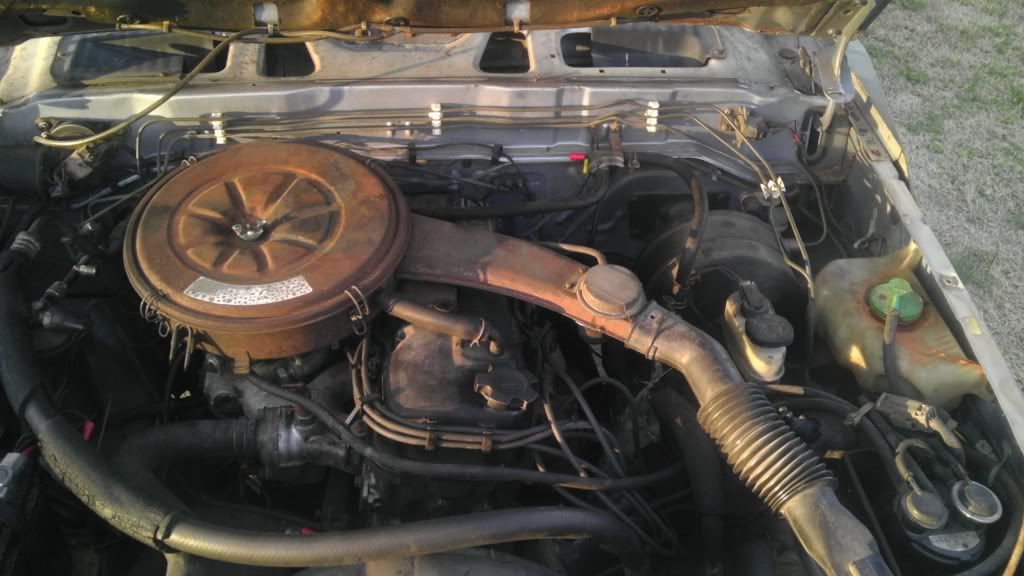
Well, I didn't hardly get anything done this weekend, but at least I did get my junkyard plugs and wires in. I was getting a miss, and couldn't figure where. This is kind of what got me going on it. It ended up being a bad wire on the exhaust side. Now fixed. Also got a vacuum gauge and got the carb adjusted.

Image

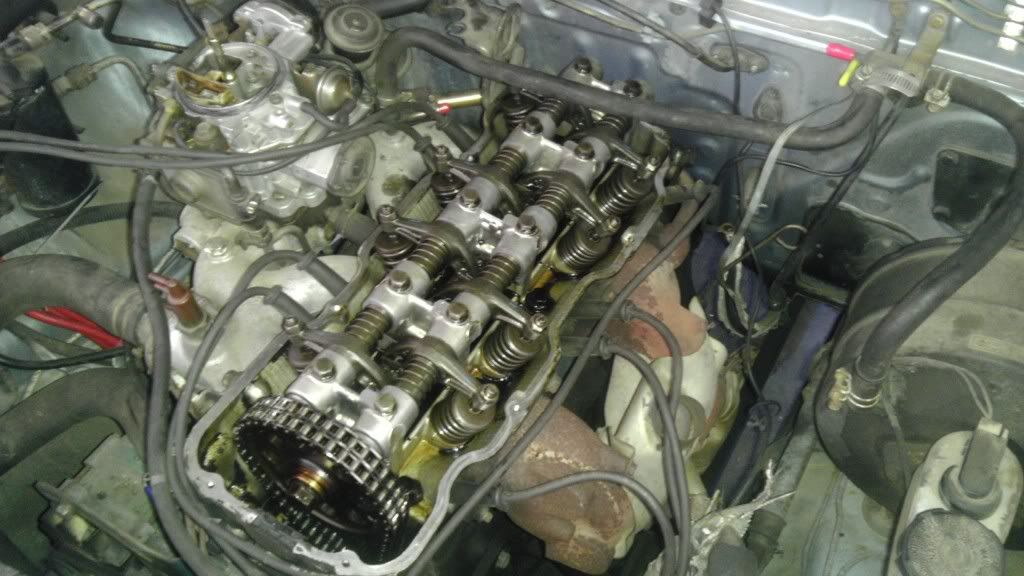
I really need to adjust the valves and retorque the head bolts. That's next on the engine list I guess.

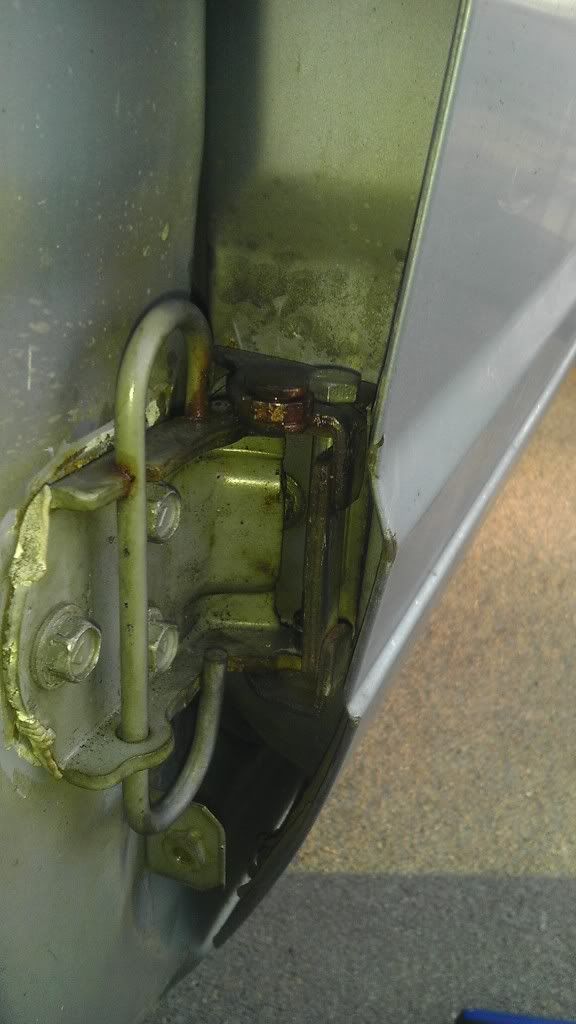
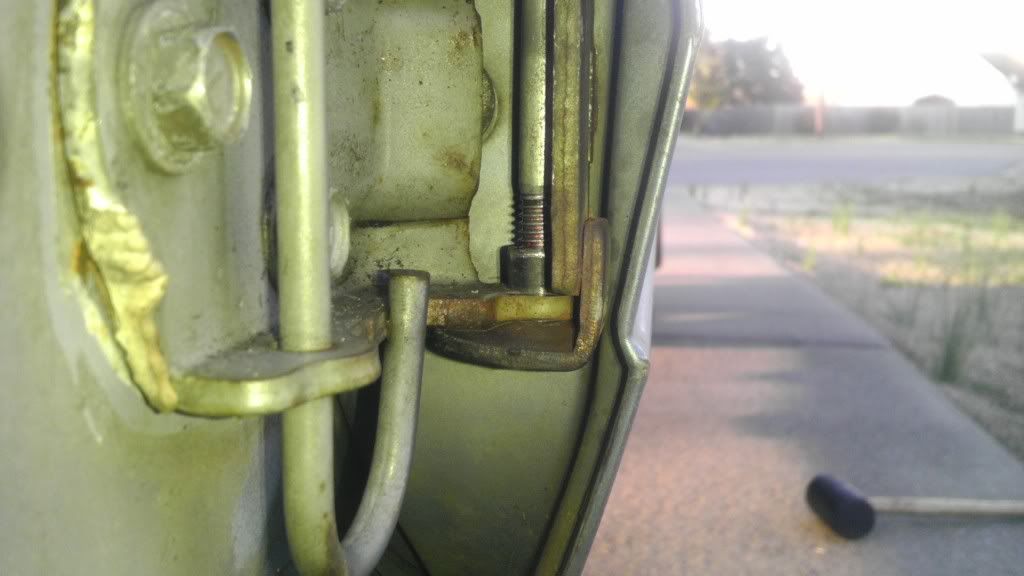
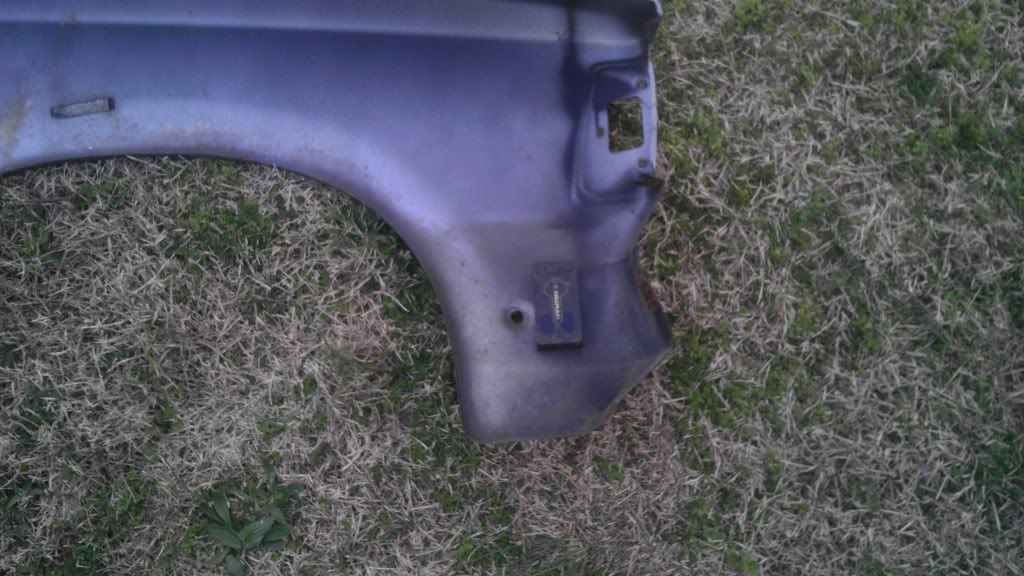
I also fixed the driver side door hinge. Talk about a f***. Pull the cowl. Check. Pull the grille out. Check.
Break 6 of the 9 bolts that hold the f*** fender on. Check.

Ugh. Luckily I rape everything I work on in the junkyard for hardware, so I had plenty on hand. Serriously, I just unbolt s*** and take the bolts. People don't care because, oh, I needed that seat anyways, now I don't have do do any work. Win-win. Anyways, here's how I did it.

Image

Image

Pulled the hinge apart. Drilled the TOP two holes to 5/16ths exactly, because I was using a 5/16ths bolt. For the bottom, Used a nutsert thing I found in my hardware can (See a theme developing?). It was originally destined for some kind of military vehicle, but it will work here. I drilled the OUTSIDE part of the hinge .010" undersize of the nutsert and pressed that b**** in. I then drilled the inside about .015" over. Loose enough to move easily, but tight enough to not be sloppy. Notice that the nutsert requires both hinge pieces to be together during time of assembly. Also Red locktite on the bolt ensures that the door won't fall off.

Bolted the hinge up loosely first, then tightened the door bolts, closed the door most of the way, took a #2 flathead screwdriver to prop the door off the striker (to allow for sag), tightened the cab bolts, remove screw driver, shut door. Like a boss.

Now is a good time to look and see how rusty your s*** is. I didn't want to take pictures of mine, lets just put it that way. Also at this time, take your drill and run it through the threads that I'm sure look like s***, and while you're at it, get them bolts you broke out. A pair of Channel locks on the back side ought to do it. Can't get to the back side? Just drill out and re-tap. Oh, and check for a hid-a-key on the inside of the fender.

Image

Who woulda known. Well, now you can put your junk back together and enjoy your door shutting correctly. Oh happy days.

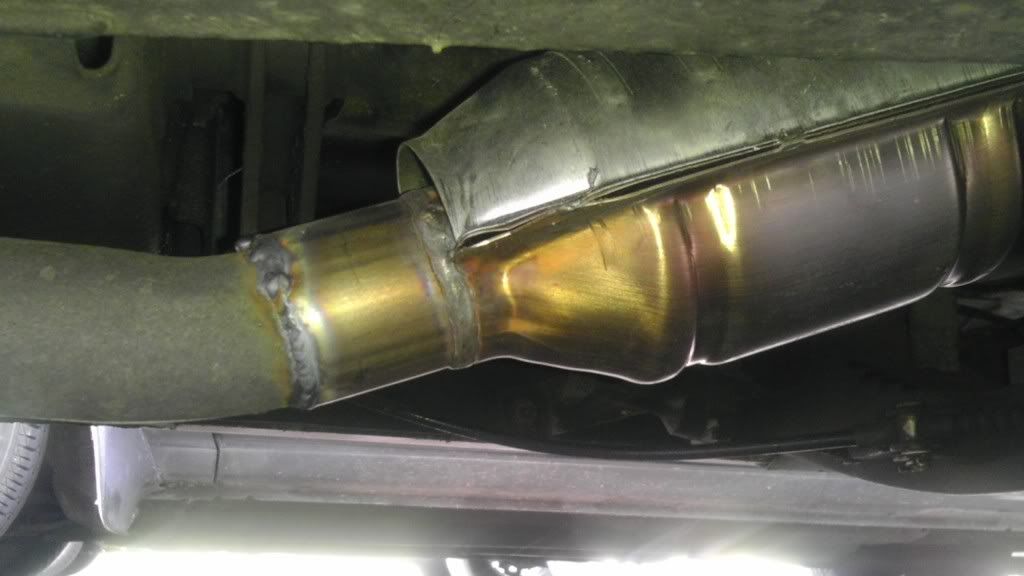
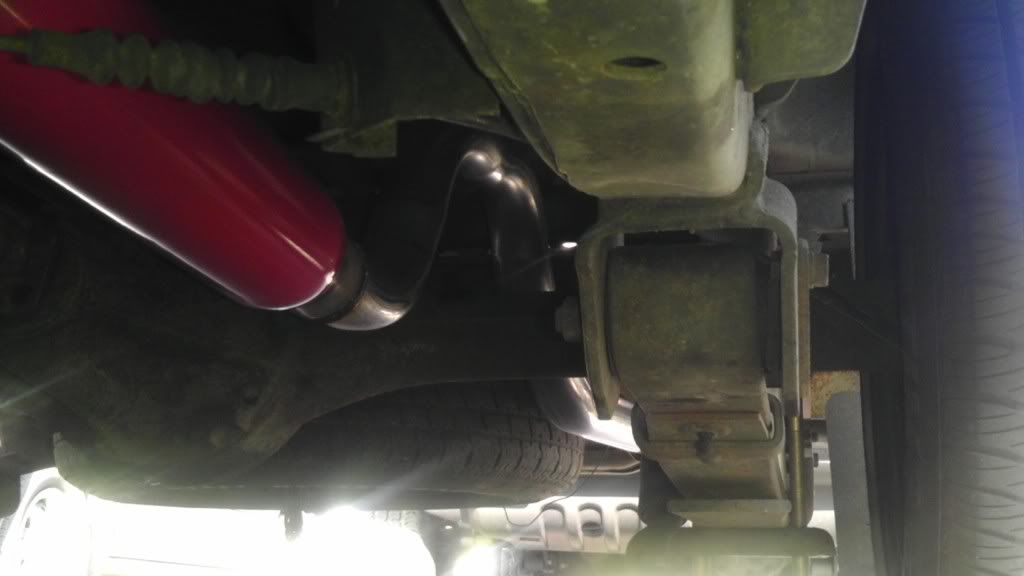
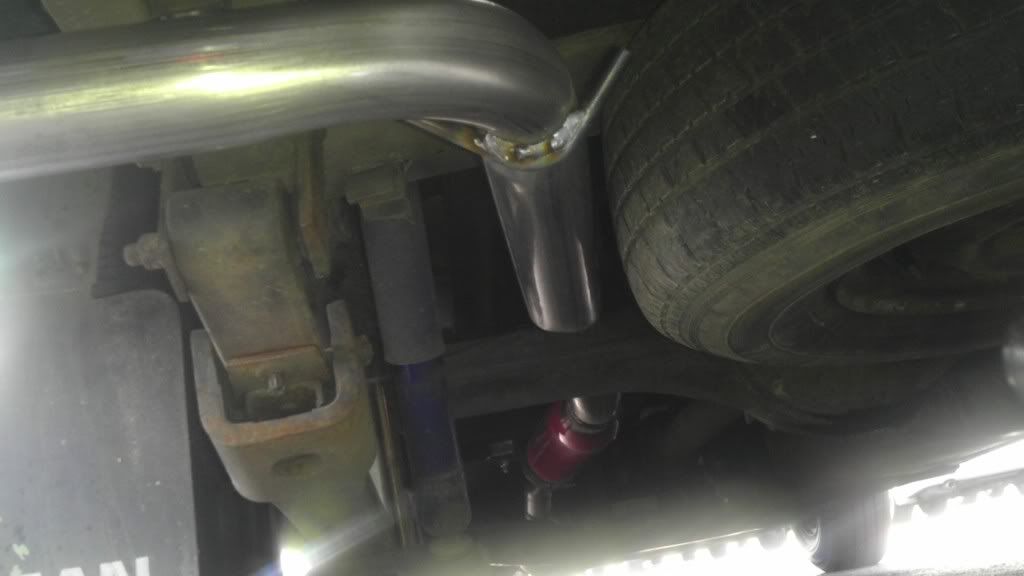
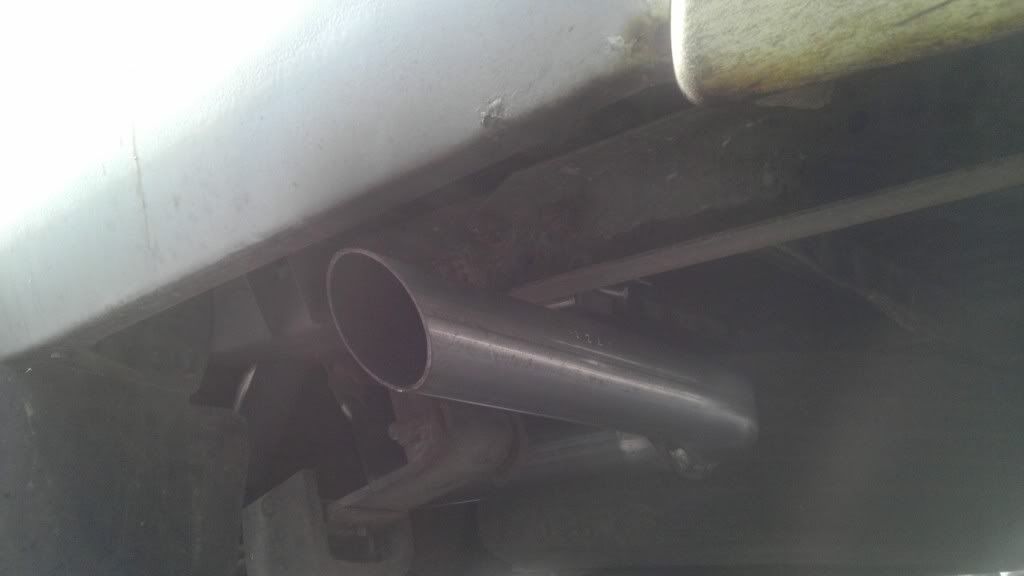
Almost forgot, I finally got exhaust put on Saturday morning. I bought the muffler and the cat came with the truck, so all told I have about $130 in the exhaust.

Image

Image

Image

Image

Smyrna720
Posts: 67
Joined: Wed Dec 21, 2011 8:13 am
Car: 1985 Nissan 720 2WD stripper
1996 Chevrolet Caprice (The fast one)
1997 Dodge Intrepid (The beater)
Location: Smyrna TN, Home of the 720
Contact:

Post

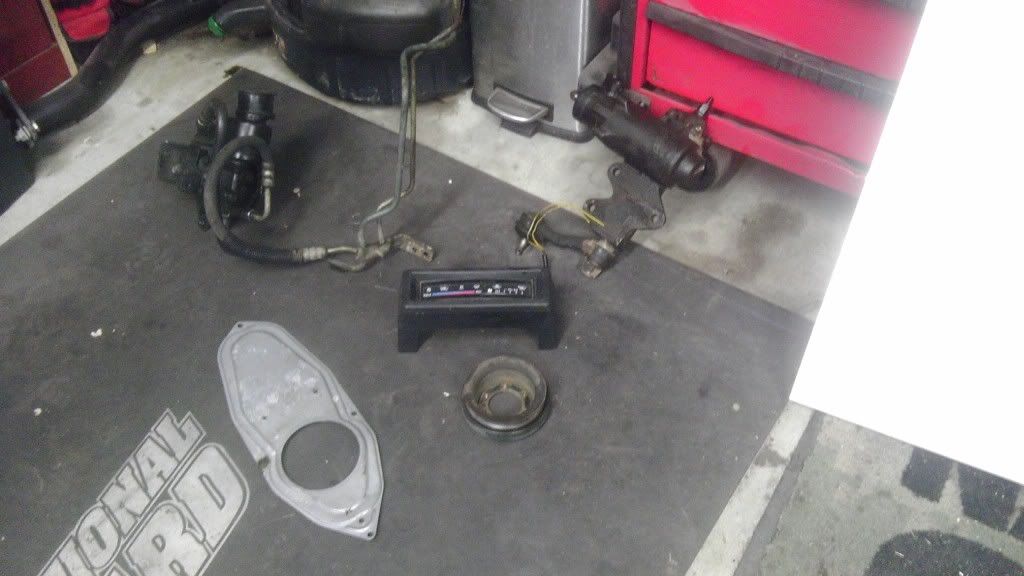
Well, still haven't had a chance to get a recording of the exhaust, but I'll try to do that soon. I did however get back to the junkyard and got some of this...

Image

Lets see, here we got a power steering pump, lines, brackets, crank pulley, box and pitman arm. Also, I snagged the oil pressure sensor and pigtail for my gauge I got the last time I was there. Got the HVAC trim to match the rest of the black stuff in the interior, as well as shifter hole piece to swap for mine since the new shifter has a round boot, and I currently have a square hole. Not pictured, the black piece of cardboard that sits behind the seats so if you have bucket seats, you don't have to look at the back of the cab.

Yup, still no parts put on though. Between work, school, wife, kid, mowing grass and Nat'l Guard drill, I have no freaking time. Hell, last weekend I had to go do this:

Image

Image

Image

Image

Oh wait, that was something I actually wanted to do.

Well, maybe next weekend.

Smyrna720
Posts: 67
Joined: Wed Dec 21, 2011 8:13 am
Car: 1985 Nissan 720 2WD stripper
1996 Chevrolet Caprice (The fast one)
1997 Dodge Intrepid (The beater)
Location: Smyrna TN, Home of the 720
Contact:

Post

Now, I finally did get an exhaust clip. It's a cold startup with the high idle, then it idles down. Also, you can hear the rocker arms just clattering away. Adjusting the valves and re-torqueing the head bolts is on the to do list too.

[youtube]http://www.youtube.com/watch?v=3GWpaiJn ... ure=colike[/youtube]


Now I have a question.

Are the 2wd and 4wd power steering boxes the same? Are the Pittman arms the same also? I have looked in the parts manual and can't find different part numbers for either. Anybody have any experience?

Smyrna720
Posts: 67
Joined: Wed Dec 21, 2011 8:13 am
Car: 1985 Nissan 720 2WD stripper
1996 Chevrolet Caprice (The fast one)
1997 Dodge Intrepid (The beater)
Location: Smyrna TN, Home of the 720
Contact:

Post

Hey, I finally got an entire WEEK off from school and work so it's allowed me to catch up a little bit. There's been quite a few things on my to do list.

#1. Adust valves.

Image

No problem.

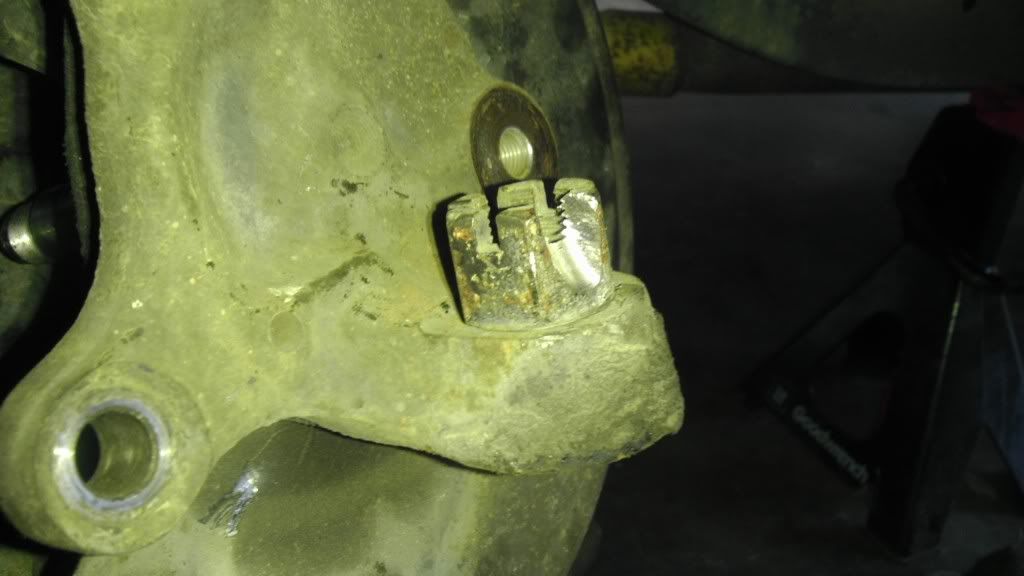
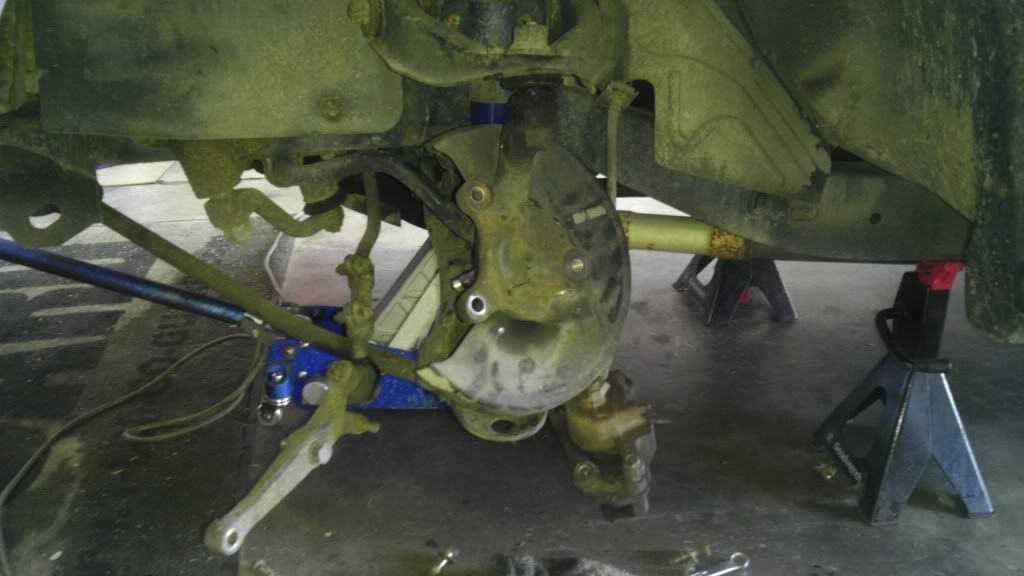
#2. Replace lower ball joints. There were a few problems here. First, couldn't get the cotter pin out of the nut. Had to take my die grinder and a carbide burr to grind it out. PITA.

Image

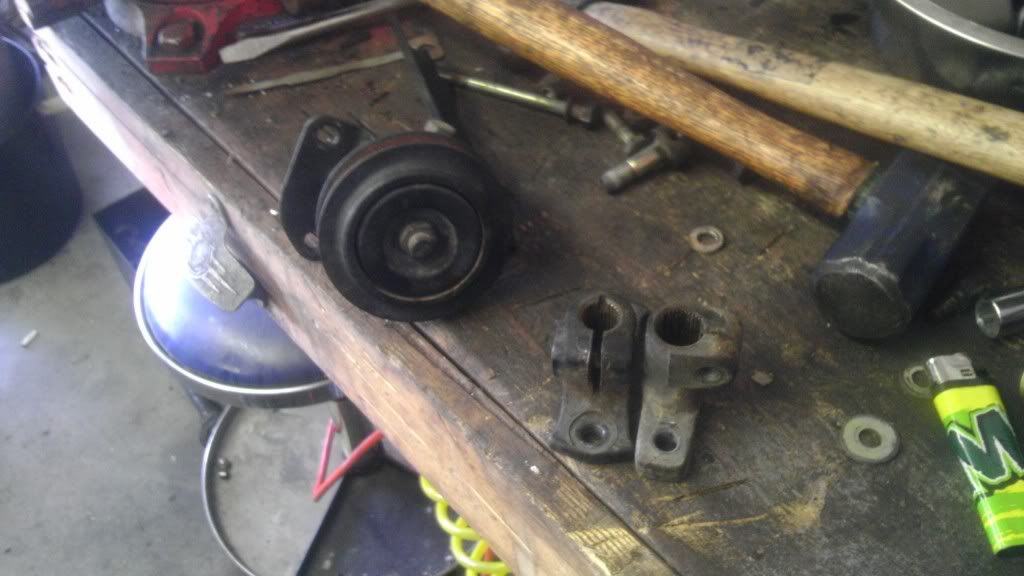
Here you can see how I took the entire steering arm off, took the ball joints out of the arm and spun it all around so I could work on it.

Image

#3. Install power steering. Holy s***. Hang on for this one.

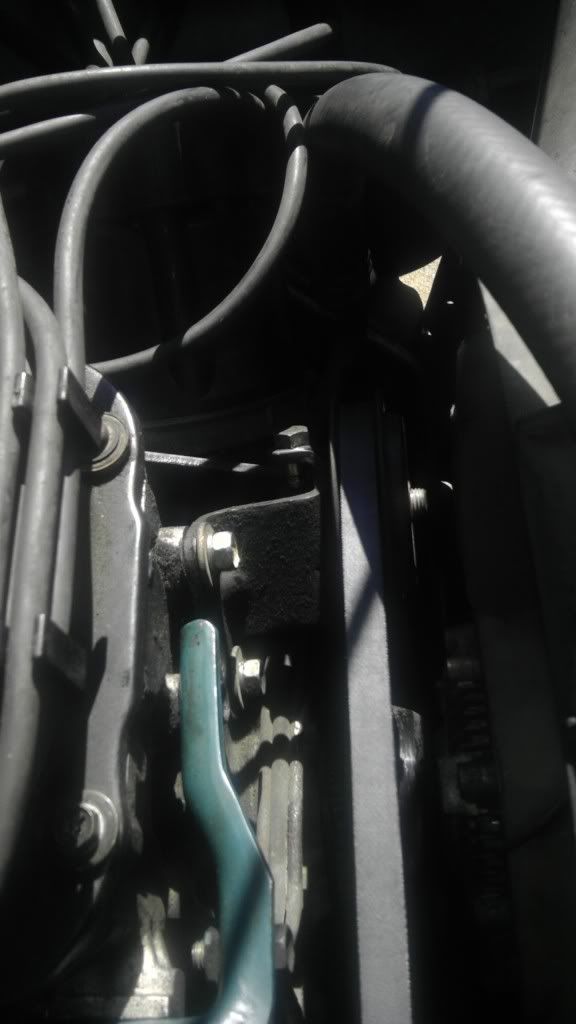
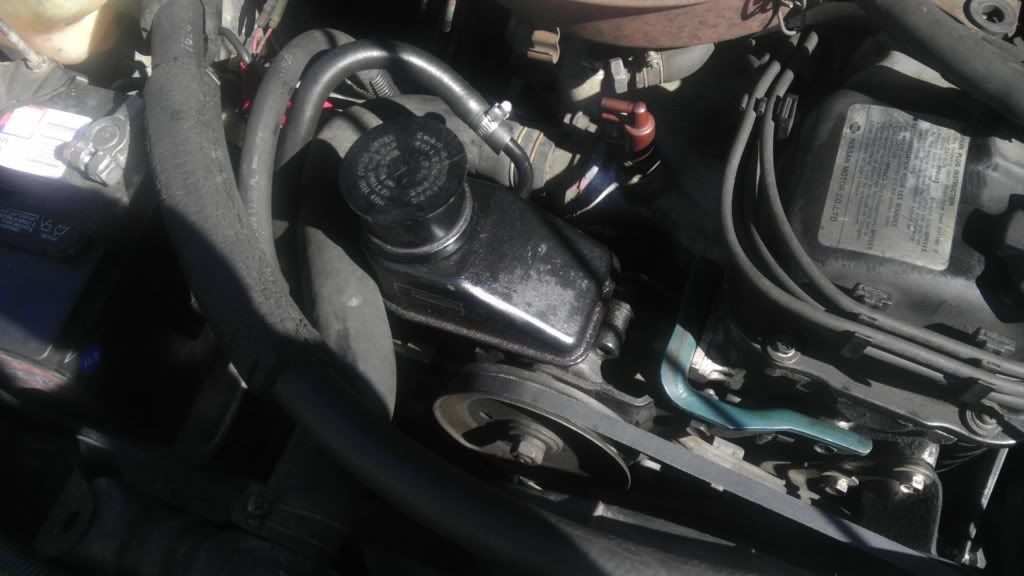
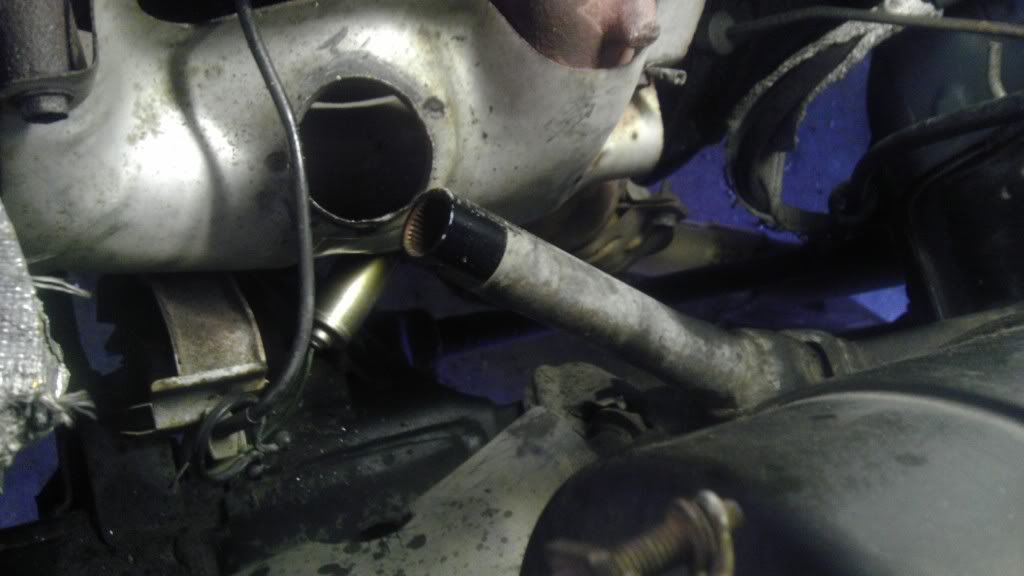
Ok, well, to start, I guess the pump, lines, and box all bolted on no problems. Lets see what caused issues.

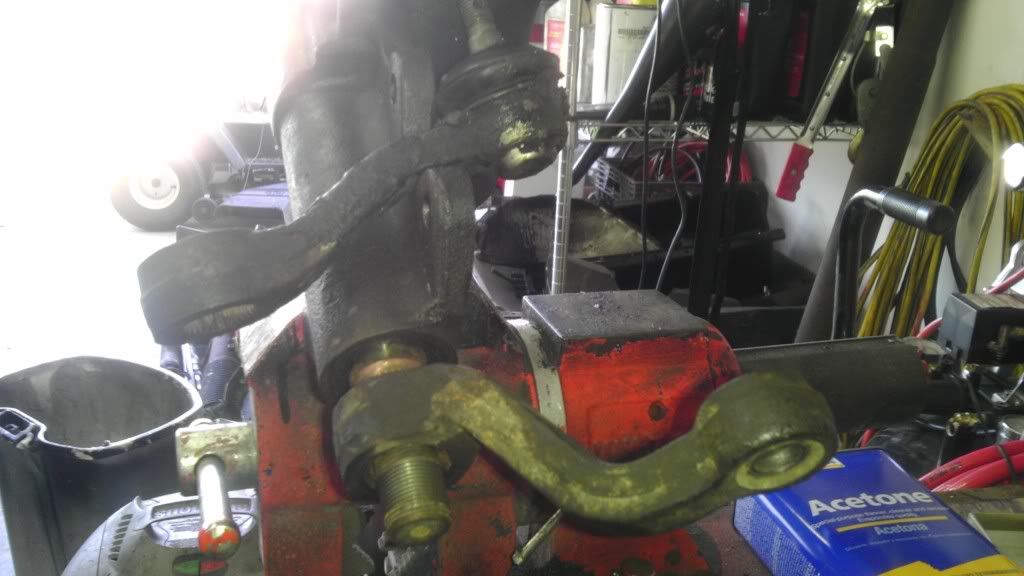
Pittman arm. They are different between 2wd and 4wd. Here you can see the differences. 4wd on top and 2wd on bottom.

Image

I was sweating it weather the arm would go back on the box or if the output shafts would be different or not. Luckily, no issues. Except unless you count getting the pitman arm actually off the box. 30 mins of PB Blaster and propane torch to get each off. Oh, and all that time swinging a 2 1/2 lb sledge trying to knock that sucker off. Hard damn work!

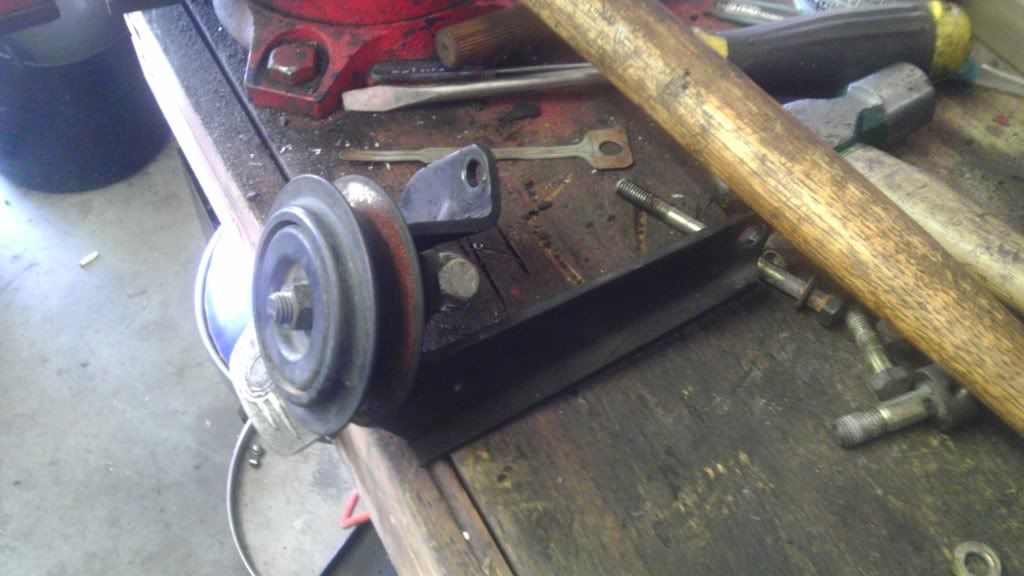
Then, there were the parts I didn't get from the junkyard when I grabbed all the PS stuff. Like the idler and the steering shaft. So, we had to improvise. We'll start with the idler pulley. I couldn't find one off a Z24, so I found me a single cam KA in a 240 SX and swiped that one. BUT that pulley. was for a small serpentine belt. I then went to a V6 pathfinder, and swiped the v-belt pulley. I THEN had to drill out the center out bigger to fit around the bigger KA adjuster hub. Thing. Whatever. Money in the bank.

Image

Image

You can see the part of the bracket bolted to nothing.

Image

Image


Steering shaft next...

Smyrna720
Posts: 67
Joined: Wed Dec 21, 2011 8:13 am
Car: 1985 Nissan 720 2WD stripper
1996 Chevrolet Caprice (The fast one)
1997 Dodge Intrepid (The beater)
Location: Smyrna TN, Home of the 720
Contact:

Post

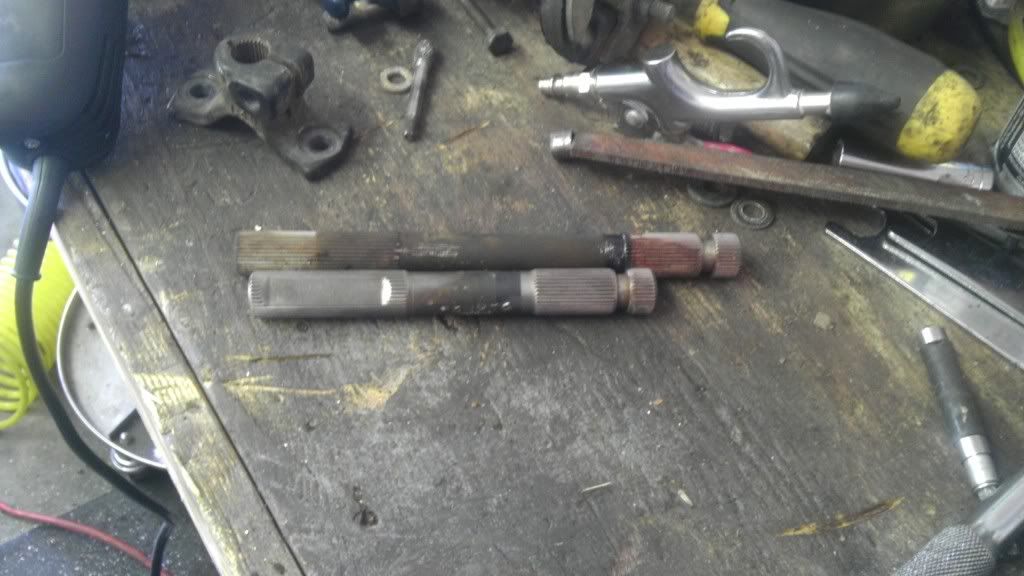
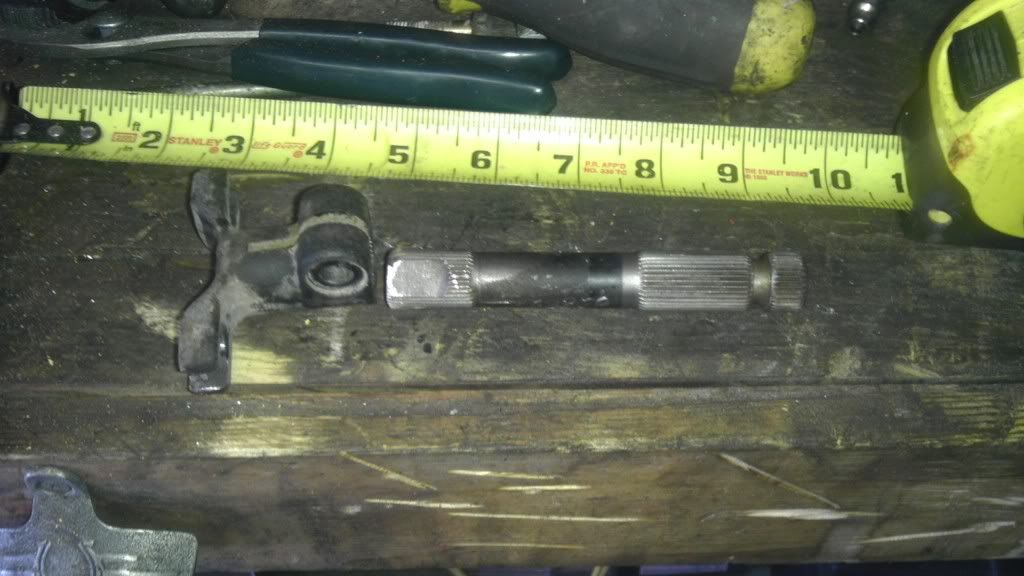
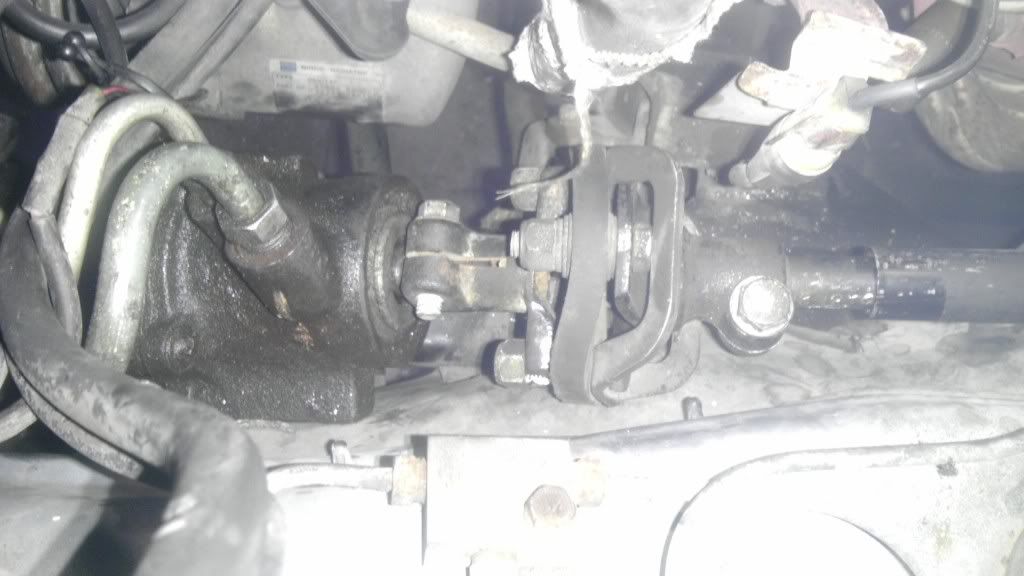
Well, turns out the input shaft for the seering box is different between power and manual, so you'll need the rubber coupler. I couldn't find one that would work, so I had to make one work, Also, the steering shaft itself was too long. I swiped one out of a PS equipped D21. Everything is different, so I just took the inner shaft and one part of the coupler.

Image

Image

Image

Image

Image

I really hope you guys can figure out what I did, because it would take me forever to explain it. If you have questions, I'll explain, but probably next week.

NEXT!

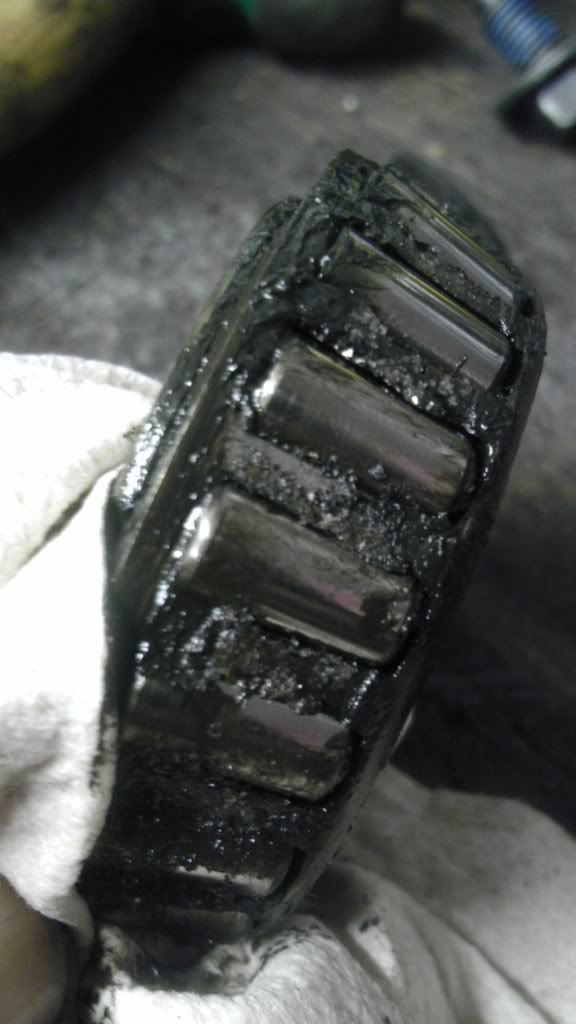
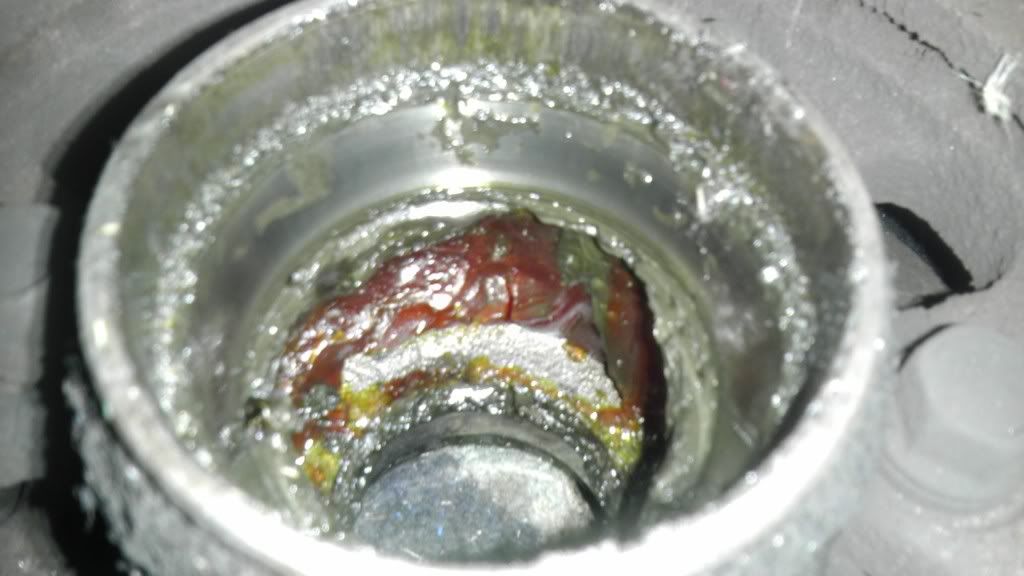
Pack the bearings and put my new hubs on. HOLY s*** look what I found.

Image

Image

Bearings fried. PO apperently couldn't pack bearings.

Smyrna720
Posts: 67
Joined: Wed Dec 21, 2011 8:13 am
Car: 1985 Nissan 720 2WD stripper
1996 Chevrolet Caprice (The fast one)
1997 Dodge Intrepid (The beater)
Location: Smyrna TN, Home of the 720
Contact:

Post

Roll pan installed. Awww yeah.

Image

Why'd I need to put those new hubs on? For my new wheels!

Image

Image

Image

Image

Giggidy. Yeah, they rub. They're 16x7 wheels as seen in my earlier posts, with 225/60R16 tires. A little too tall I think. They rub in the back on the lip of the wheel opening, I'll trim that and it'll be fine. On the front, they rub in the back of the wheelwell, like where your feet might be, the plastic wheel wells have to come out, and the bulge for the power brake booster needs beat in because it rubs there too. Other than that, I think it looks good.

Smyrna720
Posts: 67
Joined: Wed Dec 21, 2011 8:13 am
Car: 1985 Nissan 720 2WD stripper
1996 Chevrolet Caprice (The fast one)
1997 Dodge Intrepid (The beater)
Location: Smyrna TN, Home of the 720
Contact:

Post

Just a few more pictures, I promise.

Image

Image

Smyrna720
Posts: 67
Joined: Wed Dec 21, 2011 8:13 am
Car: 1985 Nissan 720 2WD stripper
1996 Chevrolet Caprice (The fast one)
1997 Dodge Intrepid (The beater)
Location: Smyrna TN, Home of the 720
Contact:

Post

Just a little checking in here...

Well, Thursday, I pulled the valve cover because I thought the rockers were ticking and I wanted to check the valve lash again. They weren't really, which leads me to believe I have an exhaust leak, but that's not what I want to talk about. When I went to slide the feeler gauge in, it felt for lack of a better term, not smooth. I pulled one of the adjusters all the way out to look at it and it had two distinct wear patterns on it. One from the I'm assuming factory adjustment and one from my adjustment. The valves on the other had looked good. I needed to restore a convex surface to the tip, and I had an idea. I took a terry towel, folded it over twice and set it on the bench. I then got me a piece of 600 grit sand paper and hosed it down with WD40. I chucked my adjuster up in my cordless drill and went to town. Swirling the drill in different directions on the soft surface gave me my convex surface back and got rid of the wear marks. Repeat 7 more times and I was home free. Soaked them in acetone to break up the crud on the threads and back on they went. This time all adjustments went smooth as silk and those valves are as quiet as they can be. Sorry about no pictures, I was in a bit of a hurry since it was a week night.

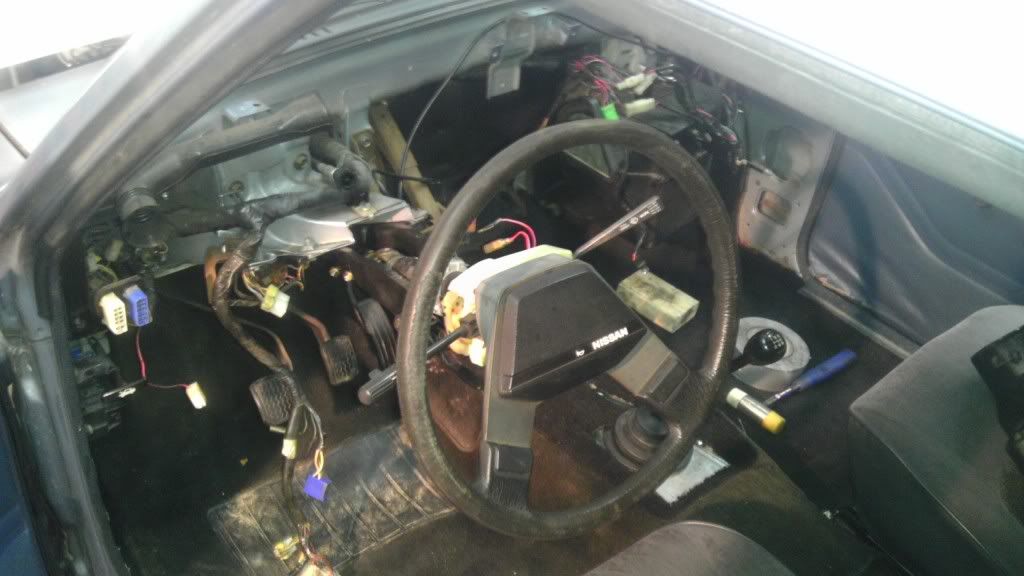
Now, This weekend I finally put in the black interior I had pulled out of the junkyard a couple months ago. I do have pictures for that.

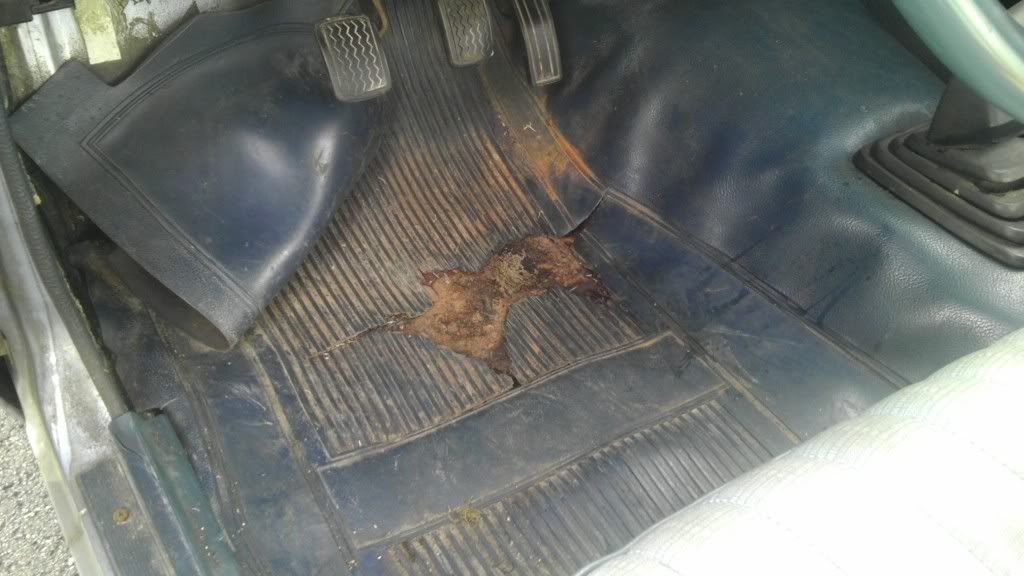
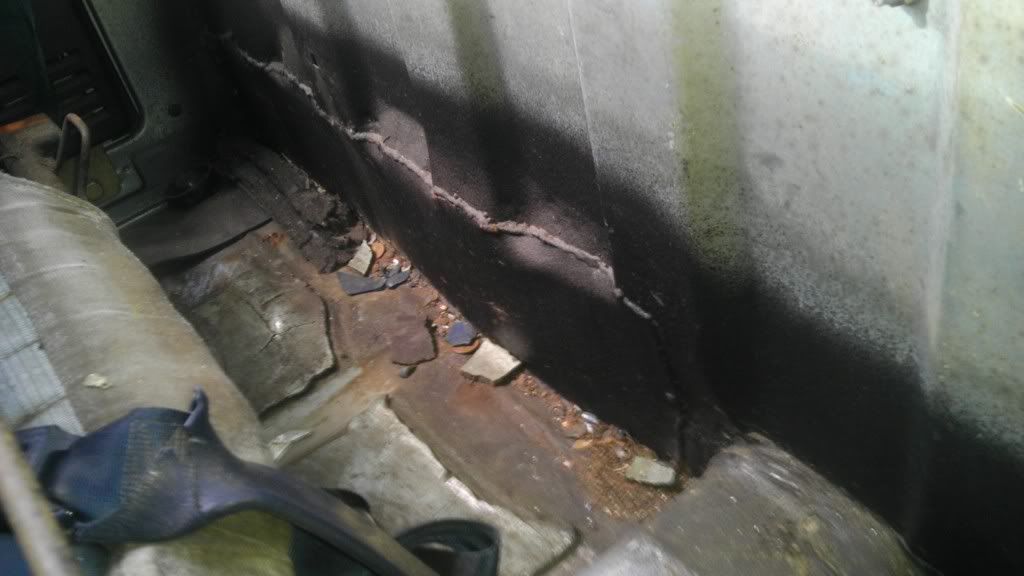
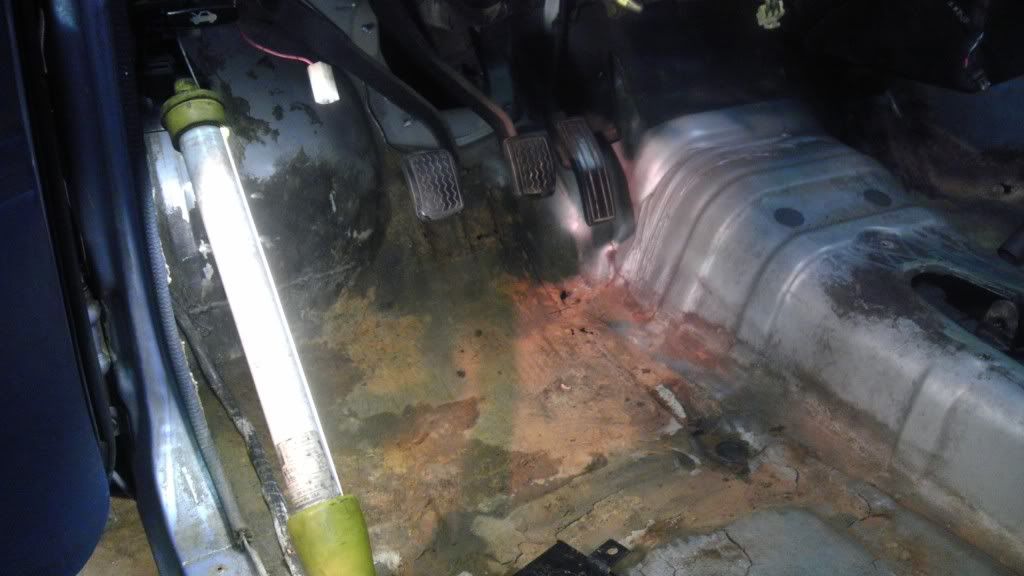
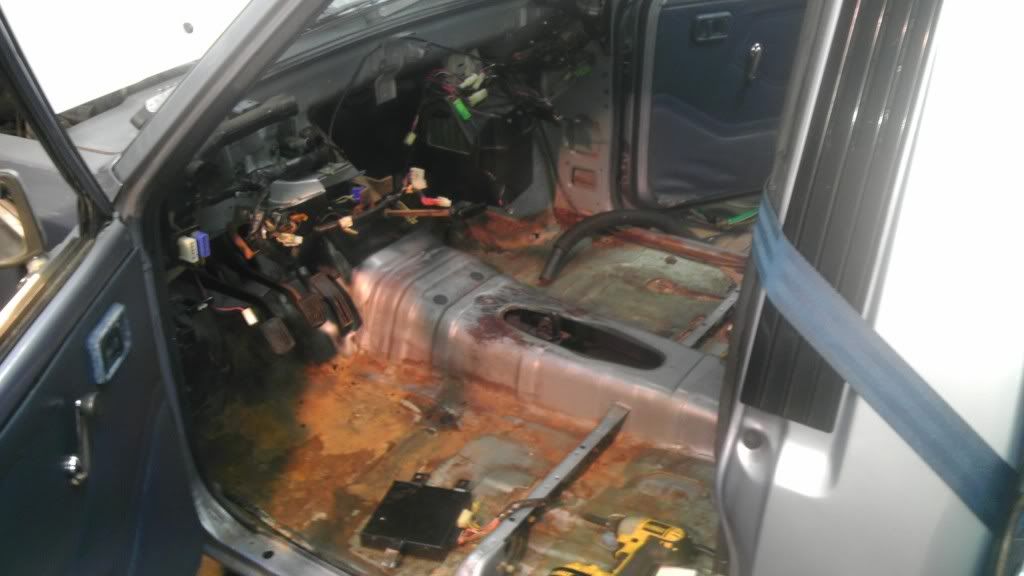
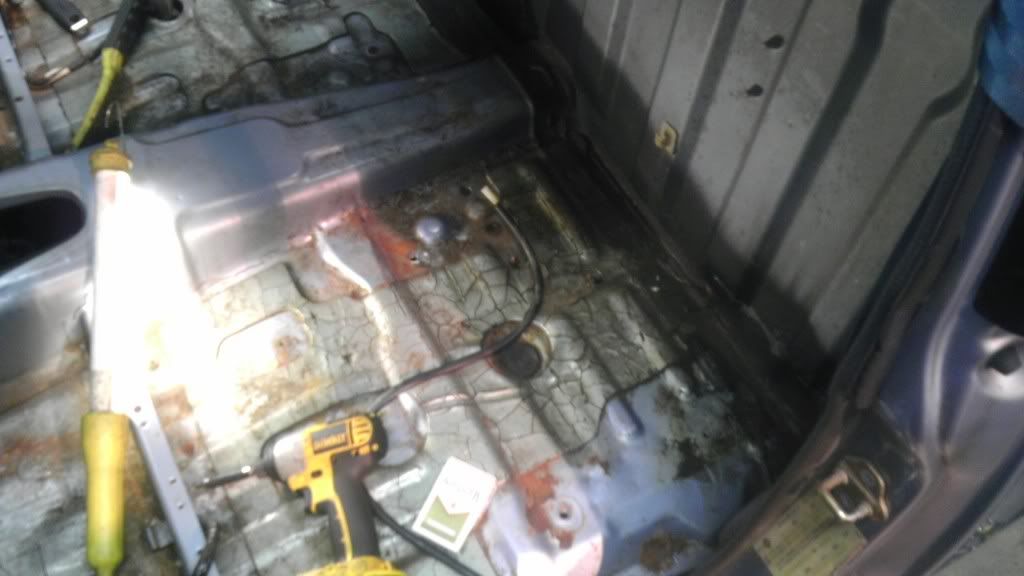
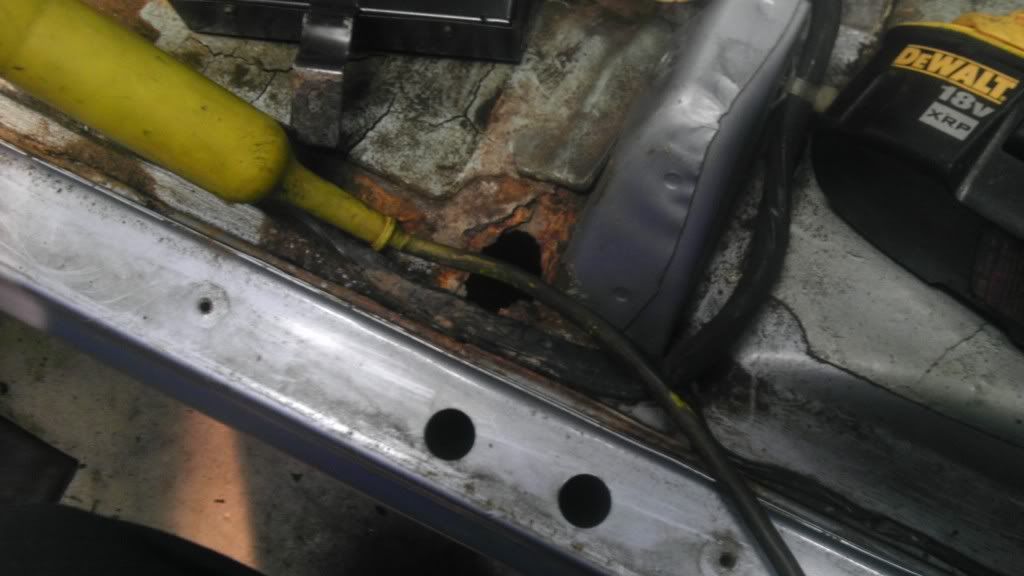
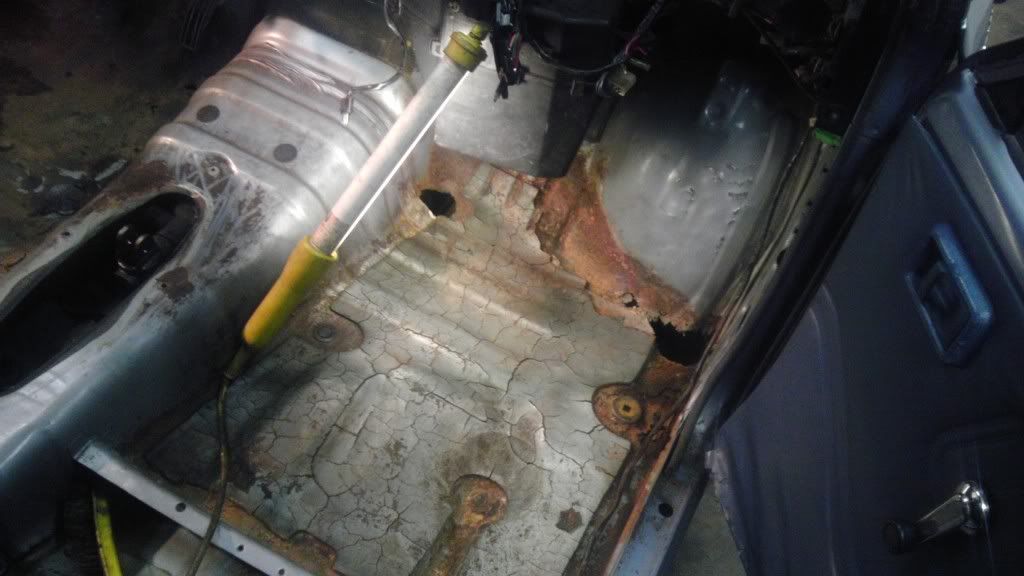
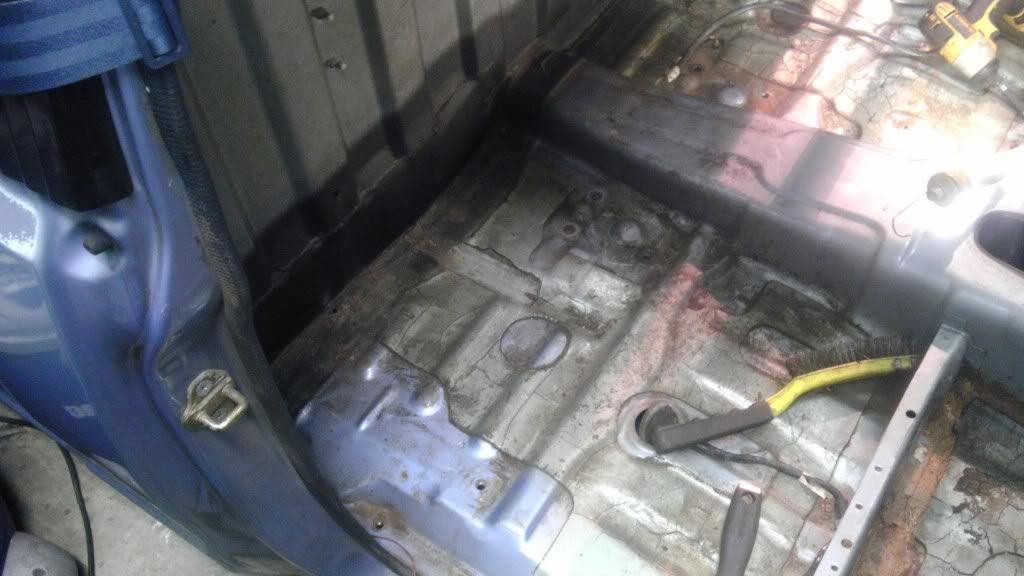
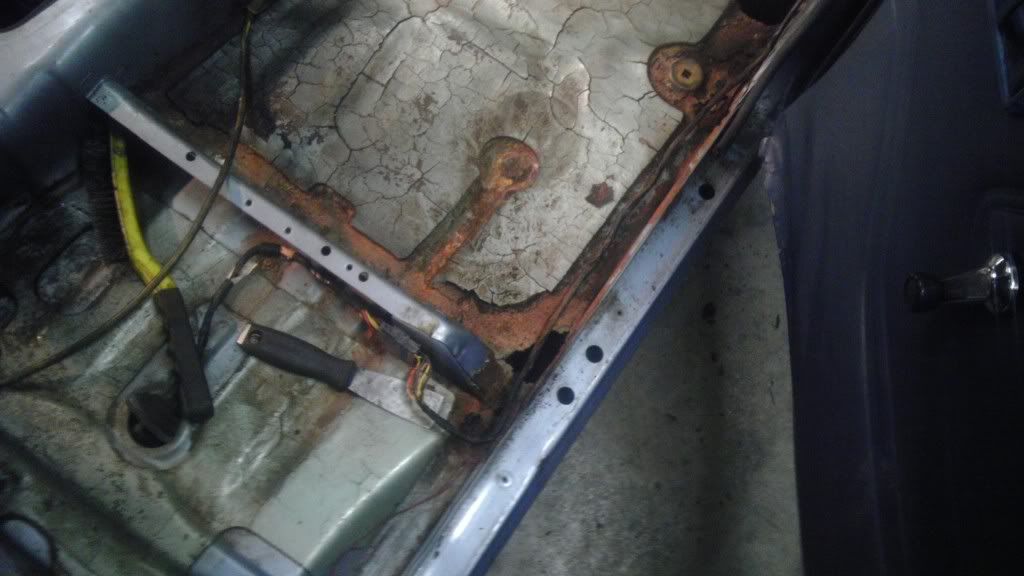
First, everything came out. I didn't take any pictures of that because I already had picture of that earlier when I had it out the first time. I did take pictures of my floor though. A couple of holes. I also found a patch panel on the driver side. Probably a rust repair from a previous owner. If you look earlier there are other patch panels in the back of the cab. Also probably rust repair. Typical Datsun rot.

Image

Image

Image

Image

Image

Image

Image

Carpet, seats, seat belts, shifter and new tilt column in.

Image

Image

You might notice that the heater box and fan assembly is out. I took the time to replace all the foam inside the box so now my heat/ac positions work like they should and the trap doors can seal. ALSO, for some reason, on rainy days, I would end up with a passenger side floor full of water and the fan box would have water in it too. I tracked it down to be above the fan motor. There is a standpipe type thing right above the motor that is supposed to keep water out. Turns out water was getting through the seal between the pipe and the cowl under the cowl. It's kind of hard to describe unless you've taken it apart. Stupid me, didn't take pictures of that. I ended up using RTV to seal on the inside of the stand pipe. Shouldn't have any more leaks, but we'll find out next time it rains. Pics of the heater box:

Image

Image

Image

Image

Heater box in.

Image

Gauge console in.

Image

Now here is where it gets real f*** interesting.

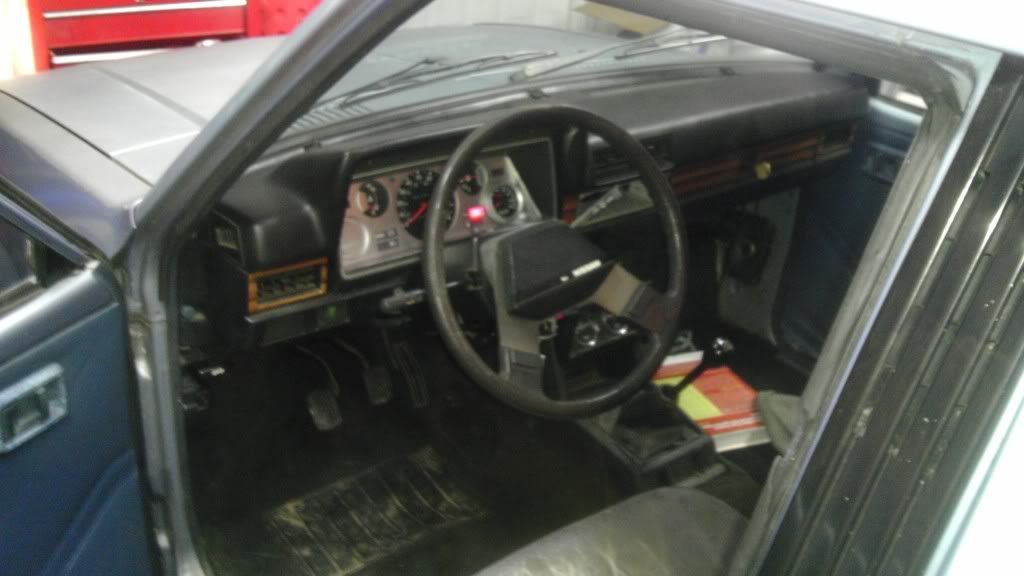
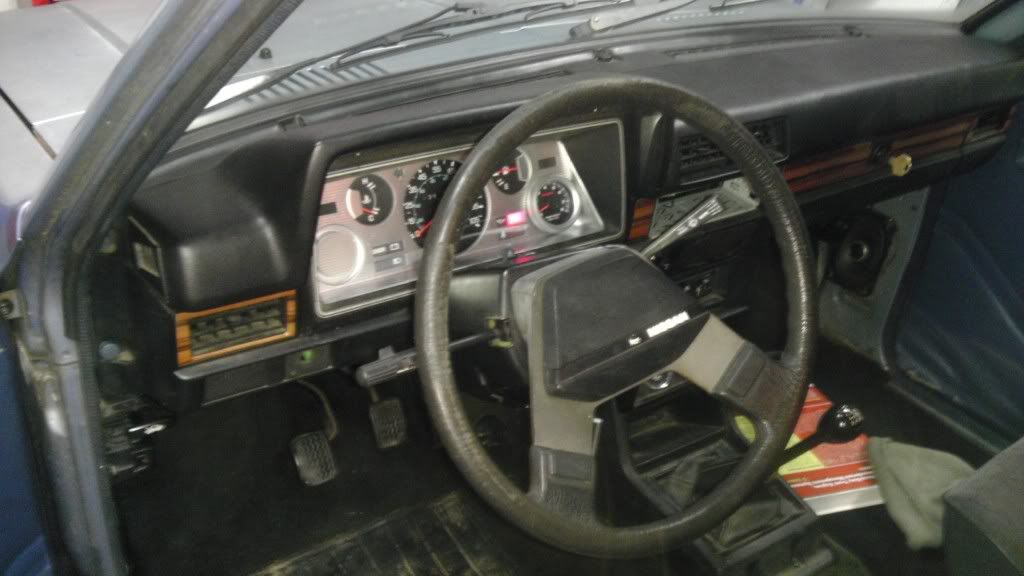
Tilt column swap. Do your research. Swap electrics year to year. This means, if you've got an 85 truck, you need an 85 TILT headlight switch. I got my column from an 84. The turn signal was the only thing that didn't plug in. Well, the 84 hazard switch didn't work either, but I just used my old one.

The tilt column is BIGGER AROUND. You can't use your standard column switch, even if you Dremel out the center, because on the tilt switch, they put the wiper lever down lower on the switch. You can't get the column surround on. WTF right? So, that leaves me with only the 84 switch. I had to get real f***' creative with my die grinder and managed to get the 85 turn signal guts into the 84 housing. They don't work real smoothly, but they work. Next time I'm at the junkyard, I'm going to hit up some of the later model trucks and see if'n I can find something that will work. I'll have updates if I do find something.

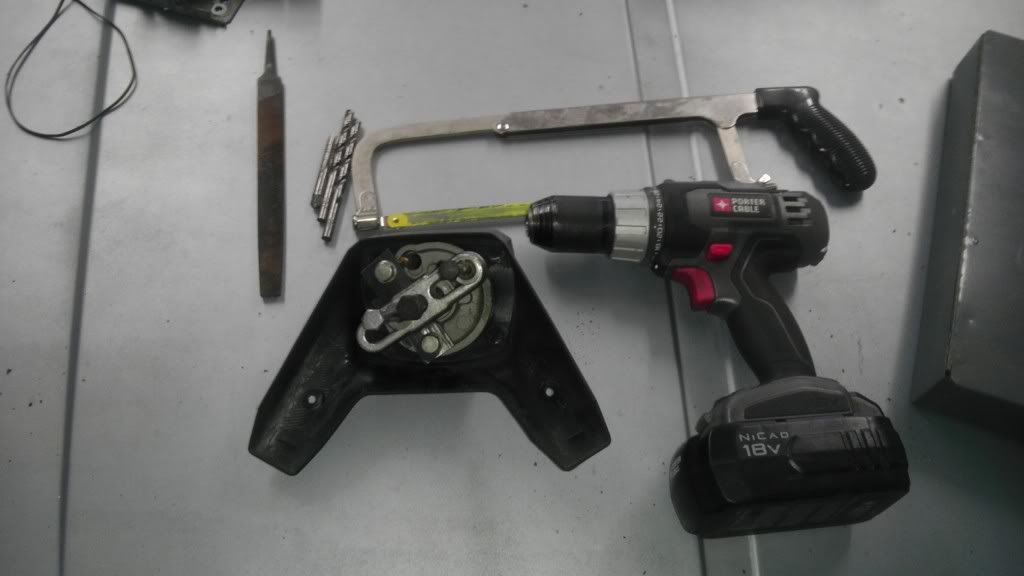
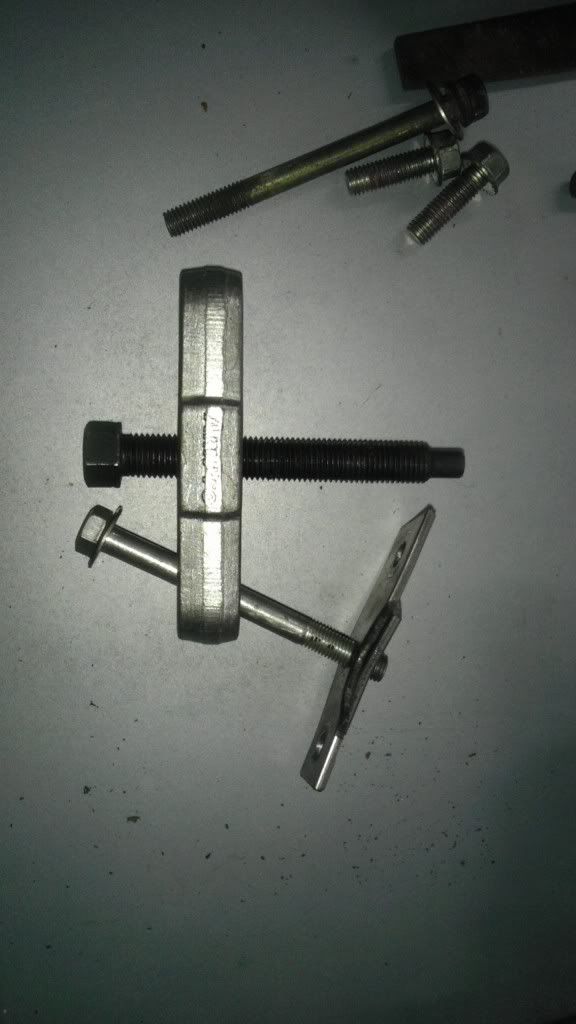
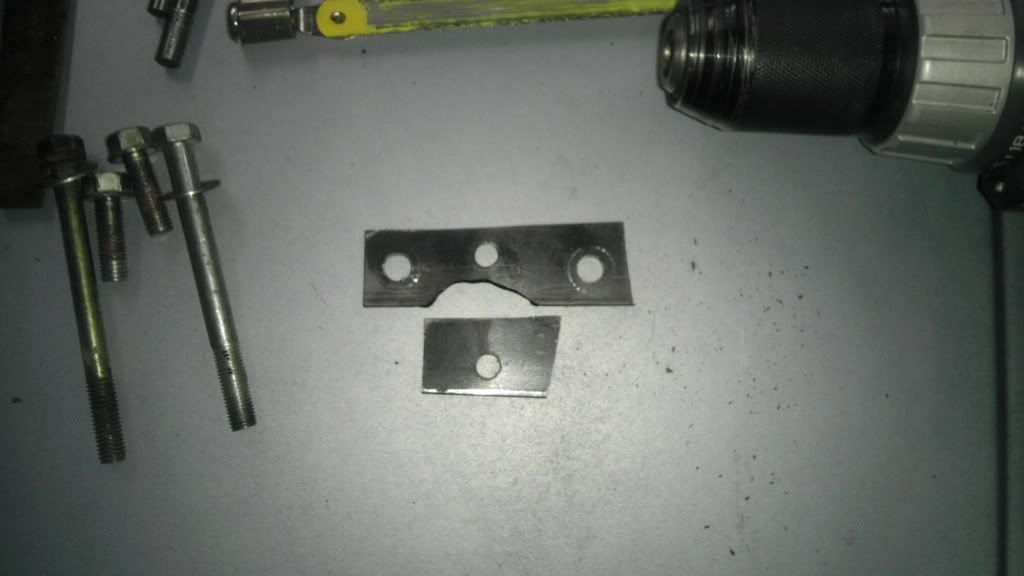
Here you can see what I had to do to get the wheel off. My regular wheel puller wouldn't work, so I had to make a plate to make it work.

Image

Image

Image

Here's a couple finished pics.

Image

Image

Image

I took the time to repaint my needles on my gauges since I was in there too.

Next up: New carrier bearing. Again. I got a good deal on just the rubber piece from rock auto, and it's already on my spare drive shaft. Maybe next weekend.

Also, If I can find me some place to get some pleather, I'll be making some door panels out of 3/16ths MDF. Good thing I grabbed those black door handles out of the yard! I also need to source some of the plastic clips that old them on. I'll probably get enough material to make me a bed cover too. While the door panels are off, I'll probably tint the windows too. Why the hell not.

Smyrna720
Posts: 67
Joined: Wed Dec 21, 2011 8:13 am
Car: 1985 Nissan 720 2WD stripper
1996 Chevrolet Caprice (The fast one)
1997 Dodge Intrepid (The beater)
Location: Smyrna TN, Home of the 720
Contact:

Post

You have got to be s*** me...

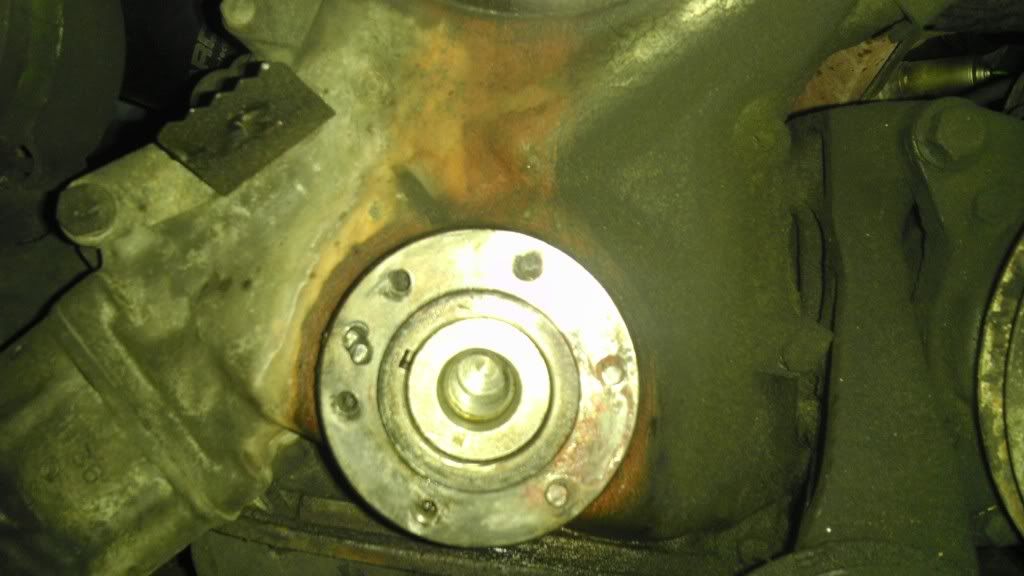
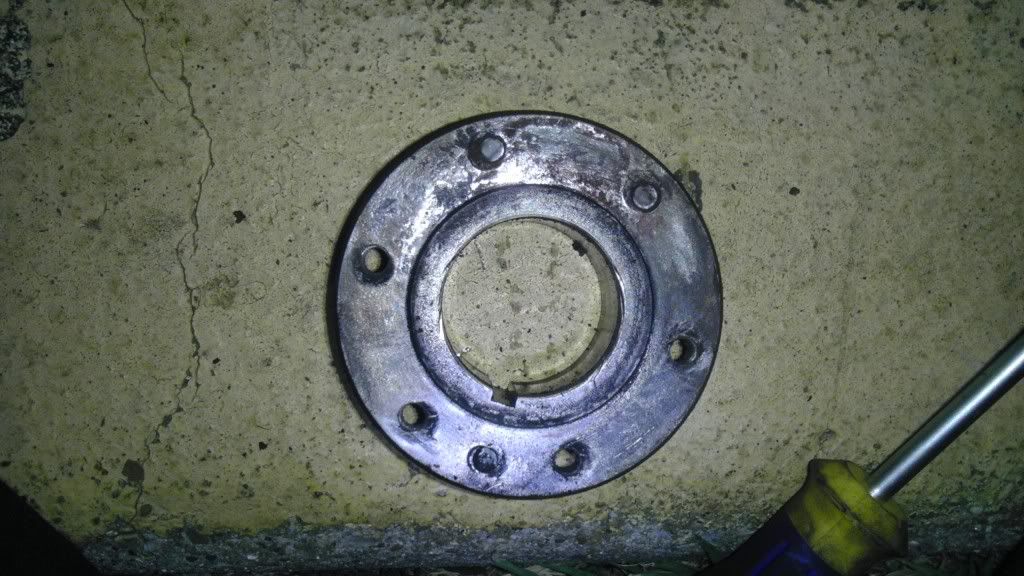
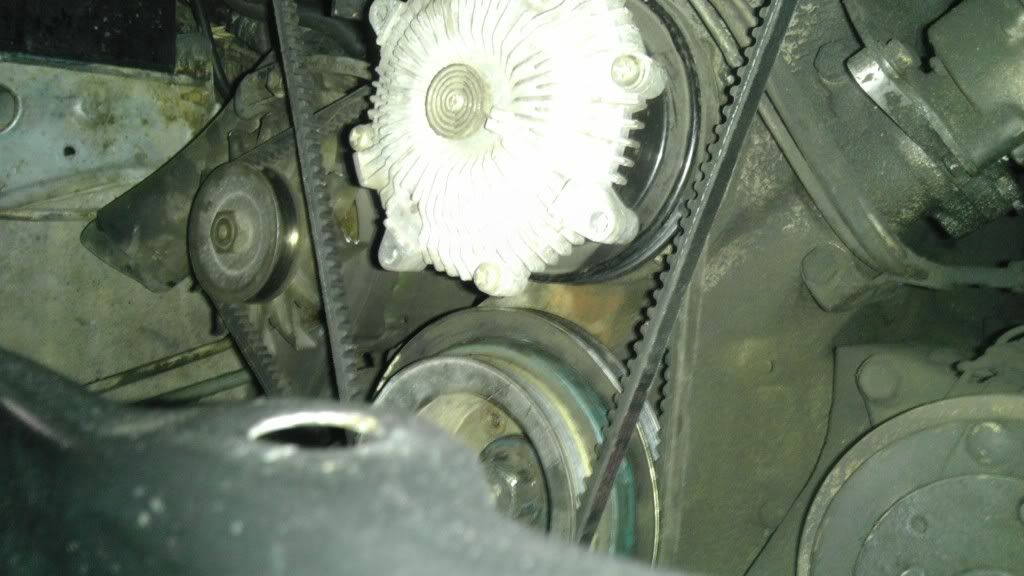
Last night on the way home on the interstate, I heard a ping, clunk then my charge light came on. I figured it threw the fan belt or something. f*** no it didn't. The crank pulley fell off!!! WTF? I have never seen anything like this on anything, ever.

Image

You can see how it bent the alignment pin when it broke off. Looks like 4 of the other bolts either fell out or didn't get put back after somebody had it apart. I don't know. Then, the last 2 bolts just broke off. Luckily, the 2 hubs just fell down into the belly pan and I didn't lose them. The belts more or less just stayed where they were minus the pulleys.

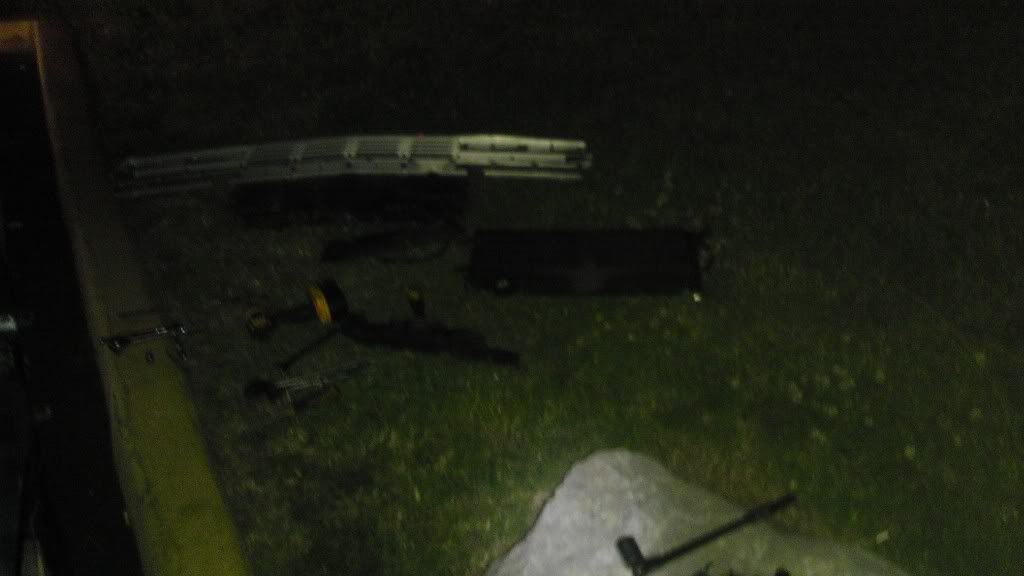
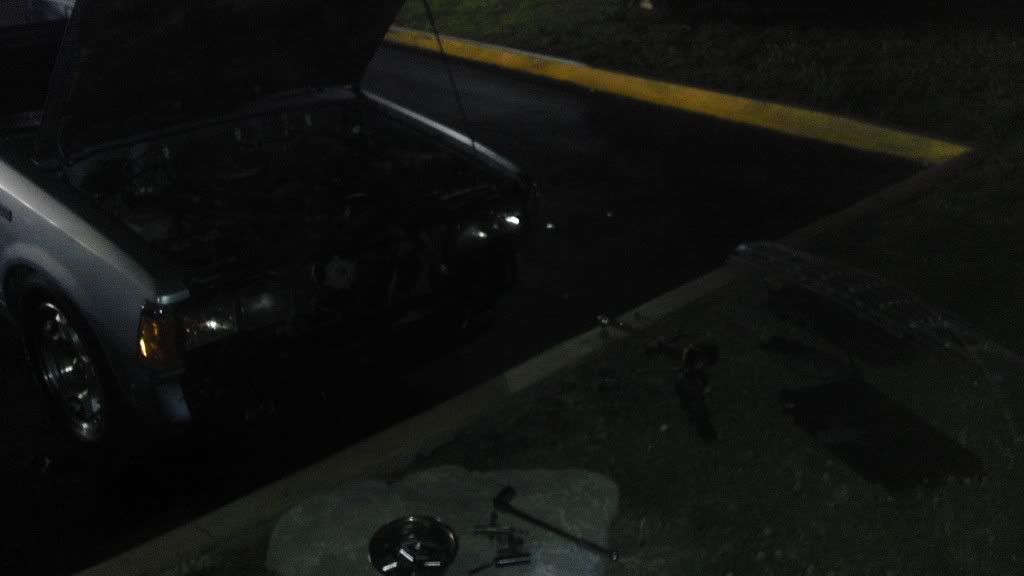
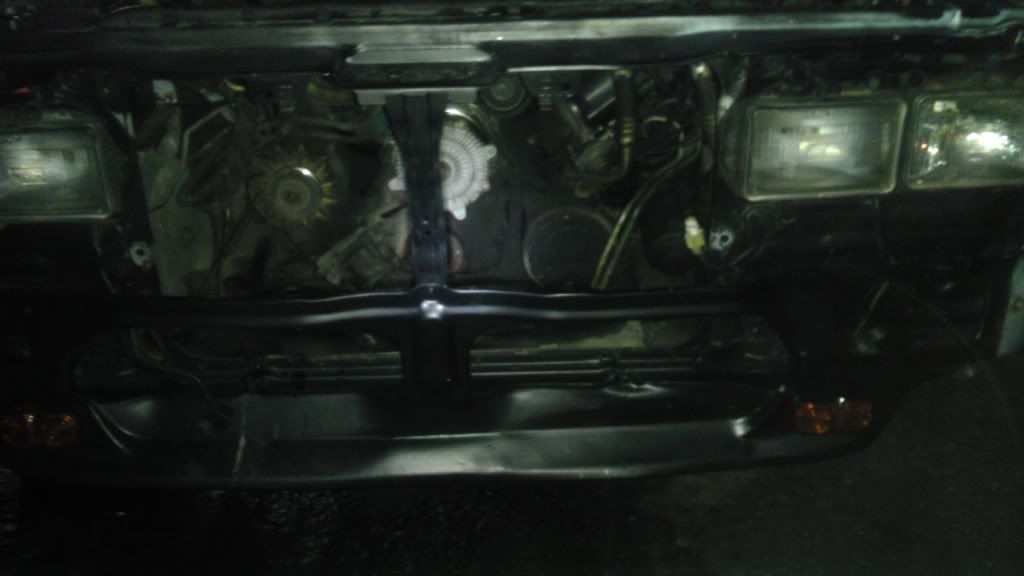
Either way, here is me, at 1AM in the parking lot of a truck stop.

Image

Image

Image

Image

Image

Anyways, I have no idea what the hell those bolts are made of, because I broke 4 drill bits trying to drill a damn hole in this thing and failed miserably. Looks like it's off to the JY this weekend to get me a new hub. Oh, and I get to resolder the radiator bracket back to the tank on the passenger side. Has anyone ever seen this happen before?


Return to “Datsun 720”