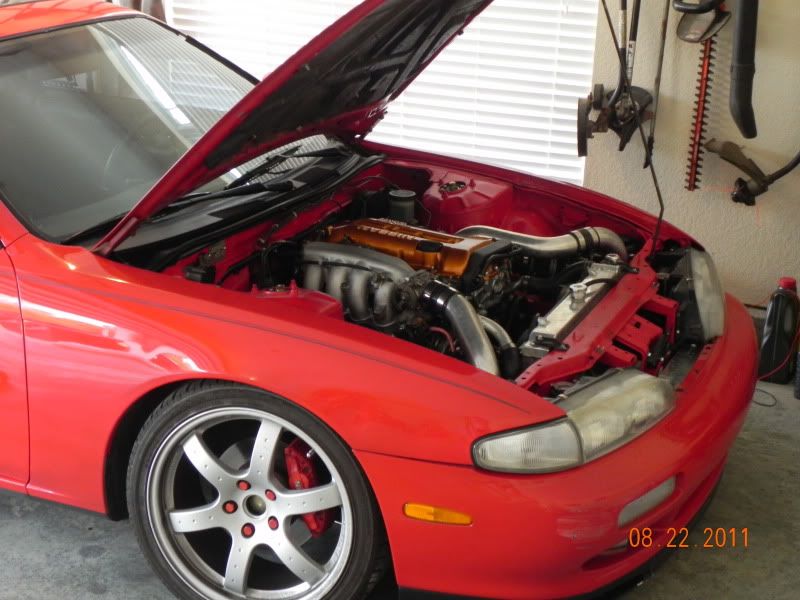
First, I'll start with the biggest news. As of thursday of last week, I had put about 550 miles on the motor since the rebuild. Since it hadn't given me any problems, and I needed to retrieve my a/c compressor from my old house up in Alabama, I decided to take it up for the first time since February. The car was driving great, for the most part. Basically, after fixing the TPS, the problem was opposite of what it was before. I can get on it with no hesitation, but when cruising it starts bucking a little. On the interstate I was cruising from 75-85 with no bucking( it only does it in lower rpms).
So the car made it just fine, and I opened it up for the first time(75% open throttle) and it felt great. It put a big smile on my face. Drove it back down to the sunshine state with no problems. I accumulated about 450 miles total on the trip and it's still doing fine, other than the bucking.
On with the update. Last time I posted I was having issues with the TPS not staying tightened down. So I headed to Lowes and picked up some new bolts and locking washers. From what I've read, the s13 sr's already came with bolts that used socket heads, but the s14(and most likely s15) sr came with inferior allen heads. Mine stripped the first time I ever tightened them, and I'm guessing after that they weren't tightening down fully. Anyone else with this problem, here are the bolts I got

The M4 lock washers with be in the same drawer. For added protection, I put some locktite on the threads. The heads of these bolts use a 7mm socket or wrench. While I was there I picked up some new bolts for the coil pack cover

In case anyone else needs to know which ones to get. These are the same type allen head that came on the motor. If someone can confirm that the s13 sr coil pack cover uses the same bolts, that'd be much appreciated.
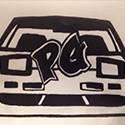
Last week I decided to paint my valve cover. I liked the color, but it just didn't pop like the red one did. It seemed bland. I didn't want to do red again, so I chose a new color. Here's a few pictures. I was feeling pretty artsy on photobucket


The color is Burnt Copper. It's by VHT and I got it at Autozone for like 8 bucks a can. I did 3 coats primer, 4 coats color, 2 coats clear. Yesterday I fount my file and filed down the letters, but didn't get any pics. The coil pack cover was already painted black, and I went back and painted the letter silver. I like the way it looks, but I feel that it's too much black. I'm thinking of pulling the exhaust mani heat shield and having it sandblasted. Thoughts?
Last bit of progress. I received my CodyAce A/C brackets earlier this week, and decided to install them today after I got out of class. I must say, once again I am very satisfied with what I received. Here's the full kit:

And the A/C compressor

Now, I've been trying to keep everything clean, so this wasn't going to fly. The other night I opted out of homework and instead sat on my arse for an hour and a half going over every inch with Purple Power degreaser and a steel brush. End result:


Much Better!
I also decided to replace the bolts that held the main bracket to the engine, as I couldn't find mine. Plus, I figured might as well since all the other A/C hardware was new. Here's the bolts I got:

Of course, you'll need 4. If you want to go with locking washers, as I did, get 30-35mm long ones instead of 25.
Everything together:

For anyone doing this install, you'll need to grind down the two nubs at the bottom of the bracket like so:

If you are blessed, you have a grinder and can complete this in a matter of a few minutes. If you are like me, however, head to Harbor Freight and get some metal cutting blades for your dremel. Took me about 30 minutes to get it done.
Once you have them cut off and filed down til flat, you can install the brackets, but only the bottom one

This picture is just to show you how they are installed. Reason for only installing the bottom bracket at this time is because the top bracket covers one of the holes where a bolt secures the entire thing to the motor:

And then the A/C compressor. Again, this it just to show how it is installed and how it lines up:


Perfect!
I found the next step is easiest if you jack up the car and penetrate from beneath
Bolt the main bracket to the motor, and then the top CA bracket. It's also safe to note that I used locktite on everything

And then the A/C compressor, which you can kind of see here

Here is the only real problem I ran into. Before putting the A/C compressor up into place, put the top two mounting bolts through first. Once it's in place, the bolt doesn't have enough room, as you can see here:

Now, onto clearance. It's pretty tight, but still plenty of room
Power Steering lines:

Sway bar:

After that you can connect the high and low pressure hoses. I had to make room for the High pressure due to my fancy coolant overflow

And last, the belt:

I'm getting the system charged tomorrow so hopefully it all goes smooth. I mentioned that I used locktite on everything, and I also replaced all the o-rings on the hoses. Better to be safe than sorry.
That's it for now. Just need to work out the hesitation issue. It also started running rich again, so I need to look into that. I want to send out a big thanks to CodyAce for another awesome product.