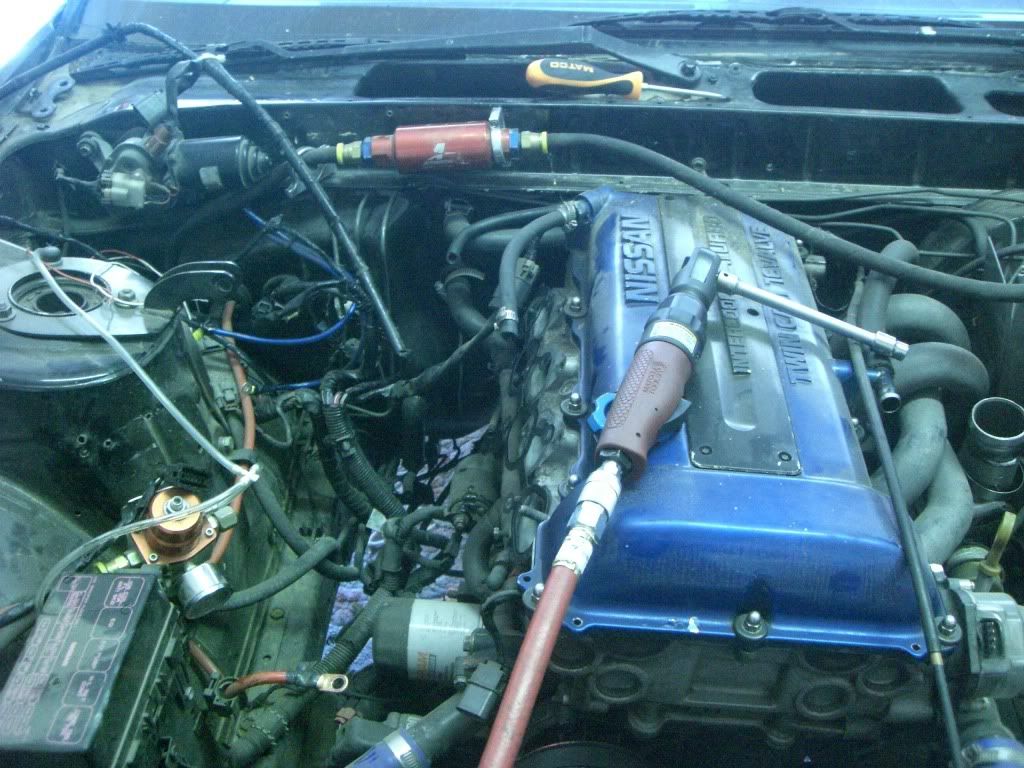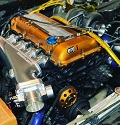
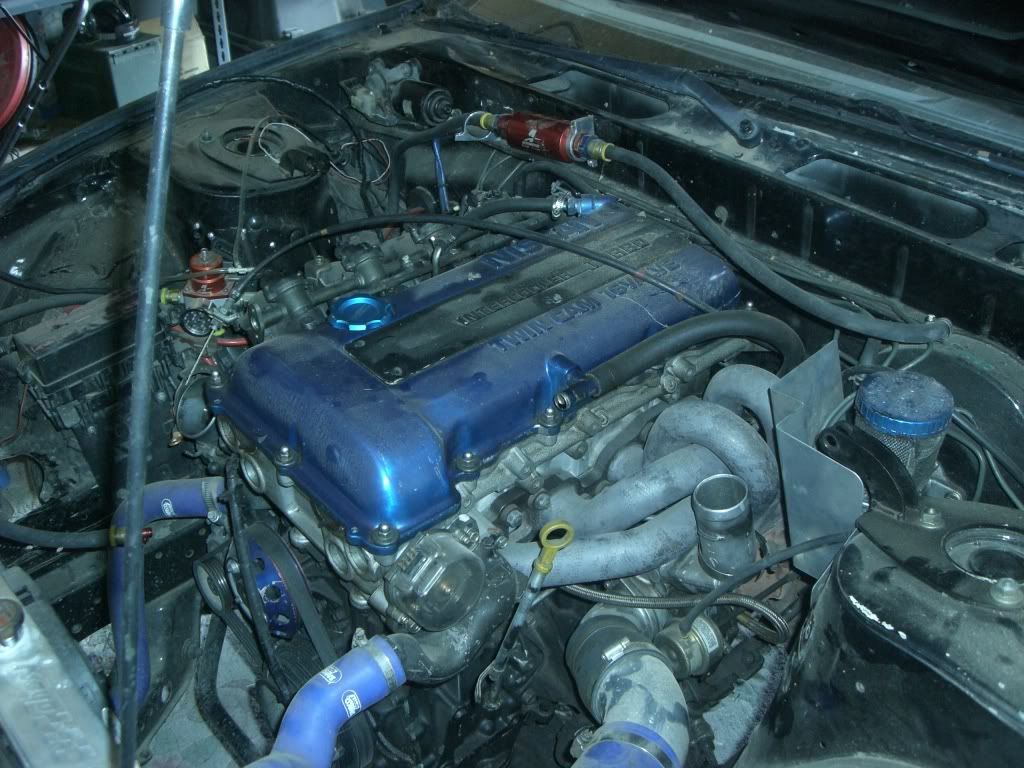
This is what the engine bay used to look like:

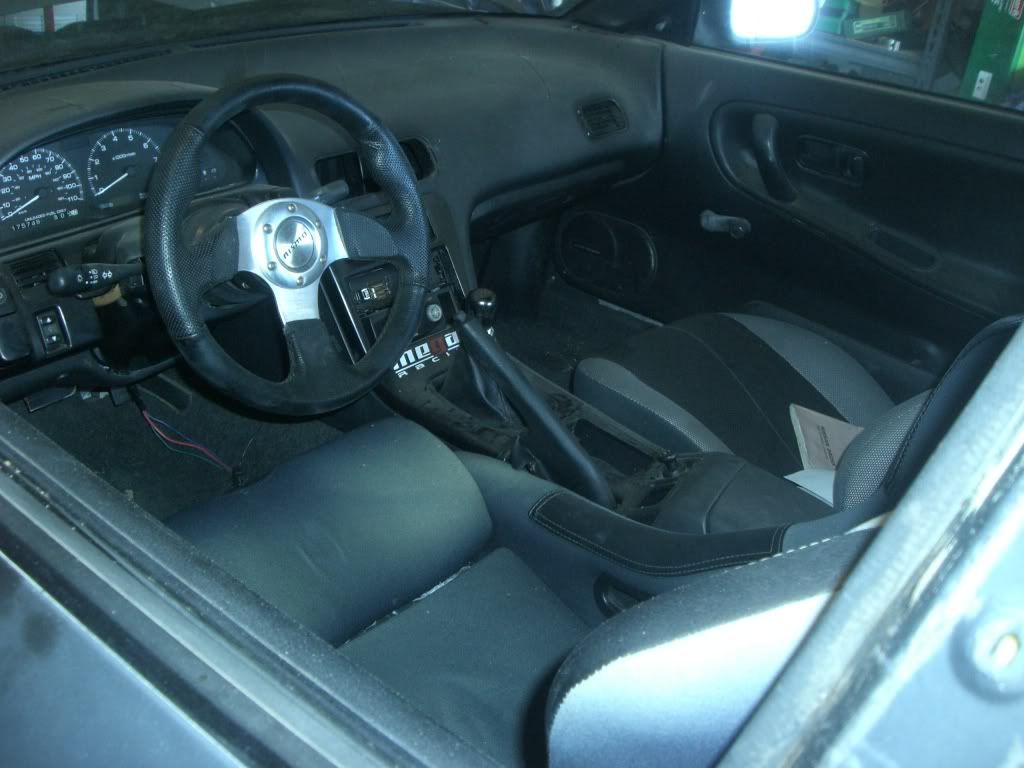
This is how it looks after a year of sitting:
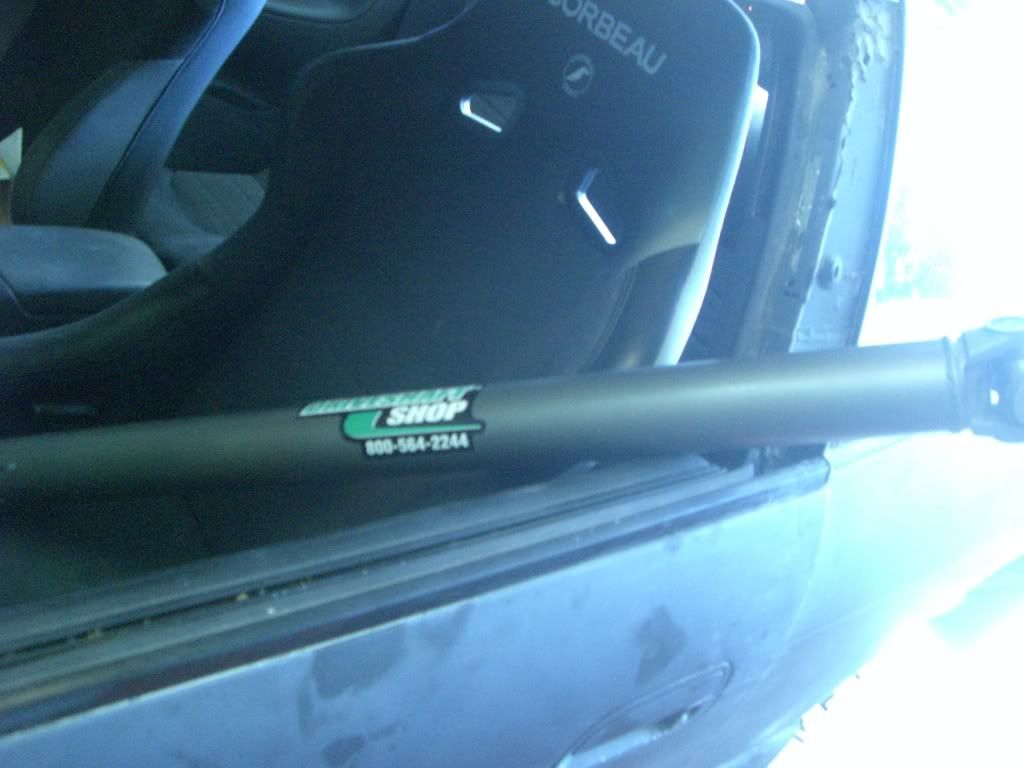
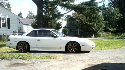
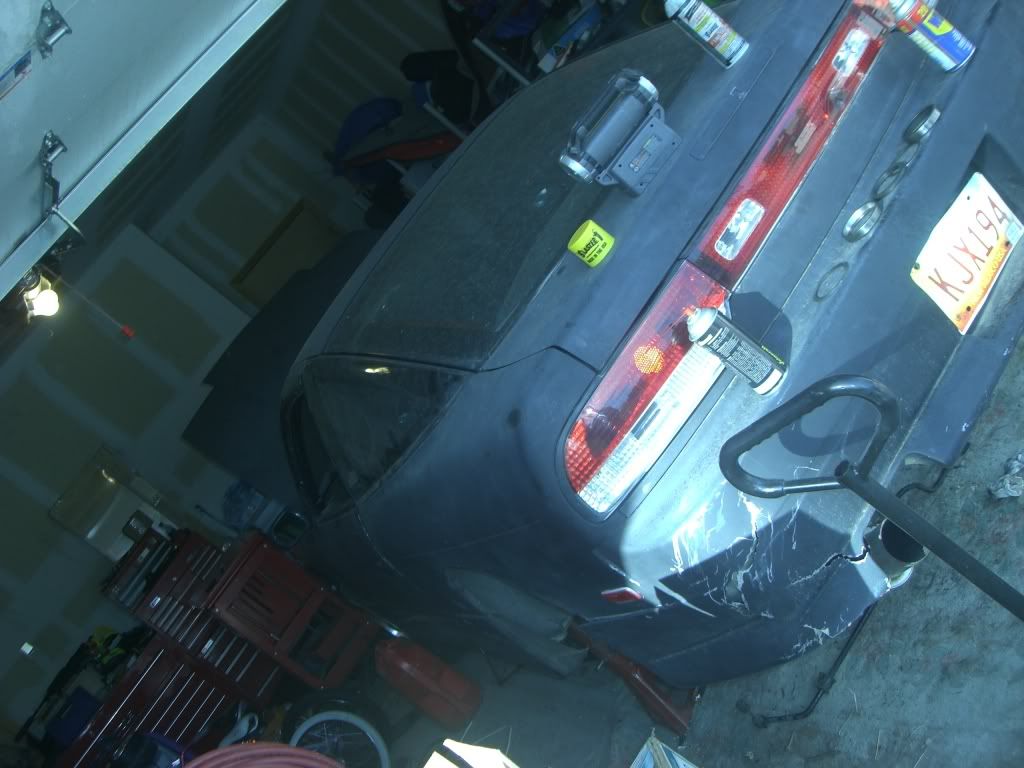
This is an old body shot of the car:

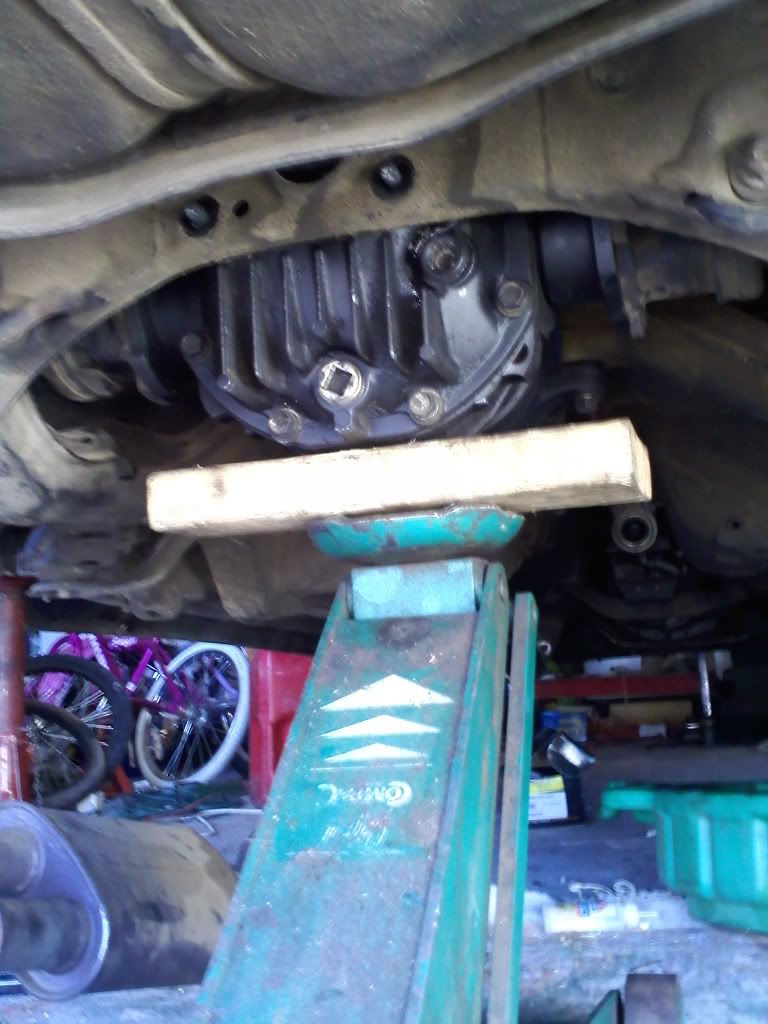
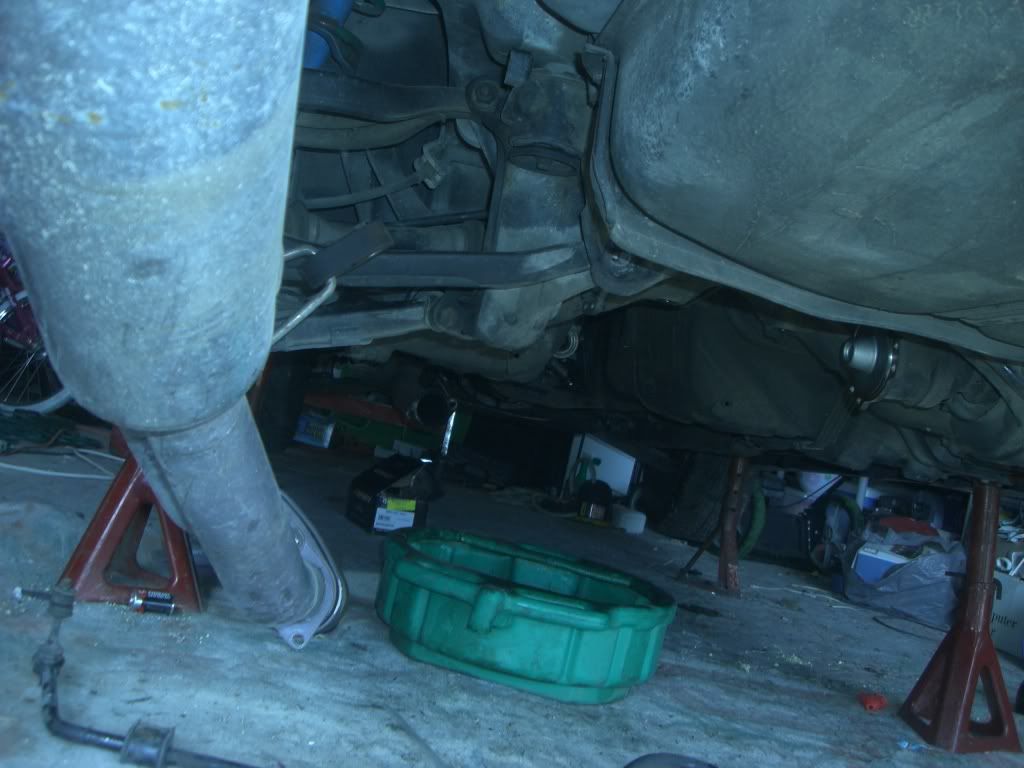
This is how it sits now. On some jack stands ready to be worked on.
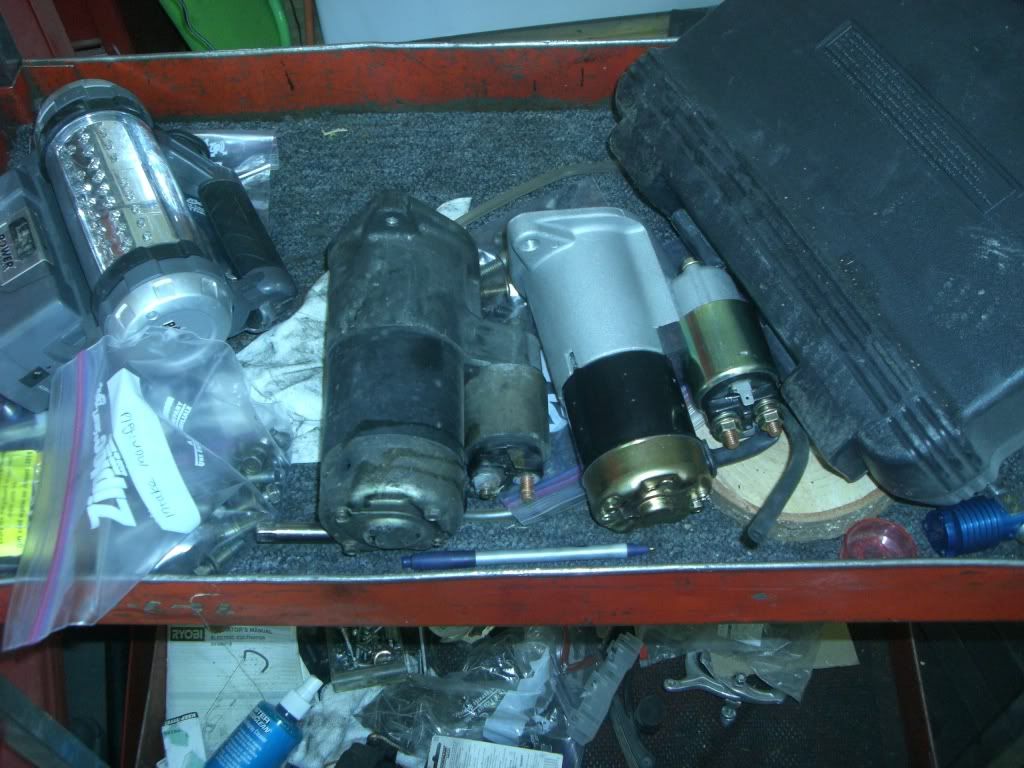
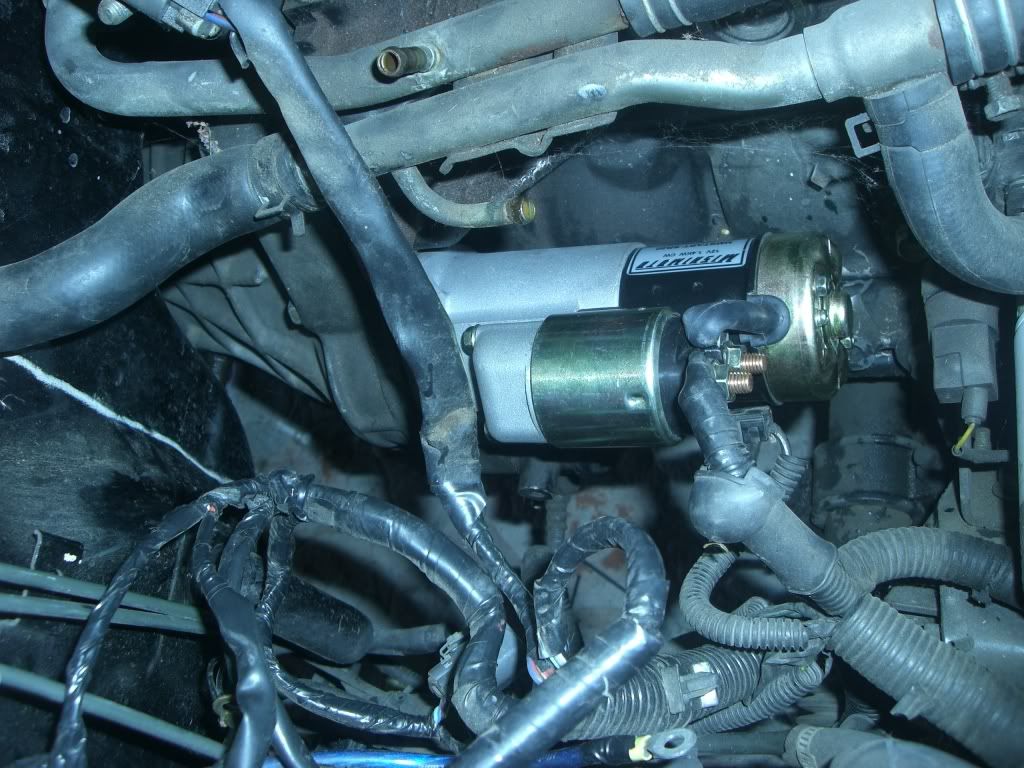
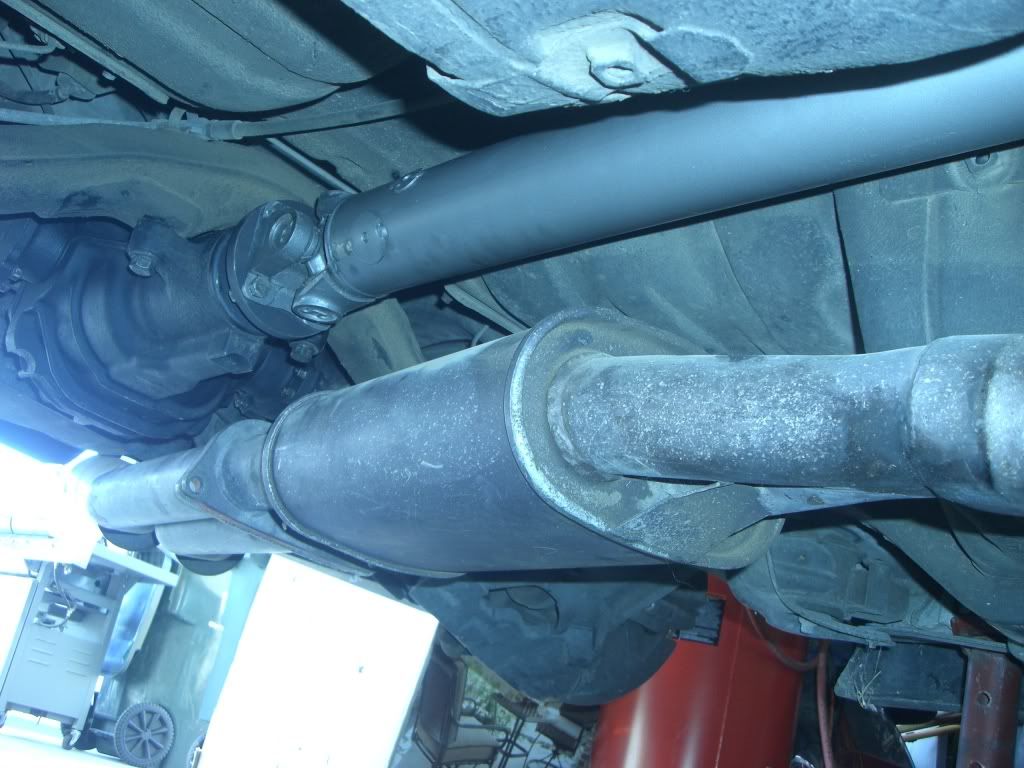
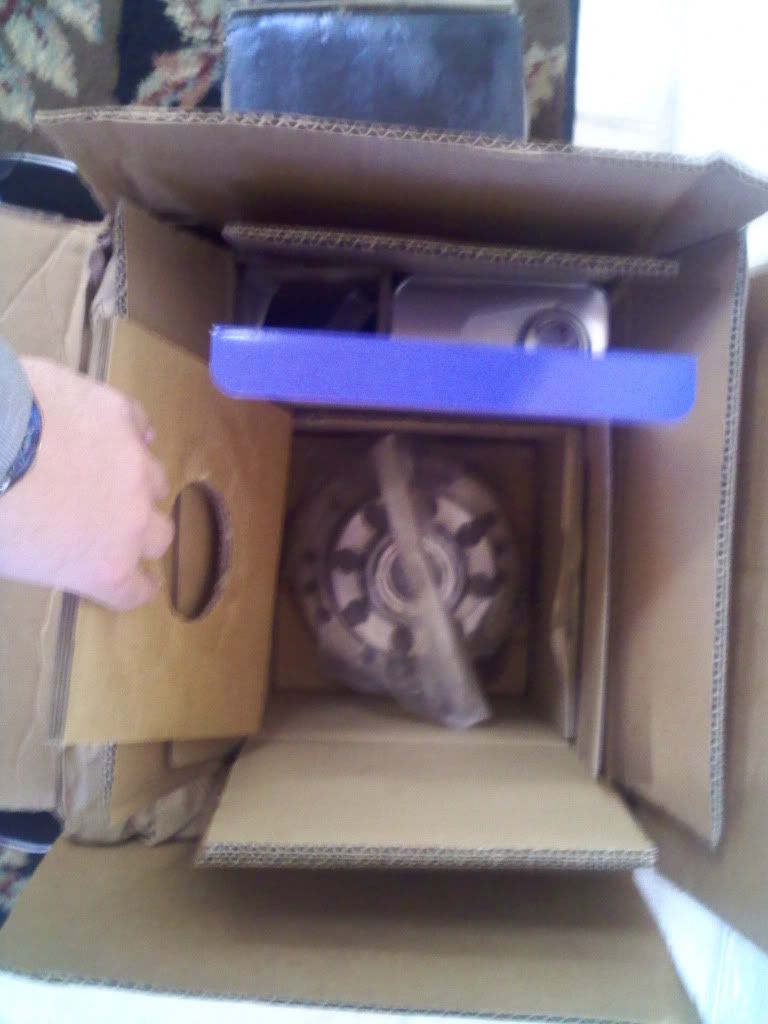
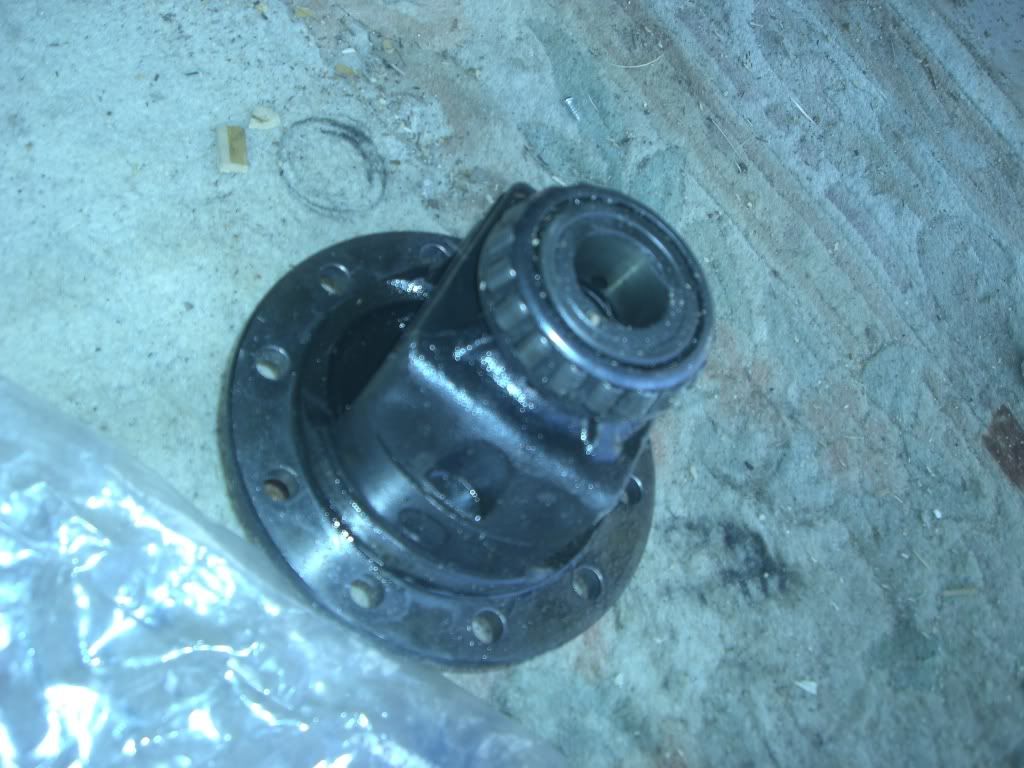
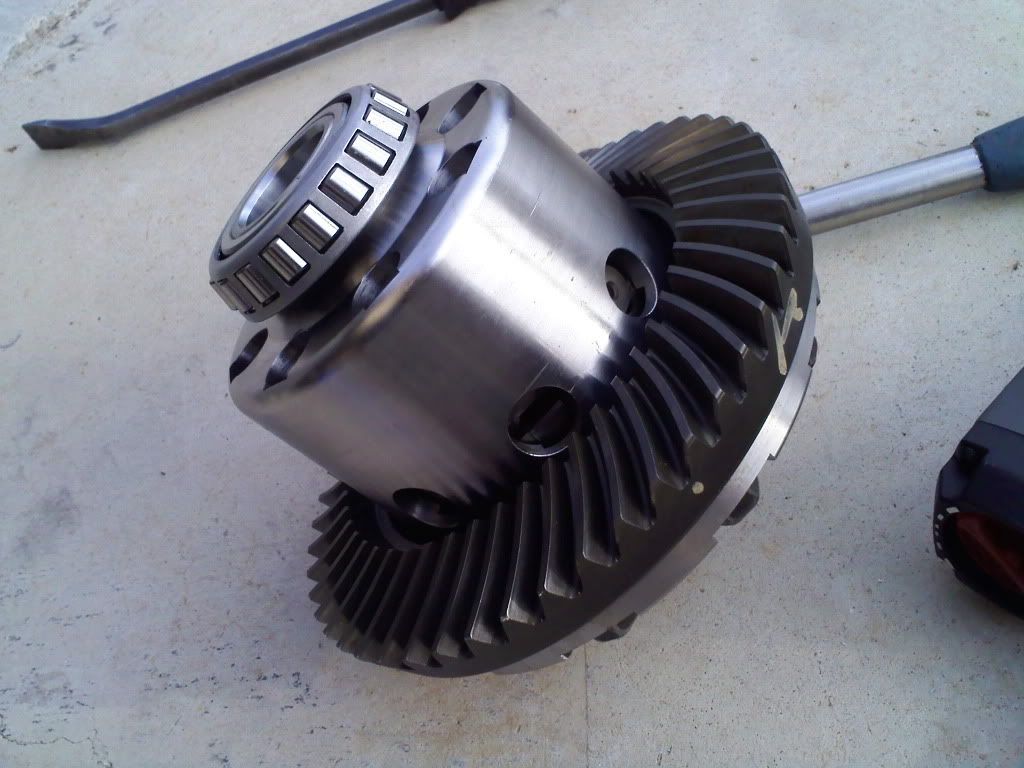
So I ordered a brand new kaaz 2 way diff, 1 piece steel driveshaft, and a new starter since those were the 3 things I knew needed to be replaced to drive her again.
The driveshaft is still on its way in the mail. I got the diff today though.
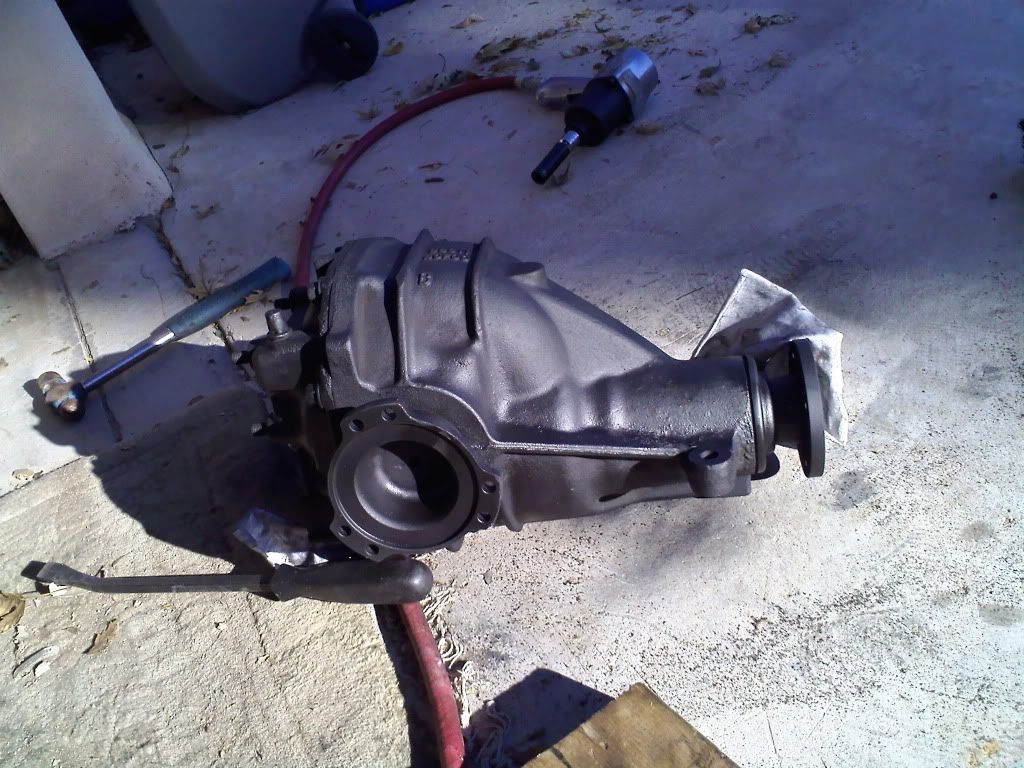
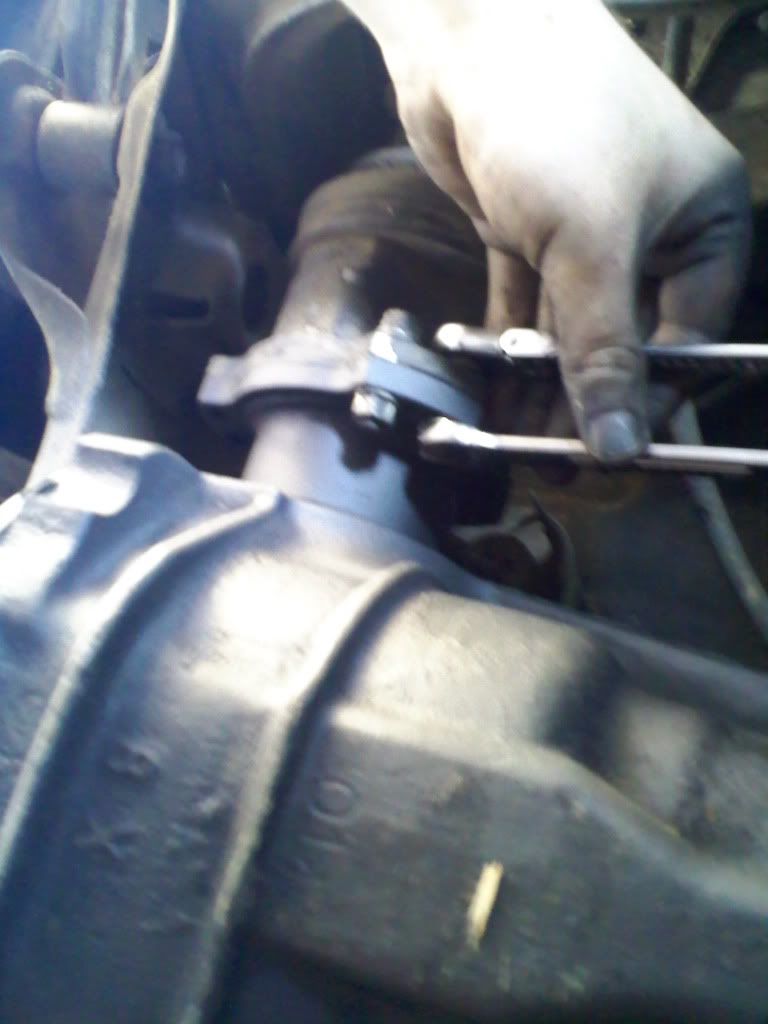
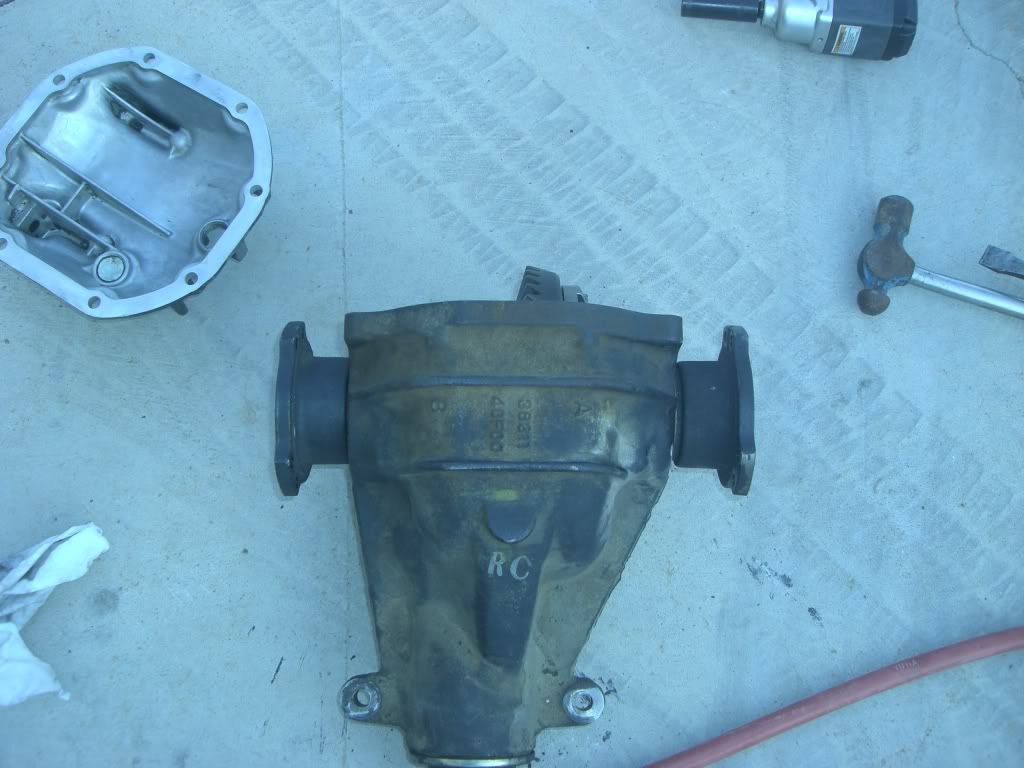
So then I ripped out the old diff and driveshaft:
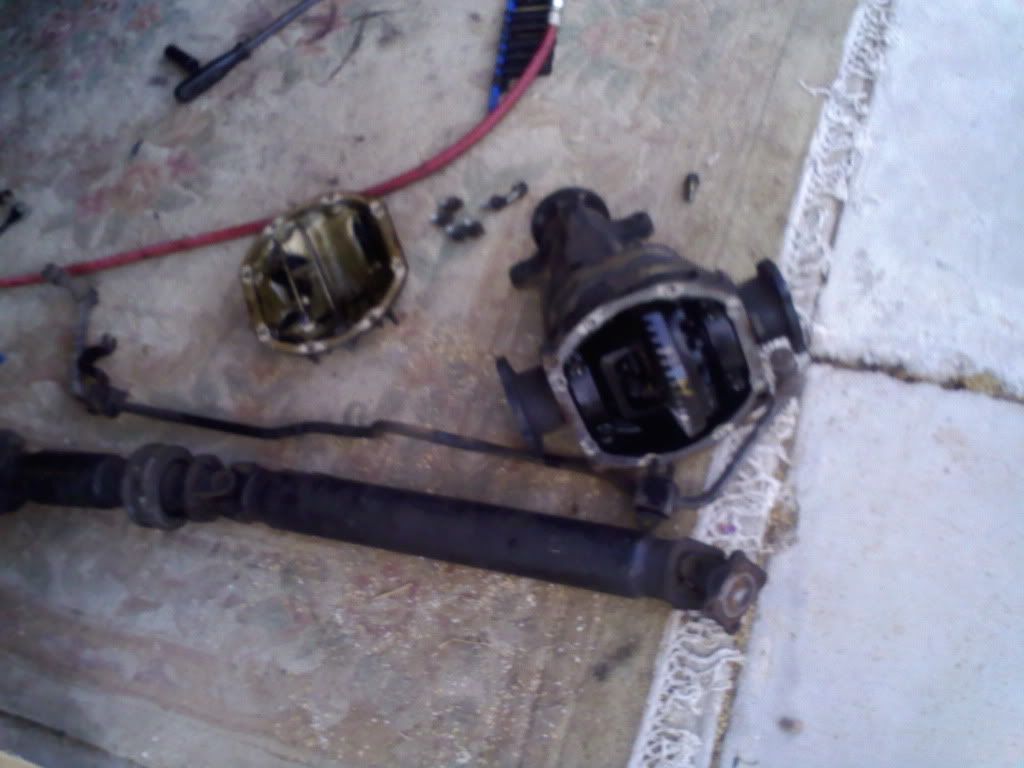
Hello old diff:
Say goodbye to your outside gear:
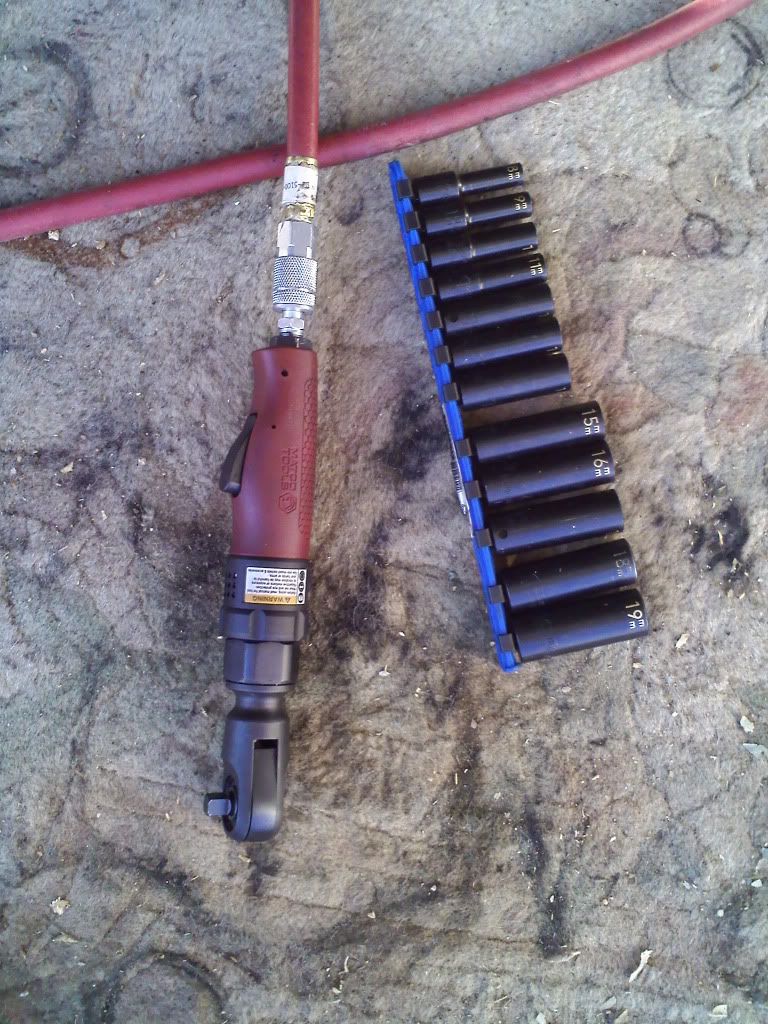
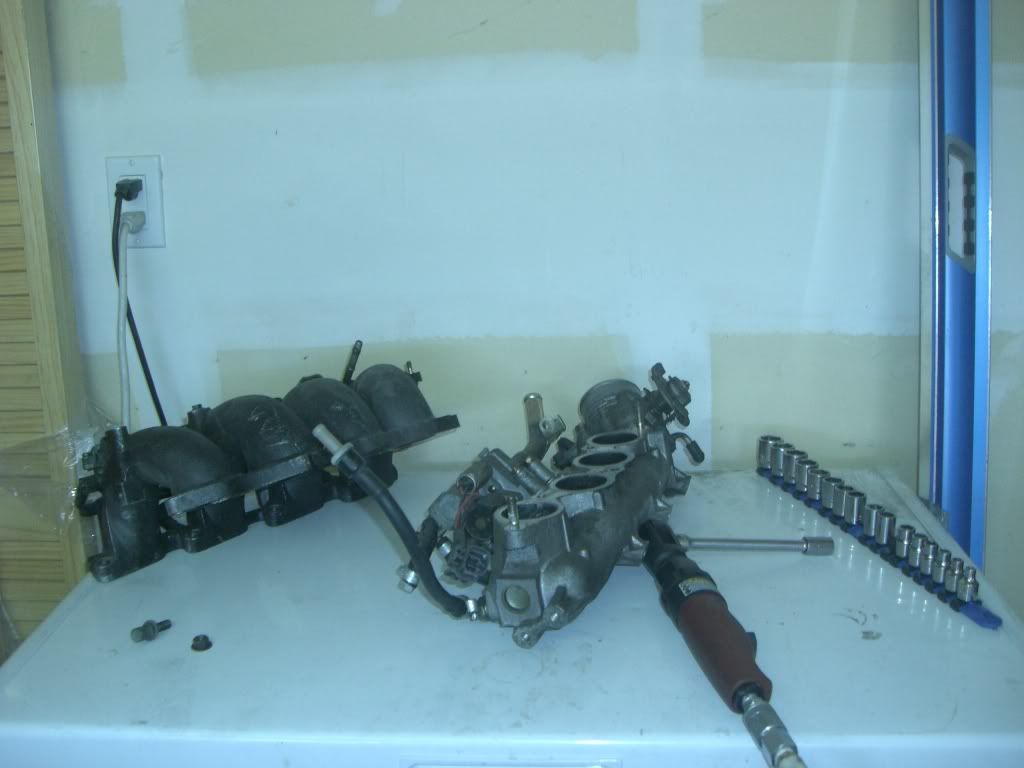
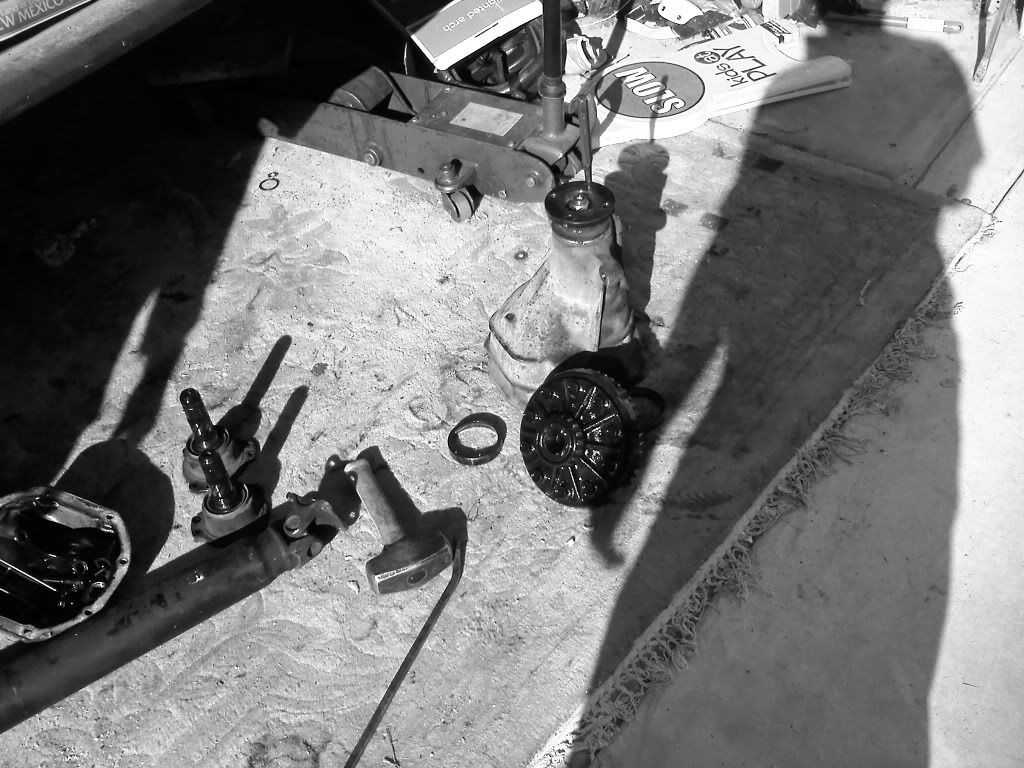
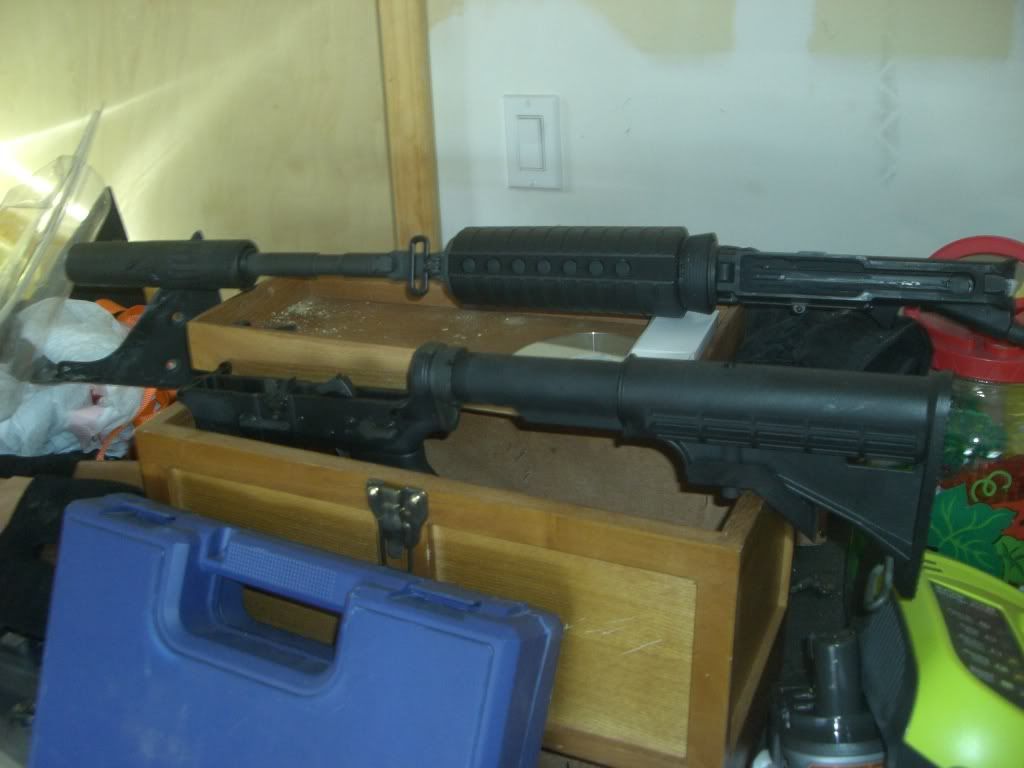
A nice set of tools really makes the job easy.
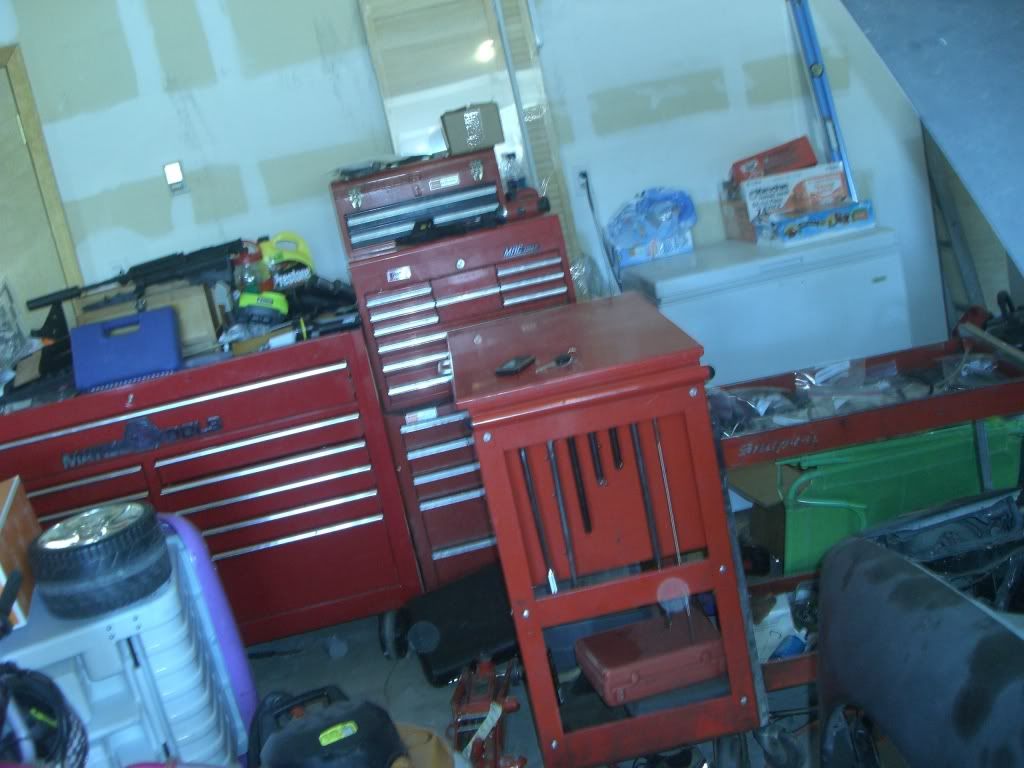

And yes that is a silenced m4 being cleaned sitting on top of the toolbox.
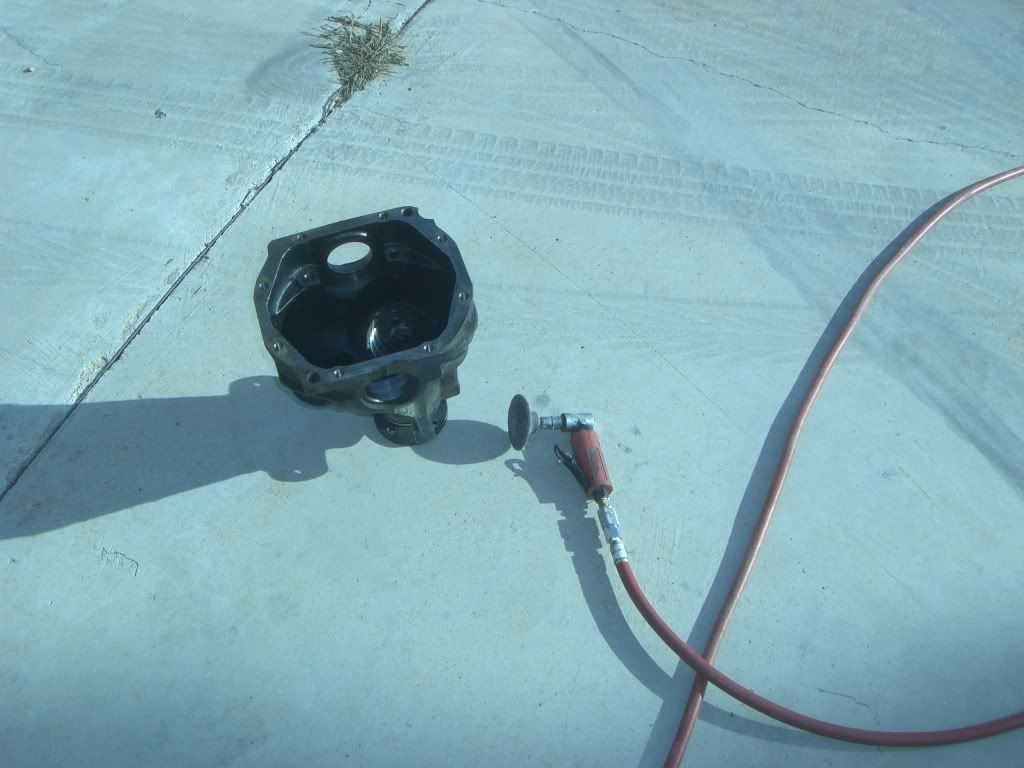
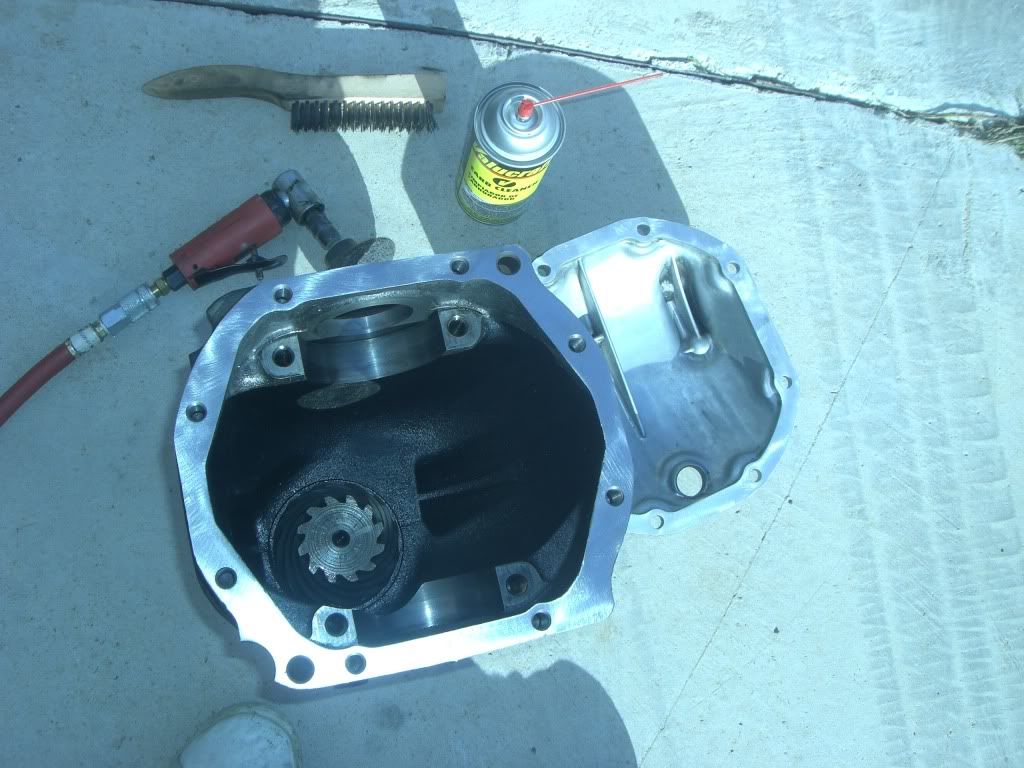
Cleaning the inside of the pumpkin.

Aww don't they look cute together? They're all one big happy family!
When cleaning the diff pumpkin and removing the old gasket which tool would you prefer? The old school scraper? Nah...f that.
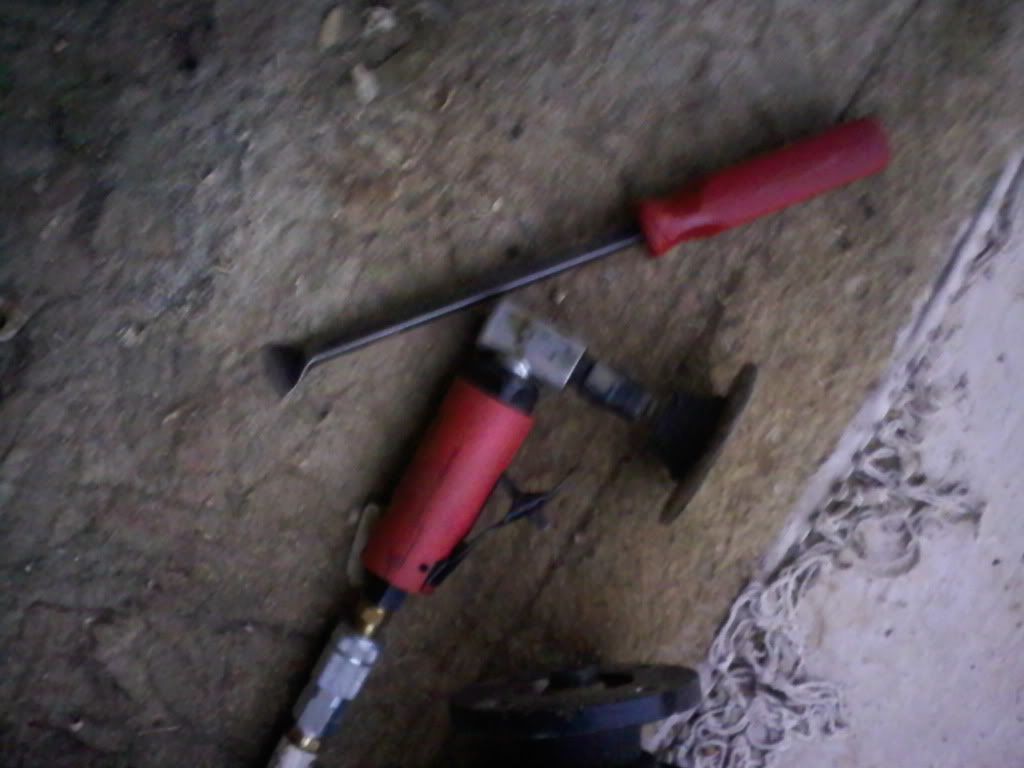
The angle grinder made quick work of that old gasket.
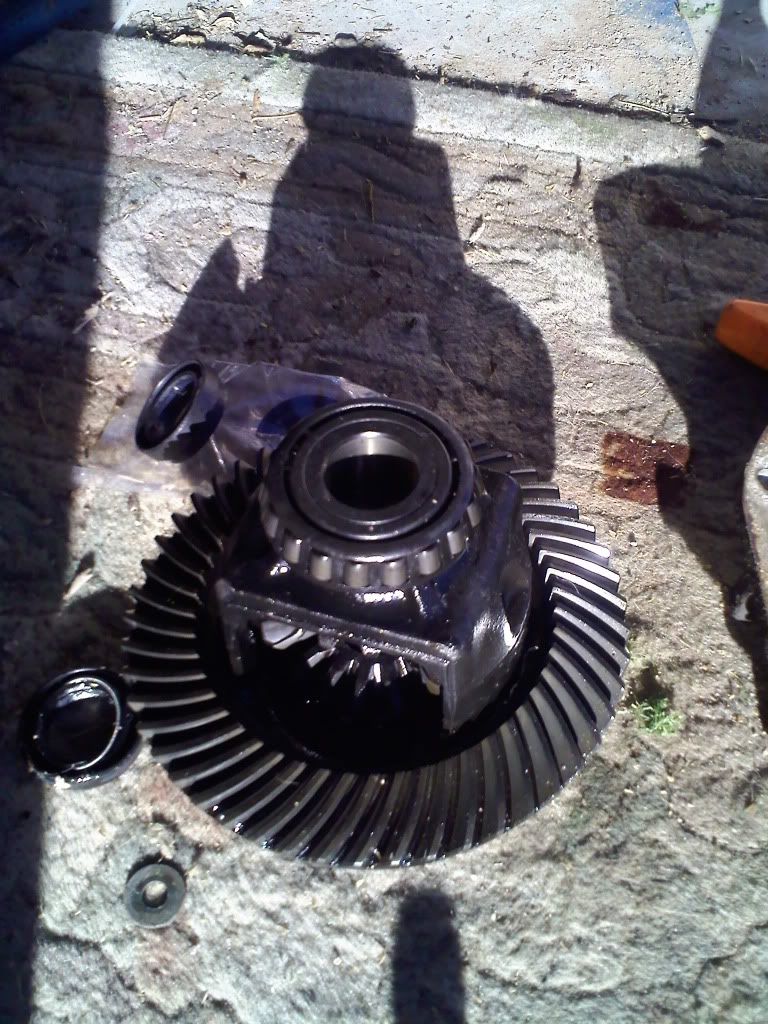
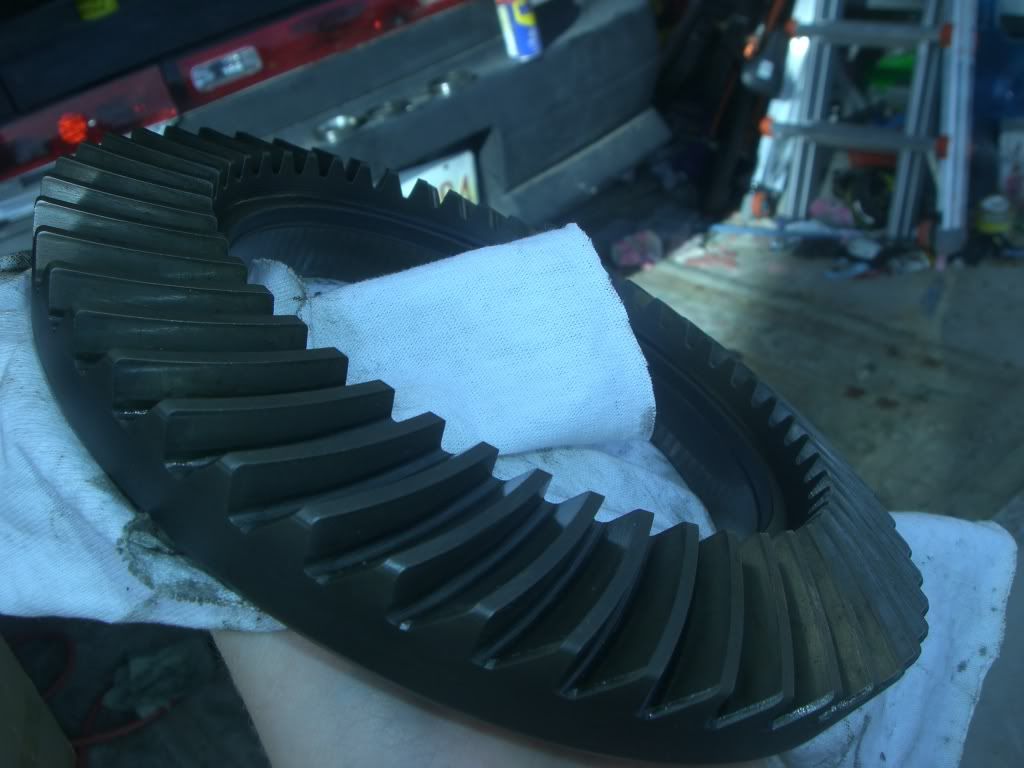
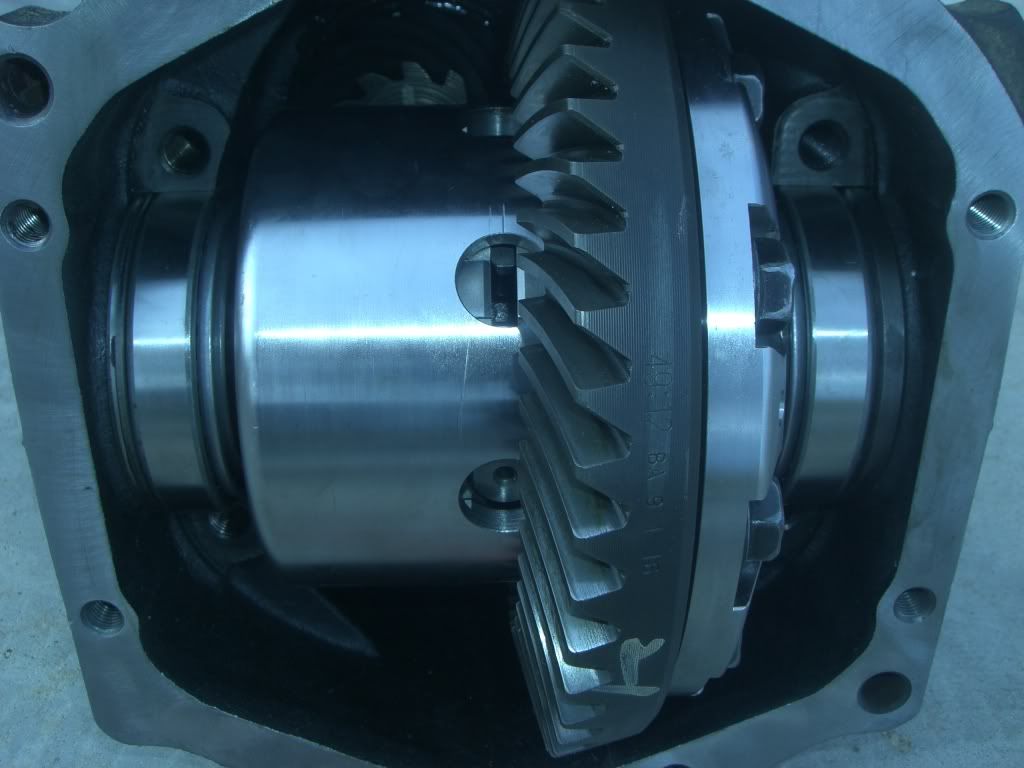
Next was putting the main gear on the new diff.
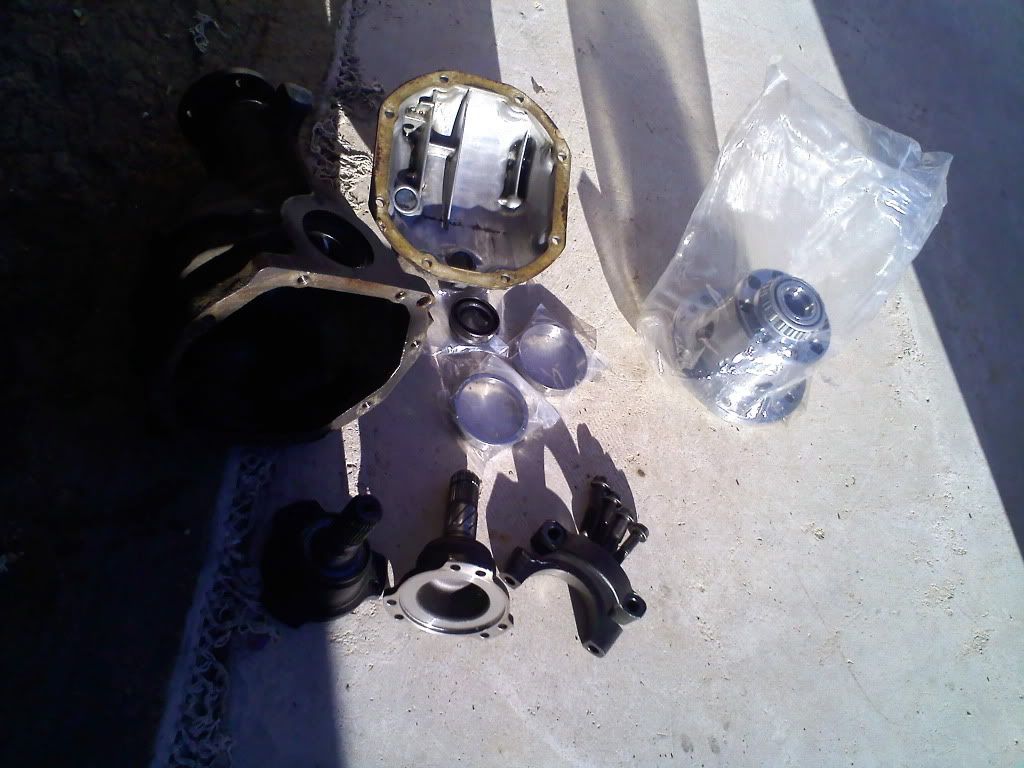
Make sure to scrub that sucker clean with a wire brush and some good cleaner.
Hello cleaned half shafts.

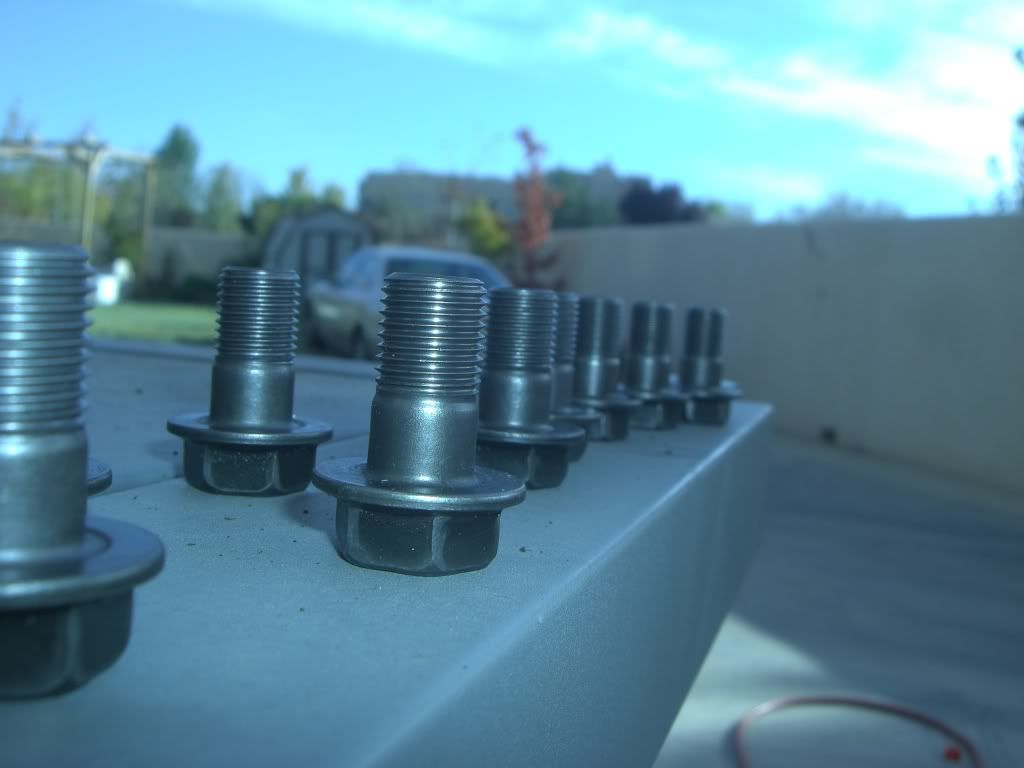
These are the bolts that bolt the main gear onto the diff. A good cleaning is recommended so they sit and seal right.
Time for the fun part.

Blam got those on.
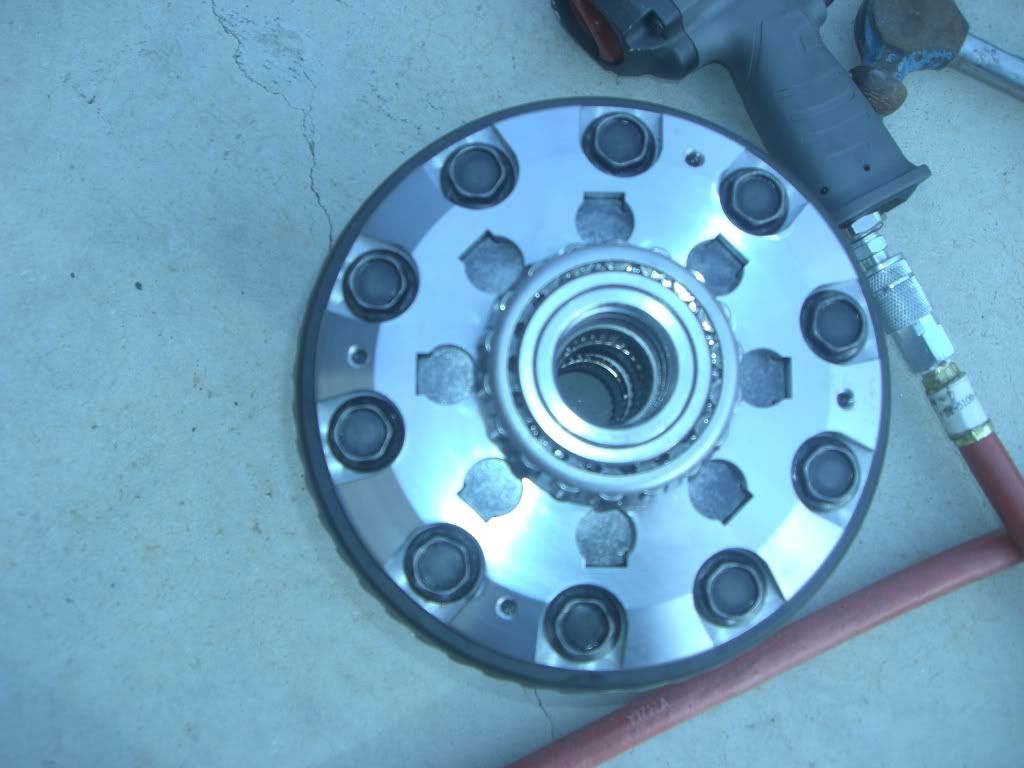
Oooooh lookin sexy:
When I took out the old diff I did not pay attention to where the washer type things went. It seems I got them wrong thank you Hijacker for informing me. I will go fix that tomorrow.
Quick bolt up.
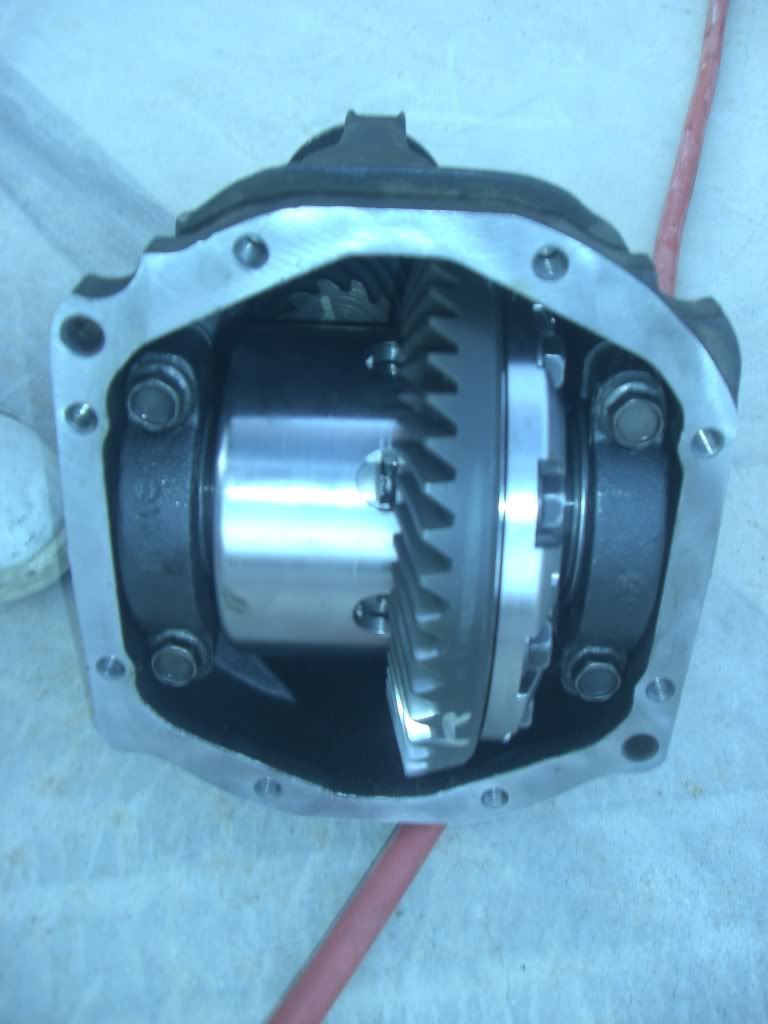
Half shafts on.
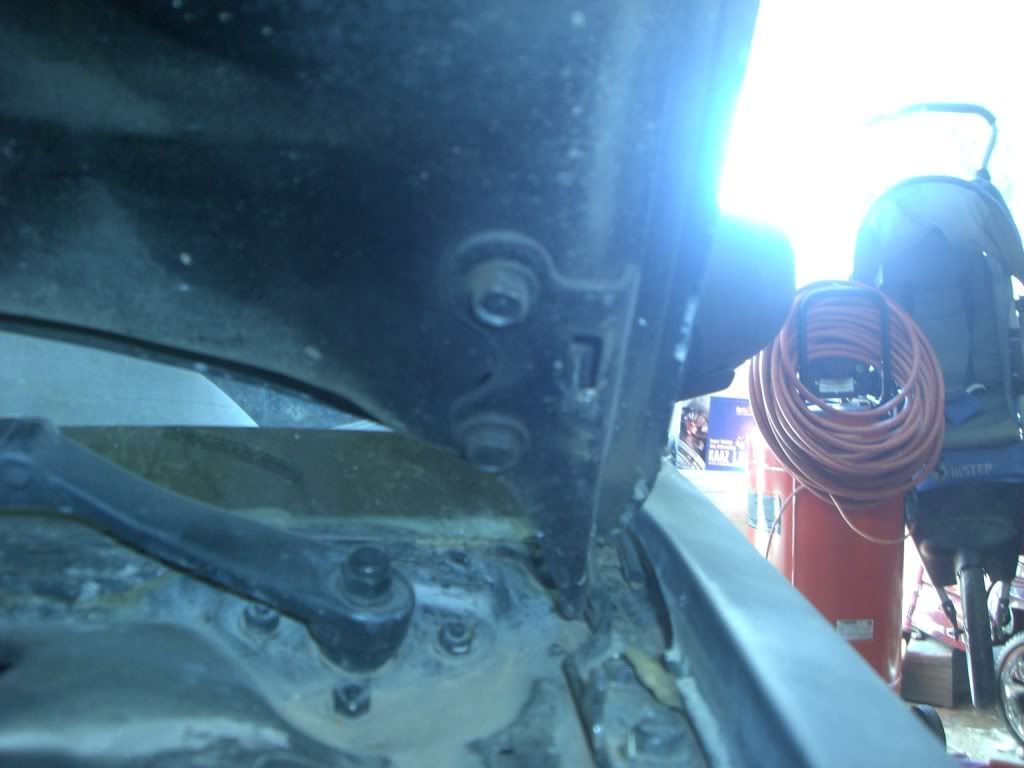
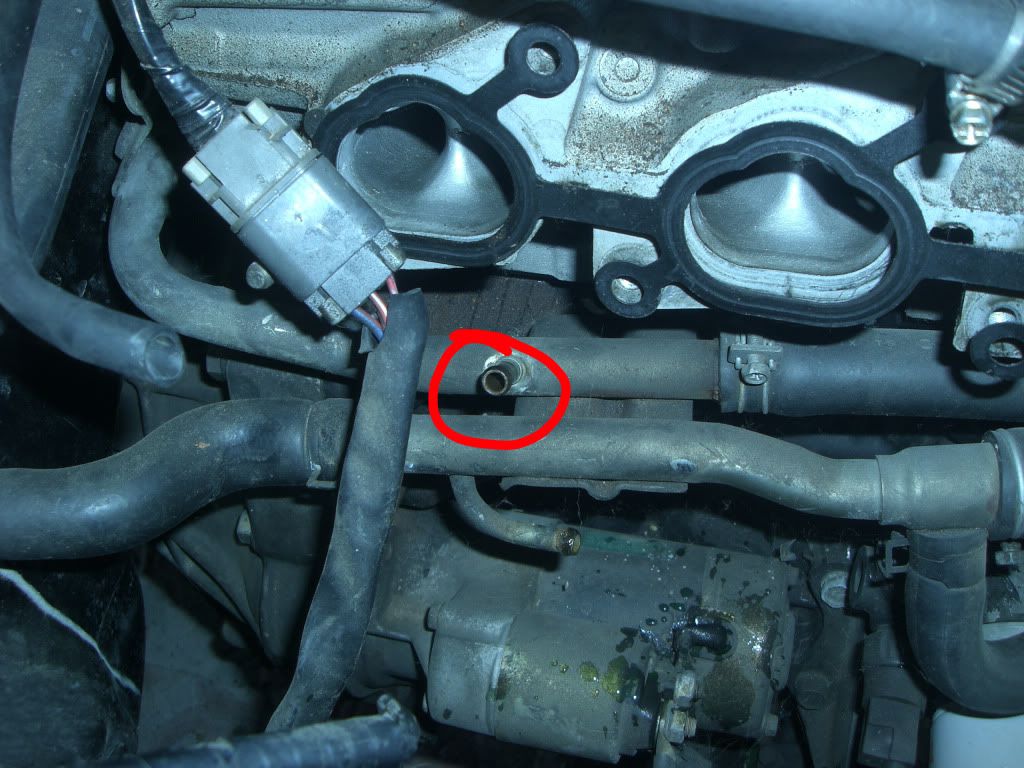
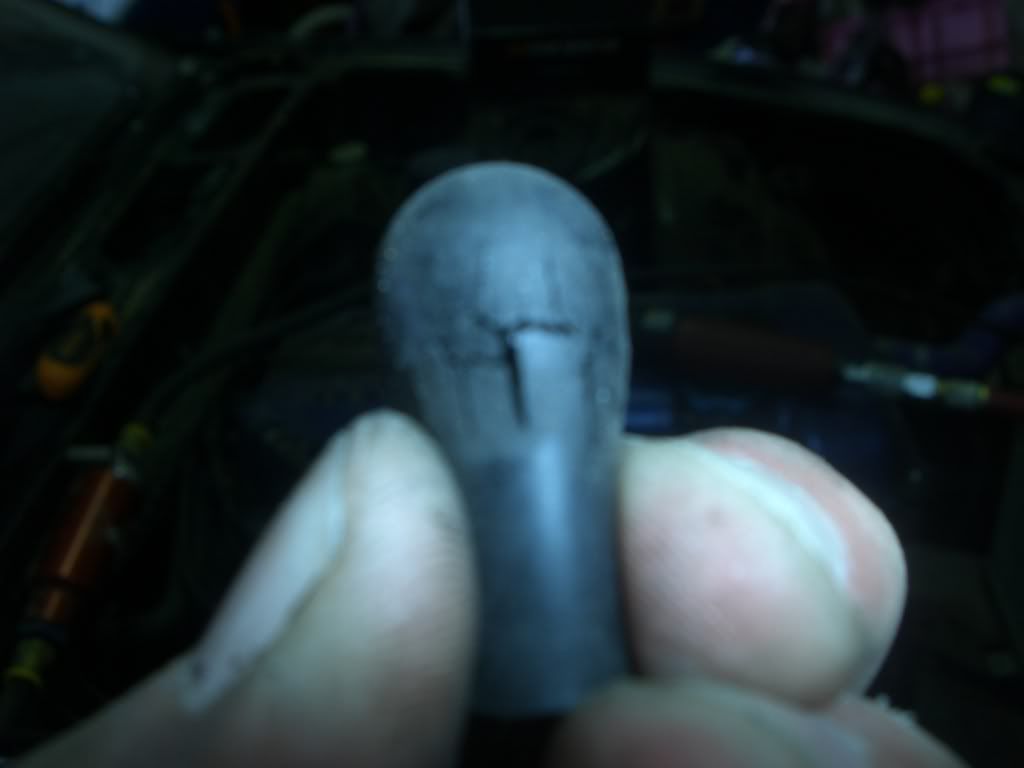
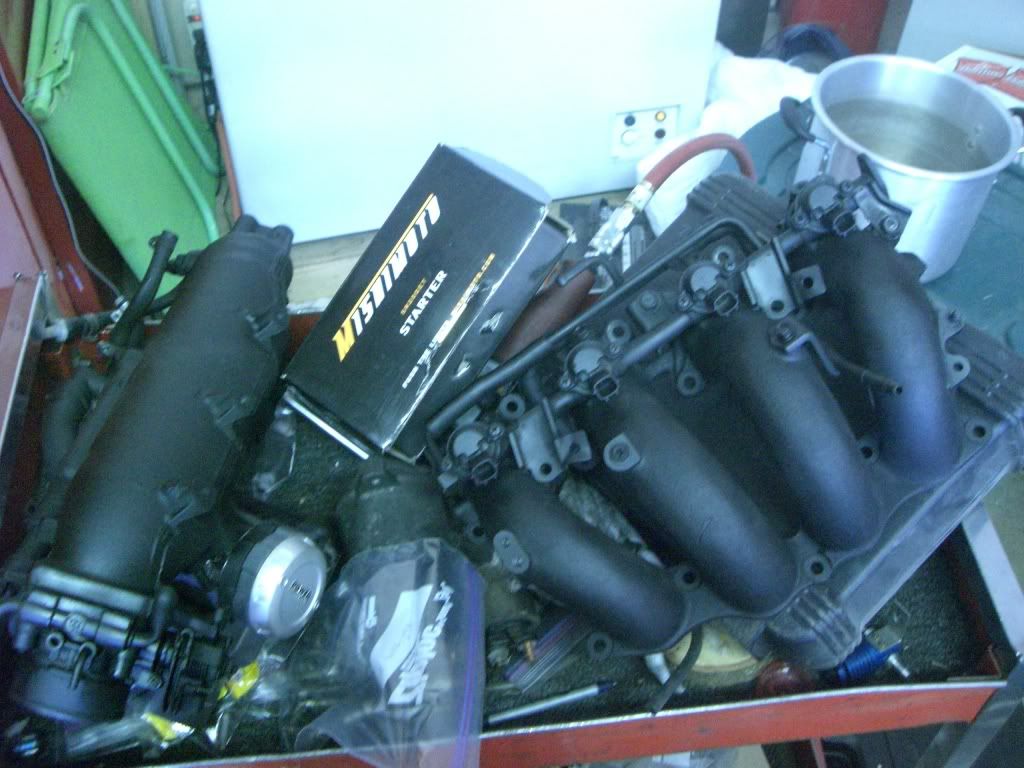
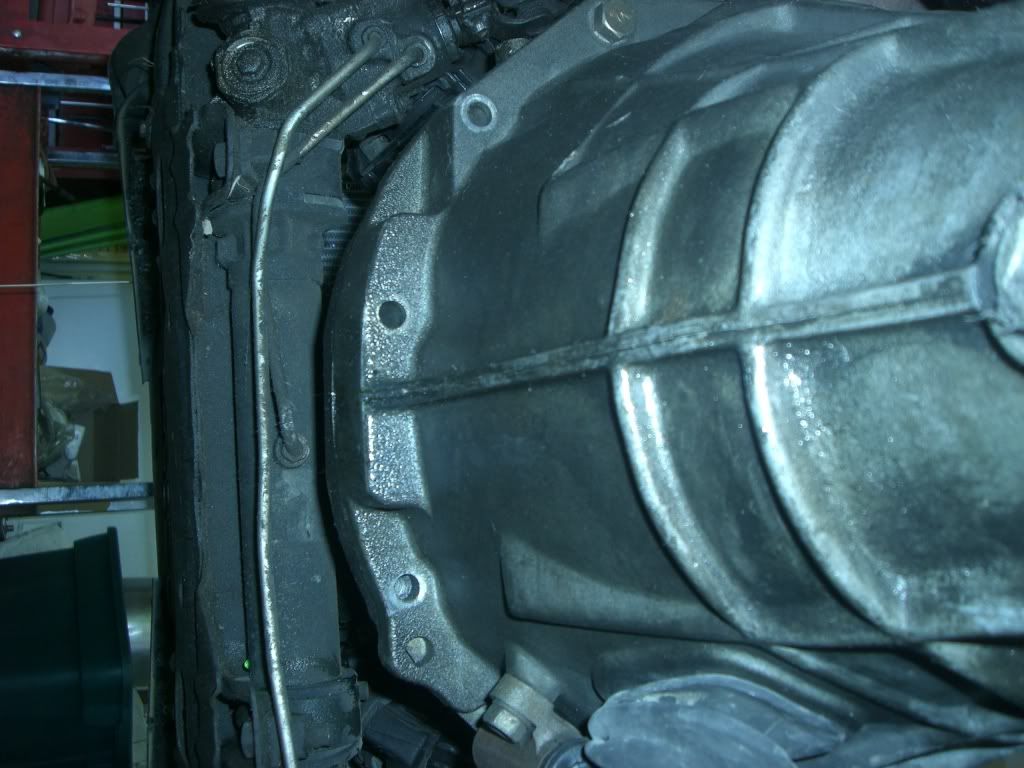
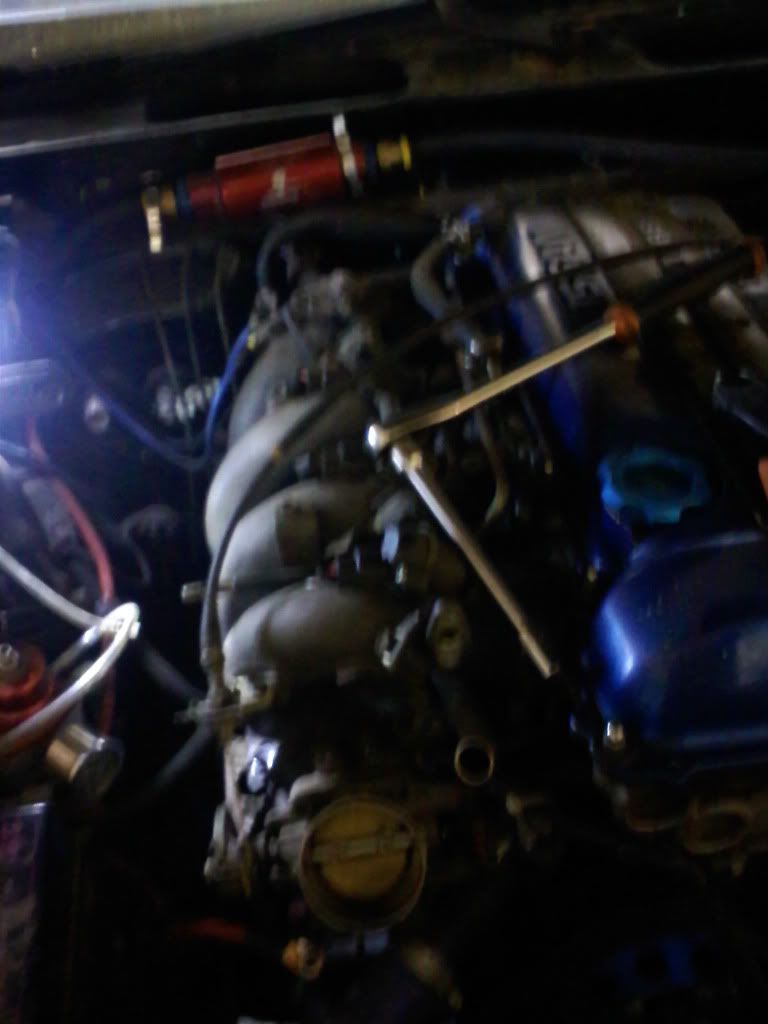
Bolted up the cover and filled it with standard gear oil for the break in when that comes. The diff is sitting waiting to be put back into the car but I'll do that when the driveshaft comes in next week. For now I'm gonna start unbolting the intake mani so I can check all my tubing n whatnot. I remember coolant kept leaking from this area so I'll need to investigate.
More updates to come as progress is made!