
Skill Level: 3 of 5
Time Required: This should only take you about 2 hours. Its important not to rush, as you are dealing with a very important parts of the oiling system. I split the project into 2 days so I could bring the pan and windage tray to work for a thorough cleaning.
Tools Required: Floor Jack, jack stands, general mechanics tools, mainly 10mm and 12mm sockets and wrenches. A gasket scraper, and some fine emery cloth are helpful to remove old gasket material from the pan.
A little backround info.
On the Redtop SR20DETs the oil strainer is attached to the oil pump via two bolts, and a bracket that braces the pickup tube to the girdle. In the event that the pan is dented. From say, being shipped on a palate from Japan, or by hitting a big rock. The pan can be pushed against the strainer. This can damage the spot welds that hold the strainer to the rest of the assembly. Many people, myself included, just drop the pan and pound out the dent, or replace the pan. Little did I know, that the strainer was a ticking time bomb. After doing a little research I discovered multiple similar cases, where early model pickup tubes failed.
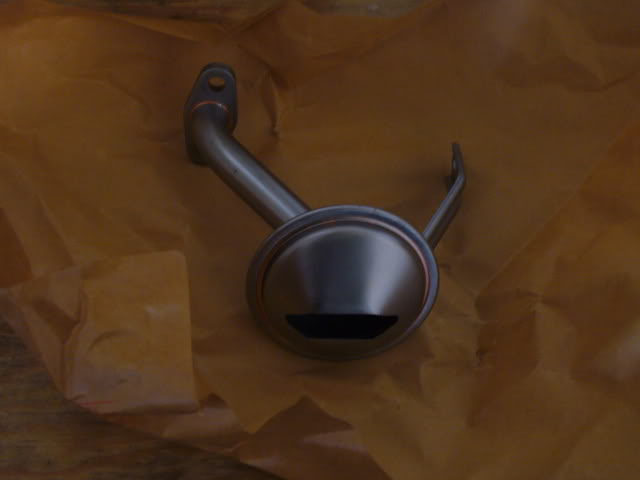
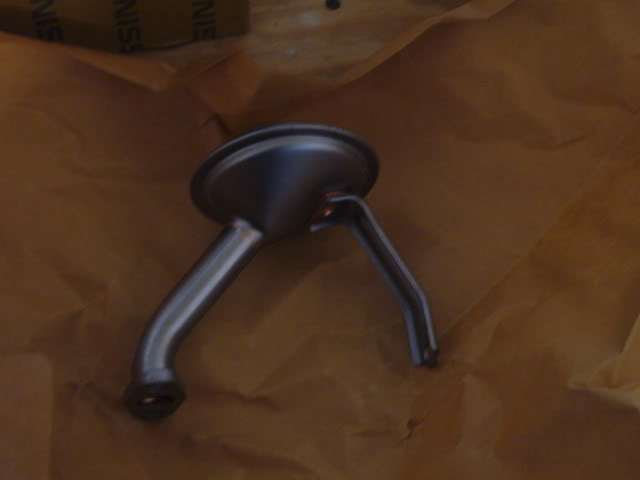
There is a light at the end of the tunnel. As you may have noticed I have said that only early model SRs suffer from this problem. This is because Nissan opted to redesign the strainer for the S14 model. They moved the bracket from the tube, down to the strainer itself. They also chose to increase the size of the inlet opening, allowing for better oil scavenging. The best part is, the newer strainer, will bolt right on to the early model engines with no modifications whatsoever.
Procedure
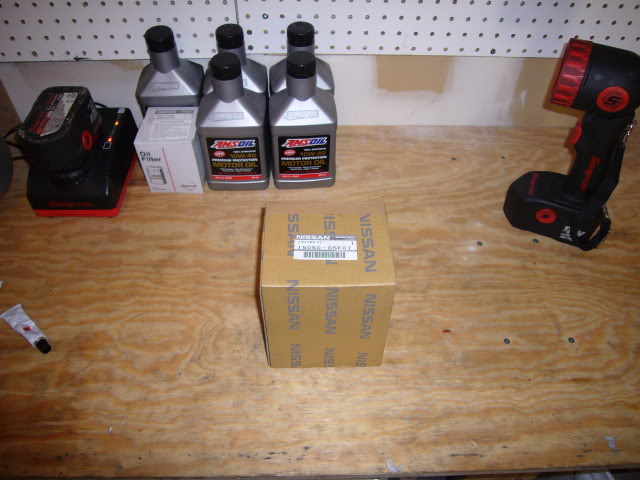
Start by assembling the parts your going to need.
Oil filterMotor oil, 5 quarts should doThe new strainerGasket for new strainerGasket sealer for oil pan
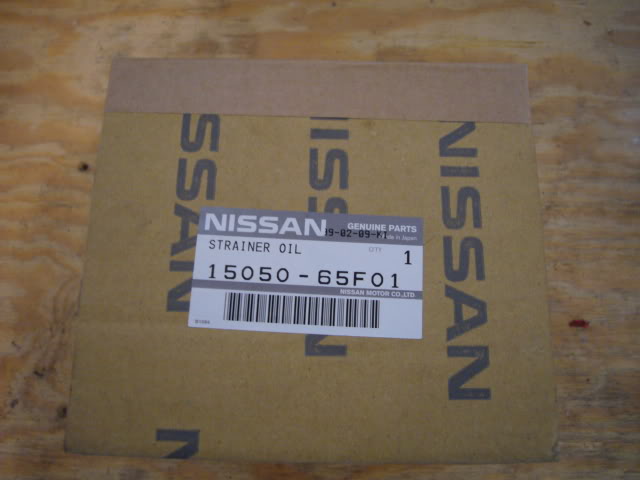
The Nissan part number for the S14 SR20DET oil strainer is 15050-65F01, and the Nissan part number for the gasket is 15053-1E400. I picked both parts up from FRSport.
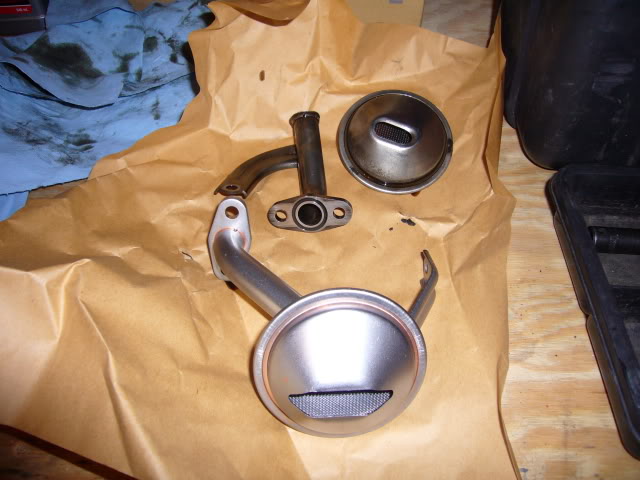
New strainer is pretty.
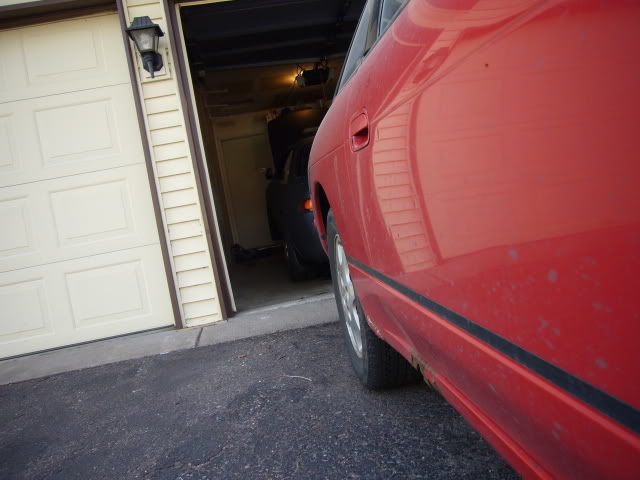
With everything ready, its time to get the car lifted, to gain access to the oil pan. Just having the front wheels off the ground should suffice, dont forget to use safety stands.
S14 jacked up, S13 in the driveway.
With the car off the ground, slip underneath with a drain pan, and drain the oil. Remember, the less you spill now, the less you will have to lay in later.
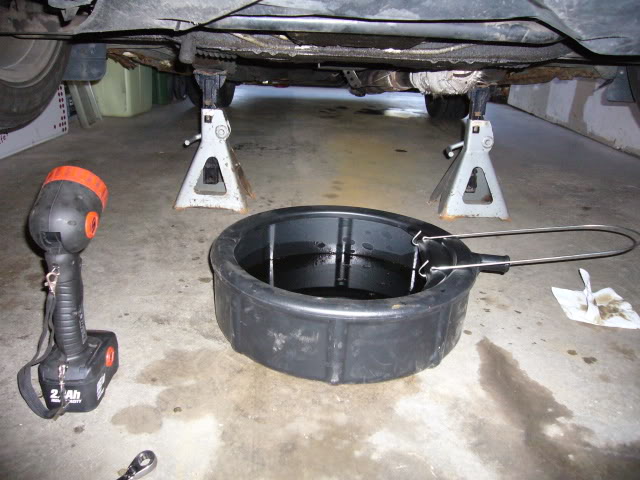
Now is a good time to go make yourself a sandwich, the longer you let the oil drain down, the less dripping you will have to deal with later. I was only pulling the pan, so I got right to work.
Using a 10 mm socket ,and ratchet, remove 8 of the 10 bolts securing the lower oil pan to the upper pan. Loosen but do not remove the remaining 2 bolts. It is unlikely the pan will just fall off, as it should be securely glued to the upper pan.
Using a small screwdriver, or drift, tap downward around the edge of the pan to loosen it. You may need to tap a thin chisel into the gap between the 2 pans. Be extremely careful not gouge the aluminium upper pan, as this will lead to leaks. If it does not come free right away, keep cracking at it. Mine was stuck like they talk about on the radio, and it took me 15 minutes of careful working to get her loose.
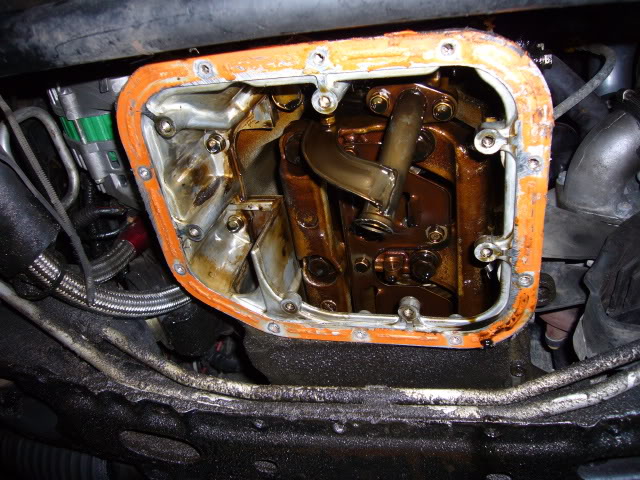
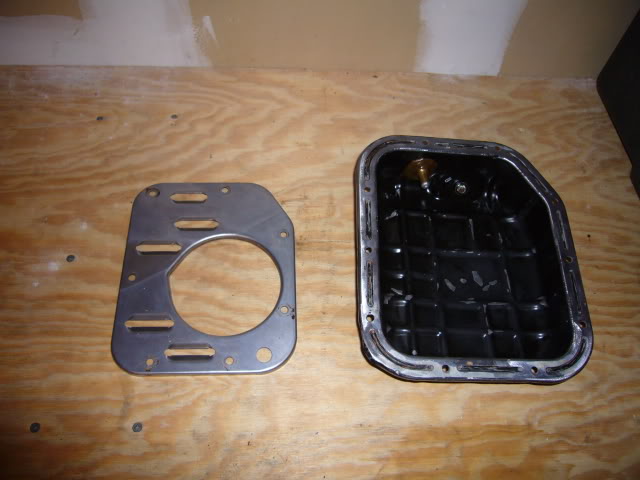
When the pan finally did drop, I found a little present resting in the bottom waiting for me. I don't know about you guys, but I'm reasonably sure its not supposed to look like this.
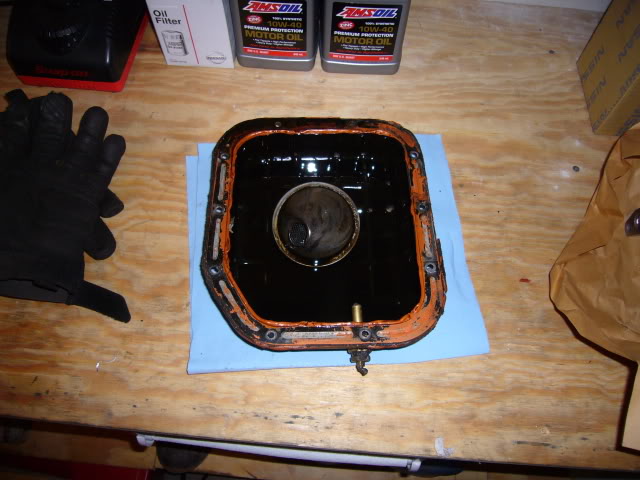
Where it used to attach to the pickup tube.
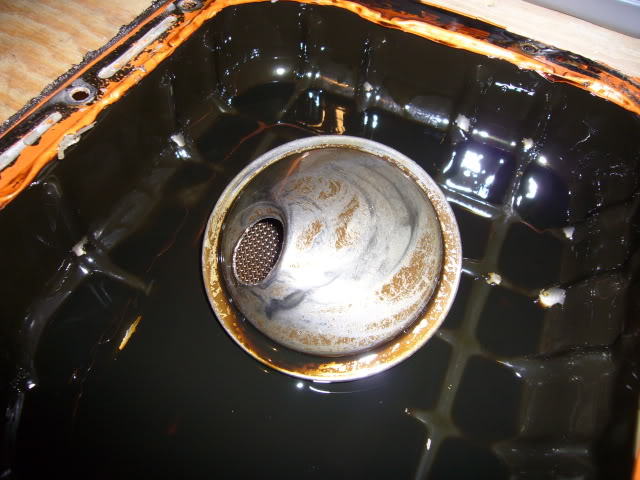
OE strainer opening.
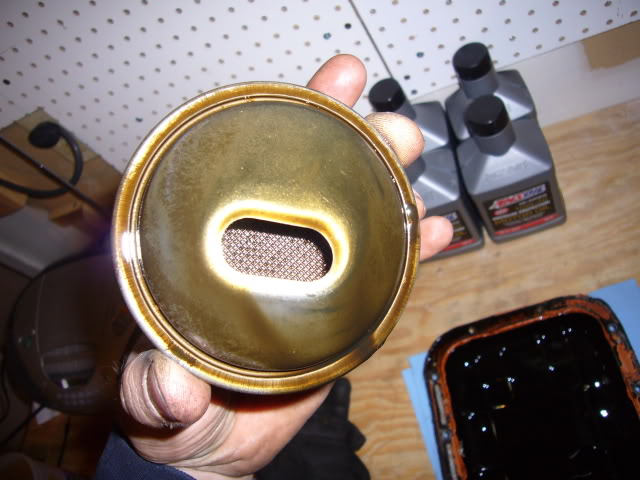
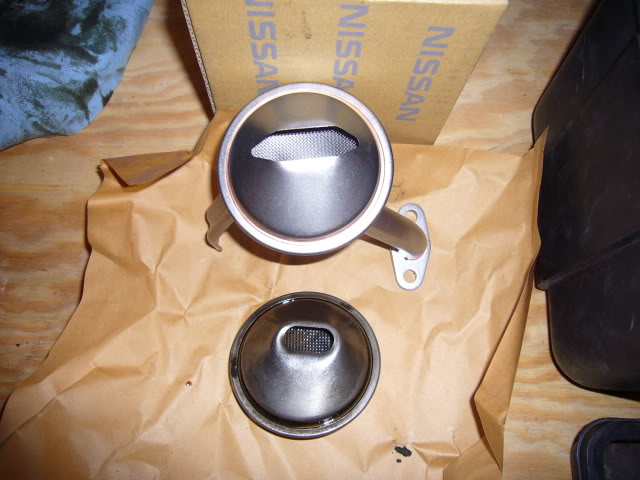
Notice the size difference. Talk about an upgrade.
I removed the 7 6mm bolts holding the windage tray to the upper pan, so I could take it to work with me for its date with the parts washer.
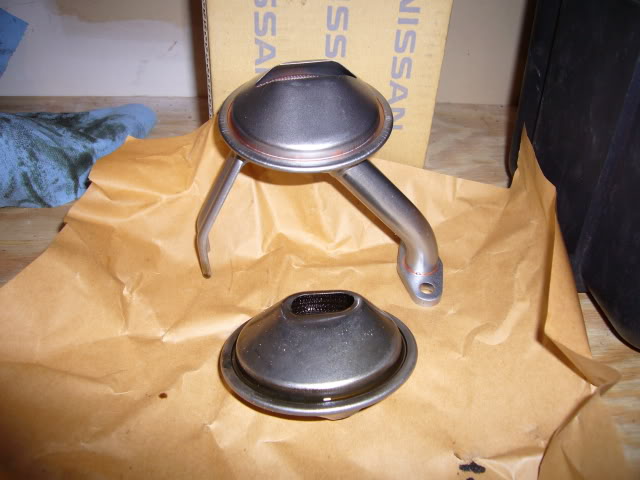
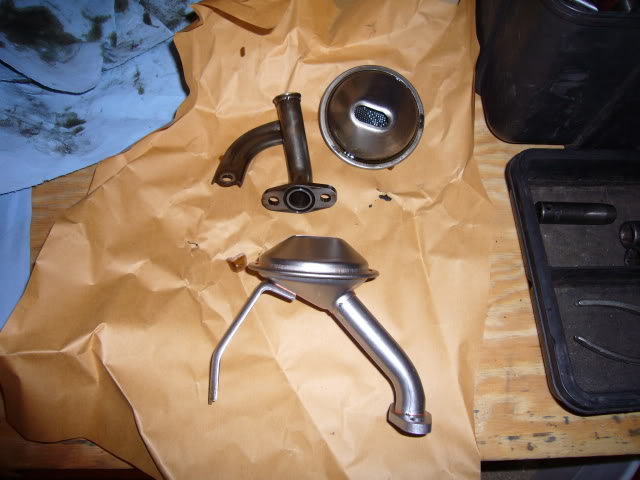
There is the rest of the oil pickup tube.
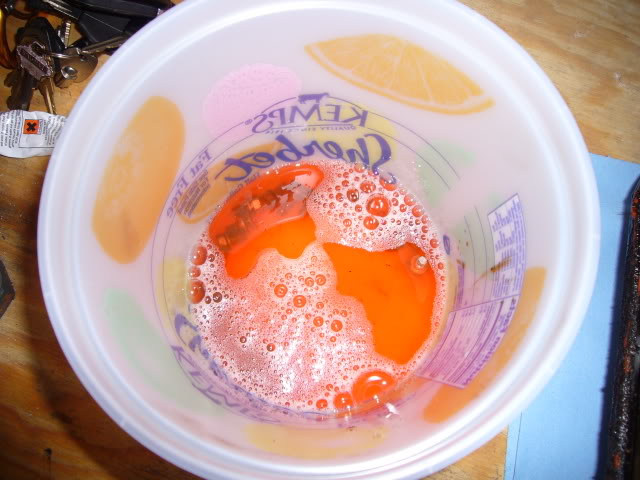
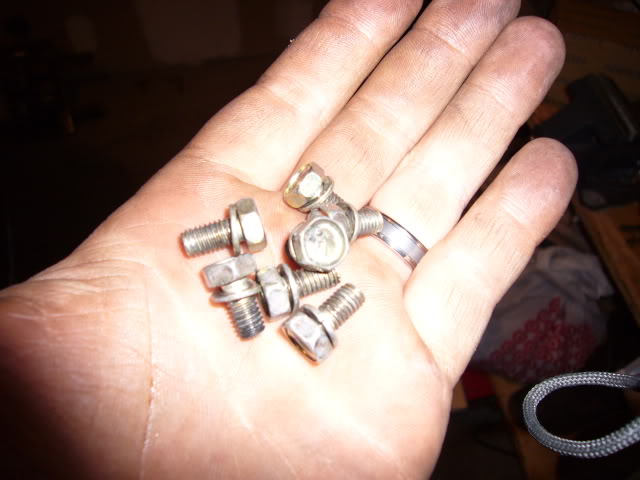
Before calling it a night, I grabbed all the bolts, and dropped them into an old sherbet container with some citrus blast degreaser. This will leave them all clean and shiny for tomorrow.
Fast forward a day and I got back to work. The nice thing about leaving this for a day is that all the oil has dripped down. I was able to work without getting my hands all slimy.
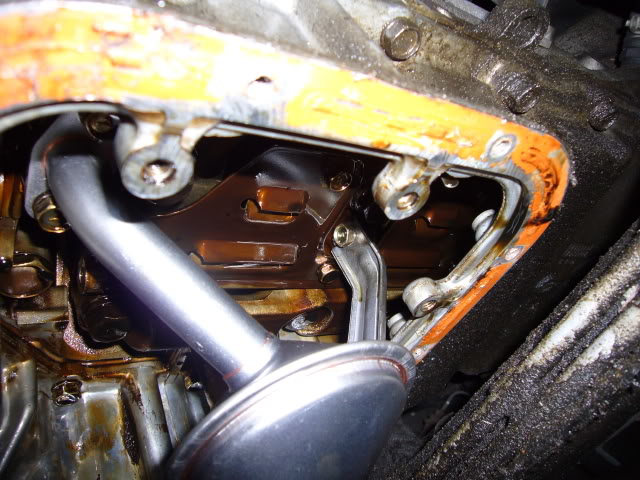
I started by pulling the oil pickup tube out. Its pretty simple, 2 bolts holding the seal, and 1 for the bracket.
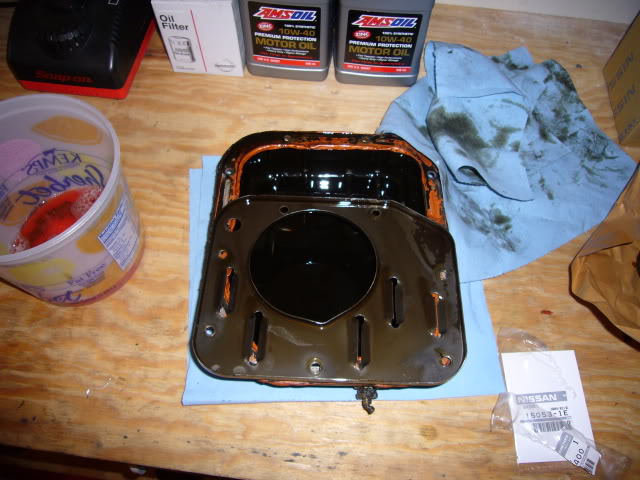
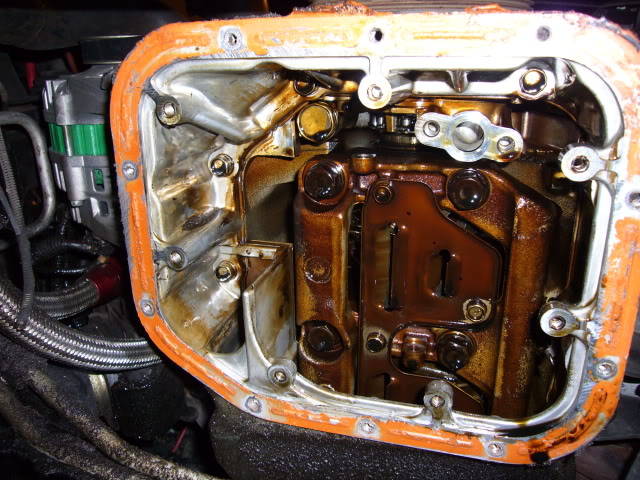
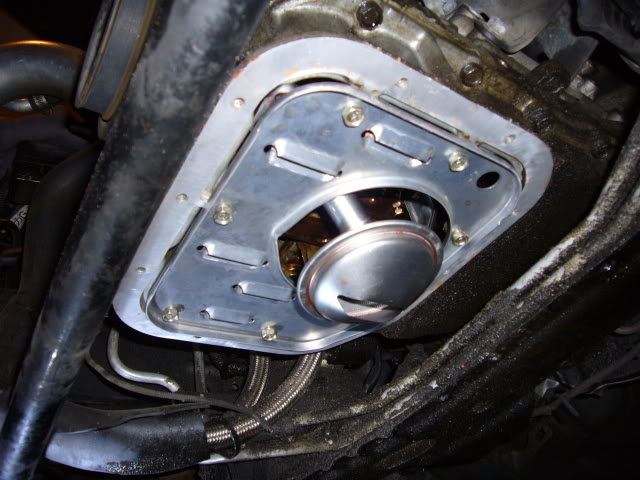
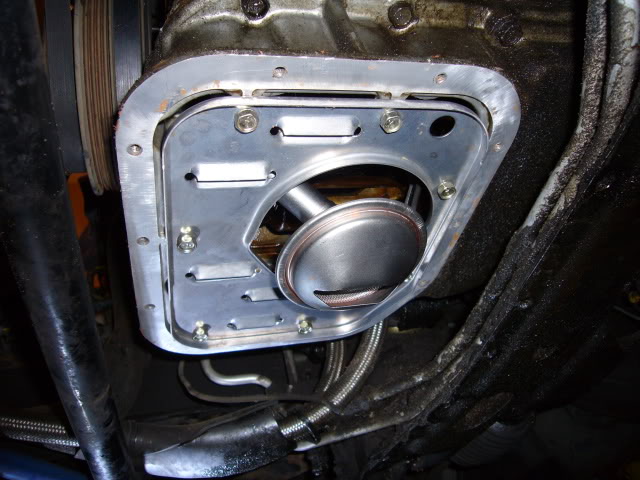
Here you can see what the underside looks like with the entire strainer removed.
With all of the old strainer up on the bench, the differences are clear. We already talked about the inlet size difference, now you can also see the different location for the support bracket.
Before installing the new strainer, careful clean all the old gasket material off the upper pan. I was stupid and forgot to do this. Be very careful with the scraper, as any scratches in the aluminium can become leaks. I used an ultra fine Roloc gasket removal disk on a mini angle grinder, to safely remove all the old gasket maker.
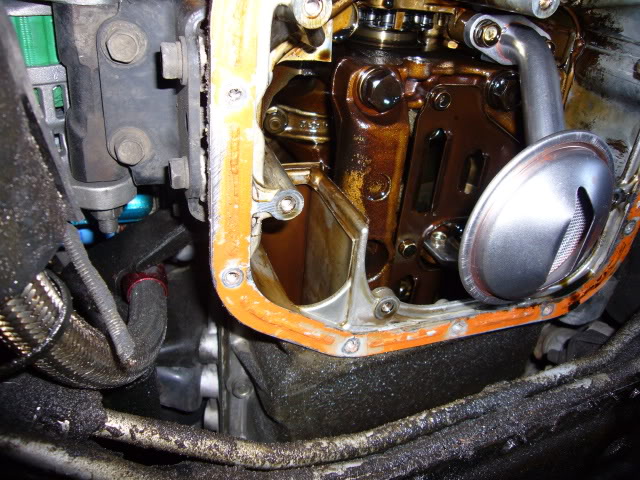
Now to install the new oil strainer.
Dont forget to clean the gasket mating surface with a clean, lint free rag. Install the gasket, and strainer using the 2 sealing bolts. Tighten the bolts only finger tight, do not torque them down yet.

Now the fun begins. The new bracket location leaves very little to the imagination. Using the same bolt that held the factory bracket, very carefully work it into the new location. Its a very tight fit, but it is possible. It took me 4 or 5 tries, and a whole bunch of patience, but finally I got it. With the support bolt installed finger tight, torque the tube bolts to 12-14 ft lbs, then tighten up the support bolt.
Remember all those bolts? Well, the citrus cleaner worked its magic. They came out looking good as new.

Before buttoning things backup, I did a thorough check of the inside of the engine to make sure I wasn't leaving anything behind. I reinstalled the windage tray using the clean bolts.
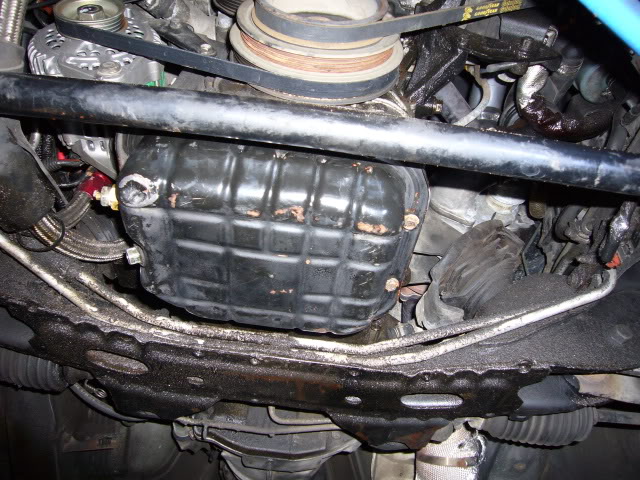
I finished up underneath by laying a 1/4 bead of HondaBond gasket maker on the clean pan, which I then reinstalled, and torqued to 14 ft lbs. Ideally I should have replaced the nasty dented pan with something with a higher capacity, but I refuse to use an aluminium pan with MN roads, and I just could not spare the cash for a Tomei pan right now.
With the car back on all 4 wheels, I switched out the oil filter, and poured 5 clean fresh quarts of Amsoil in.
After checking for leaks, I fired her up for a minute, shut her down, checked the oil level, then started her back up again. While the engine warmed up I enjoyed a cold can of MT Dew throwback.
Thats it. Take her for a drive, and admire your good work. I noticed that oil pressures had stabilized, and there was a reduction in feedback vibration through my oil pressure gauge.
All in all, this is something I wish I would have known about a long time ago. Its something every early model SR owner should think about doing, its just cheap insurance in my book.