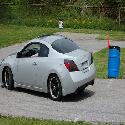
Dood im sorry but what rotors are those? their clean as hell!Importroller wrote:
redoing the theme on my 4th gen sedan update thread
-
mmx23z

- Posts: 592
- Joined: Mon Mar 22, 2010 3:22 pm
- Car: 2008 A/C 2.5s CVT
- Location: Sacramento Ca
- Contact:
Re: redoing the theme on my 4th gen sedan update thread

-
Importroller

- Posts: 1135
- Joined: Sat Oct 26, 2002 10:12 am
- Car: G35 and 07 Altima 3.5 6spd
- Location: san diego
- Contact:
Re: redoing the theme on my 4th gen sedan update thread
They are made by Brake Labs. got them for the g35 a year ago off ebay
http://cgi.ebay.com/ebaymotors/2-Front- ... ccessories
Front and rears fit the 4th gen altimas. and the silver zinc never fades. I have the rears on the G now for almost a year, and they look just as good as the day I installed them. The pics on the altima is after 3 days of rain and driving in the rain and puddles. As you see, still looking like they were freshly installed
-
Importroller
- Posts: 1135
- Joined: Sat Oct 26, 2002 10:12 am
- Car: G35 and 07 Altima 3.5 6spd
- Location: san diego
- Contact:
Re: redoing the theme on my 4th gen sedan update thread
Just ordered my homelink autodimming mirror. Can't believe that aint standard equipment on all cars.
-
Importroller
- Posts: 1135
- Joined: Sat Oct 26, 2002 10:12 am
- Car: G35 and 07 Altima 3.5 6spd
- Location: san diego
- Contact:
Re: redoing the theme on my 4th gen sedan update thread
First, you will need to remove the original mirror. This part was the only hard part for me, because I didn't realize how to disengage the mirror from the windshield at first glance. There is a small slot on the mount, that all you need to do is stick a small screwdriver in, and once you feel the tip hit something and can't go any further, Put just a little more pressure on it, and it will release the clip and the mirror will slide off in an upward motion (towards the headliner)


Once the mirror is off, you can install your new mirror on the same mount. I bought a used mirror, so i had to extend the harness
Black = ground
red = power source
blue = constant 12V

To install the new mirror, first loosen then hex bolt.

once it's loosen, slide the mirror over the mount still on the windshield. Once it's mounted, retighten the bolt

Next run the wires up through the headliner over to the A-Pillar. I removed my dome light housing to be able to see more clearly where to pull the wires through.


I ran the wires under the headliner, and down the a Pillar to beneath the dash
remove the screw here under the dash to pull down the panel so you can see your wiring and fuse box easier (assuming you wire it into a fuse)

Once installed, you should have a working autodimmer mirror and homelink

Once the mirror is off, you can install your new mirror on the same mount. I bought a used mirror, so i had to extend the harness
Black = ground
red = power source
blue = constant 12V
To install the new mirror, first loosen then hex bolt.
once it's loosen, slide the mirror over the mount still on the windshield. Once it's mounted, retighten the bolt
Next run the wires up through the headliner over to the A-Pillar. I removed my dome light housing to be able to see more clearly where to pull the wires through.
I ran the wires under the headliner, and down the a Pillar to beneath the dash
remove the screw here under the dash to pull down the panel so you can see your wiring and fuse box easier (assuming you wire it into a fuse)
Once installed, you should have a working autodimmer mirror and homelink
-
2008AltiCoupeDan
- Posts: 931
- Joined: Thu Feb 19, 2009 5:23 am
- Car: 2008 Altima Coupe 2.5s - Gone, 2008 Subaru WRX Premium - built
- Contact:
Re: redoing the theme on my 4th gen sedan update thread
dam nice setup! im suprised u didnt hardwire the radar detector to the rearview power supply while u were up there :P
-
Importroller
- Posts: 1135
- Joined: Sat Oct 26, 2002 10:12 am
- Car: G35 and 07 Altima 3.5 6spd
- Location: san diego
- Contact:
Re: redoing the theme on my 4th gen sedan update thread
2008AltiCoupeDan wrote:dam nice setup! im suprised u didnt hardwire the radar detector to the rearview power supply while u were up there :P
I didn't even think about it. It's currenly hardwired behind the dash. Maybe next time I take things apart for whatever reason I come up with.
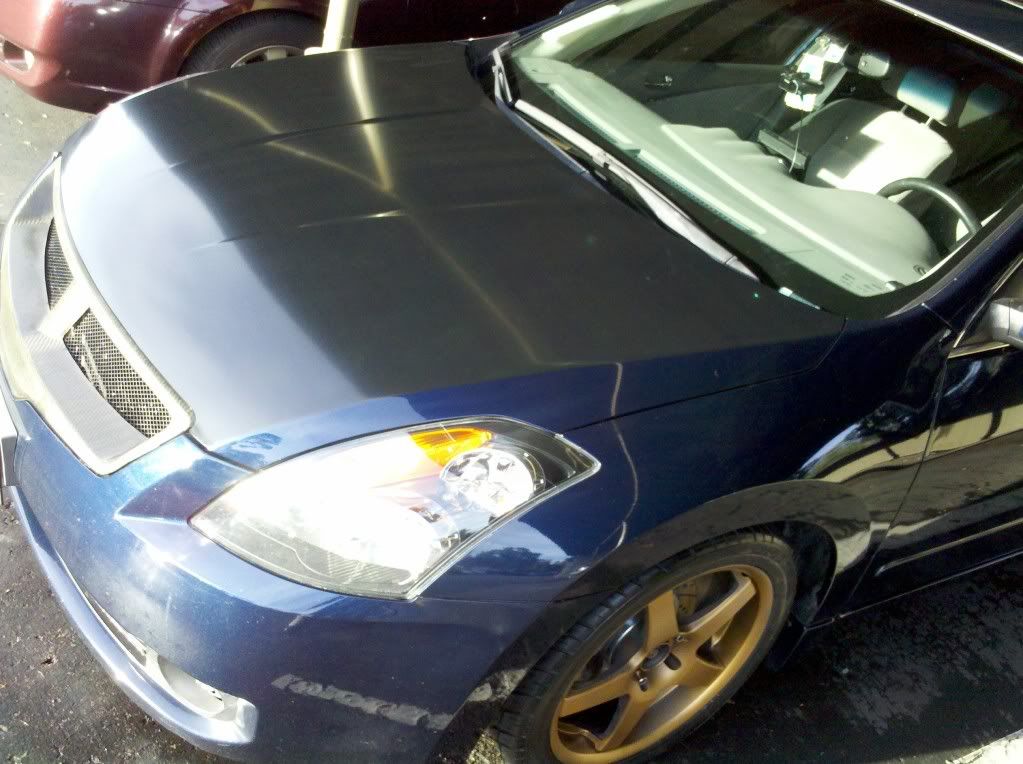
New changes.
changed tails to just full redout & top of trunk lid had a matte black overlay, so if you look down on it, it's matte black, but from the back of the car, it's still majestic blue


Hood now has a matte black overlay over the center. Will get the roof done when i have some more free time

-
Blue Batmobile

- Vendor
- Posts: 750
- Joined: Mon Aug 13, 2007 2:25 pm
- Car: 1997 NSX
- Contact:
Re: redoing the theme on my 4th gen sedan update thread
Very Cool  .
.
Bat™
Bat™
-
Importroller
- Posts: 1135
- Joined: Sat Oct 26, 2002 10:12 am
- Car: G35 and 07 Altima 3.5 6spd
- Location: san diego
- Contact:

-
Importroller
- Posts: 1135
- Joined: Sat Oct 26, 2002 10:12 am
- Car: G35 and 07 Altima 3.5 6spd
- Location: san diego
- Contact:
Re: redoing the theme on my 4th gen sedan update thread
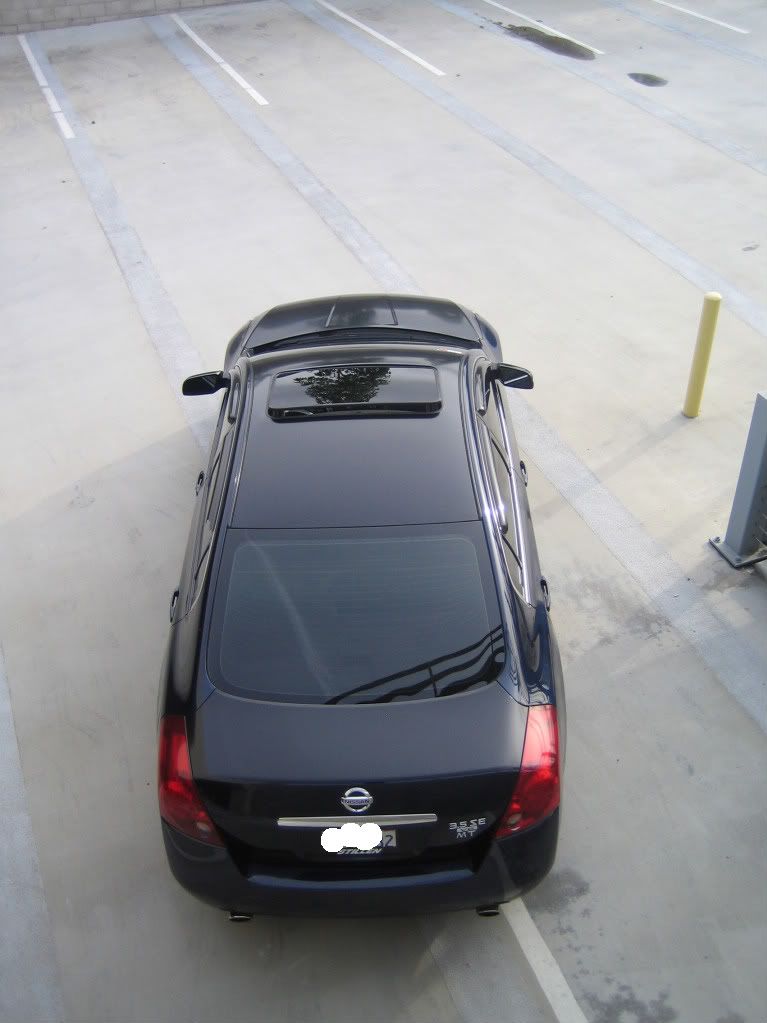
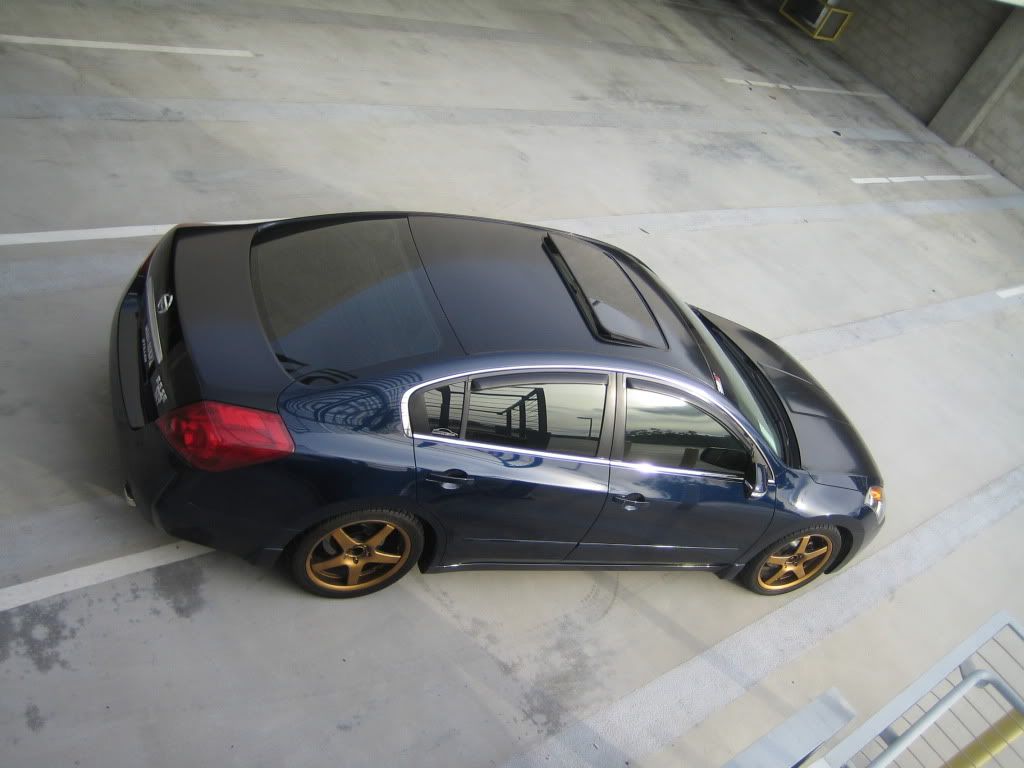
Here are some overhead shots. It was overcasted today, so the color difference isn't too noticeable. But you can tell at certain angles.


-
Blue Batmobile
- Vendor
- Posts: 750
- Joined: Mon Aug 13, 2007 2:25 pm
- Car: 1997 NSX
- Contact:
Re: redoing the theme on my 4th gen sedan update thread
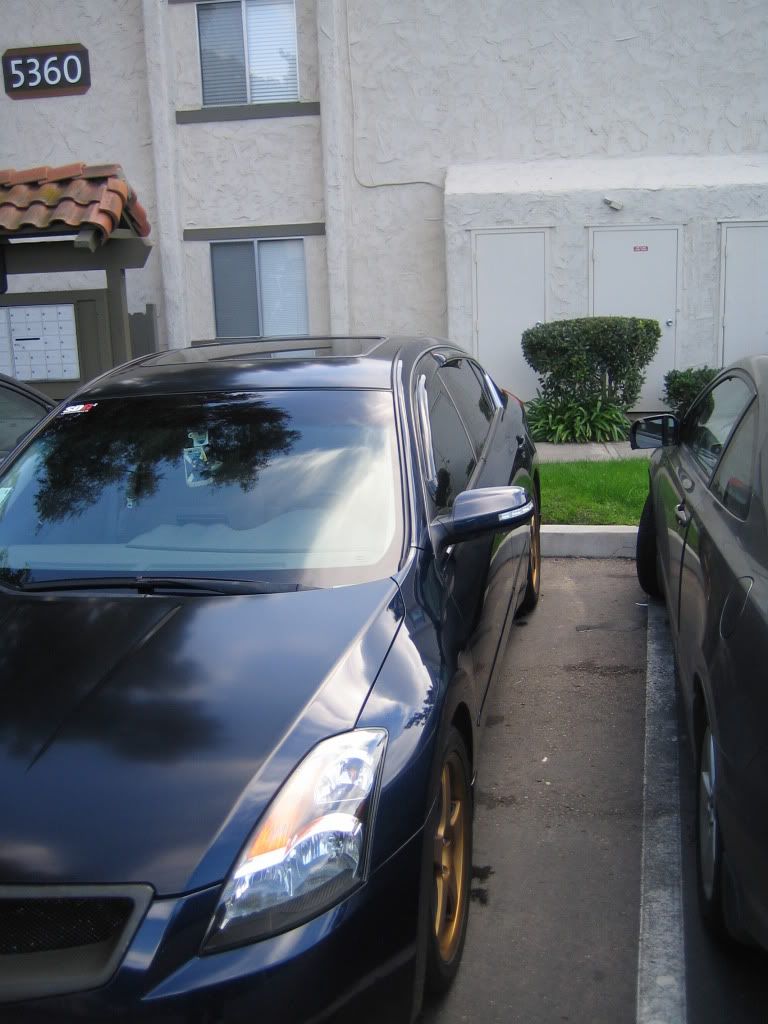
My hood, roof, and trunklid overlays look great Shawn! Nice job on install .
Bat
Bat
-
Importroller
- Posts: 1135
- Joined: Sat Oct 26, 2002 10:12 am
- Car: G35 and 07 Altima 3.5 6spd
- Location: san diego
- Contact:
Re: redoing the theme on my 4th gen sedan update thread
I just couldn't wait, so I went ahead and removed the fogs and did the wiring for the HID install. The seller claims that the lights are not compatible with HID kits, but they were wrong. Its kinda cold now, so I'm gonna install them back on the car tomorrow. Since everything is wired up, i just gotta mount the ballast tomorrow on my lunch break and mount the fogs back on. Should take me about 30 minutes to do everything
First, remove the backing

second, remove the screw that holds in the original H3 bulb

Here is a pic of the regular H3 next to the HID H3 bulb

Install the hid bulb. This is the DDM kit, so it has multiple ways to rotate the bulb to fit the housing, so just rotate it till you find the best fitting.

The wiring needed to be spliced to work. I connected the ground for the HID and the Halo ring together with a male connector to mate with the female connector on the harness, and then i put a different male connector on the HID positive wire to mate with the harness's female connector


You don't need to worry about touching the power for the Halo ring at all. Here is a side shot of just a quick test to see if they powered up


click the image below to see a video I did with my cell phone. Nothing great, but you get the idea. Did a test fire in my living room

First, remove the backing
second, remove the screw that holds in the original H3 bulb
Here is a pic of the regular H3 next to the HID H3 bulb
Install the hid bulb. This is the DDM kit, so it has multiple ways to rotate the bulb to fit the housing, so just rotate it till you find the best fitting.
The wiring needed to be spliced to work. I connected the ground for the HID and the Halo ring together with a male connector to mate with the female connector on the harness, and then i put a different male connector on the HID positive wire to mate with the harness's female connector
You don't need to worry about touching the power for the Halo ring at all. Here is a side shot of just a quick test to see if they powered up
click the image below to see a video I did with my cell phone. Nothing great, but you get the idea. Did a test fire in my living room
-
Importroller
- Posts: 1135
- Joined: Sat Oct 26, 2002 10:12 am
- Car: G35 and 07 Altima 3.5 6spd
- Location: san diego
- Contact:
Re: redoing the theme on my 4th gen sedan update thread
Pitch black street, with only the fogs on. with the previous lights, you couldn't even see that much of the road lit up. It was really sad. So these are an improvement. I did notice that on regular streets driving, that even though I can't tell how the cutoff from the Lows and fogs, the street is much brighter now and visible.

Previous bulbs in the same housing. These were the Sylvanias

same shot with the HIDs

Fogs only

Fogs with lows

Previous bulbs in the same housing. These were the Sylvanias
same shot with the HIDs
Fogs only
Fogs with lows
-
Importroller
- Posts: 1135
- Joined: Sat Oct 26, 2002 10:12 am
- Car: G35 and 07 Altima 3.5 6spd
- Location: san diego
- Contact:
Re: redoing the theme on my 4th gen sedan update thread
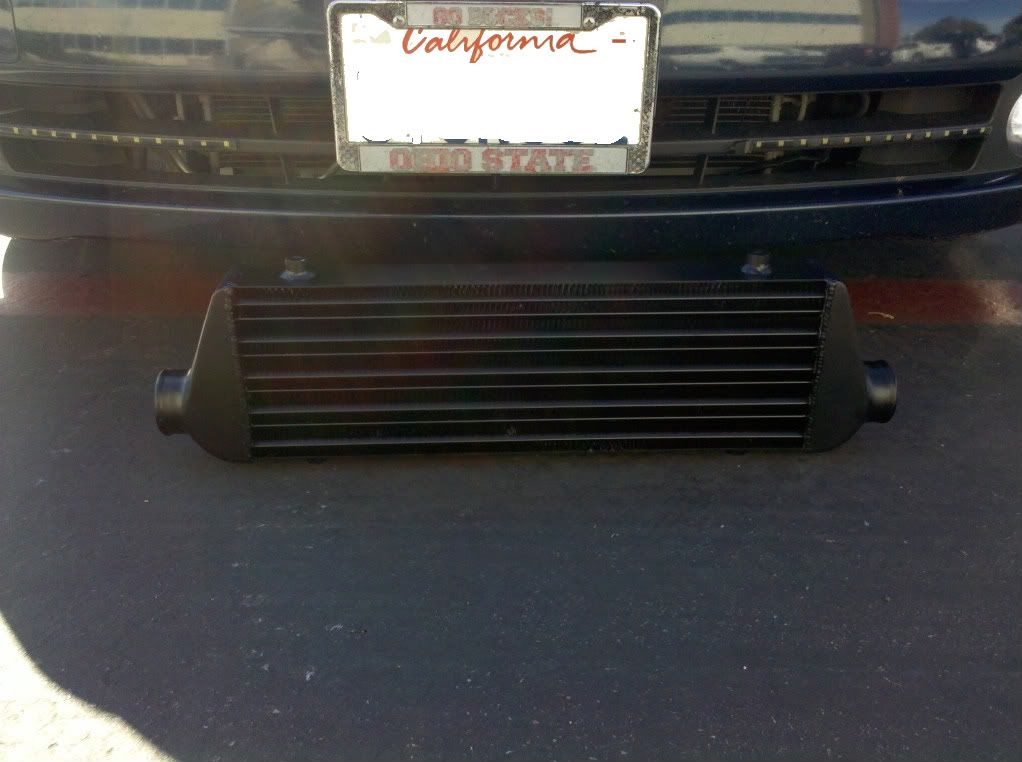
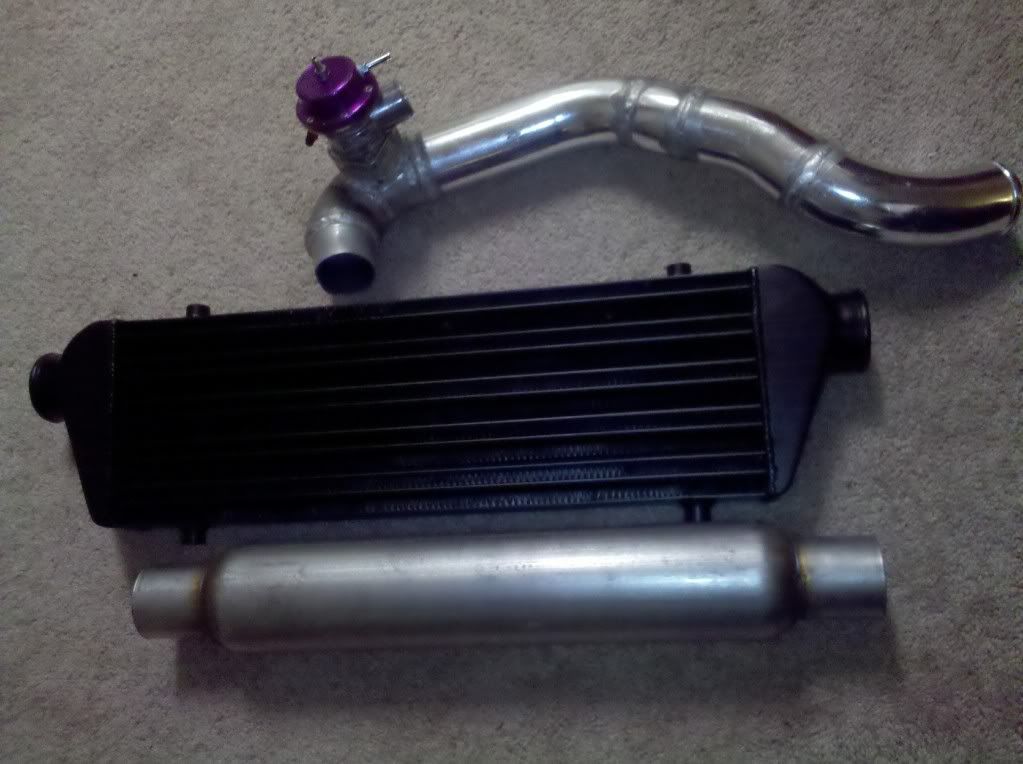
Update. The new project has officially begun. Getting all the major components together first before I actually start the build. This build will take me some time to do.


-
Importroller
- Posts: 1135
- Joined: Sat Oct 26, 2002 10:12 am
- Car: G35 and 07 Altima 3.5 6spd
- Location: san diego
- Contact:
Re: redoing the theme on my 4th gen sedan update thread
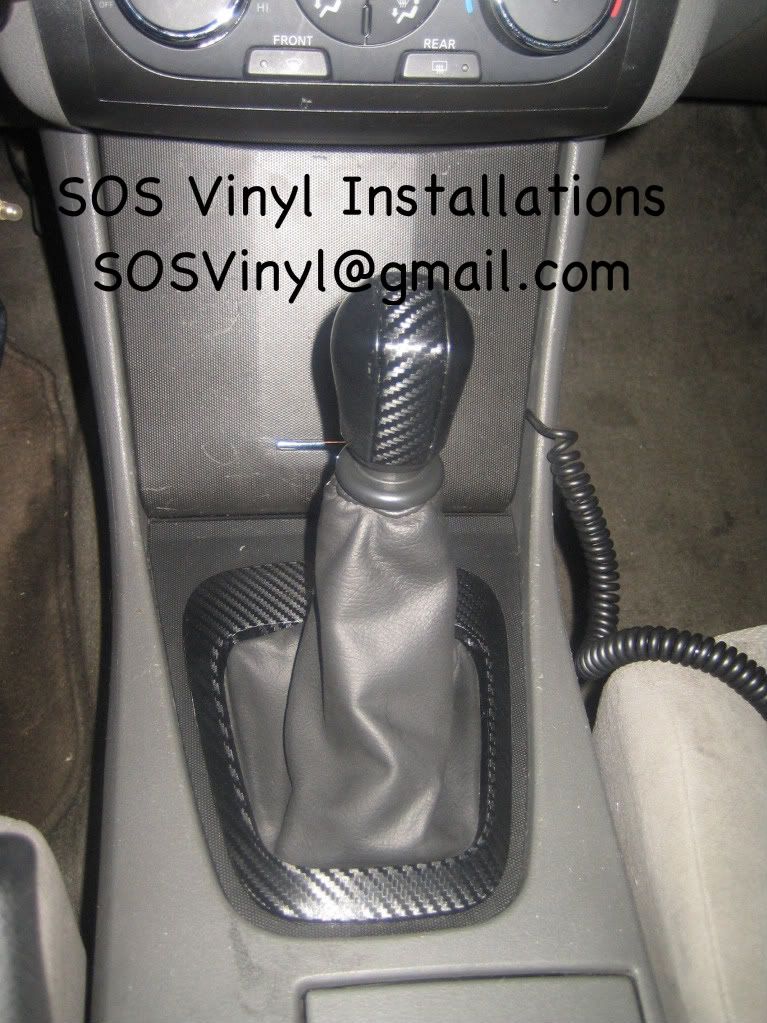
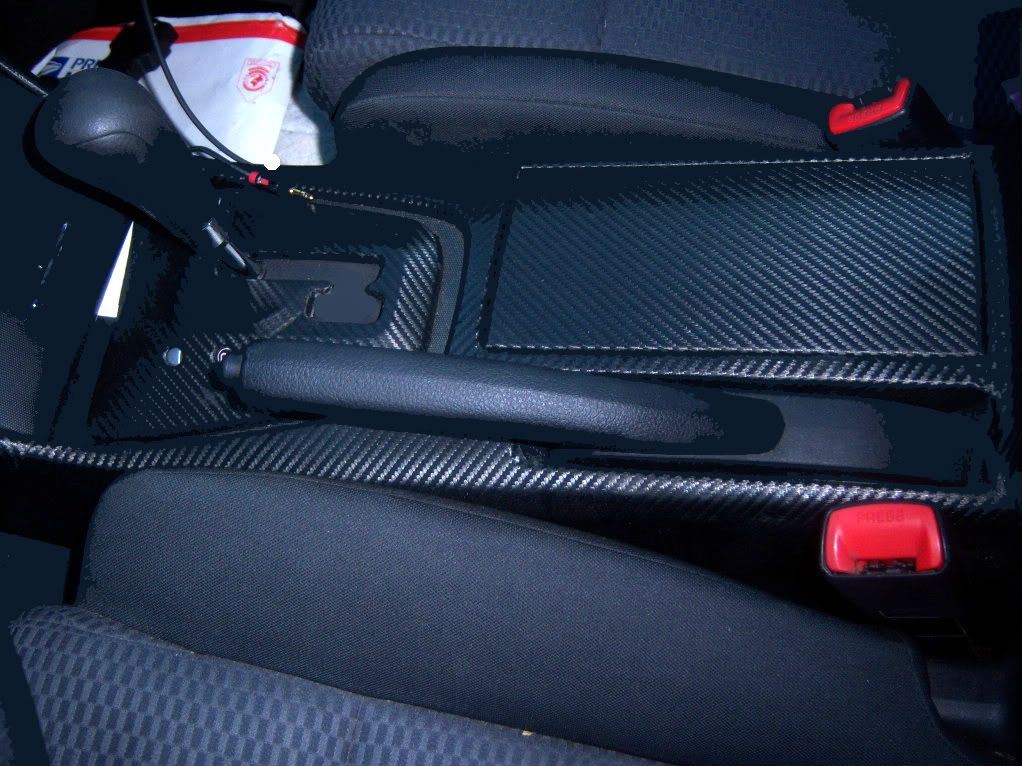
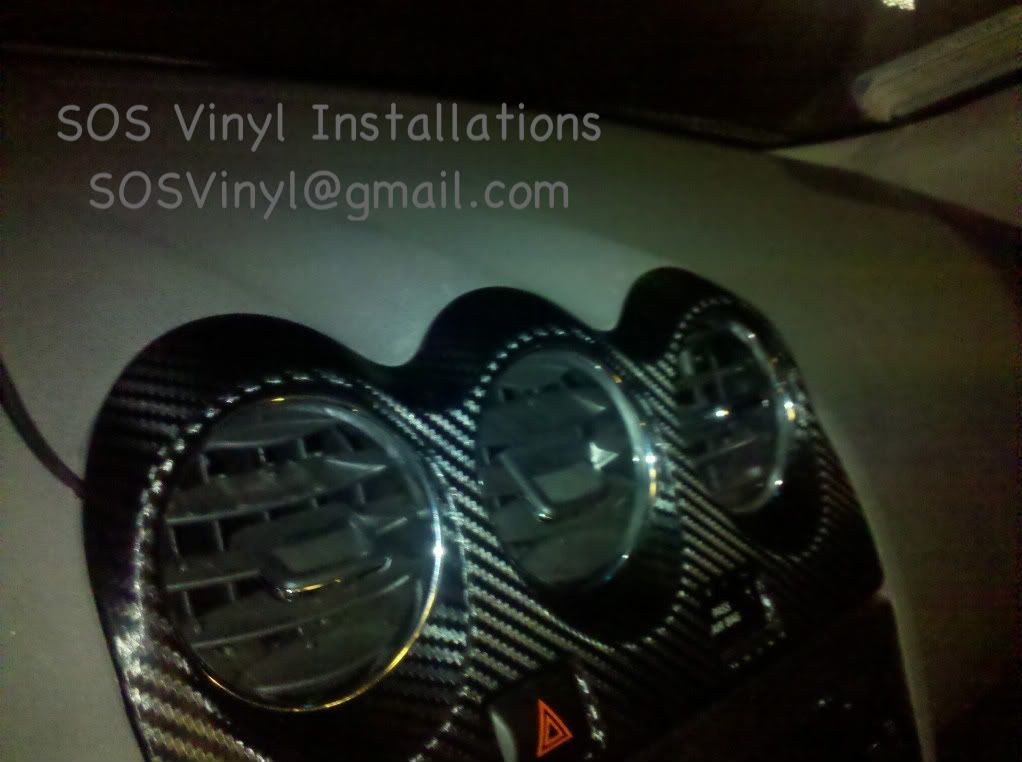
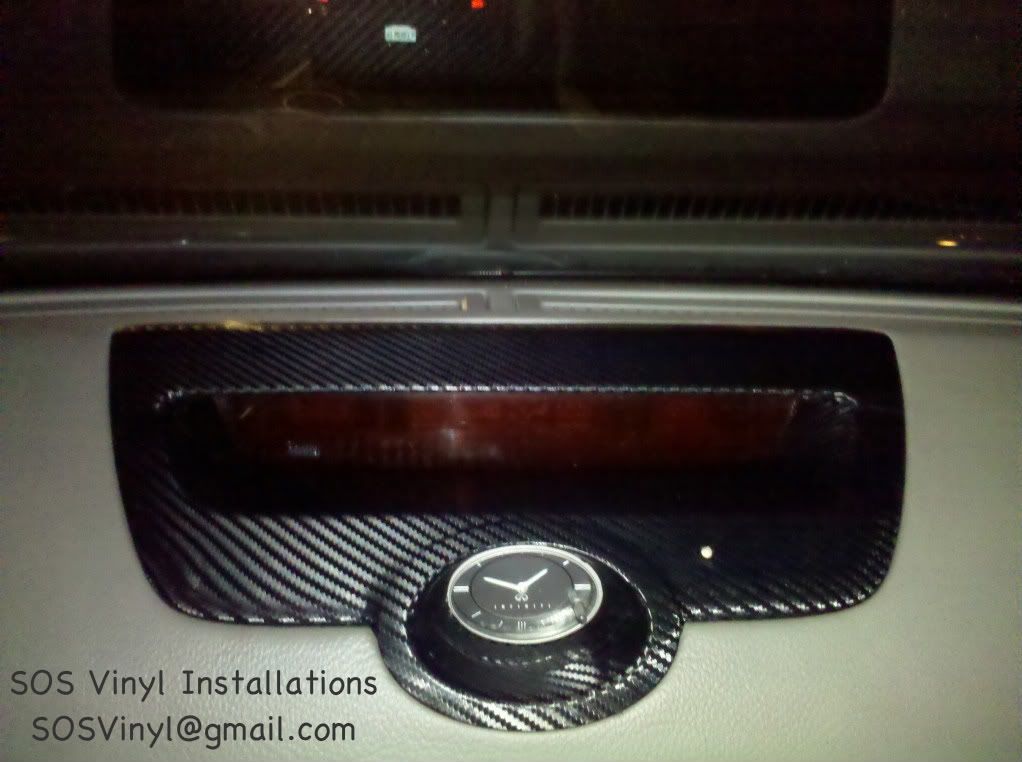
playing around with some carbon fiber vinyl for the interior.

-
Importroller
- Posts: 1135
- Joined: Sat Oct 26, 2002 10:12 am
- Car: G35 and 07 Altima 3.5 6spd
- Location: san diego
- Contact:
Re: redoing the theme on my 4th gen sedan update thread
Turbo project is underway
-
mmx23z
- Posts: 592
- Joined: Mon Mar 22, 2010 3:22 pm
- Car: 2008 A/C 2.5s CVT
- Location: Sacramento Ca
- Contact:
Re: redoing the theme on my 4th gen sedan update thread
Importroller wrote:playing around with some carbon fiber vinyl for the interior.
looks familiar...
Good work!! everythings commin out bad a** so far! ant wait to see more on that turbo!
-
Importroller
- Posts: 1135
- Joined: Sat Oct 26, 2002 10:12 am
- Car: G35 and 07 Altima 3.5 6spd
- Location: san diego
- Contact:
Re: redoing the theme on my 4th gen sedan update thread
I'm about to do more of my interior as wll. Similar to yours.
-
Importroller
- Posts: 1135
- Joined: Sat Oct 26, 2002 10:12 am
- Car: G35 and 07 Altima 3.5 6spd
- Location: san diego
- Contact:
Re: redoing the theme on my 4th gen sedan update thread
may also be picking up a Boost controller, Turbo boost gauge, and Turbo timer this weekend.
-
Blue Batmobile
- Vendor
- Posts: 750
- Joined: Mon Aug 13, 2007 2:25 pm
- Car: 1997 NSX
- Contact:
Re: redoing the theme on my 4th gen sedan update thread
I'm carrying 3d textured carbon fiber vinyl wrap now guys .
B@t
B@t
Re: redoing the theme on my 4th gen sedan update thread
Sorry for the off topic bump here but I send you a few emails bat, did you receive them?
-
gatorglaze

- Posts: 162
- Joined: Sat Feb 23, 2008 4:00 am
- Car: 08 Nissan Altima Sedan
Re: redoing the theme on my 4th gen sedan update thread
Hey bat, you sell hood and trunk overlays for altimas now?!?? how much individually? If you dont wanna say on here for any specific reason just email me @ [email protected]Blue Batmobile wrote:My hood, roof, and trunklid overlays look great Shawn! Nice job on install
Bat
-
Blue Batmobile
- Vendor
- Posts: 750
- Joined: Mon Aug 13, 2007 2:25 pm
- Car: 1997 NSX
- Contact:
Re: redoing the theme on my 4th gen sedan update thread
Yes! for the Sedans. I offer hood and trunklid along with my roof overlay . Email me to order.
B@t
B@t
-
Importroller
- Posts: 1135
- Joined: Sat Oct 26, 2002 10:12 am
- Car: G35 and 07 Altima 3.5 6spd
- Location: san diego
- Contact:
Re: redoing the theme on my 4th gen sedan update thread
about to start my headlight project. I'm going to be doing a projector setup on one set of lights, and haven't decided yet what I'm going to do with my other set.