new direction

Re: new direction
Thanks, I think they look a lot better.
so today I work more on the bed, did some trimming for the spare tank filler neck hose and tacked in a wheel well from my old bed. did some more fitting for the taillight and the tailgate. I think there is a plactic piece that the Pathys have the goes next to the taillight but don't remember. I have about a 1/8" gap top and bottom between the sheet metal but the taillight gap is about a 1/4". More thinking here. I also went to the junkyard looking to stuff and found a 85 Pontaic GTA, hood louvres! sweet and in great shape too. (there's another GTA hood there in great shape too, I'm might pick that one up too)


yep, love the pathy taillight over the truck taillight


now I have to decide how I'm going to place them. these are true working louvres, so engine temps will be cooler for wheeling.


so today I work more on the bed, did some trimming for the spare tank filler neck hose and tacked in a wheel well from my old bed. did some more fitting for the taillight and the tailgate. I think there is a plactic piece that the Pathys have the goes next to the taillight but don't remember. I have about a 1/8" gap top and bottom between the sheet metal but the taillight gap is about a 1/4". More thinking here. I also went to the junkyard looking to stuff and found a 85 Pontaic GTA, hood louvres! sweet and in great shape too. (there's another GTA hood there in great shape too, I'm might pick that one up too)
yep, love the pathy taillight over the truck taillight
now I have to decide how I'm going to place them. these are true working louvres, so engine temps will be cooler for wheeling.
Re: new direction
did some work on the dr. side bed and some more thinking on the louvres.

the long slats are at the slight slope of the hood to allow the air to flow into the engine compartment.


and these would be with the old style hood with the 3 slots in the front and made so that air would flow through them.


the long slats are at the slight slope of the hood to allow the air to flow into the engine compartment.
and these would be with the old style hood with the 3 slots in the front and made so that air would flow through them.
Re: new direction
Holy s*** man that is so cool! I wish I had the talent you posses bro!
Re: new direction
Thanks,
so today, went back the j/y and picked up the GTA hood so I can cut out the louver openings. 25 bucks beats the 100-200 on e-bay just for the louvers. lol then stopped by the local chevy dealer to pick up parts I ordered and drool over a SS Camaro, I'd rather have a COPO Camaro though. lol then cut off the driver side taillight assembly and tacked on the pathy 1/4 panel, looks like a unibody lol


I'm going to need some trimming on the pass. side cover because of the high mount AC, but I was completely surprised that the fit under the crossover tube.
so today, went back the j/y and picked up the GTA hood so I can cut out the louver openings. 25 bucks beats the 100-200 on e-bay just for the louvers. lol then stopped by the local chevy dealer to pick up parts I ordered and drool over a SS Camaro, I'd rather have a COPO Camaro though. lol then cut off the driver side taillight assembly and tacked on the pathy 1/4 panel, looks like a unibody lol
I'm going to need some trimming on the pass. side cover because of the high mount AC, but I was completely surprised that the fit under the crossover tube.
Re: new direction
so today I think a lot got accomplished. more little stuff, but a lot of little stuff. 1st, reverified the thermostat housing to the lower radiator.
the upper and lower hose pipes will be cut and have 90* pipes installed. the veiw looking down, you can see how the upper hose will be with a 90* in the hose going to the water pump, the side view you can see the hose will have about a 30* bend to the lower hose pipe.


I made a cutout for the heater hoses to go by the AC compressor.


I also removed the strip on the pass side to weld up the front inner bed side


my friend evened the gap on the driver side bed side for a clean fit, then installed it. I prepped the tailgate bracket so I can possibly get that done tomorrow and still need to fit the front of the bed side but its on.


the upper and lower hose pipes will be cut and have 90* pipes installed. the veiw looking down, you can see how the upper hose will be with a 90* in the hose going to the water pump, the side view you can see the hose will have about a 30* bend to the lower hose pipe.
I made a cutout for the heater hoses to go by the AC compressor.
I also removed the strip on the pass side to weld up the front inner bed side
my friend evened the gap on the driver side bed side for a clean fit, then installed it. I prepped the tailgate bracket so I can possibly get that done tomorrow and still need to fit the front of the bed side but its on.
Re: new direction
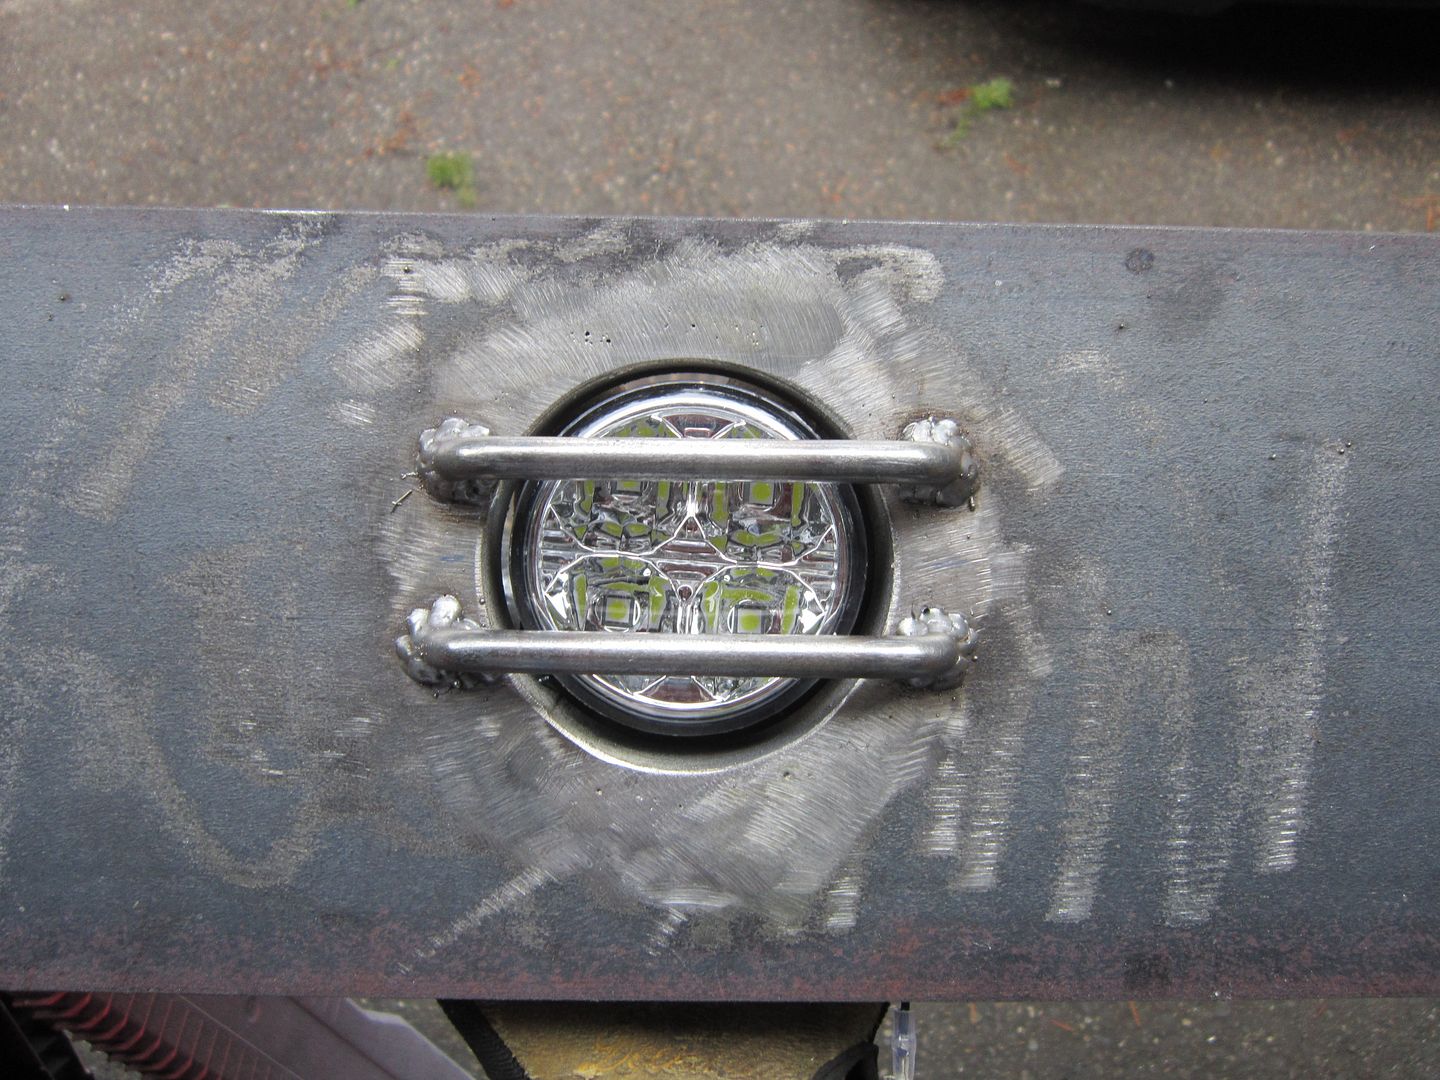
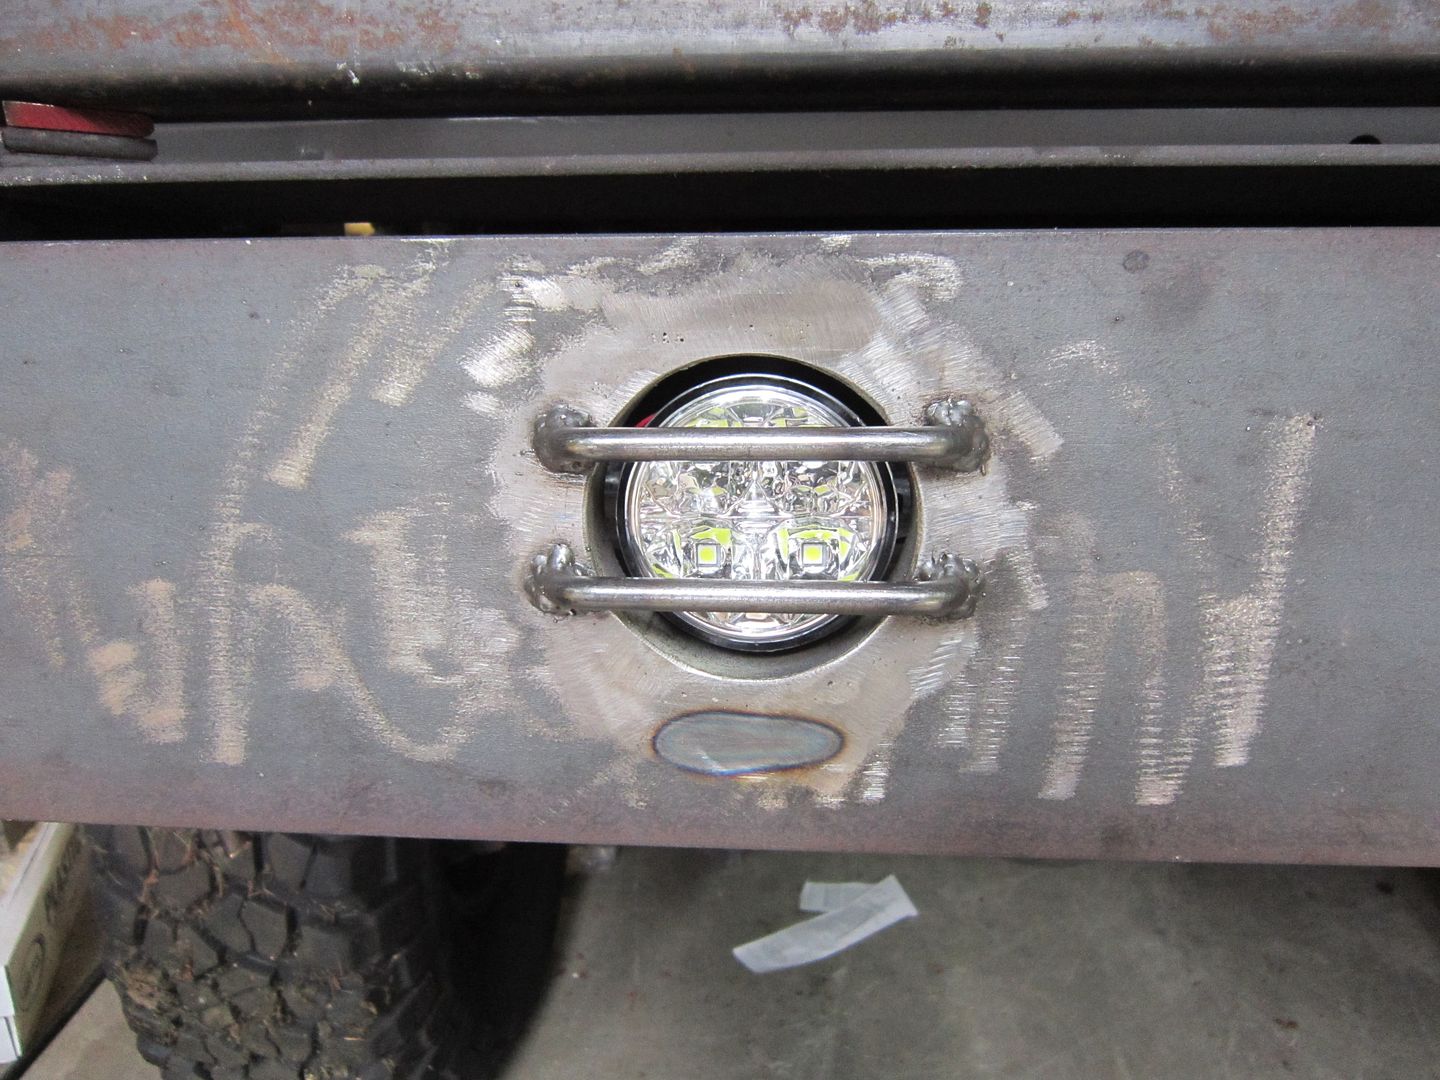
so today I worked more on the bed. got the dr. side taillight assembly welded in. tailgate is now going to be right around 50", inside opening is 48-1/4" and outside opening is 50-1/4". tailgate is currently 54-1/4" so 4" must go bye bye. I tacked the inside front of the bed, the wheel well opening is also tacked in. I had to trim some piece on the tailgate support so the lights fit in perfect. I will add the metal back in but it will be straight instead of bending in towards the taillight assembly. I also cutout the louver openings on the GTA hood, then put tape lines where I am thinking of cutting out for the rear bumper.


Re: new direction
so today I worked more on the bed. got the dr. side taillight assembly welded in. tailgate is now going to be right around 50", inside opening is 48-1/4" and outside opening is 50-1/4". tailgate is currently 54-1/4" so 4" must go bye bye. I tacked the inside front of the bed, the wheel well opening is also tacked in. I had to trim some piece on the tailgate support so the lights fit in perfect. I will add the metal back in but it will be straight instead of bending in towards the taillight assembly. I also cutout the louver openings on the GTA hood, then put tape lines where I am thinking of cutting out for the rear bumper.
Re: new direction
did some more grindind and welding.
starting to look like a rig again. more body work... this is the fun stuff though, sand, prime, sand, prime, sand, prime, paint, sand, prime....


starting to look like a rig again. more body work... this is the fun stuff though, sand, prime, sand, prime, sand, prime, paint, sand, prime....
Re: new direction
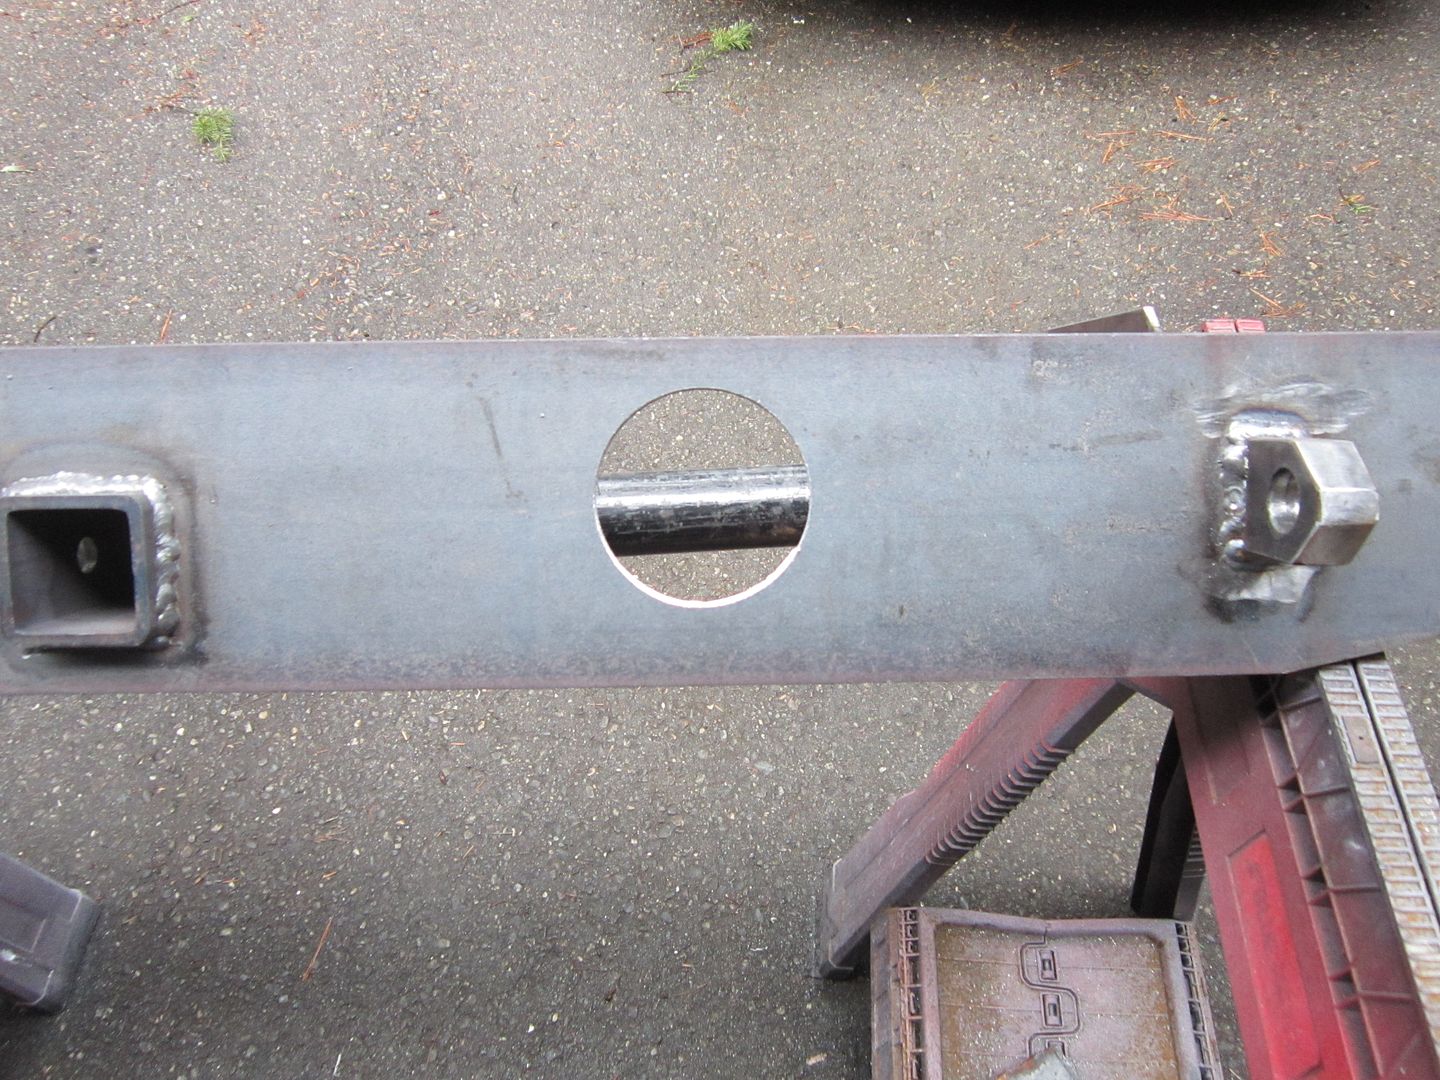
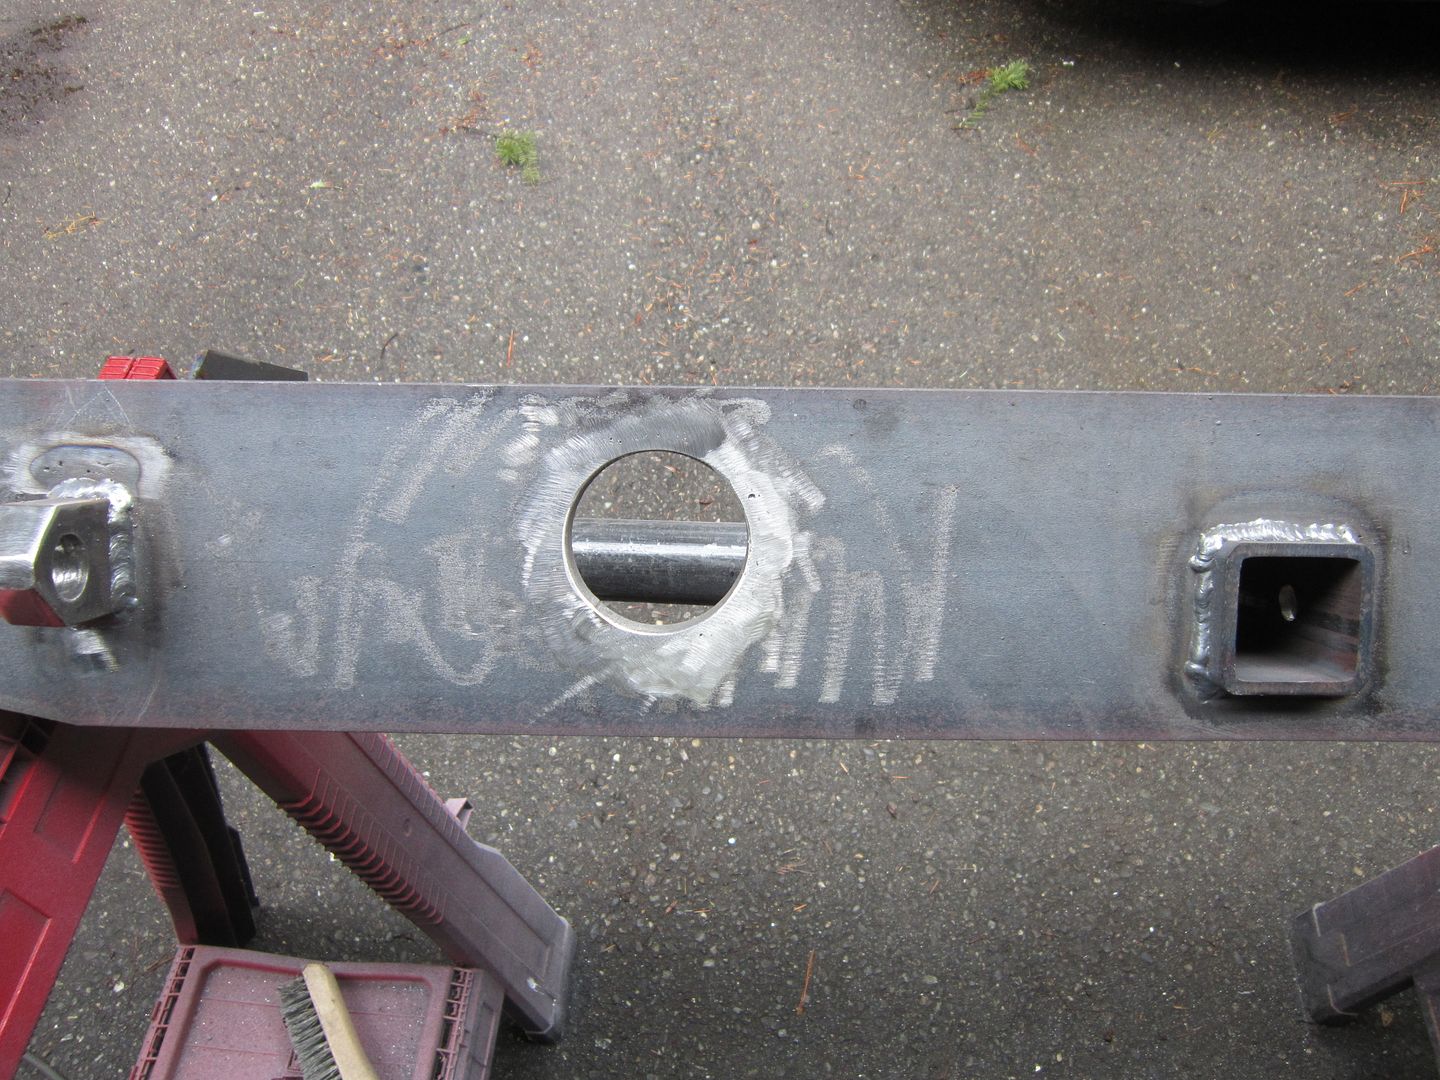
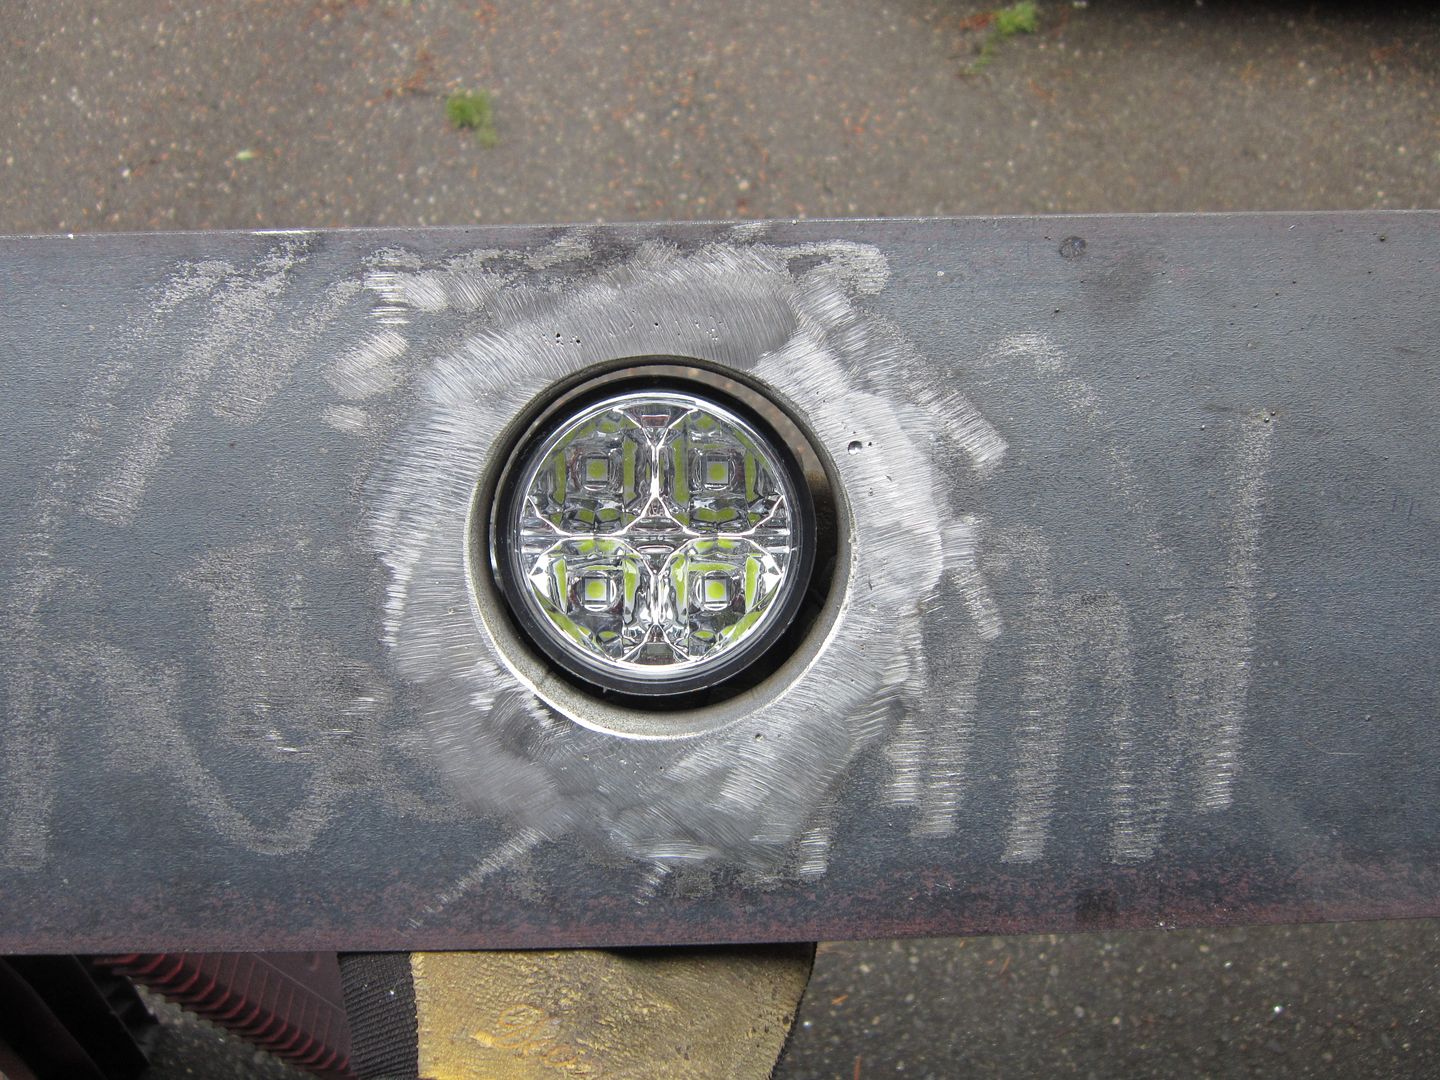
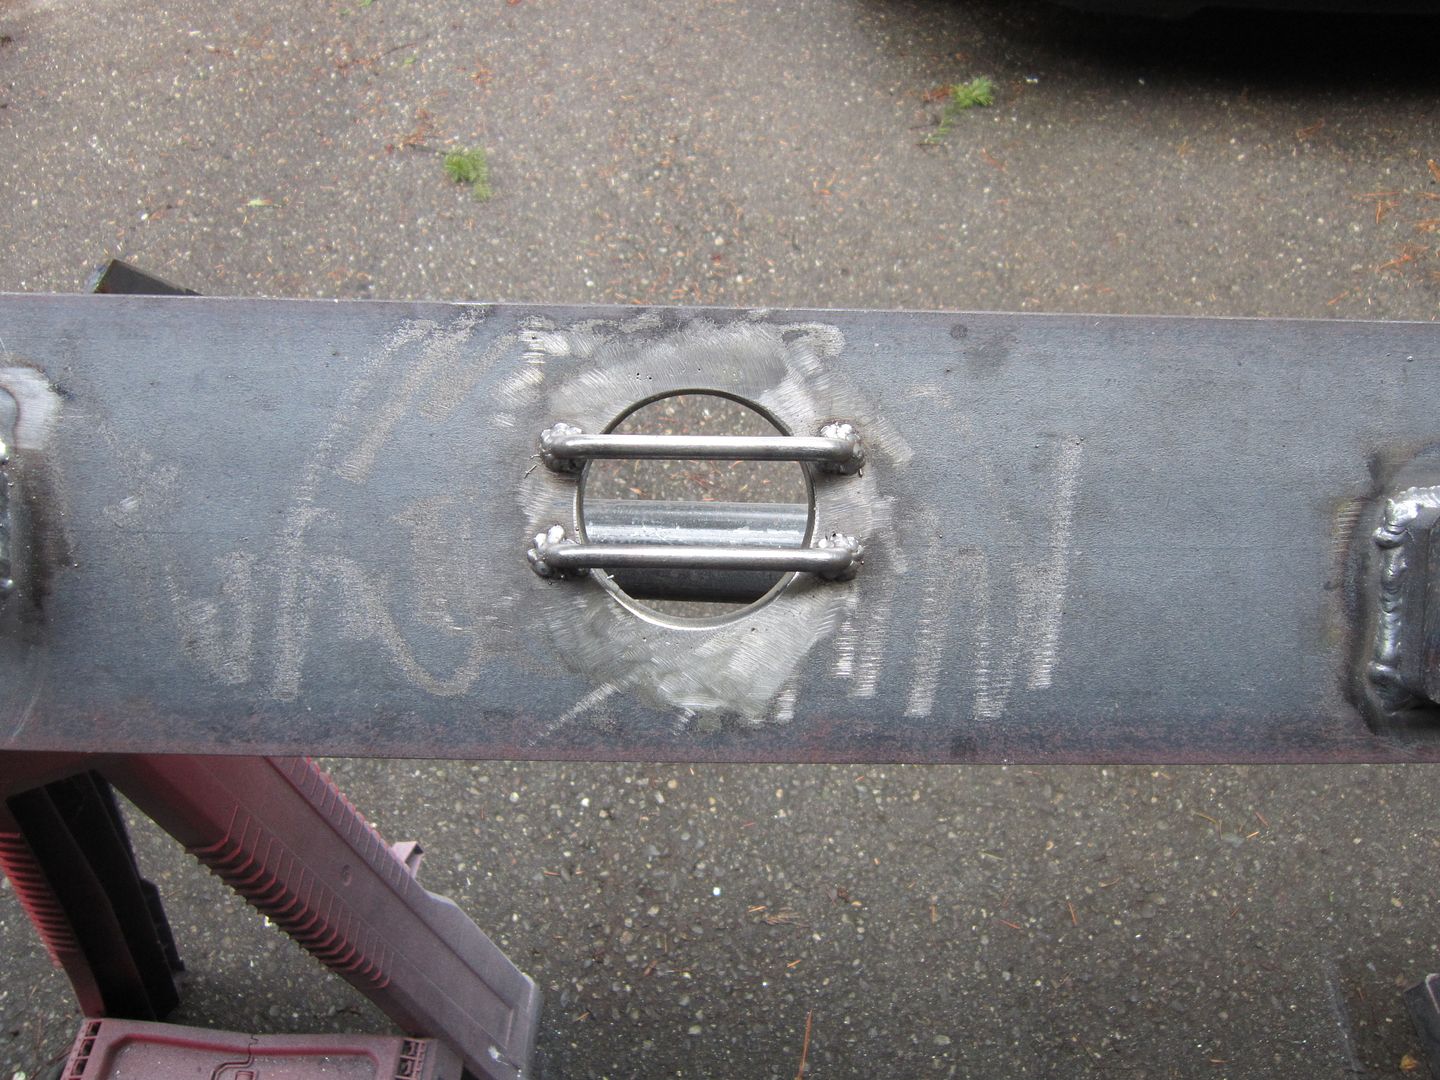
so yesterday I made access covers...


and today I started on the hood.


and some trimming clean up is needed on the inside...


and some input would be appreciated on how to deal with the slight hump for the rear louvers...


and today I started on the hood.
and some trimming clean up is needed on the inside...
and some input would be appreciated on how to deal with the slight hump for the rear louvers...

Re: new direction
Thanks,
today I tacked in the rear louvers...


today I tacked in the rear louvers...
Re: new direction
getting closer to paint 


-
Rev_D21

- Posts: 5946
- Joined: Sun Jan 12, 2003 9:49 pm
- Car: 1986.5 D21 LB HD 2WD V6 5Speed
1991 D21 Reg 2WD Auto
1995 D21 Reg 2WD 5Spd
1996 D21 Reg 4WD 5Spd
2012 Versa 1.6S 5-Speed - Location: Somwhere in Western NY
- Contact:
Re: new direction
That thing is radical! Thanks for sharing!
Re: new direction
so after being apprehensive about painting I bit the bullet and just did it. not too shabby for the 1st time painting a vehicle. 1 run in the engine compartment because I forgot to hold the hose... oops. let's hope for a nice non windy day again tomorrow...


Re: new direction
so I added some color to the truck today. tomorrow the blue stripe and red dashes... and clear coat. I thought I was doing good by taping off the jambs and painting them... I forgot to do the gas doors. oops. oh well, I think its looking bad a$$


Re: new direction
didn't get much done today. way too much wind to deal with. I did get the blue applied though.


Re: new direction
one step closer...


-
Adverse Effects

- Posts: 116
- Joined: Sat Jul 26, 2014 7:57 pm
- Car: 1987 Nissan Navara 2WD 2.4L Z24
Base Standard Cab Pickup 2-Door styleside
5 speed manual - Location: Brisbane QLD Australia
Re: new direction
wow nice work
-
Meleemaker
- Posts: 14
- Joined: Thu Nov 14, 2013 7:52 pm
- Car: 2000 Toyota Celica
1993 Nissan D21 4WD
Re: new direction
I think we just became best friends. Amazing build.
-
AJ.VALENTE
- Posts: 22
- Joined: Thu Oct 31, 2013 11:18 am
- Car: 97 Nissan 4x4 Hardbody 4cyl. 5-sp, Firestone Destination 2 radials, halogen lamps upgrade, Piaa road lights, Pioneer stereo, Leer shell.
Re: new direction
Race truck, or sleeper?
Lookin Good.
Lookin Good.
-
mdawg4x4

- Posts: 113
- Joined: Sun Jan 16, 2011 9:38 am
- Car: 2006 Nissan Frontier NISMO CC 4X4
2011 Nissan Murano
2006 Nissan Sentra
1963 Nissan Patrol - Location: Madison, MS
Re: new direction
Dave, I haven't been on NICOclub in quite some time and ran across your build. Great to see it on here. Huge hardbody following on NICOclub. Awesome fabrication skills. I cannot get enough of your truck build.
Re: new direction
thank you everyone.
Re: new direction
Still awesome. Keep it coming. I show ur build too many offroad guys near me.
Re: new direction
ok, its been a while since I've posted anything. my apologies.
painted the hood, had some orange peel on it so I wet sanded it.

and installed it on the truck.

worked a little on the tailgate.

finished the fuel system and added a 1" body lift

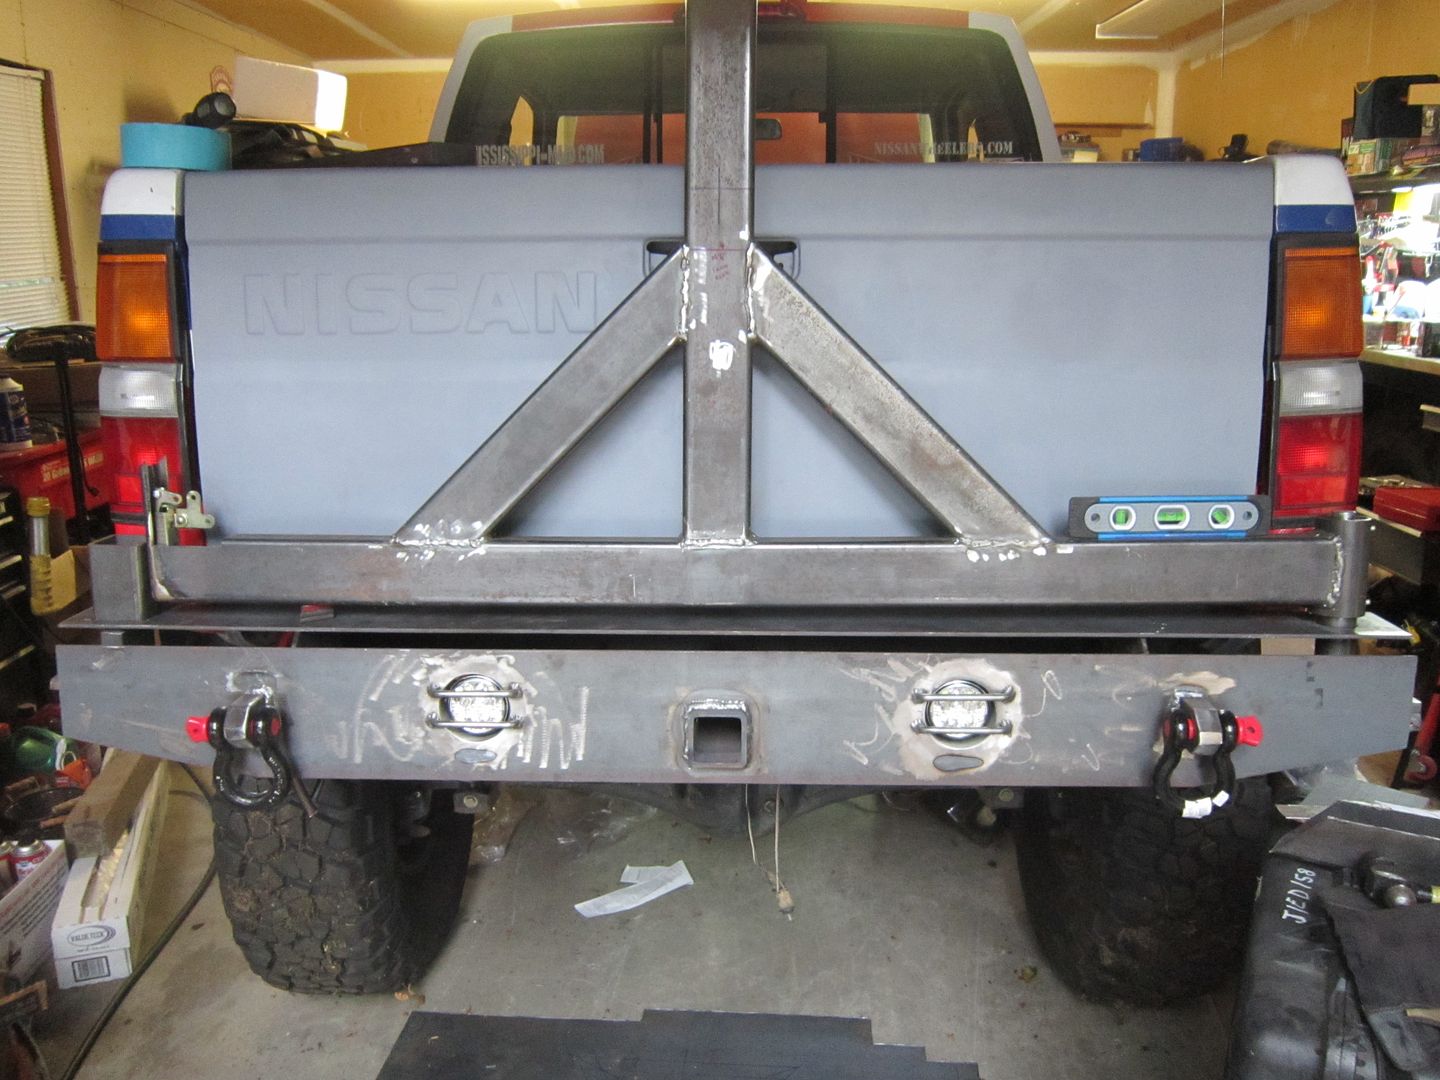
got tired of wiring so I started to work on the rear bumper tire carrier.


painted the hood, had some orange peel on it so I wet sanded it.
and installed it on the truck.
worked a little on the tailgate.
finished the fuel system and added a 1" body lift
got tired of wiring so I started to work on the rear bumper tire carrier.
Re: new direction
did a little bit more work to the bumper...