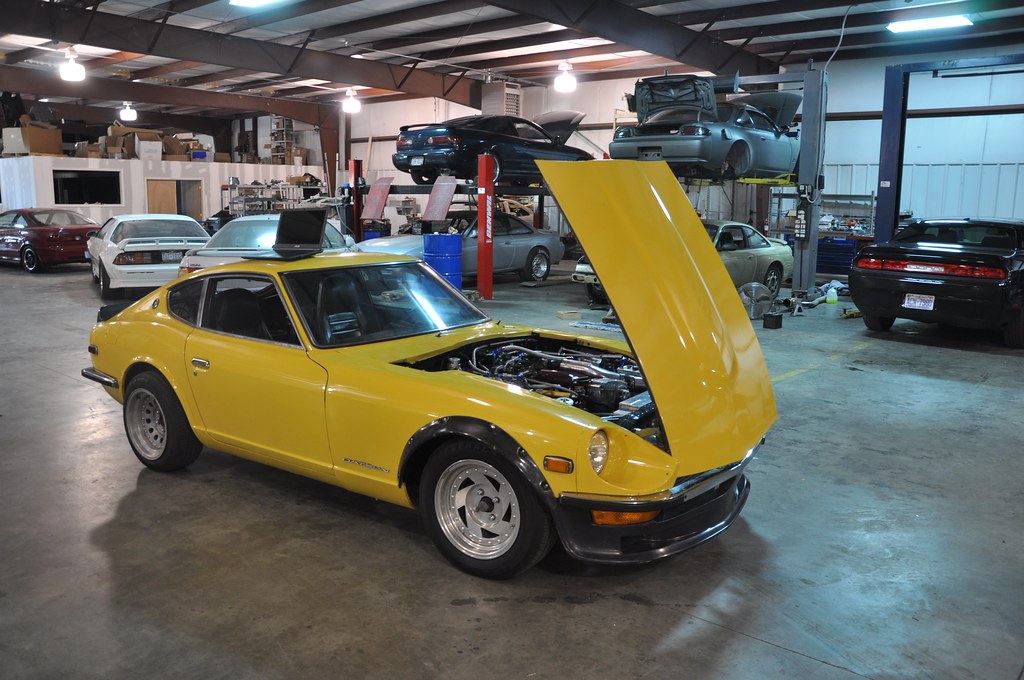
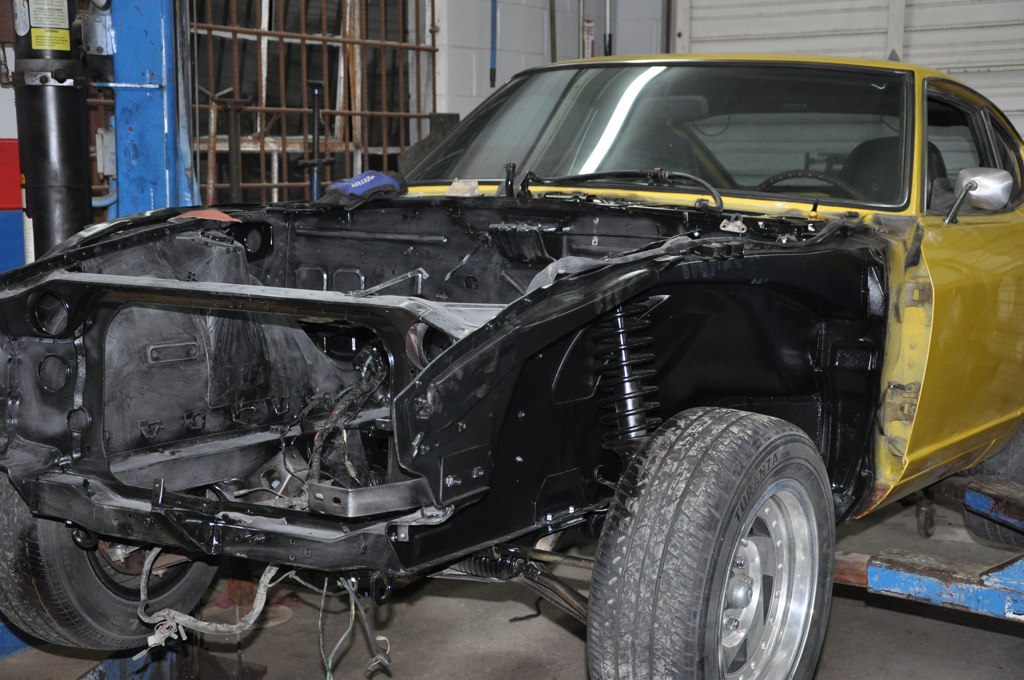
Got the car Nov 19th, here is my progress so far. i dont think i have been home before 12am since..
1st thing i did was to put her on a lift and steam clean the hell out of it. boy was she a dirty girl... (no pics of that)
Hopefully this will work. Here is my FlickR album i will be uploading pics too.
Datsun Uploads
Things that are hard to tell:
-Bad Dog frame rails welded in
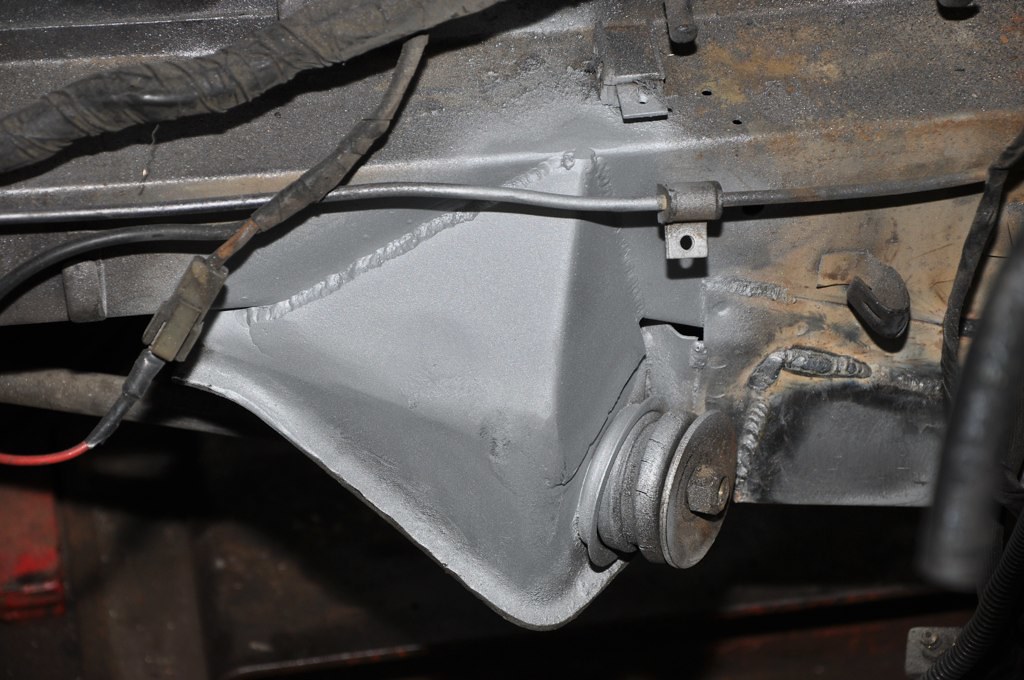
-Stiched welded front of car, down the rails, and around the mustache bar.
-Got a new front crossmemeber because the one that was in the car had the camber adjusters all welded up, i tried grinding/plasma cutting but it didnt work. (whats 40 bux at this point)...
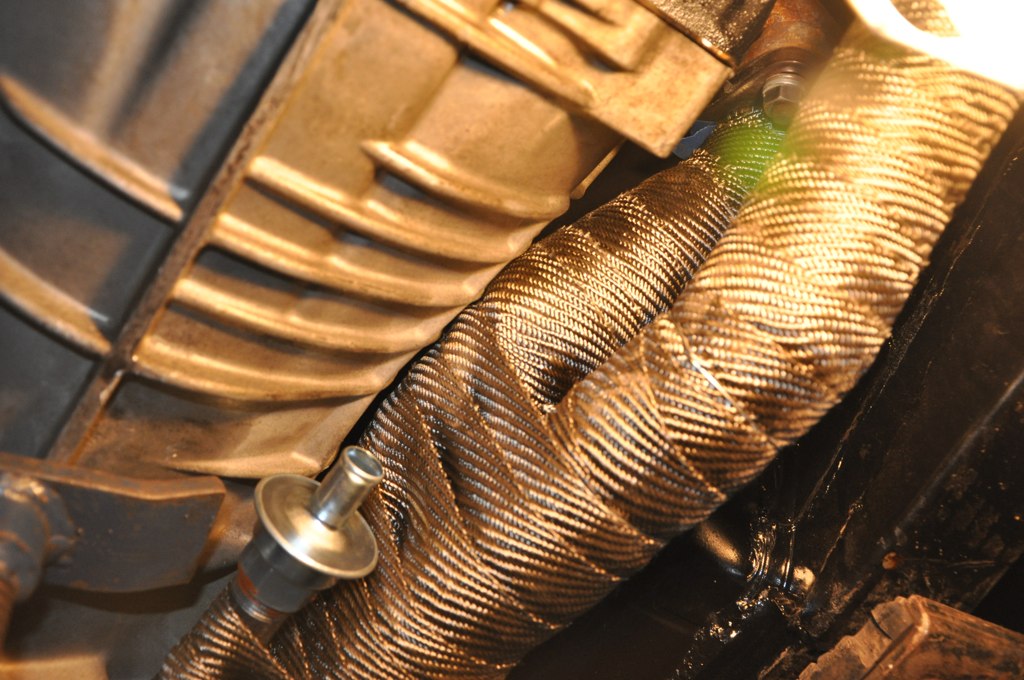
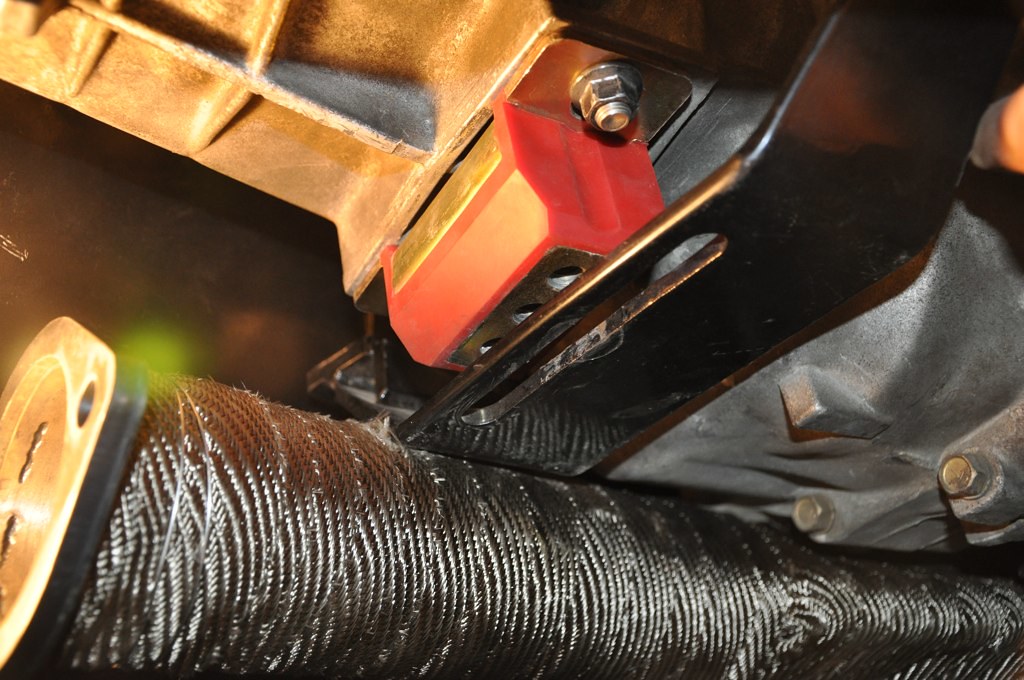
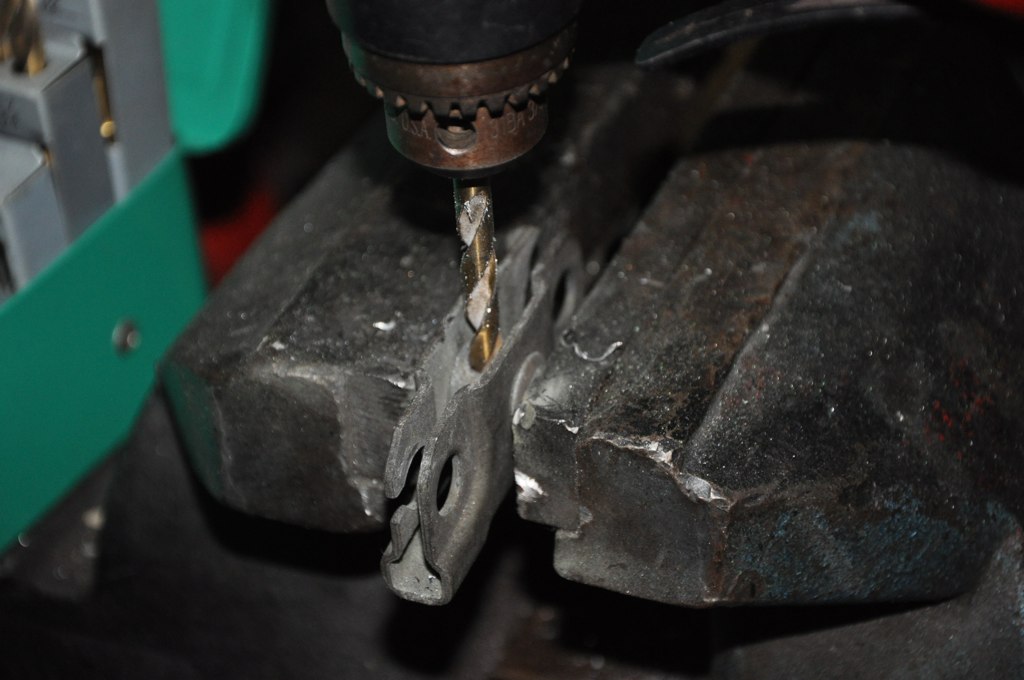
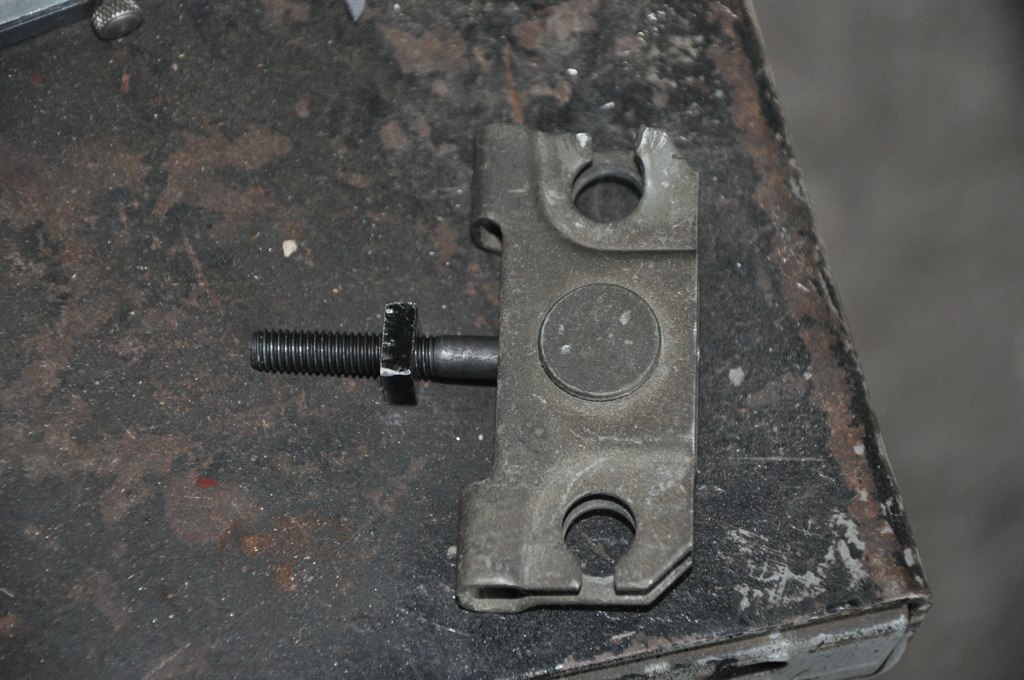
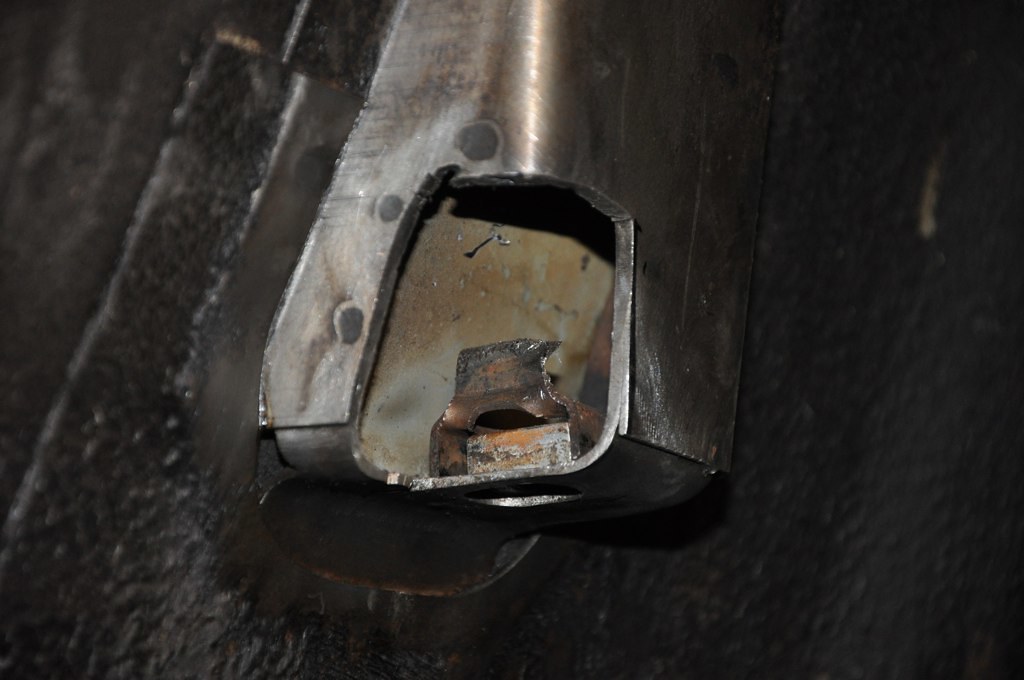
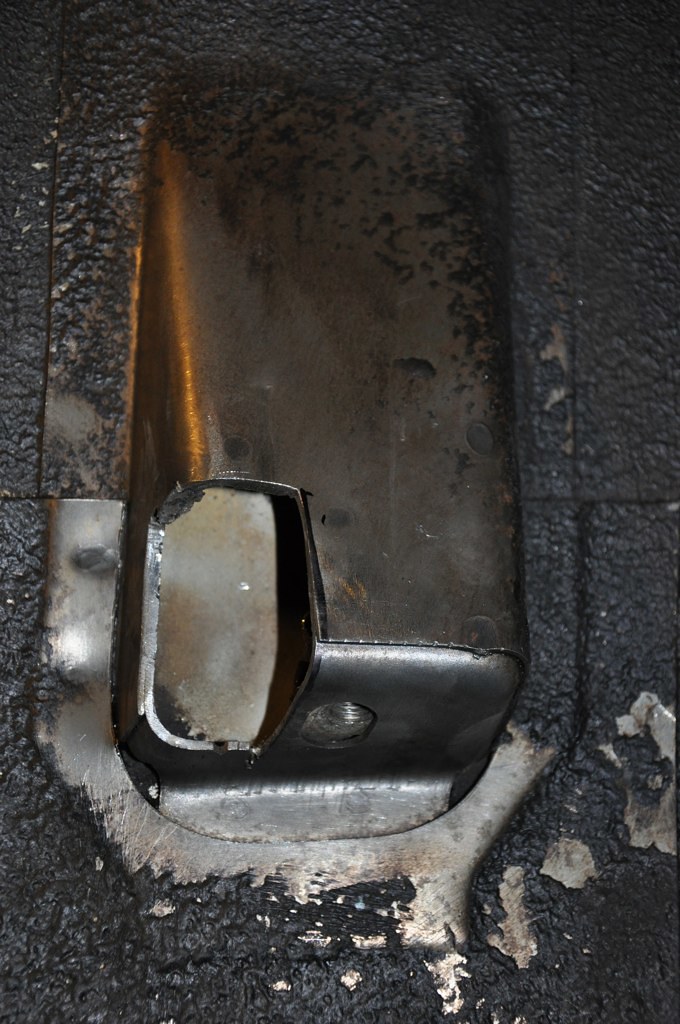
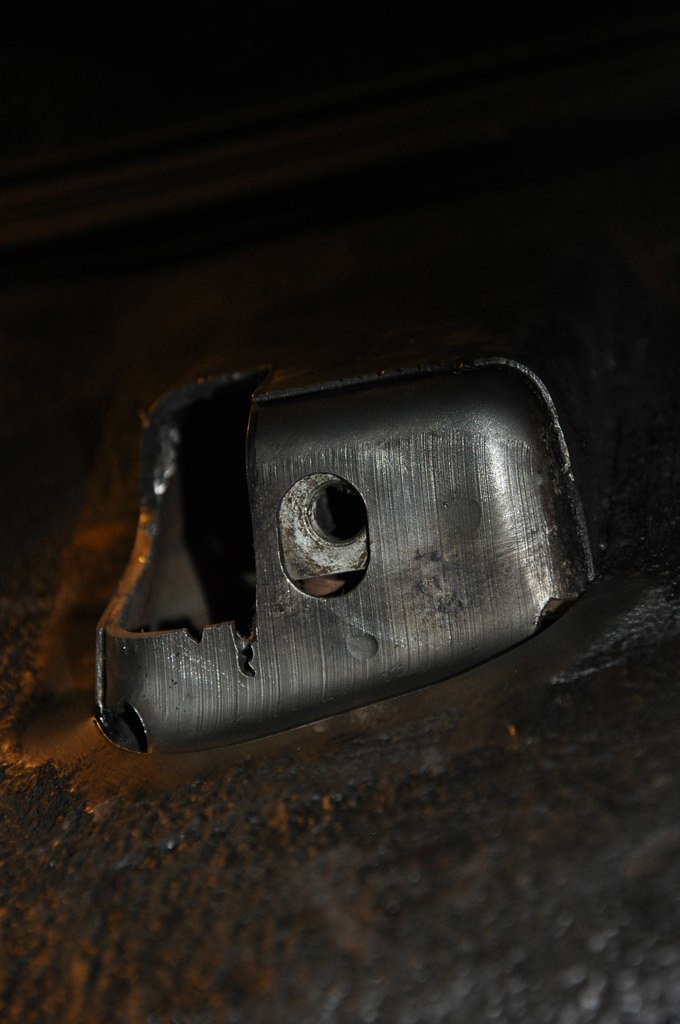
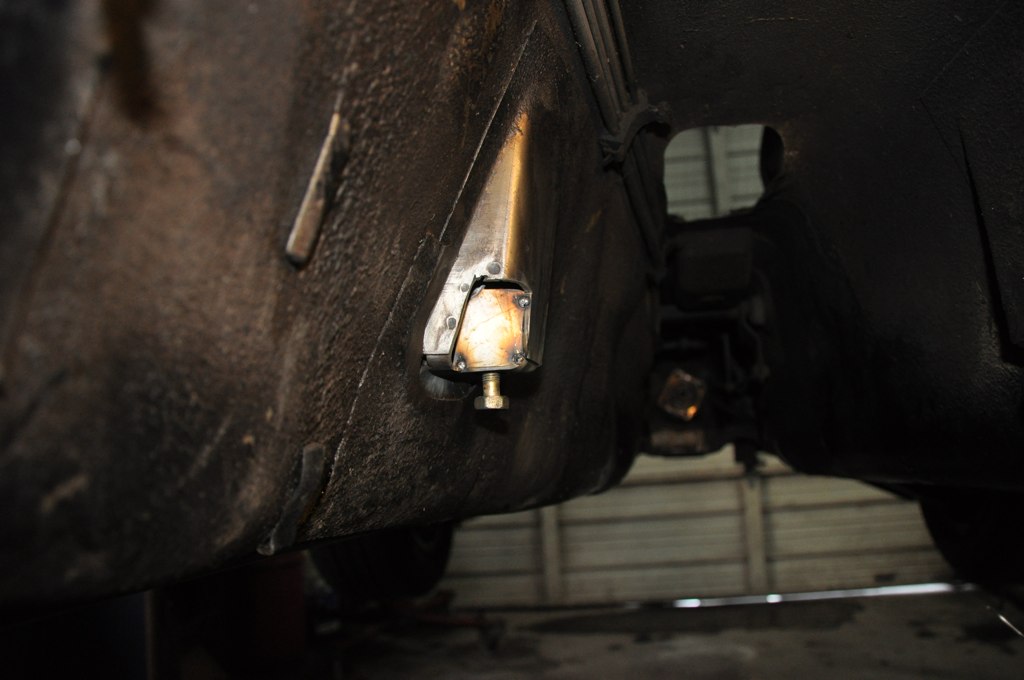
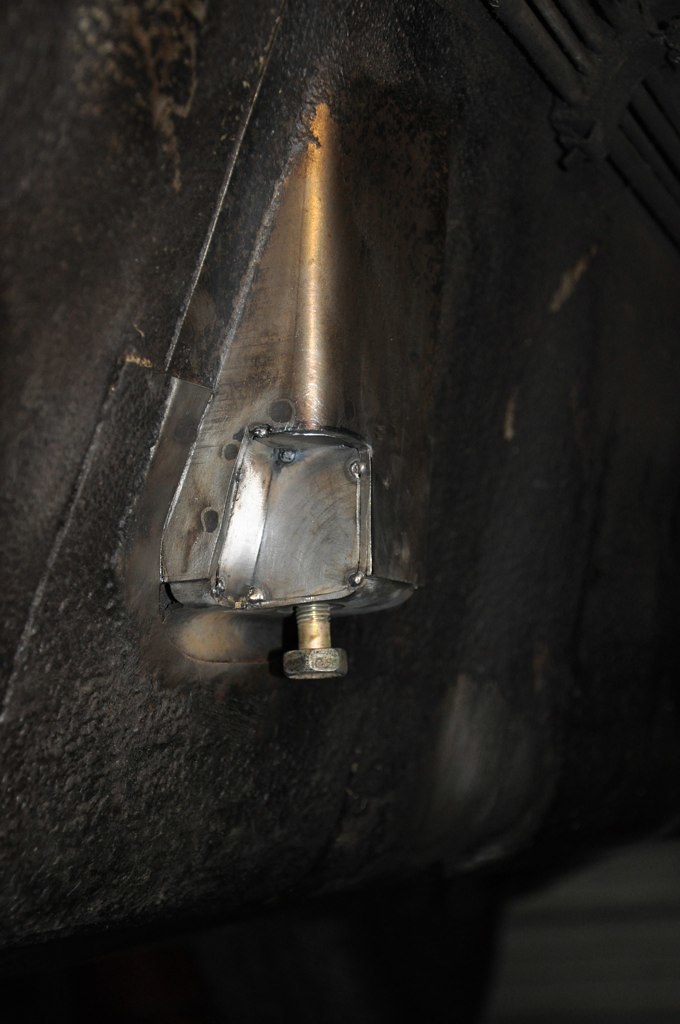
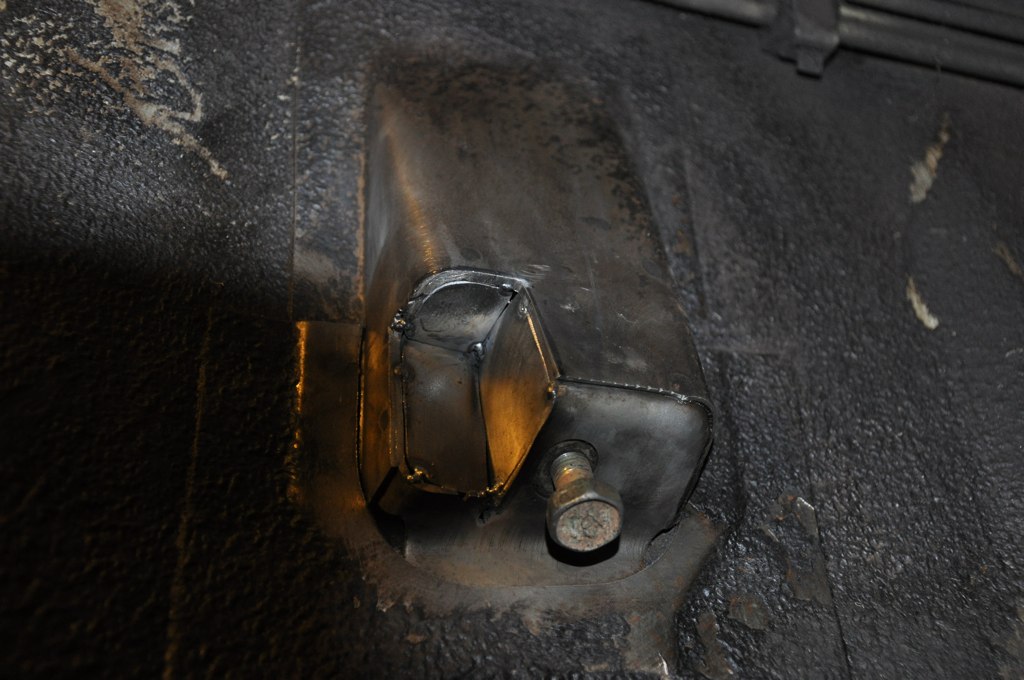
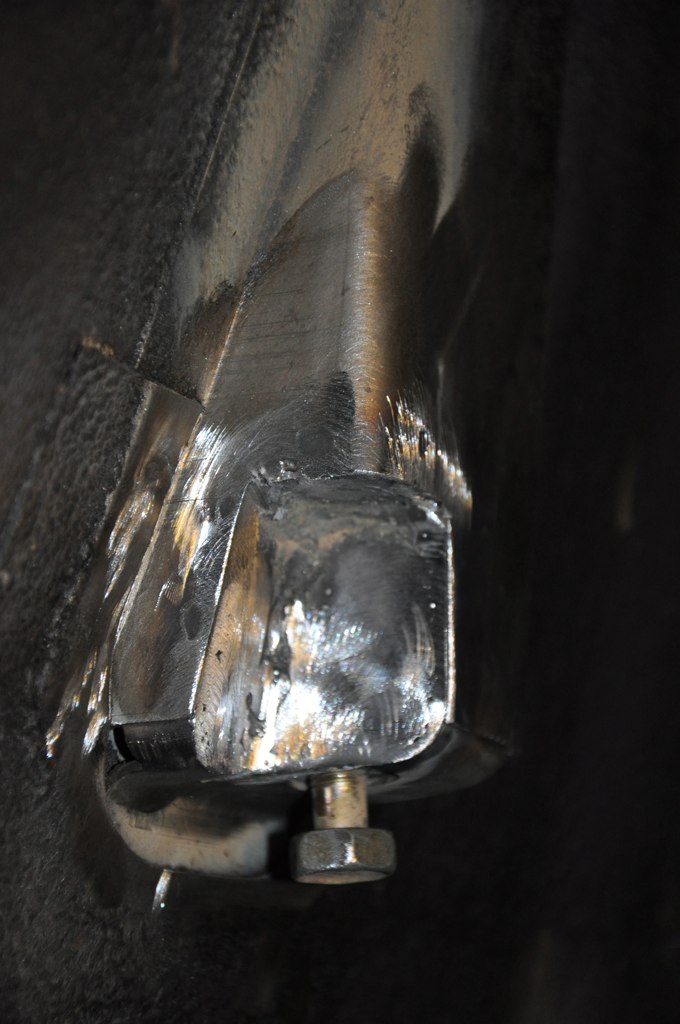
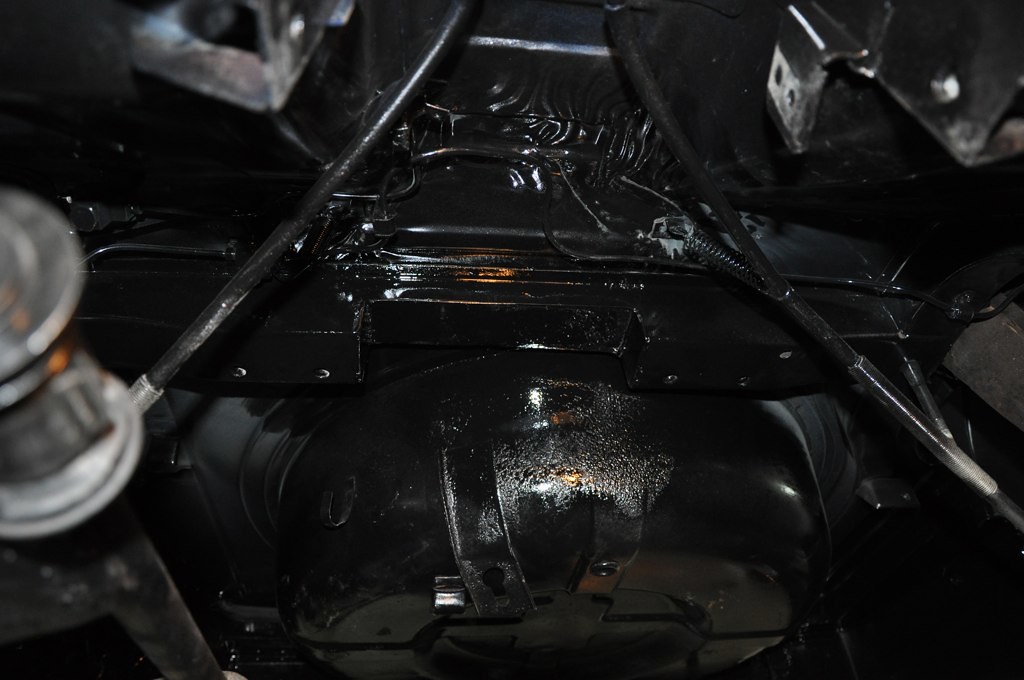
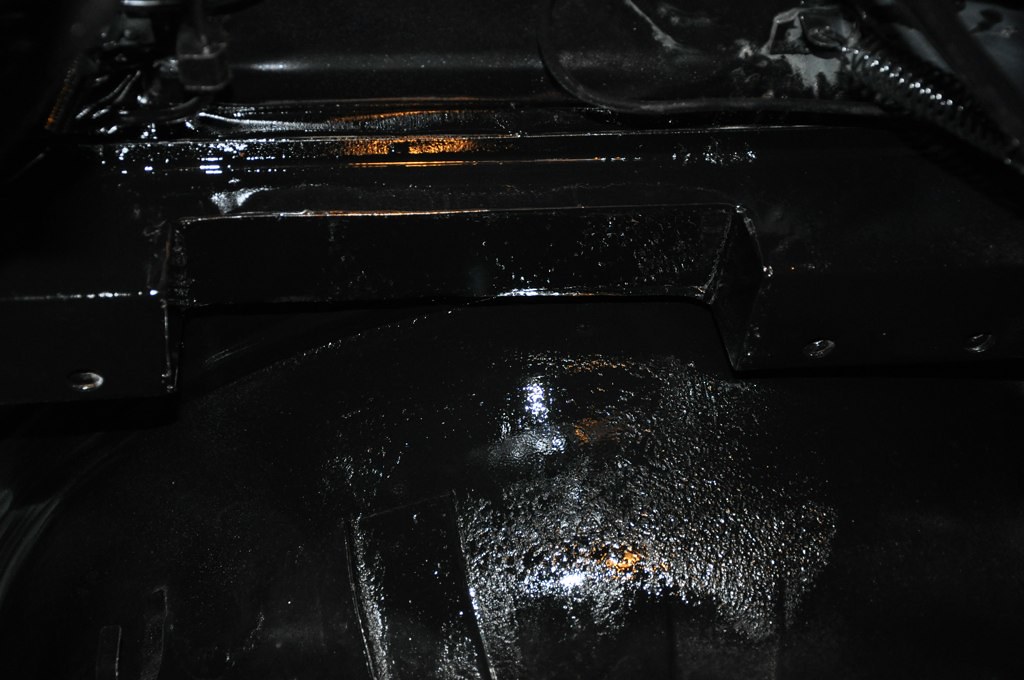
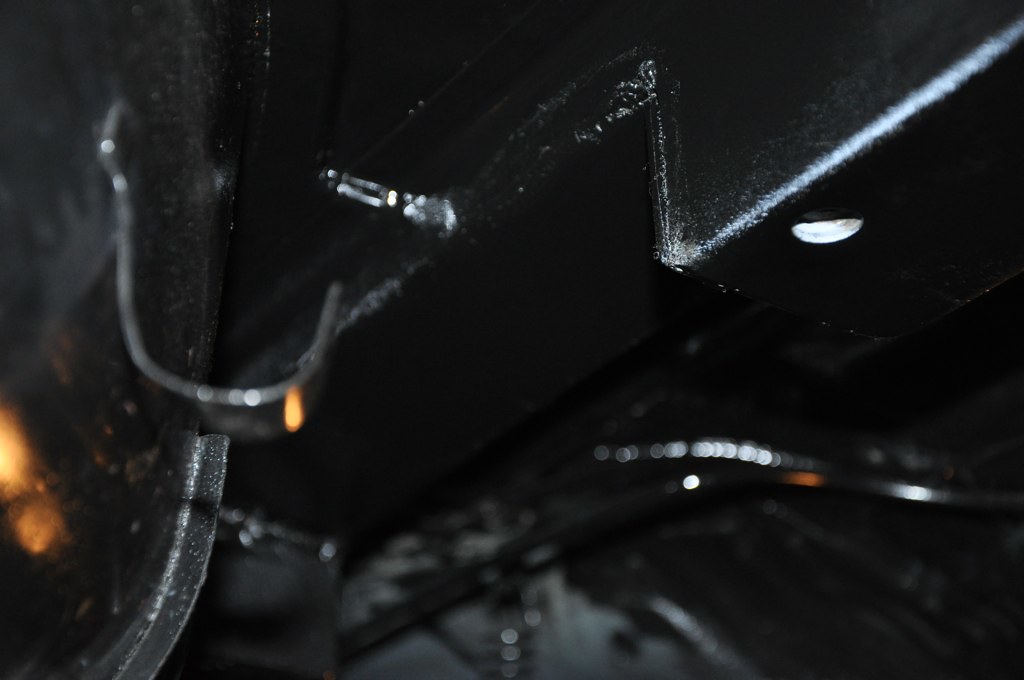
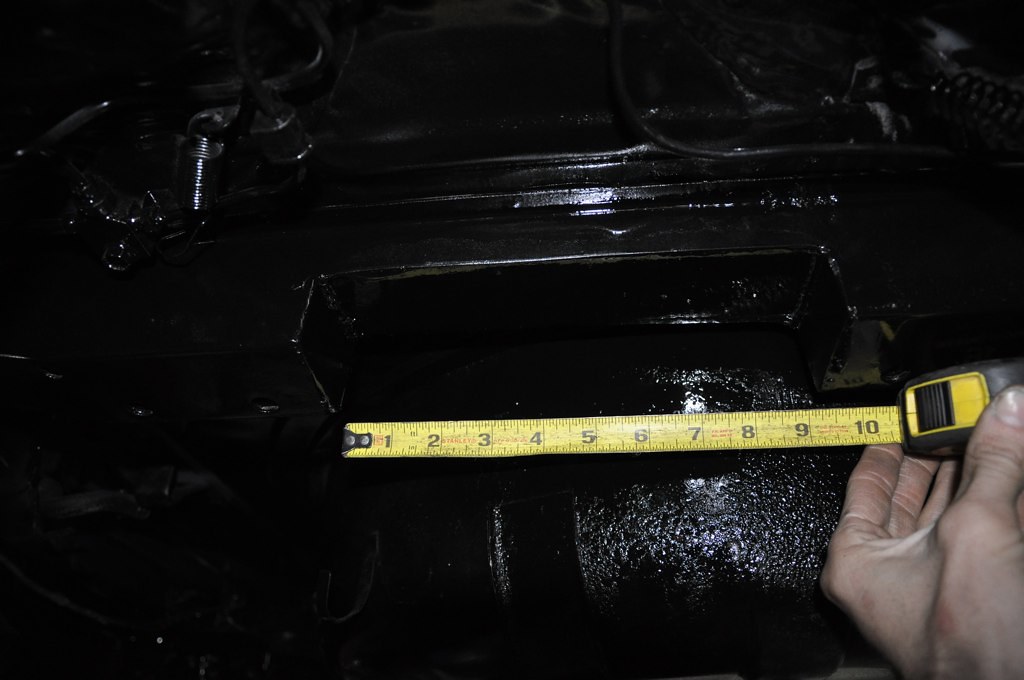
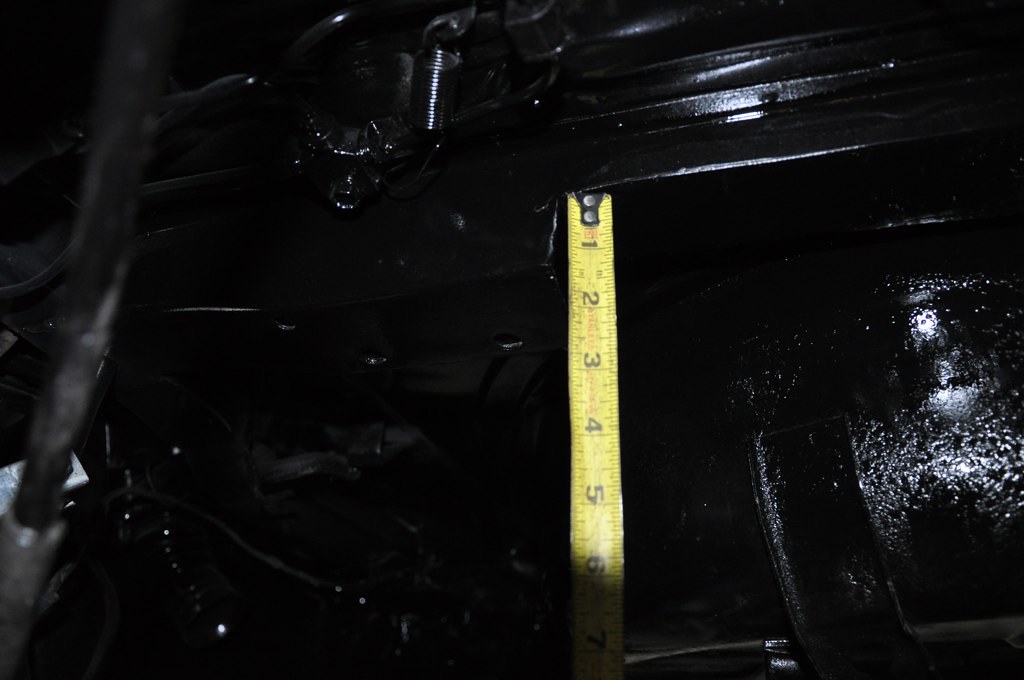
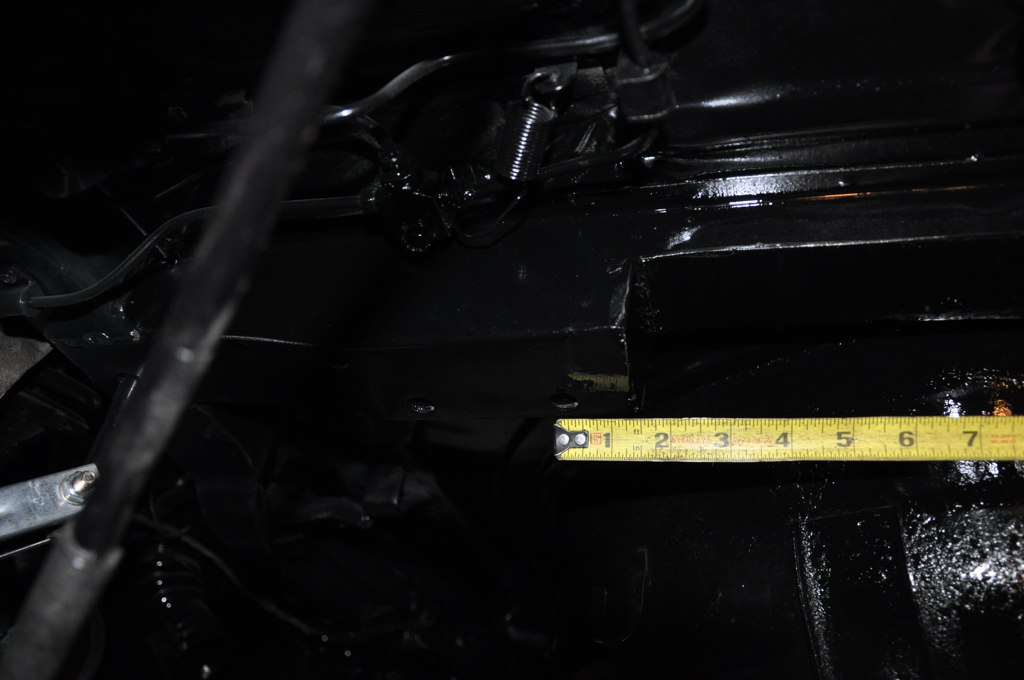
Notched Passengerside transmission mount
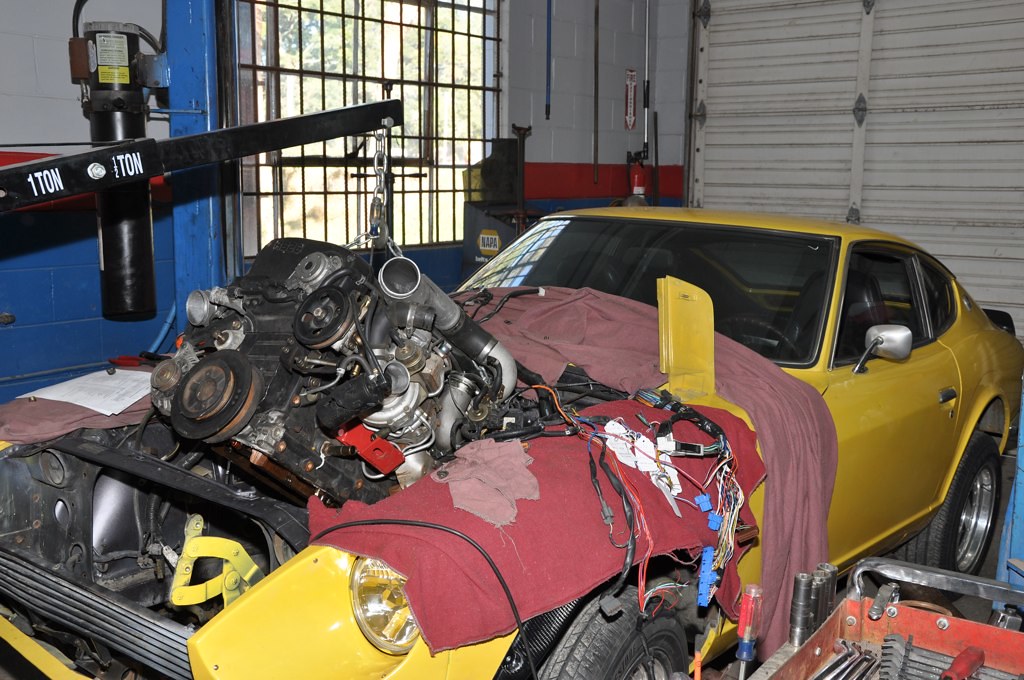
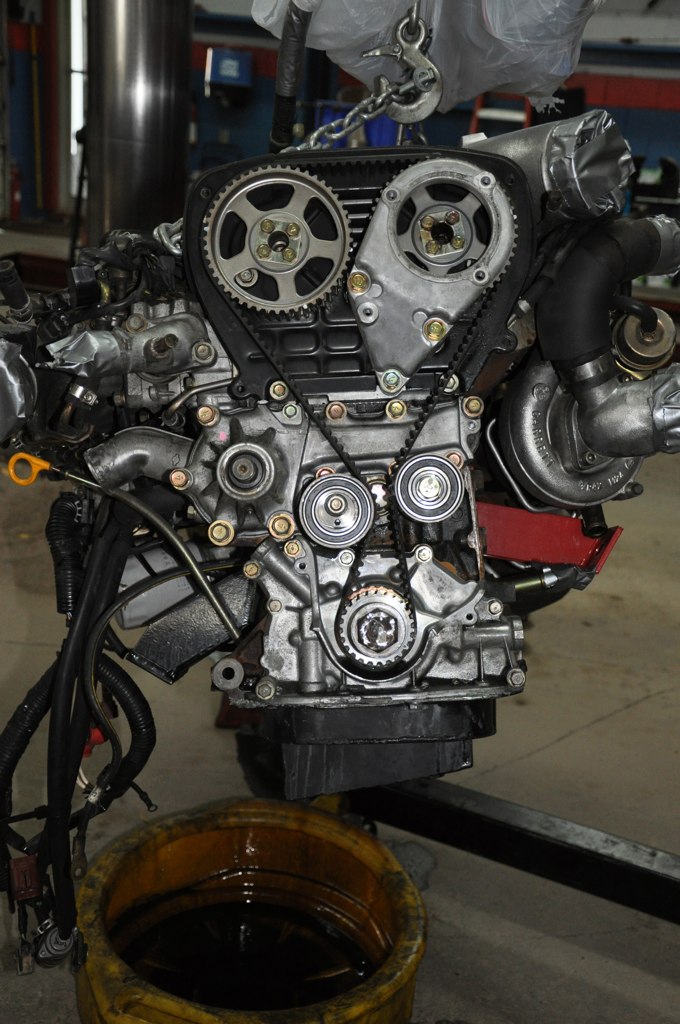
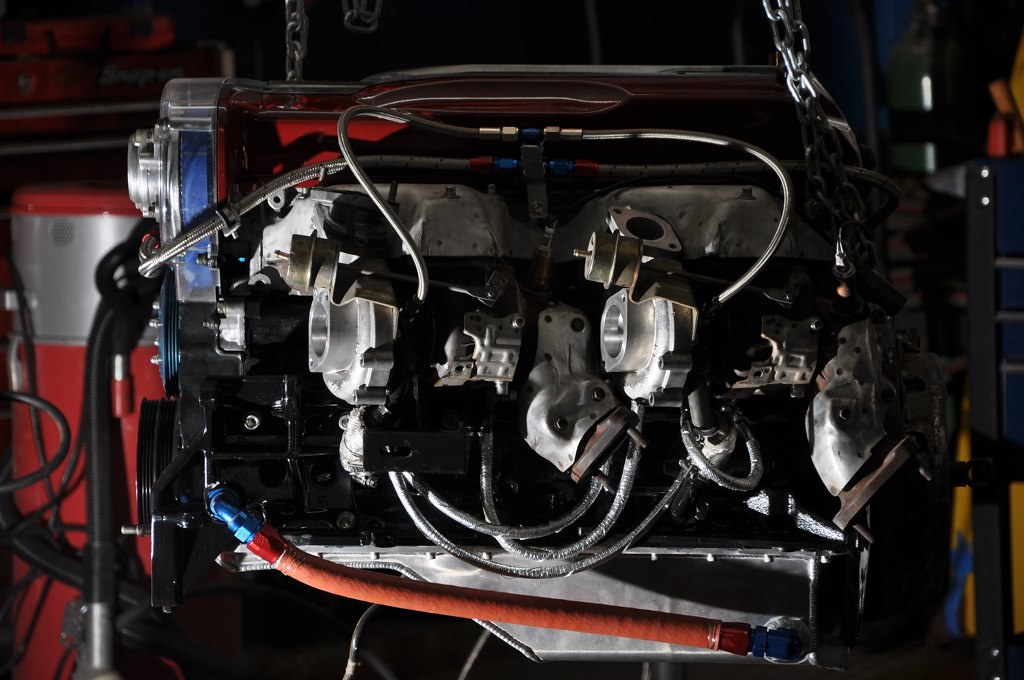
Removing engine
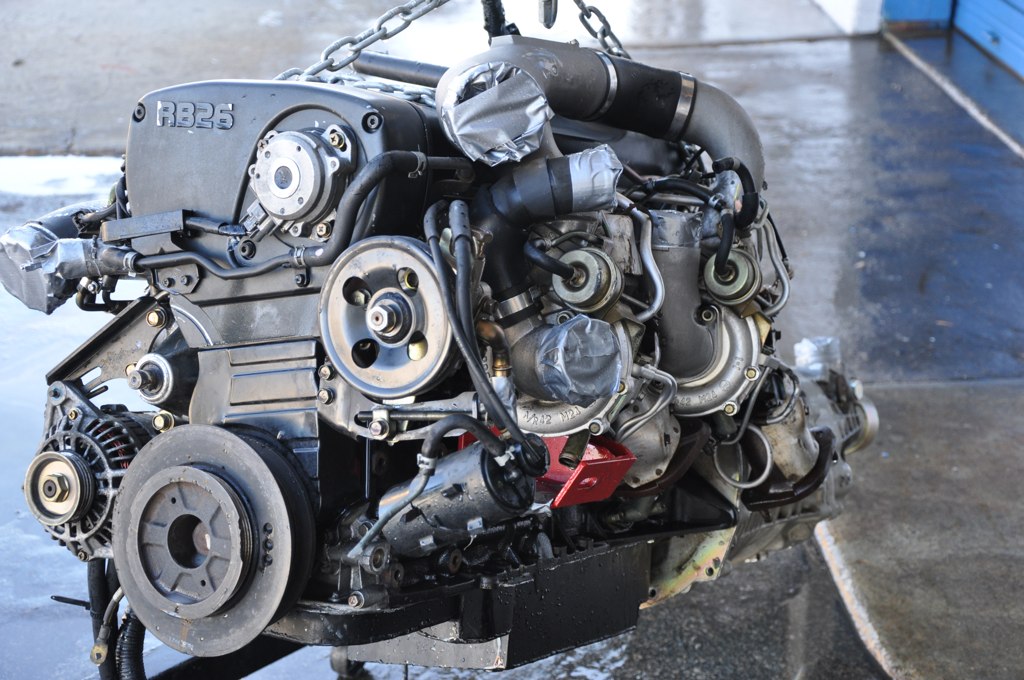
Engine after steam cleaning
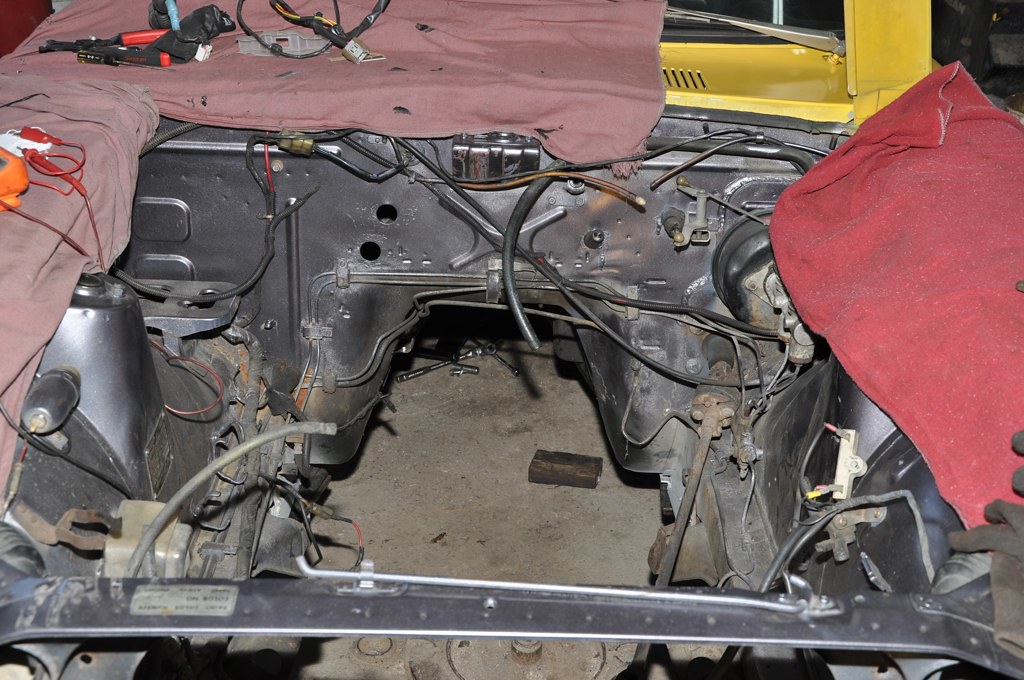
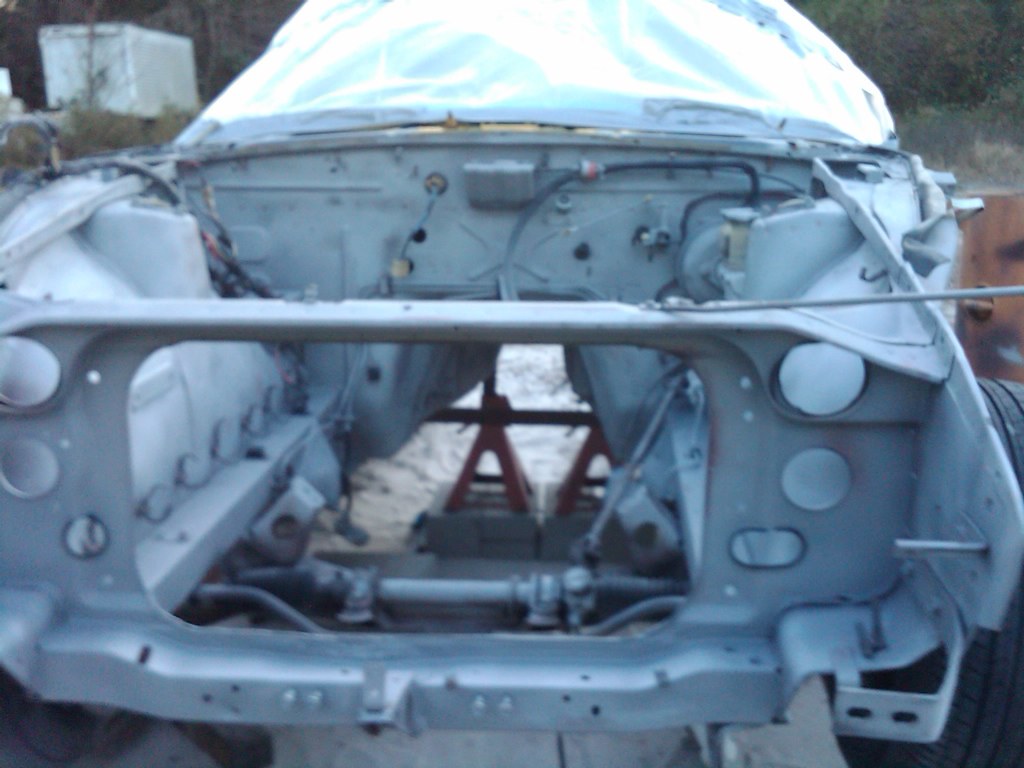
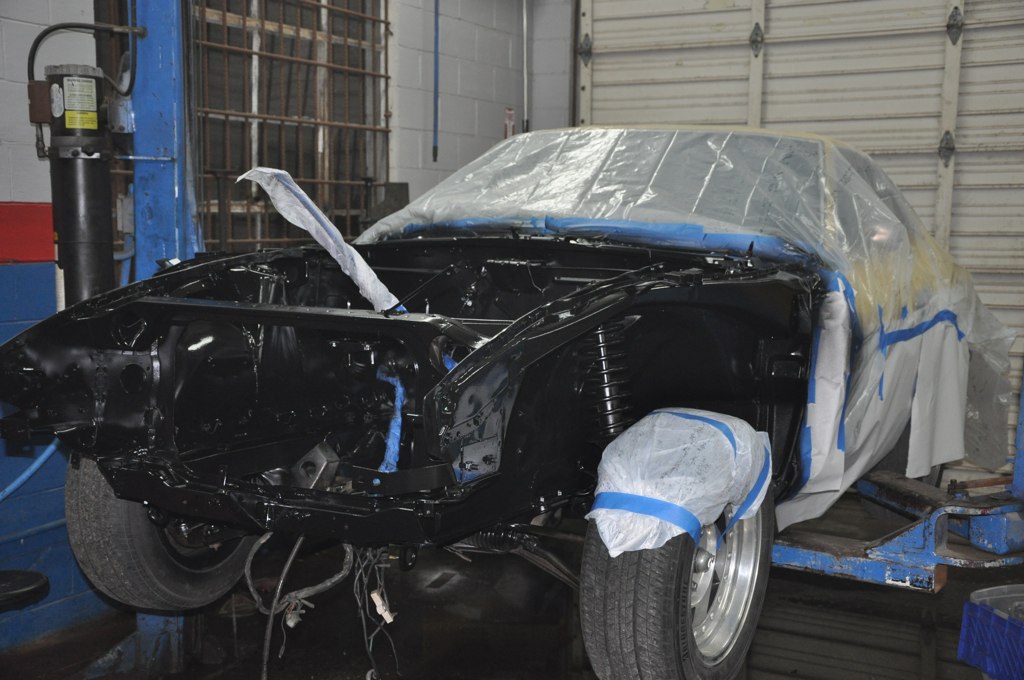
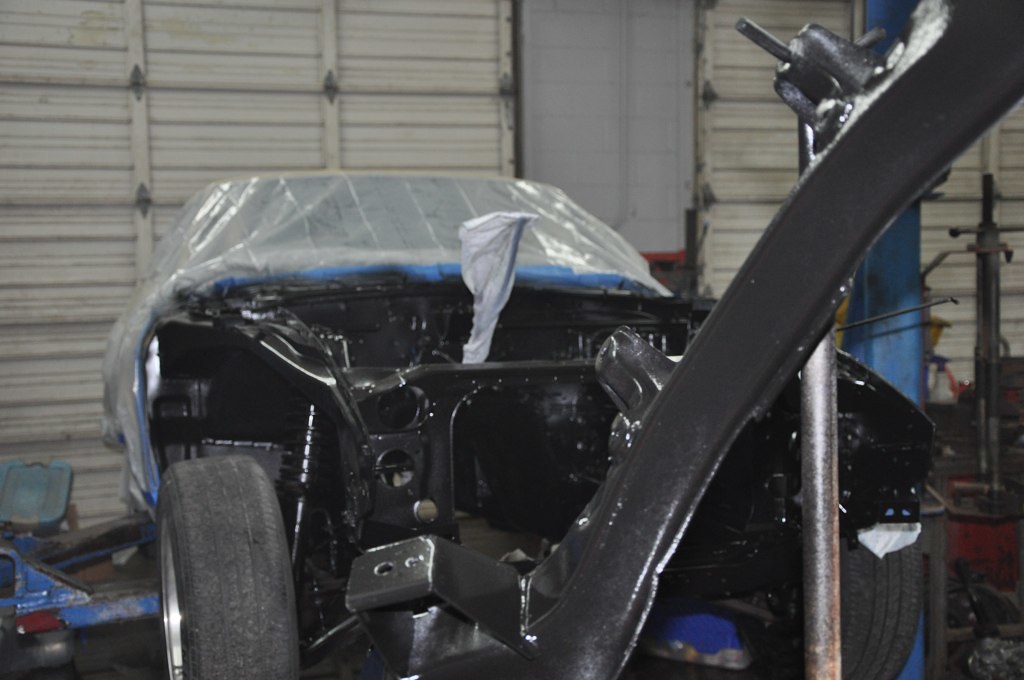
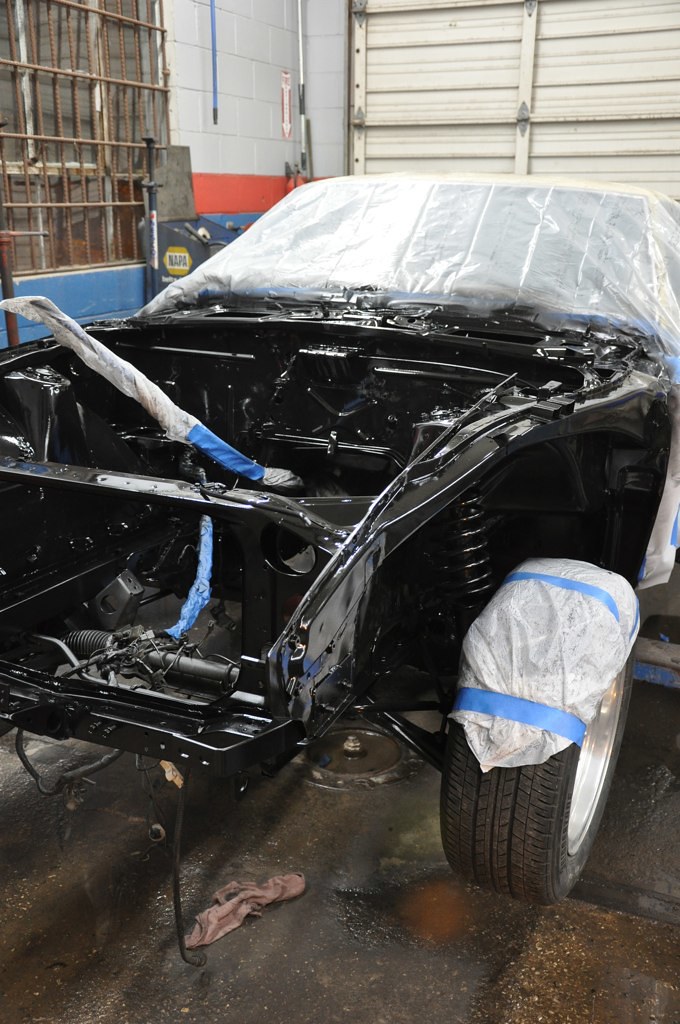
Empty engine bay
Timing Covers off engine
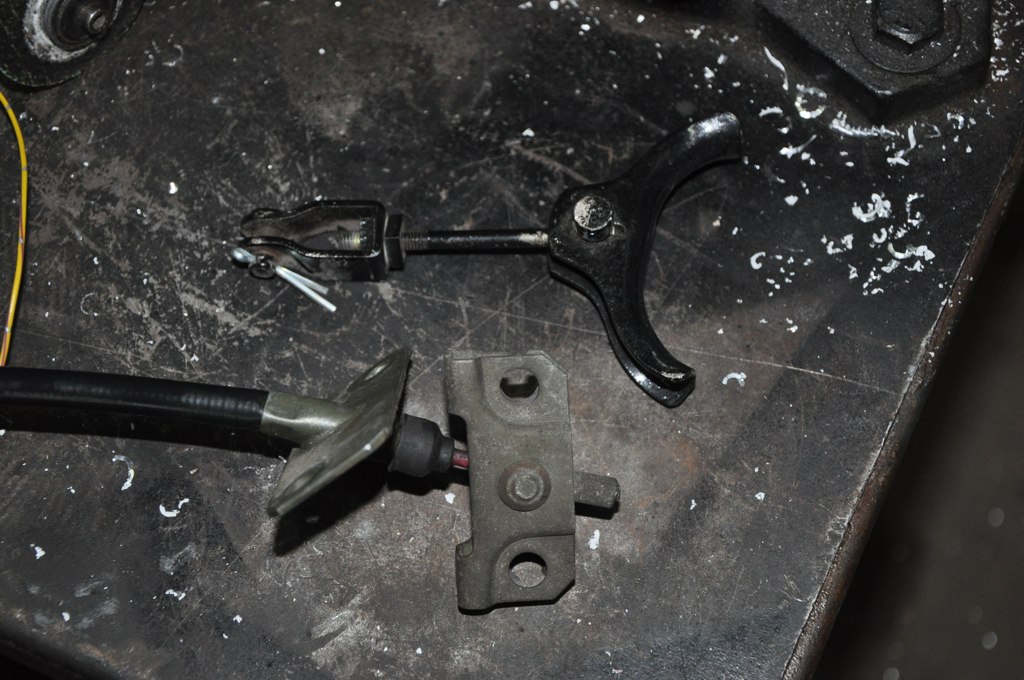
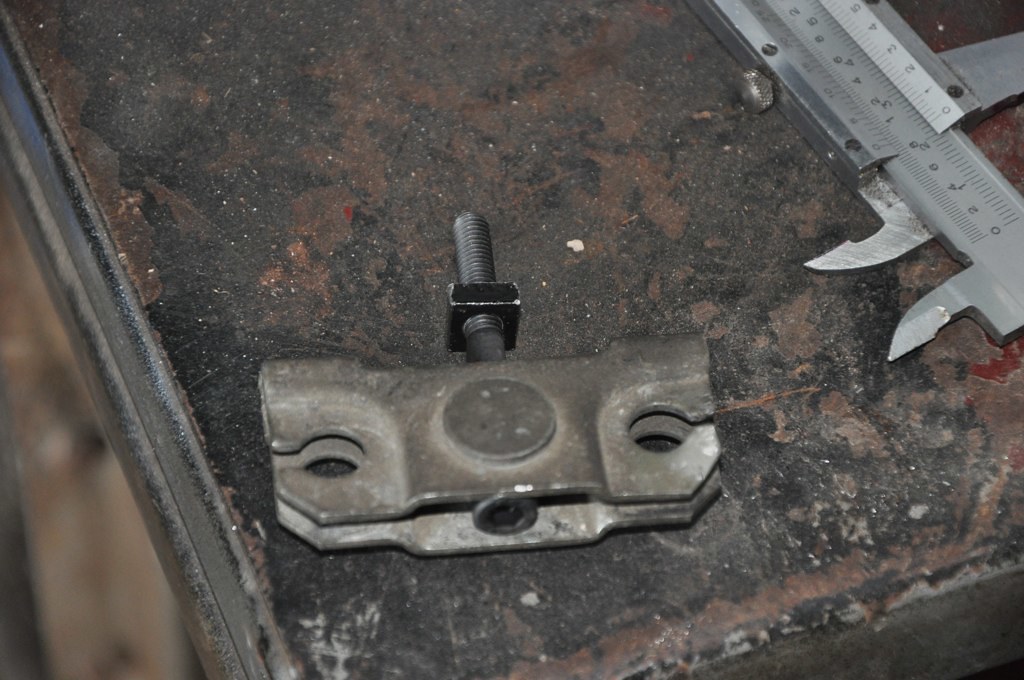
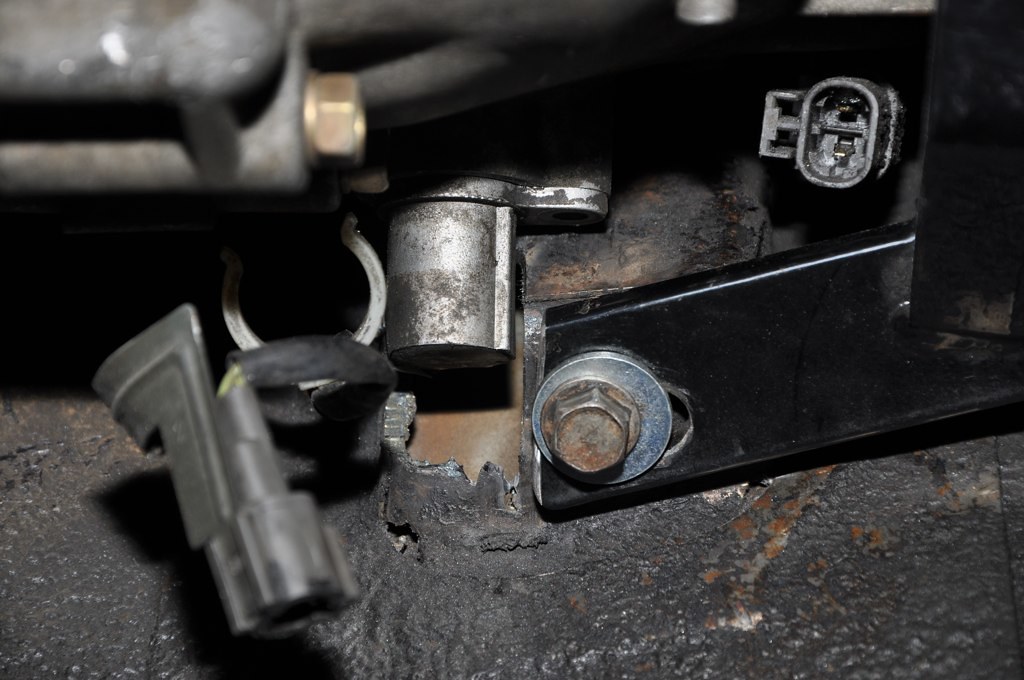
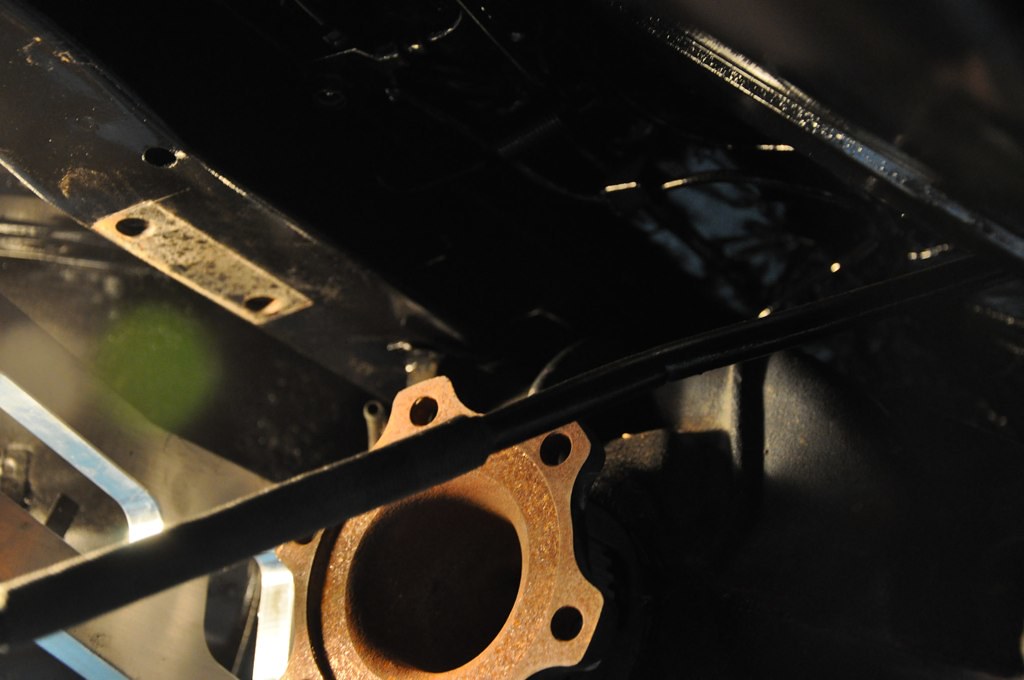
Passenger side transmission mount
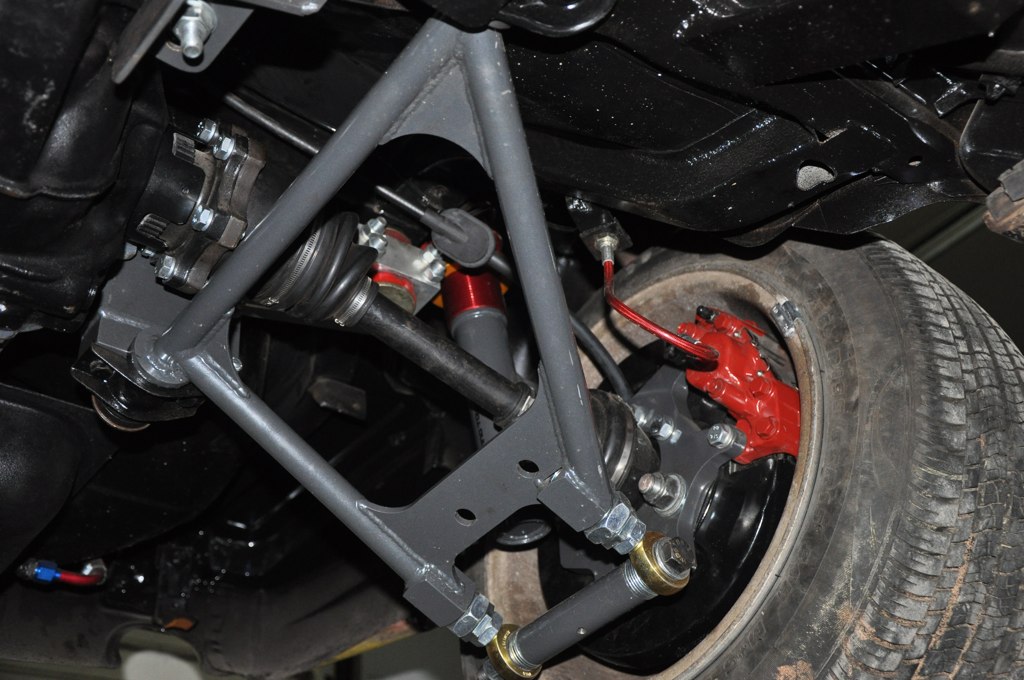
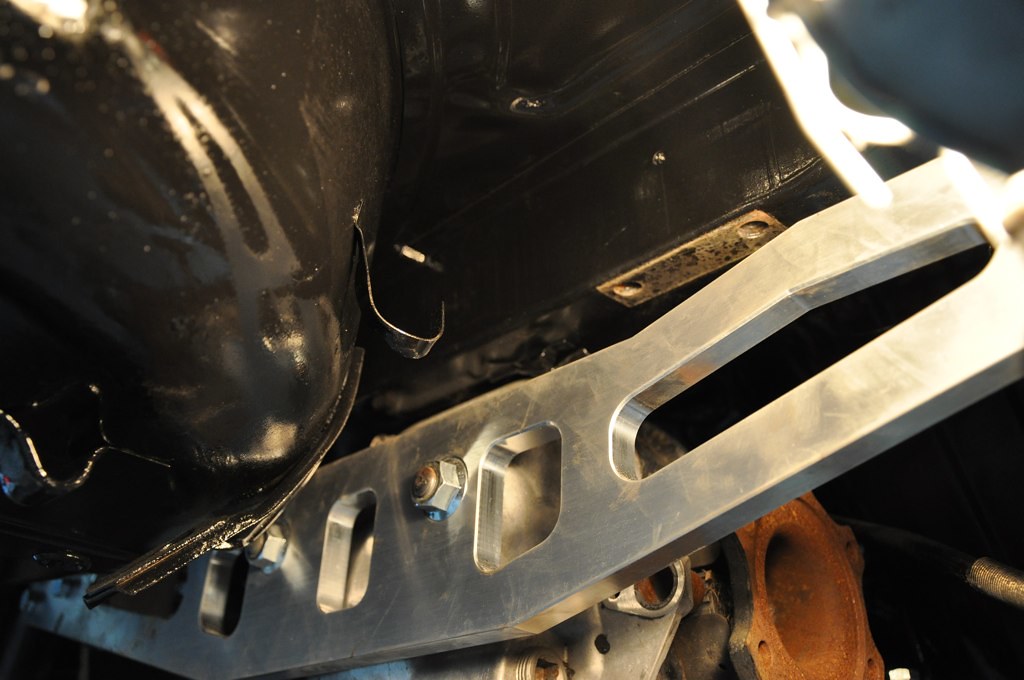
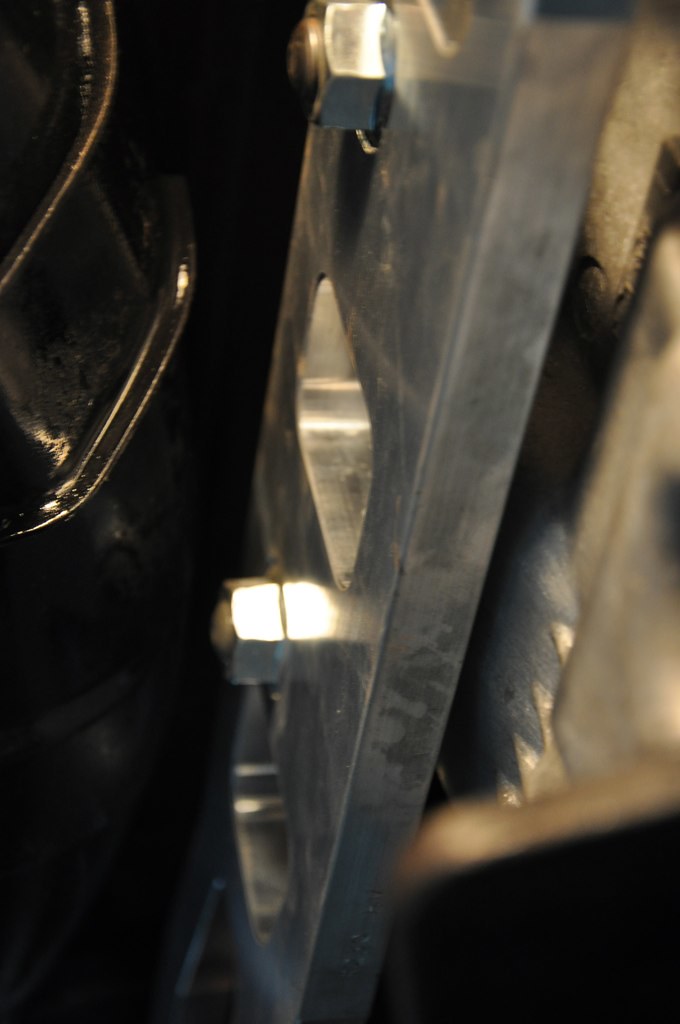
Tension rod brace

SandBlasting
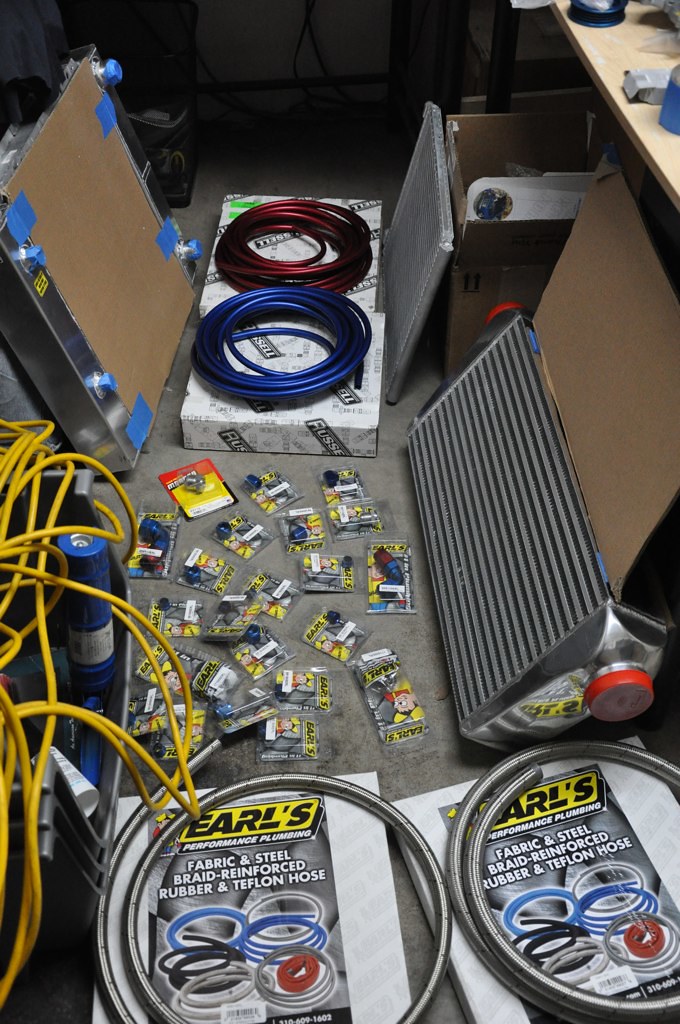
Some toys

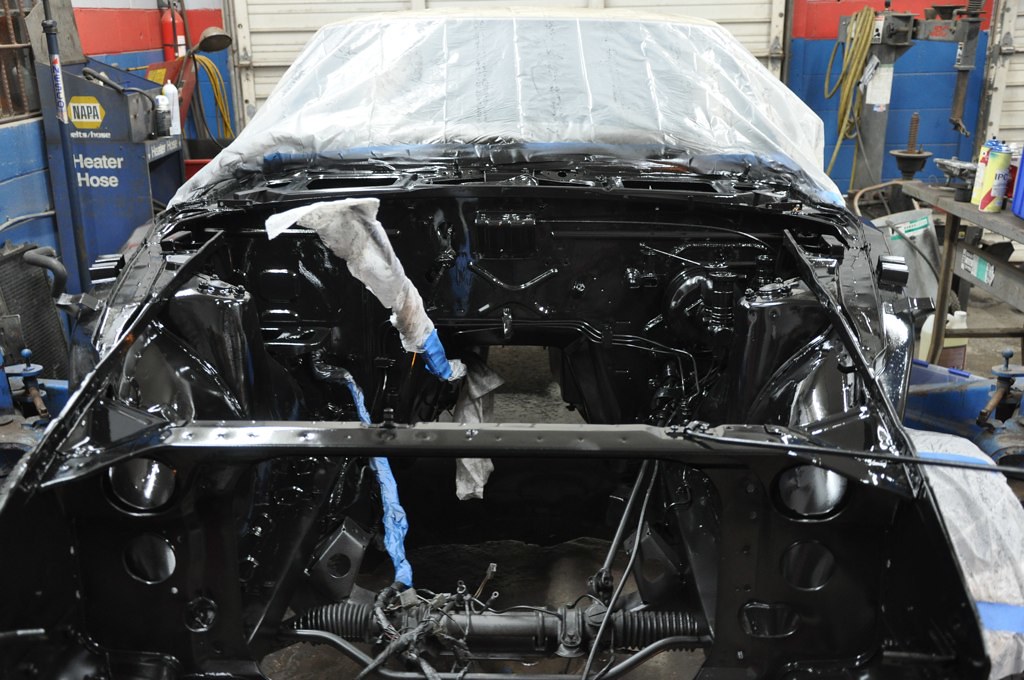
After sand blasting i painted it with POR 15, and sanded the engine bay....
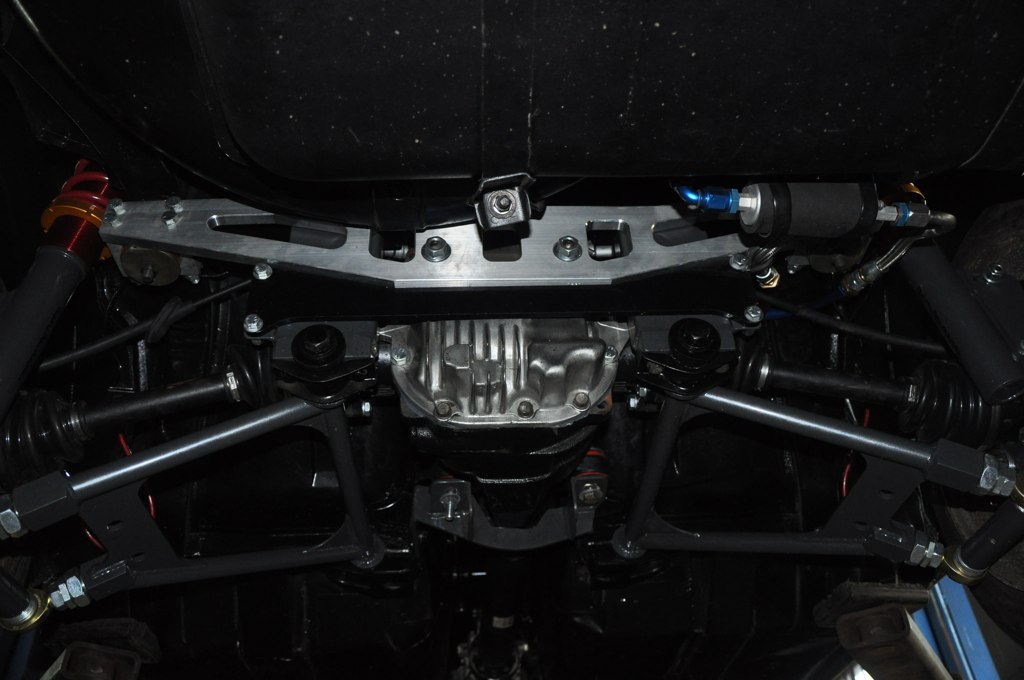
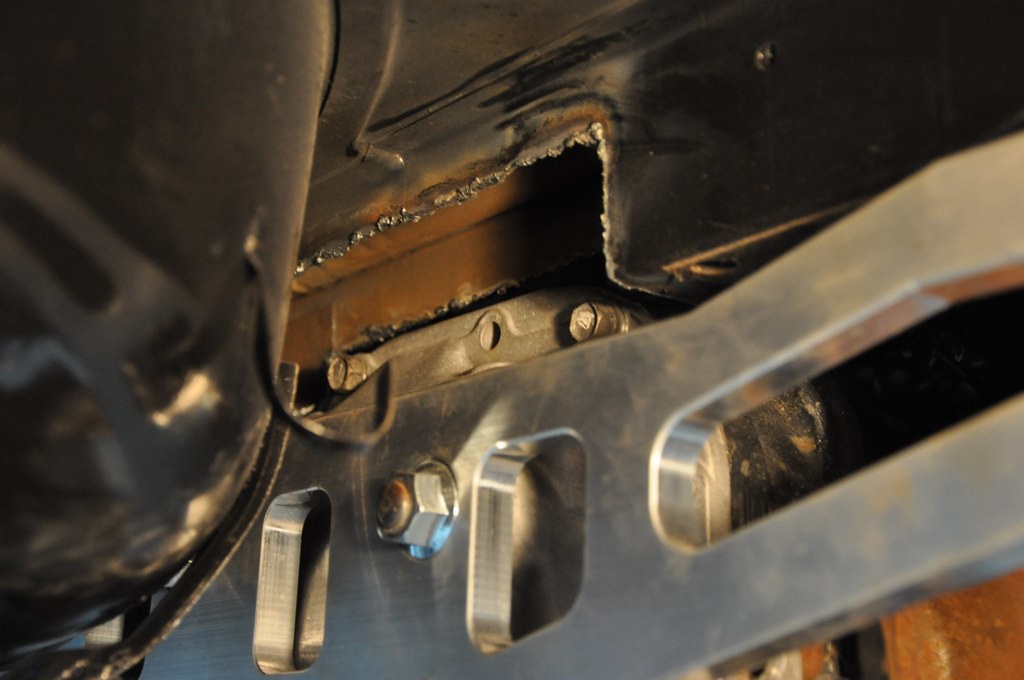
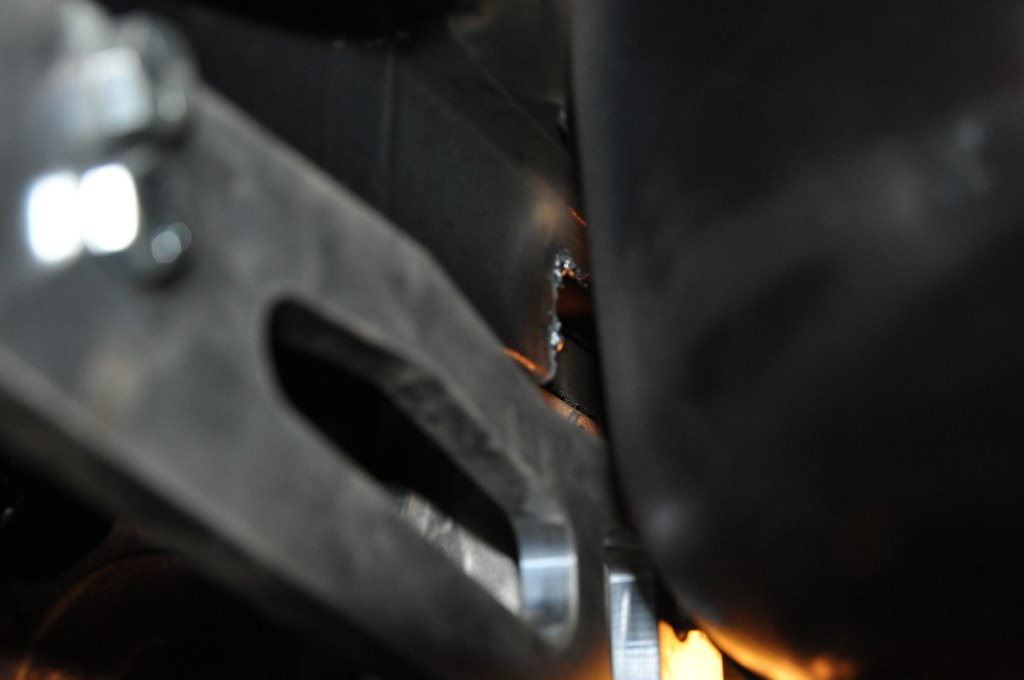
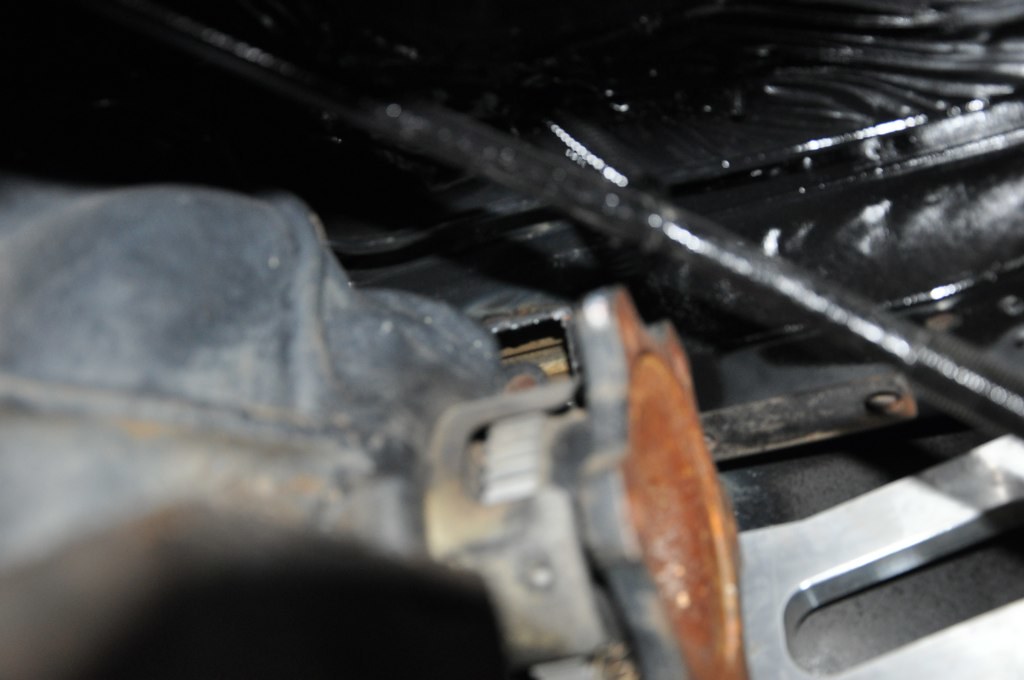
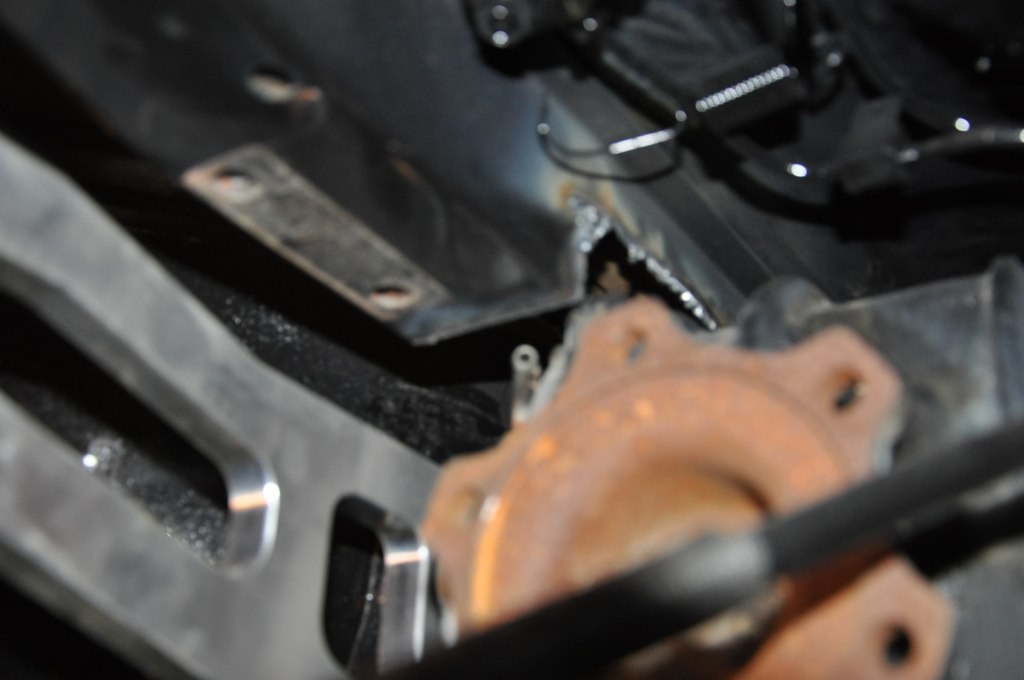
R230 Install via TTT mustache bar (high mount option)
(frame uncut)
Fun with my plasma cutter
More Goodies
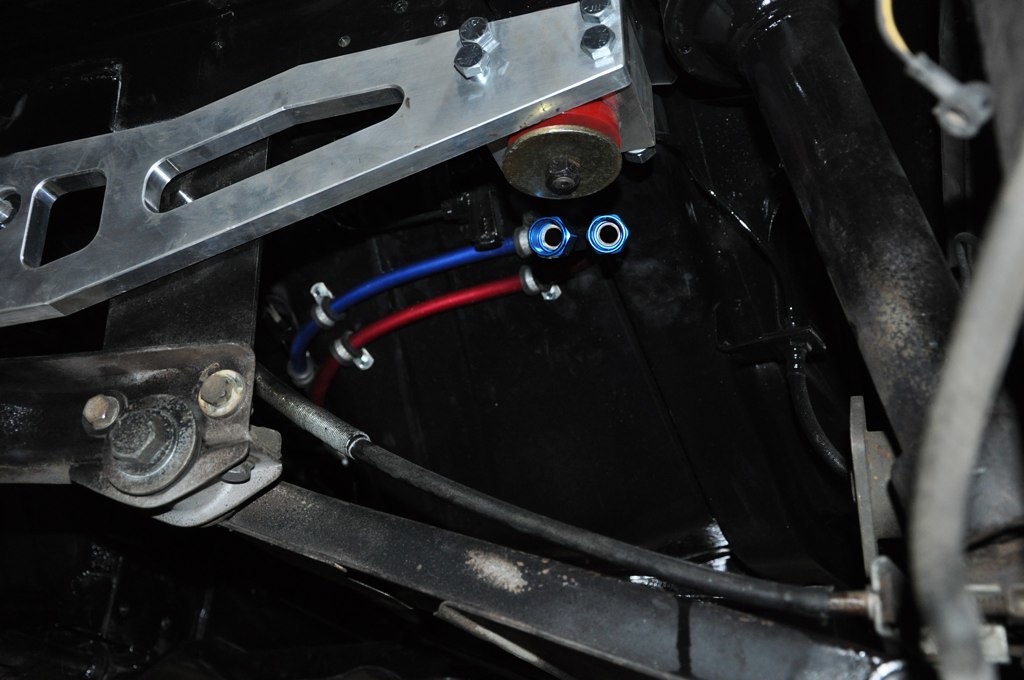
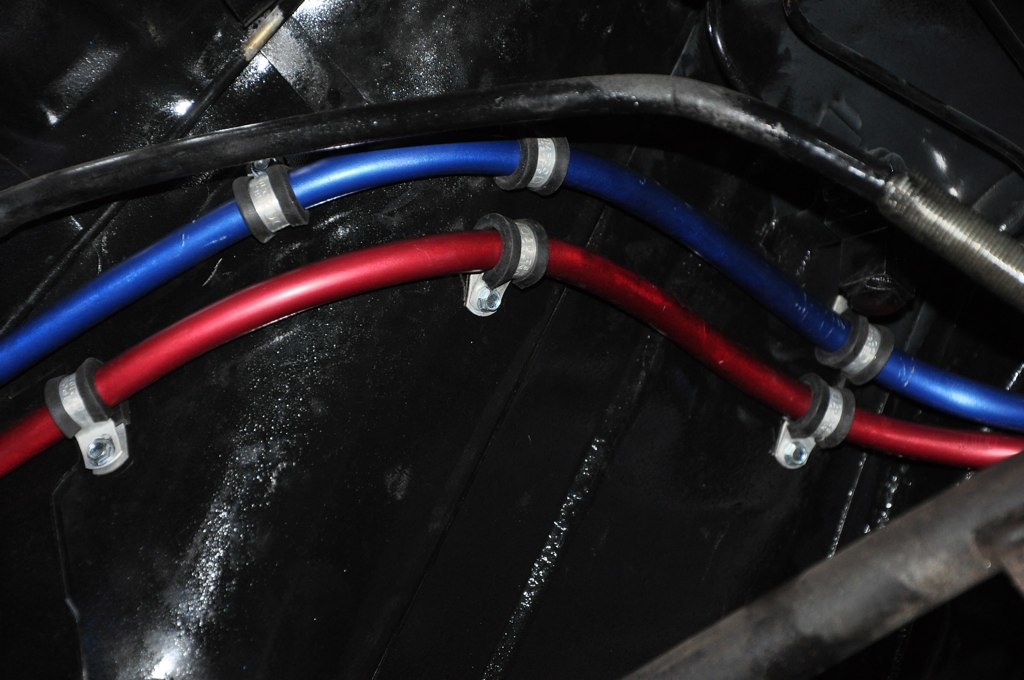
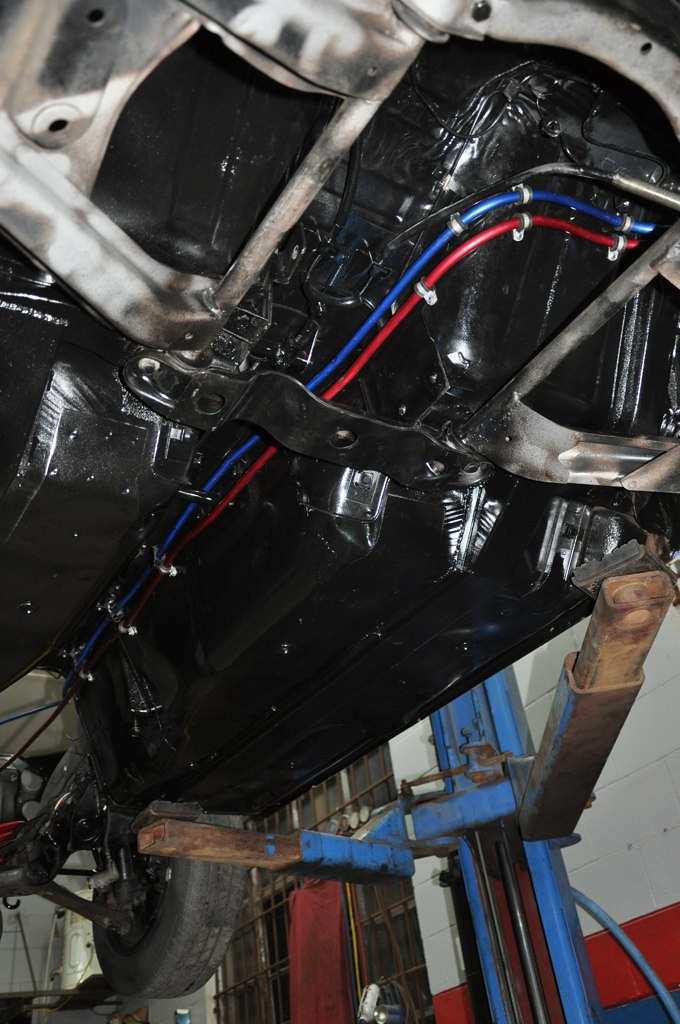
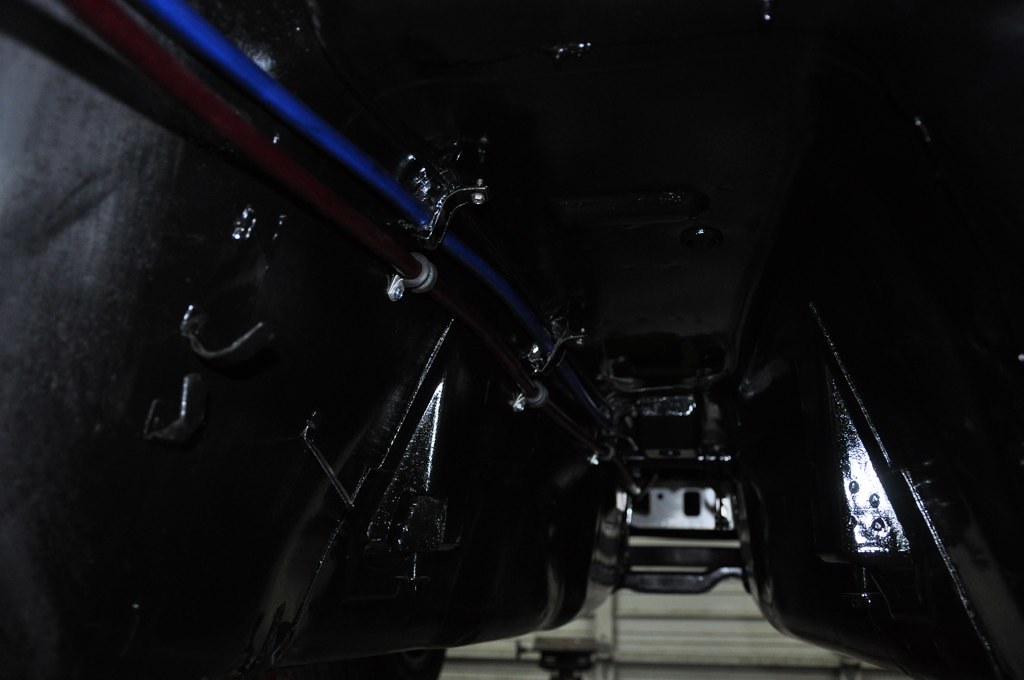
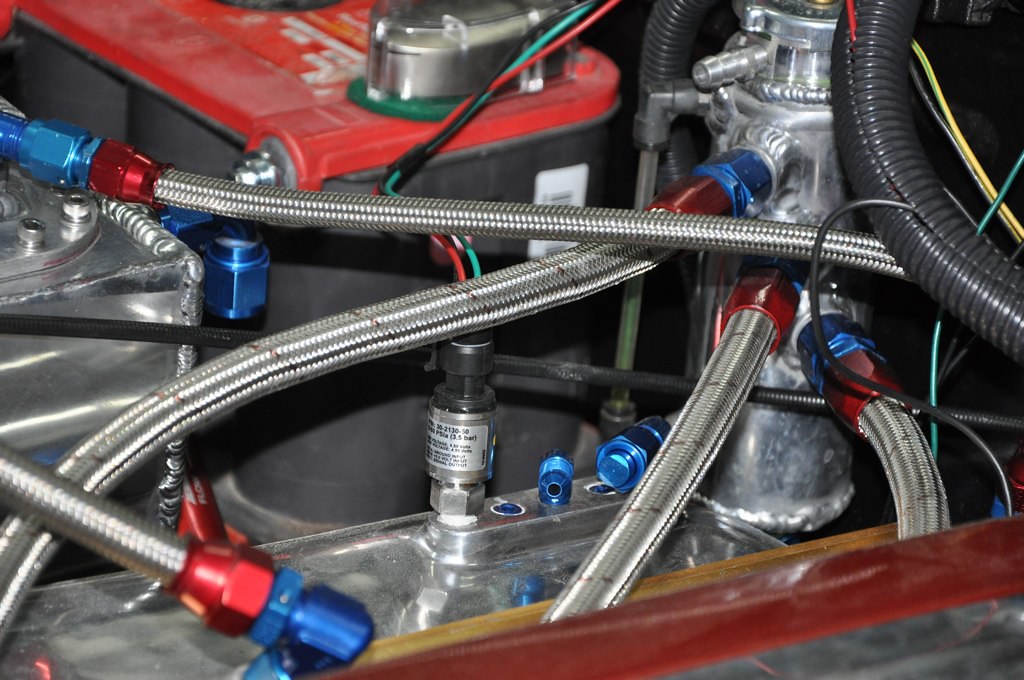
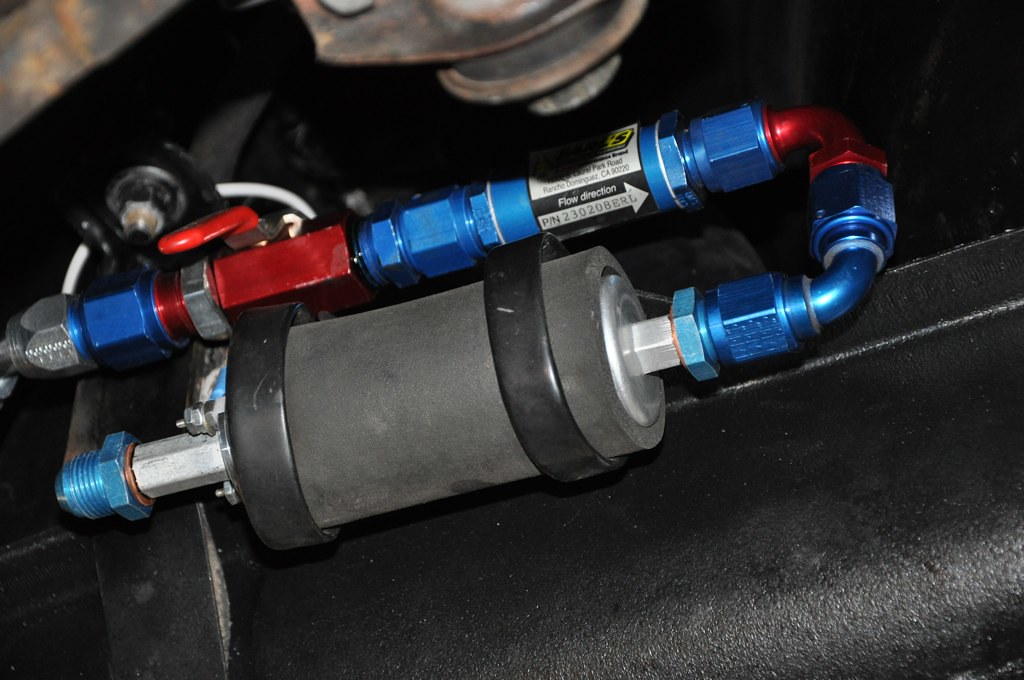
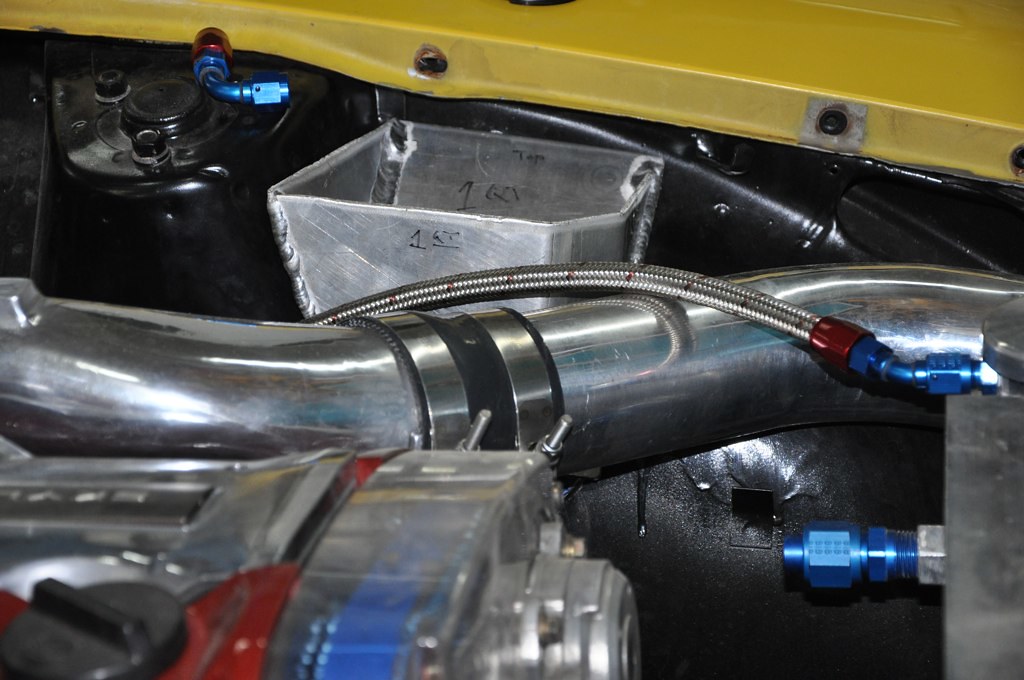
Fuel lines
1/2 (8AN) feed and return. i plan on running a sump and a surge tank with 2 built in walburo 255s since i have them already.
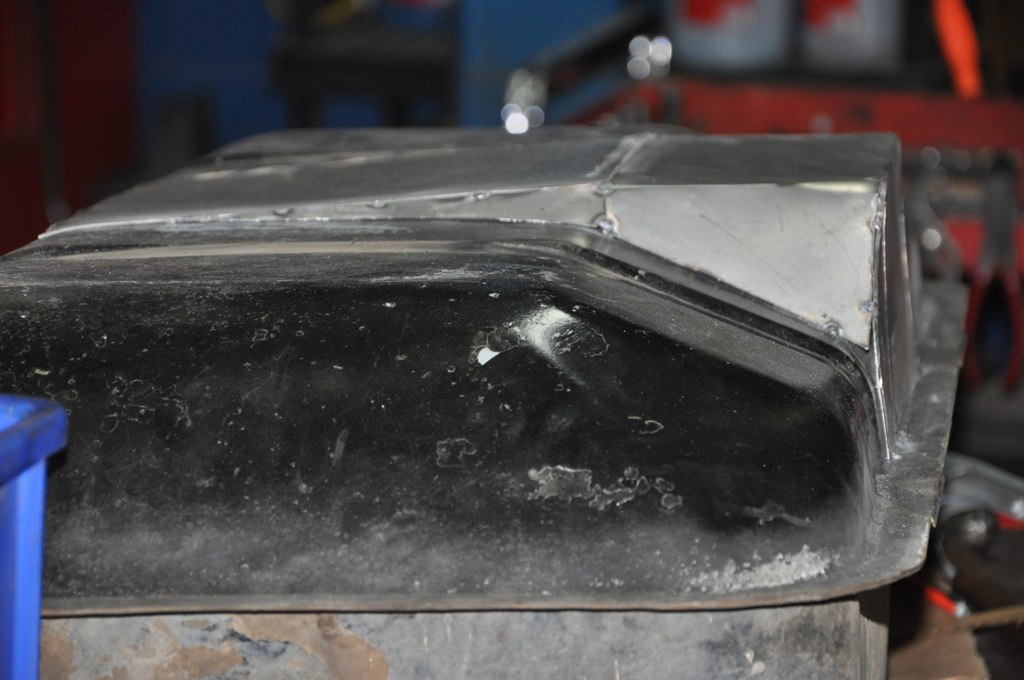
Sump, Damn i could use a sheetmetal brake....

Por 15 BlackCoat (glossy) no paint booth but oh well...
N1 oil pump modded for external pickup
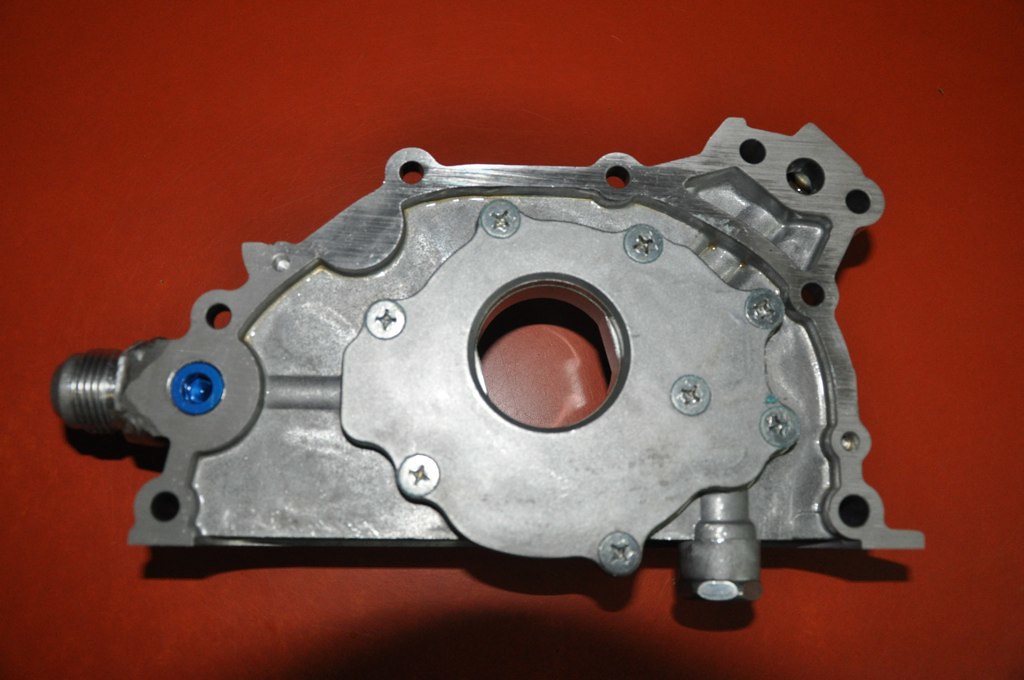
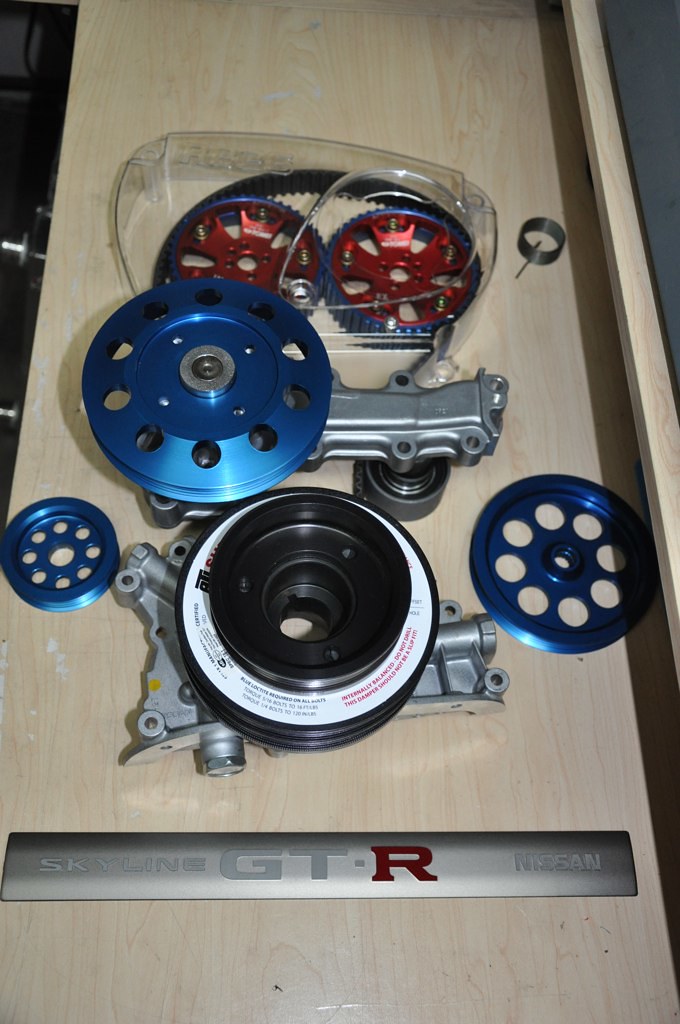
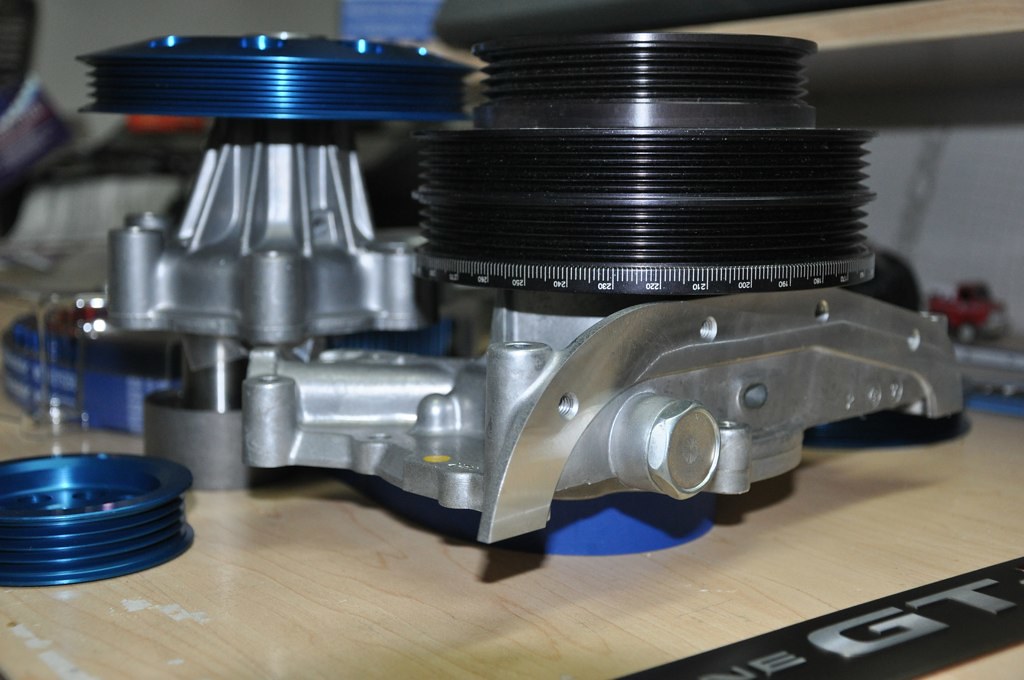
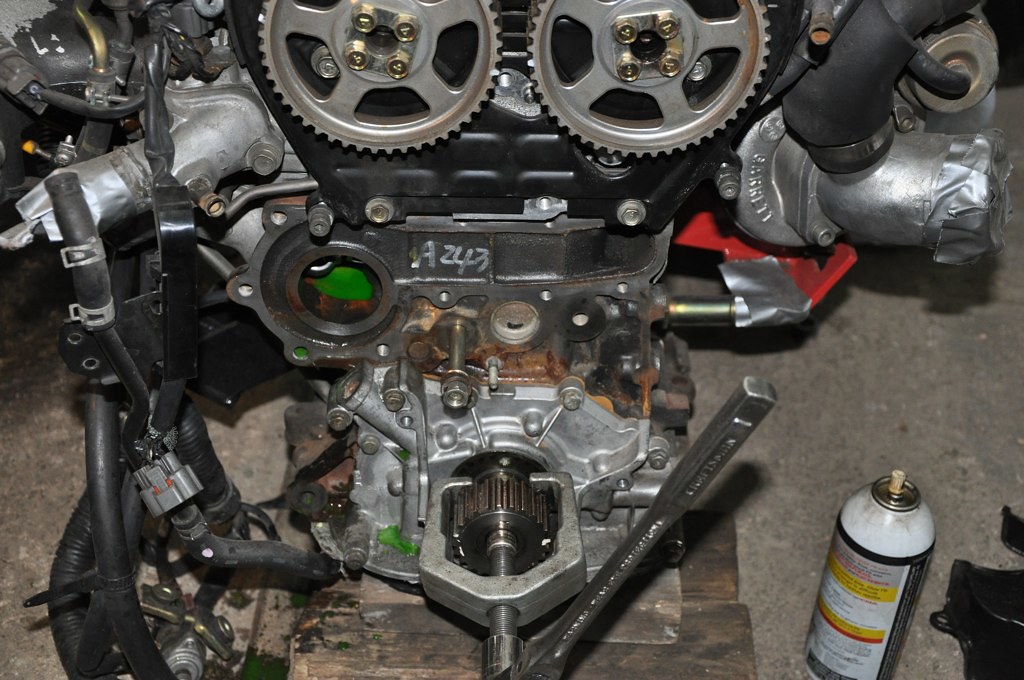
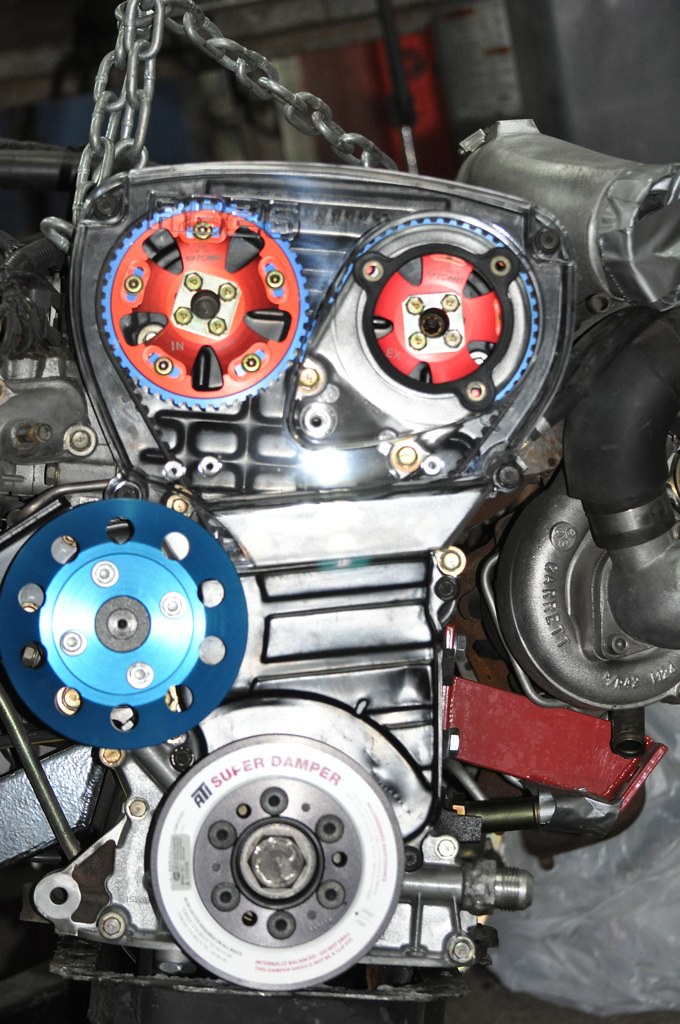
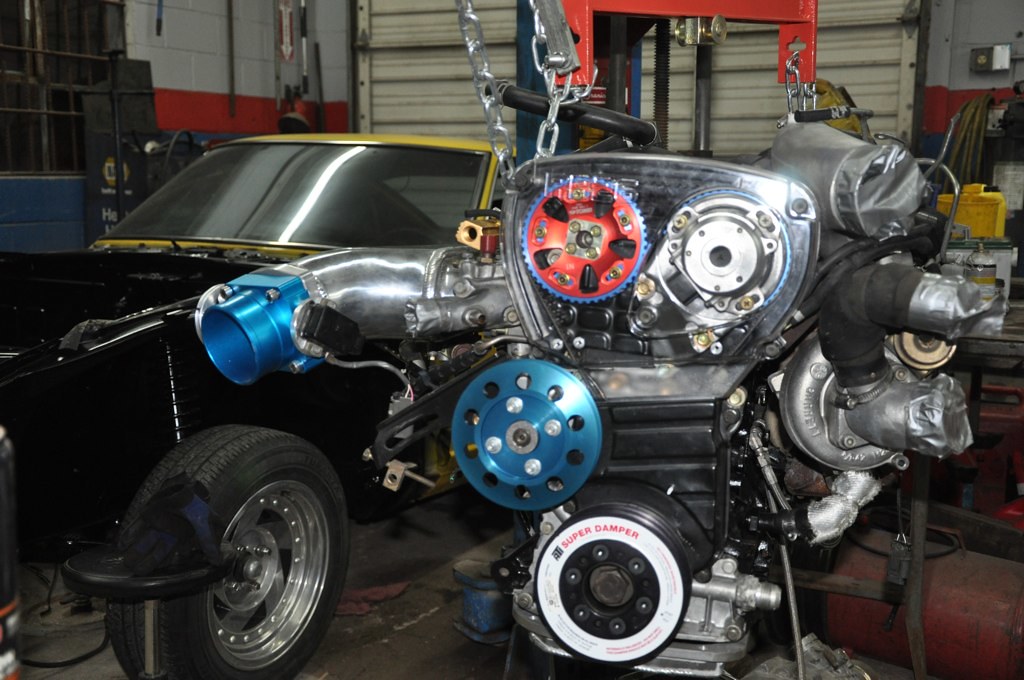
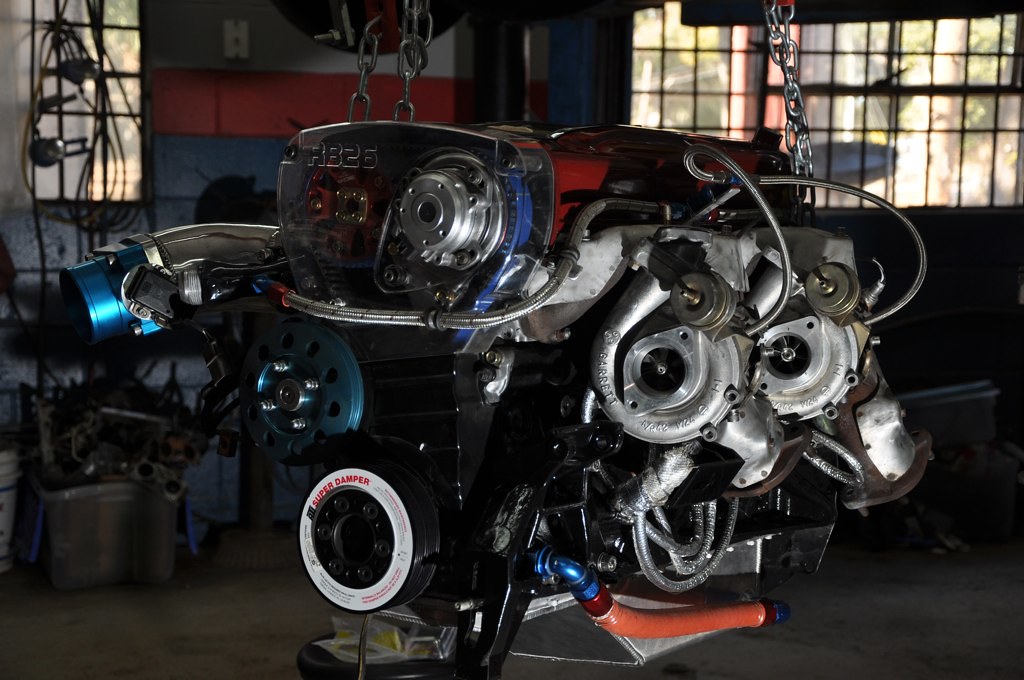
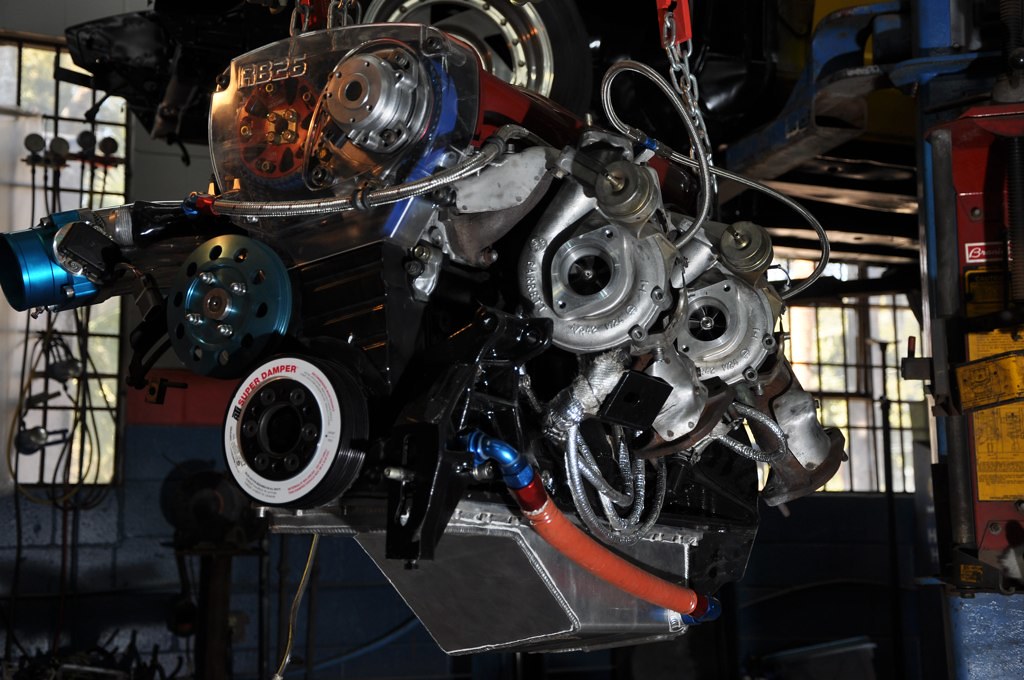
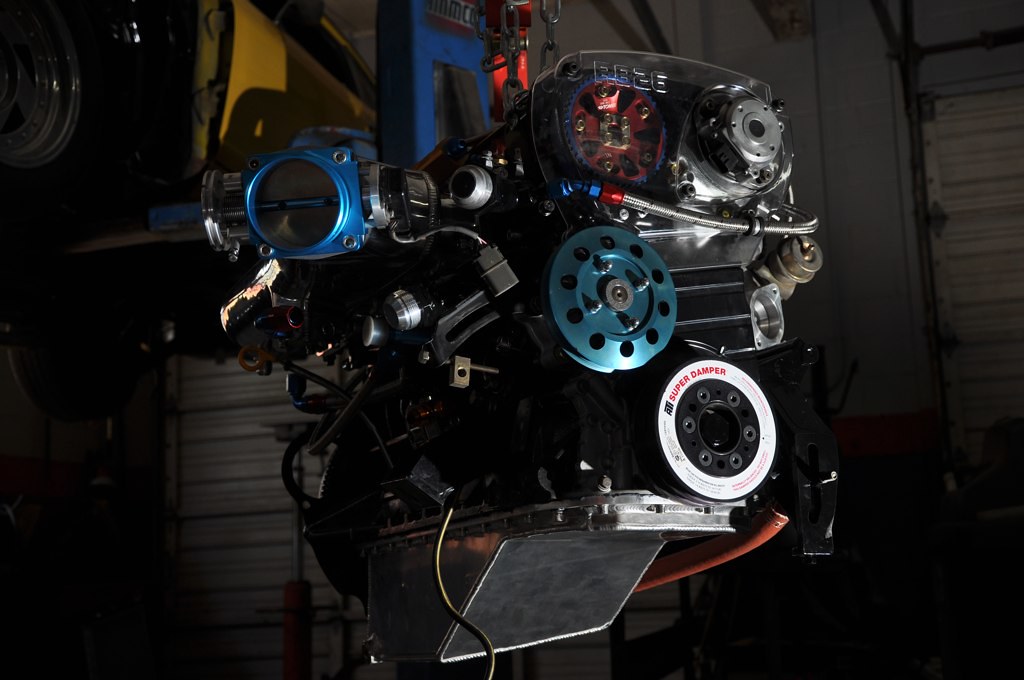
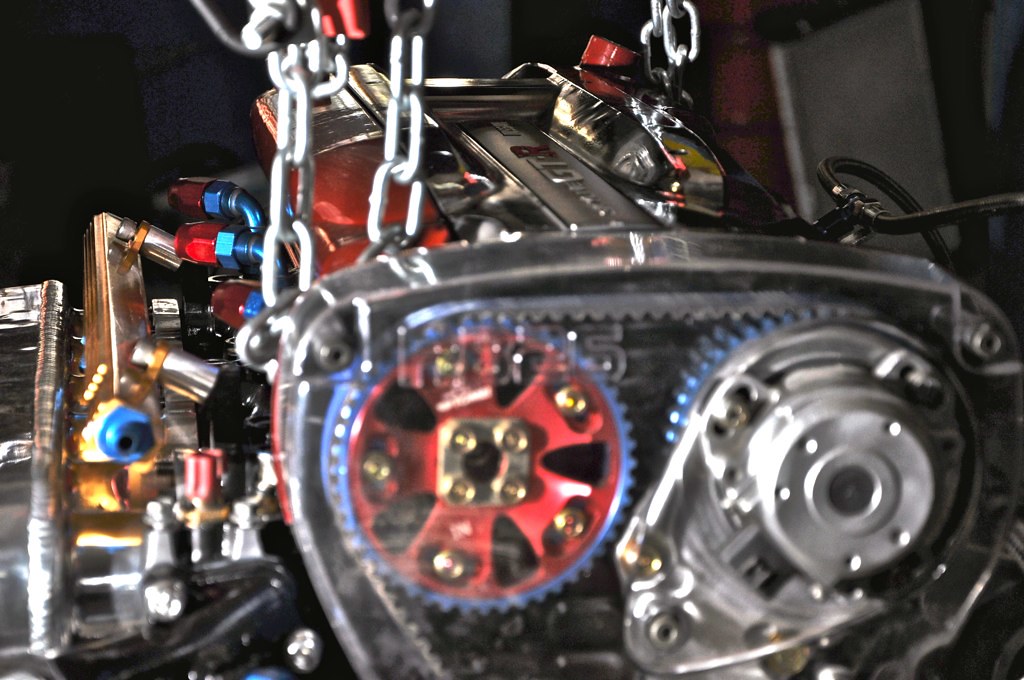
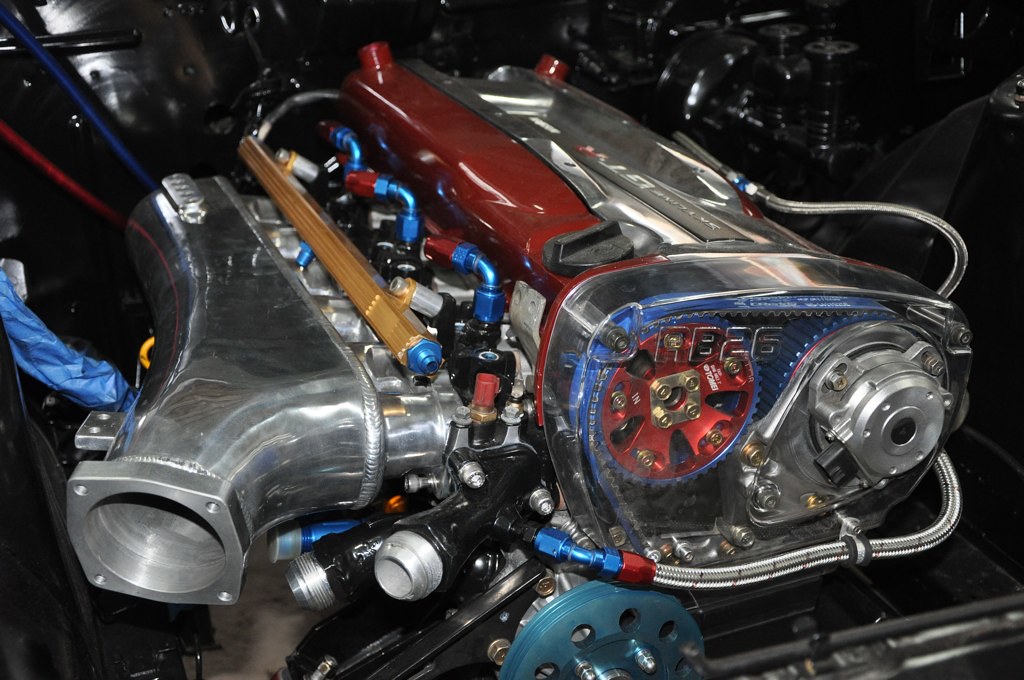
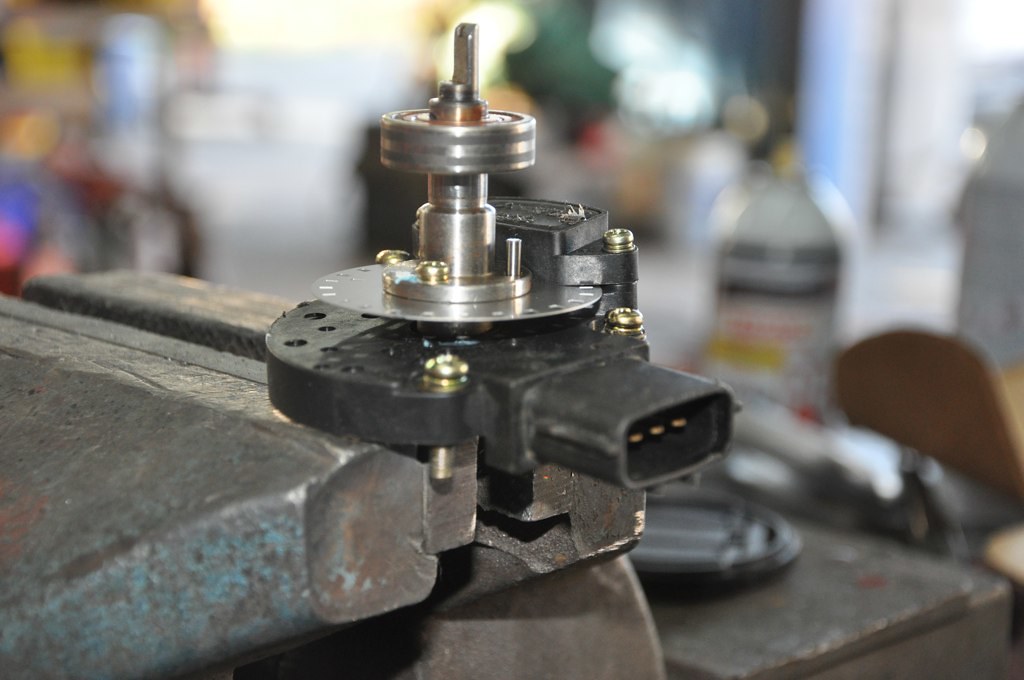
Well, today was a lazy day. Just installed the modded N1 oil pump, water pump, cam gears, timing belt and polished up the cam sensor and mouting bracket.
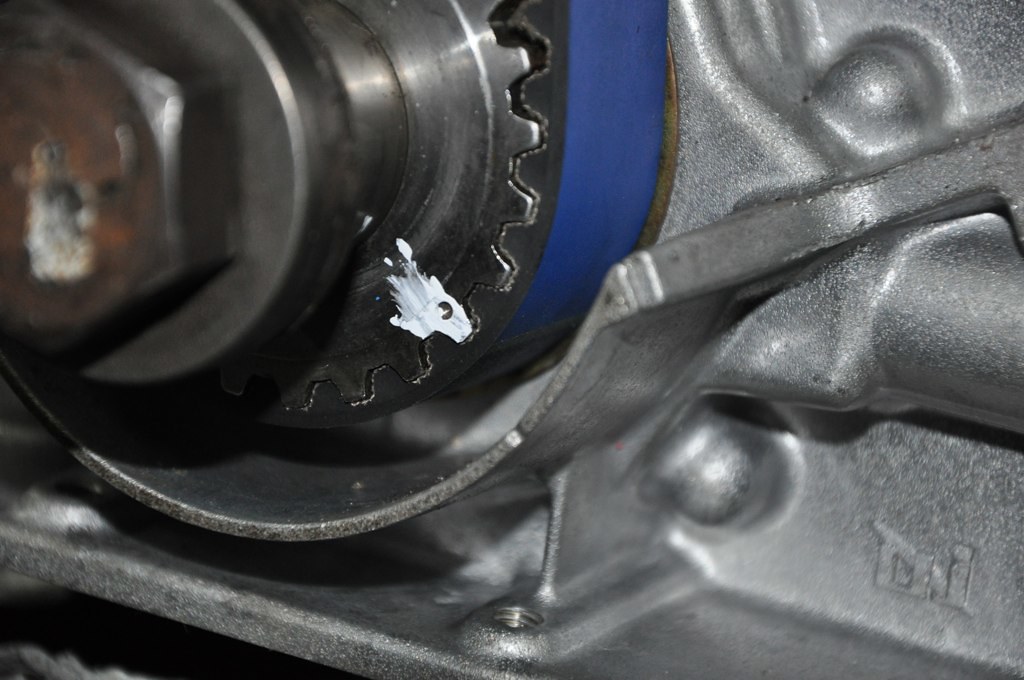
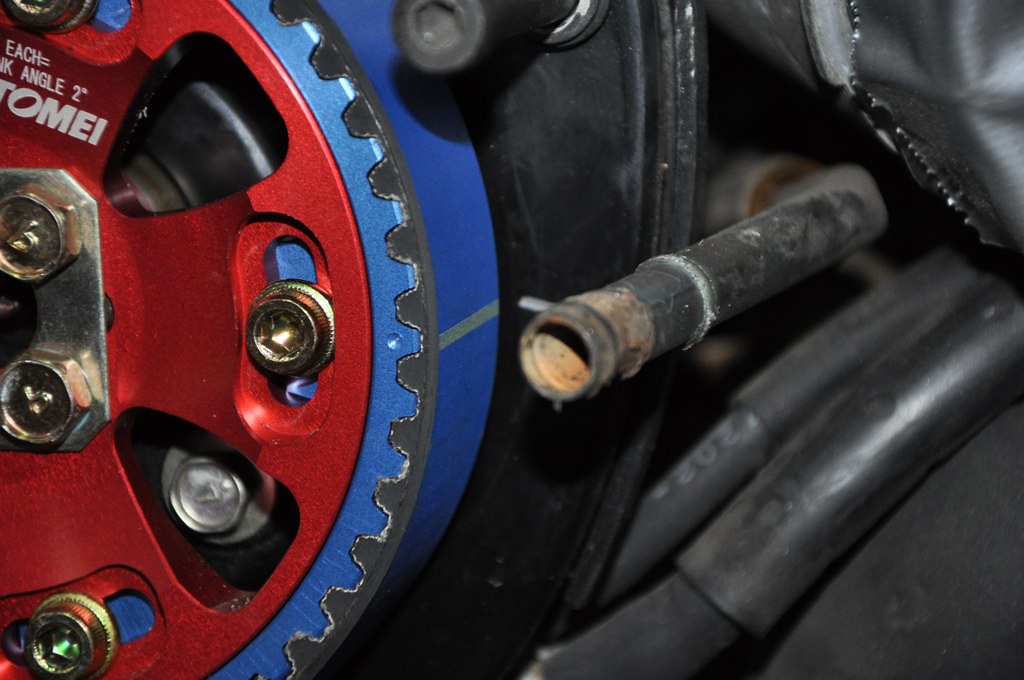
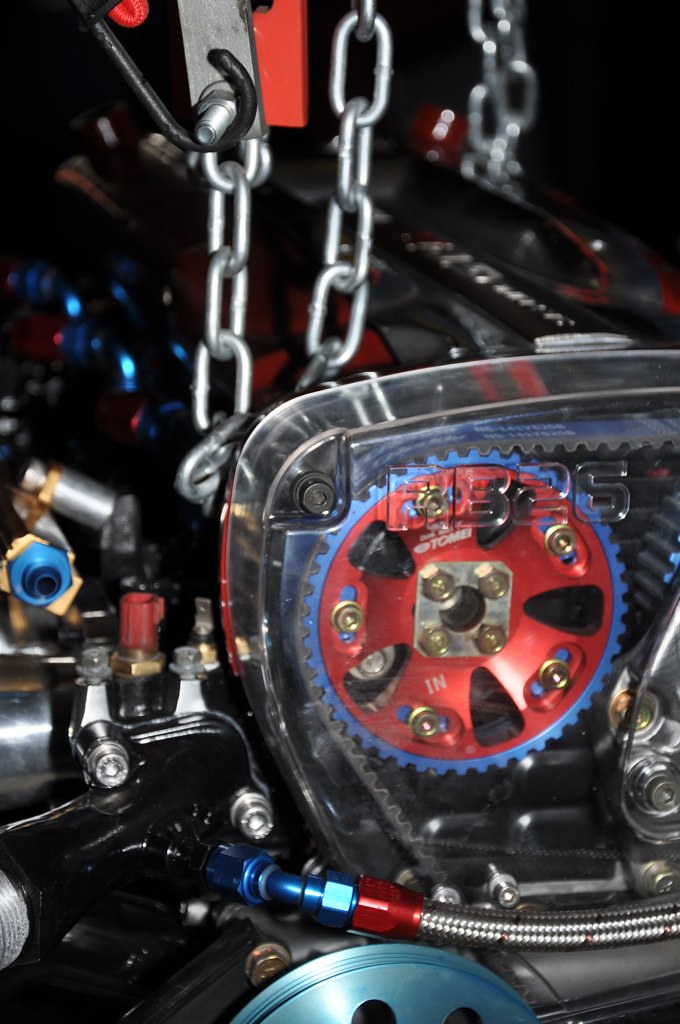
I like how the greddy timing belt has the marks for the dots on the cam gears. that makes things easy, other companies probably do the same....
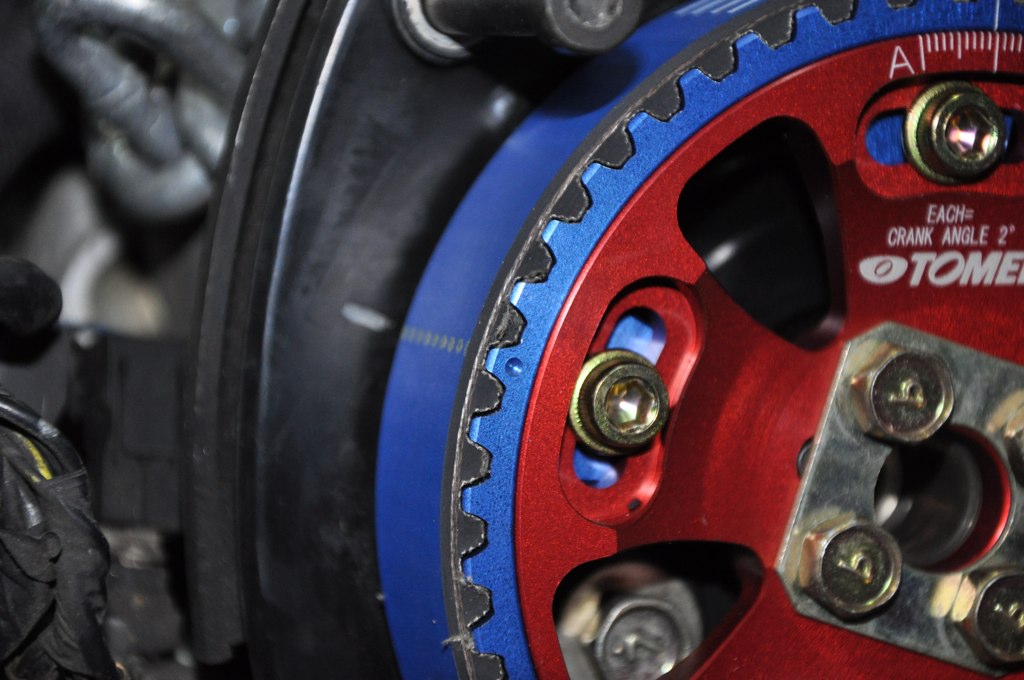
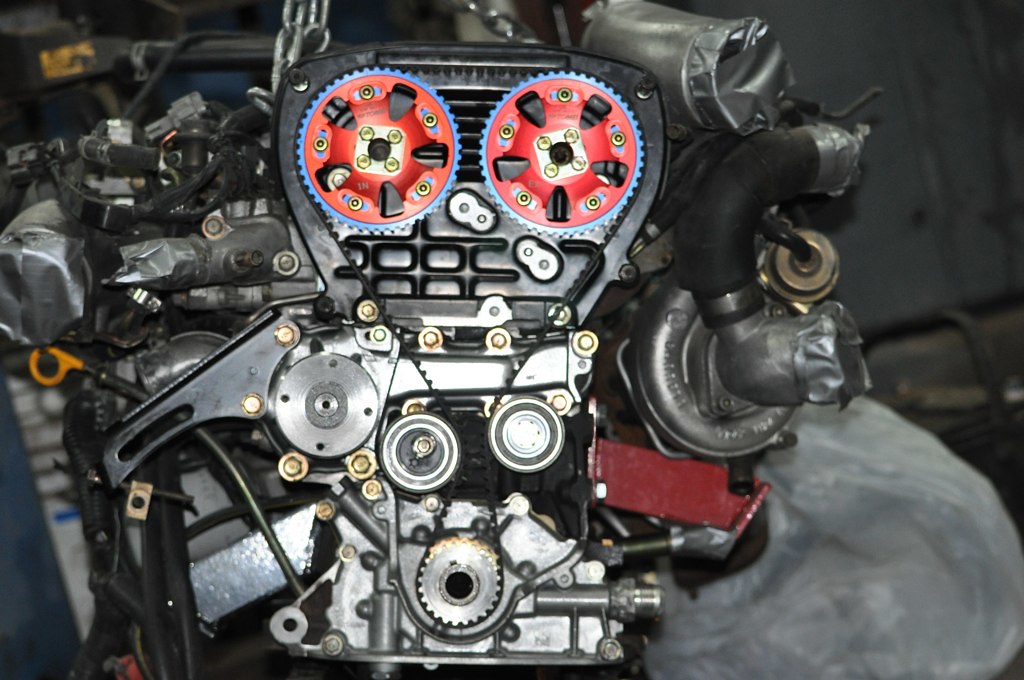
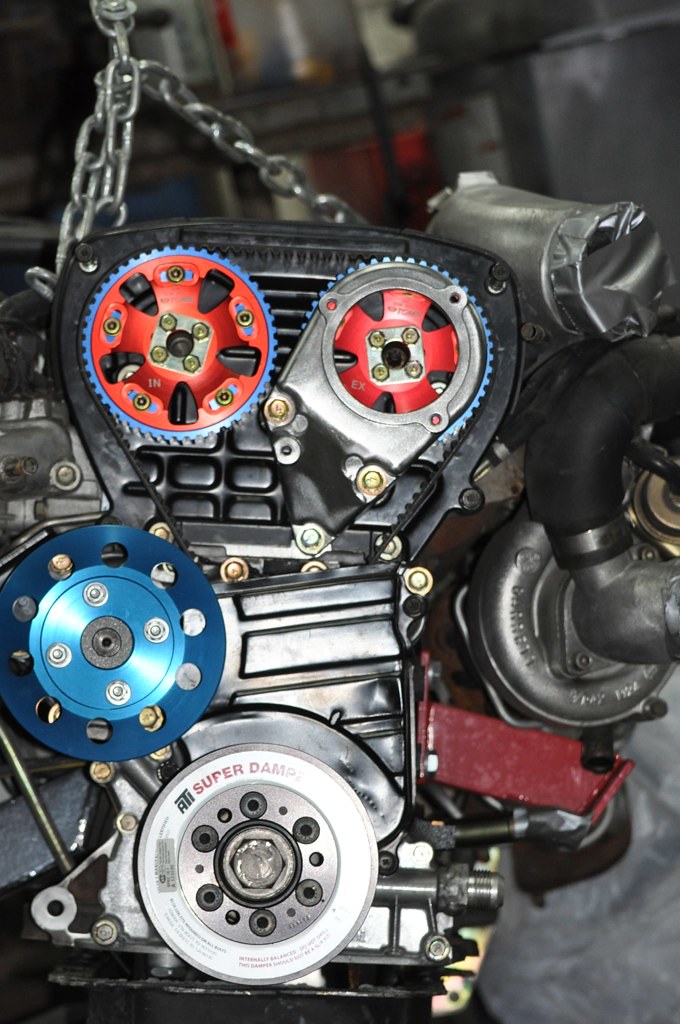
You can hardly tell the clear cover is on it. haha
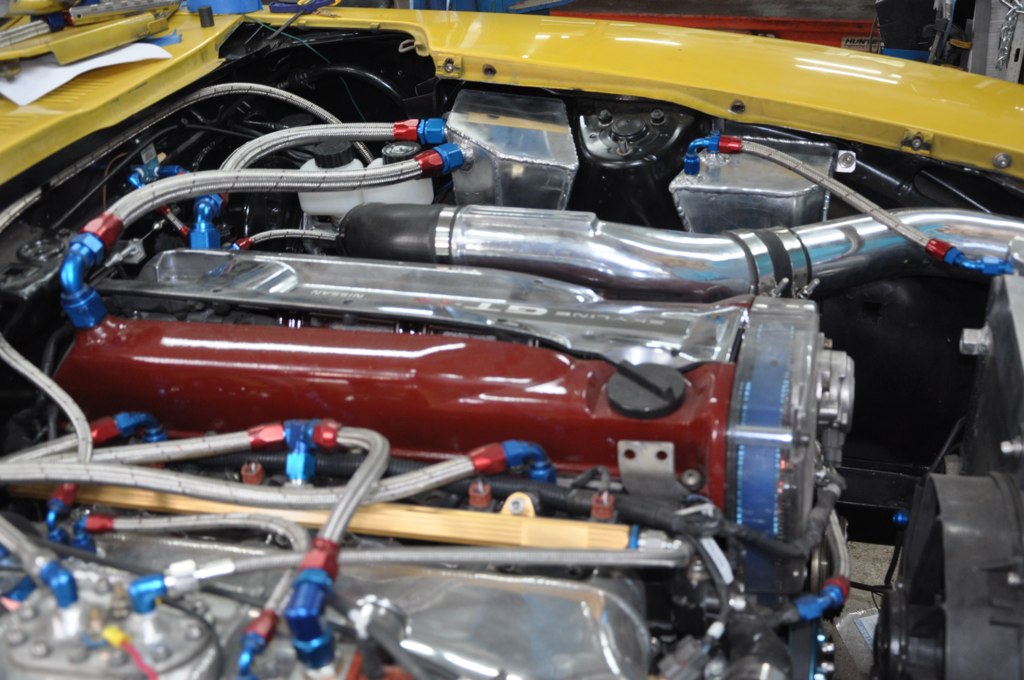
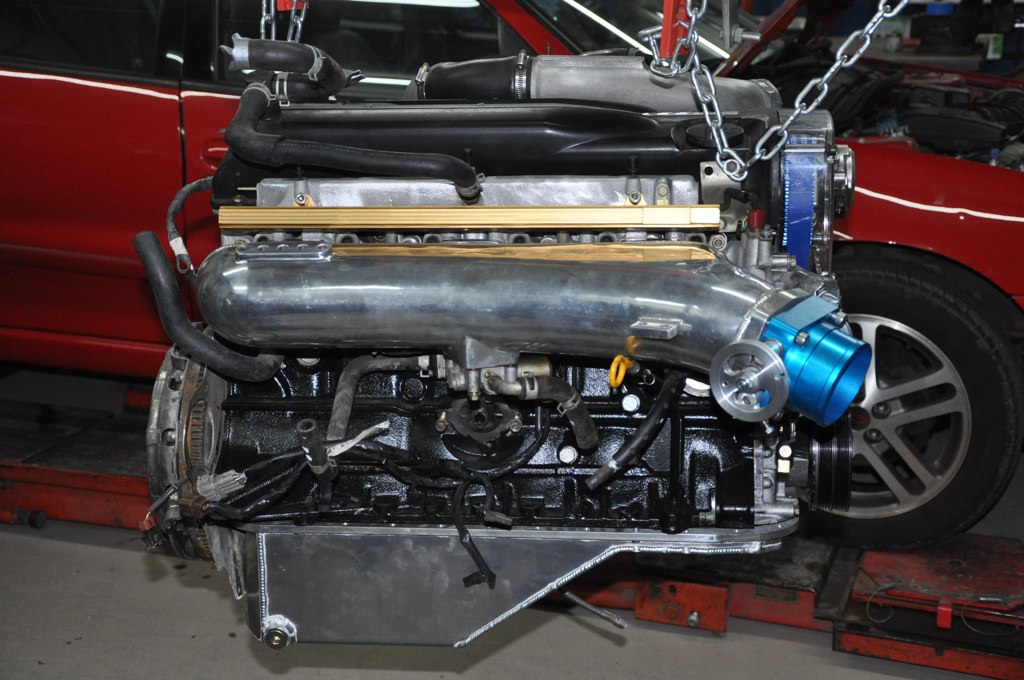
Well, its going slow as hell with the holidays and family in town. Got her all stripped down and the block painted with Por 15 engine enamel. got the water feeds and oil feed braided lines ran, fuel sump finished and primed (not pictured yet), r230 mounted with energy suspension bushings (not pictured and still have to play with alignment seems to be far off to the passenger side) and have the intake side of the block torn down. Waiting on the oil cooler sandwich/thermostat to get here, and trying to figure out what i need to reinstall. i will probably weld up something similar to what stony is running on his coolant lines on the manifold. The stock setup has way to much s***.
Thermal Gasket
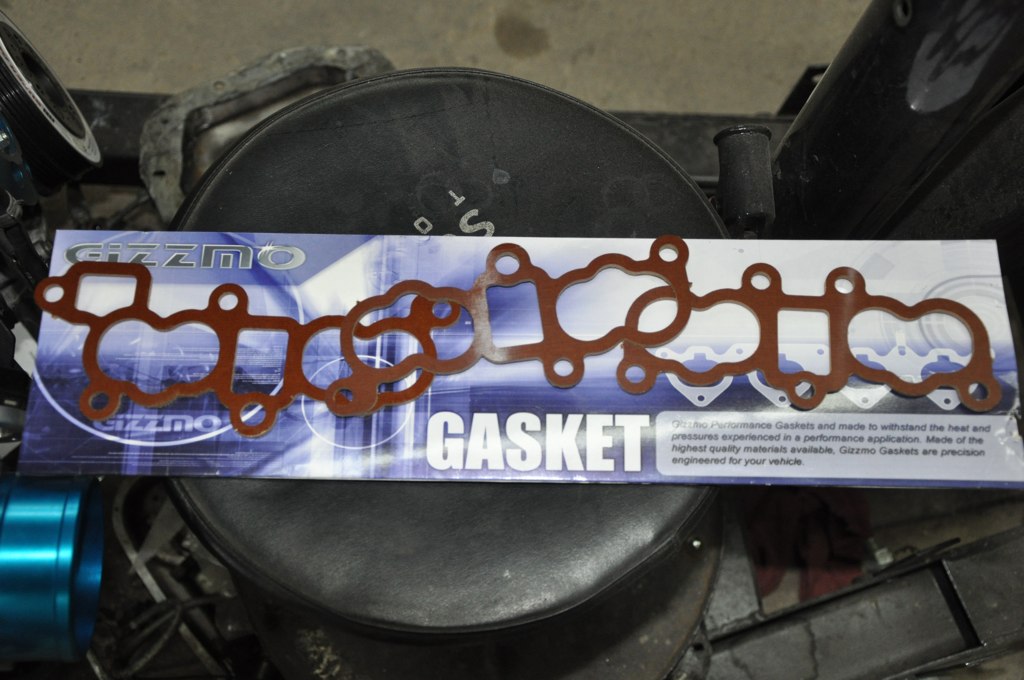
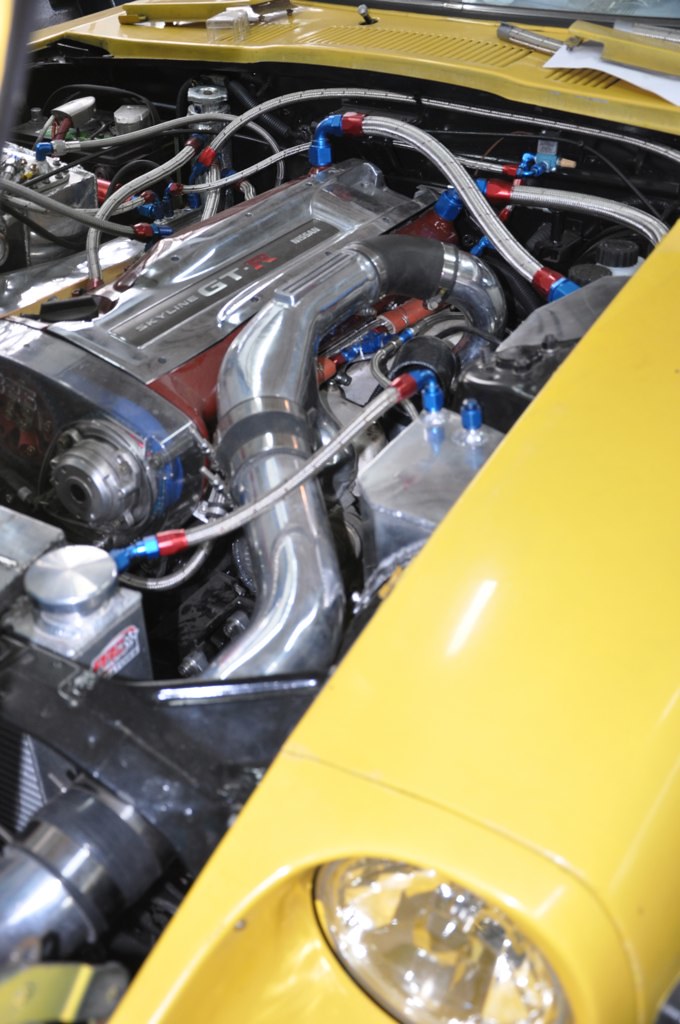
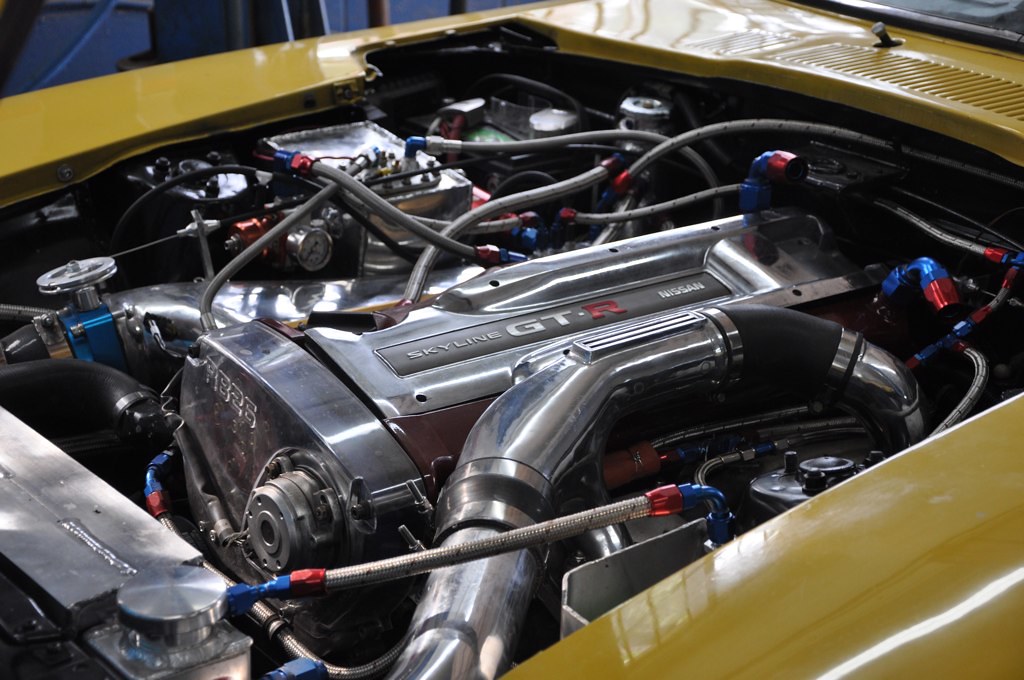
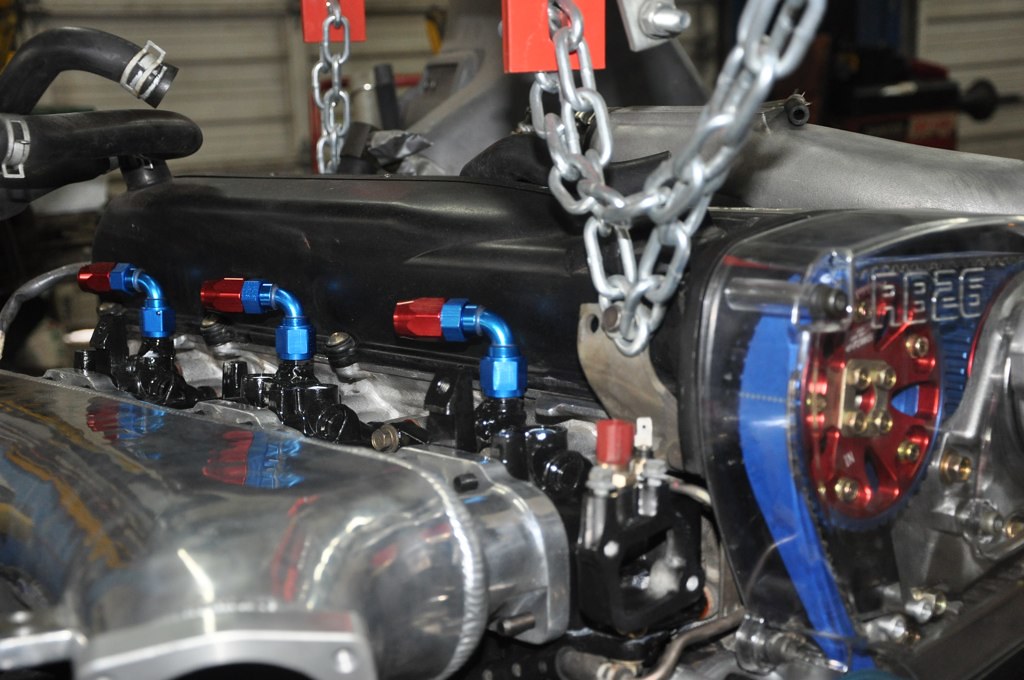
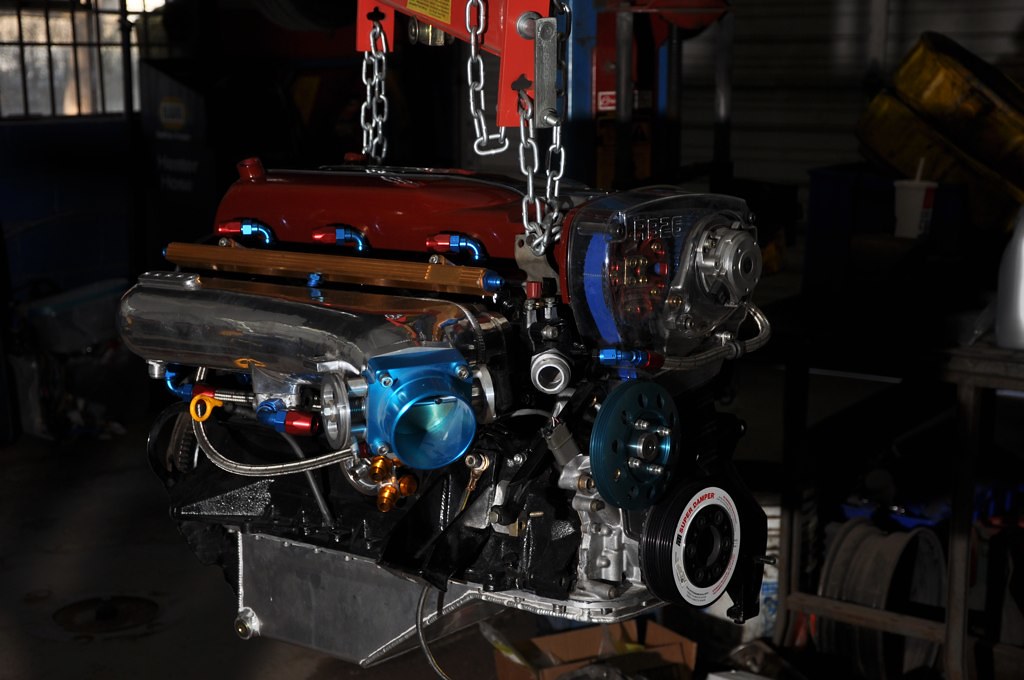
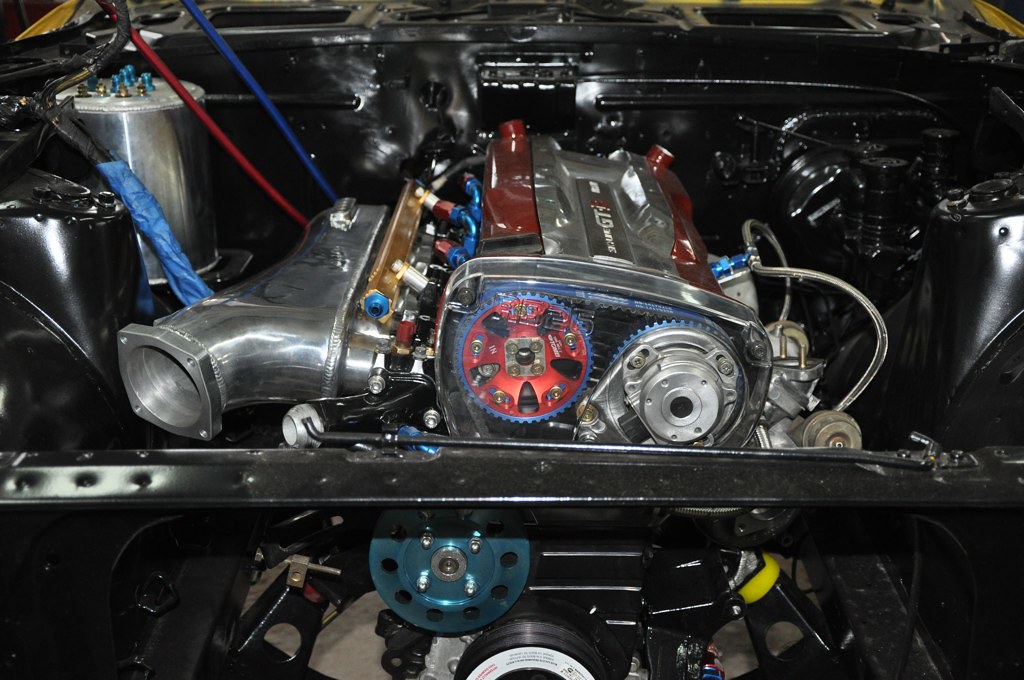
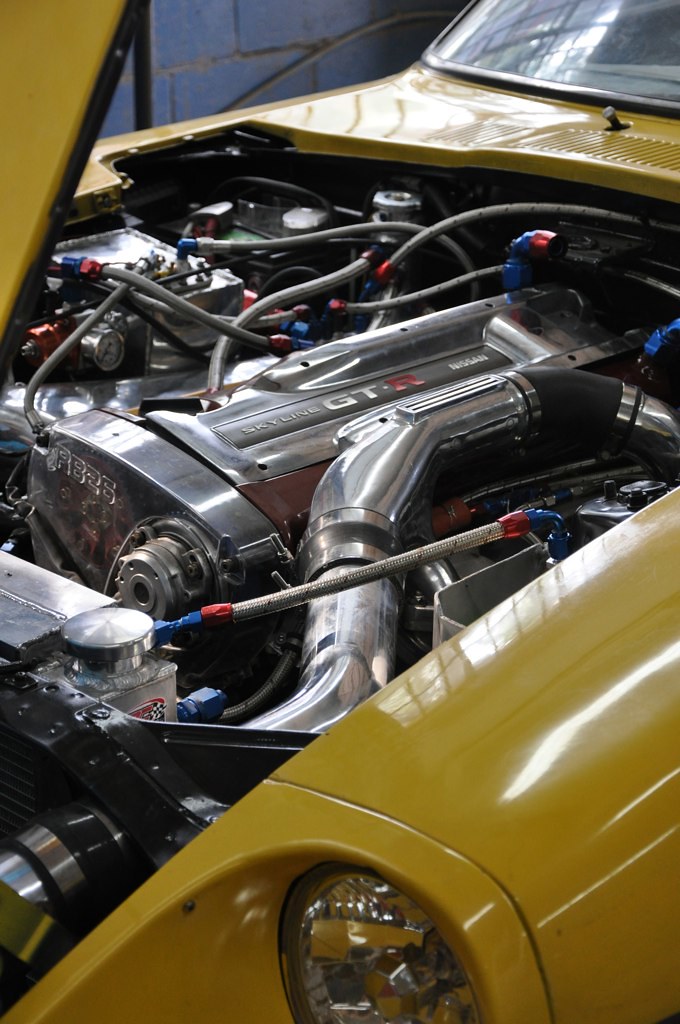
Manifold p0rn
well i was going to drop it in this weekend but i went to bolt up the oil pan only to find out the rear main seal retainer had threads that were stripped... ehhhh brand new rear main seal in there too...damn...anyway parts will be here monday.... had to take off the trans, clutch, flywheel and all that crap...damn..... oh well :blink: i guess this is the 1st hickup so i guess i cant complain, i am sure there were be more to follow...
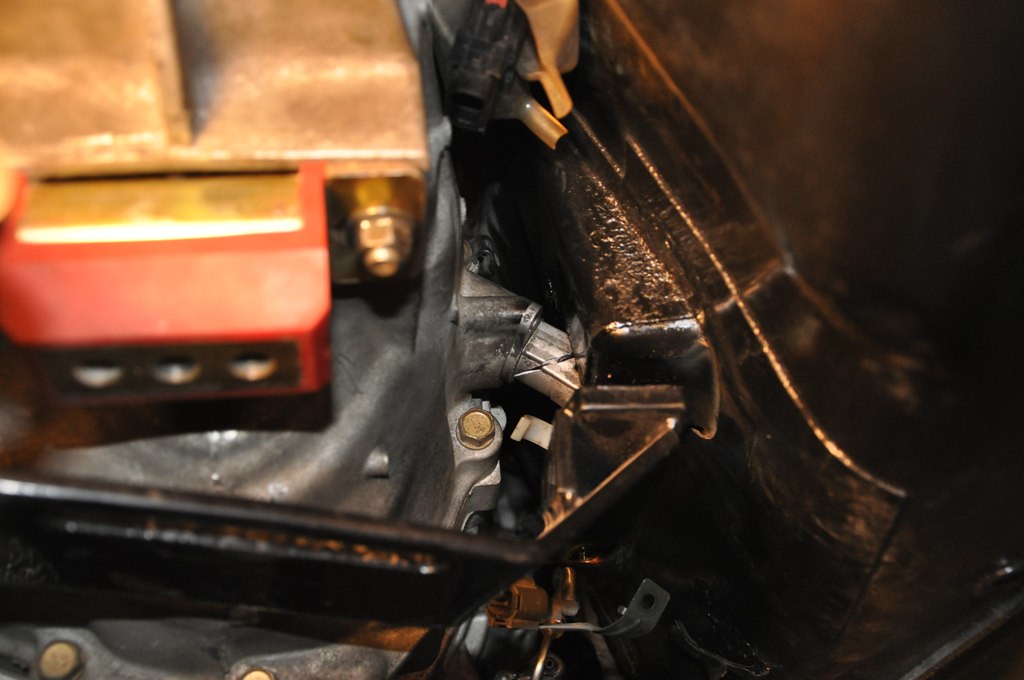
heres a pic of the GT coolant mod...
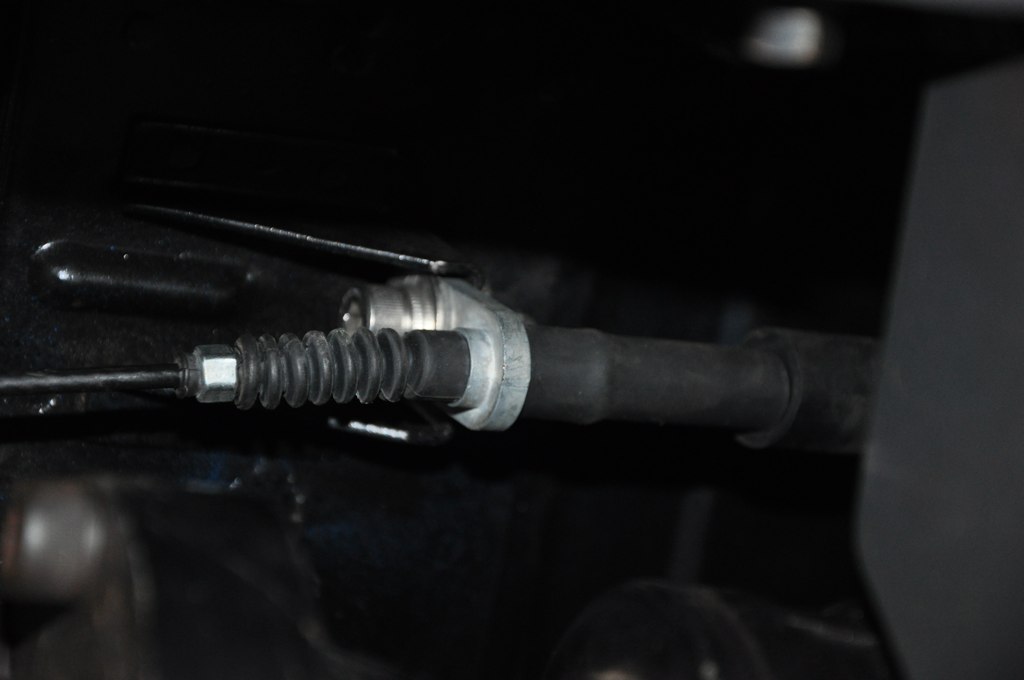
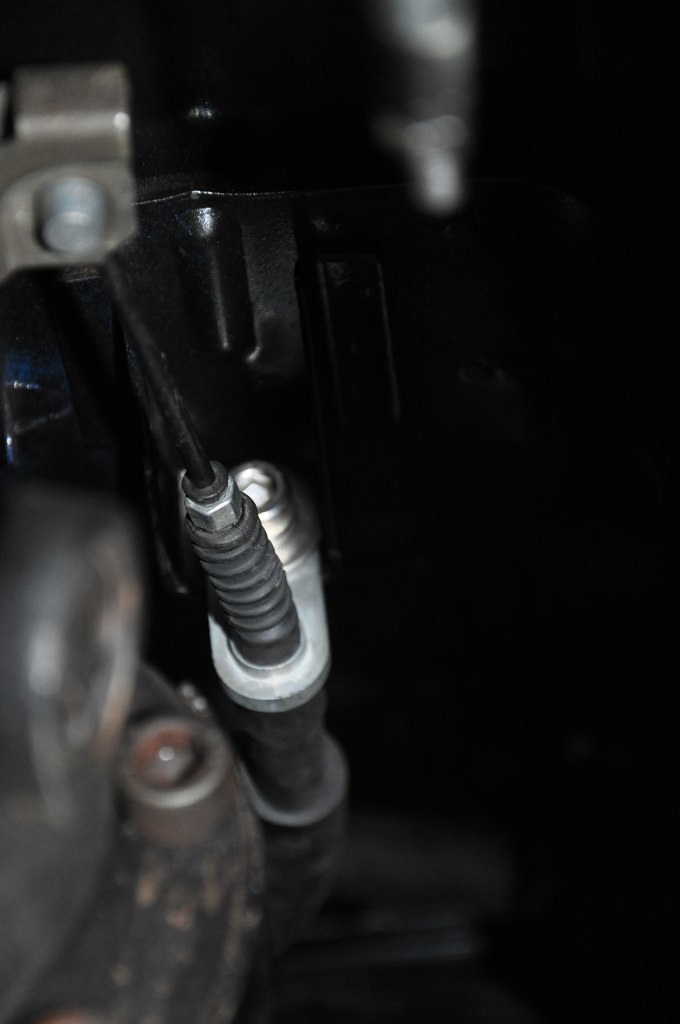
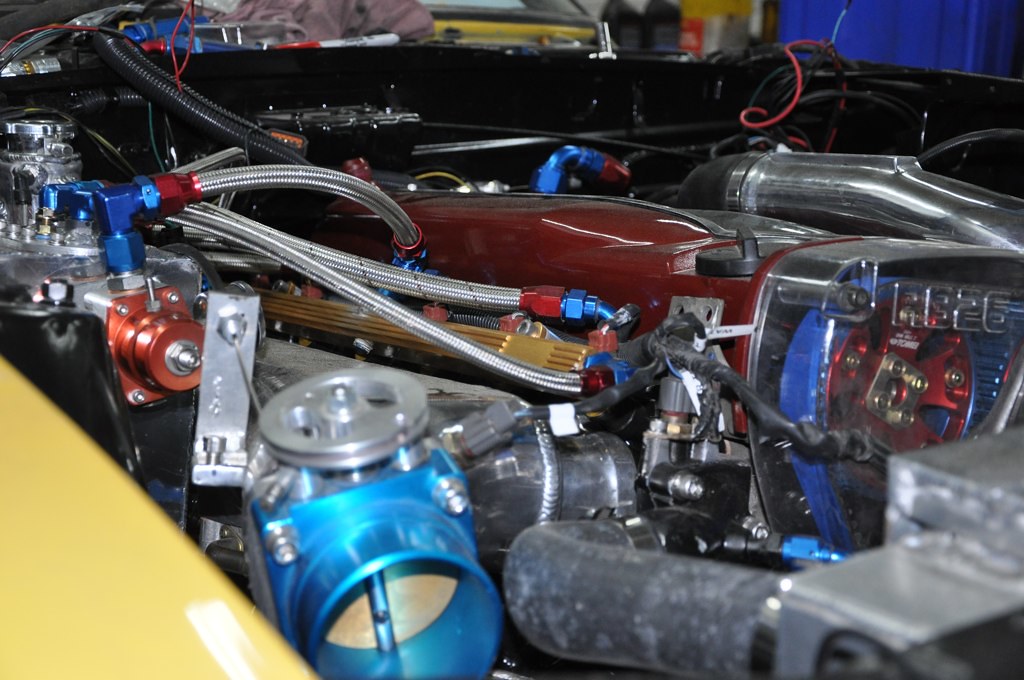
Polished the center cover, welded 12an bungs on valve covers (not pictured), welded -10an bung on the bottom of the intake manifold for the air regulator, bead blasted steering rack, rebuilt with new rods and boots, installed the ACZ lower control arms i had on my tube chassis 280z, ran all the plumbing, bent the front oil drain lines so they would fit, and so much more i cant even type now im so tried

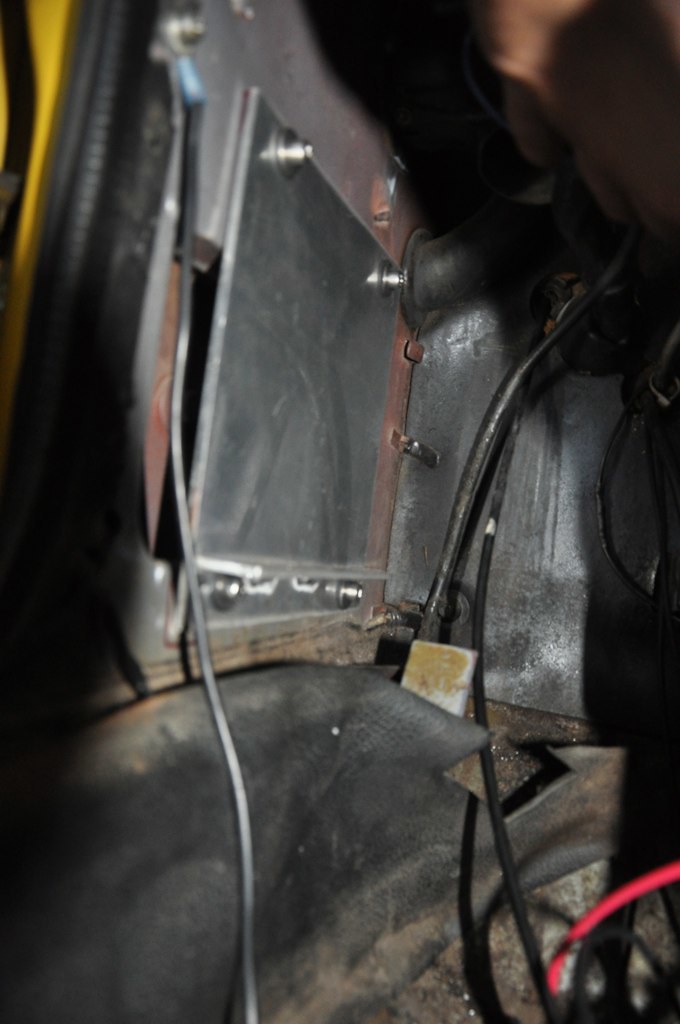
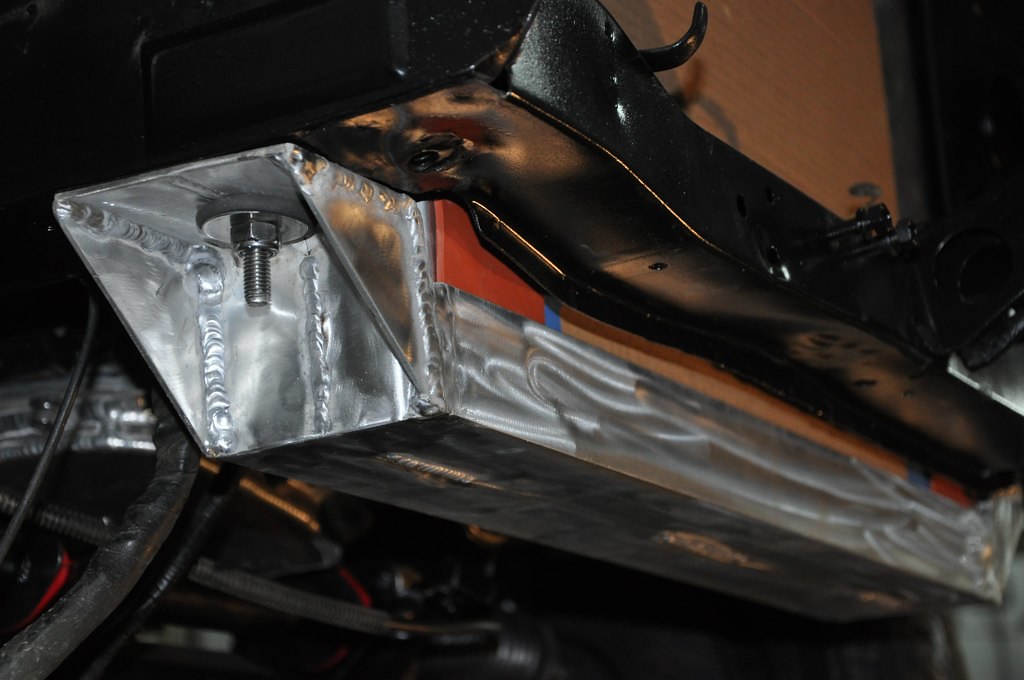
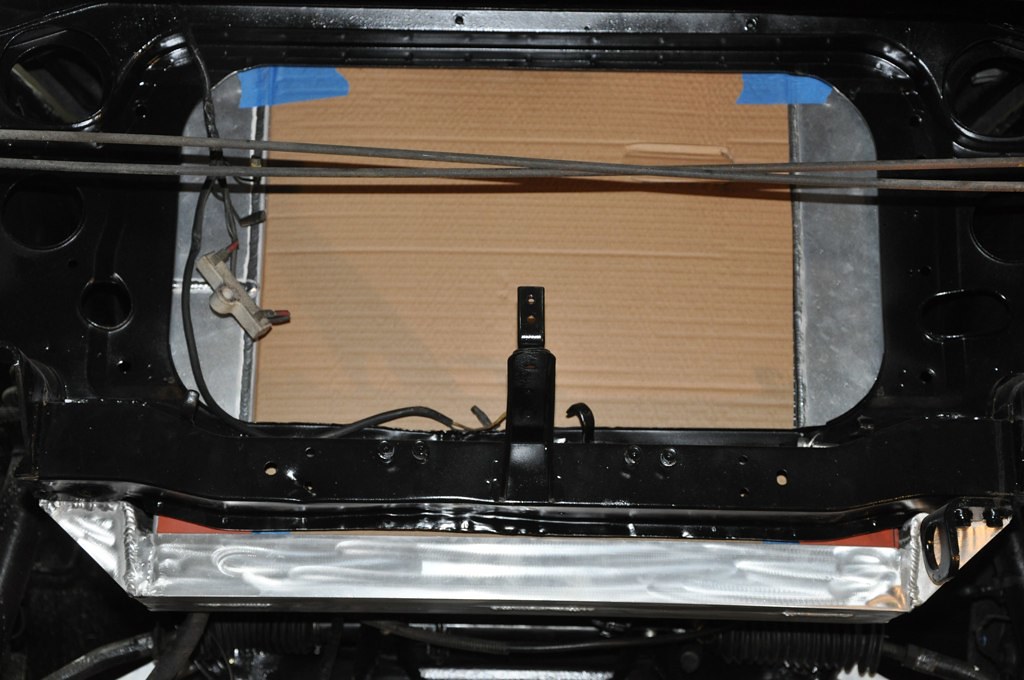
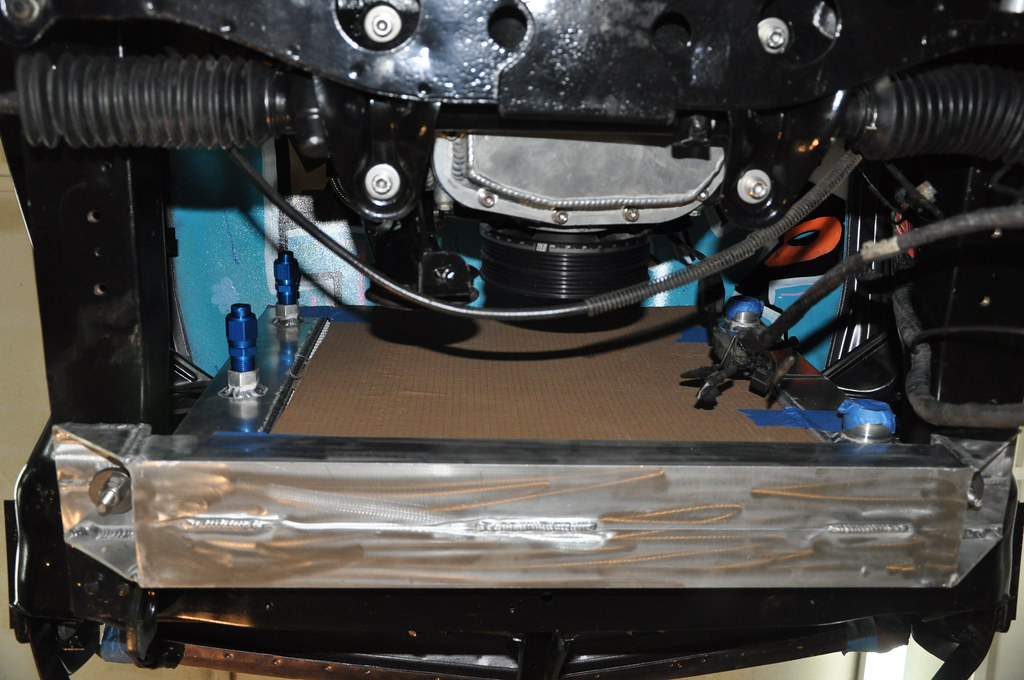
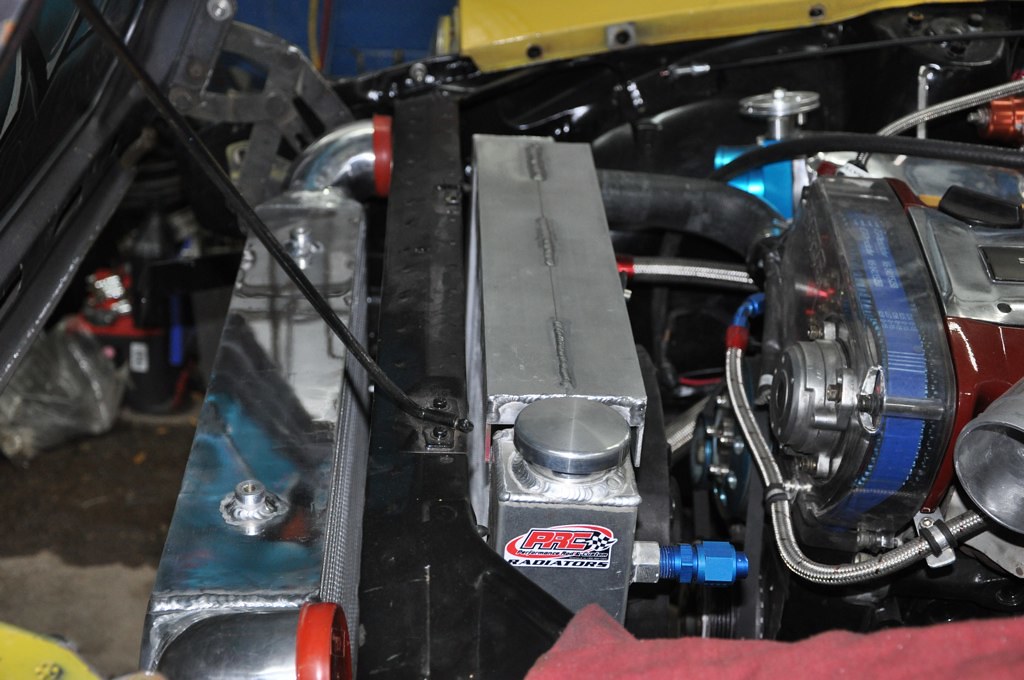
well, i have been slacking off. Currently fabricating a surge tank and tinkering with some fuel stuff. fixed my window regulators so i can roll it outside during work hours. Got the radiator mount fabbed up. here are some pics of it. unfortunatly i live in a small town so finding parts and stuff is next to impossible so i took (2) 1/8 2" angle brackets and weldeded them together and had 2" flat pieces and welded them together... be cleaner if i had some 4" channel and 4" flat stock, but it will suffice
Well here is about 3/5ths of the fittings i used... holy **** dont do it. i could have a nice single turbo for the price.
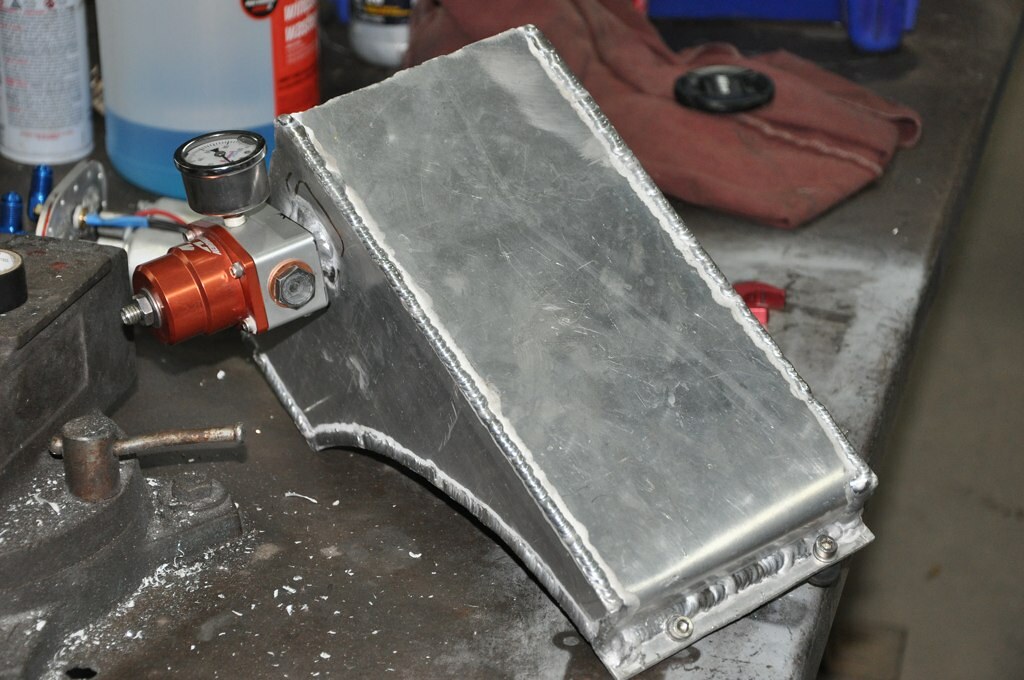
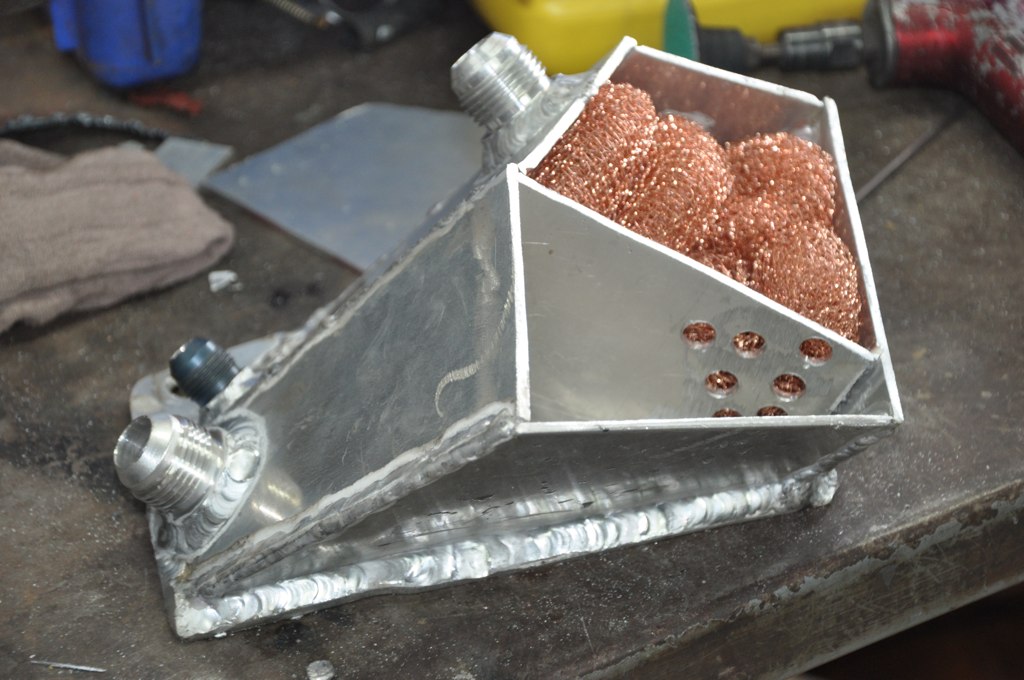
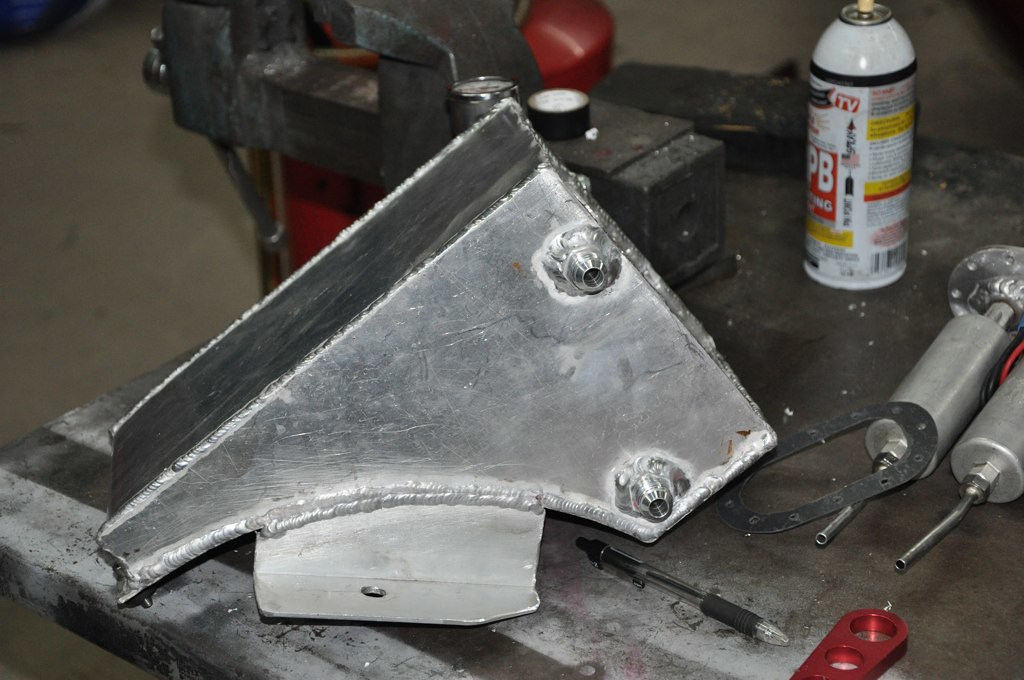
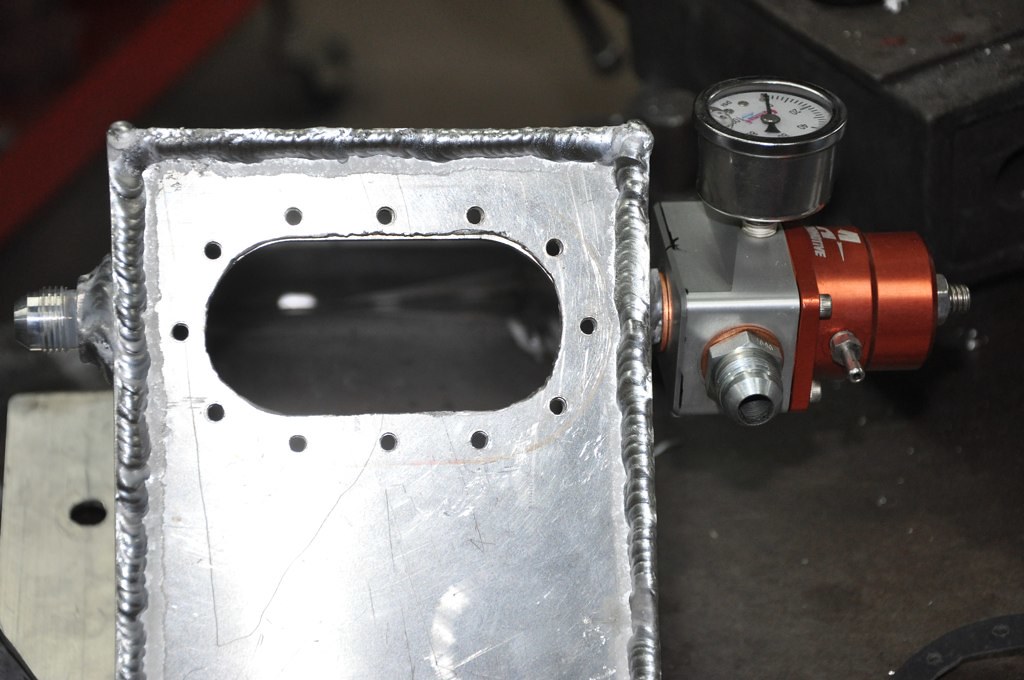
Here is the surge tank i made.

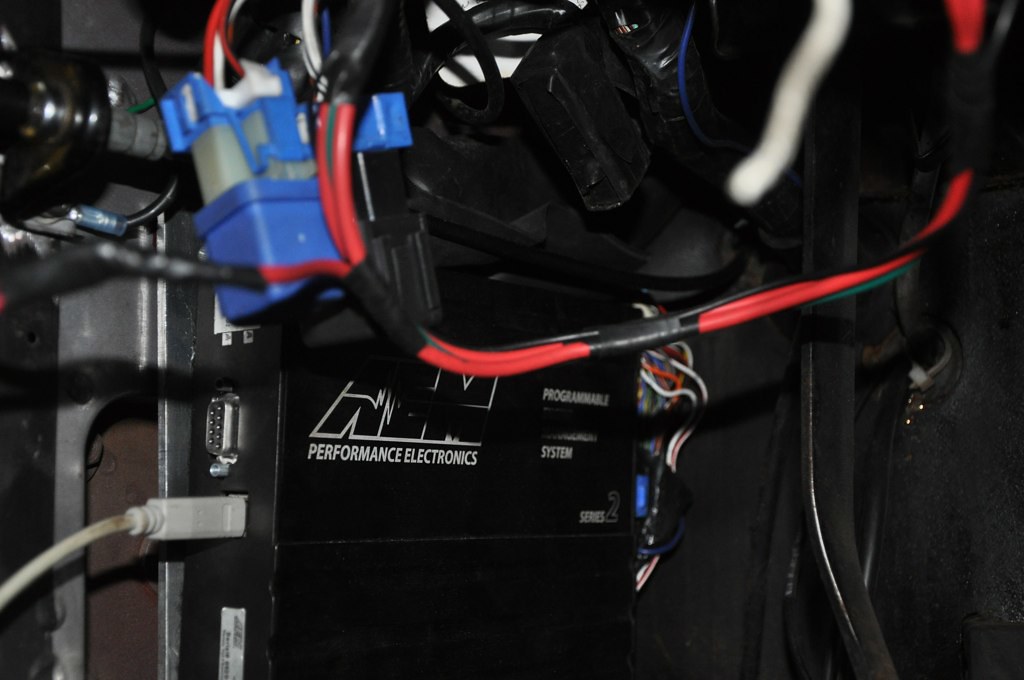
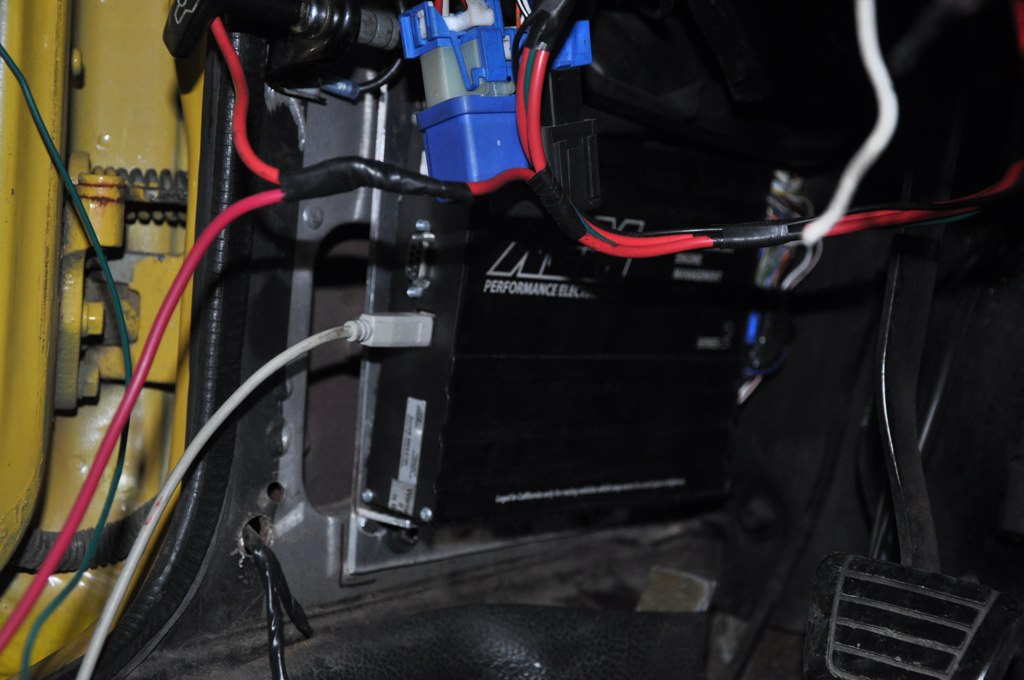
EMS

well its slowly coming along, waiting on the ems and suspension. then gotta do the drive shaft and wheels. It will be moving slowly now the the money has vanished.
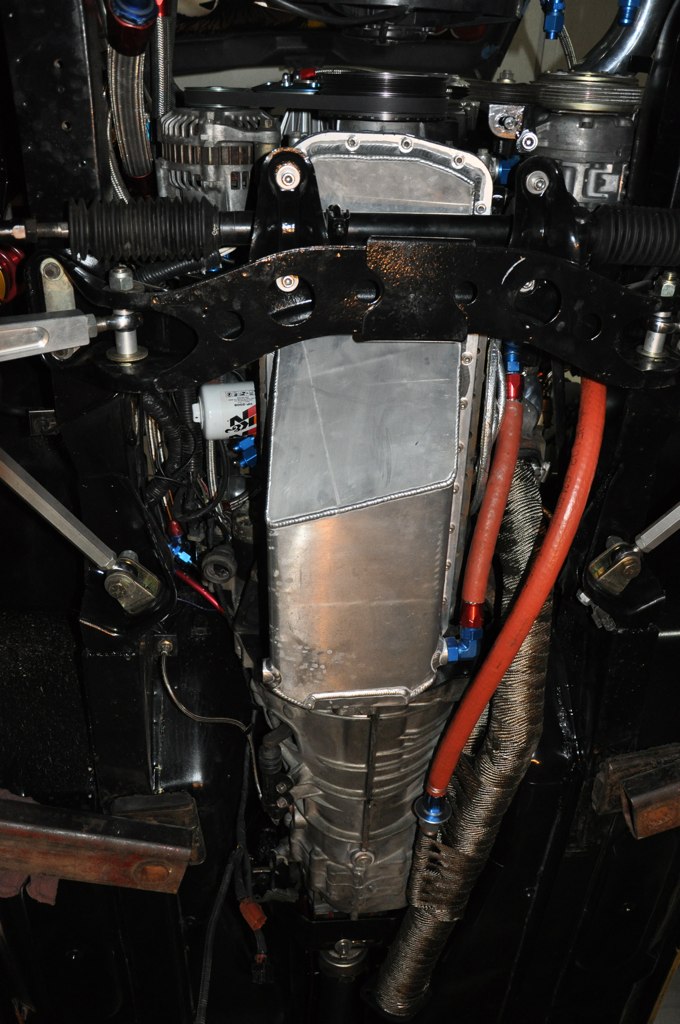
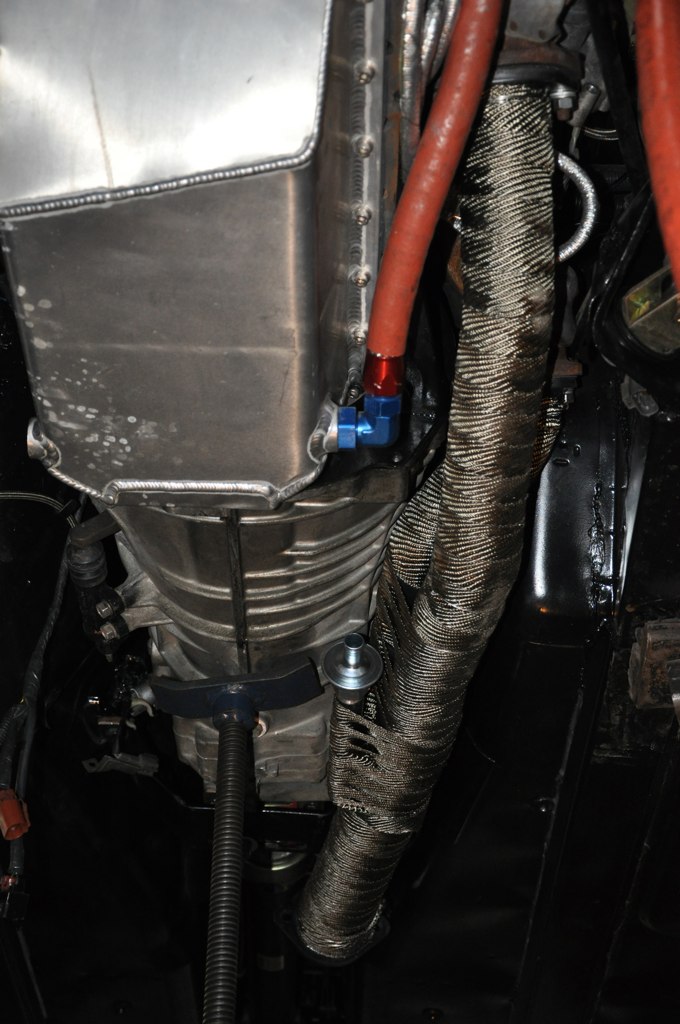
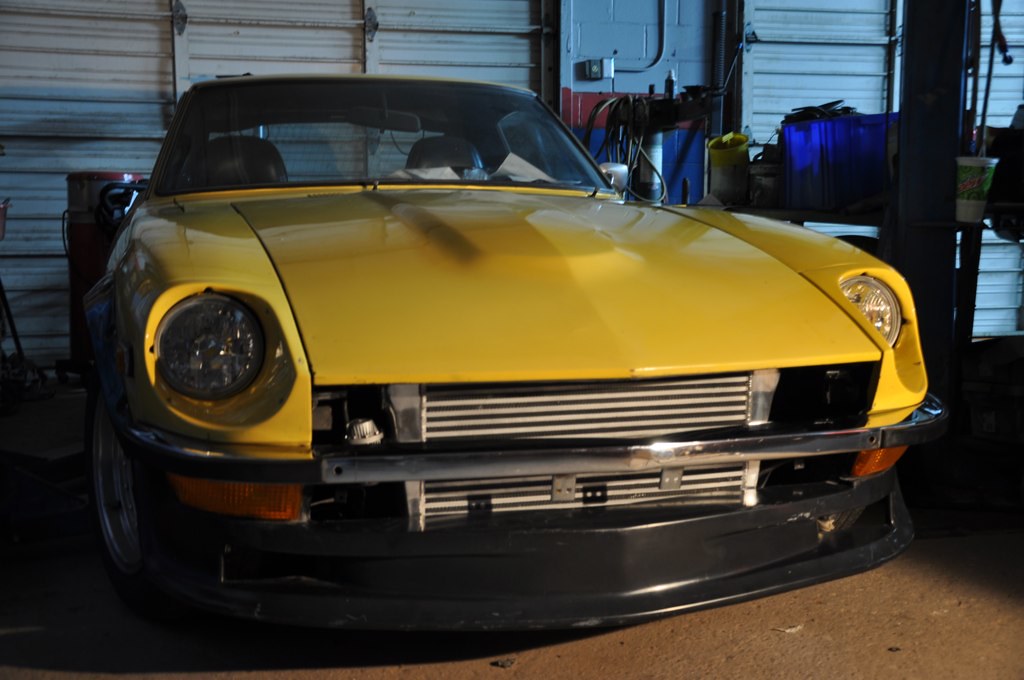
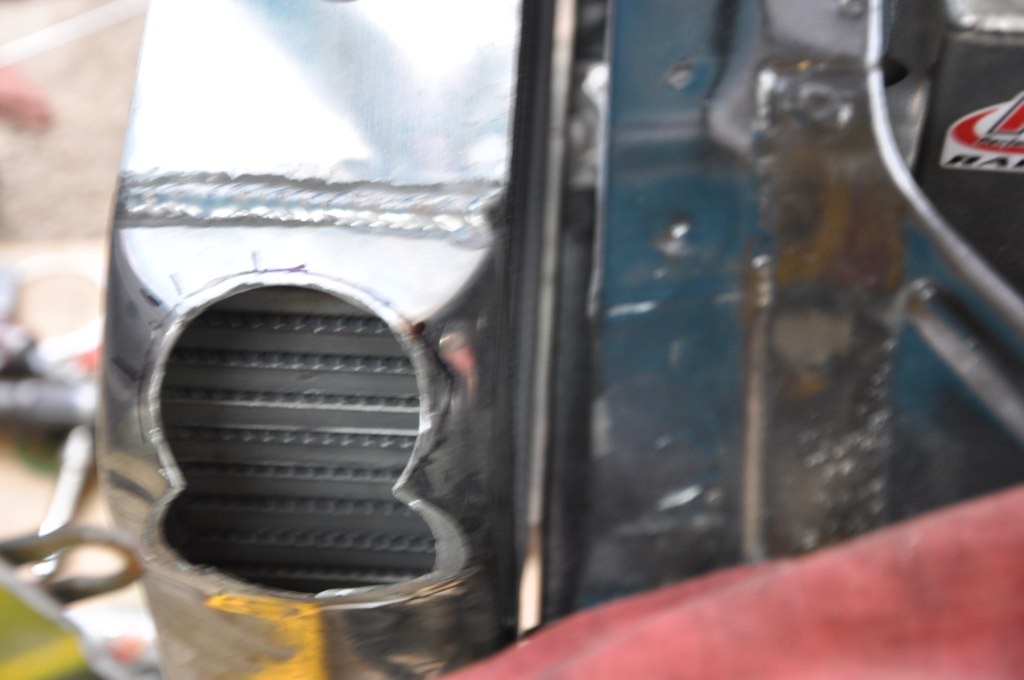
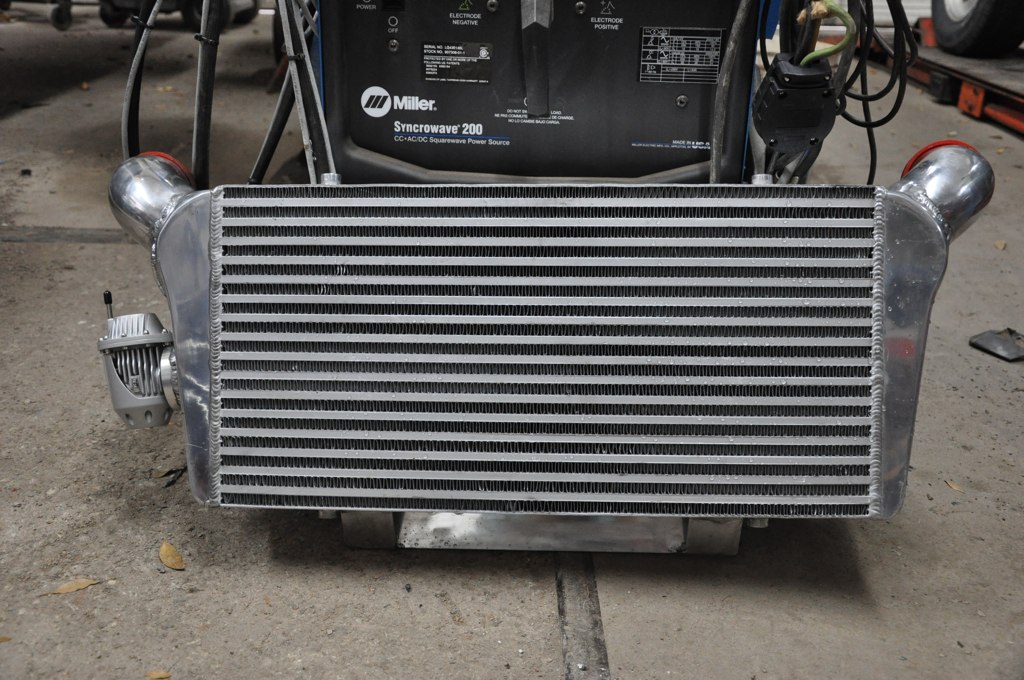
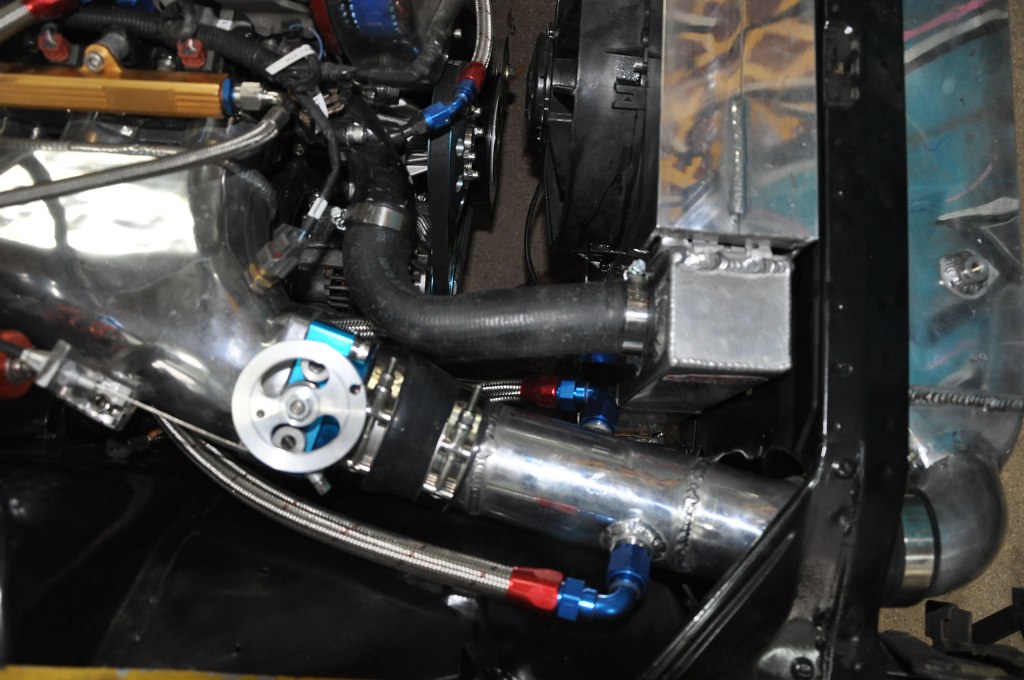
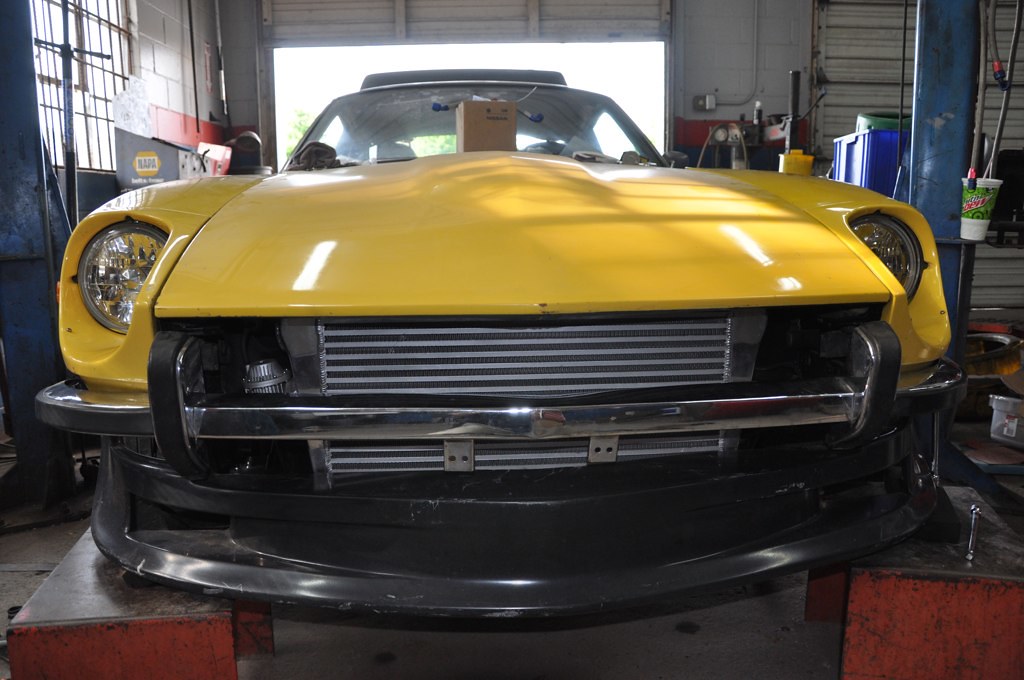
here are some intercooler pics.
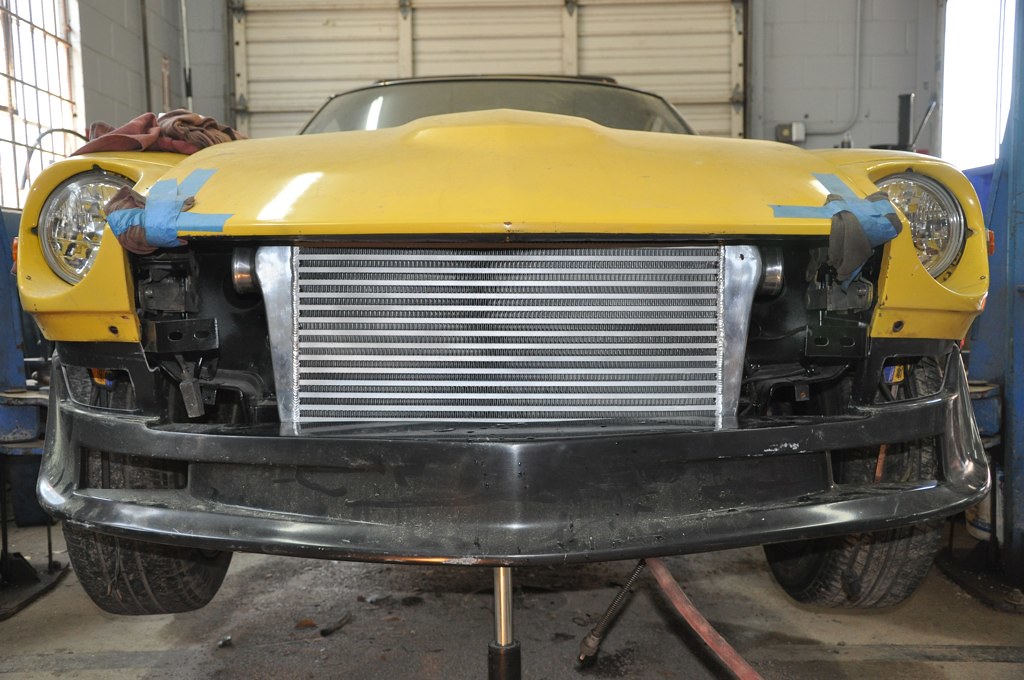
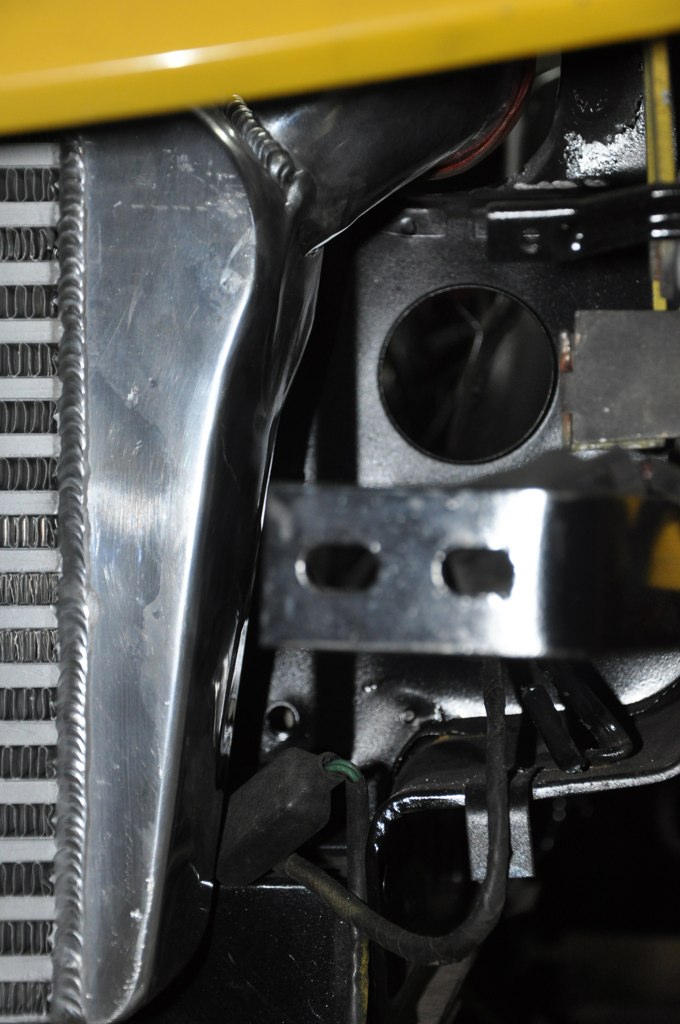
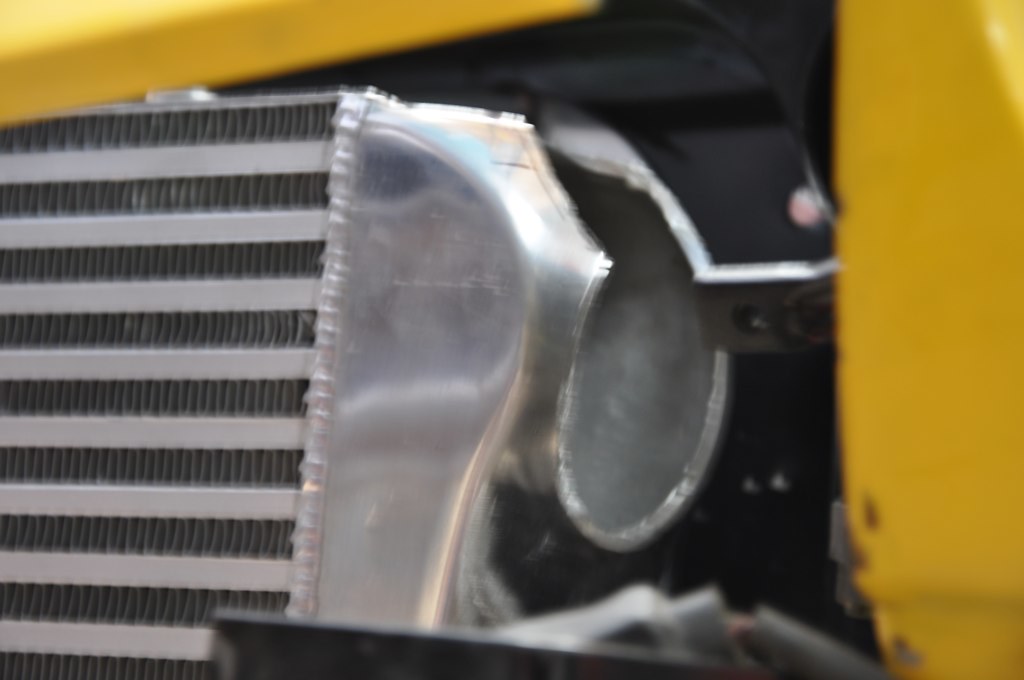
got the hks mounted.
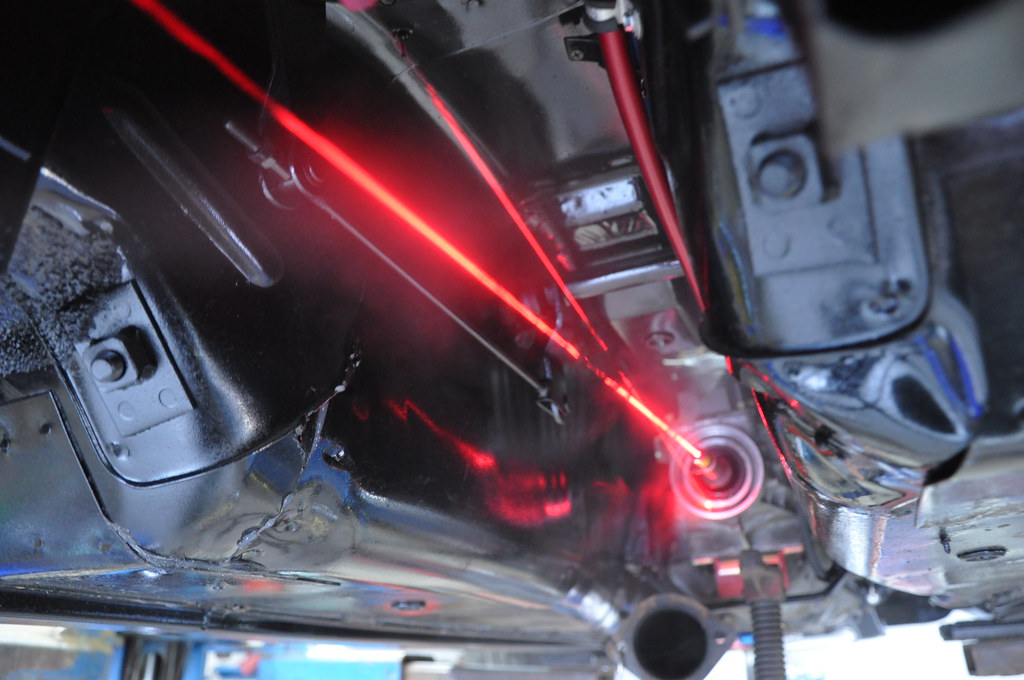
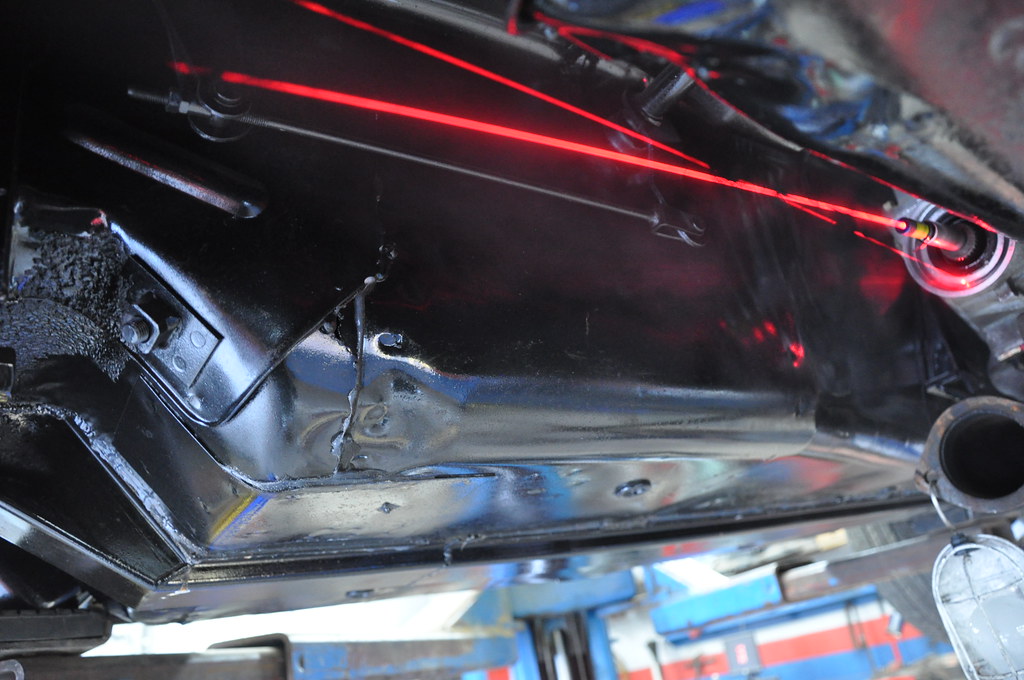
ok i am giving up on these lasers. it would work well if you can get them true. mine is out about the size of a tennis ball.
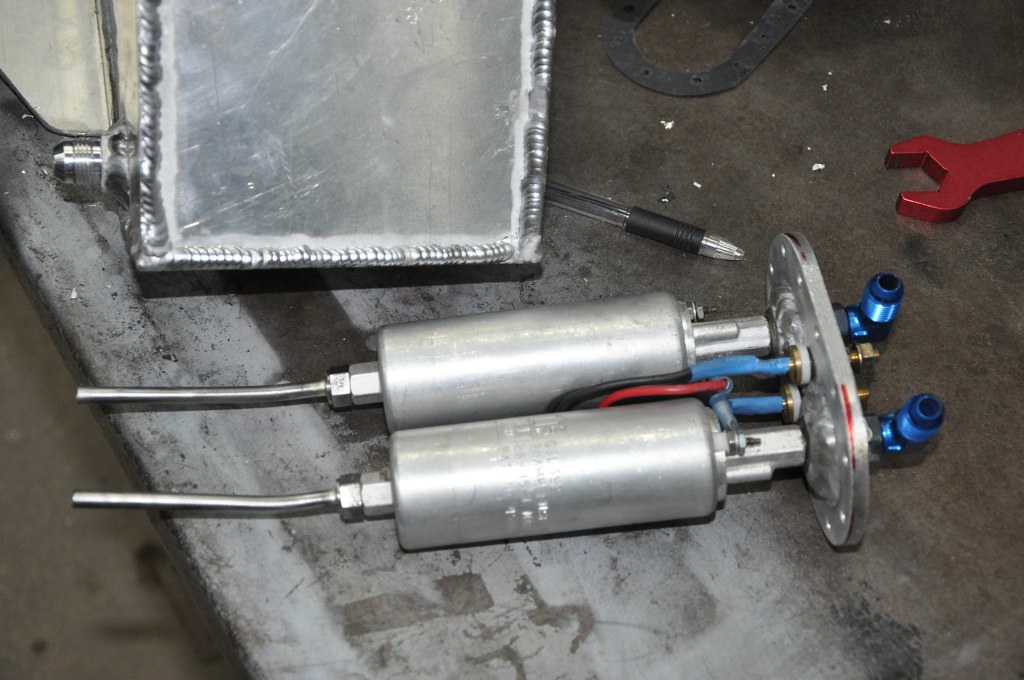
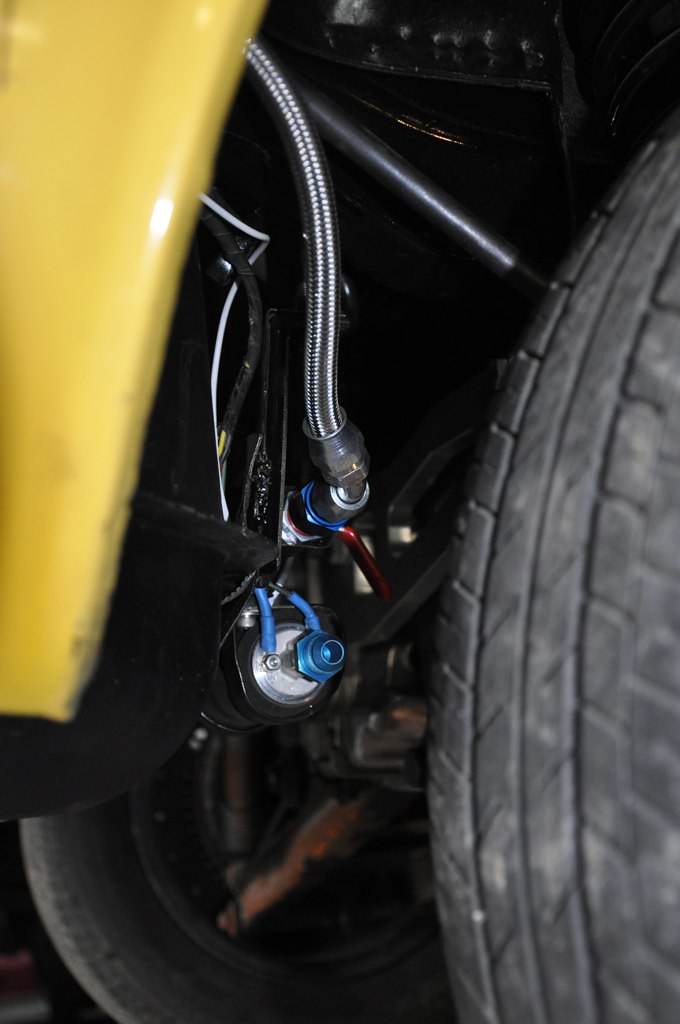
well here is the fuel pump in the rear. (1 walburo 255hp to fill the surge, and 2 in the surge).
stupid vapor tank... why they didnt put a piece of sheet metal over this and block it from the cabin i have no idea...

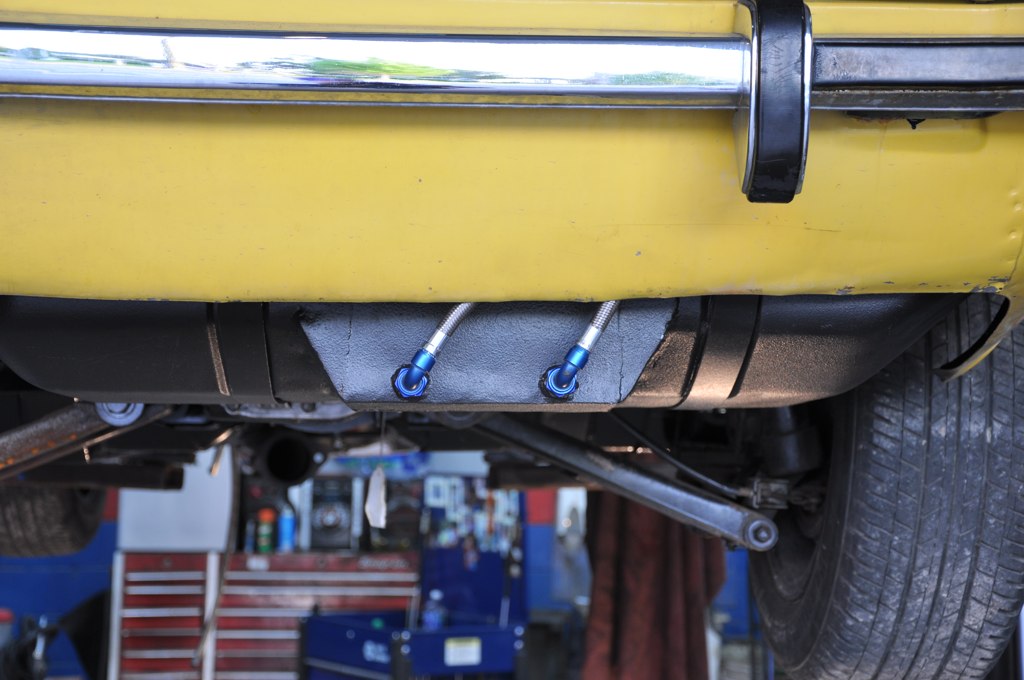
here is the rear sump pickups, dual crimped 8an teflon lines
side shot of the rear fuel pump
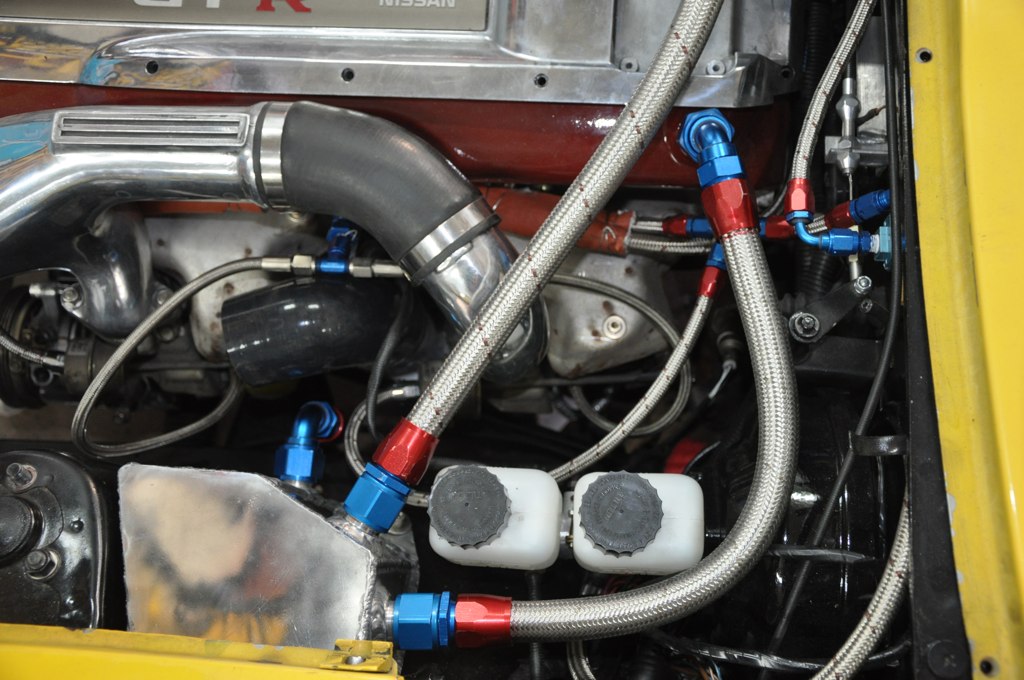
AAC and air regular plumbed.
here is the overflow tank, its only 1qt which has me wondering but next time i fire her up i will see how much it fills up before i weld the lid on there. nevermind the nasty welds on the left side....
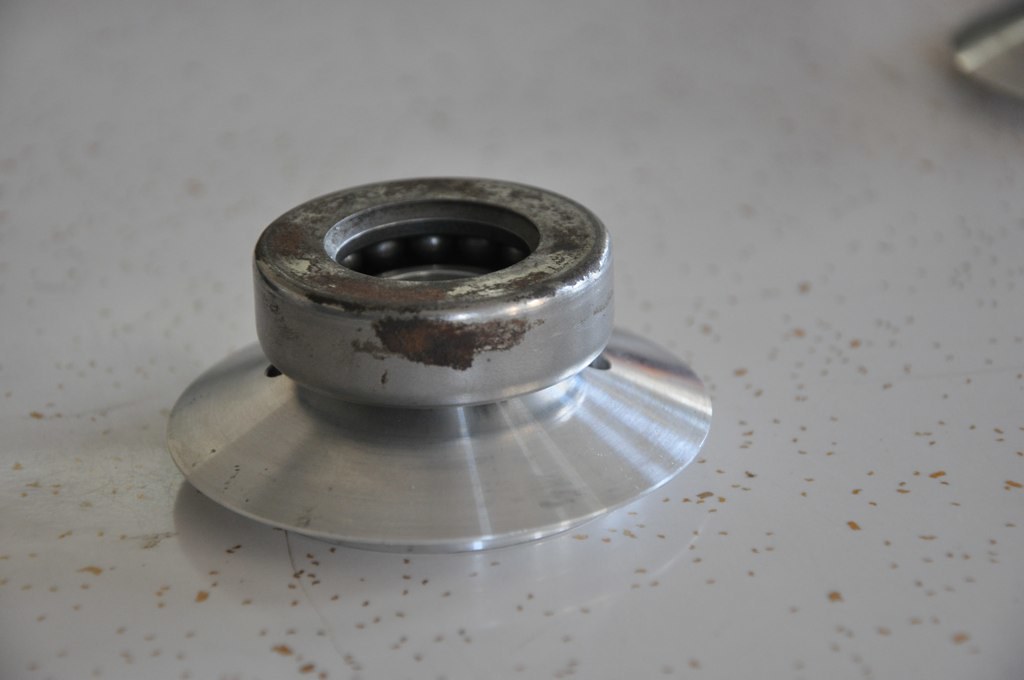
ok, broke out the lathe on the suspension and i am glad i did, turned out great. more pics to come.
these are the lower perches that come with the ground control coilovers.... they made me laugh and reminded me of my hondas weaponR suspension...
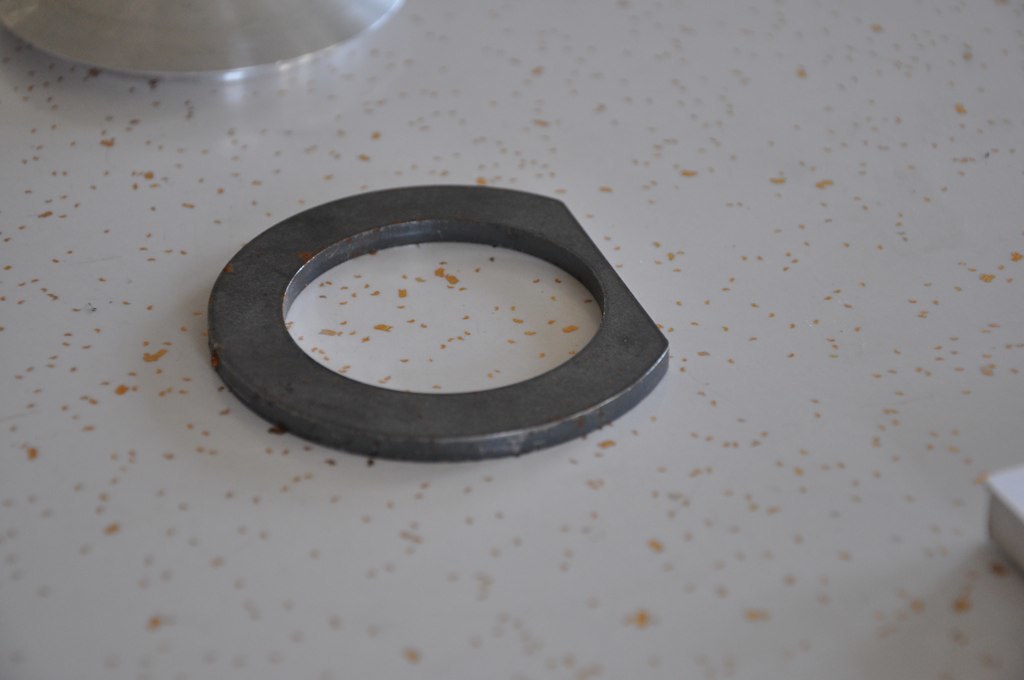
so giving the middle finger to that i made these. hammer tight tolerances turned out perfect i must say
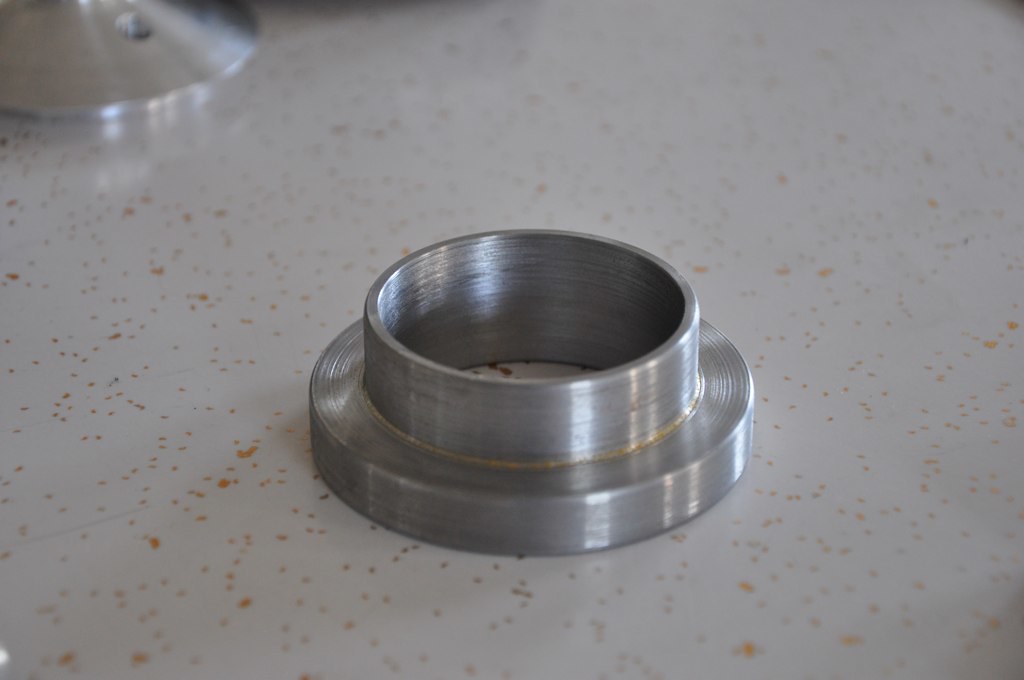
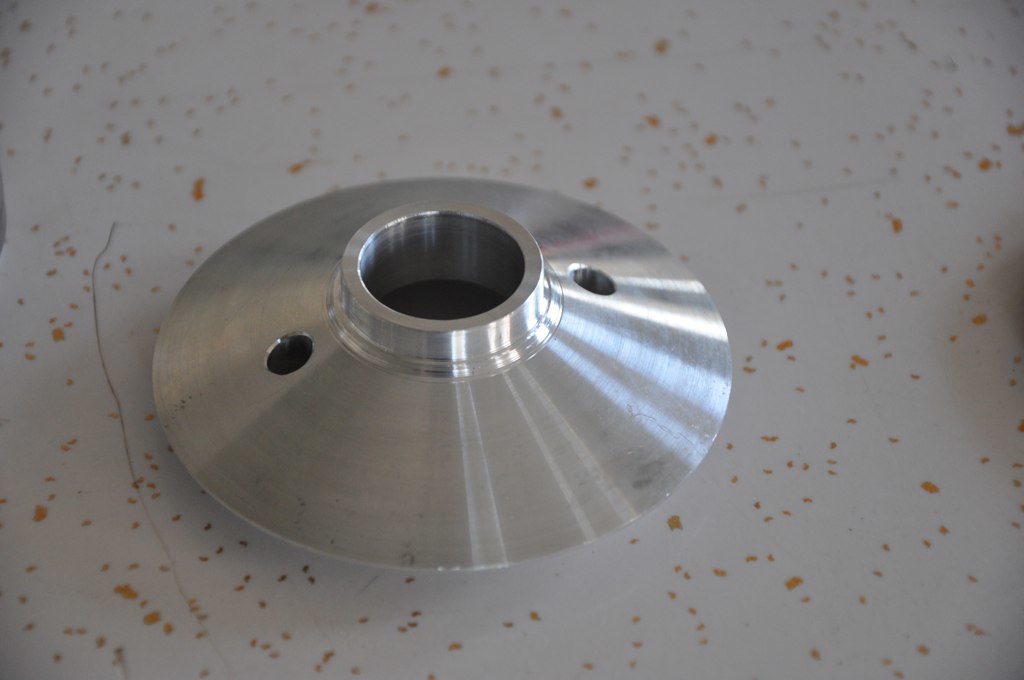
then i modified the top hats to fit inside the bearing like the oem perch...
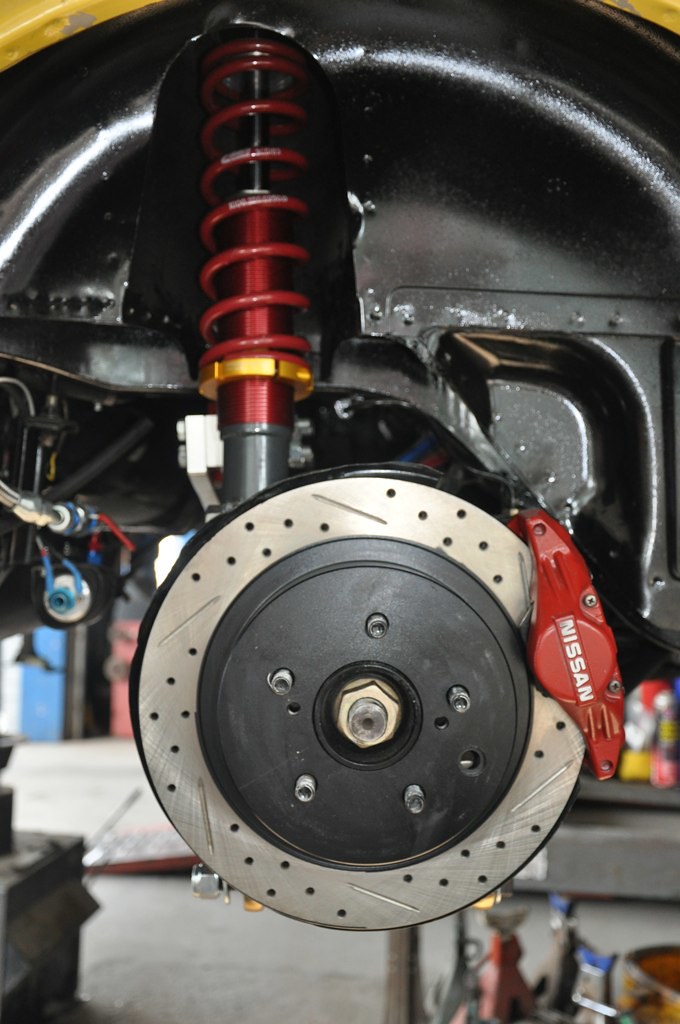
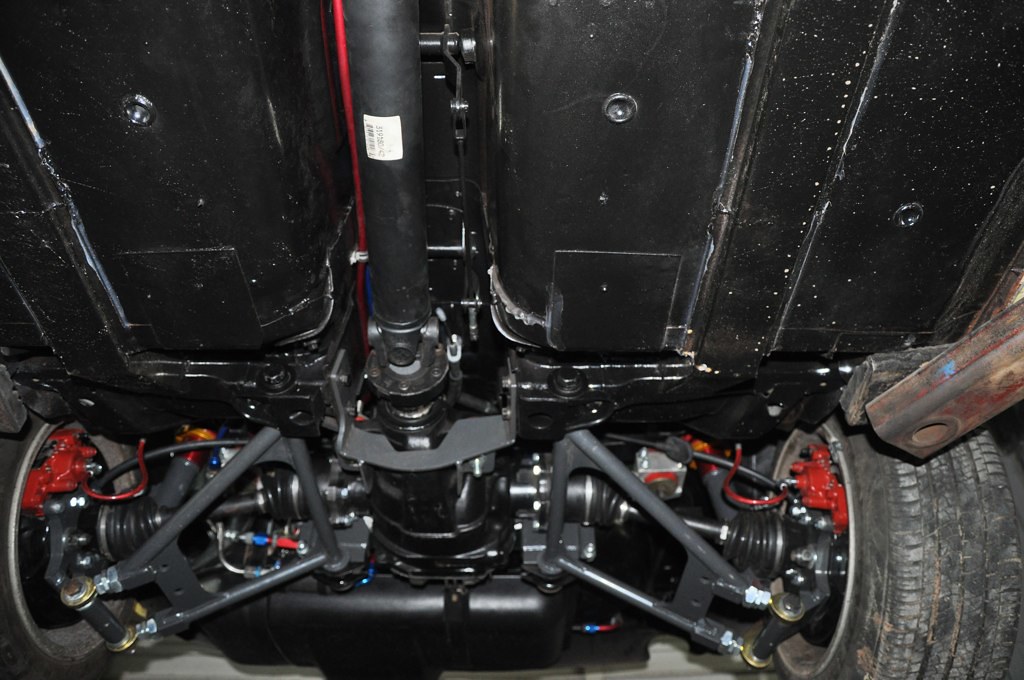
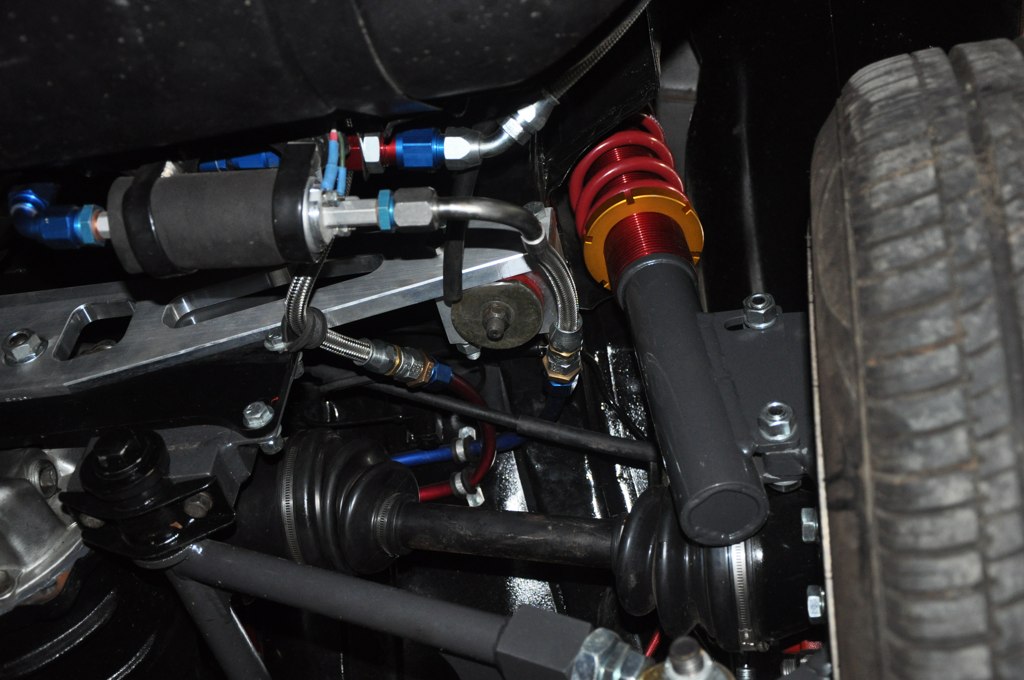
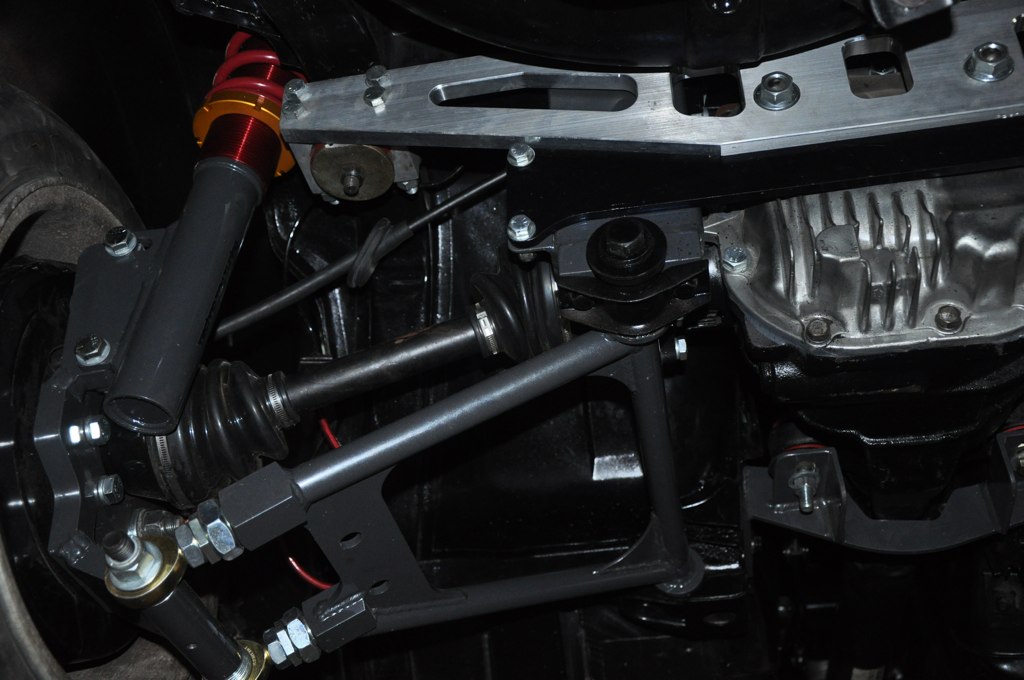
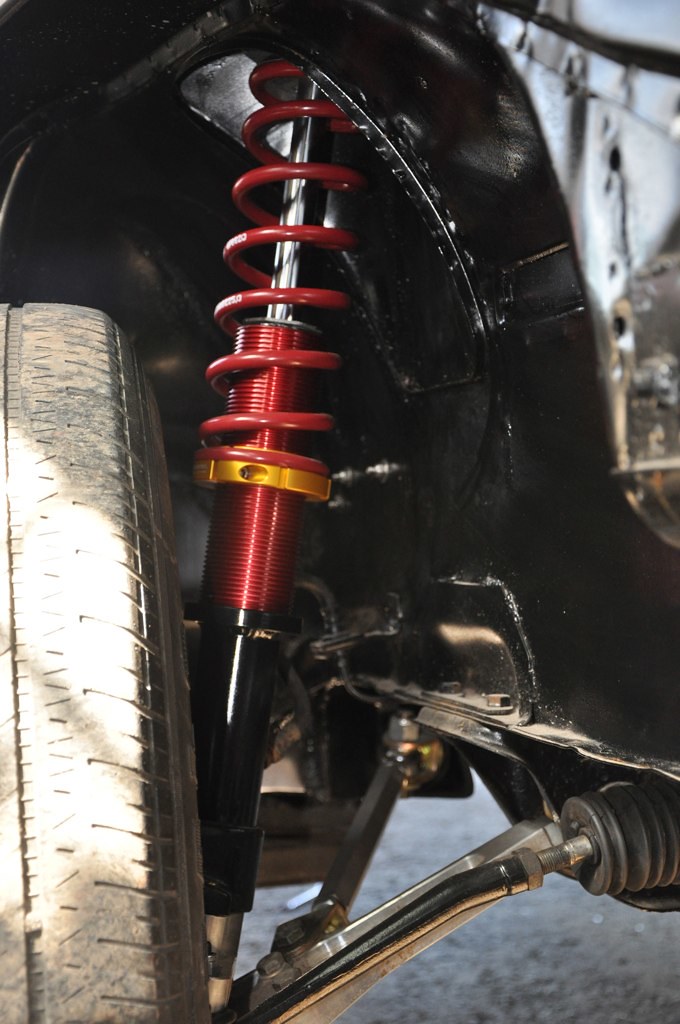
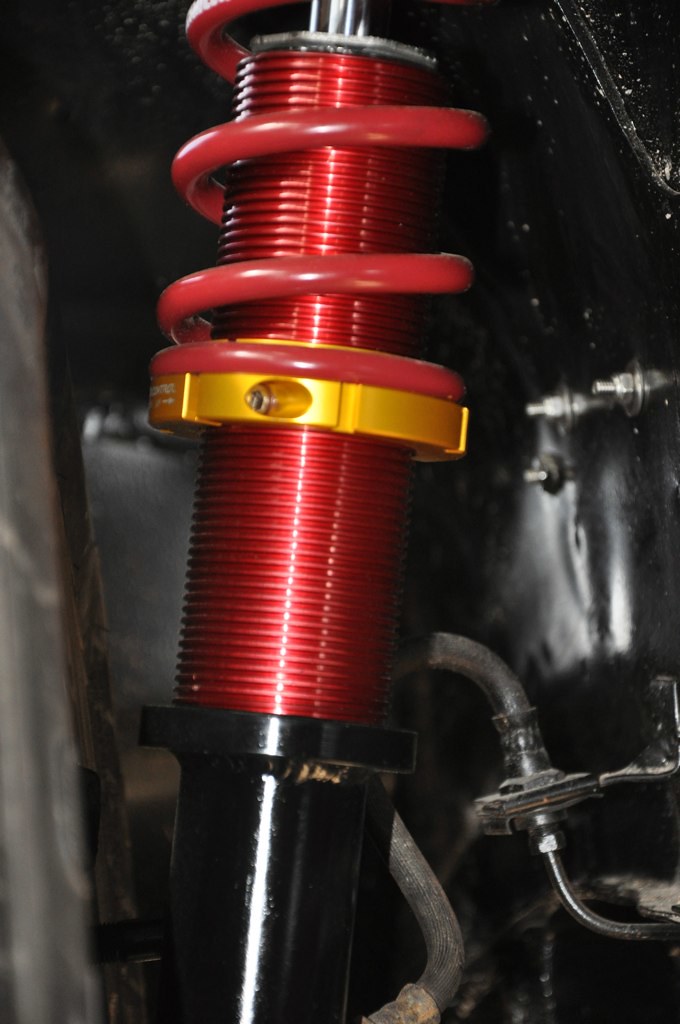
got it lowered on the ground today and can push down own it my my scrawny self and one of my guys says "now thats a suspension" ahah love it..
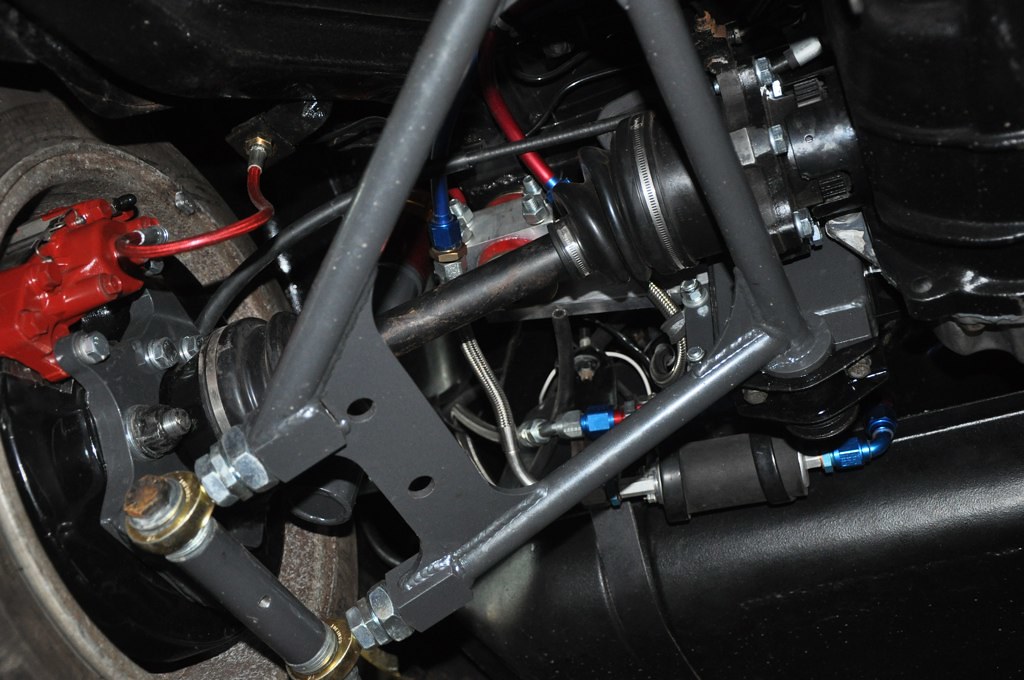
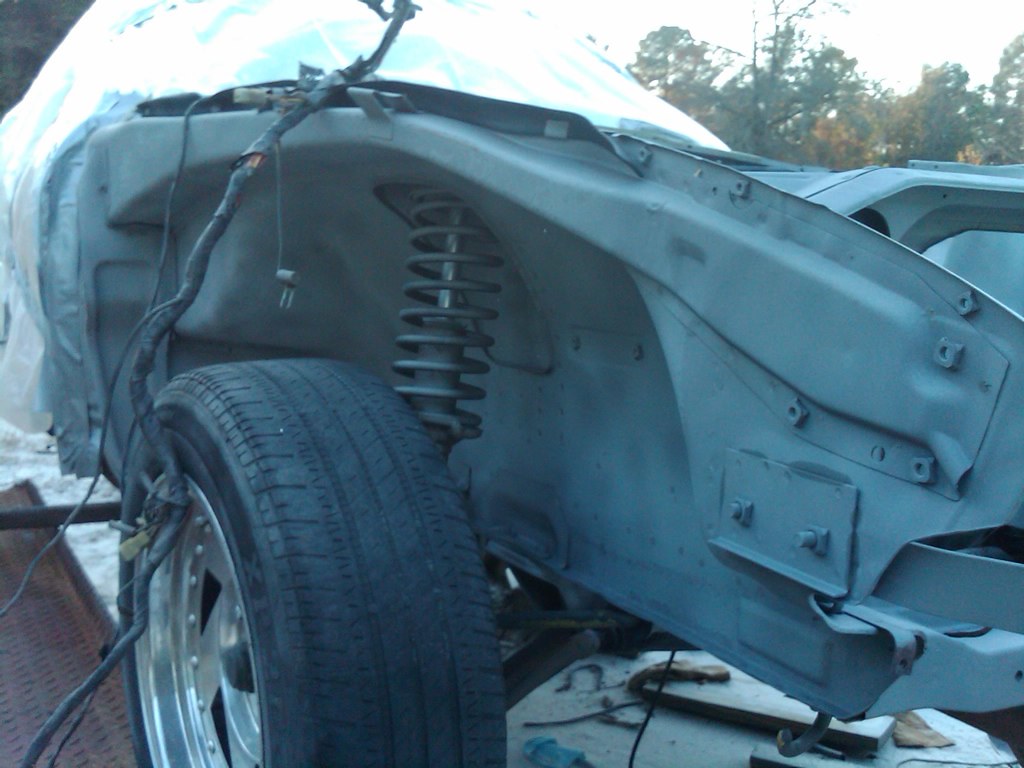
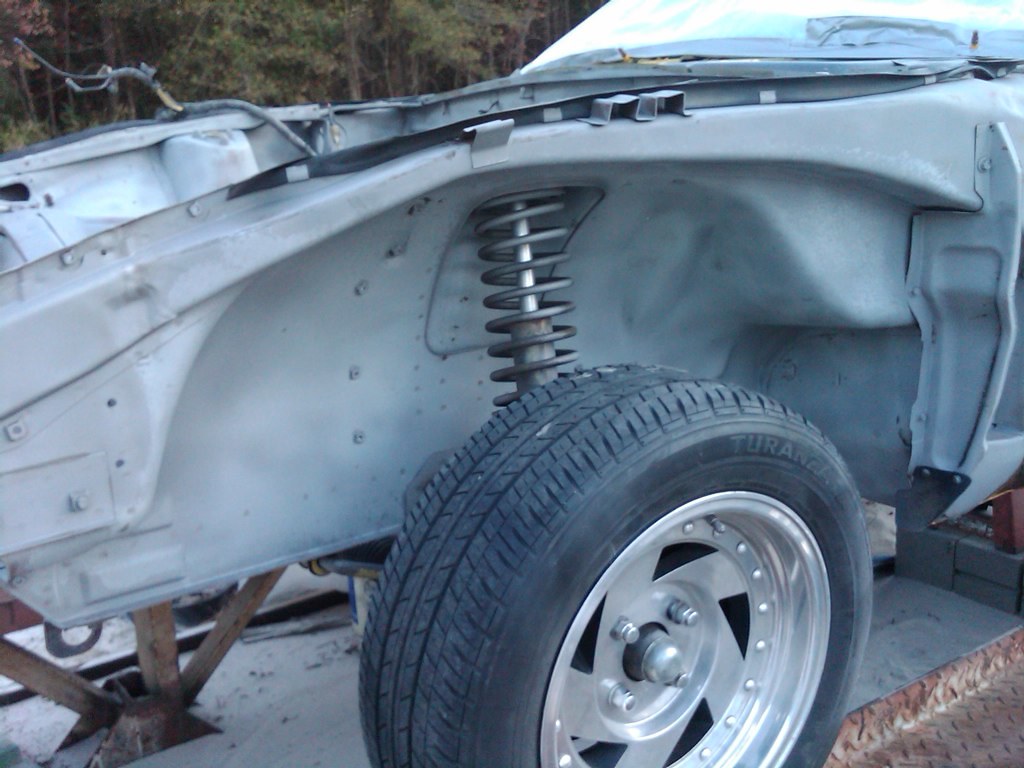
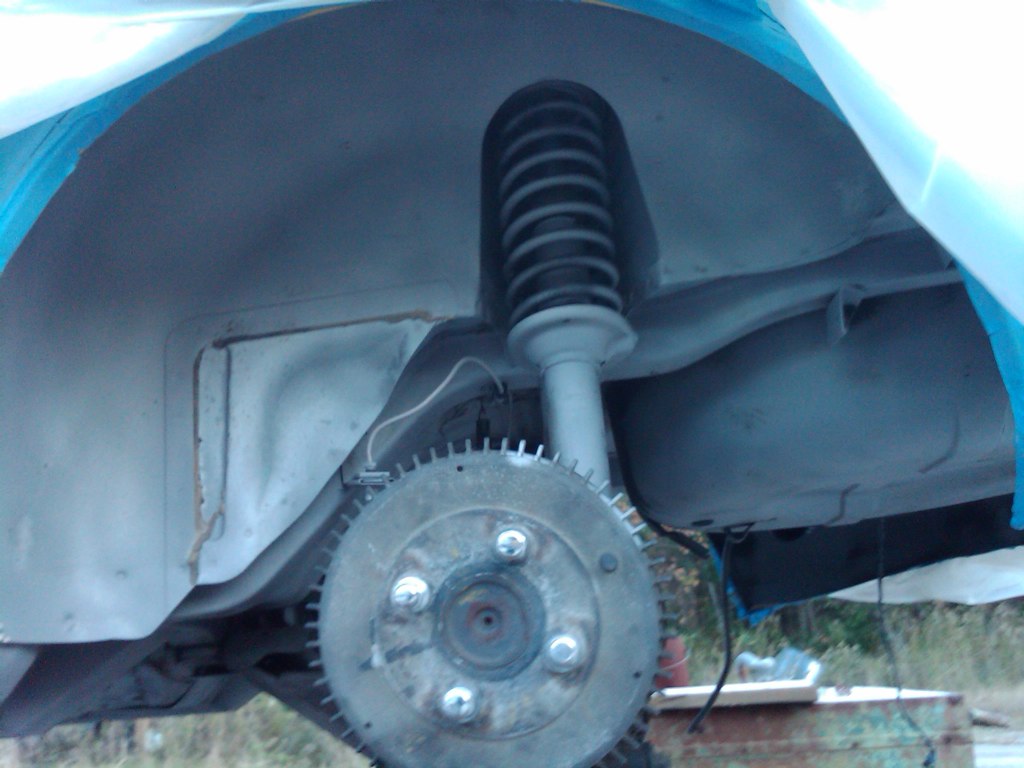
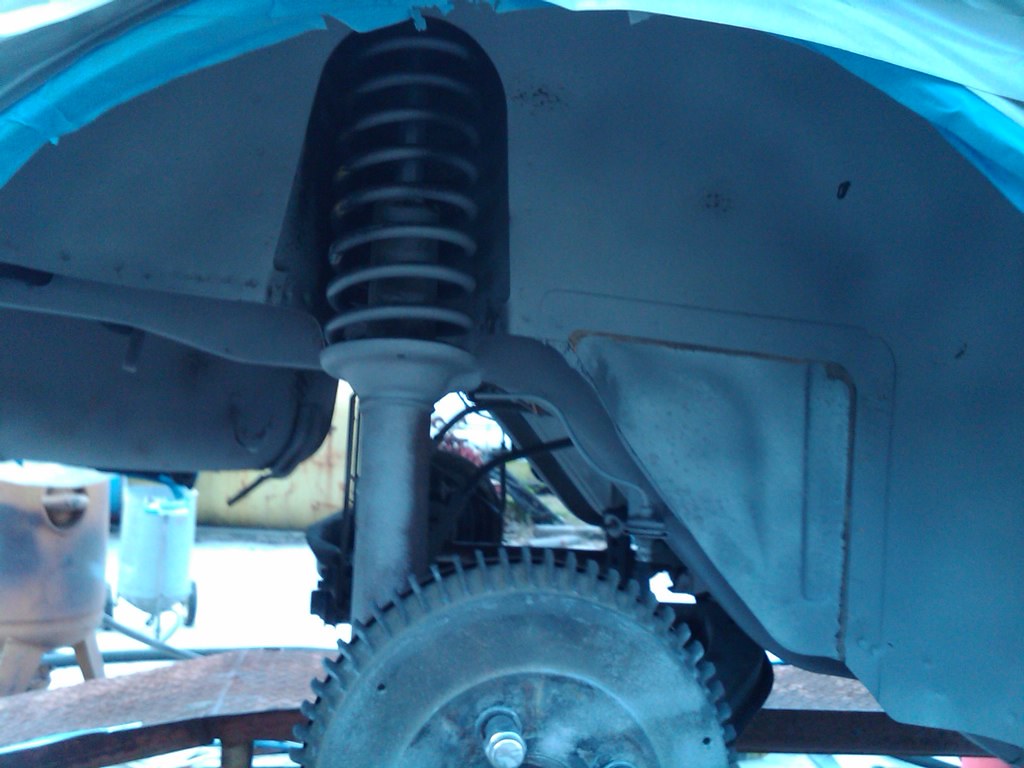
Here is 2 front suspension shots.
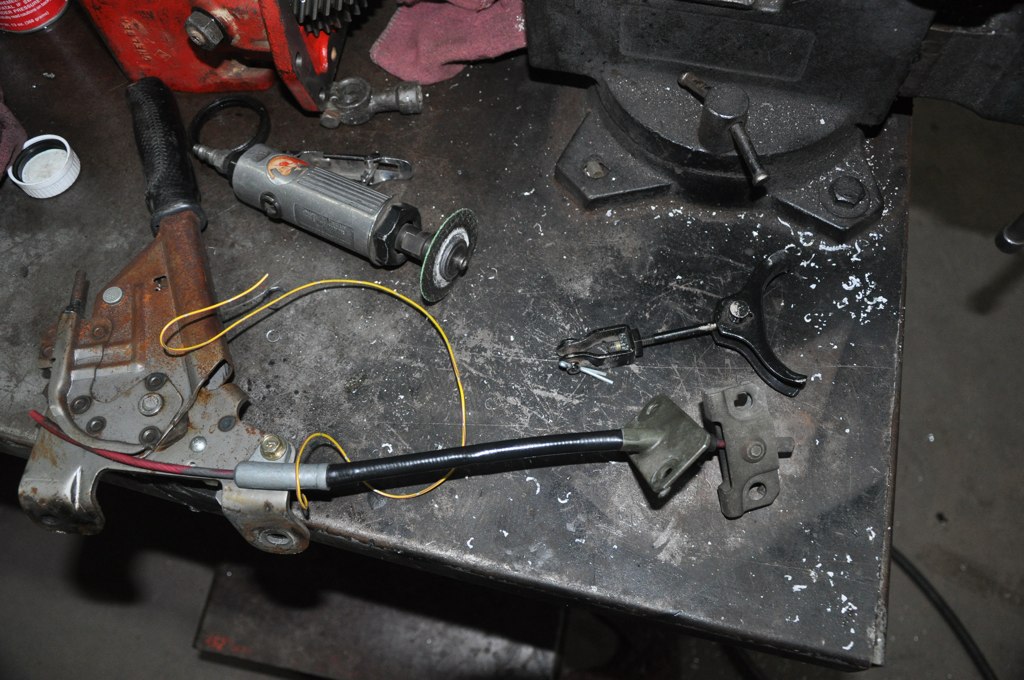
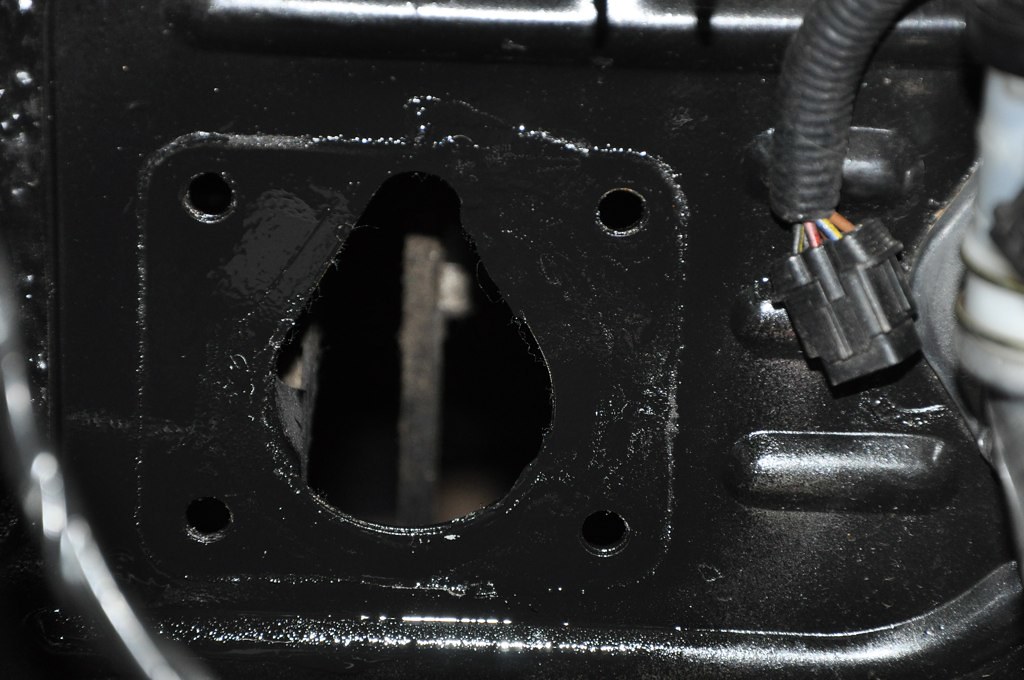
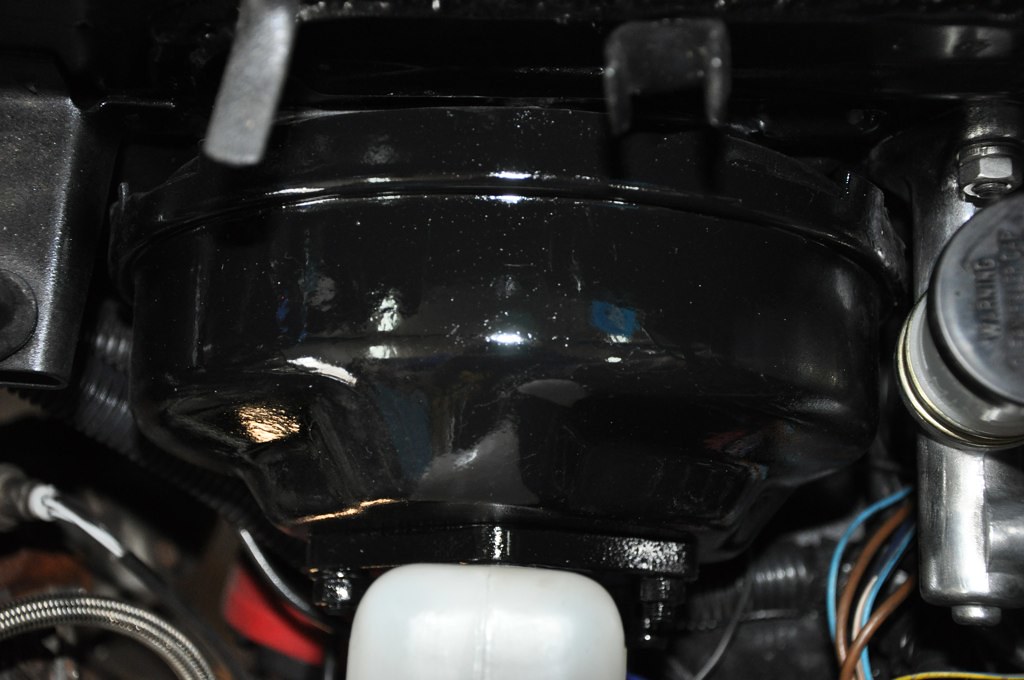
I pulled my 280z brake booster which had the 15/16 mc upgrade already on it.
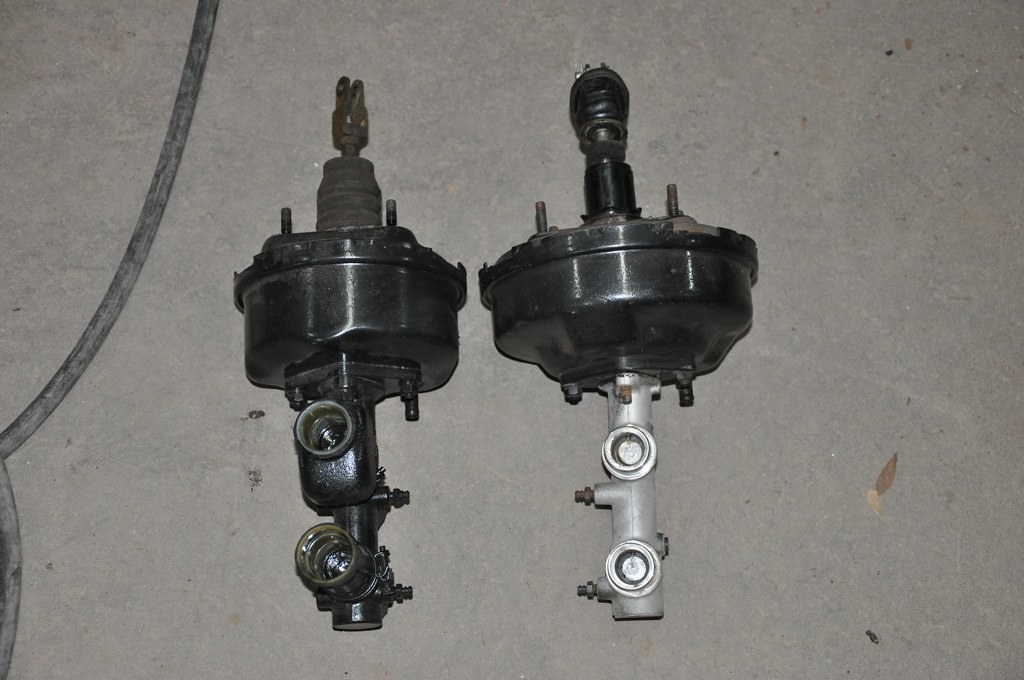
here is the 240z booster pattern. the 280z is slightly wider, hell you could slot these if you wanted to but i just redrilled it.
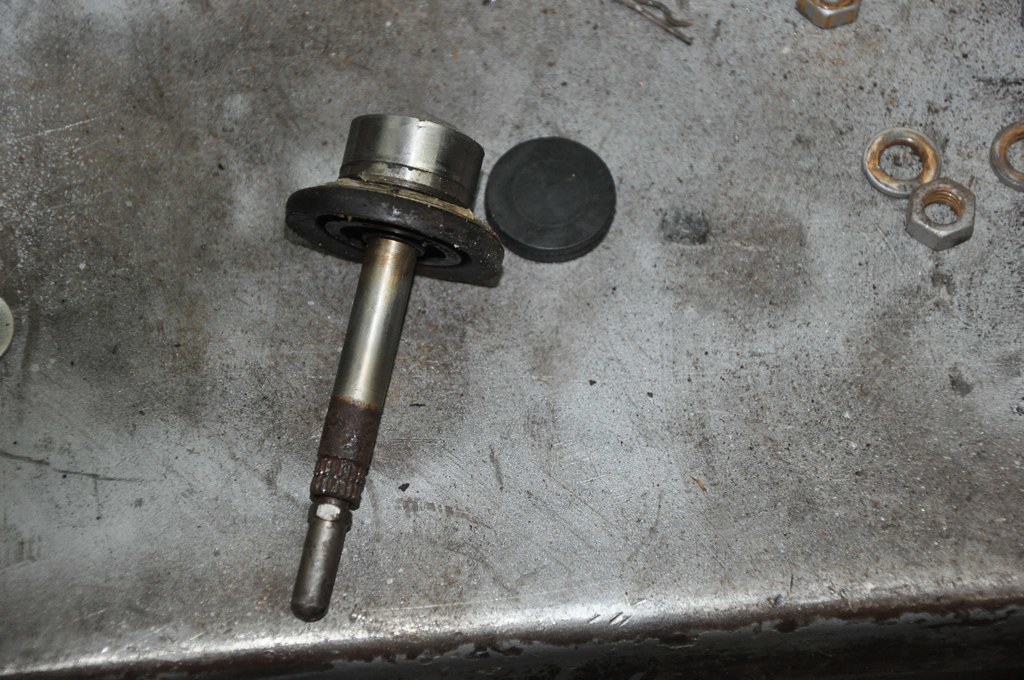
I shuck the booster and didnt hear the reaction disk flopping around but i decided to investigate while i had it out, im glad i did. i was wondering how i was going to get the disk out,i used a air gun and blew it in at all angles and the reaction disk came flying out (lots of people have trouble getting it out, so just use the air gun mine has like a 45 degree tube on it so i could stick it down inside there).
put some quick set epoxy on there (after i sanded and degreased the surfaces of course)
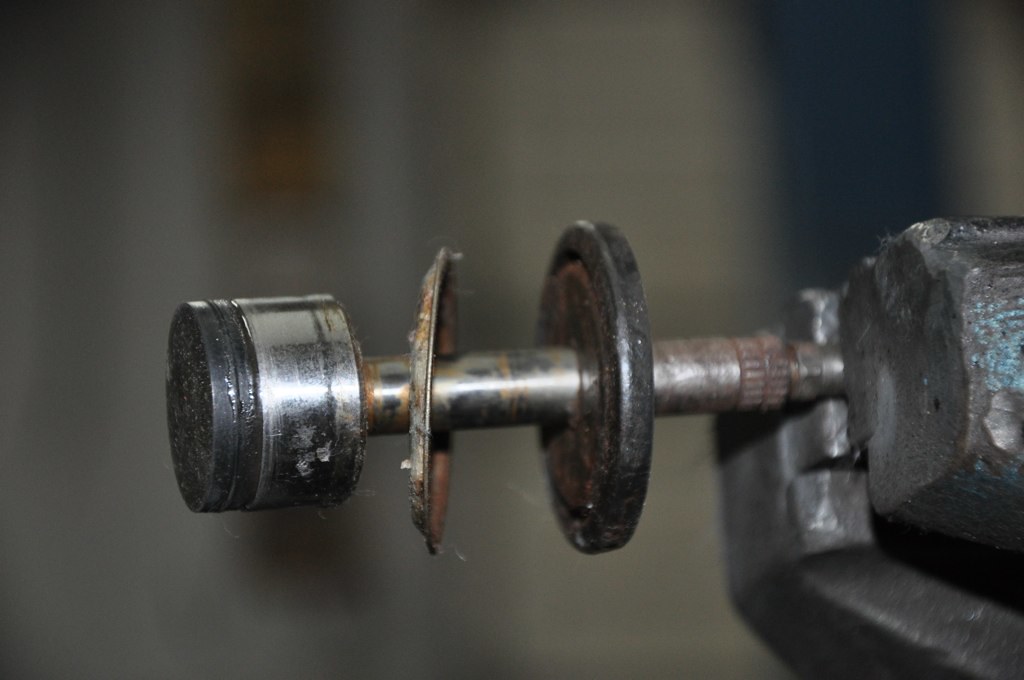
and the end result...
a 280z booster and a 280zx master cylinder.
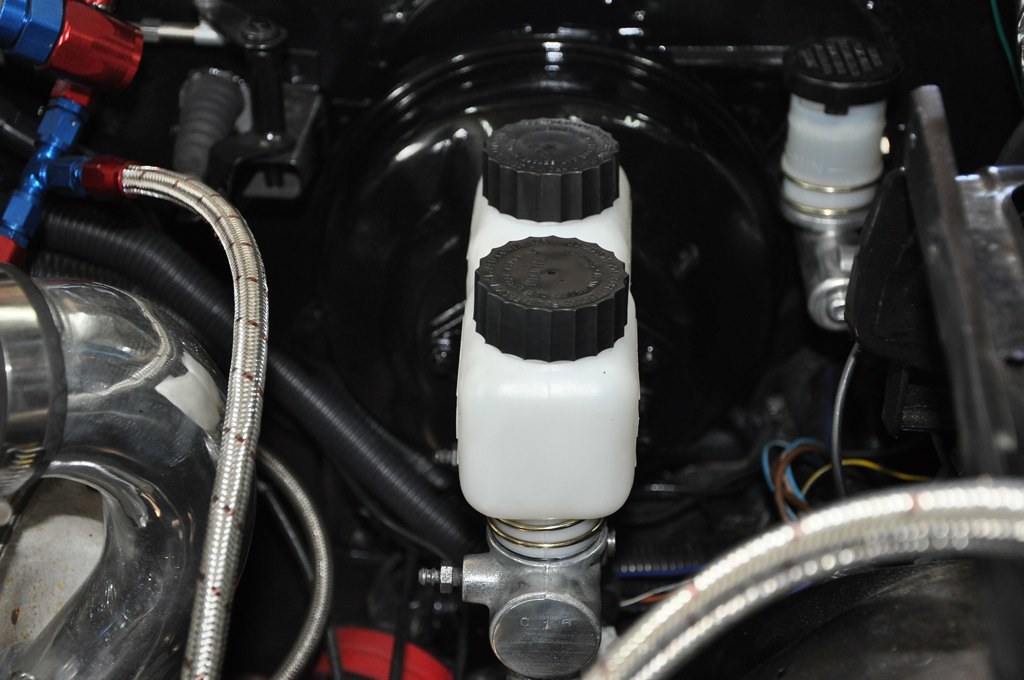
here is the clearances, kinda hard to see but its tight fit, but it fits none the less.
*sigh* she is getting there... 3 steps forward, 2 steps back... so one at a time. hopefully T3 will have some parts next week so i can get the rear end done.
B)
well, spent all friday and saturday drilling and tapping out all these broke off bolts, in the body, probably 20-25 of them, geeez...
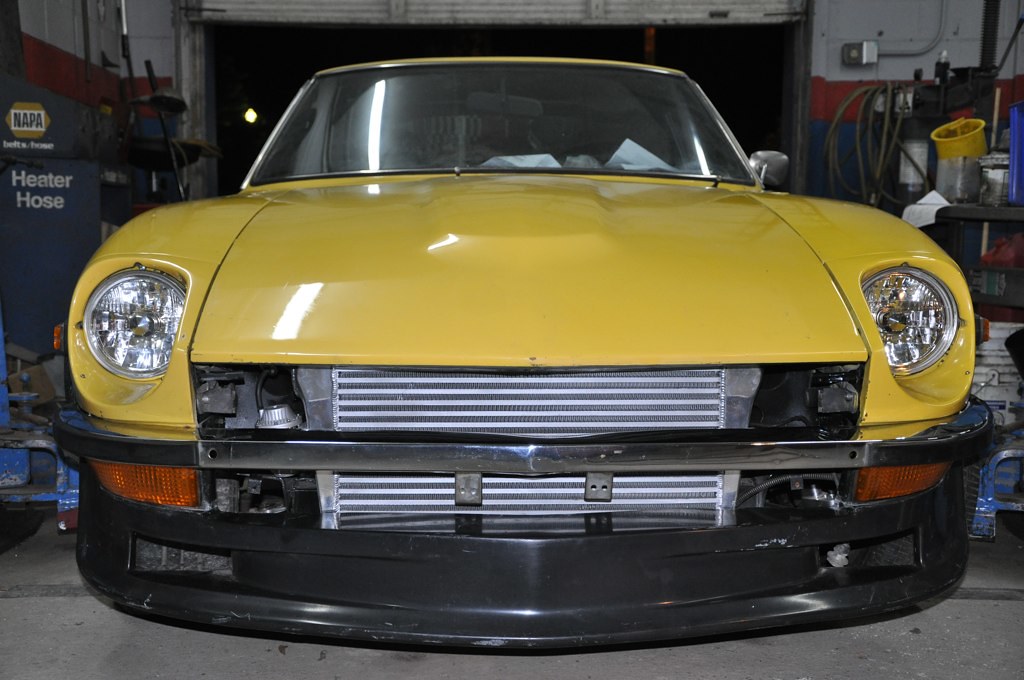
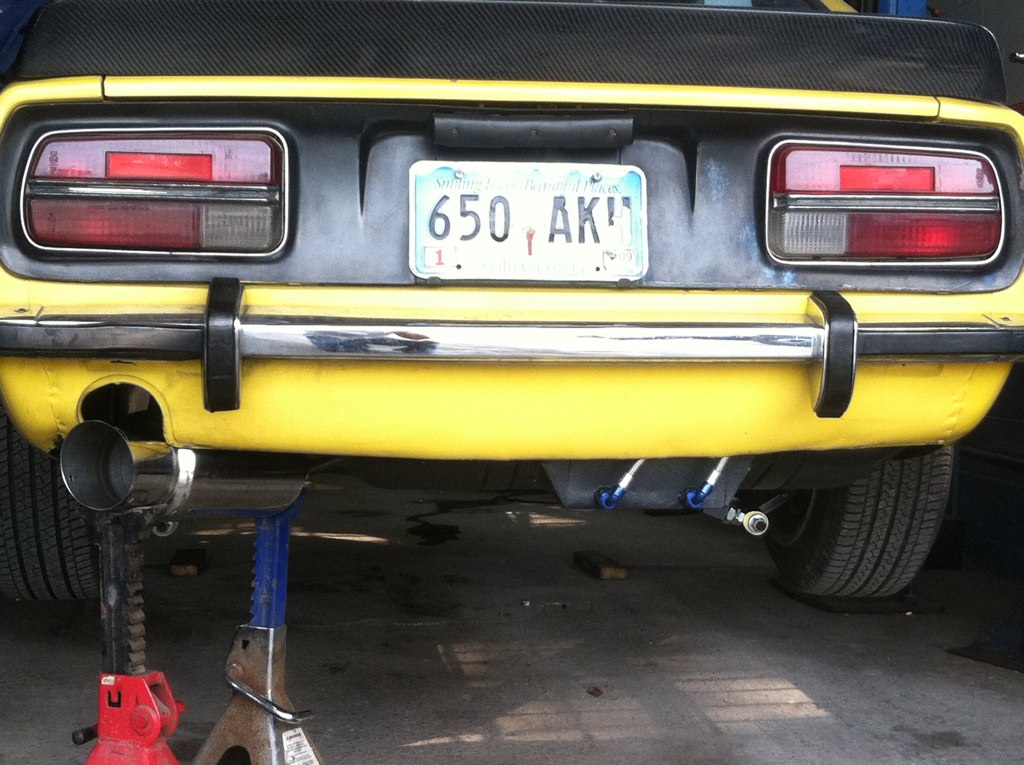
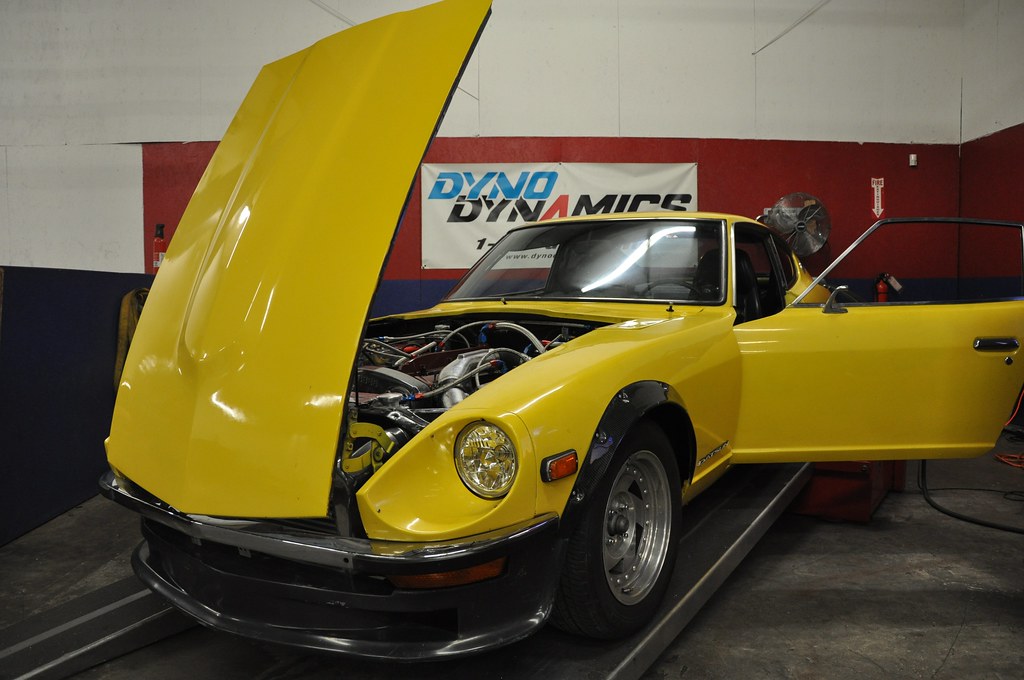
anyway trial fit the front lip and bumper, got the aem boost solenoid hooked up and wired, mounted the emblem on the valve cover finally, haha that should give me about 10hp right there... I'm starting to get excited, i know its premature but thats my nature
are the stock injectors good for 12psi on stock turbos? i know the 1cc per hp rule, so i would think so but figured i would ask.
well, i tell ya, everything is fighting me tooth and nail. went to install the blinkers and i heard something rattling around, ok no biggy i will just take off the lens and see whats up... well it was only the shiny bulb surround that was loose so i epoxied it back on there but to get the damn lens off i had to weld an attachment to each of the phillips screws cause they were all stripped and i couldn't get my vice grips down in there. holy hell what a pain, but its all done now. got the air damn mounted and the bumper mounted. starting to look like a car again.