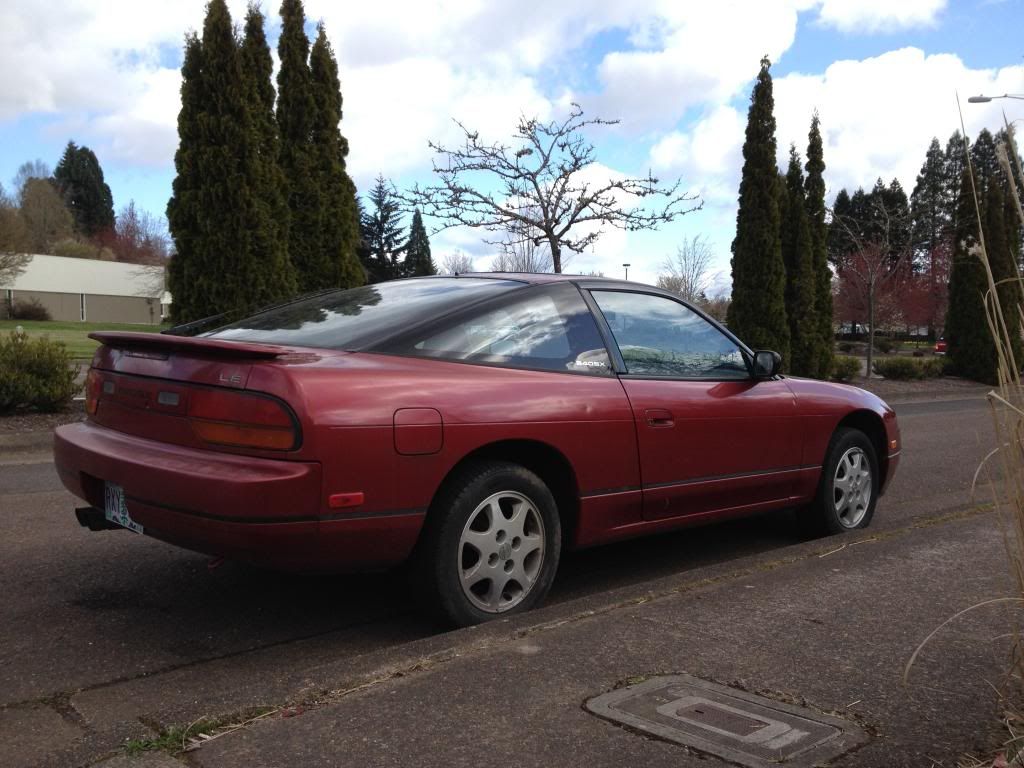
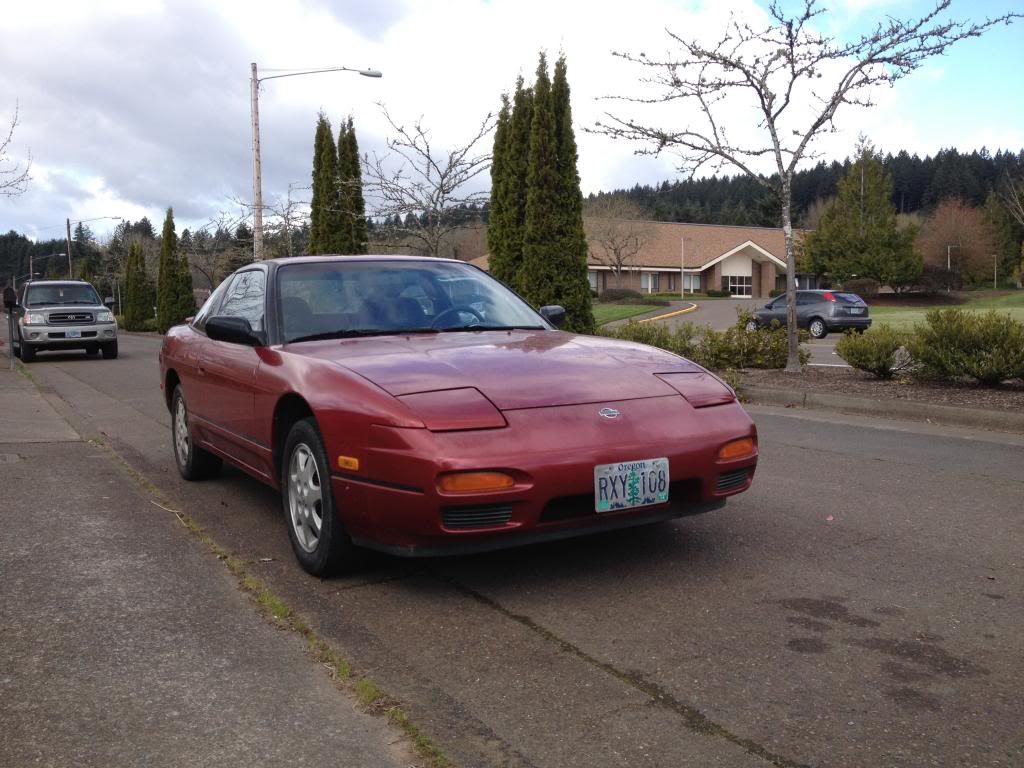
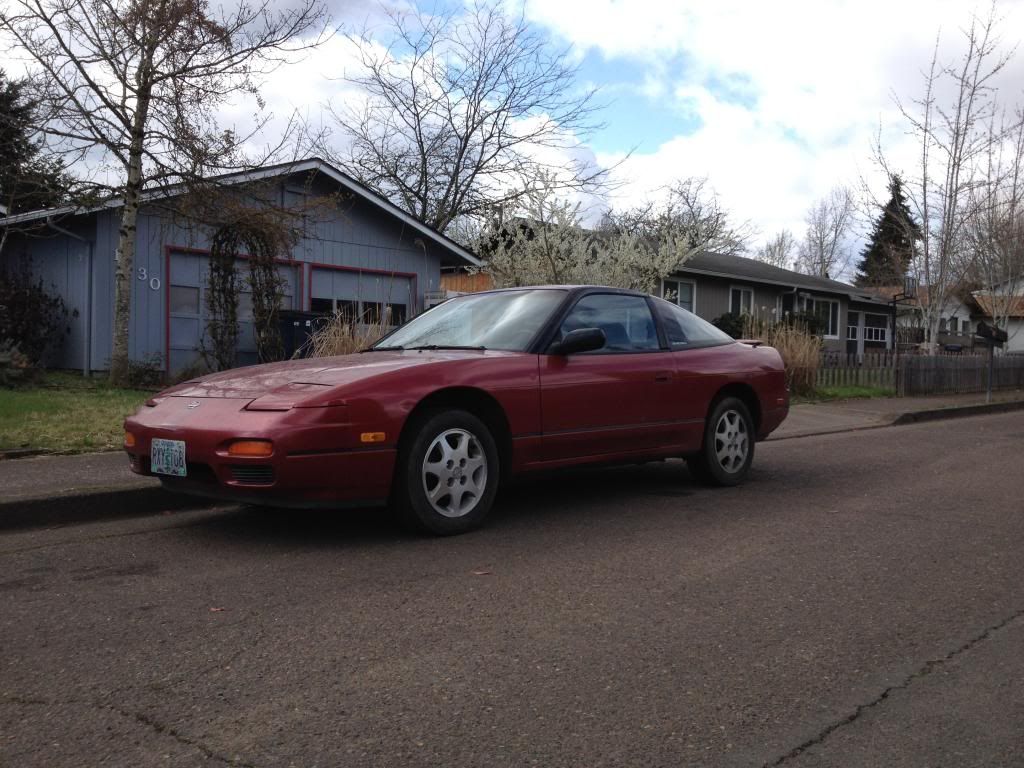
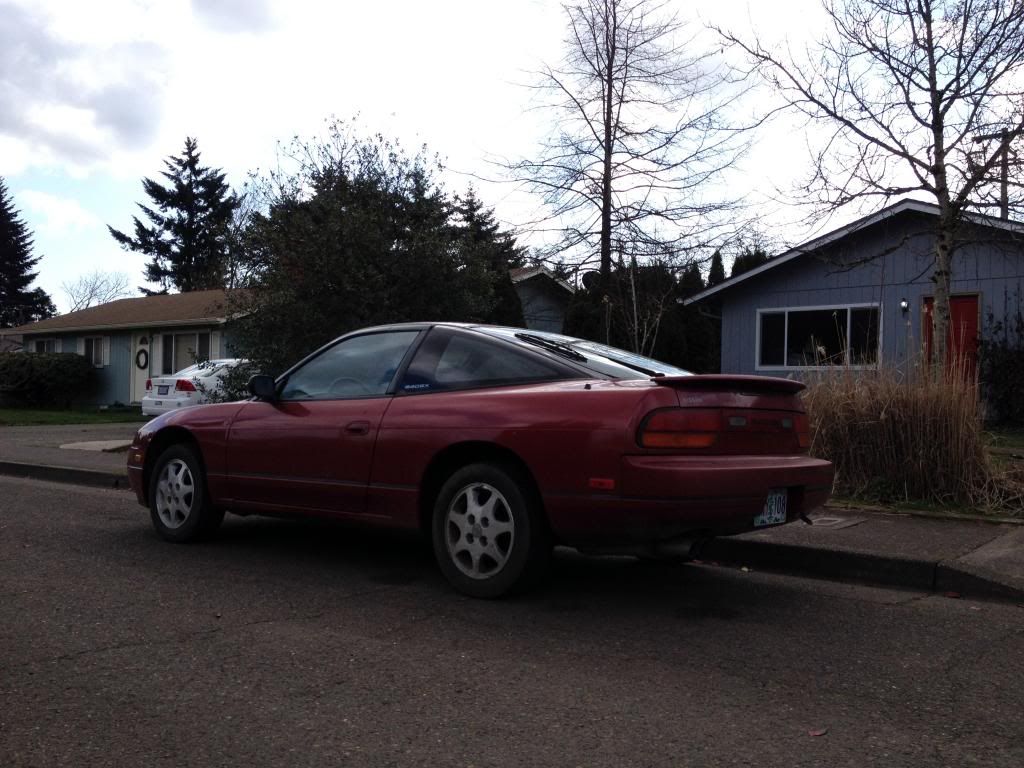
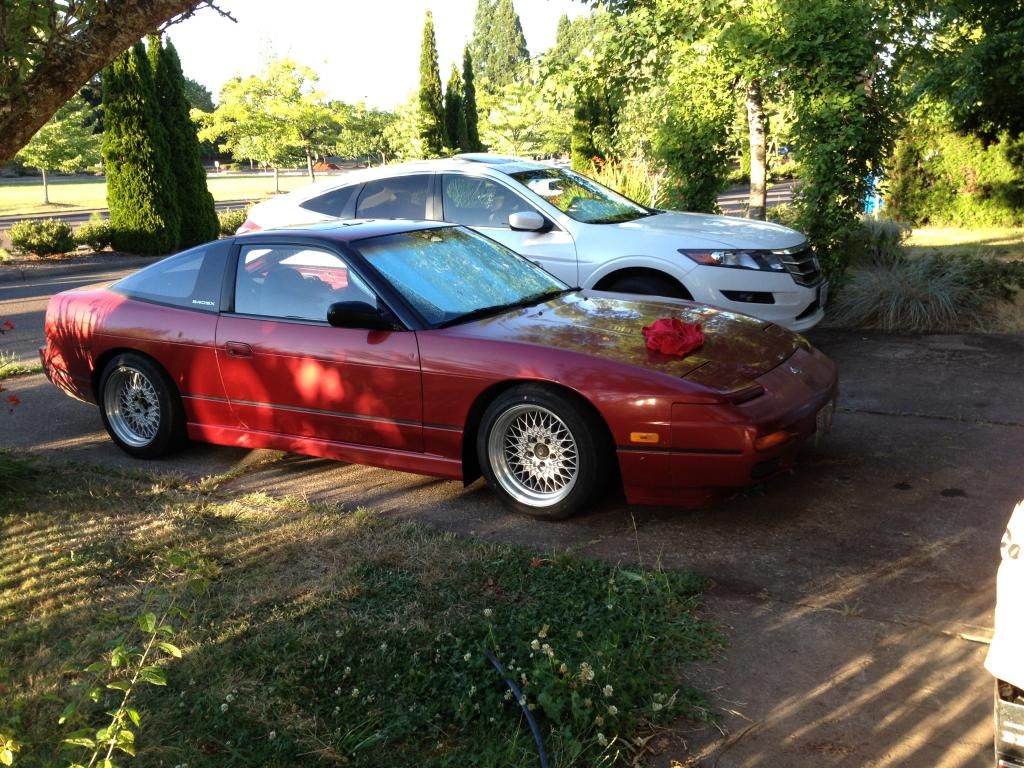
I'm back at it again! Hoodride S13 ♥ (beware pic heavy)

General discussion forum about the 240sx, and a great place to introduce yourself to the board!
User avatar
hahanoonehasthisnameyet
Posts: 157
Joined: Sat Jan 19, 2008 8:58 pm
Car: 91 hatch ♥

Post

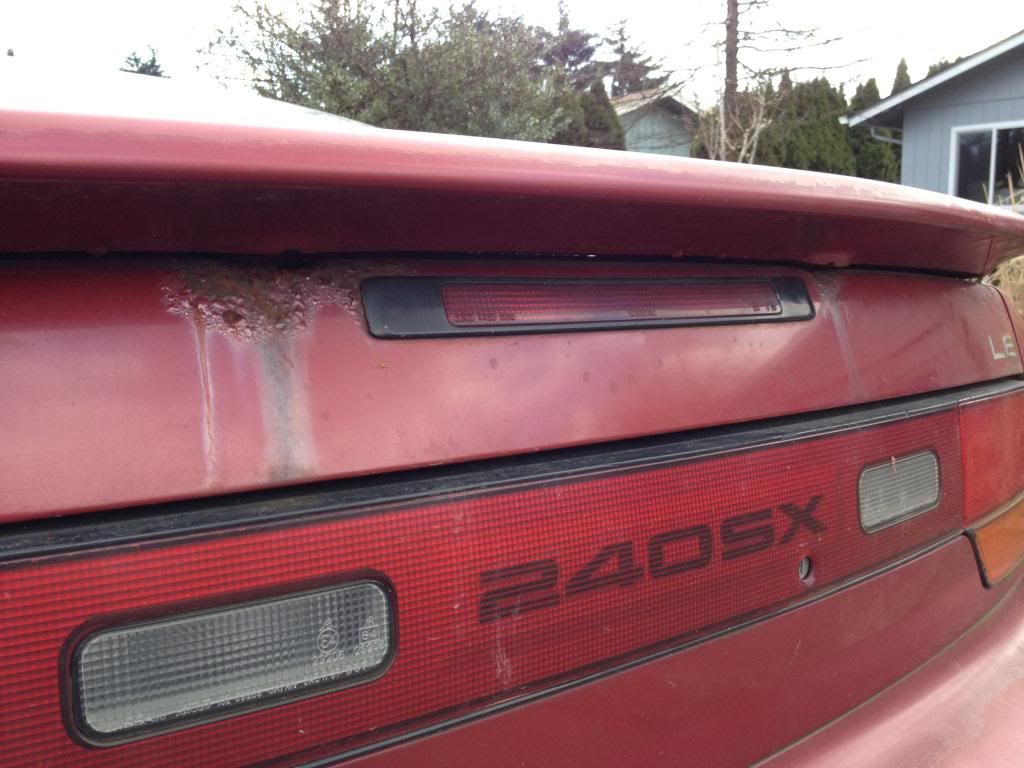
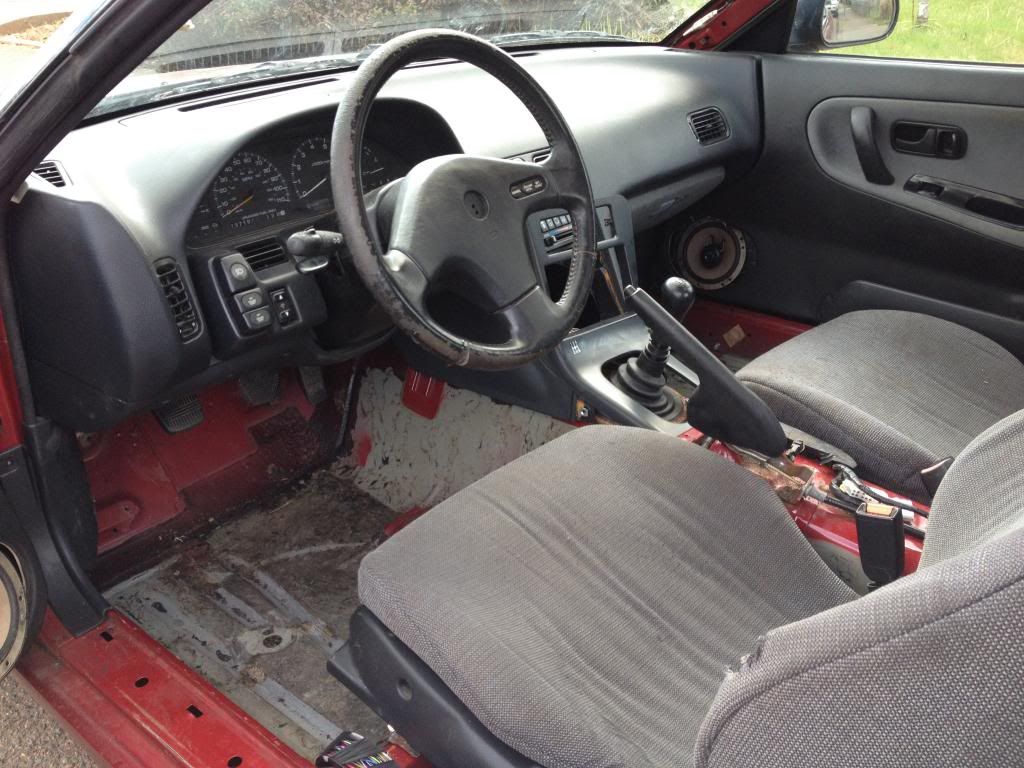
Go my hands on a pretty clean S13 a few months back for 500$ with a blown engine.
Sadly I've misplaced the photos of the engine rebuilding process, nothing special just a basic rebuild (new crank, bearings, replaced a rod, and the necessary gaskets).
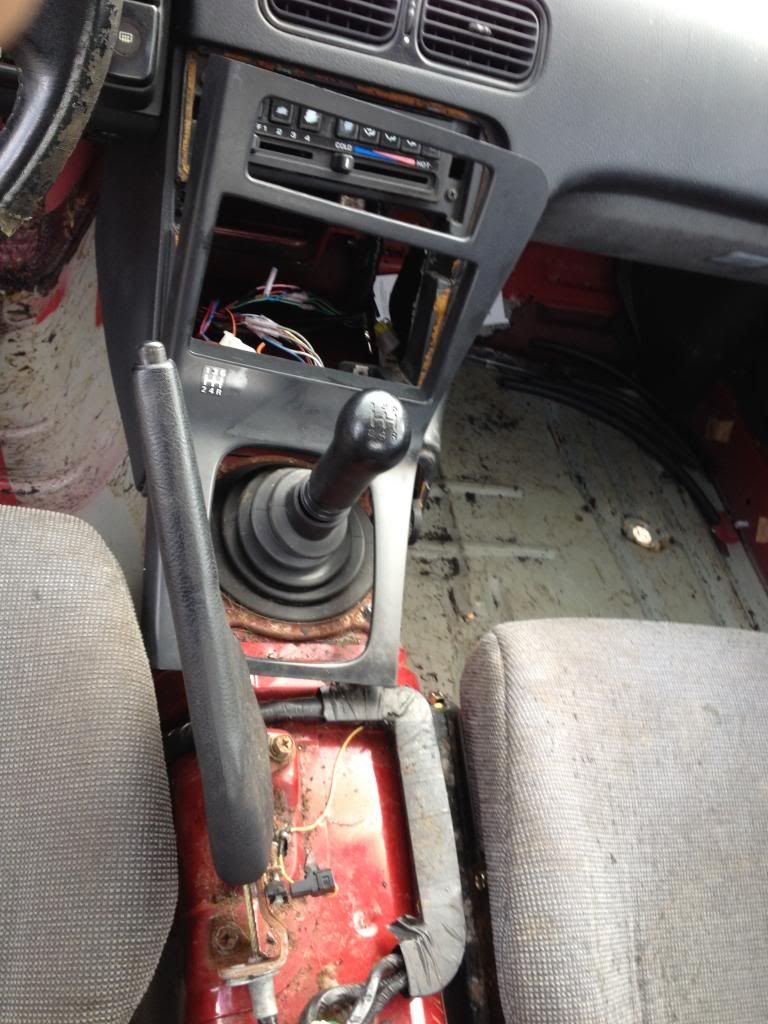
>Clean title & bone stock. (muddy kitty cat printed hood and all)
Image
Image
Image
Image
Image
Image
Image
Image
Image
Image
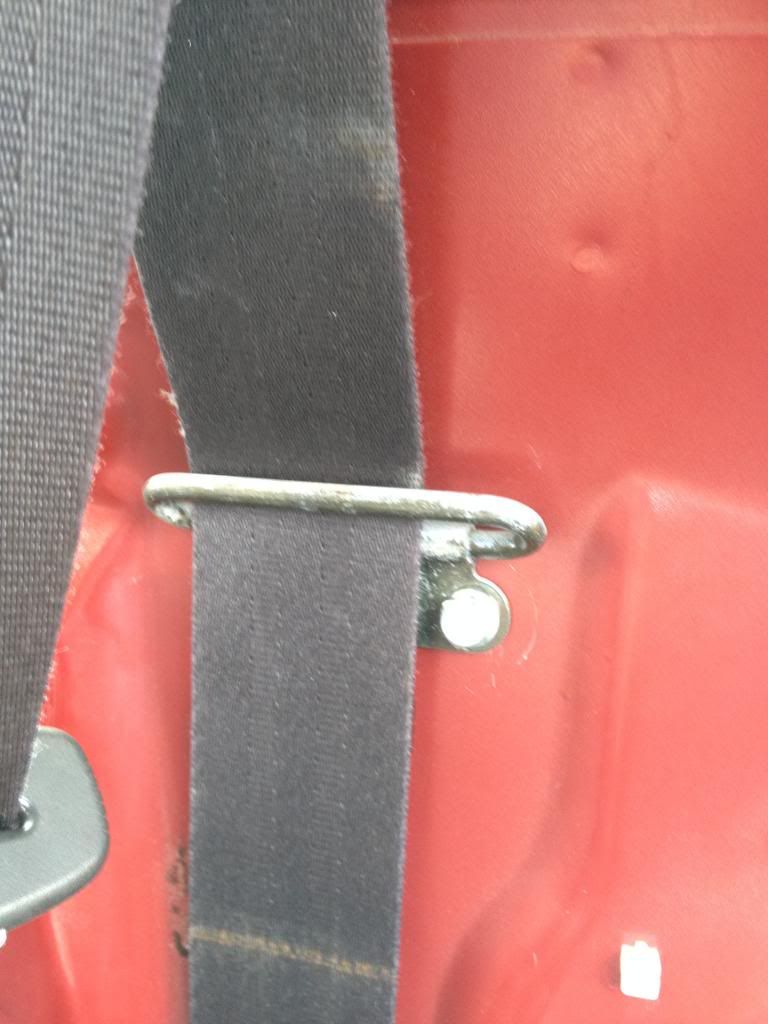
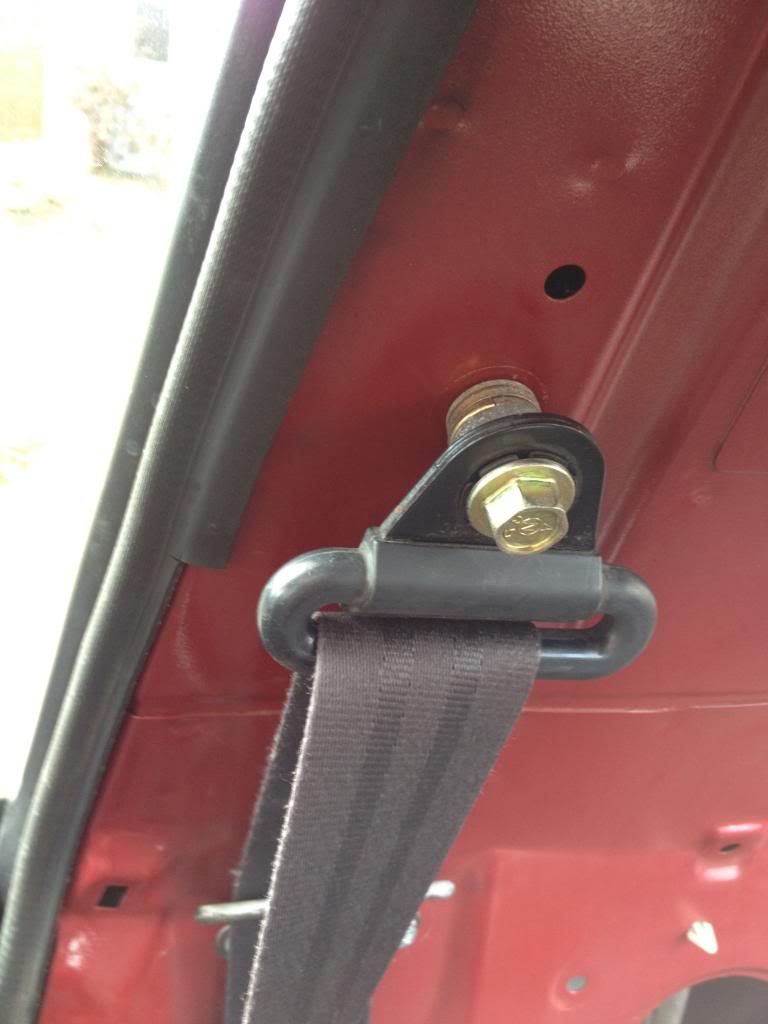
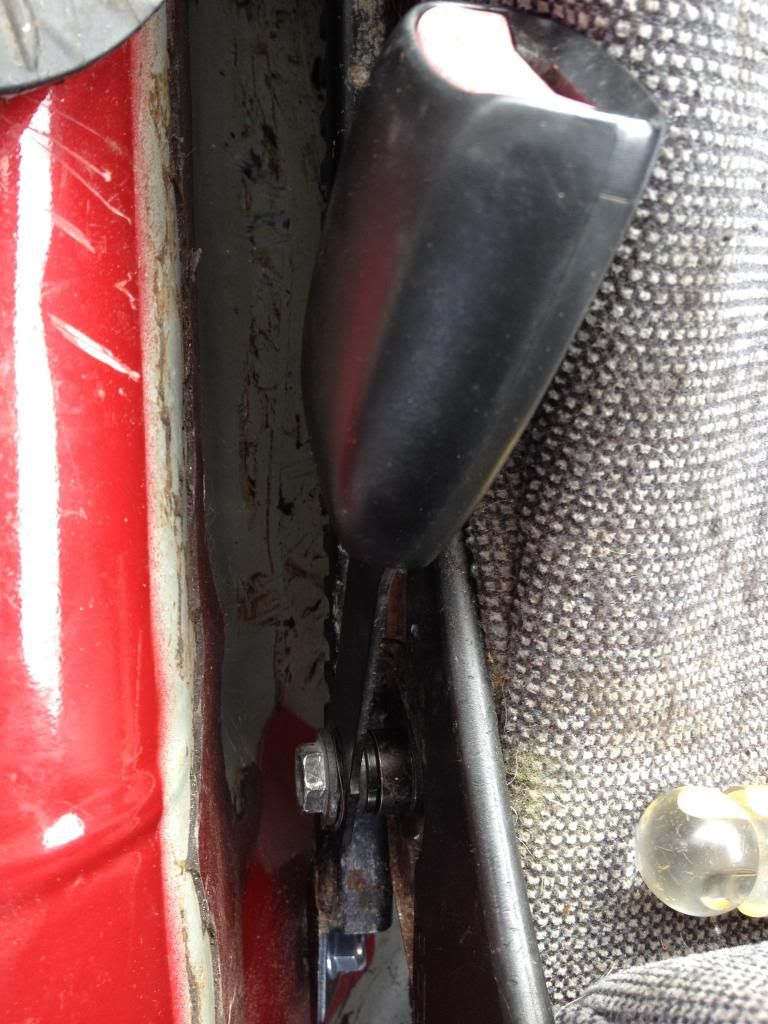
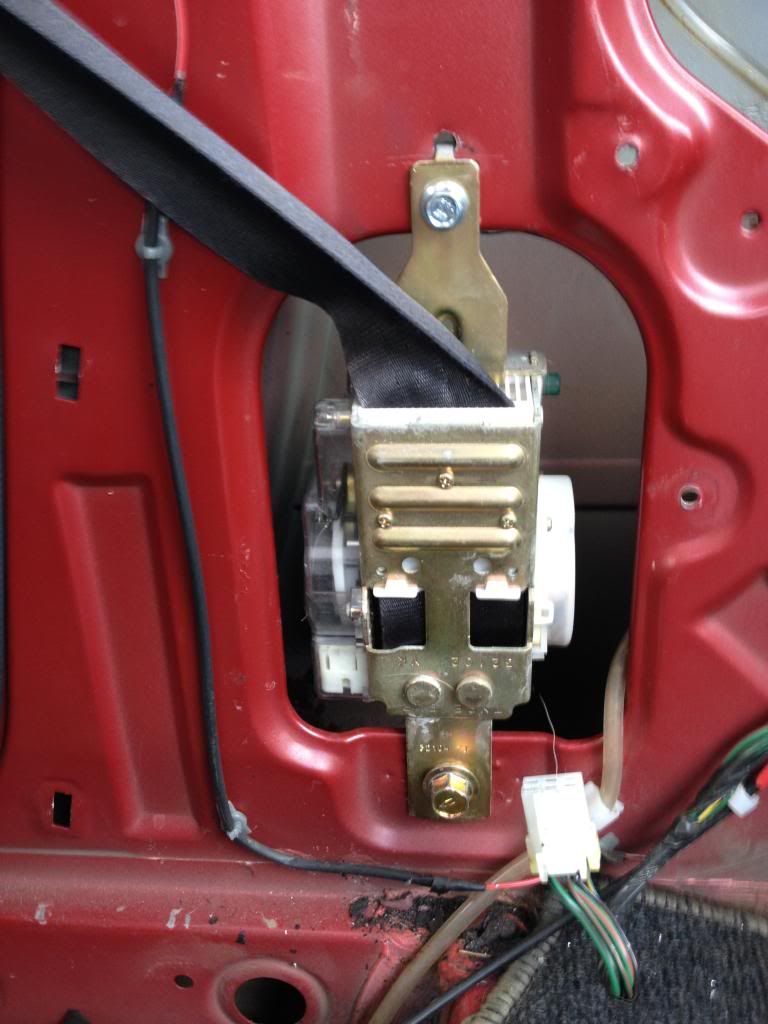
>Installed some manual seat belts out of a 96' 200SX (pretty much direct bolt in)
Image
Image
Image
Image
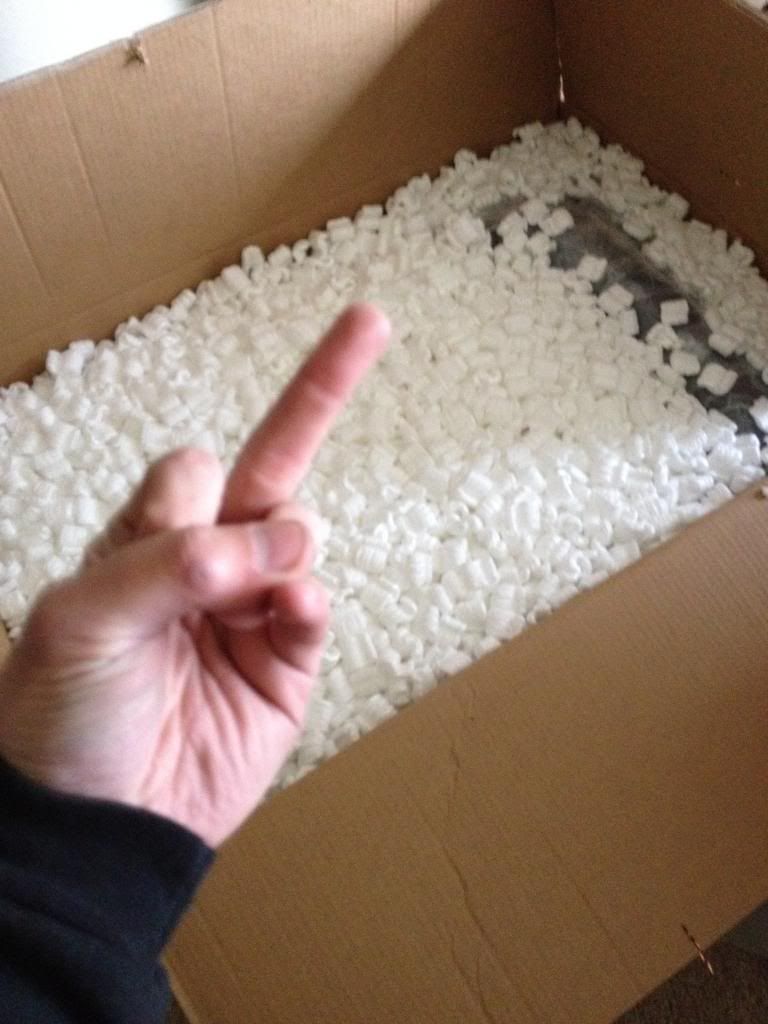
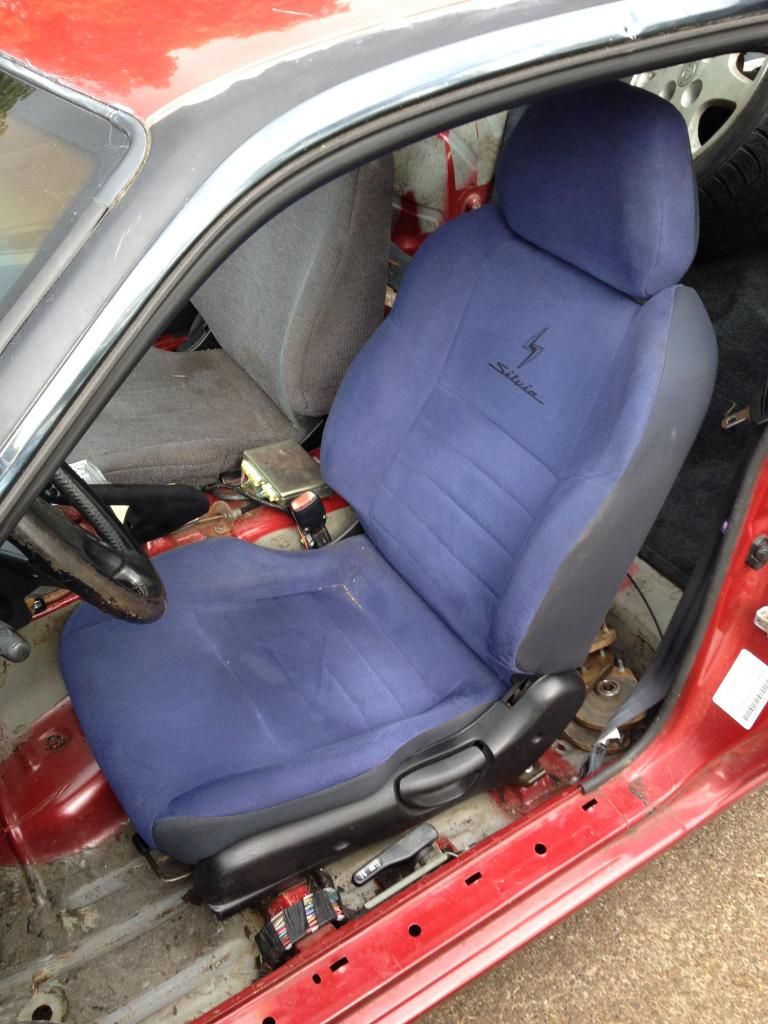
The old driver's seat was bent so I replaced it with the cheapest seat I could find so I found an S15 seat for 180$ shipped on eBay. They goofed and sent me a blue/purple suede S15 Spec R seat on accident. UPGRADE! BTW I hate packing peanuts if you didn't notice.
Image
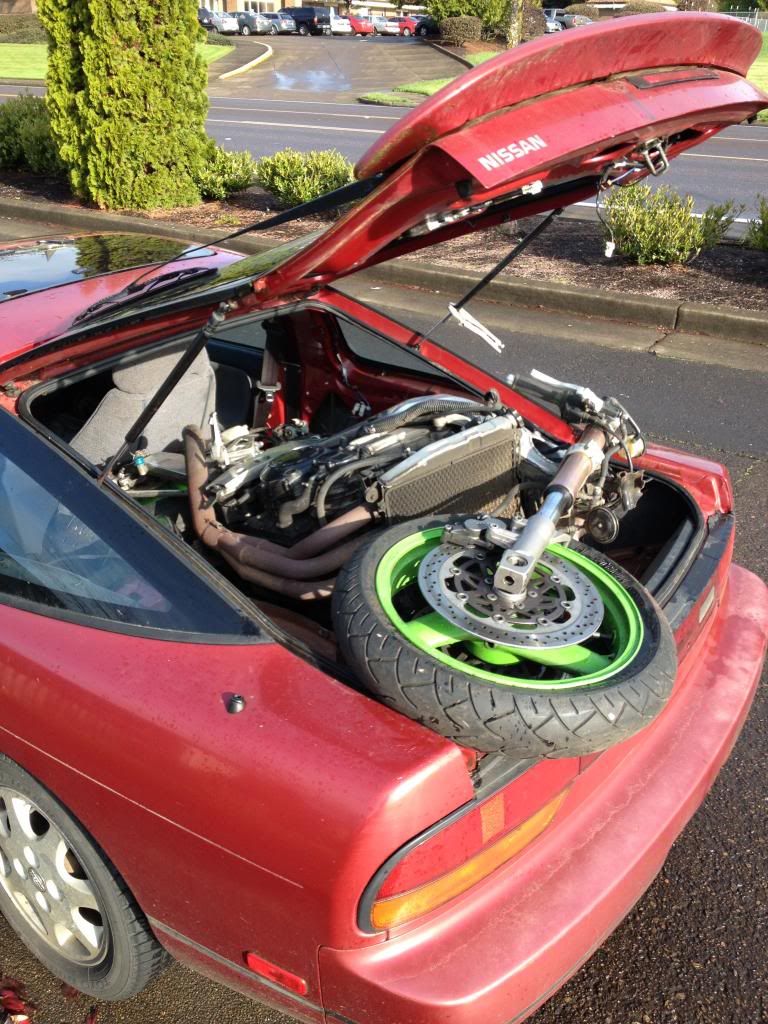
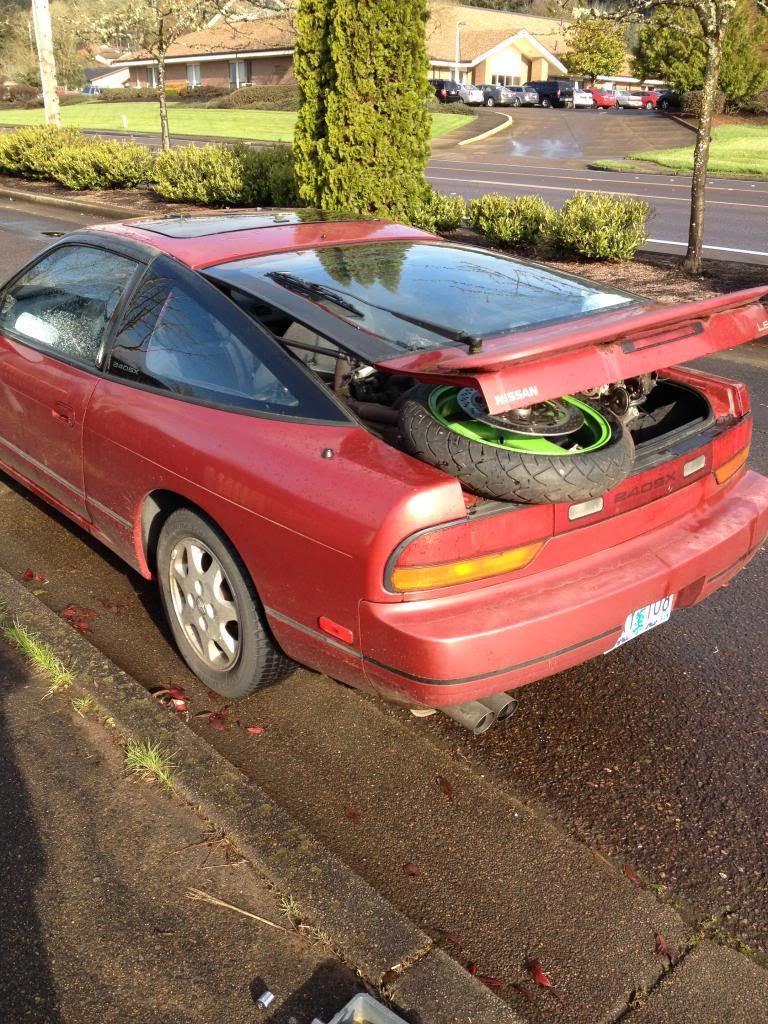
Side note in this adventure: I wanted another street bike, so I got one.
Life gives you lemons make lemonade right?
Image
Image
One night I got bored. GOALD!
Image
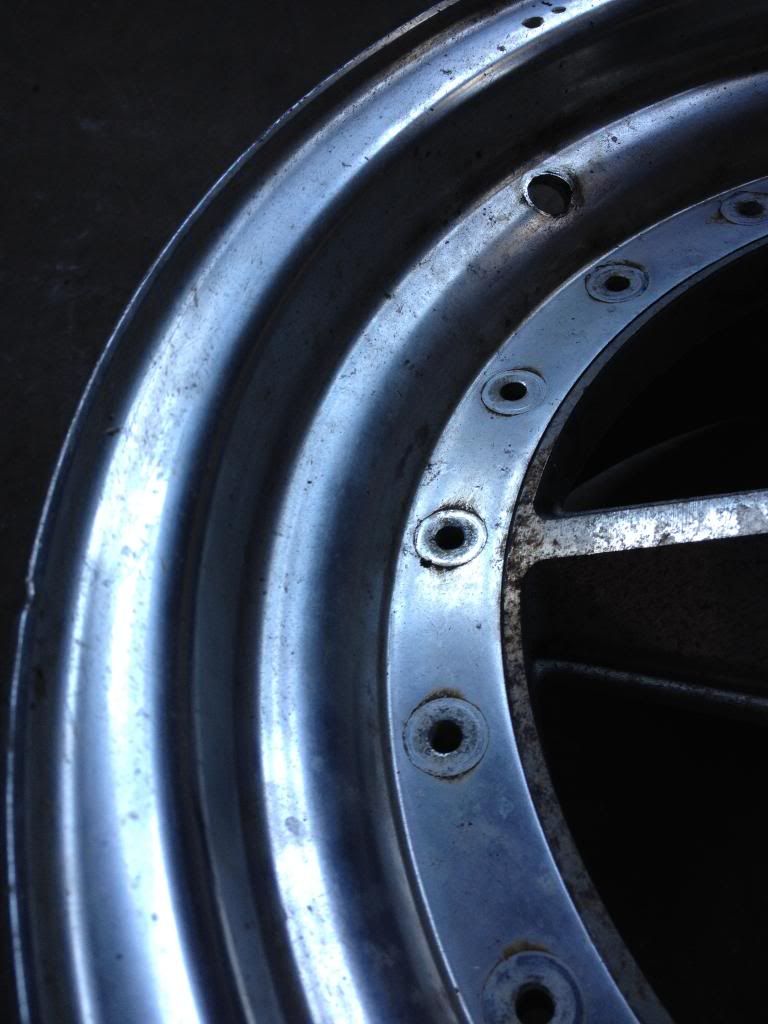
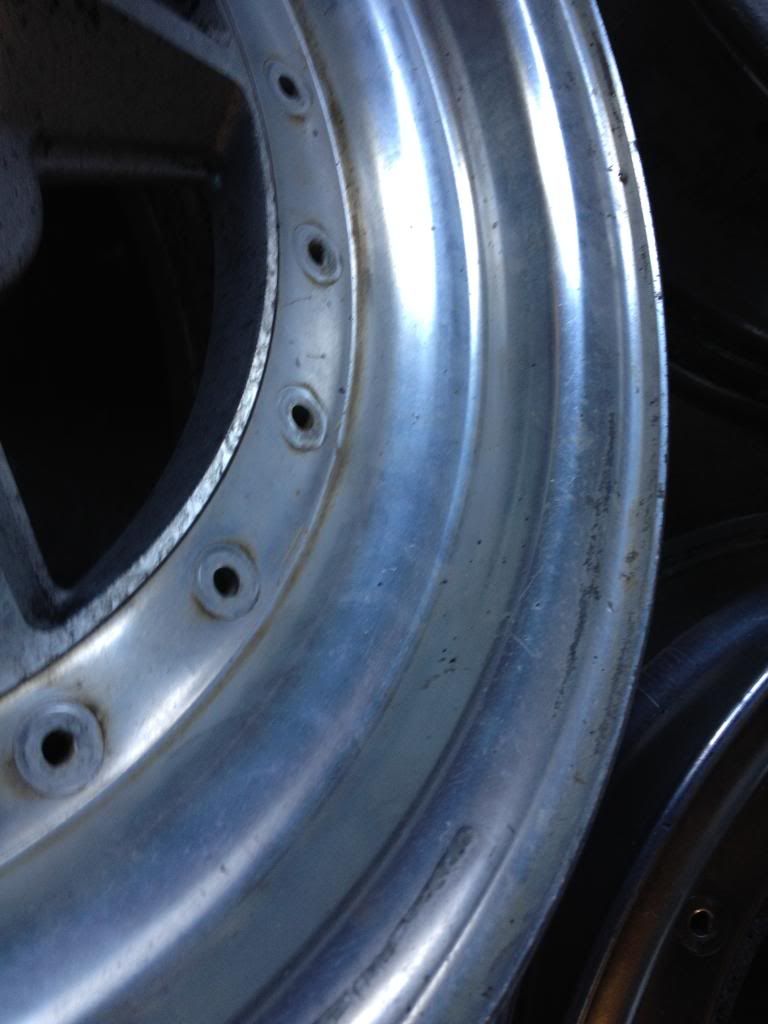
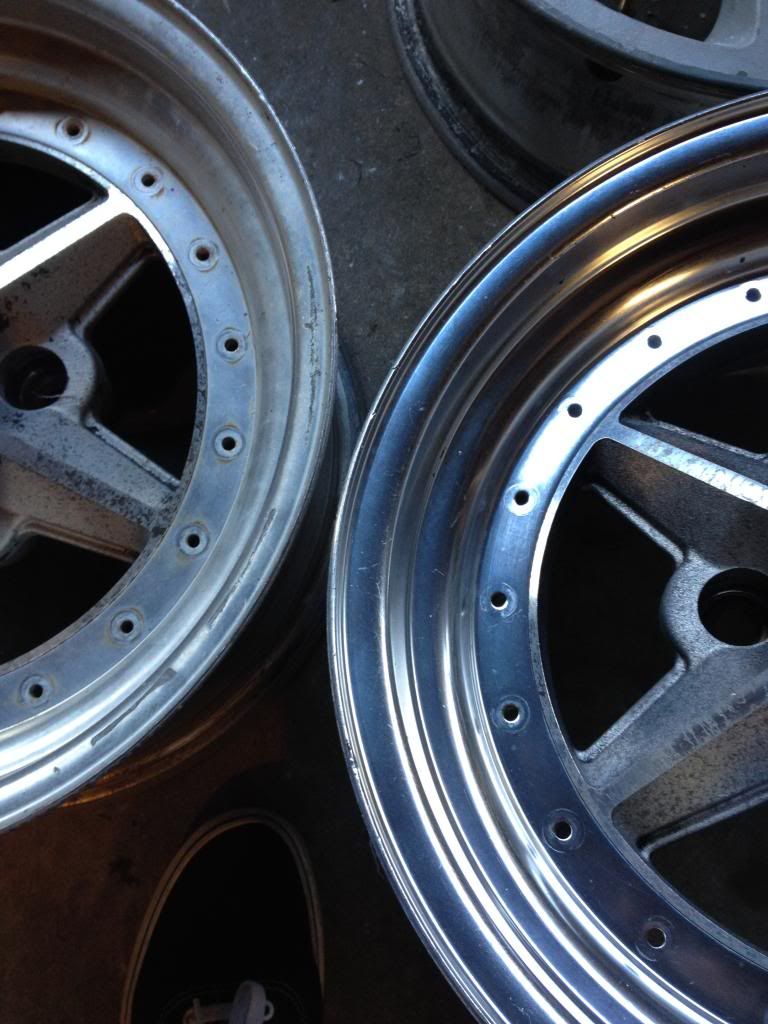
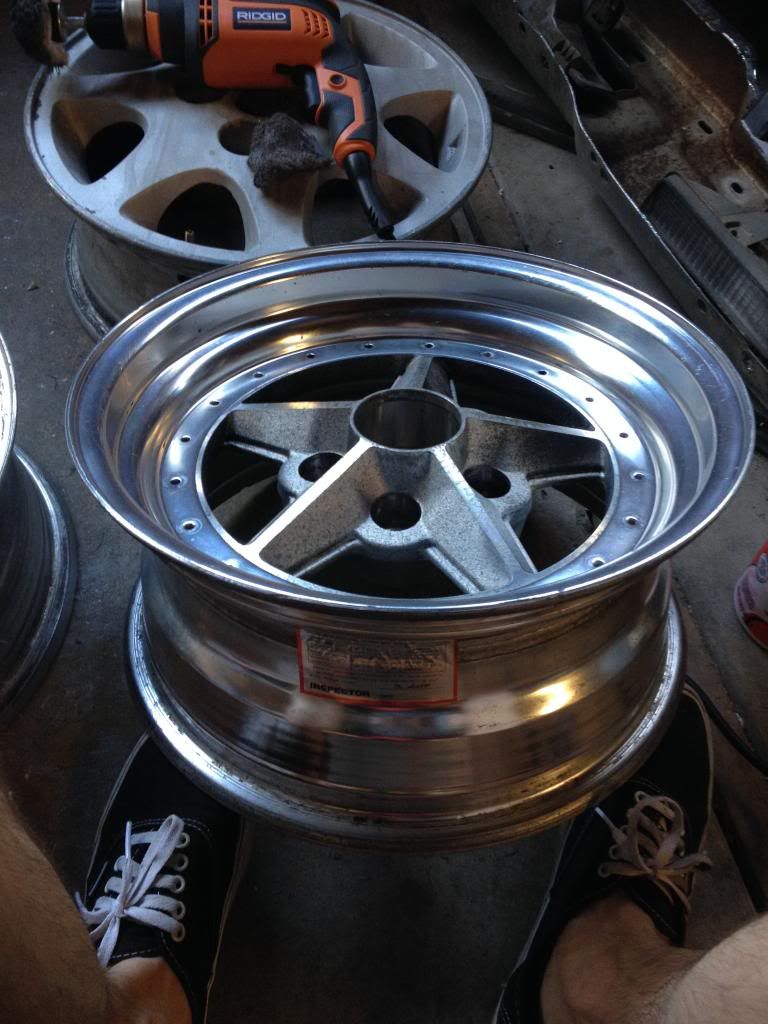
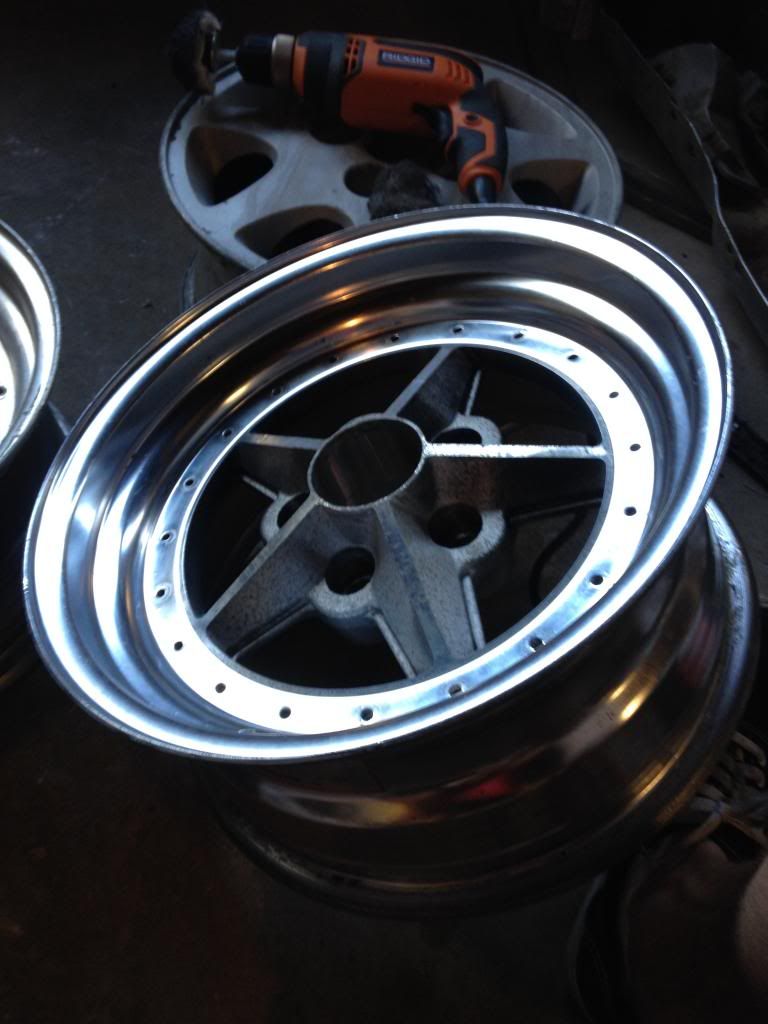
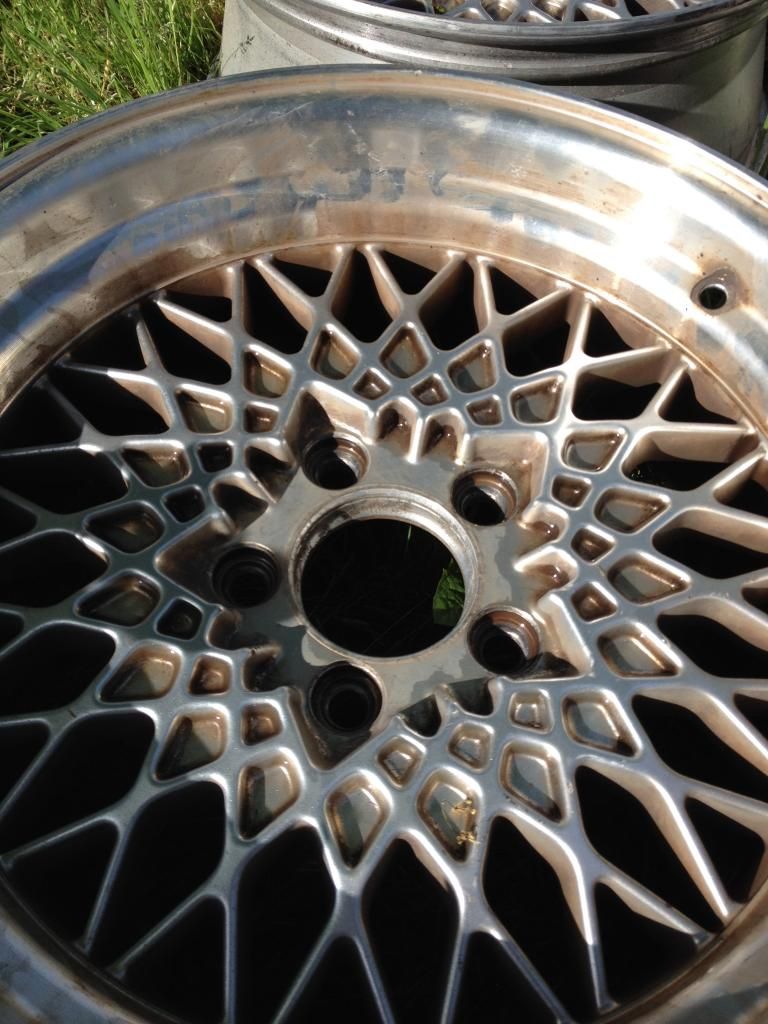
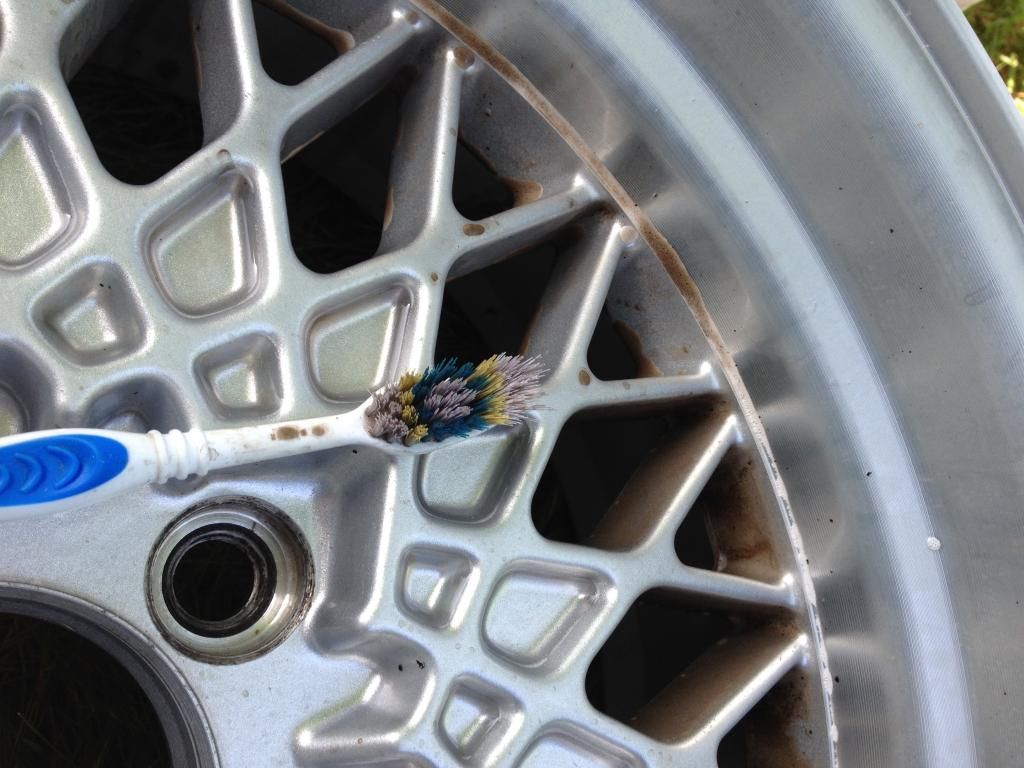
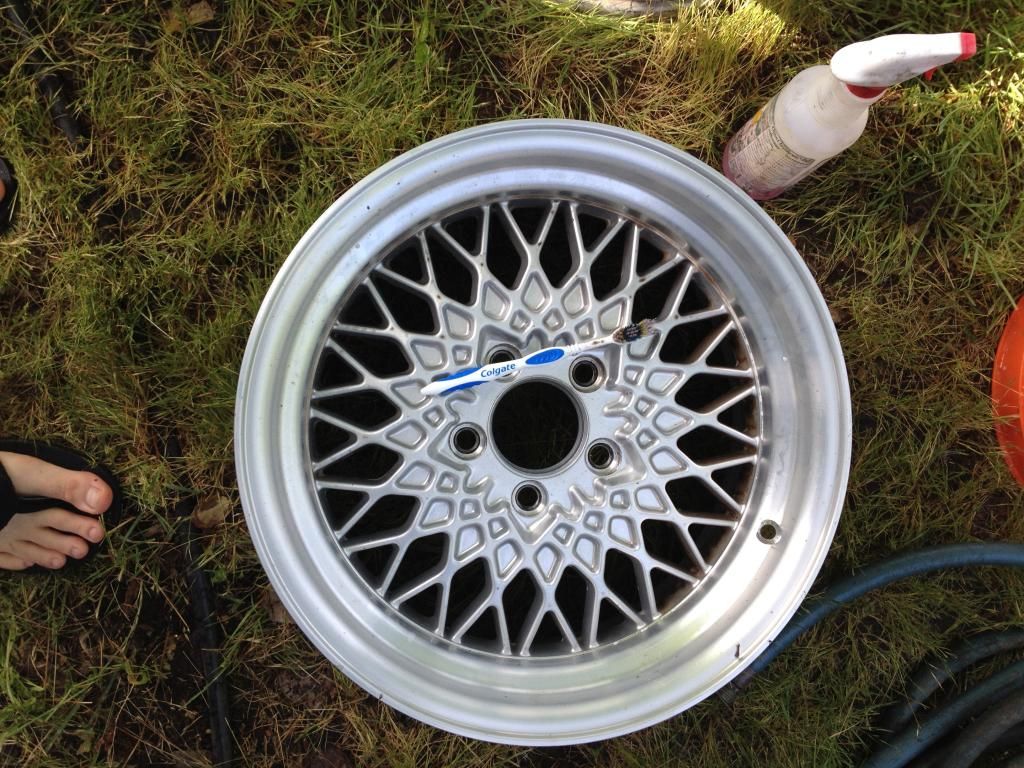
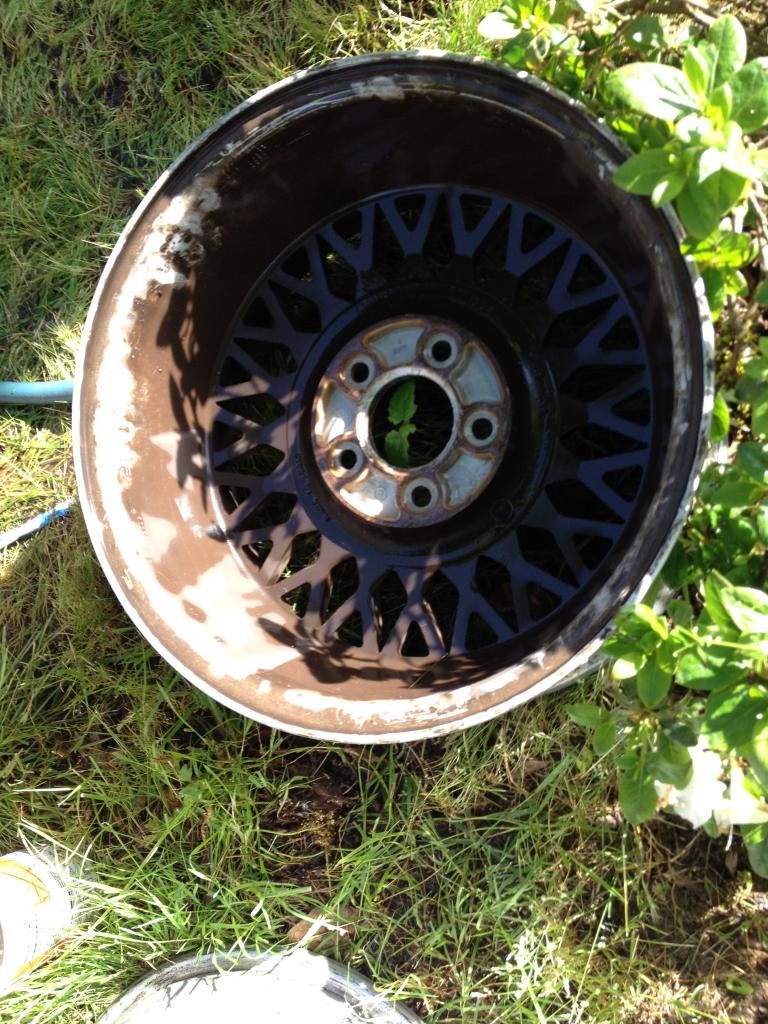
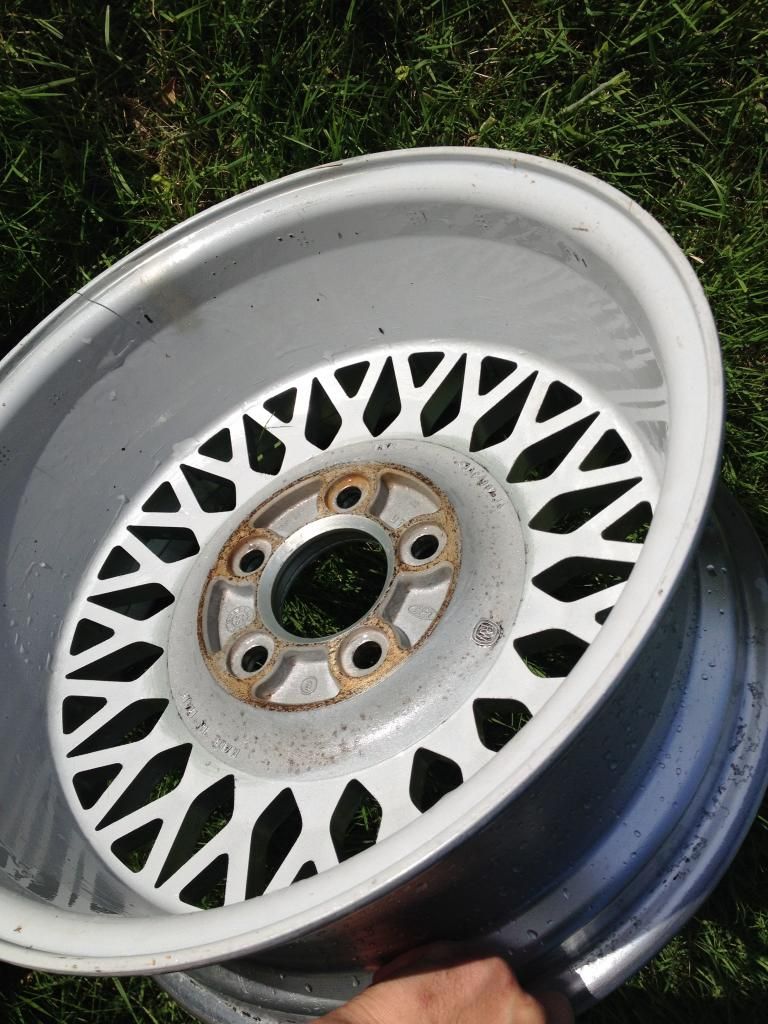
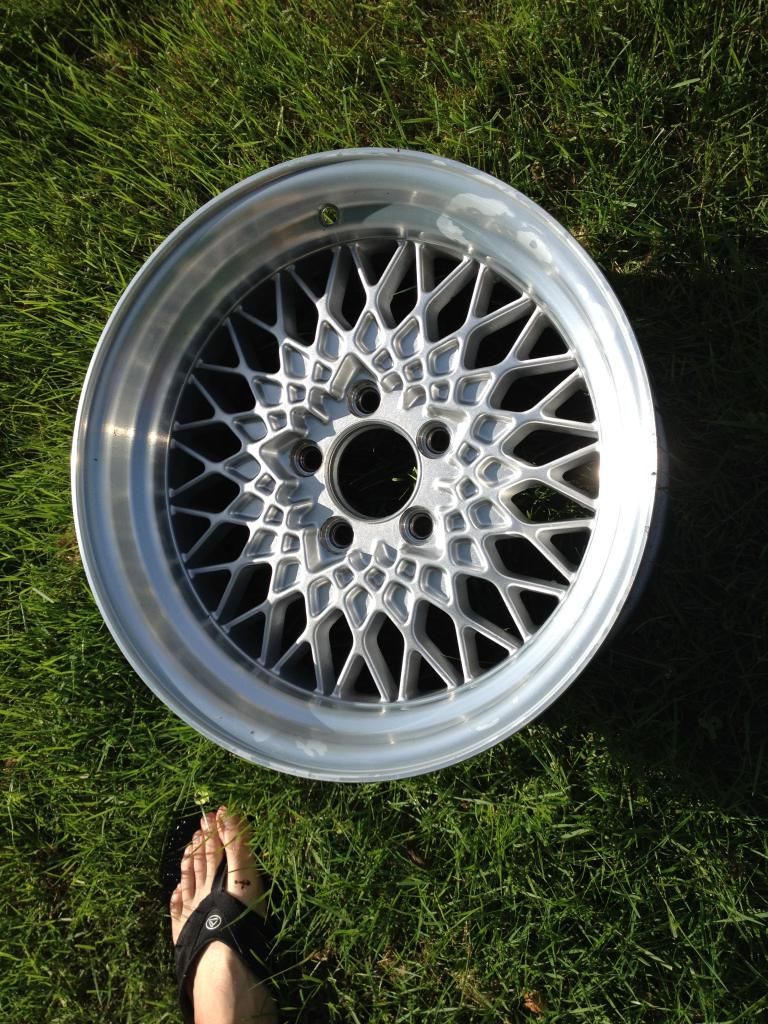
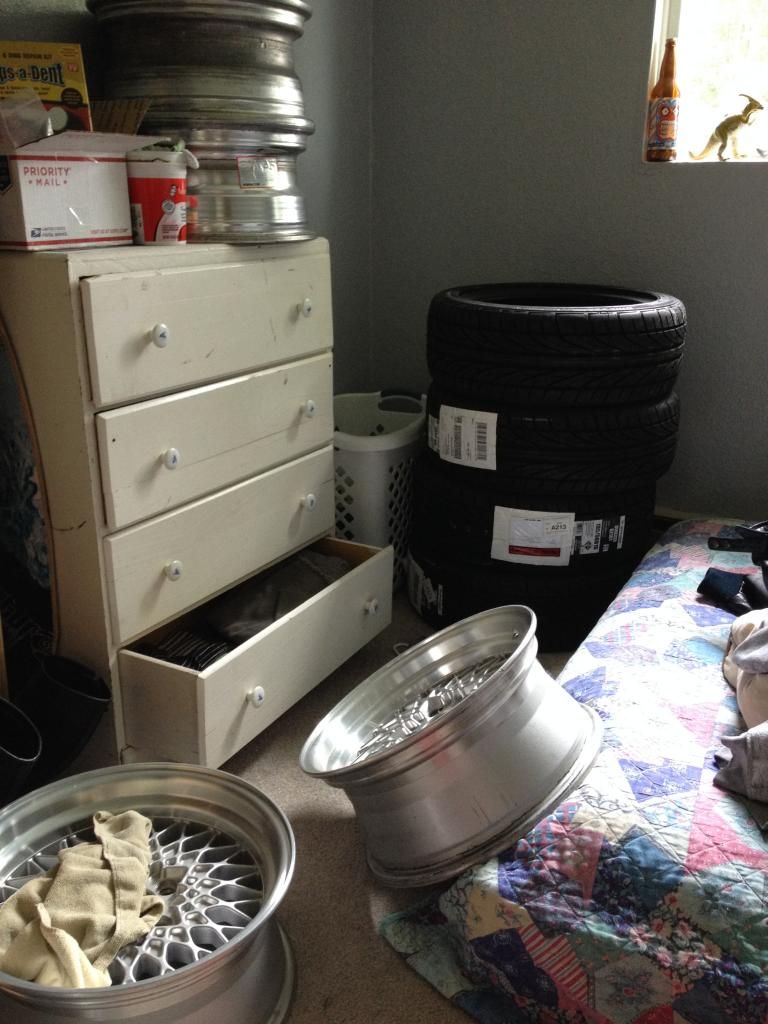
Randomly decided to start restoring some old school 3-piece Enkei wheels I've had for ever as drift spares on my last S14.
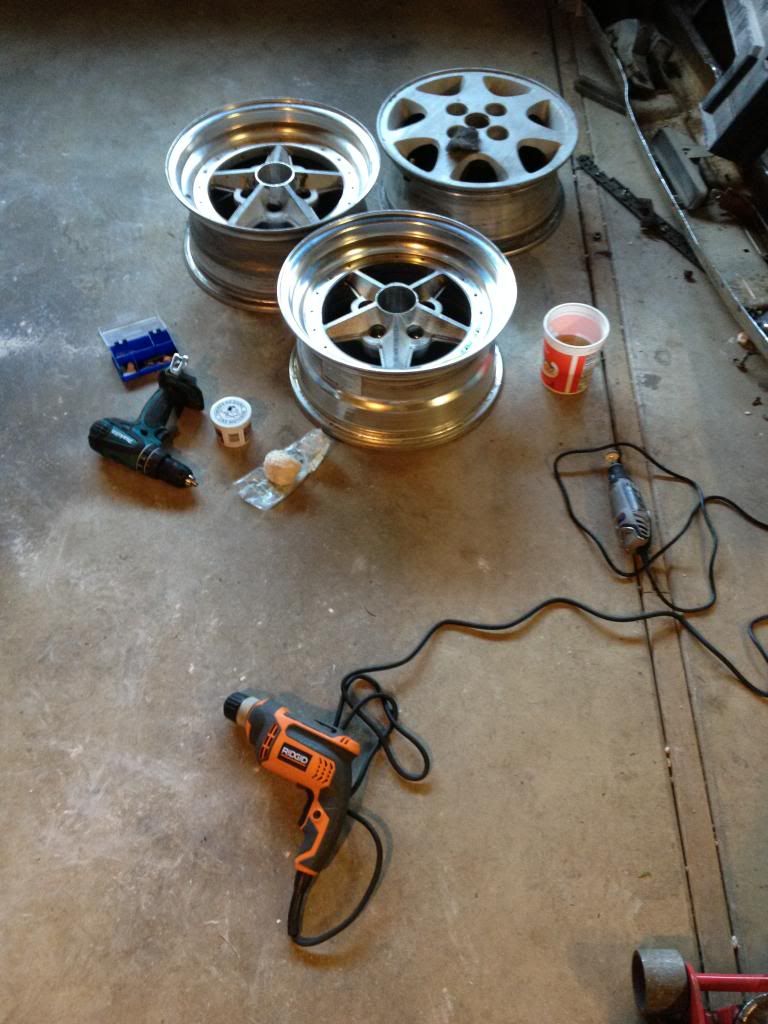
Image
-Before-
Image
Image
-After-
Image
Image
Image
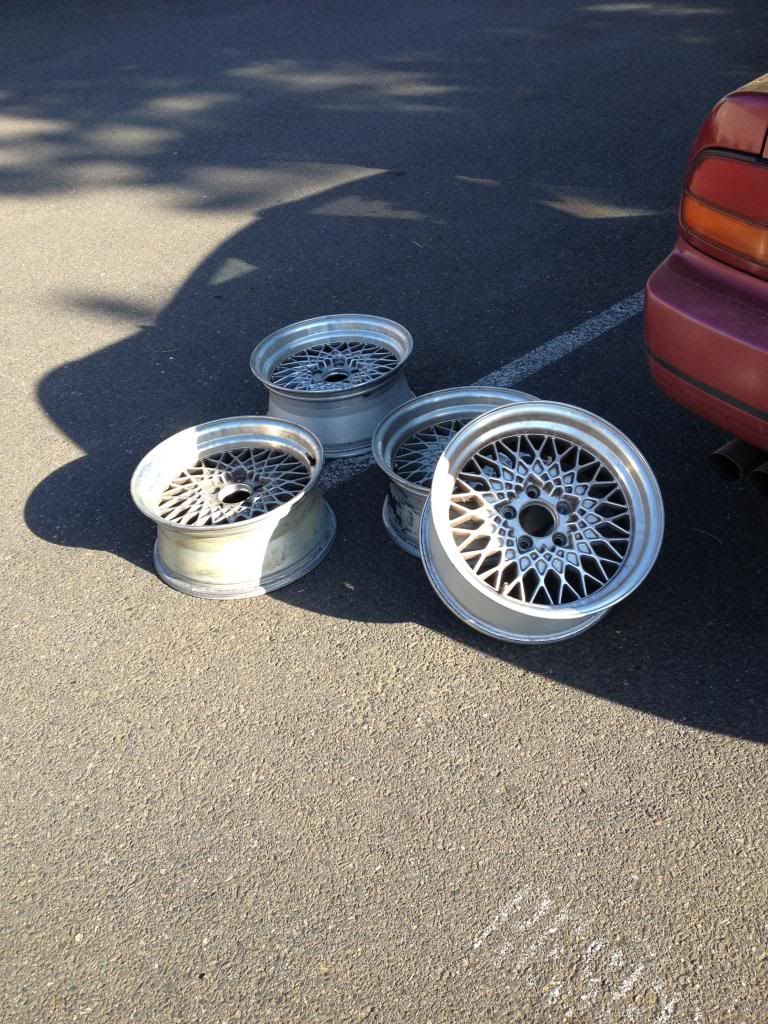
Scored some crown vic wheels off craigslist for 150$
Image
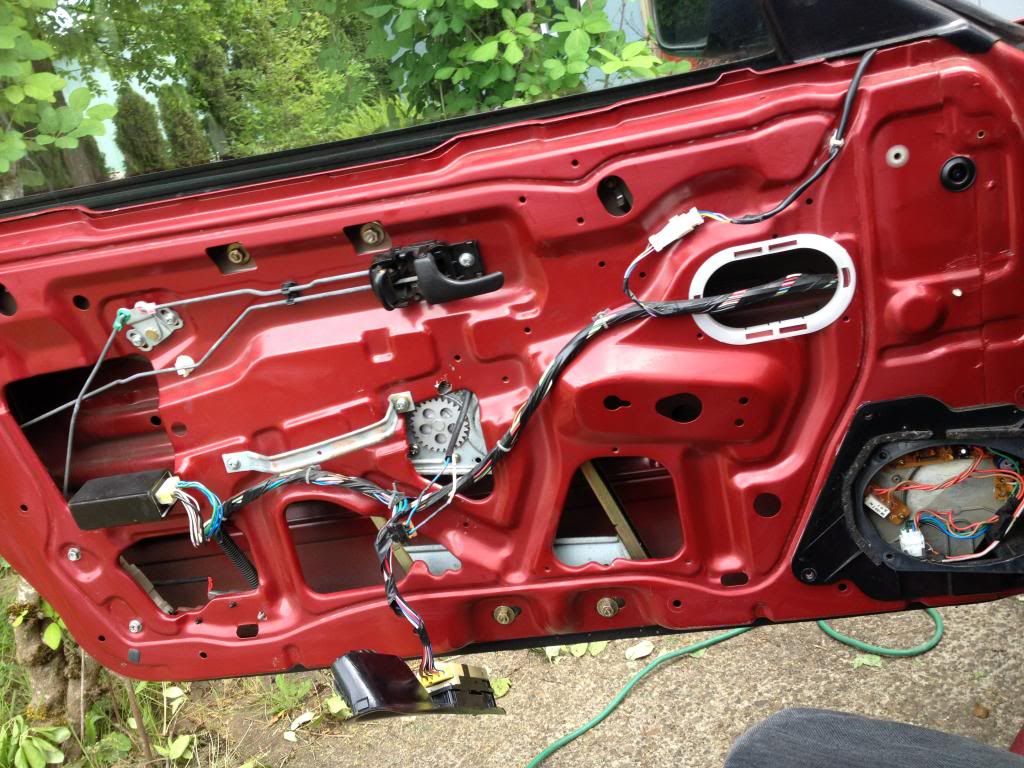
Replaced the driver's window regulator and decided to man up and clean the sticky goo crap left on the door after the clear plastic covering was removed.
Image
Cleaned these pigs up.
Image
Image
Image
Image
Image
Image
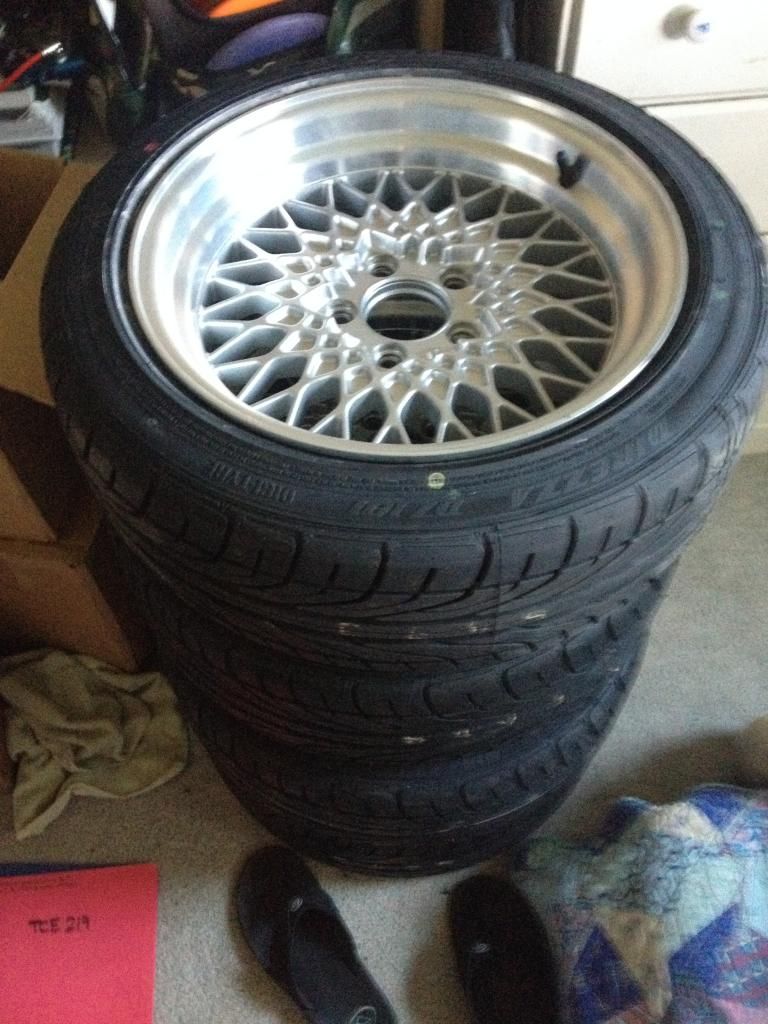
Got some rubber for em'.
Image
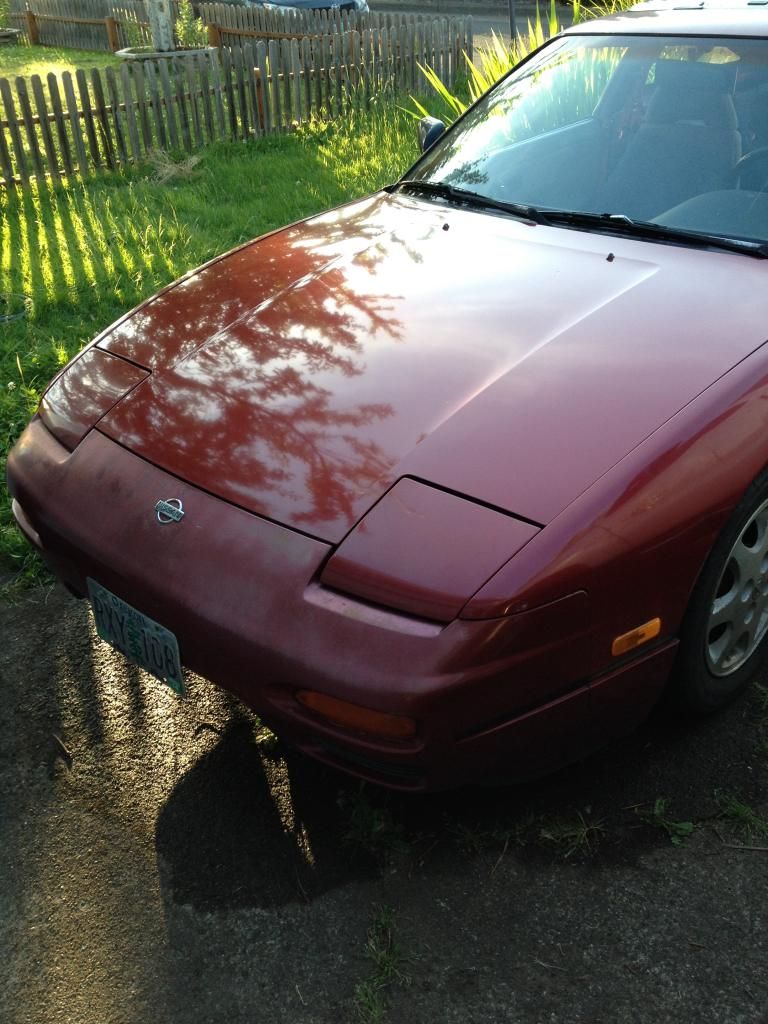
Randomly decided I wanted to see what the hood would look like after I clay bar and waxed it.
Image
Image
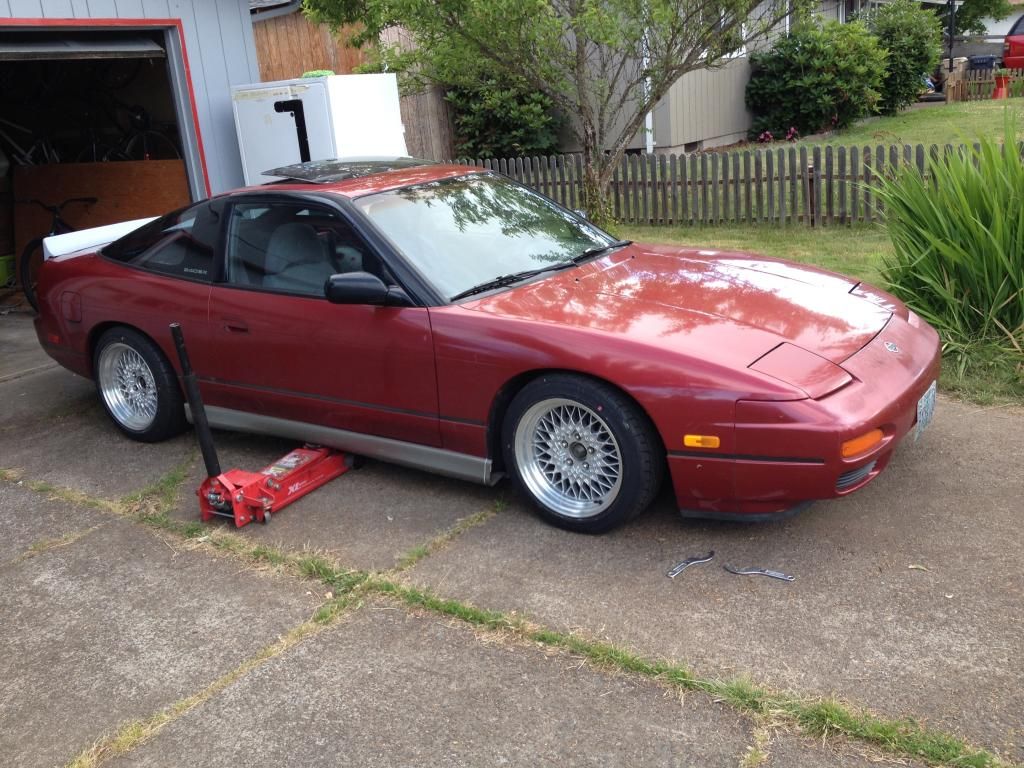
Mounted.
Image
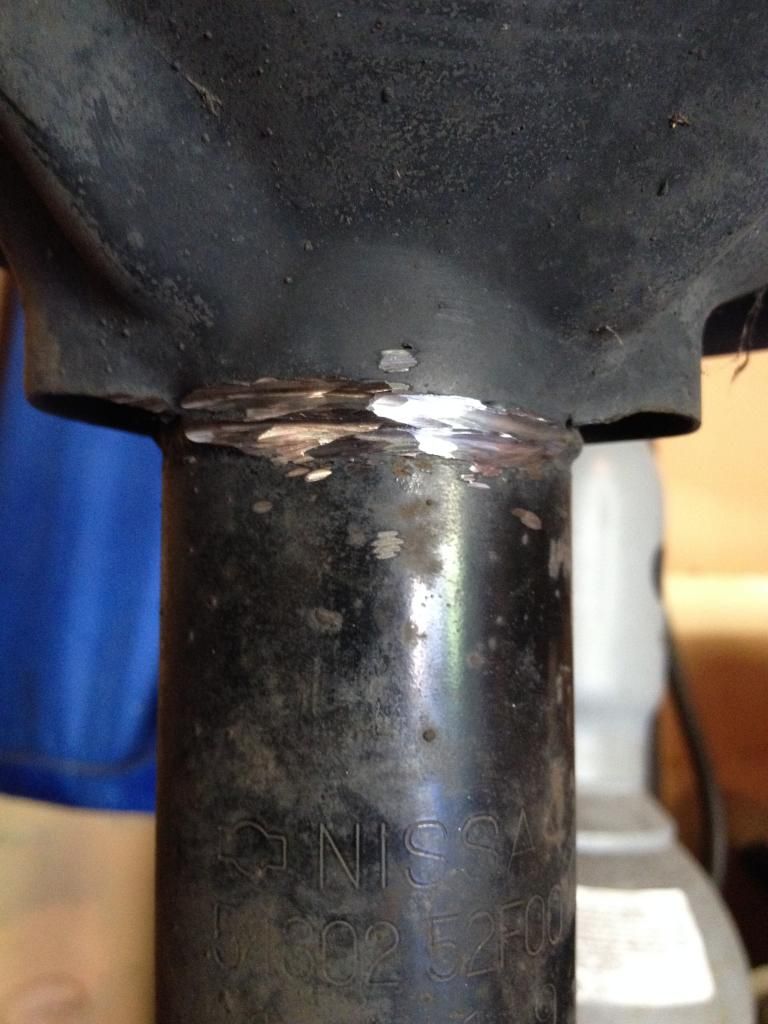
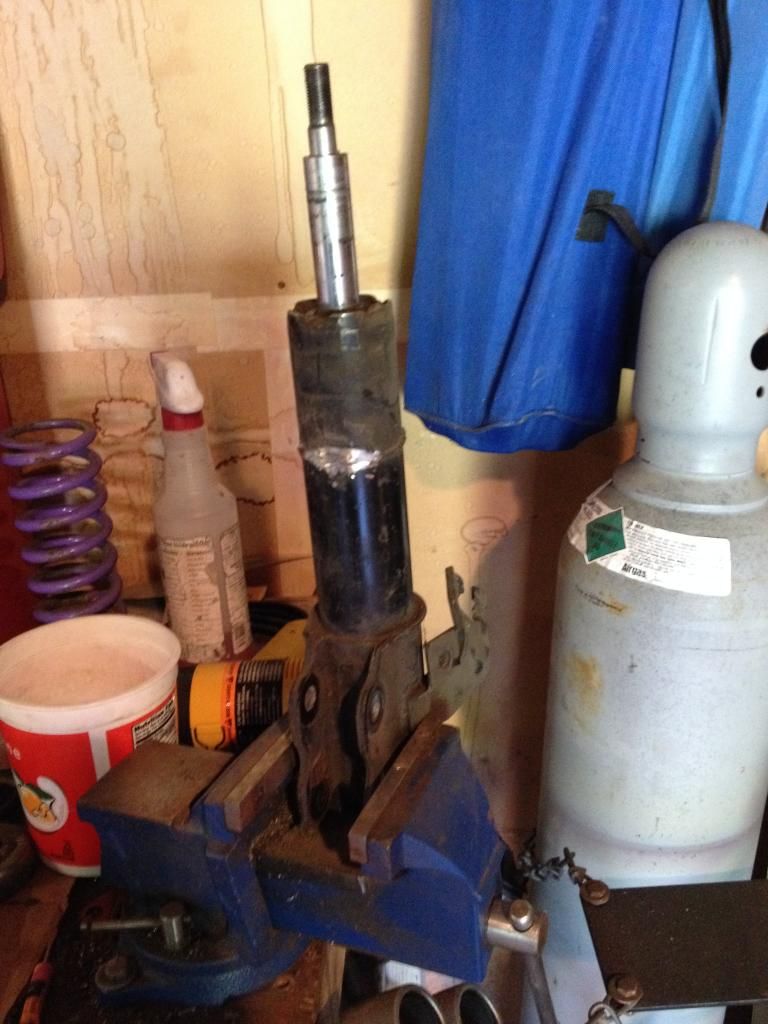
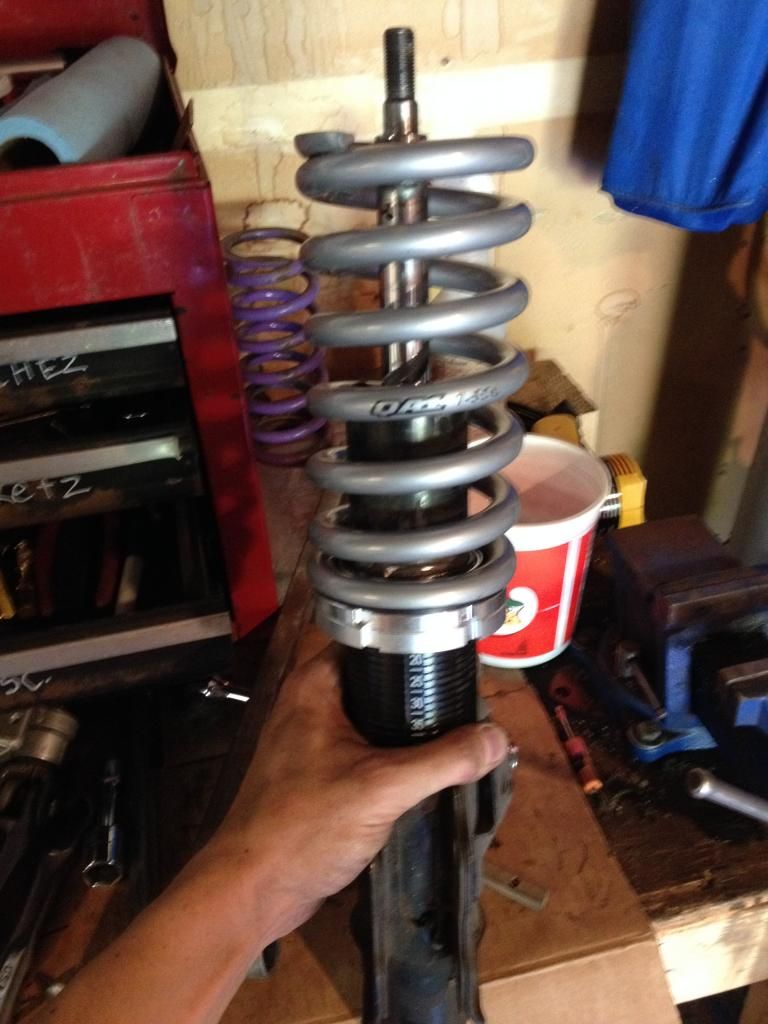
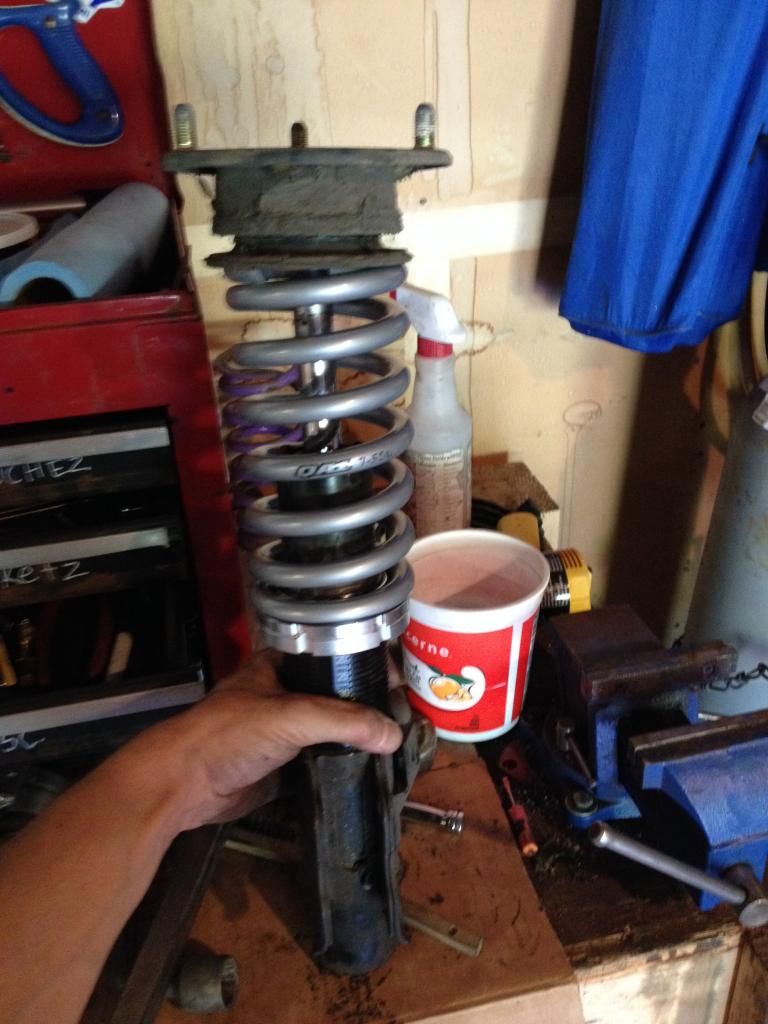
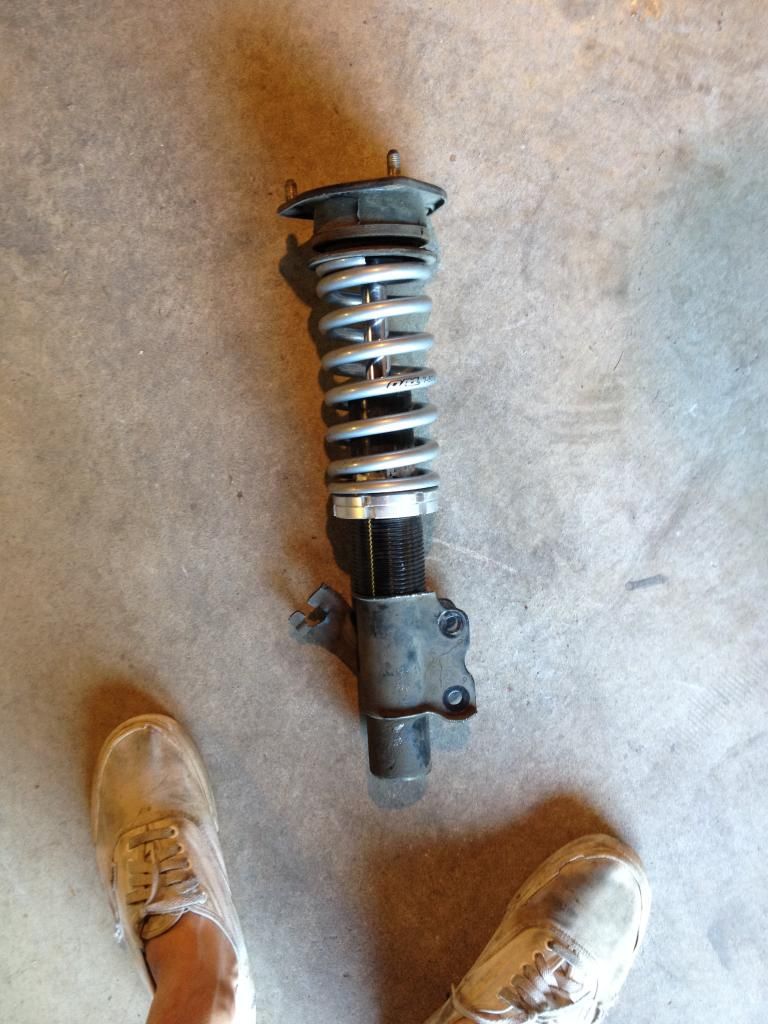
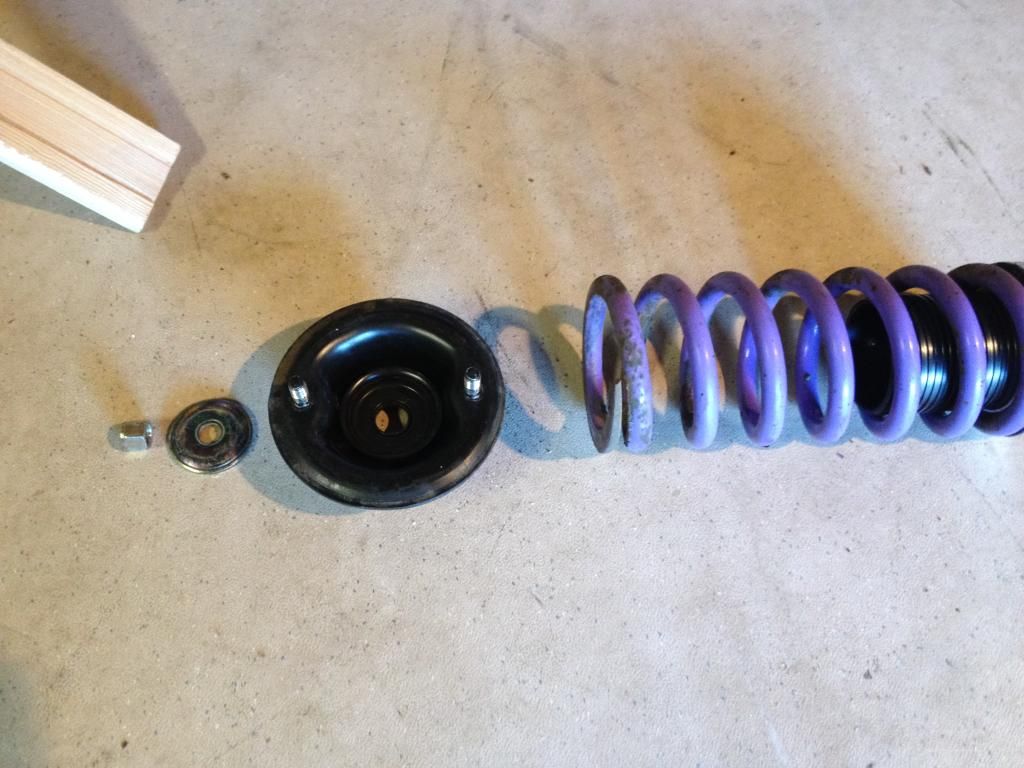
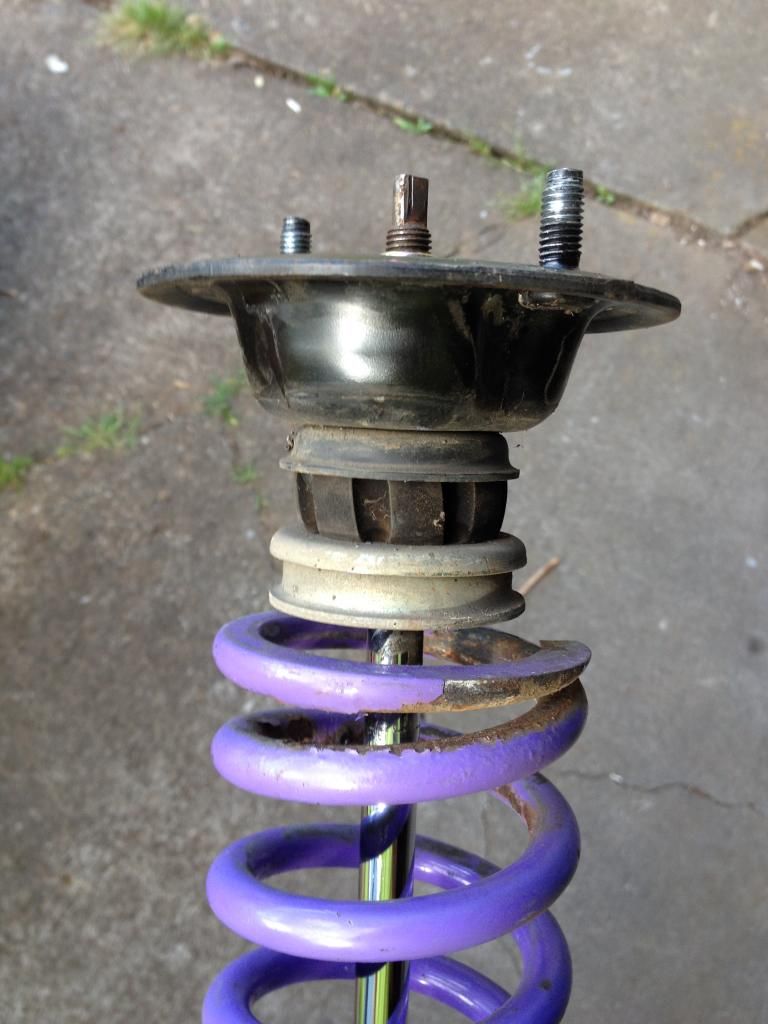
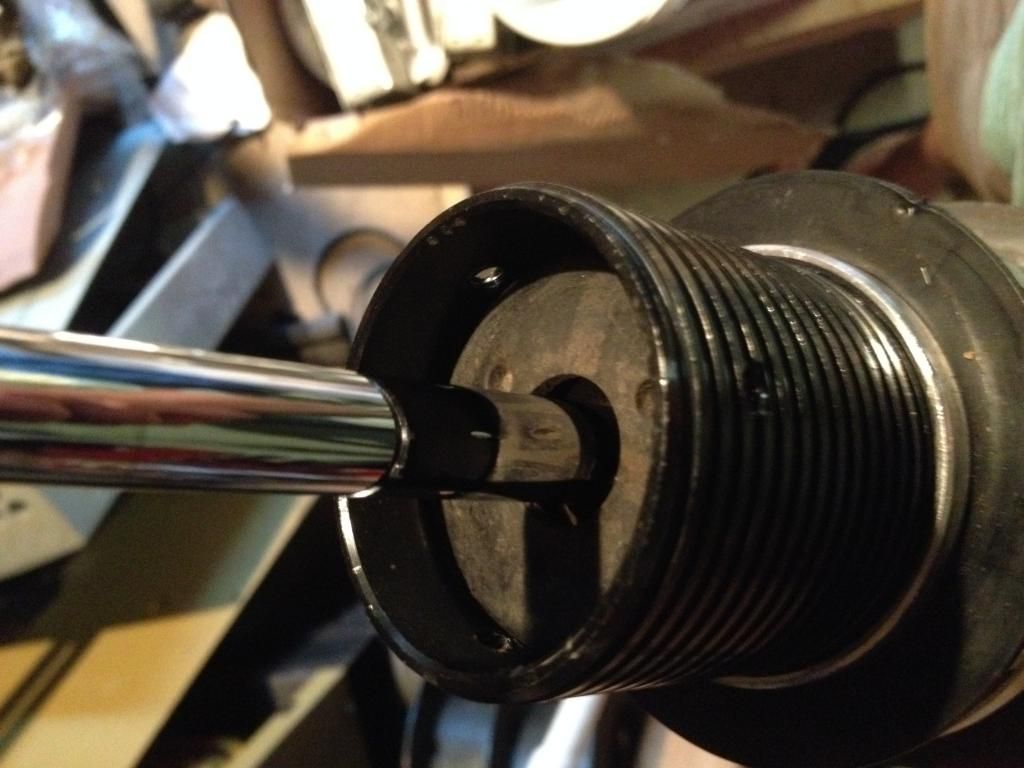
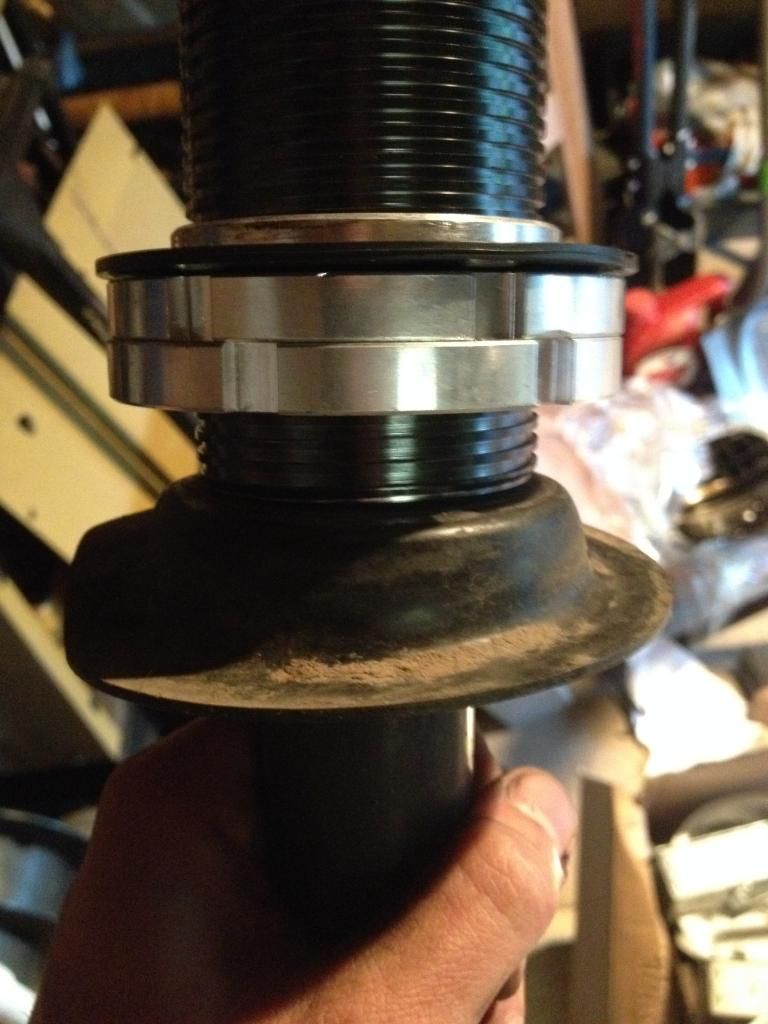
Getting ready for 5 lug swap I decided to build some ghetto hoodride coilovers. Figure whats the point in buying 500$ eBay coils that will blow out w/in a couple months of daily driving leaving me with basically blown struts with height adjustability and have stiff as hell springs? I can just make em' for 150$...(I will do a write up on this later if any one is interested)
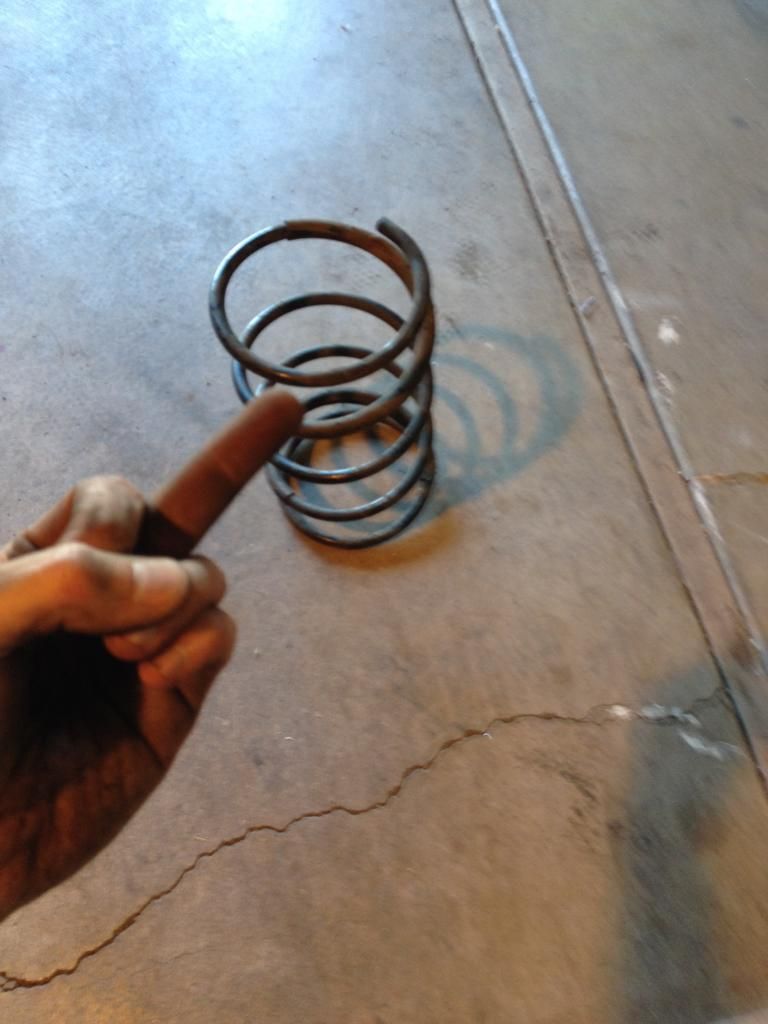
Image
Image
Image
Grind it smooth and slide the sleeve over.
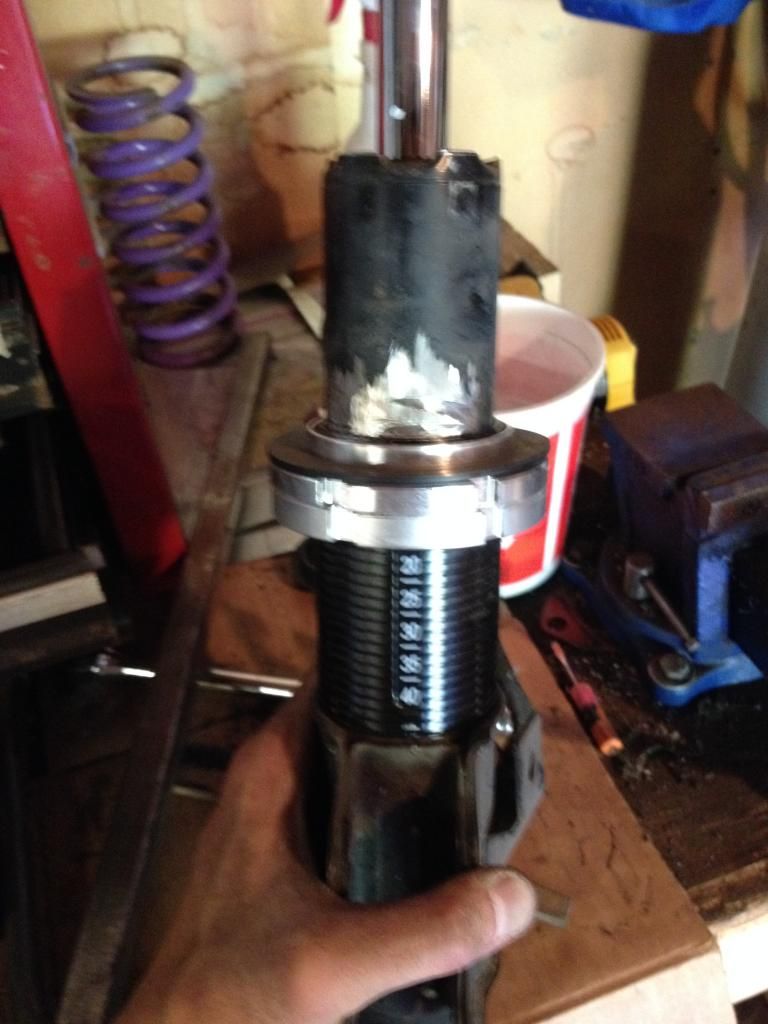
Image
Slap desired spring on there.
Image
Apply dirty old strut mount.
Image
Viola!
Image
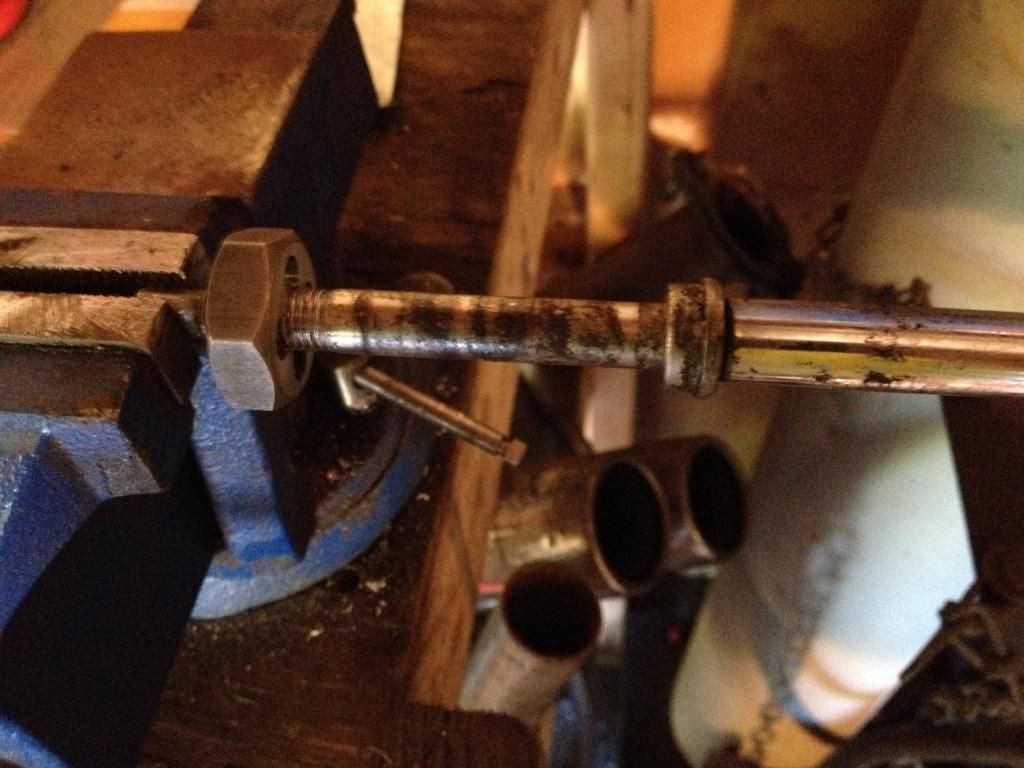
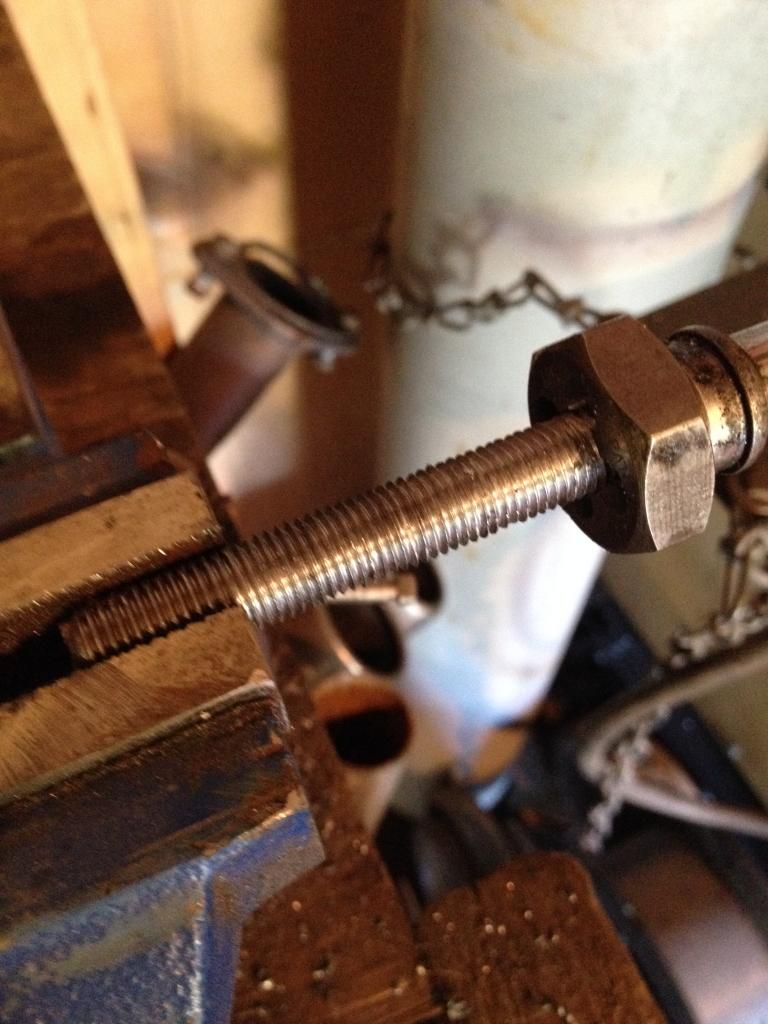
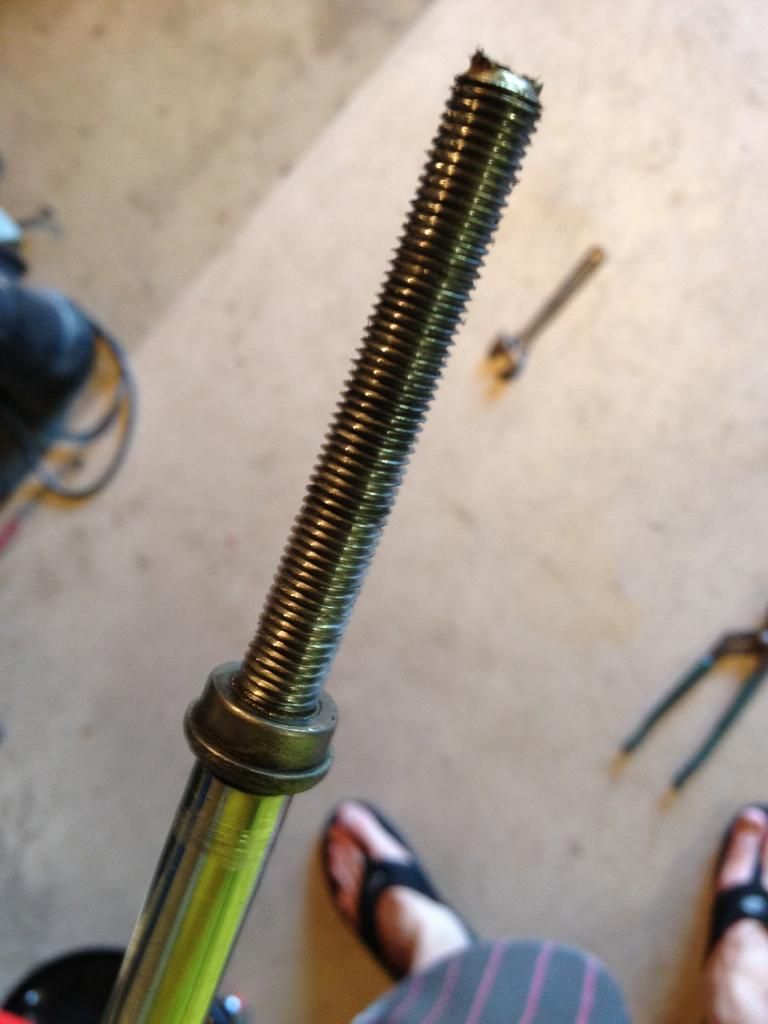
The rears were easy at first, then I decided to do away with all the extra junk and make them a little more low profile by running a die down the extra length of the strut shaft so I could axe the unnecessary bushing/spacer and tighten the nut all the way down. (More on this later I'm still trying to resolve a rattling issue the strut mount has because of this modification)
-Before-
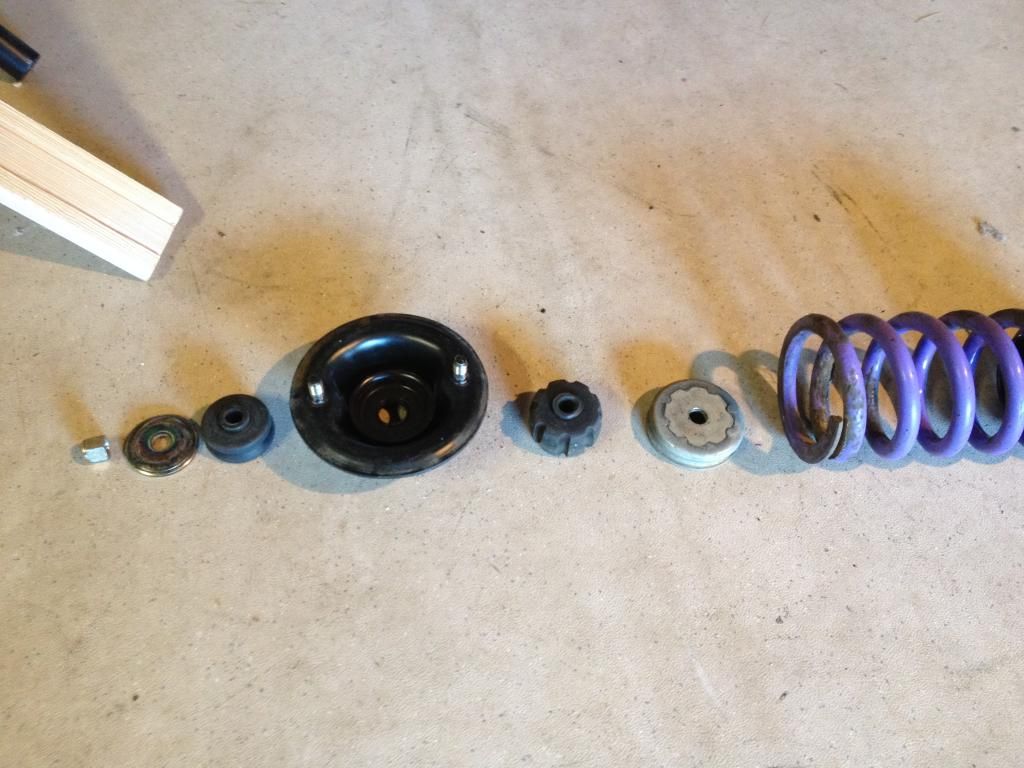
Image
-After-
Image
Threading the shaft.
Image
Image
Image
-Before-
Image
-After-
(BTW: I would later go on to replace the 7" purple JIC Magic springs in the rear for unknown 5" spring to allow for it to go lower)
Image
The anticipation!
Image
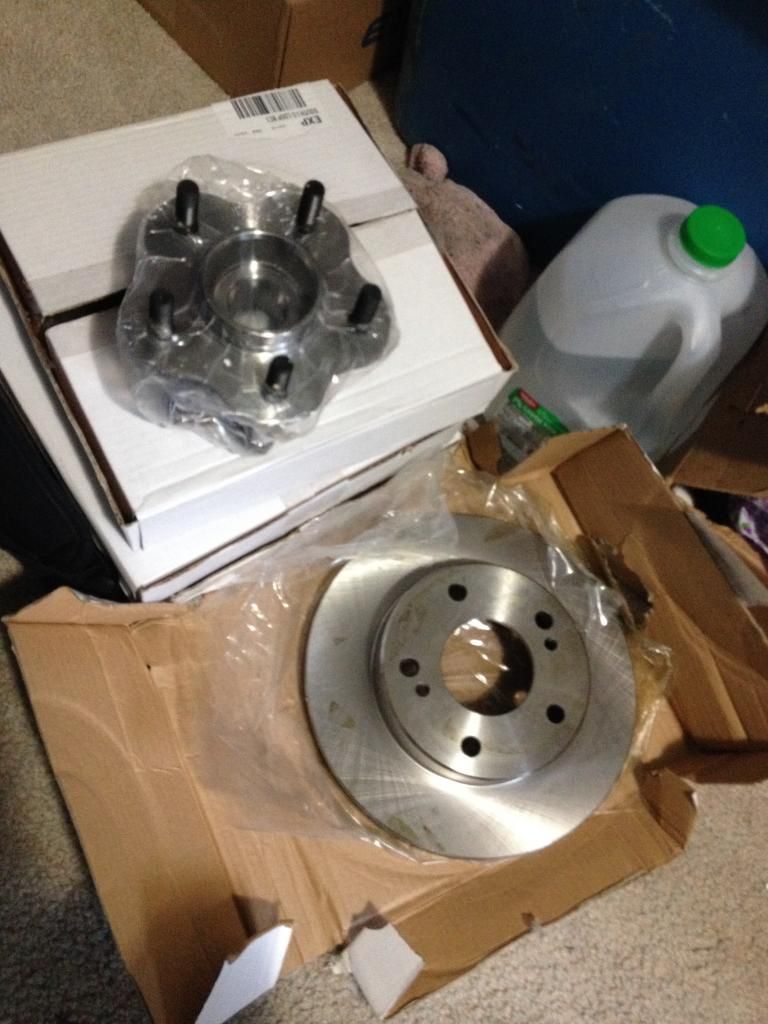
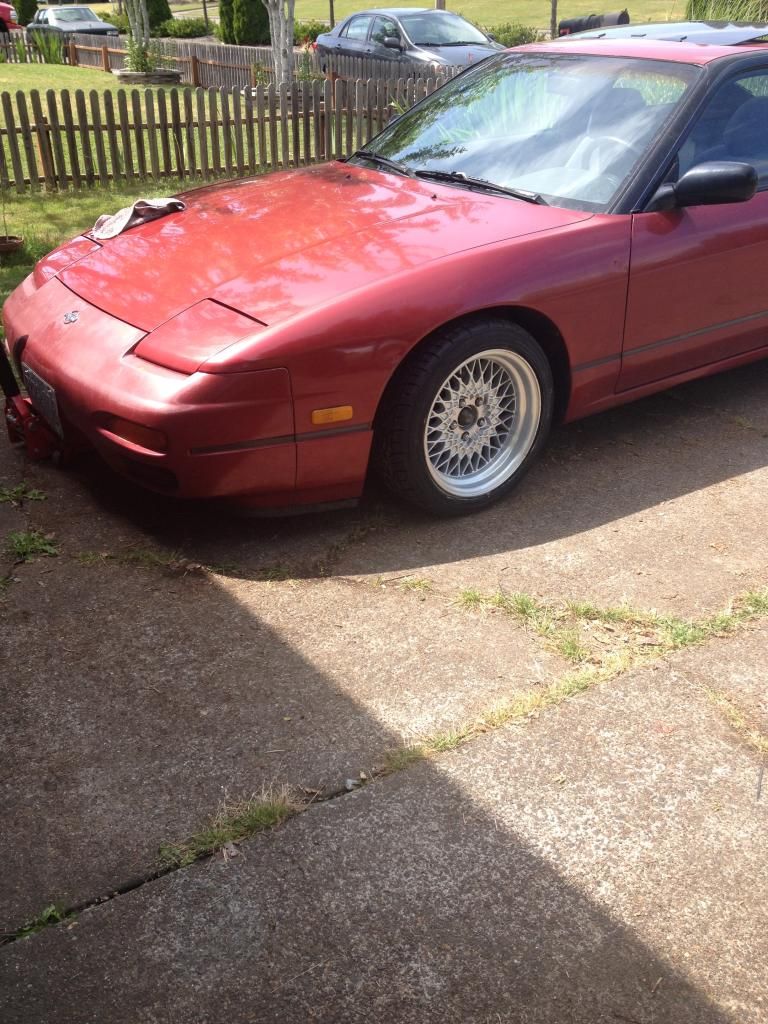
Finally had a day off between work and starting summer classes; I dug in. (might do a better in depth step-by-step write up on how to do a 5 lug swap if there isn't already a ton done)
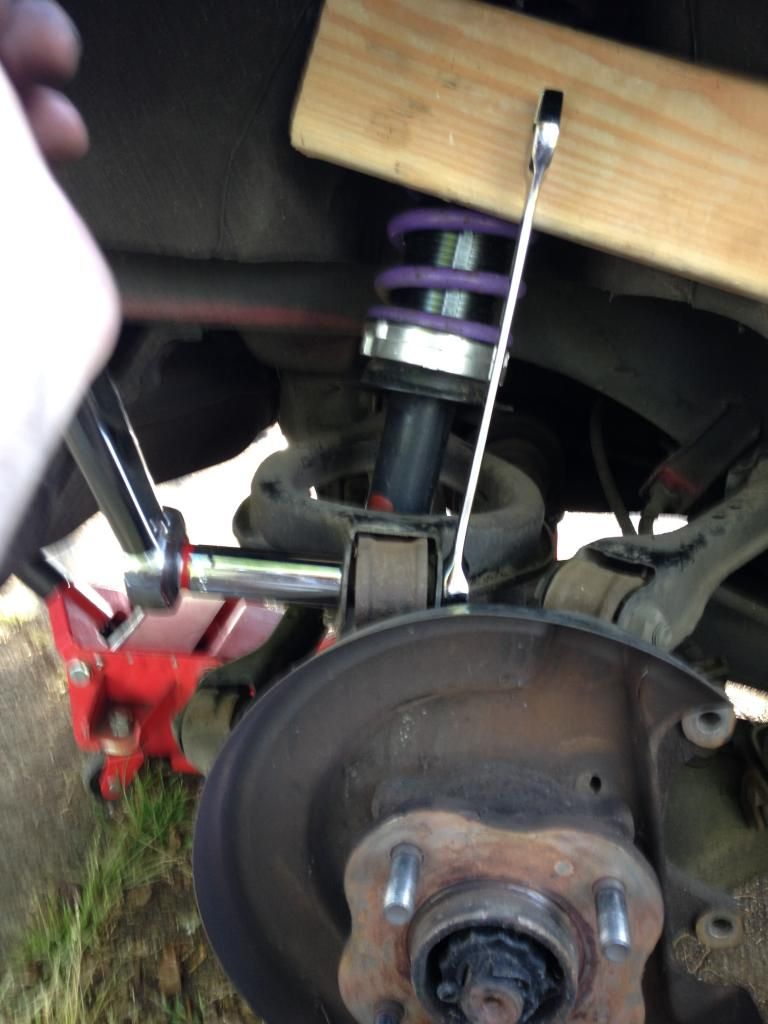
Pop the wheel off then take off the calipers and the caliper brackets (didn't have a impact gun so I had to improvise. Lifting the entire hub assembly by the caliper bracket bolt that wouldn't break free and the wrench on it, then smacking the top of the caliper with the sledge haha).
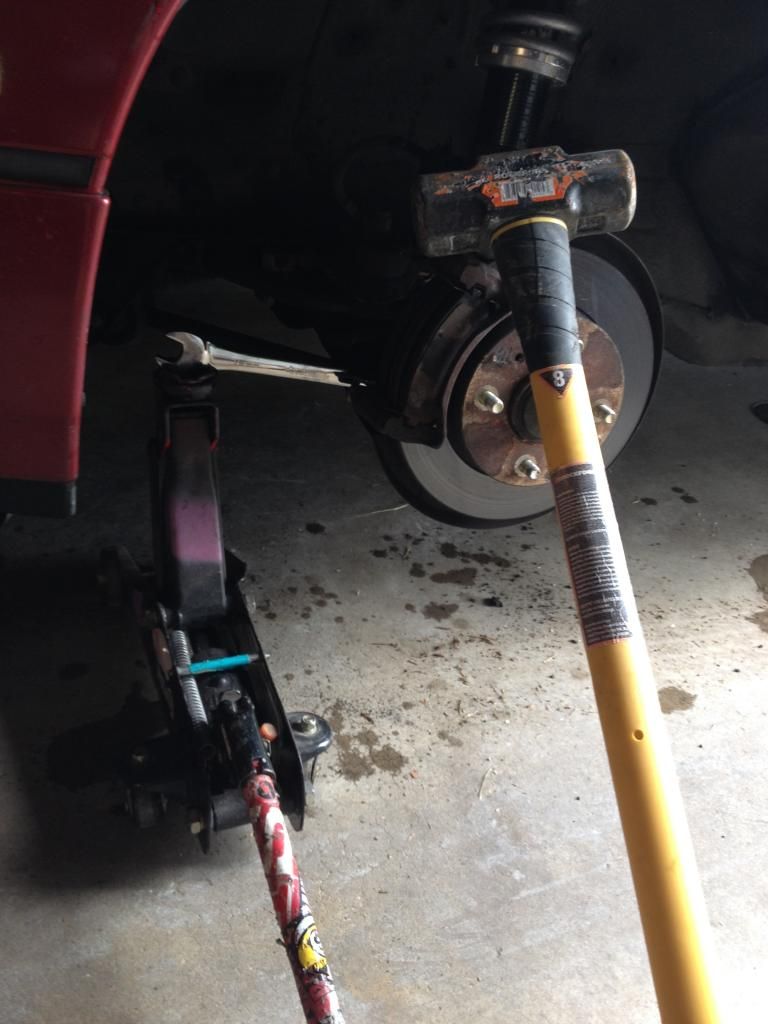
Image
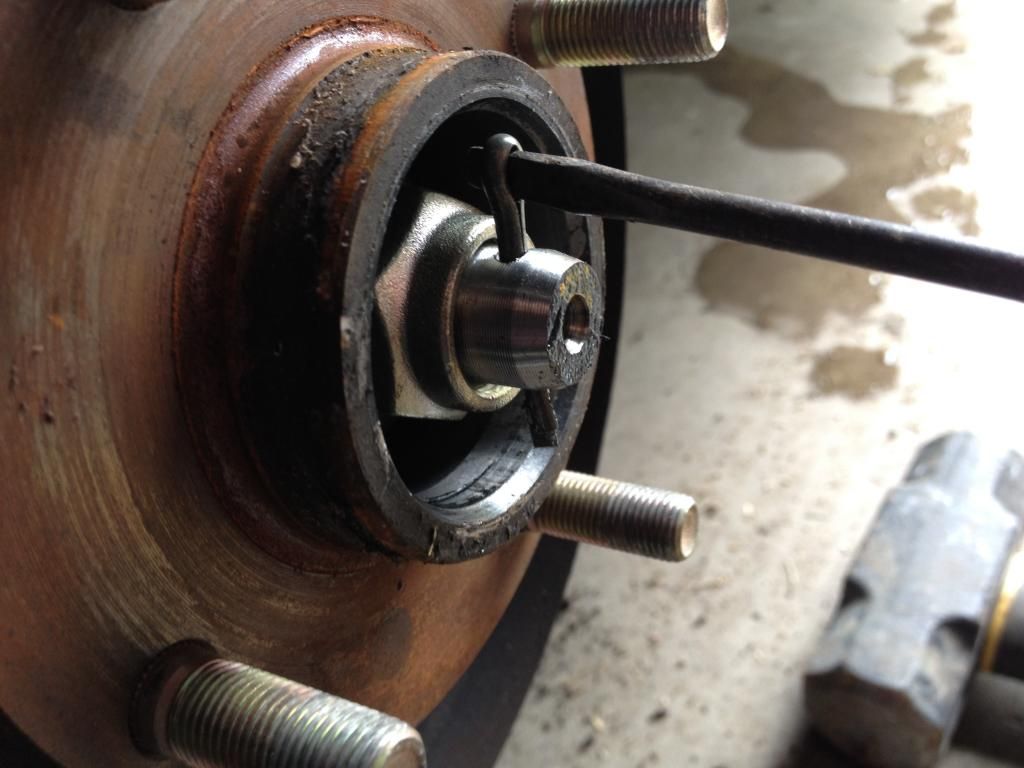
Pop off the dust cover then smack the cotter pin out with a screw driver and a hammer.
Image
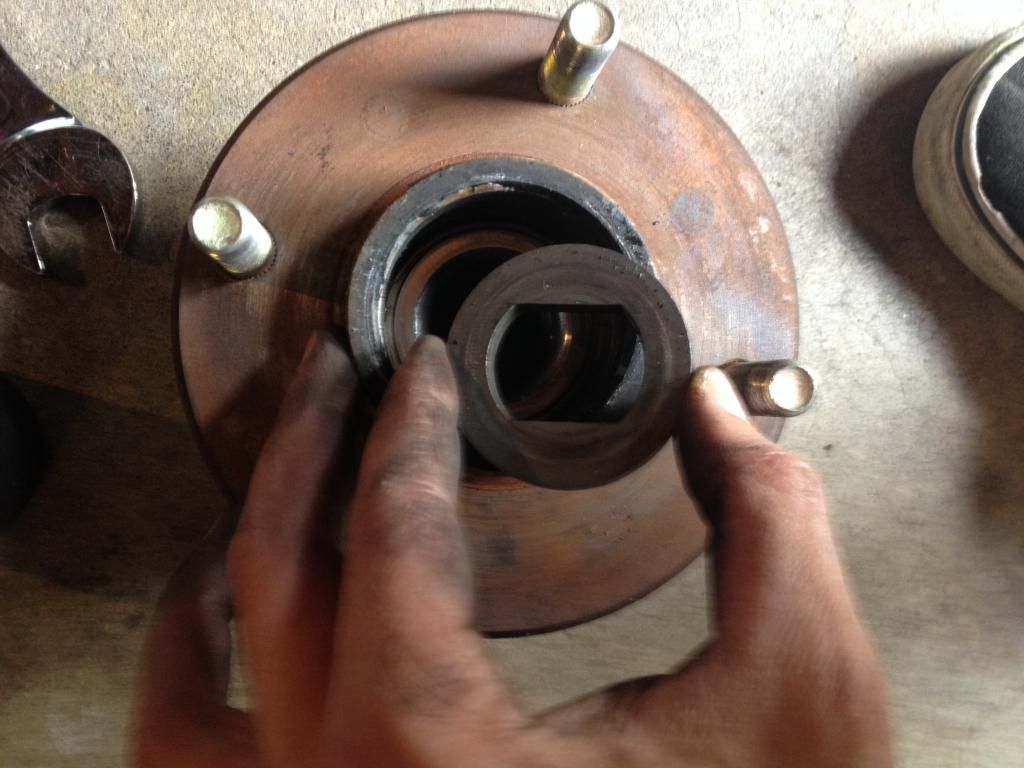
Loosen and remove the axle nut, old hub slides off and DON'T FORGET THE SPECIAL NOTCHED WASHER that goes between the hub and axle nut. (or you will end up like me having installed every thing about to put the wheel on and realize the special axle nut washer was still inside my old hub and had to take everything apart again because the hub was all wobbly w/out it)
Image
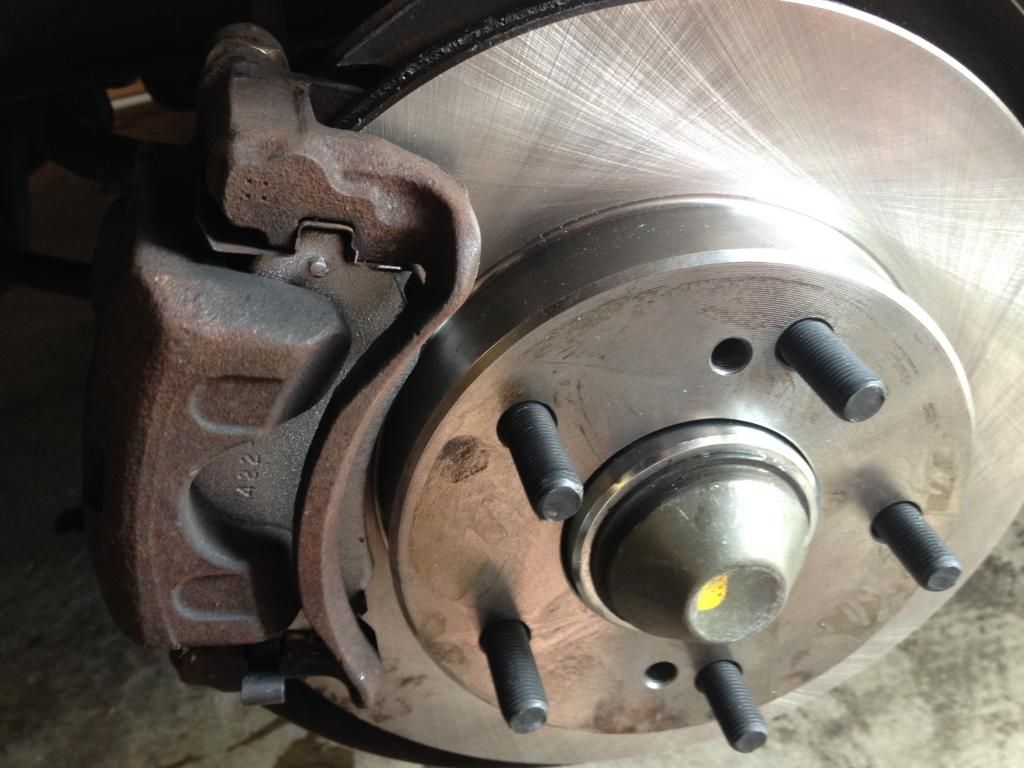
Slap the new rotors on after the axle nut and the notched axle nut washer are torqued down, pop the dust cap back on, re-install the caliper bracket, new brake pads and then the caliper.
Image
Viola! My first wheel on (:
Image
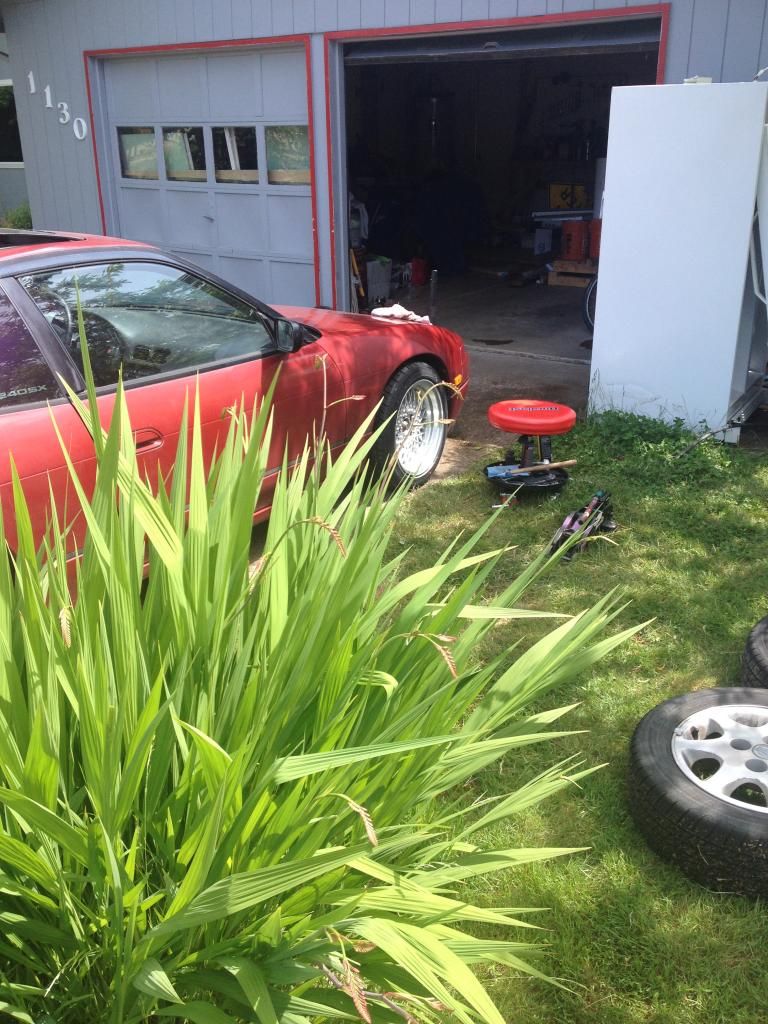
Then did the other side which only took 1/2 an hour.
Image
The rears however...total pain in the butt because of the multi-link suspension back there. Those bolts haven't been touched since the day the vehicle was assembled so I had to get crafty in order to break them loose.
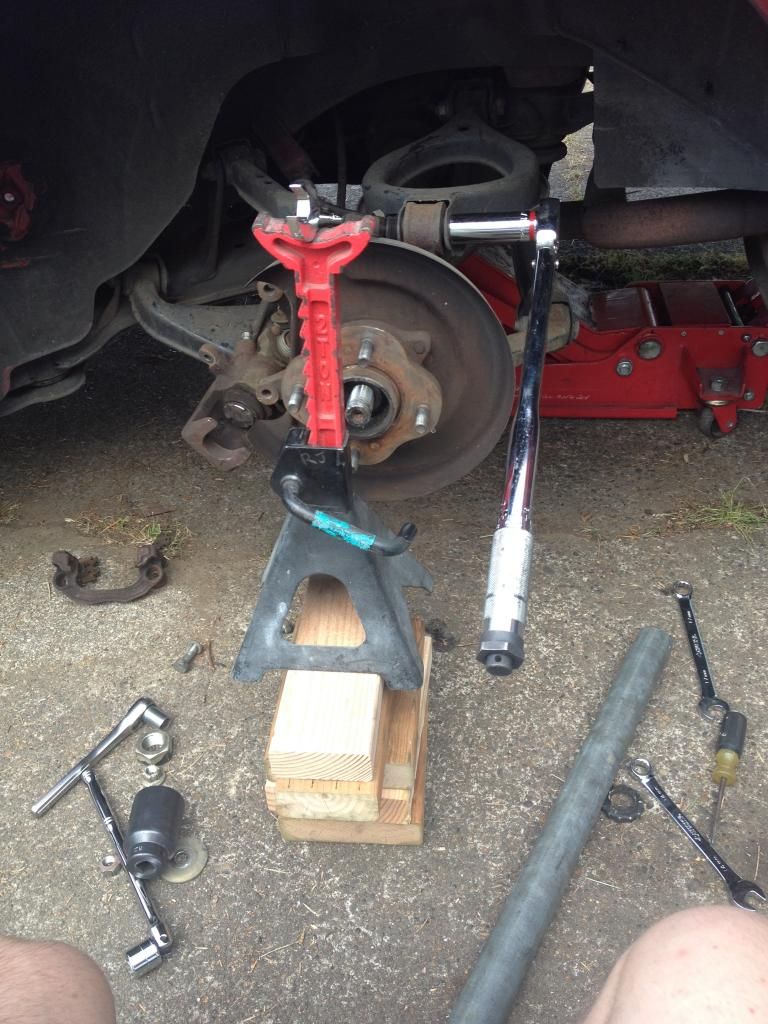
Image
Image
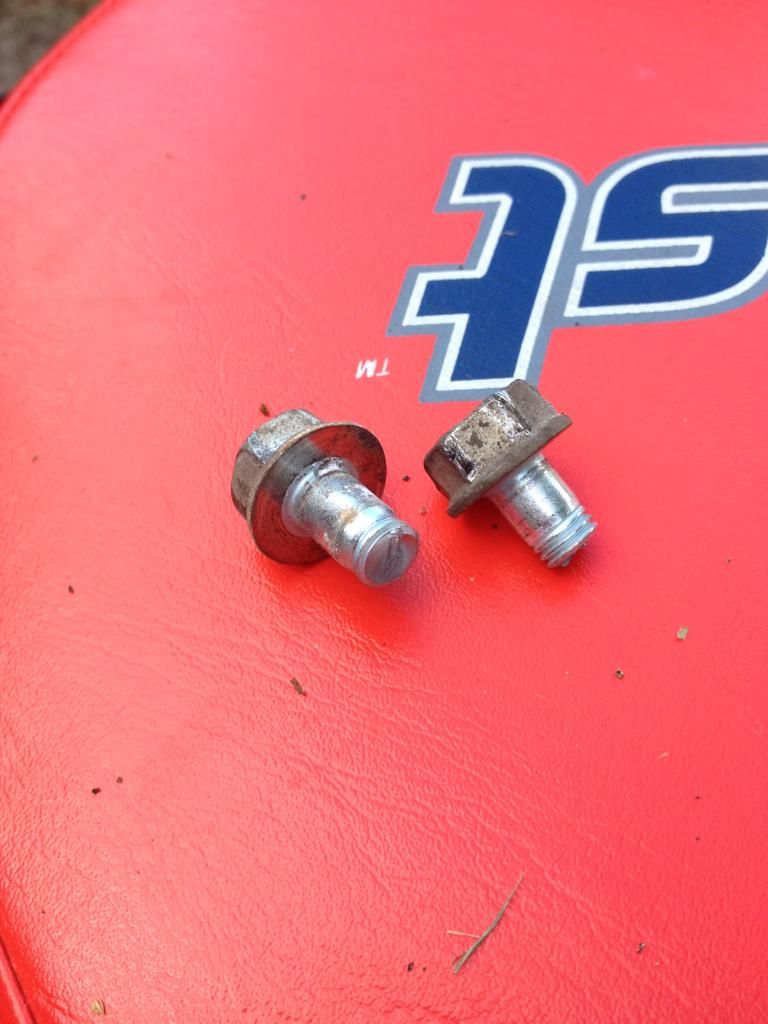
Of course the 240 curse would strike and I would snap both caliper bolts...
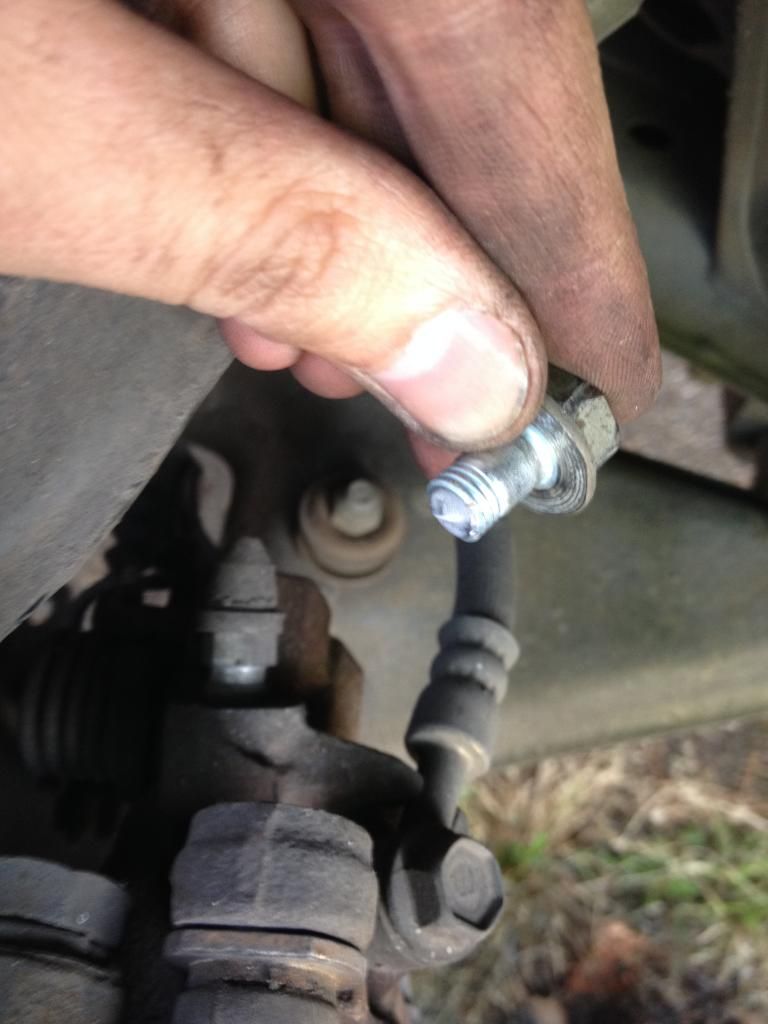
Image
Image
Luckily Autozone is down the street and they had exactly one package with the replacements that I needed in stock.
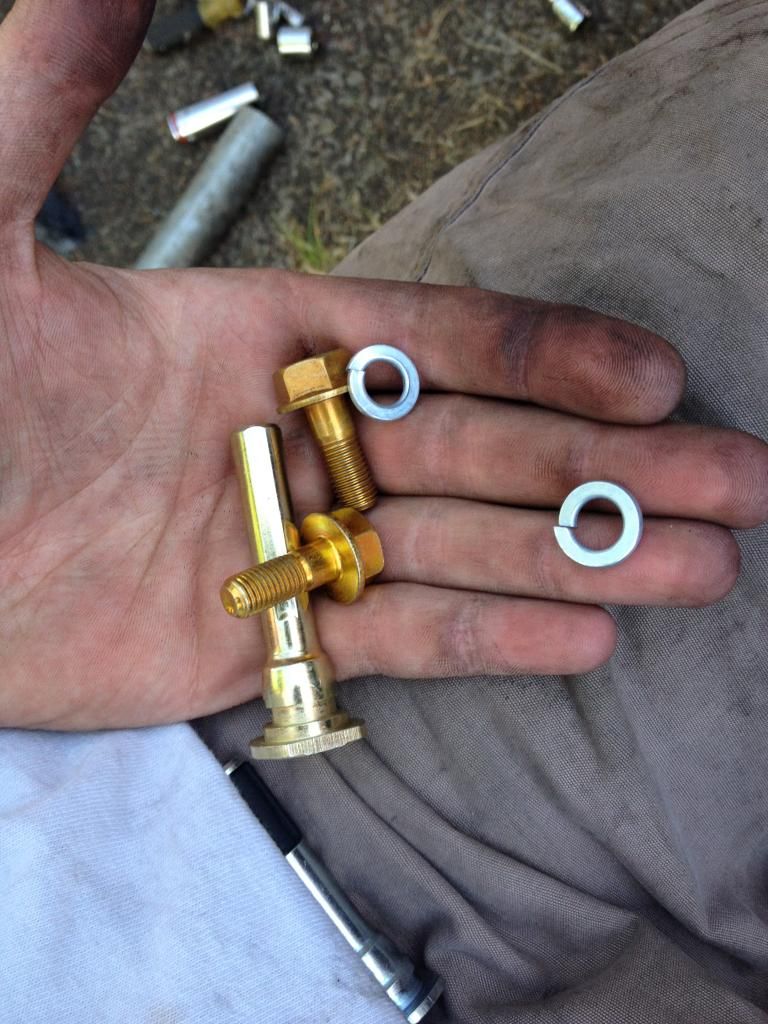
Image
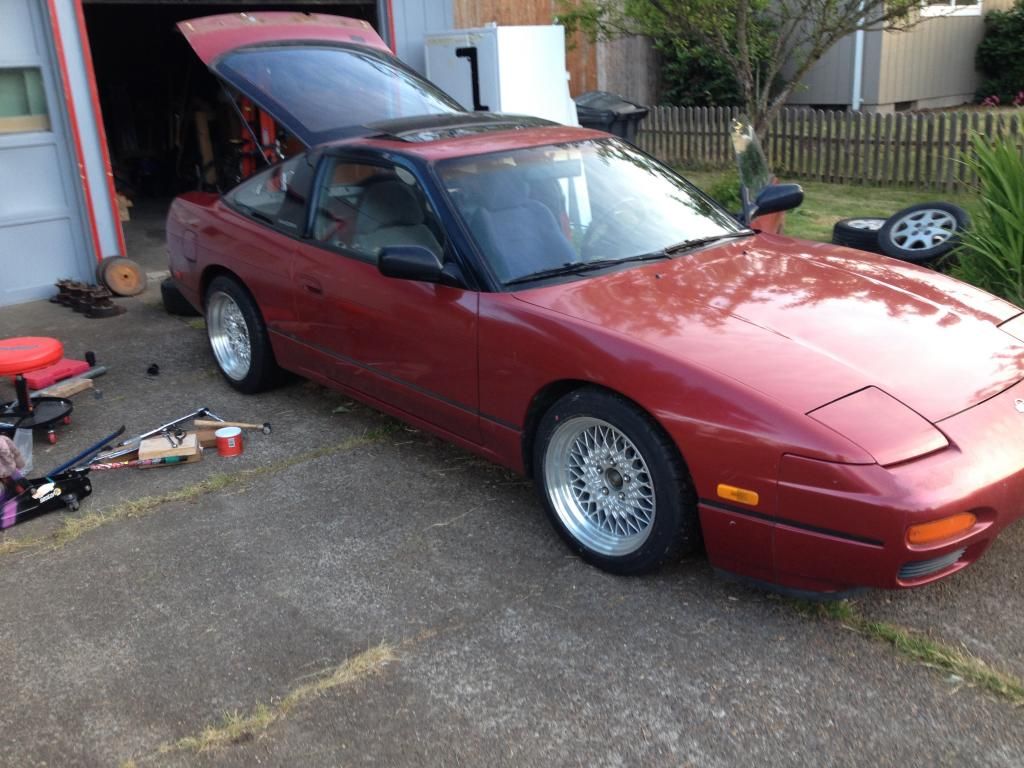
Anyways I monkey with the rears for like 4 hours and finally got it done before dark.
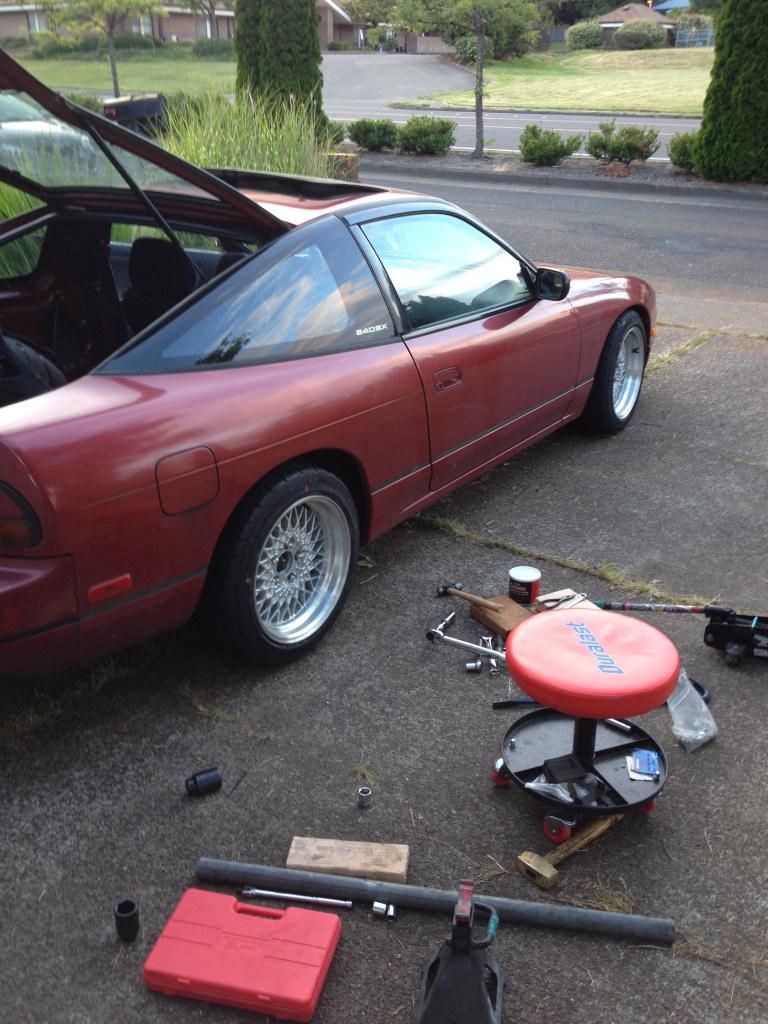
Image
Image
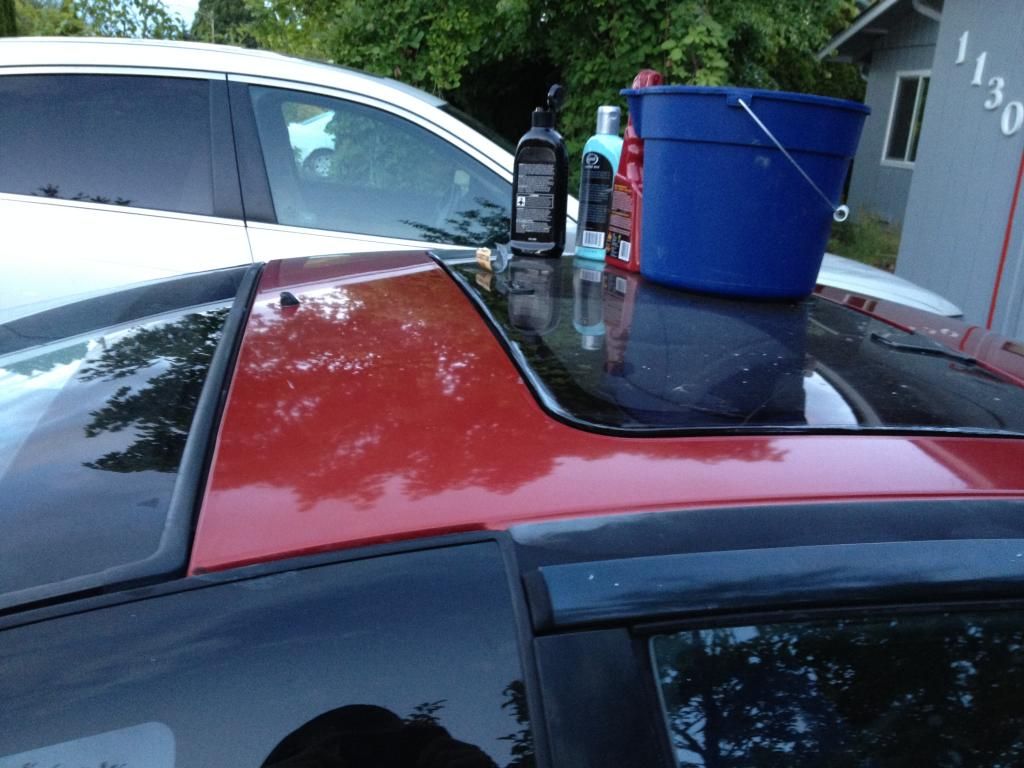
Tonight I clay bar and waxed the roof; came out alright.
Image
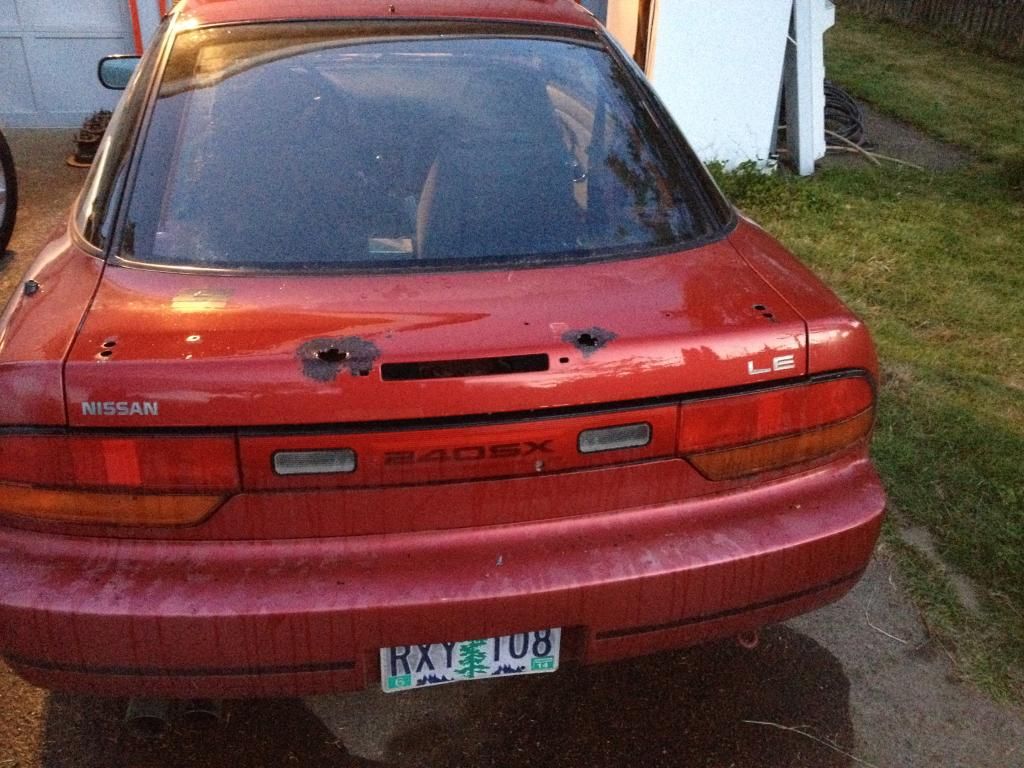
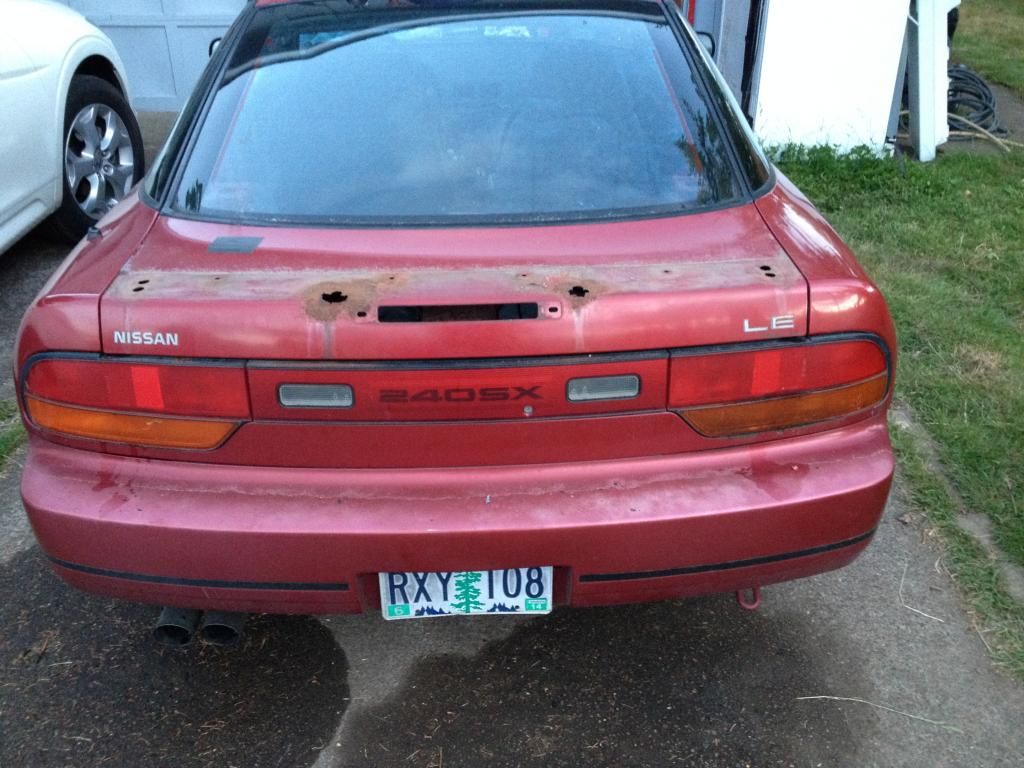
Prepped the rear hatch to be nice and smooth for when I put my replica rocket bunny wing on.
Image
Image
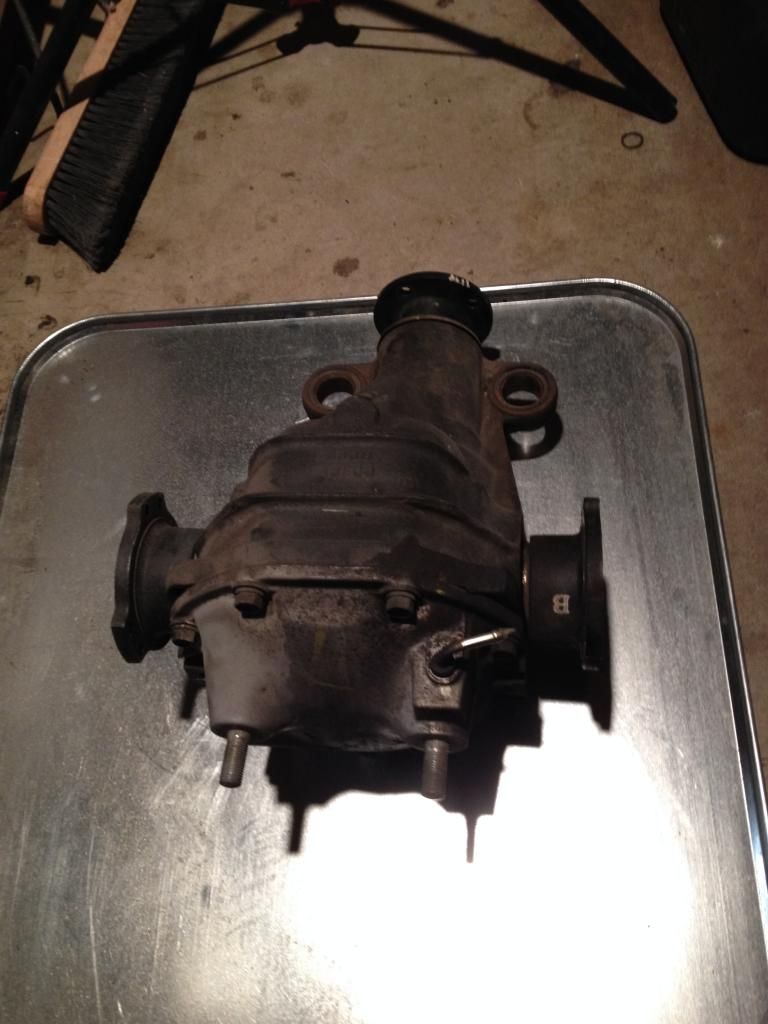
After it got dark, decided I'd crack the S14 diff I picked up today, to take the diff out of the housing to clean it of oil and get it ready for being welded...
Image
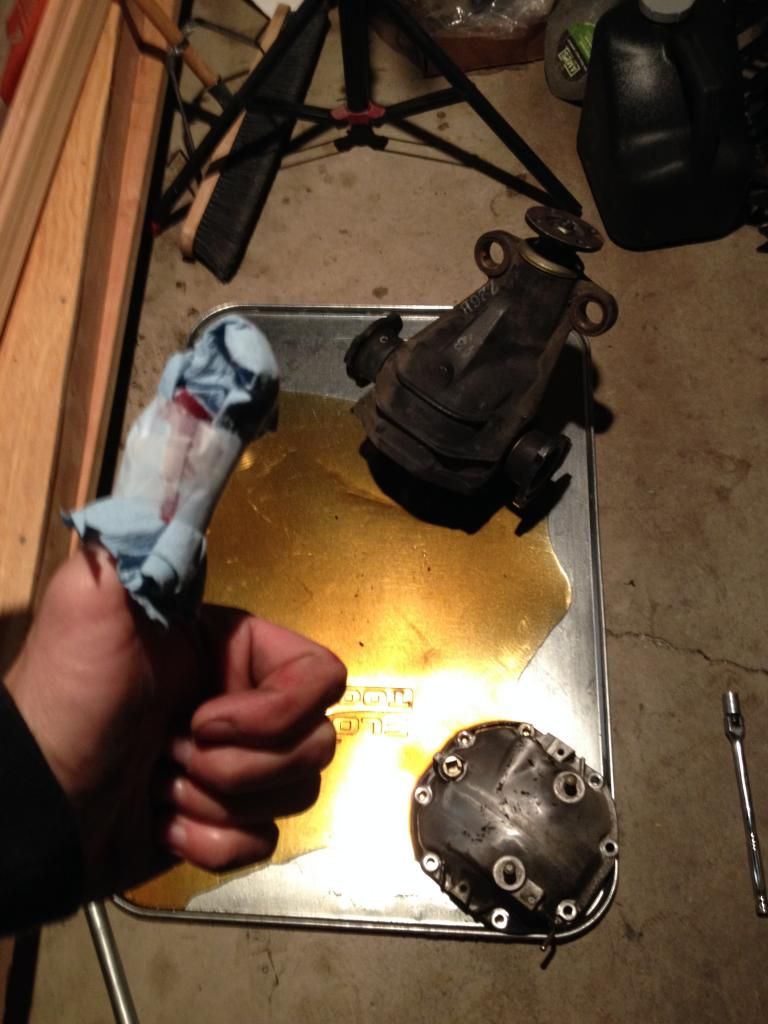
Until disaster struck!
Image
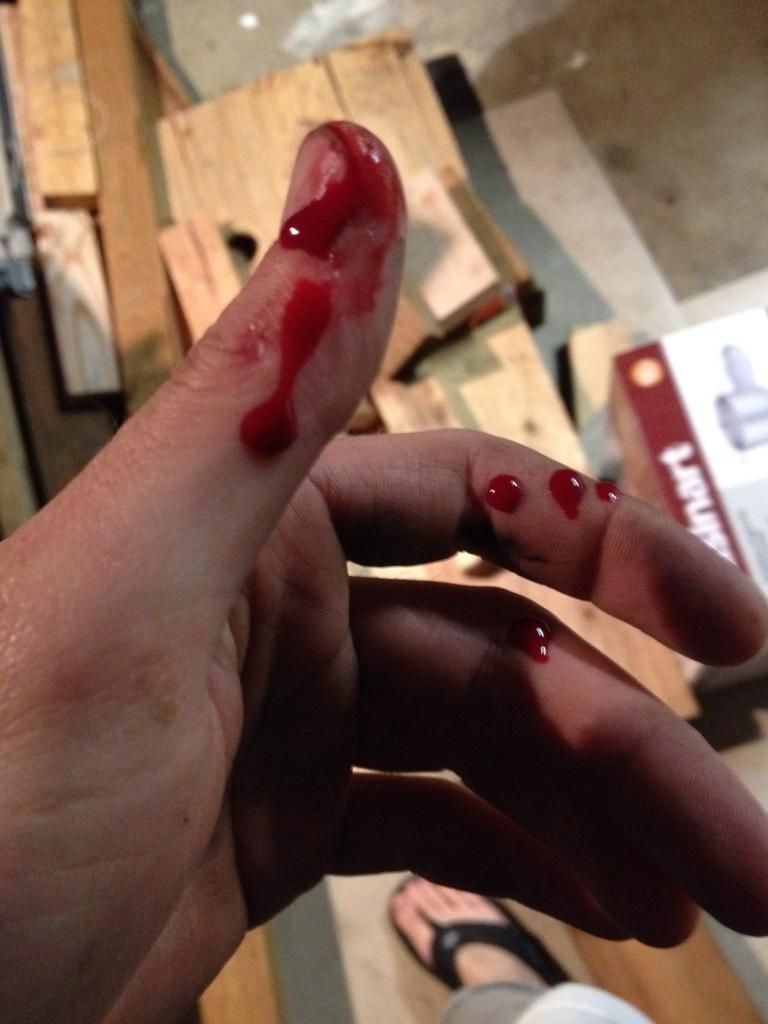
Smashed my thumb so hard breaking one of the bolts loose on the housing, blood came out from the sides of my finger nail.
Image
Got it done though (: and I now sit here, at my computer, with my 'mummy-thumb' typing this build thread out of boredom. //signing off.

User avatar
pepesilvia
Posts: 584
Joined: Tue Feb 21, 2012 8:15 pm
Car: 96 S14
Location: New Jersey :(

Post

wowza. definitely looking forward to a writeup on those homemade coils. Your S13 cleaned up well :bigthumb:

5280VertDET
Posts: 32
Joined: Tue Aug 20, 2013 3:11 pm
Car: 1993 240SX Vert SR/Auto

Post

Wow. Nice damn work. I already have coils, but I love this ingenuity. Please post a how to, love the work to the S13. What is your car/work history; clearly you have skillz [it's with a Z, since I'm hard core :bs: ]

User avatar
hahanoonehasthisnameyet
Posts: 157
Joined: Sat Jan 19, 2008 8:58 pm
Car: 91 hatch ♥

Post

5280VertDET wrote:Wow. Nice damn work. I already have coils, but I love this ingenuity. Please post a how to, love the work to the S13. What is your car/work history; clearly you have skillz [it's with a Z, since I'm hard core :bs: ]
^^^Well I built this: (my-95-s14-ghetto-build-up-t370170.html) back in high school. I'm just a car guy I guess you can say, motorcycles too.

Future plans for the car are pretty simple and that is to keep the car clean and simple.
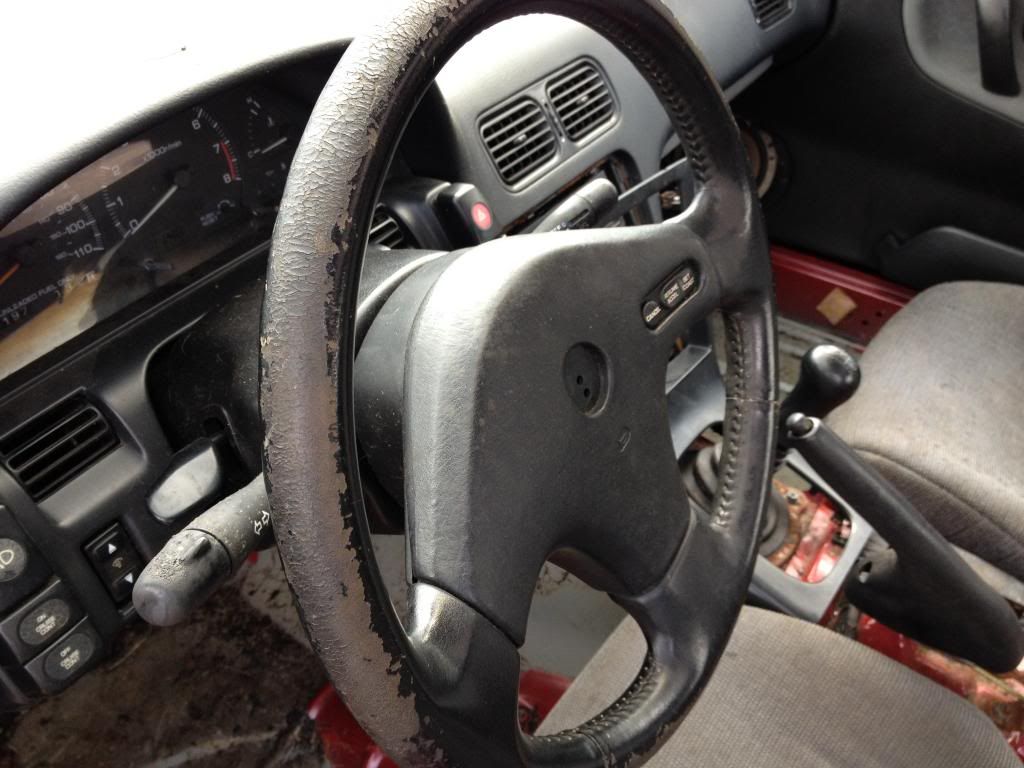
>Shampoo and pressure wash the carpet kit I picked up for 10$
>Scrub all the interior pieces before I put those back in.
>Little things like drift button, oem leather shift boot, and floor mats.
>Buff and wax the whole car. (Including the tail lights)
>Rocket Bunny wing. (might try to color match it)
>Repaint the bumpers.
>Replace rattling muffler.
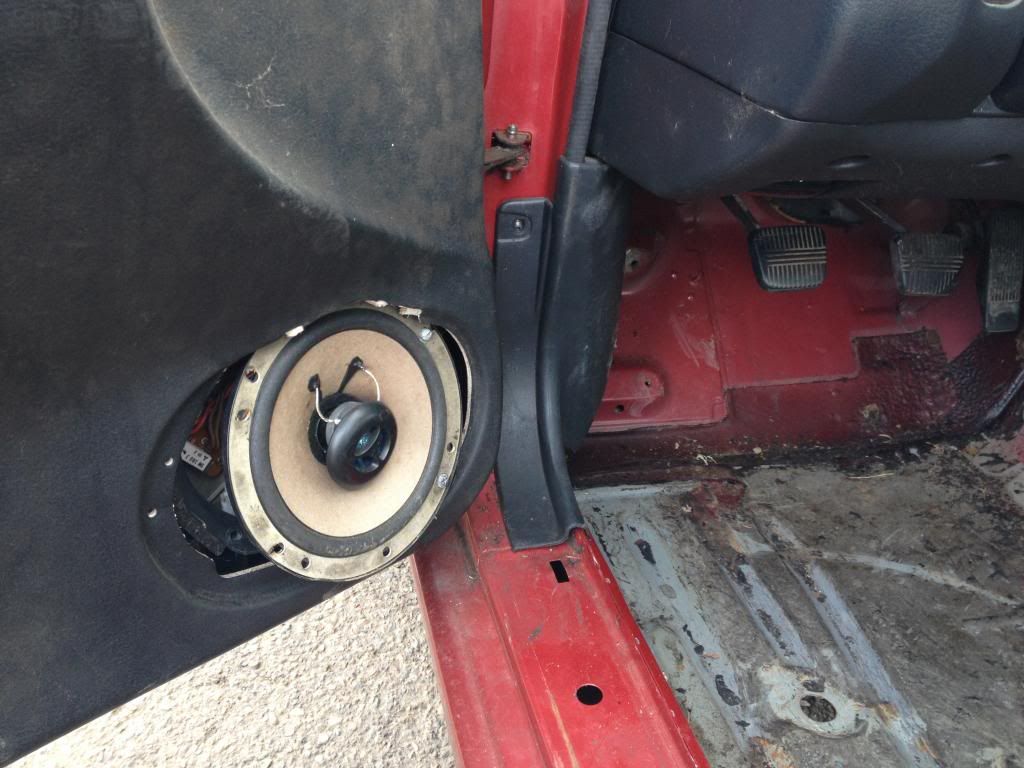
>Finish removing the sound deadening that the last owner never finished doing.
>Weld the diff sometime next week.
>Maybe some day some PBM coils and an SR if the world doesn't run out of oil before I save up enough money to buy them.

I'm not building the car specifically for autoX or drifting or anything. I'm just building the car to be fun to drive every time I get behind the wheel.

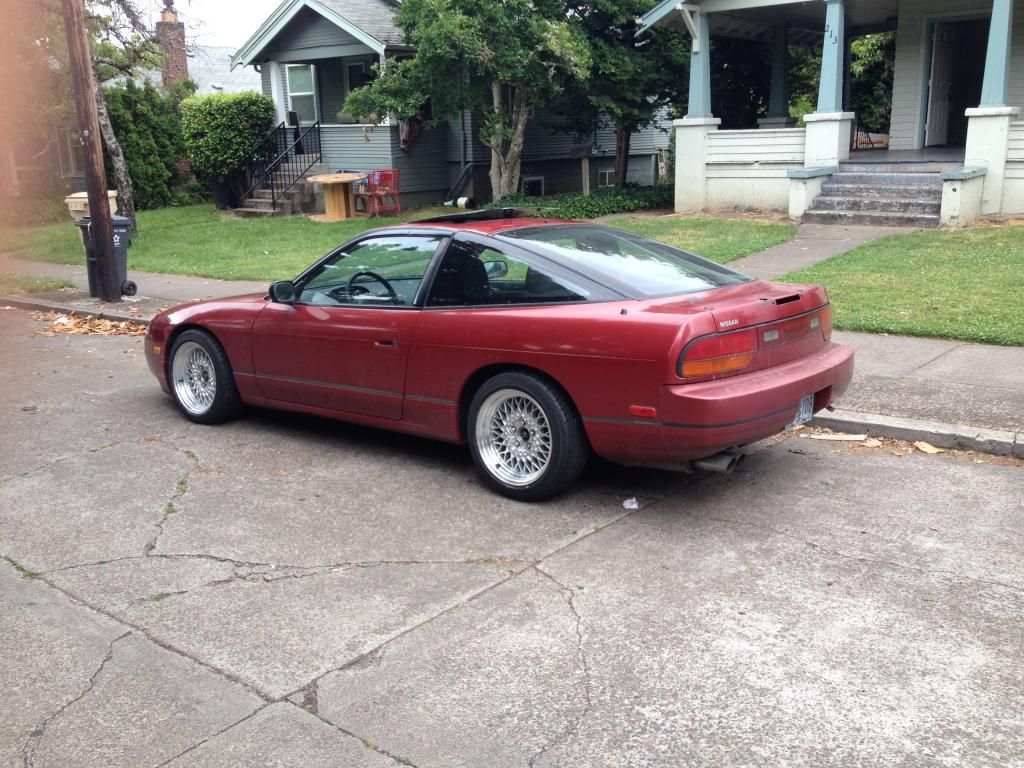
Figured I'd update ya'll with some pics of the seat I left out and a snap of the car hard parked on campus today.
Image
Image
Tags: 195/50/16, 16x7, crown vic wheels, crown victoria wheels, grand marquis wheels, ford wheels, 240sx, stock body, s13 hatch, red 240sx, stock wheels, dunlop dz101, oem wheels, cherry 240sx hatch, fastback.

dray3OOO
Posts: 592
Joined: Mon May 21, 2007 8:20 am
Car: 90 rb20 hatch HKS everythang
77 corolla stroke 2tg 40mm mikunis

Post

sweet, simple can be better sometimes i had a burgundy hatch for a while, with brown interior!! :eek:

User avatar
hahanoonehasthisnameyet
Posts: 157
Joined: Sat Jan 19, 2008 8:58 pm
Car: 91 hatch ♥

Post

dray3OOO wrote:sweet, simple can be better sometimes i had a burgundy hatch for a while, with brown interior!! :eek:
:eek: Brown interior...I feel your pain. Although with black carpet and black accents I've seen tan interior look hella VIP and baller.

Update: Tired as f*** from summer classes so don't expect much for a while :P
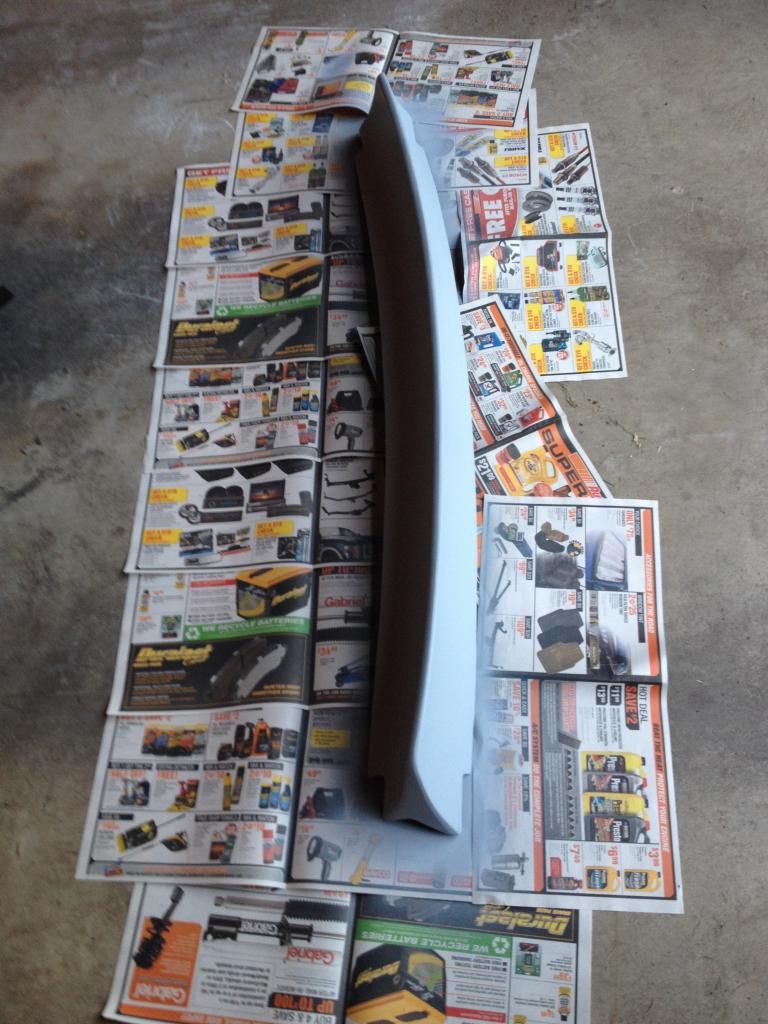
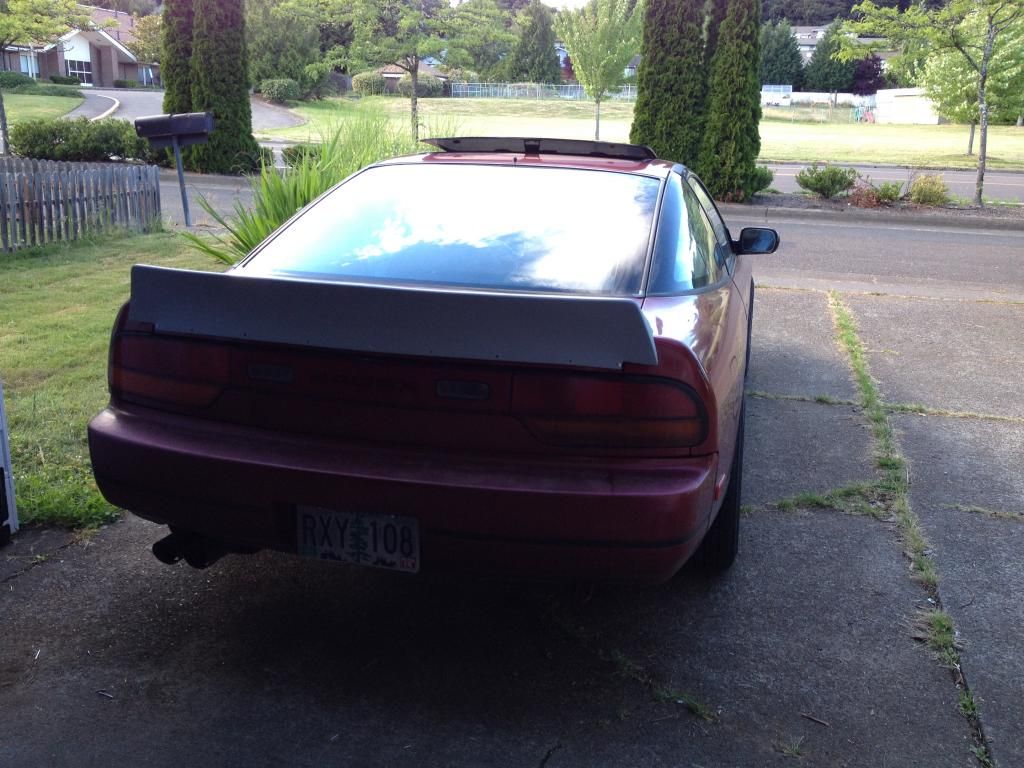
Primed the wing last night, haven't decided what color I'm going to do yet so for now it will just be primer gray.
Image
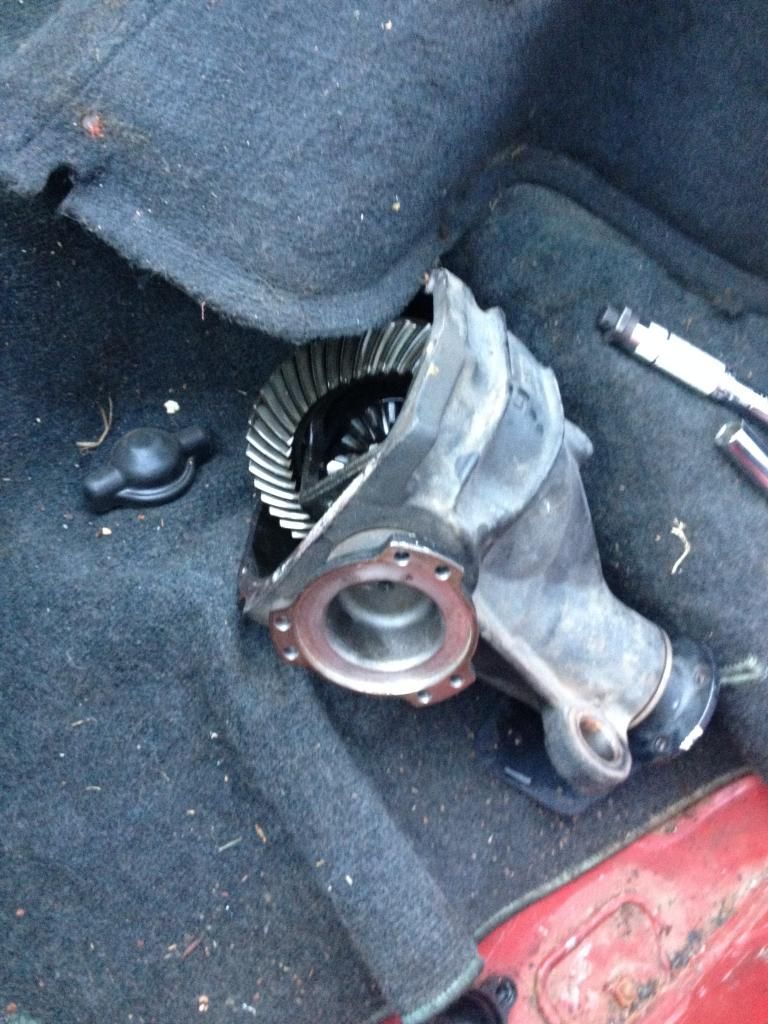
Diff ready to be welded next week.
Image
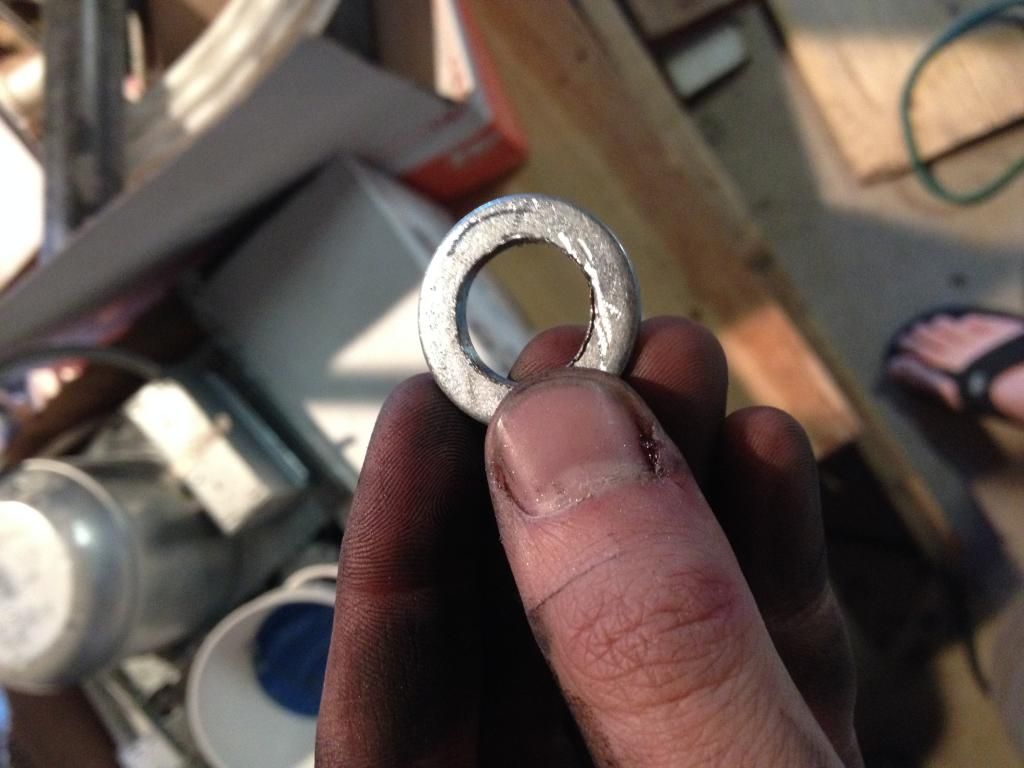
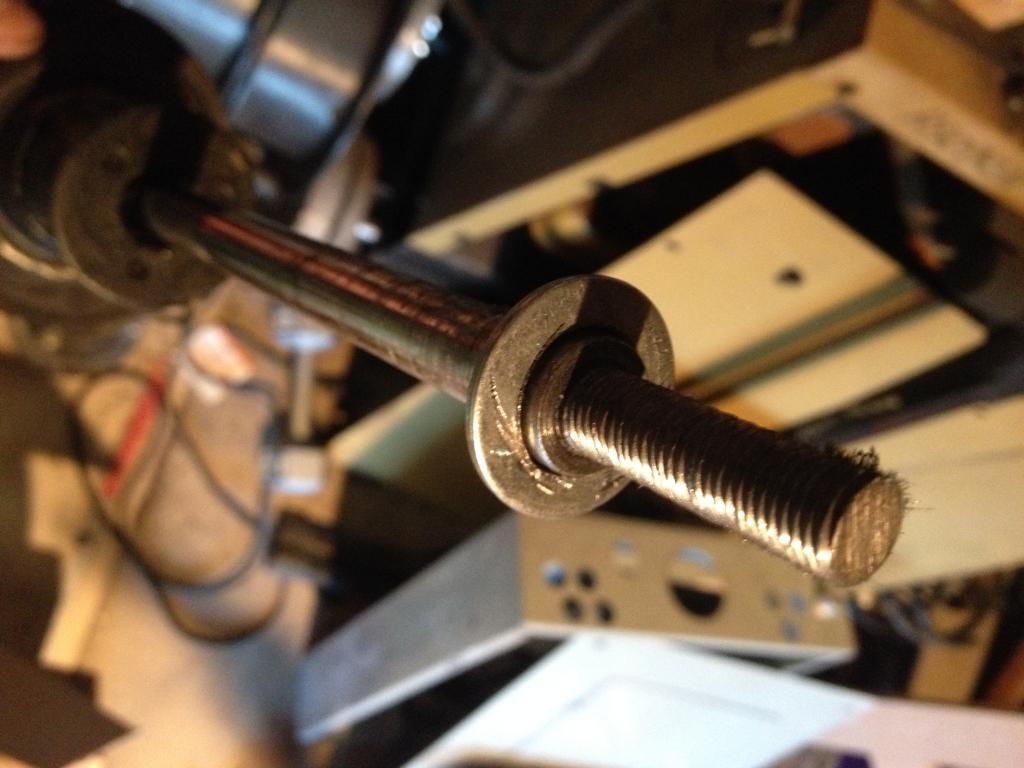
Widened out a couple of washer to act as a spacer to eliminate the slop in the rear strut mounts so they wouldn't rattle any more.
Image
Image
Next project is to get back in there and cut about 1/2 an inch off the rear sleeves off so I won't be robbed rear travek because of them sticking up past the strut body.
Image
As well as trim the old spring perches so the rears look a little more 'legit'.
Image
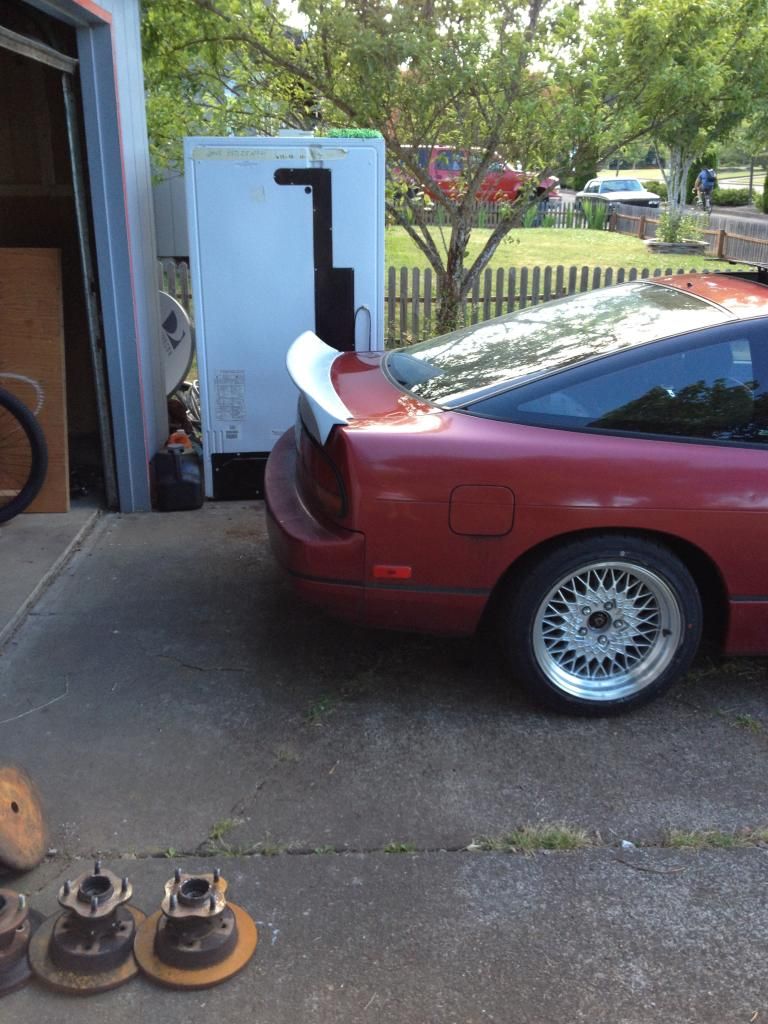
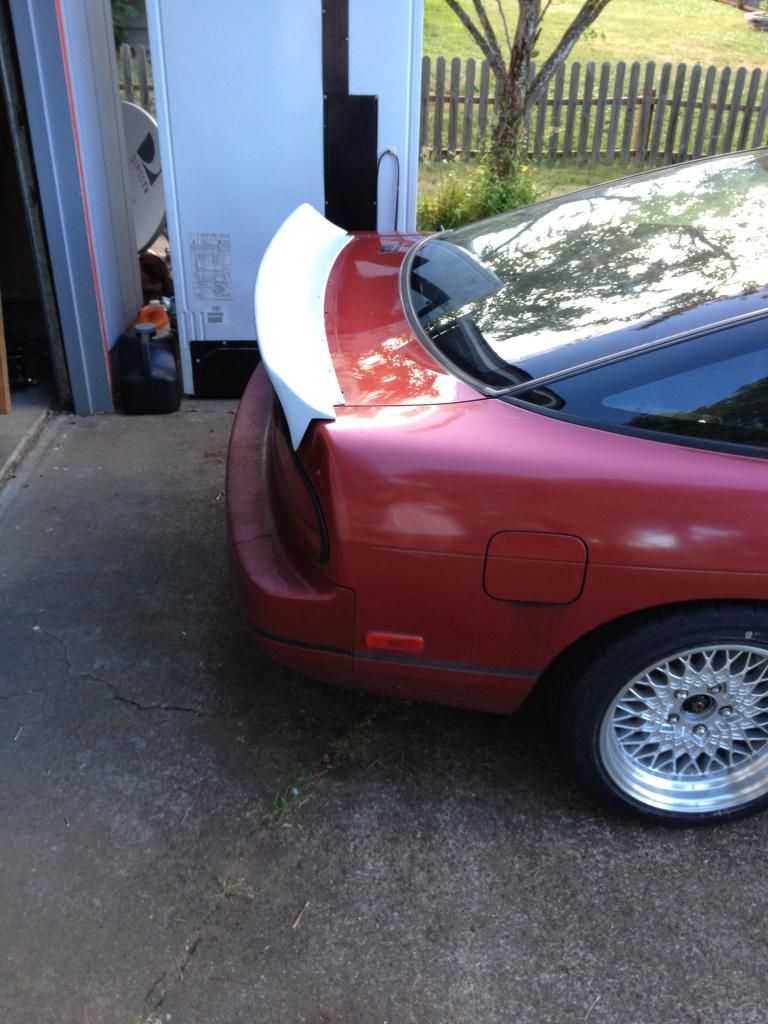
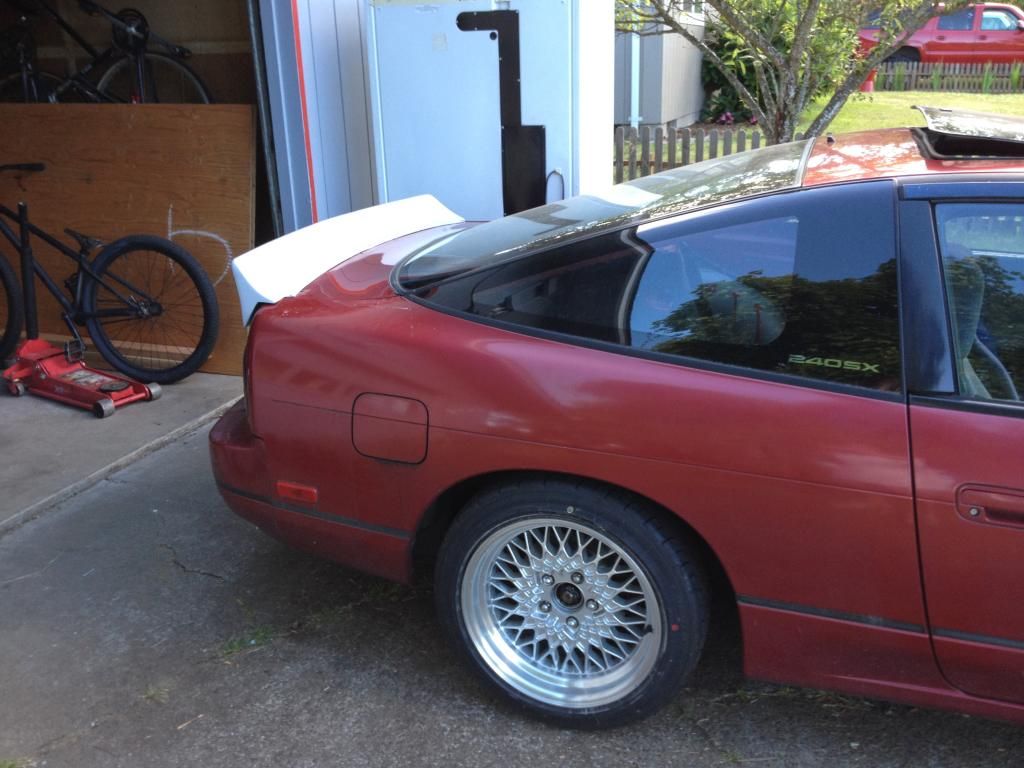
Temporarily riveted the wing only 6 rivets to see how I feel about it.
Image
Image
Image
Image
Image
Image
Image
Just for fun I threw the 04' Legacy sideskirts (S14 SE look-a-likes) on there to see what they would look like.
Image
Image
Image
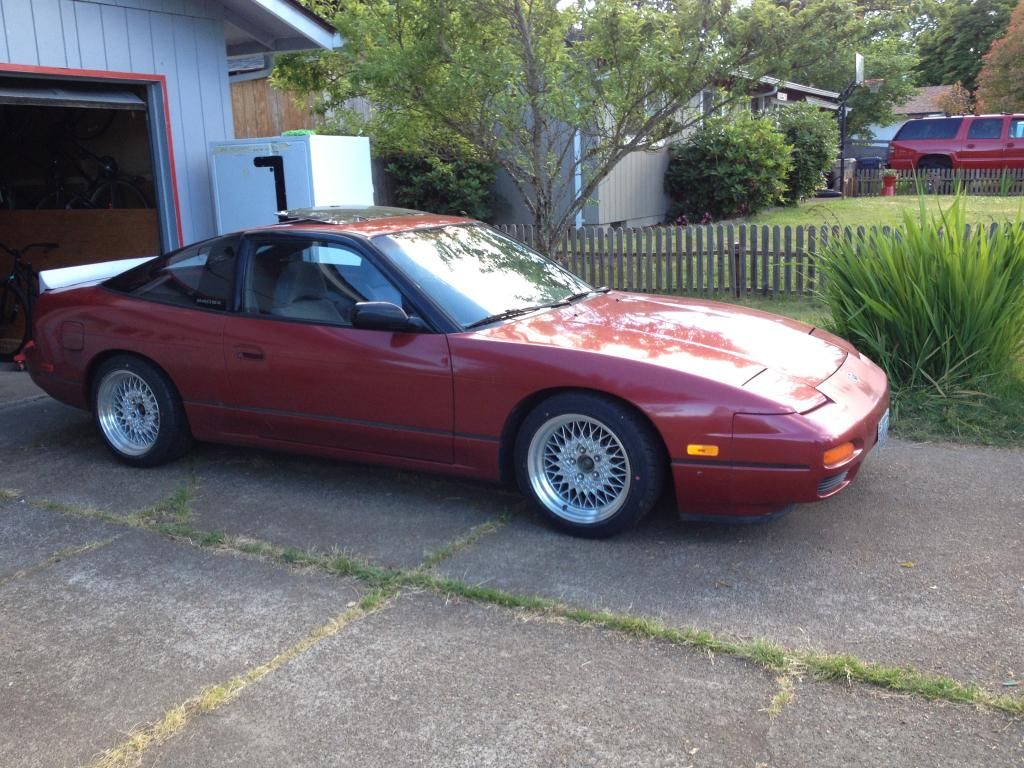
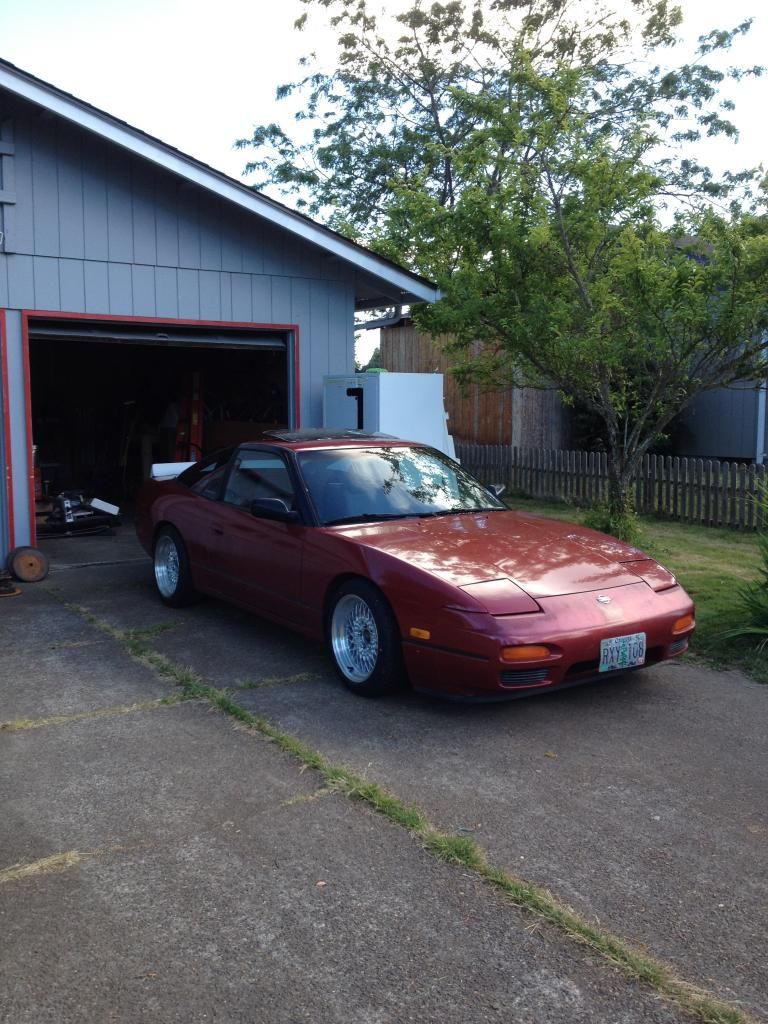
Right now I'm 'forgenst' the wing. We will see. My hatch was f*** to begin with so having drilled holes in it doesn't matter. I kinda like the wingless/skirtless look. IDK. I can always take it off and trade it for a wingless hatch + cash later if I decide I don't like it.

User avatar
hahanoonehasthisnameyet
Posts: 157
Joined: Sat Jan 19, 2008 8:58 pm
Car: 91 hatch ♥

Post

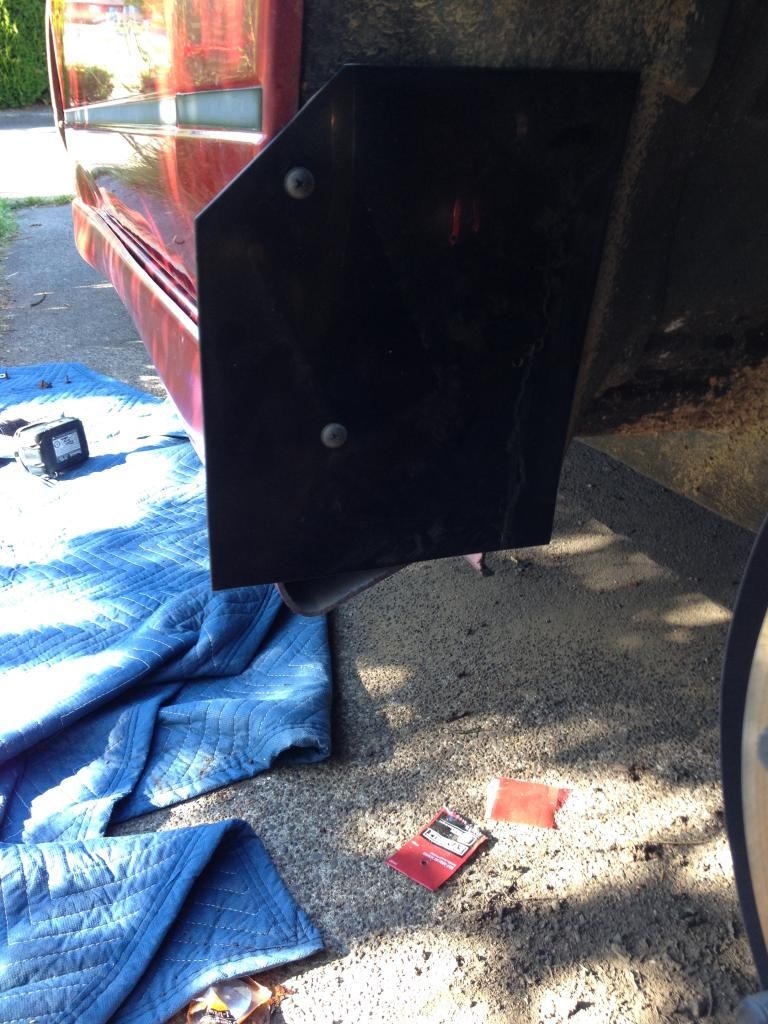
Painted and stitched my lip, baby mud flaps (still need trimming), painted and slapped them skirts on.
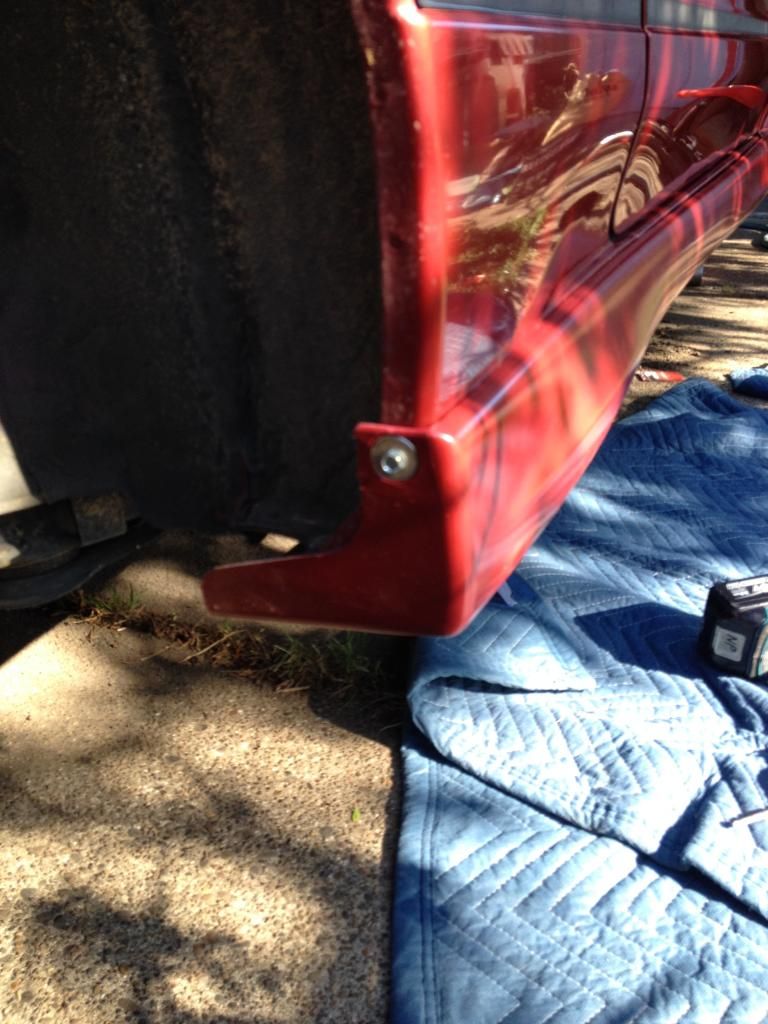
my first flap placement was a fail.
Image
notice i came up a little short leaving a gap; remember measure twice cut once kids!
Image
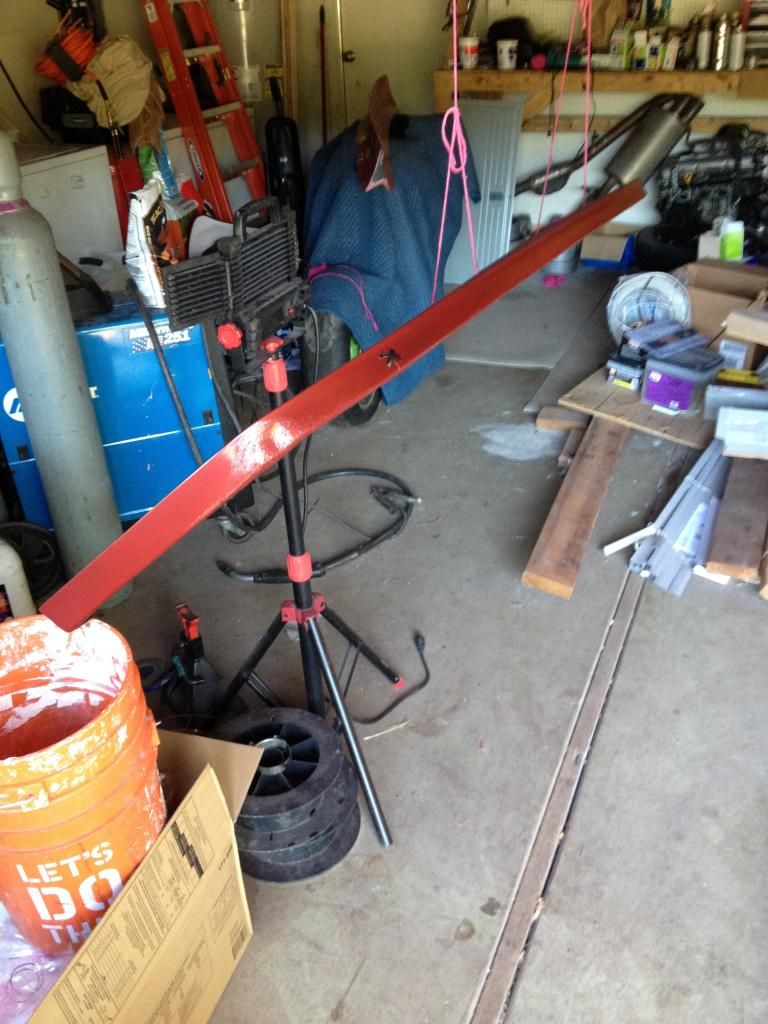
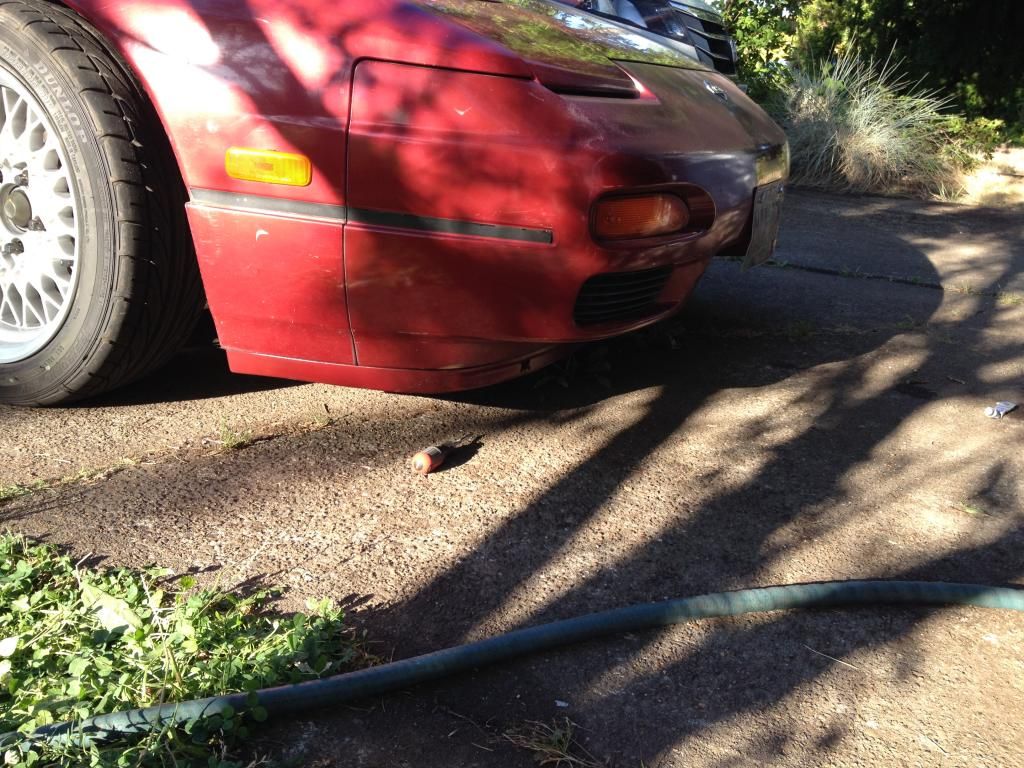
strung up and painted my oem chuki lip
Image
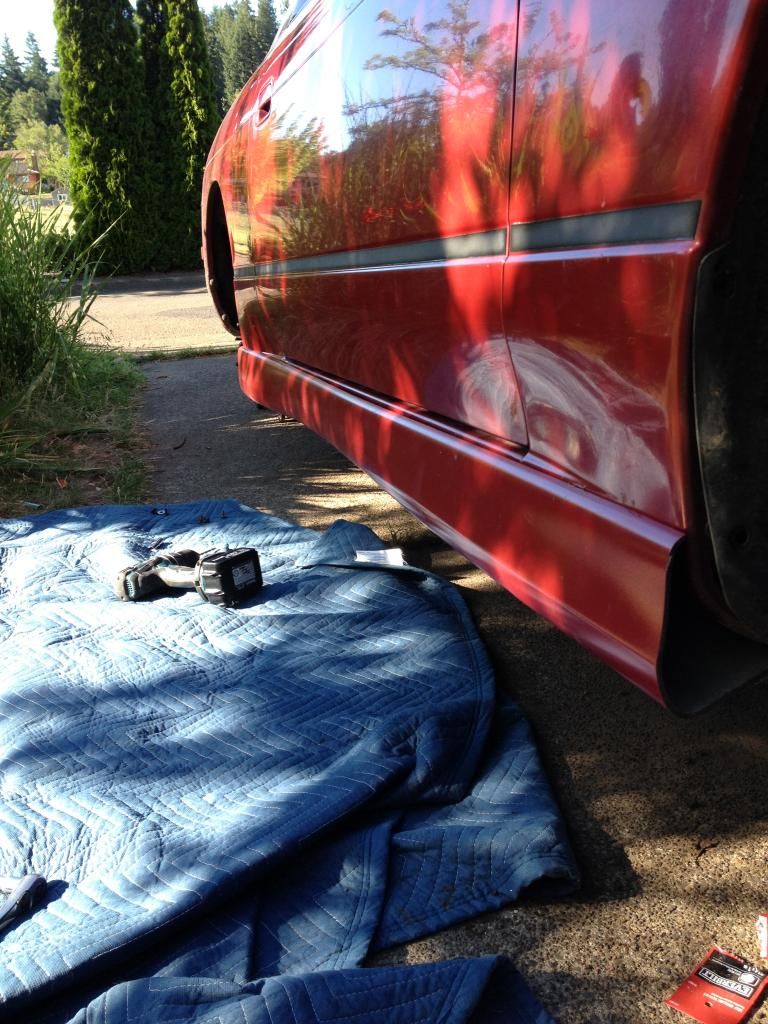
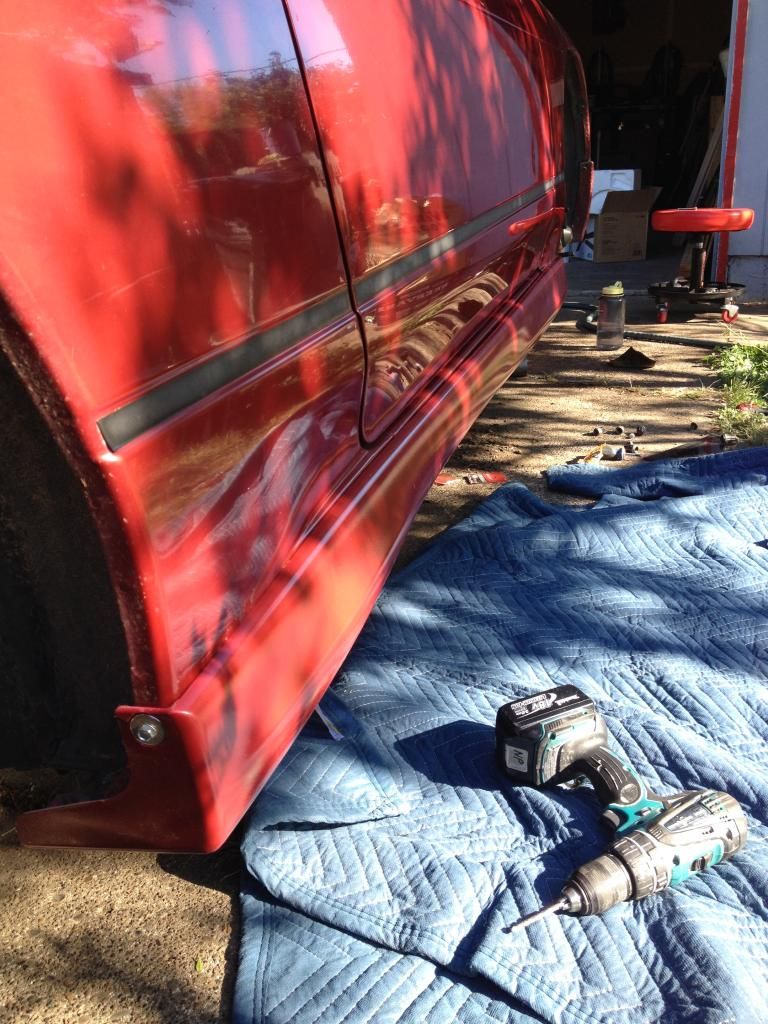
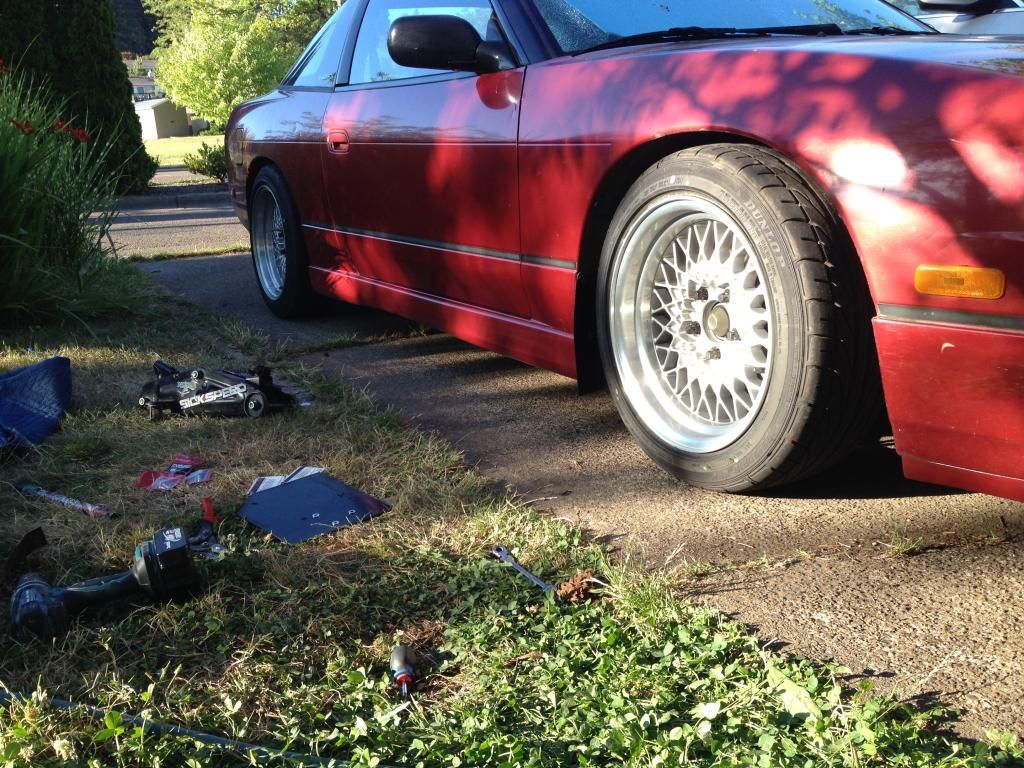
got my skirts on there
Image
Image
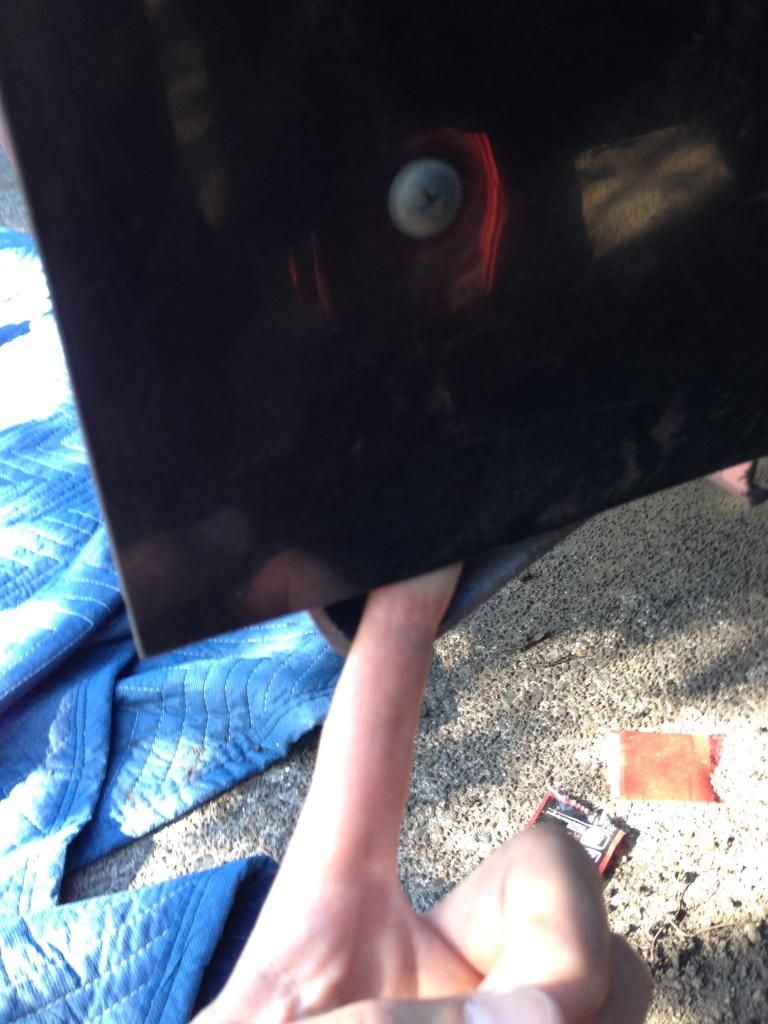
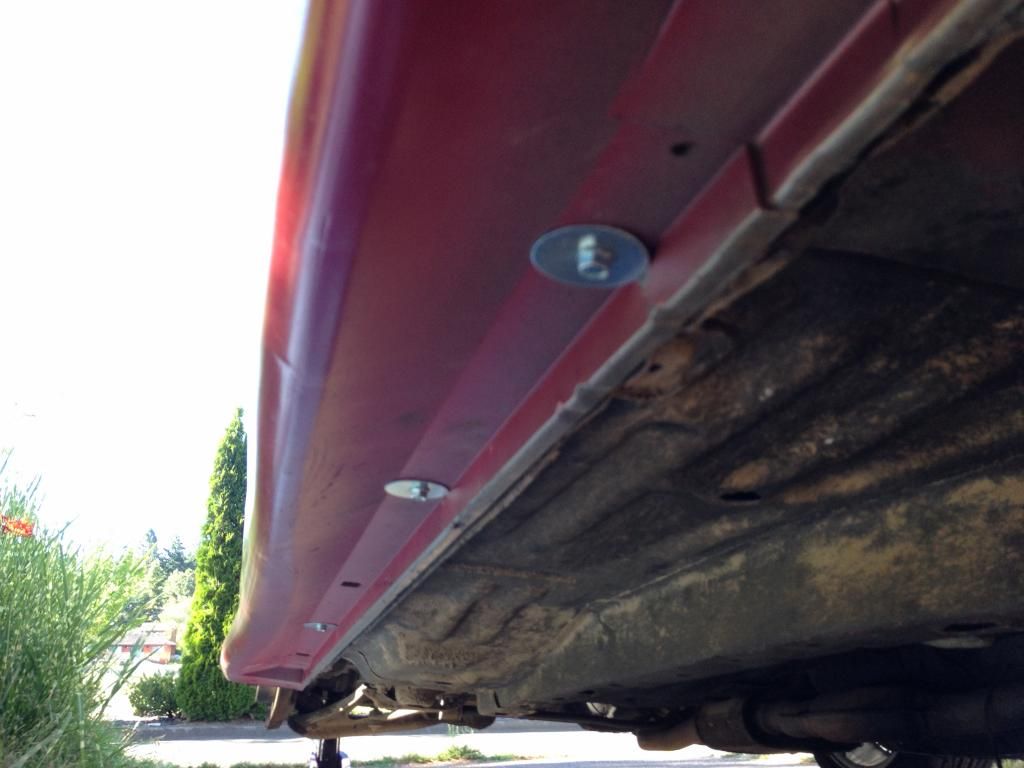
some hardware shots, could use some more later.
Image
Image
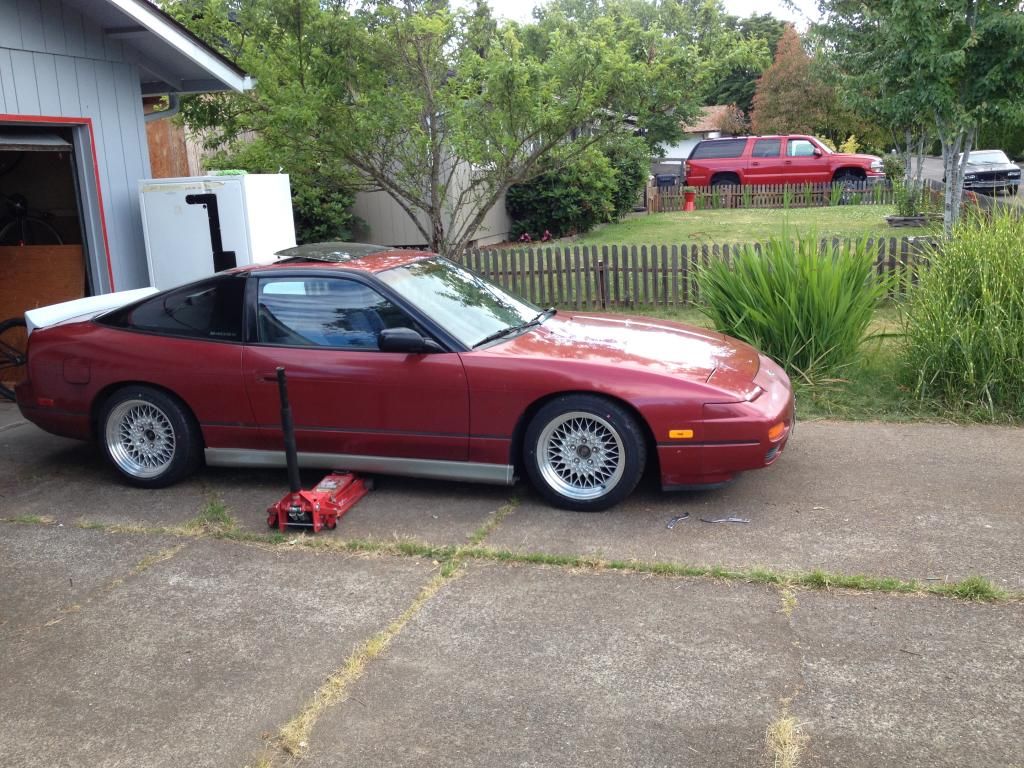
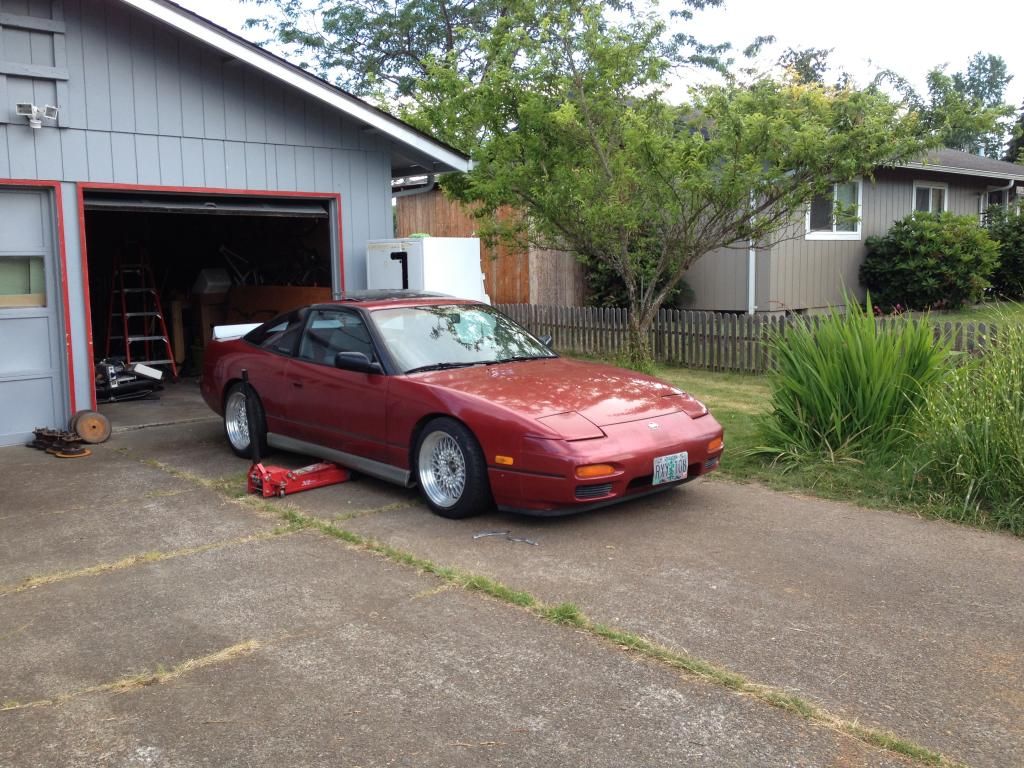
all back on the ground
Image
Image
Image
Now i need to find mud flaps for the rear :/

Fbomb19
Posts: 192
Joined: Tue Sep 14, 2010 9:15 am
Car: 1989 hatch
1996 zenki
1993 se hatch
1998 silver moss kouki
1992 base hatch
1990 hatch - CURRENT
Location: Around and about.

Post

I like the creative style youve got with your build. What are the specs and what year crown vics did those wheels come on? I might have to hunt down a set!

User avatar
hahanoonehasthisnameyet
Posts: 157
Joined: Sat Jan 19, 2008 8:58 pm
Car: 91 hatch ♥

Post

I wish I knew the year, sadly I bought them off the car with snow tires on them so I don't know exactly :( I do know they are 16x7 unsure of the back spacing or the offset I will need to measure them later. My guess is that they came off a 93-96 crown vic because the star pattern around the lugs isn't fenced in like on the newer 97-98 versions. I'm running dunlop dz101's 195/50/16's and my fenders aren't pull or rolled and I don't rub. Just lowered on coils and with no adjustable control arms either effecting the camber. The paint I also used was Plastikote GM Dark Cherry Metallic. (I only mention this for other people like me who search for pics of wheel fitment options on stock body; hope this helps someone.)

User avatar
jbracy7
Posts: 1039
Joined: Sat Jan 13, 2007 8:39 pm
Car: 94 GTS TYPE-M in a dozen pieces
Location: S.A. TX

Post

Crown Vic wheels are looking good,I'm wondering if those are heavier than stock

User avatar
hahanoonehasthisnameyet
Posts: 157
Joined: Sat Jan 19, 2008 8:58 pm
Car: 91 hatch ♥

Post

Thanks man, not sure if they are or not. I have some 15x8 w/ 5" backspacing Bart racing steelies on the way, that way I can load up what ever 15" tires I get for free and I know they will stretch considering the most common 15" tire size is 185/50-55/15. I want to have a mass armada of wheels of different sizes to load up with what ever free tires come my way. Thinking of some ugly XXR 527's just so I have a pair of wide af 17" wheels to stretch 225's on. Utility.


Return to “240sx General Discussion”