RBambler build thread

Discuss the RB20, RB25 and RB26 series engines.
bmxarmy
Posts: 254
Joined: Tue Oct 12, 2010 7:27 pm
Car: 1961 rambler

Post

Hey guys, I have pretty much lurked on the forum for over a year now and figure its time to share myself. After riding in a friends stock skyline i decided i needed an RB powered car one day. About 6 months later I had an rb in my garage. It sat for about a year until i thought i would put it in 37 ford i was building up. skip ahead one more year.....the 37 hadn't had much progress and my summer daily driver a 1961 amc rambler was starting to get tired with its all stock straight 6. After a few measurements and a couple beers, decision was made too swap the rb in to the rambler, hence rbambler! The drive line will be very simple, following alot of what kevwa has done it will be on megasquirt 2, ac and power steering aborted, cas gone, iac gone, stock coil packs aborted for the ford edis 6 system. Amongst other things as i go. as you can imagine the rb combo didnt just fit in there so some cutting was required. Anyway enough long wind, heres some pics and i look forward to the help with some of the stupid questions i will have as we get this thing running!

stock rambler the day my grandpa forwarded it to me
Image

on airbags with the roof painted
Image

some stripping to add character
Image
Image

the old
Image

the new
Image
Image

the giant hole i had to cut to make her fit
Image

starting to make the new panels
Image
Image
Image
Image


the above pictures were from the last weeks progress. The rest is tonight's progress with hopefully more to follow this weekend.

inter cooler mount.
Image
Image

fitting up the new radiator
Image
Image

and finally a pic of the motor as it sits.
Image

also the custom coil cover i made. I'm not concerned about heat as the coil packs wont be under there, the edis system has a single pack that i will mount else were and just have spark plug wires running in the back of the cover.

Image
Image

if anyone is interested in the coil covers i could make more, adding vents or dimple die holes or something to aid in cooling, let me know and i may make a few. More updates to follow.


User avatar
l0nestar
Posts: 2251
Joined: Fri Mar 10, 2006 5:24 am
Car: 1993 250sx, 2004 Altezza, 1963 Impala SS
Contact:

Post

I like.. alot! Definitely unique! What airbag system did you use? Also some info on the 37.. :)

Welcome and thanks for posting!

bmxarmy
Posts: 254
Joined: Tue Oct 12, 2010 7:27 pm
Car: 1961 rambler

Post

For the bags I used slam specialties bags and an old york engine driven compressor of a volvo. I hate electric compressors they are always so loud and slow. I just made the brackets for the whole thing, just kinda mimicking the stock springs. I used the stock shocks and that's about it. The 37 is a retirement project...it was to cheap to pass up I have always liked them, so now it sits in the shop till time and money allow for a proper build. I can look for some pics of it when i was working on it.

bigfootap
Posts: 104
Joined: Wed Jul 15, 2009 5:15 pm
Car: 1991 240sx coupe

Post

I like the coil cover a lot, would it work on an rb20 too?

bmxarmy
Posts: 254
Joined: Tue Oct 12, 2010 7:27 pm
Car: 1961 rambler

Post

not certain about an rb20... I only have a 25, I'm sure someone could verify if it would or not.

flatrate
Posts: 274
Joined: Sun Aug 30, 2009 9:52 pm
Car: S14 kouki

Post

this is awesome.. i like it, any plans for engine upgrades?

User avatar
HxC_Nismo
Posts: 1036
Joined: Sat Sep 23, 2006 10:26 am
Car: 98' Nissan 240sx SE R33 RB26DET, 07' Nissan Titan SE, 05' Toyota Corolla
Location: Missouri
Contact:

Post

thats pretty awesome build man

bmxarmy
Posts: 254
Joined: Tue Oct 12, 2010 7:27 pm
Car: 1961 rambler

Post

Saturdays update.... i got the old rear end out of the car, it had a torque tube before as you can see the existing setup wasn't gonna work so good with the rb.

Image

fabbed up the new rear ladder bars. to hold up the new rearend.

Image

made a new cross member to attach the new ladder bars too, and to support the rear end. The car is a unibody so there isn't a lot of places to support anything, you can see the extra plates i put in and i plan on adding some more gussets to it once i finish welding it all in there.

Image

I cleaned up the possible candidate for a rear end. It is 2" wider than the original but I am hoping to find some new rims that are 1" offset different to make up for it.

Image

i had it in a different project before so i had to plasma off the old brackets and clean it all up

Image

I also finished up the radiator mount.

Image
Image

Finished up welding the floor and firewall in and seam sealed it all and sprayed it with a light layer of cascade audio sound dampener.

Image

Image

Image

I really like how the new radiator and inter cooler turned out and it shouldn't be to check me out.

Image
Image

Also noob rb question. What is the sensor in the center of the following picture? and looking at the adjustable cam gears, mostly just for looks but i took off both of mine to clean them up and the one has like an oil passage in it and a spring, is this maybe for variable cam timing? It looks like the adjustable cam gears eliminate this.

Image

And a parting shot of the mega squirt. Sundays project will be to build it up a lot further than now, the following pic is old, I have the board approximately half done now.

Image

ItzGenX
Posts: 1204
Joined: Wed Sep 04, 2002 7:46 pm
Car: Smoke Purple 95' S14.5. Powered by the "Iron Man".
Location: Gulfport, MS
Contact:

Post

Wow, I admire your work here. I wish I could fab half as good as you lol.

User avatar
HxC_Nismo
Posts: 1036
Joined: Sat Sep 23, 2006 10:26 am
Car: 98' Nissan 240sx SE R33 RB26DET, 07' Nissan Titan SE, 05' Toyota Corolla
Location: Missouri
Contact:

Post

wow very nice, bawler status

bmxarmy
Posts: 254
Joined: Tue Oct 12, 2010 7:27 pm
Car: 1961 rambler

Post

thanks for the kind words guys, it is appreciated. Can anyone help me out with that sensor near the cam gears? also if the adjustable ones eliminate that oil passage and spring thing inside the one stock gear. thanks a bunch...I got a lot done on the megasquirt today and should have it finished up soon.

flatrate
Posts: 274
Joined: Sun Aug 30, 2009 9:52 pm
Car: S14 kouki

Post

thats the VCT solenoid, it operates the varible cam timing

User avatar
Cjmartz2k
Posts: 1845
Joined: Sat May 19, 2007 1:39 pm
Car: Hunting for a '89 GTR now
Location: Okinawa, Japan

Post

flatrate wrote:thats the VCT solenoid, it operates the varible cam timing
This.


Great project! What was in it before? AMC I6?

bmxarmy
Posts: 254
Joined: Tue Oct 12, 2010 7:27 pm
Car: 1961 rambler

Post

okay thanks on the vct, can i remove the solenoid and cap the hole? i am assuming this doesn't work anyways once you install adjustable cam gears. As far as the old motor....to be honest i don't know what it was! I know it was stock, and i also there was know there was never an oil filter! 60000 miles on her too and it still ran great.

Image
Image

bmxarmy
Posts: 254
Joined: Tue Oct 12, 2010 7:27 pm
Car: 1961 rambler

Post

Quick update time!!! I LOVE shiny bits! A good friend was over about a week ago and I asked his input on how to mount the 36-1 trigger wheel (for the EDIS system) to the stock dampener/lower pulley assembly. After a brief discussion he took the the 2 pieces home with him and showed up with this the next day!

Image
Image
Image

I also love having friends that are extremely willing to help out and even more skilled :biggrin:

I have not spent a ton of time in the garage this week but i did manage to finish the megasquirt.

Image
Image
Image

that's all for now, hopefully this weekend I will have time to tackle the booster and clutch master cylinder.

mixeds14
Posts: 601
Joined: Tue Feb 26, 2008 12:44 pm
Car: 240
Location: nc

Post

ur car is awsome, its goin to be cool when u get it done n u go out for a drive, n look a the peoples face when they hear it boosting.. :yesnod i bet thats goin to make them wonder. :chuckle:

bluzgirl
Posts: 34
Joined: Thu Feb 17, 2011 8:36 pm
Car: 93 240sx with an sr20 swap
87 s10 with a 350

Post

that is awesome! i love the idea.

ItzGenX
Posts: 1204
Joined: Wed Sep 04, 2002 7:46 pm
Car: Smoke Purple 95' S14.5. Powered by the "Iron Man".
Location: Gulfport, MS
Contact:

Post

I couldn't help but wonder one of your 'secrets'. What are your methods for measuring and bending sheet metal the way that you do? I see round cone arching for the tunnel and nice kink bends on other things. You even have those circle punched holes for added strength and lighter weight on certain things. I'm new to manipulating metal outside of torching and bending methods lol. Hell, I used to cut metal with a grinder before I discovered plasma cutters and cold cut bladed chop saws.

bmxarmy
Posts: 254
Joined: Tue Oct 12, 2010 7:27 pm
Car: 1961 rambler

Post

Ill take some pictures of my "secrets" today. Not that long ago I was a crude metal shaper as well. I don't know what happened but it sorta became a passion of mine to make things nice and fit really well. I recently got a tig for xmas as well and that only made me want things to fit even better, and look the same.

bmxarmy
Posts: 254
Joined: Tue Oct 12, 2010 7:27 pm
Car: 1961 rambler

Post

Well time for a weekend update. This weekend is family day long weekend in Alberta, Canada, so i will likely have another update after monday if all works out as planned. As for now here is what got done so far.

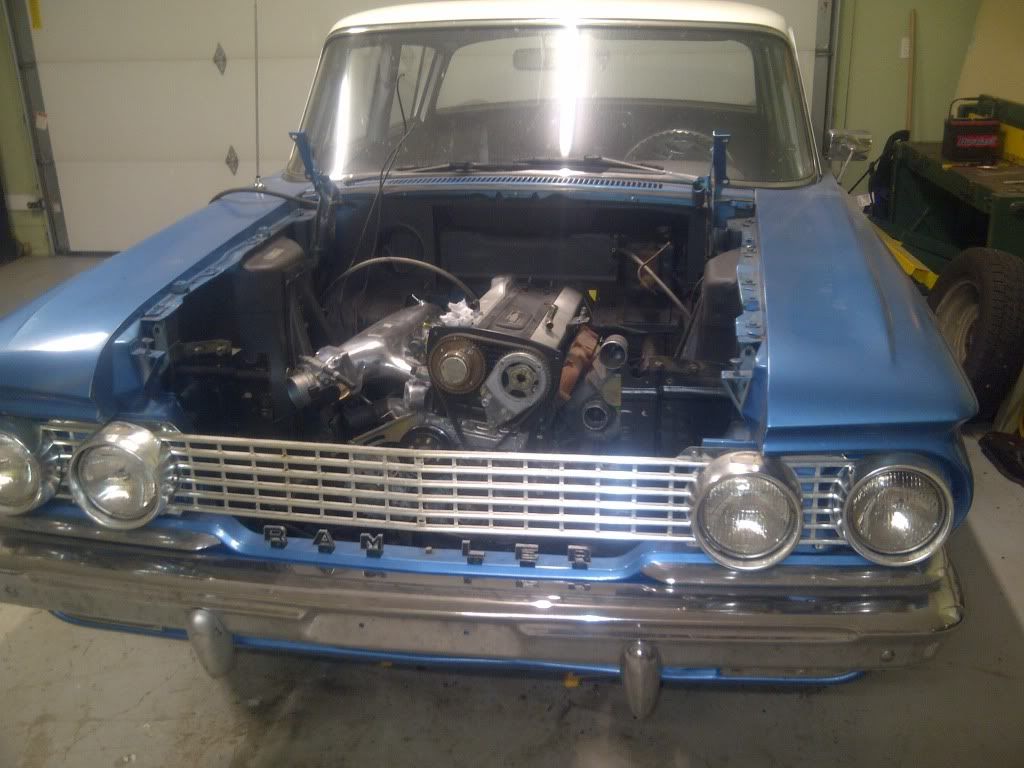
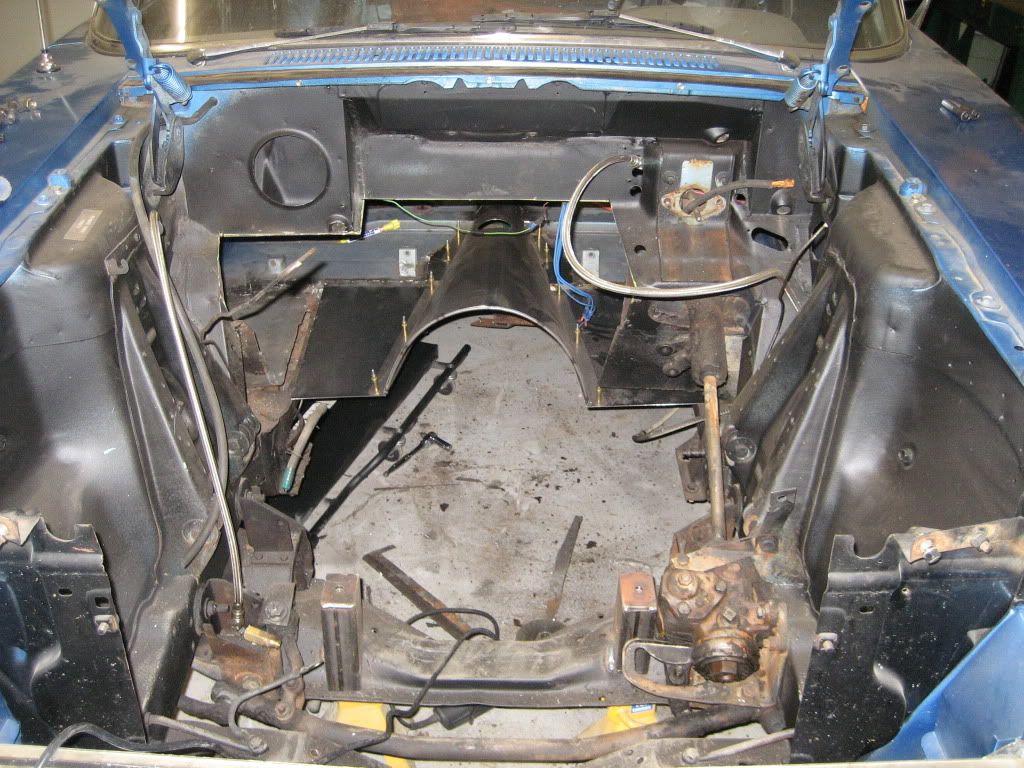
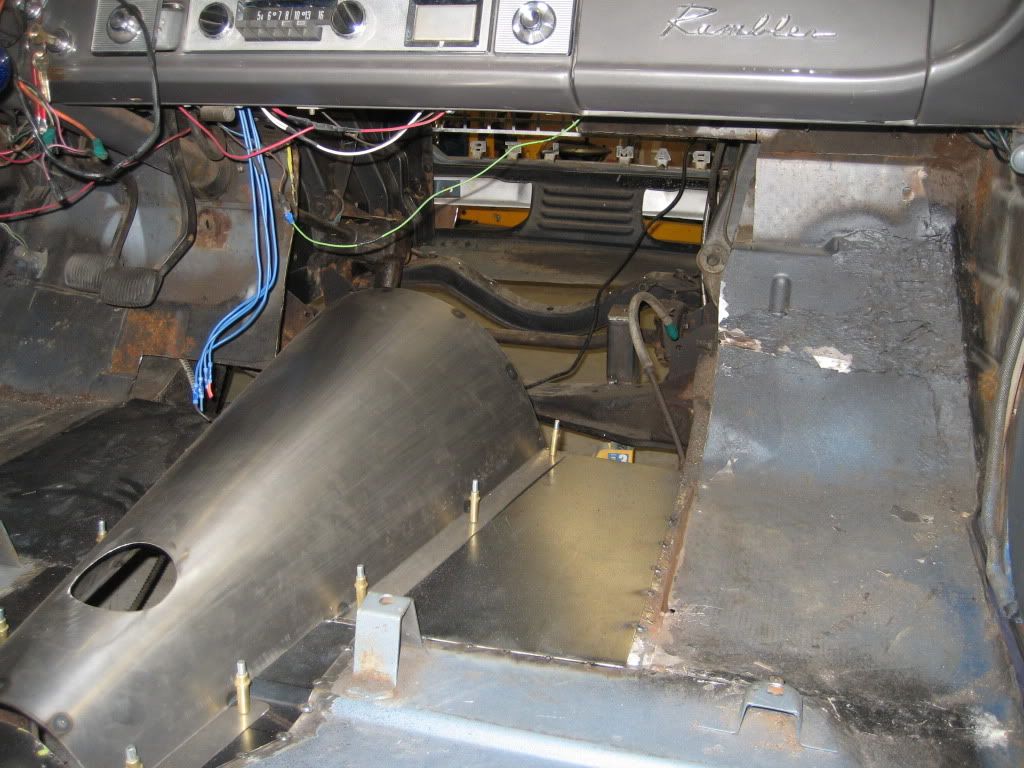
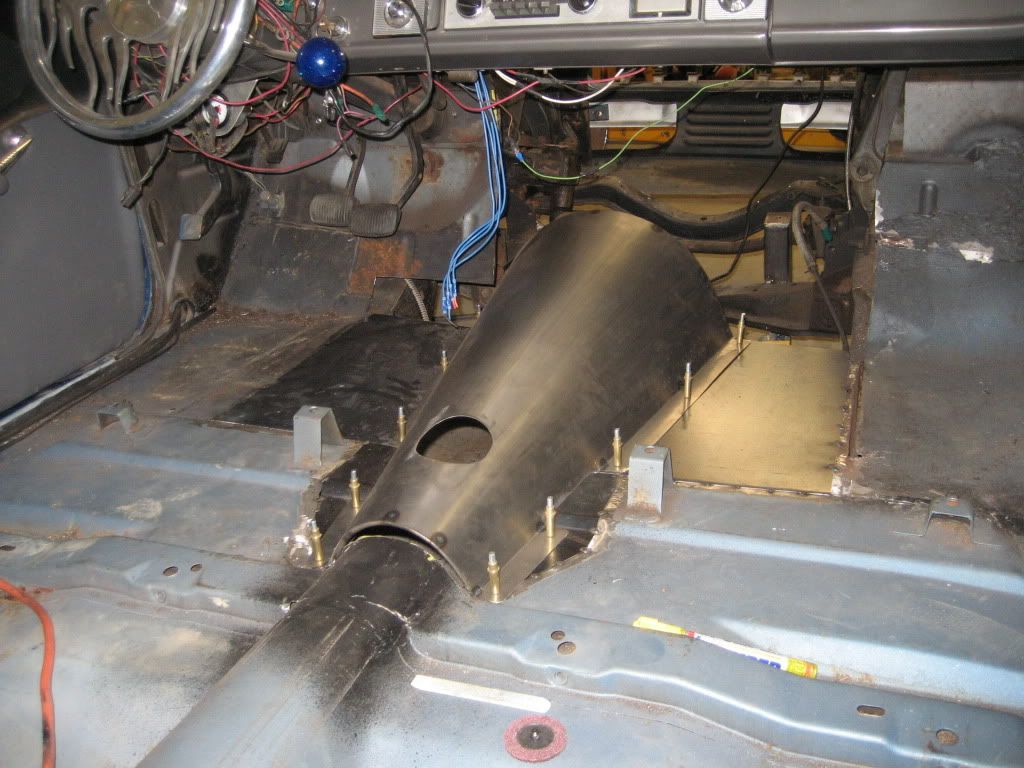
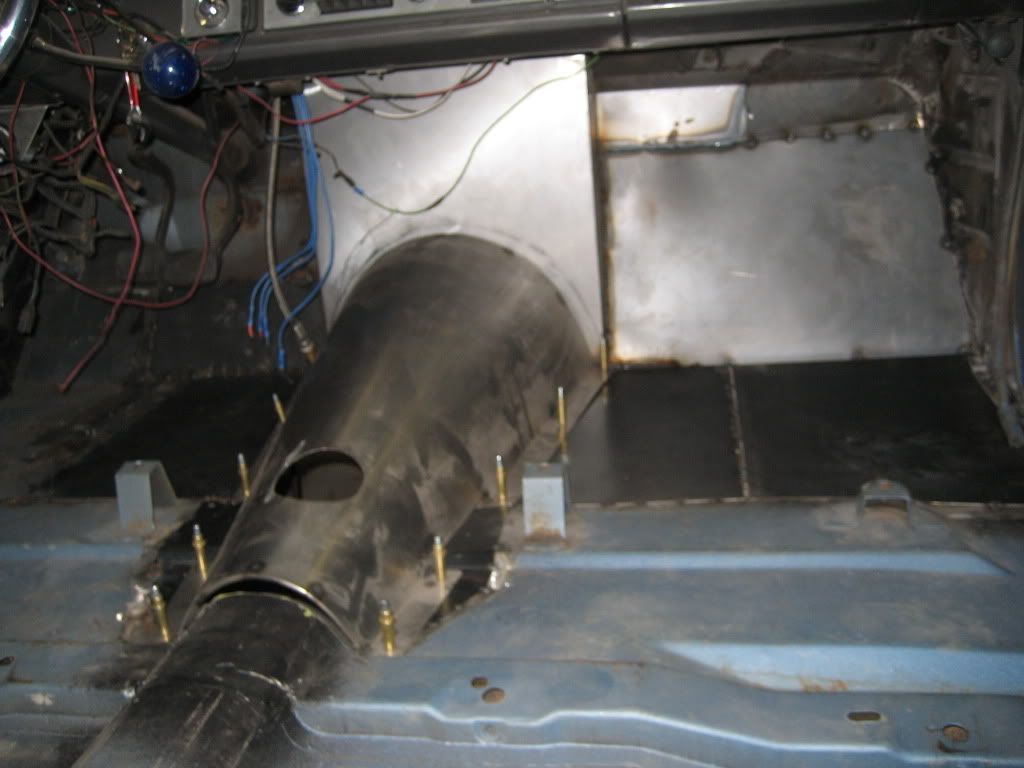
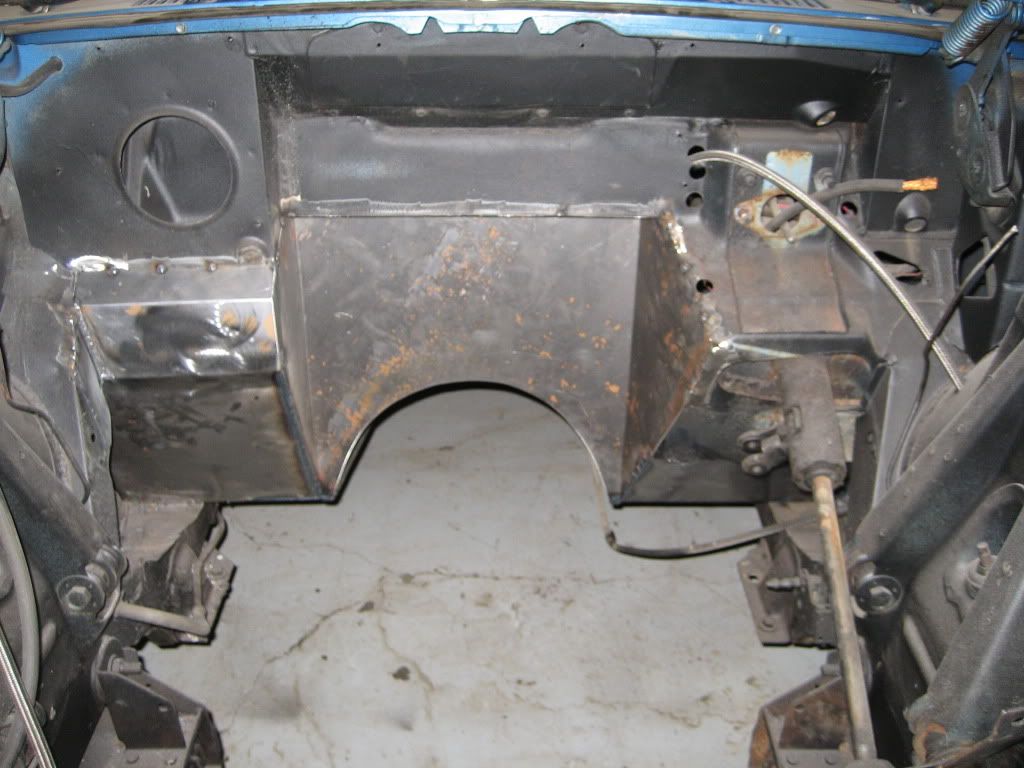
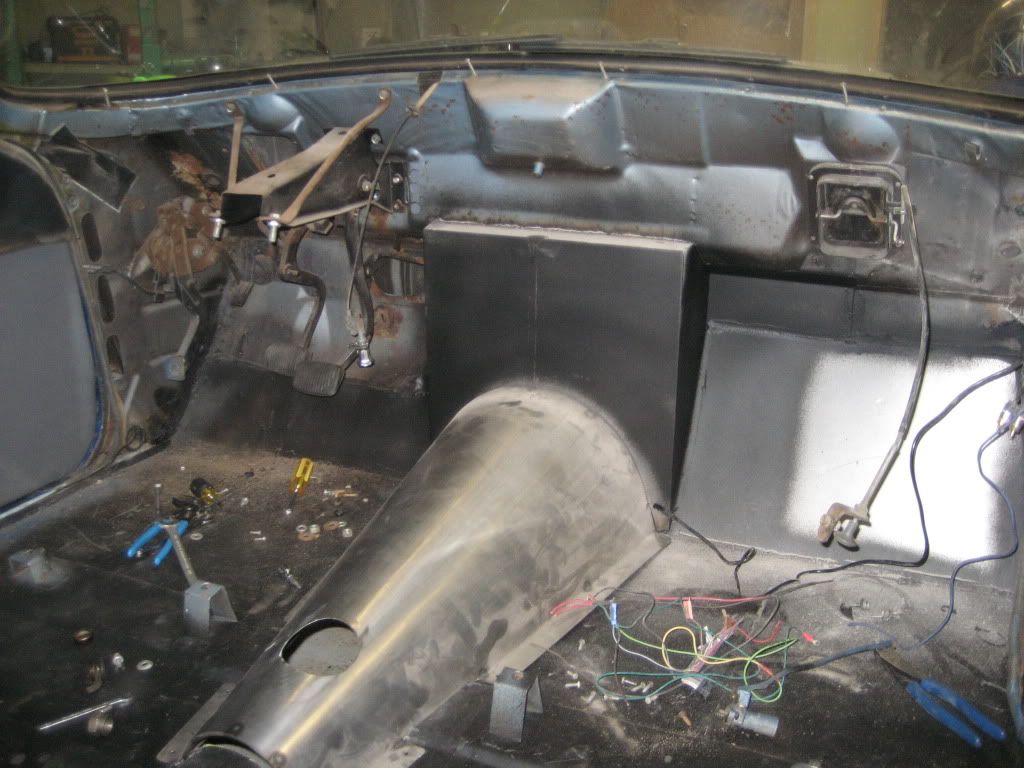
I removed the dash from the car to get all the wiring out, something I should have done alot earlier.

Image
Image

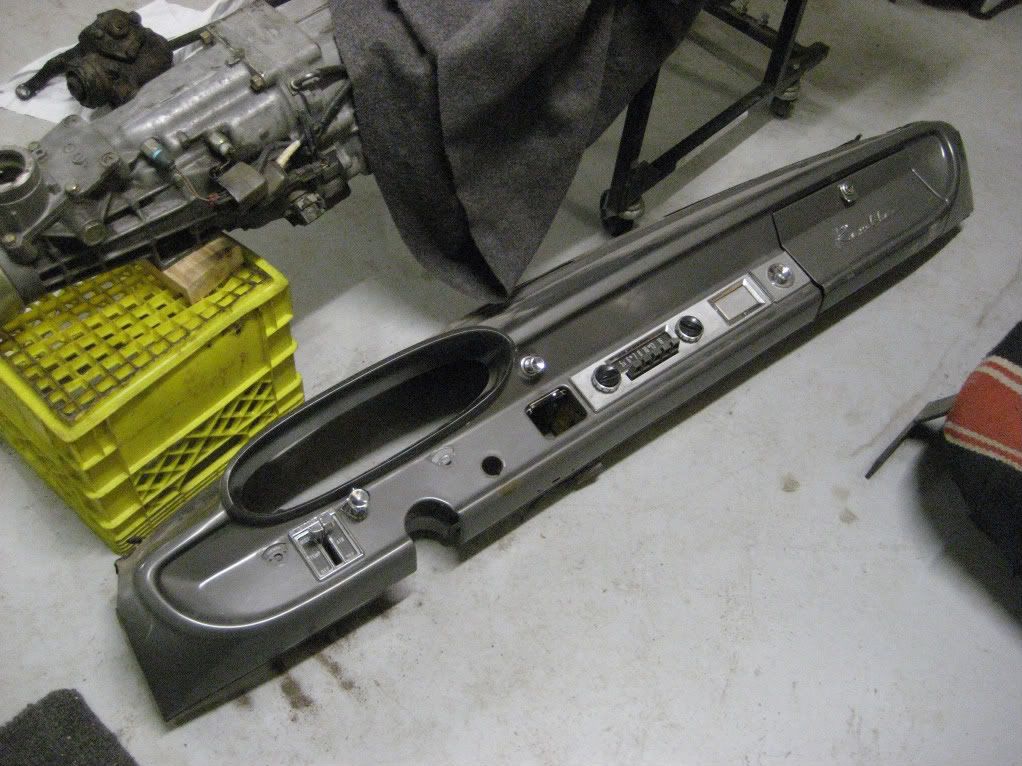
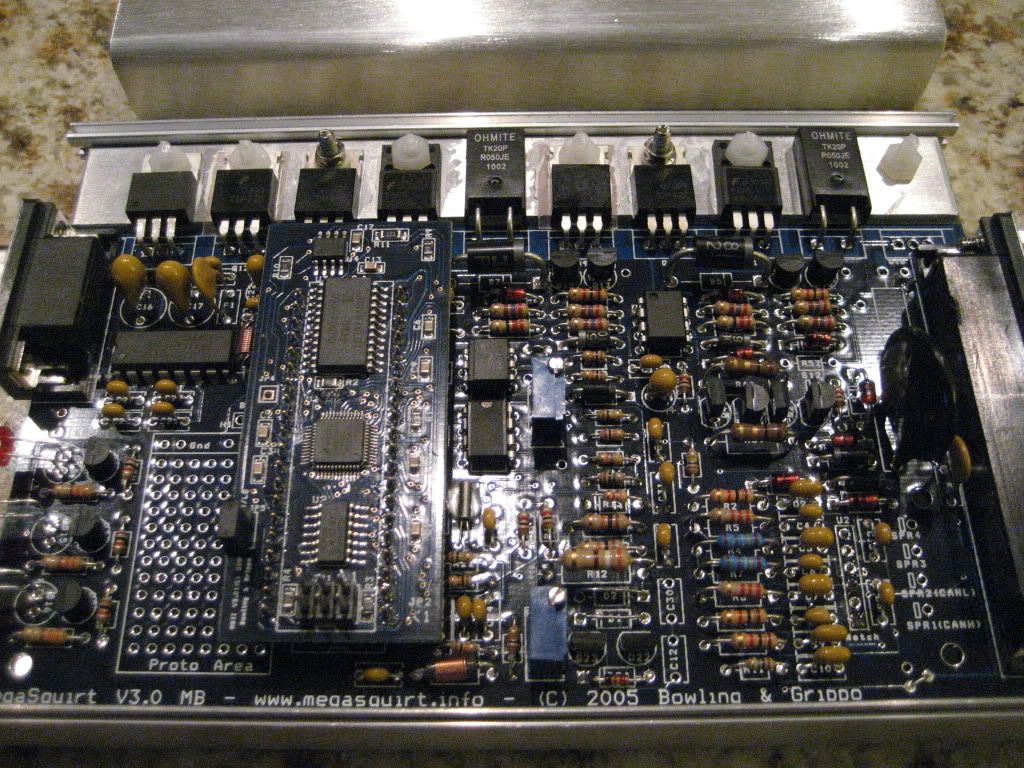
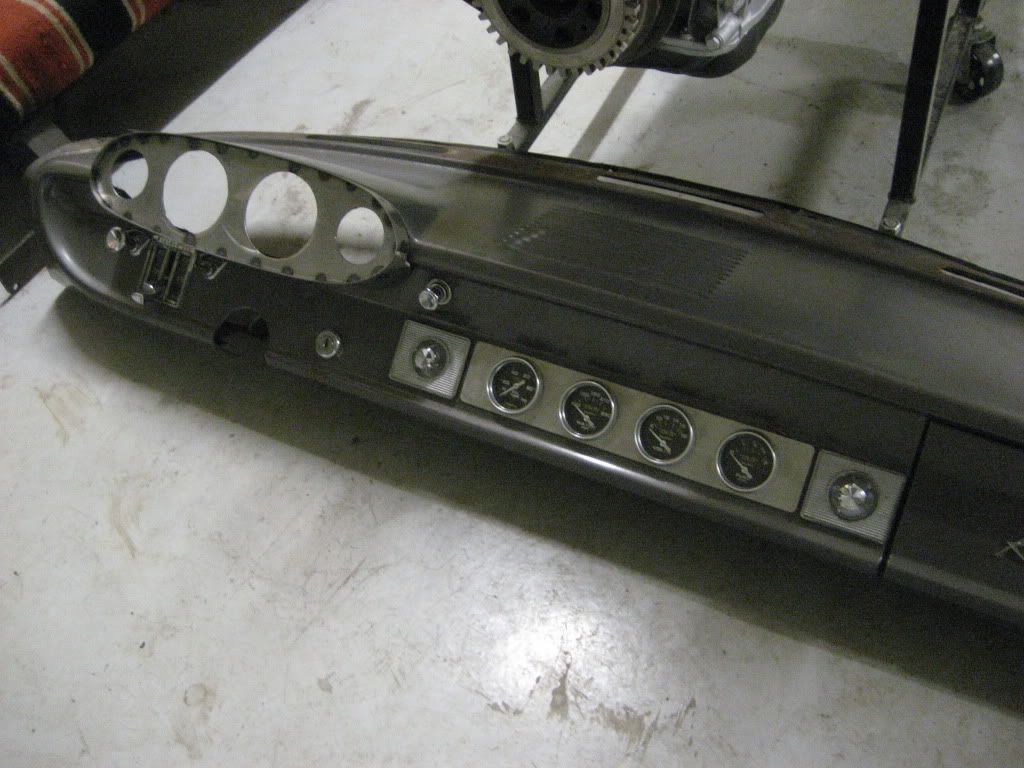
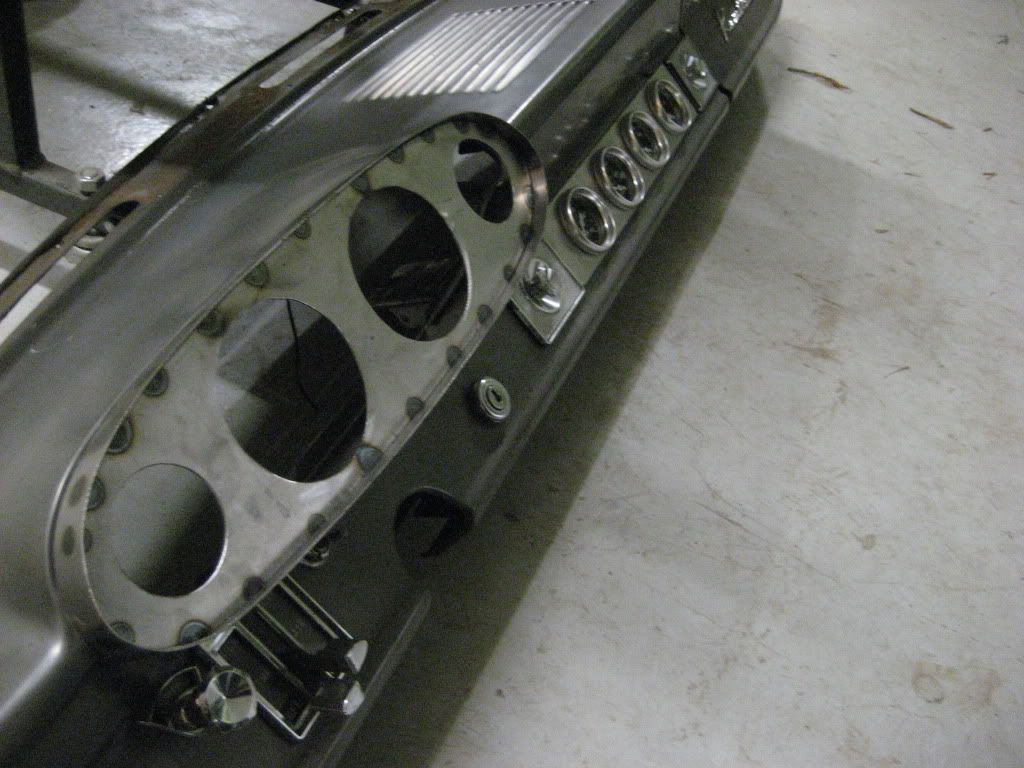
the plan will be to fab up a way to fit new gauges into the existing gauge hole. Kinda s*** cause its all pot metal so welding anything is gonna suck. Side note, Does anybody know how to hook up an autometer style speedo to the rb tranny? Does the stock speedo sender work? Help would be appreciated!

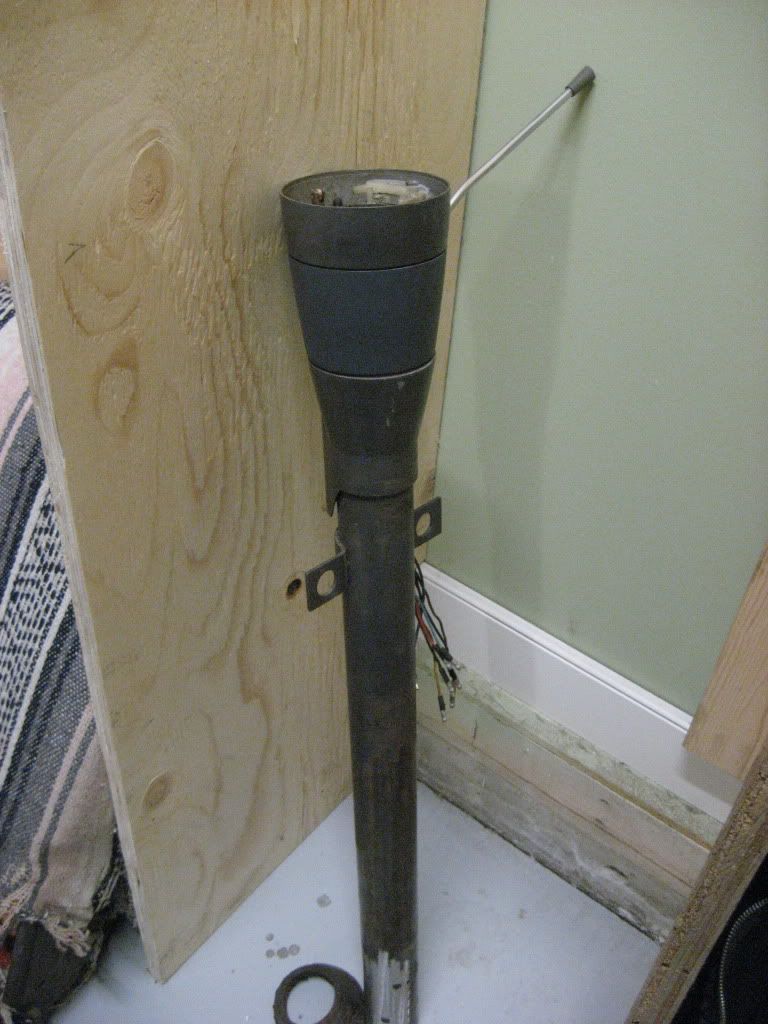
Next I removed the steering column for modifications, The stock car had a 3 in the tree, so i wanted to remove the old shifter arm and get rid of the linkage that stuck out of the column in the engine bay. I also fabbed a new bracket for the new brake booster and clutch cylinder. A friend gave me a 300zx clutch reservoir so i am hoping it will work with the rb trans. I got it all fit up and i just need to hook it up the pedals.

Image

i didn't take a picture of the column before i started but here it is all fixed up. ItzGenX i plan on installing this again to steer. I have started working on wireless steering but i havent got it quite right yet! hahaha

Image

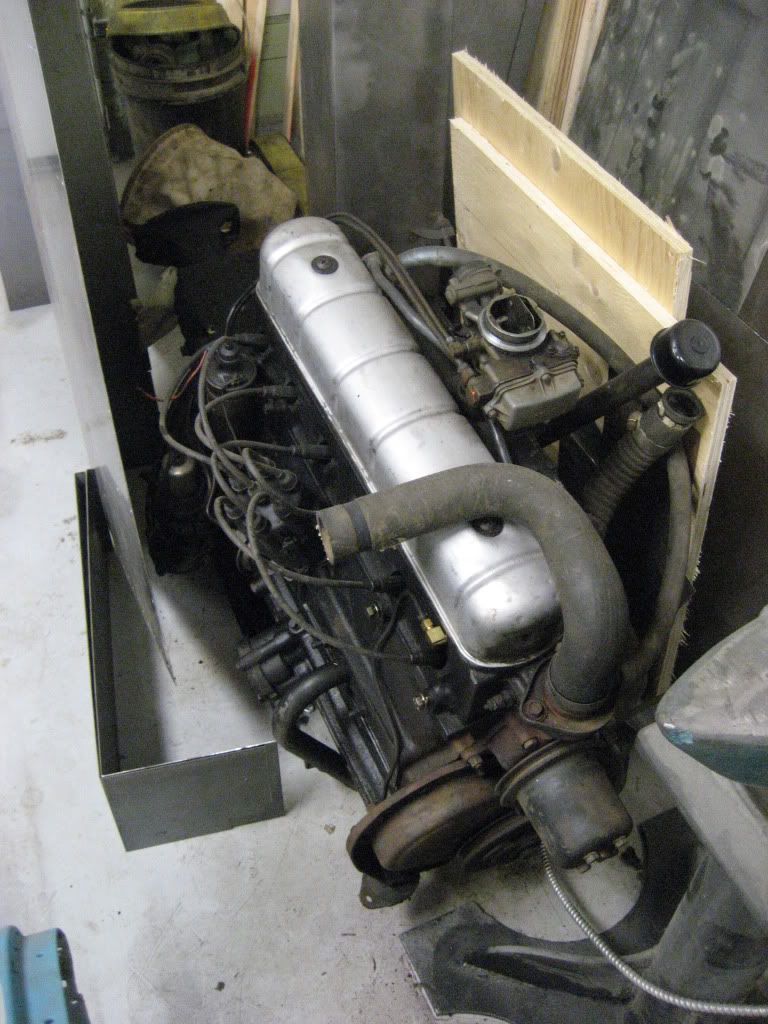
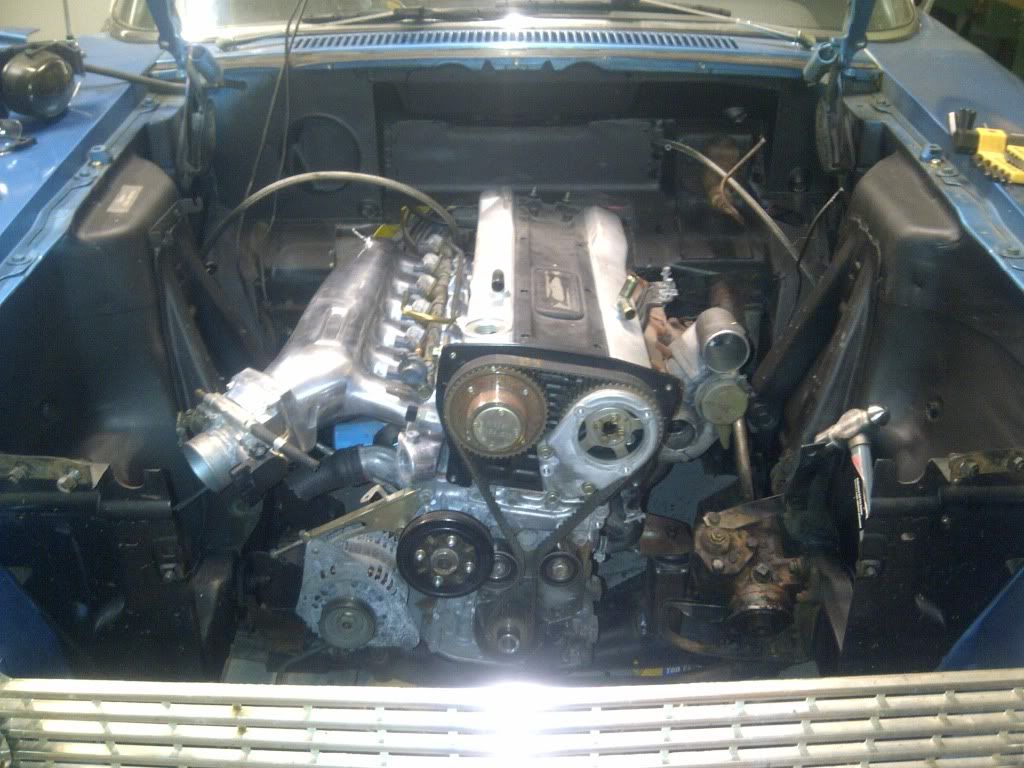
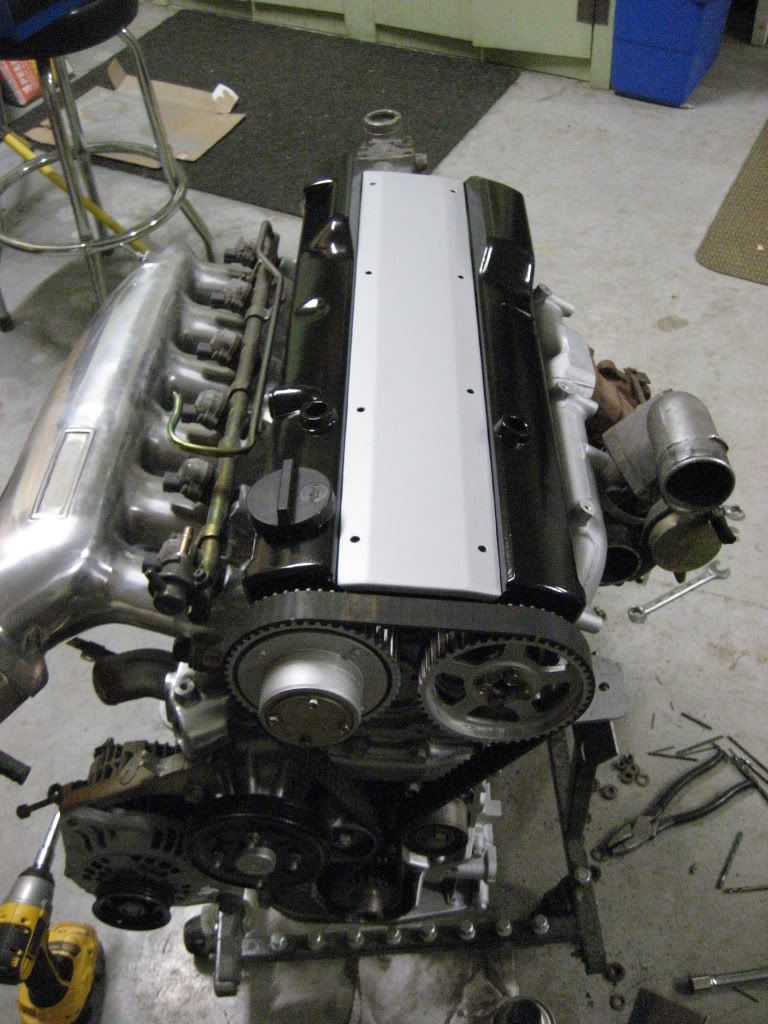
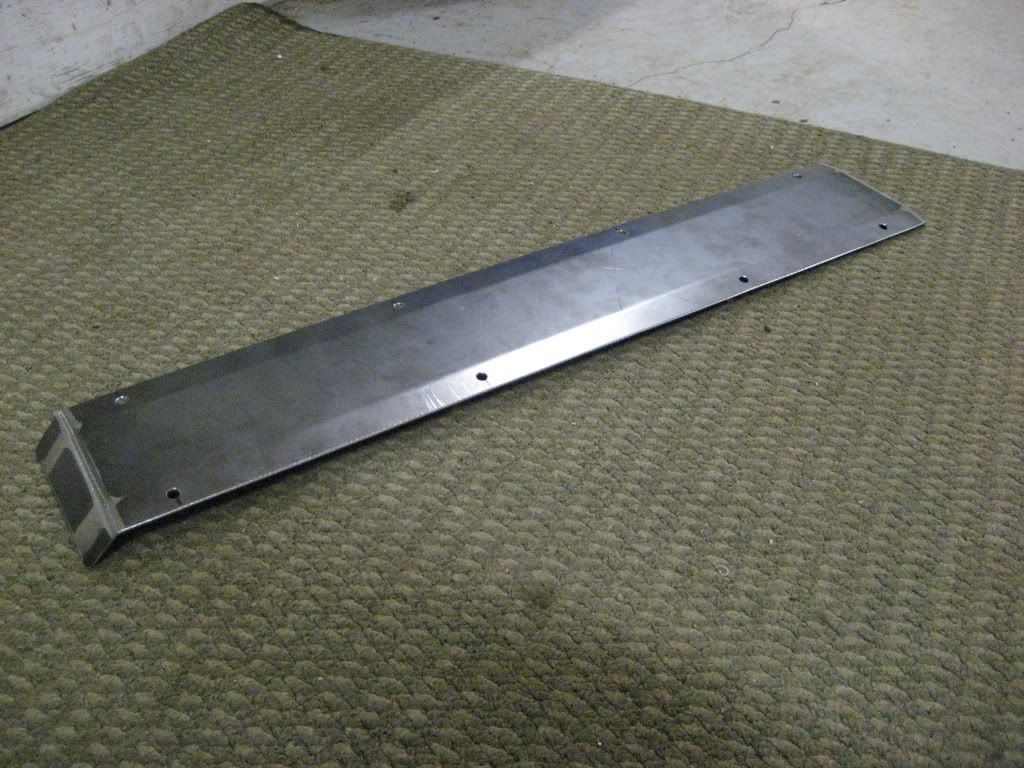
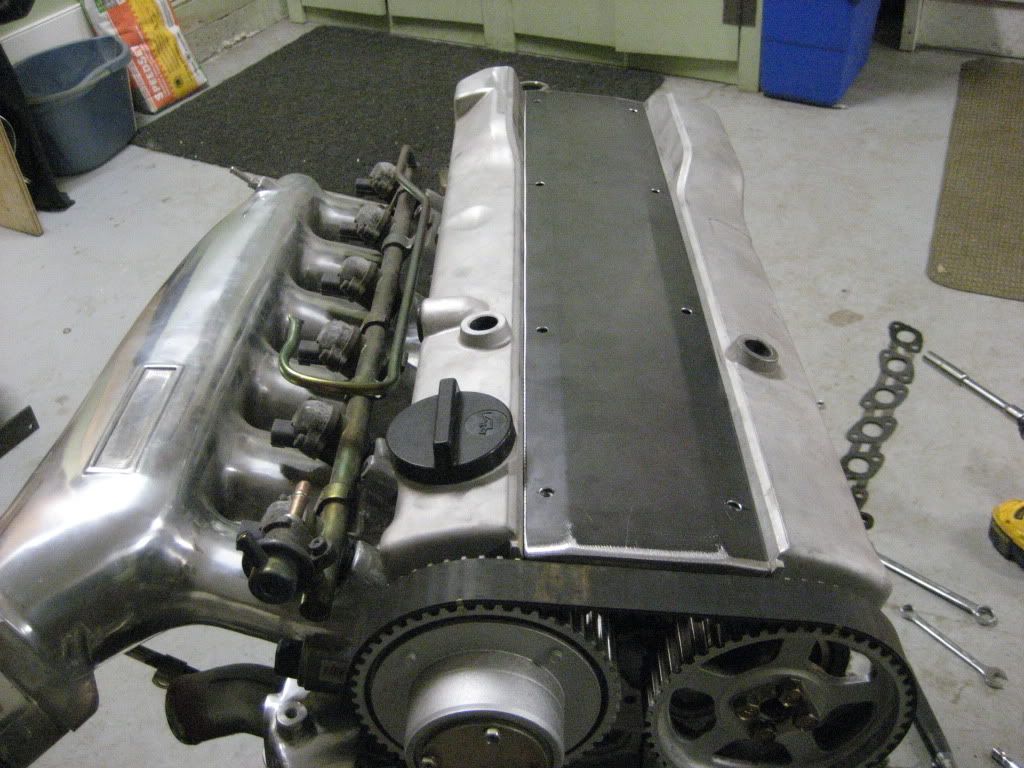
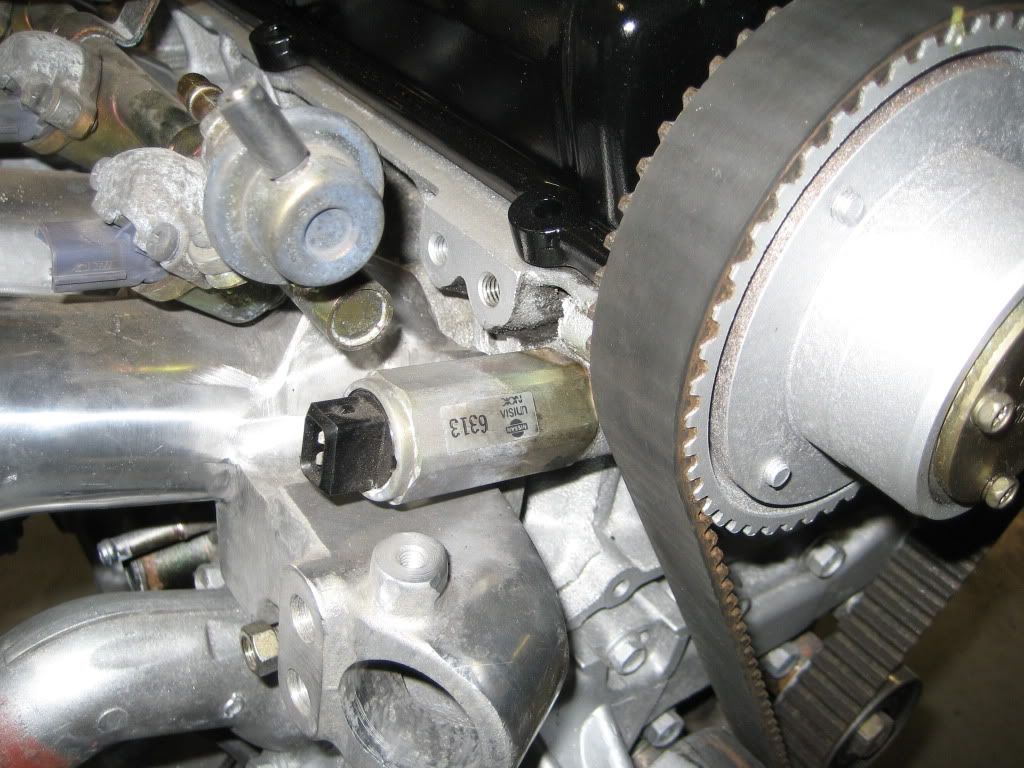
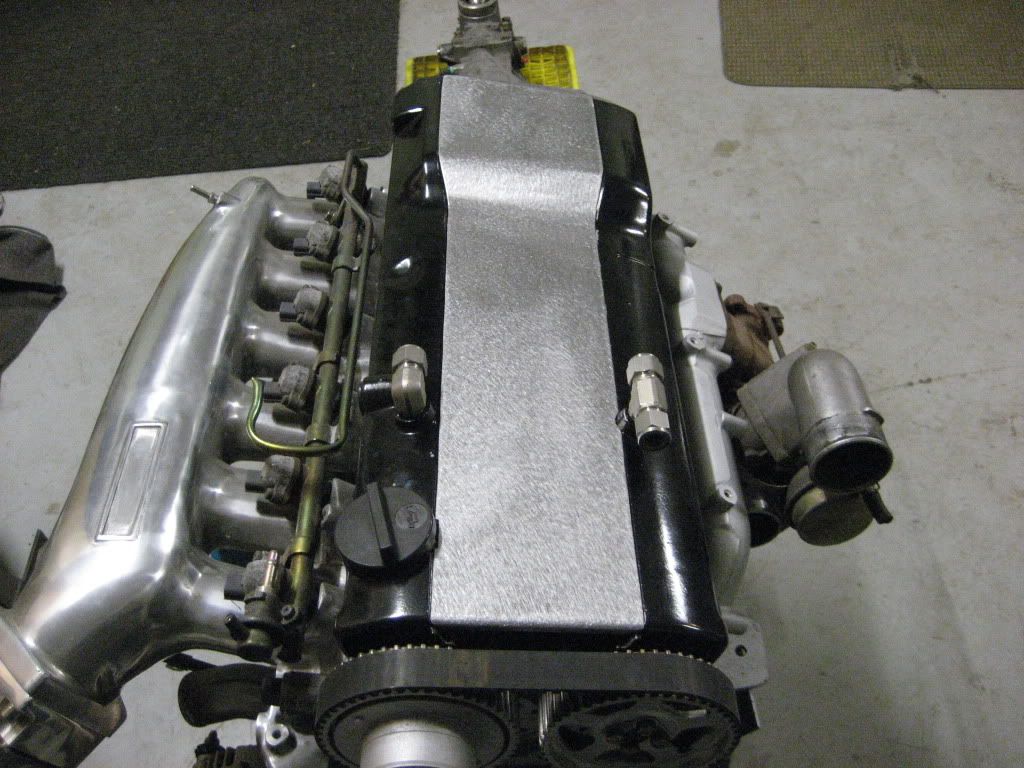
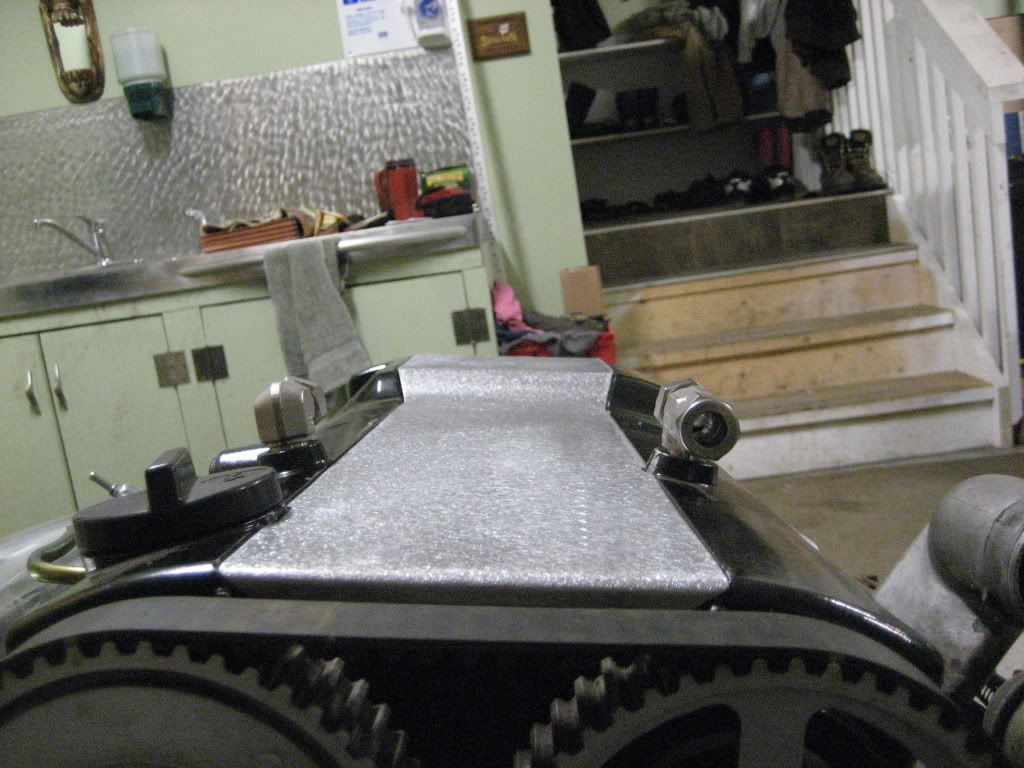
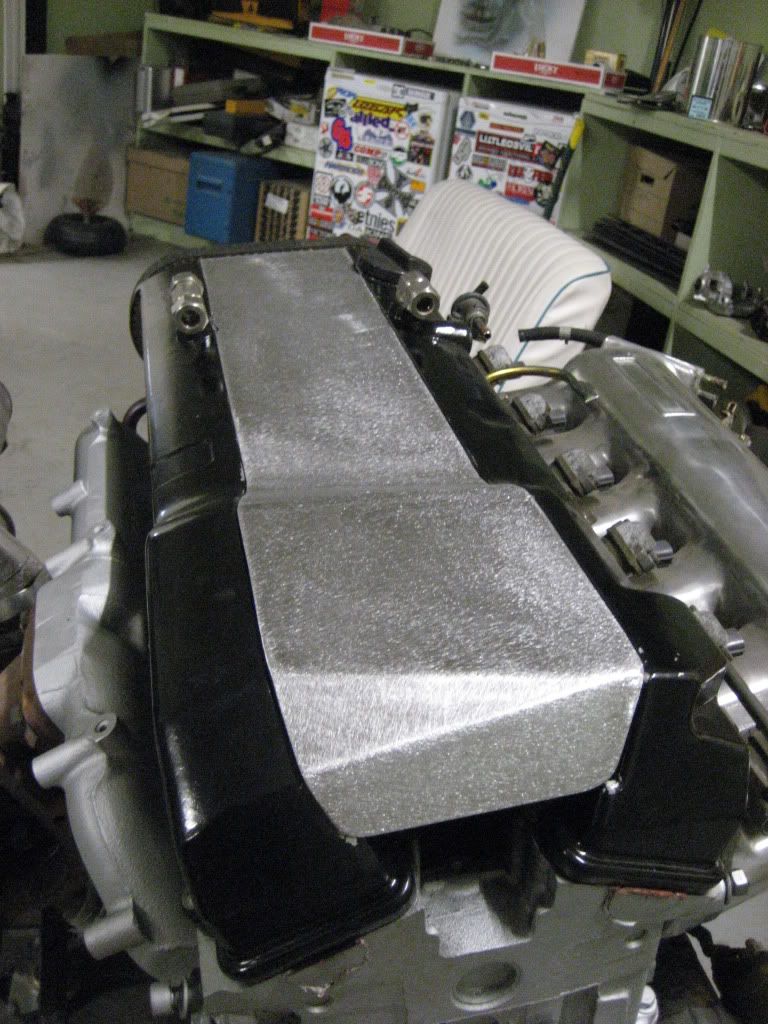
the only other thing i did was tap the cam covers for stainless fittings, I always hated the stock hoses and think this will be a lot cleaner. Can anybody tell me the best way to hook these up? I am planning on joining the 2 covers and then hooking the other line of the "t" fitting to a vacuum source, and installing a breather on the intake cam cover, off the side.

Image

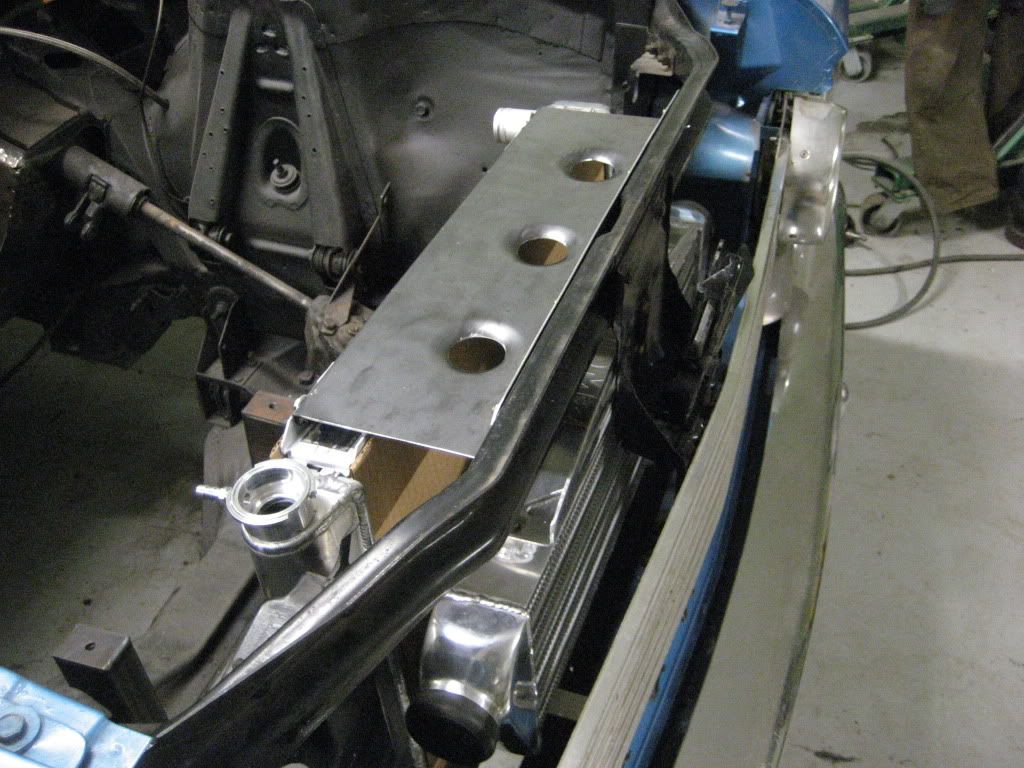
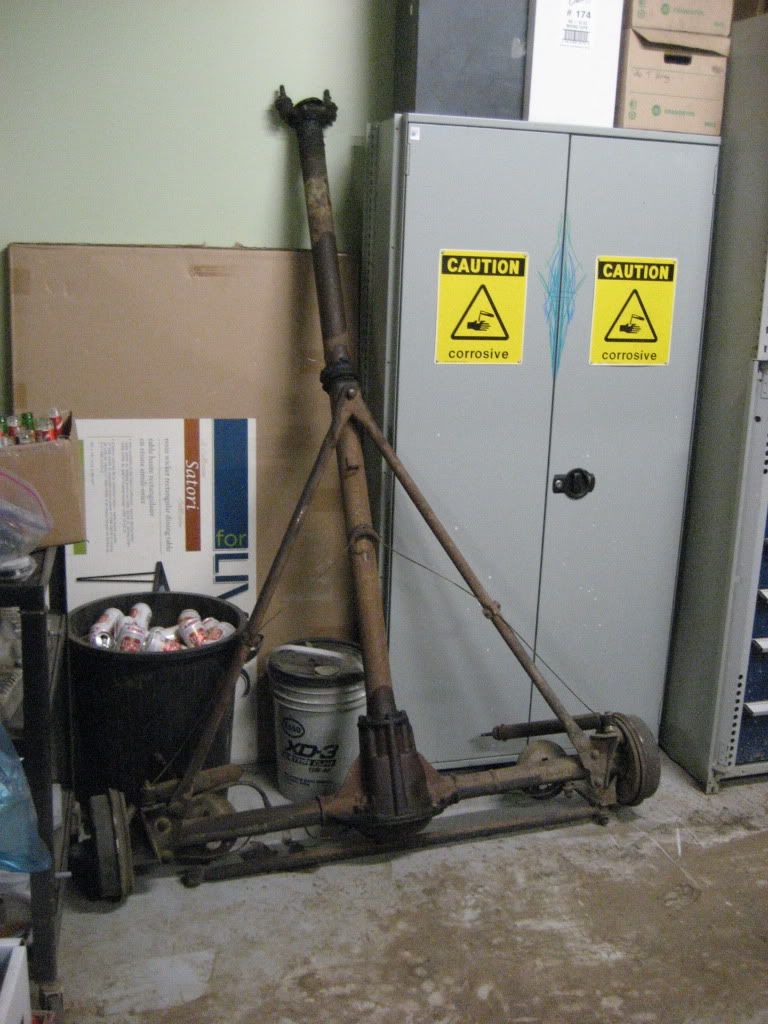
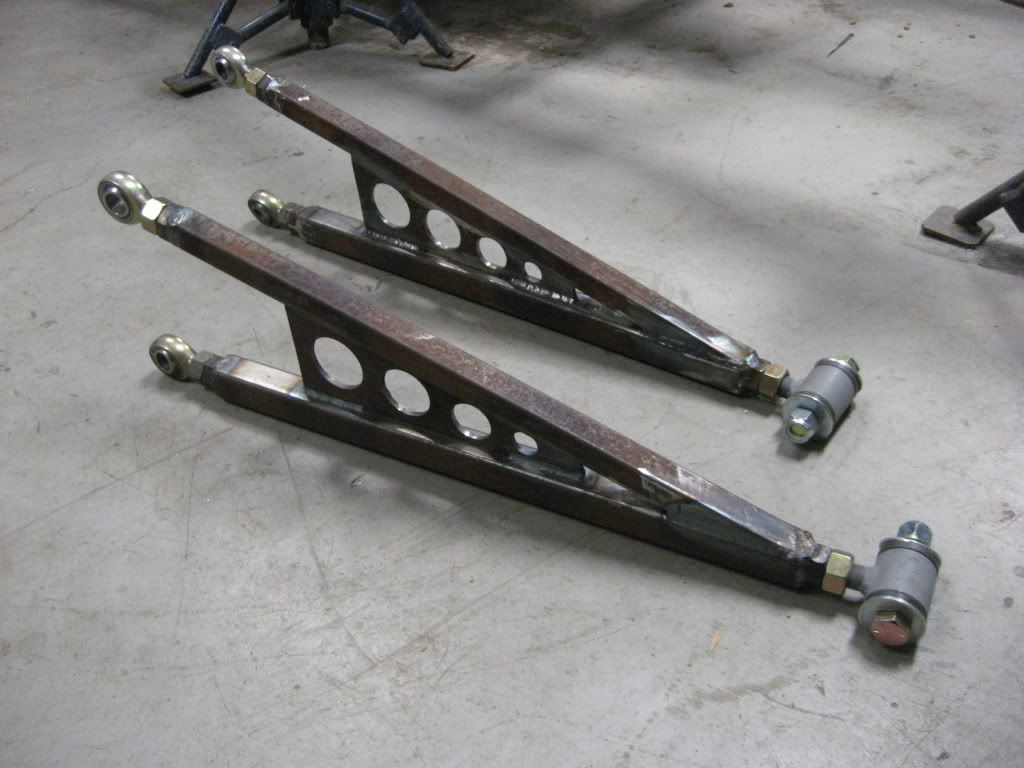
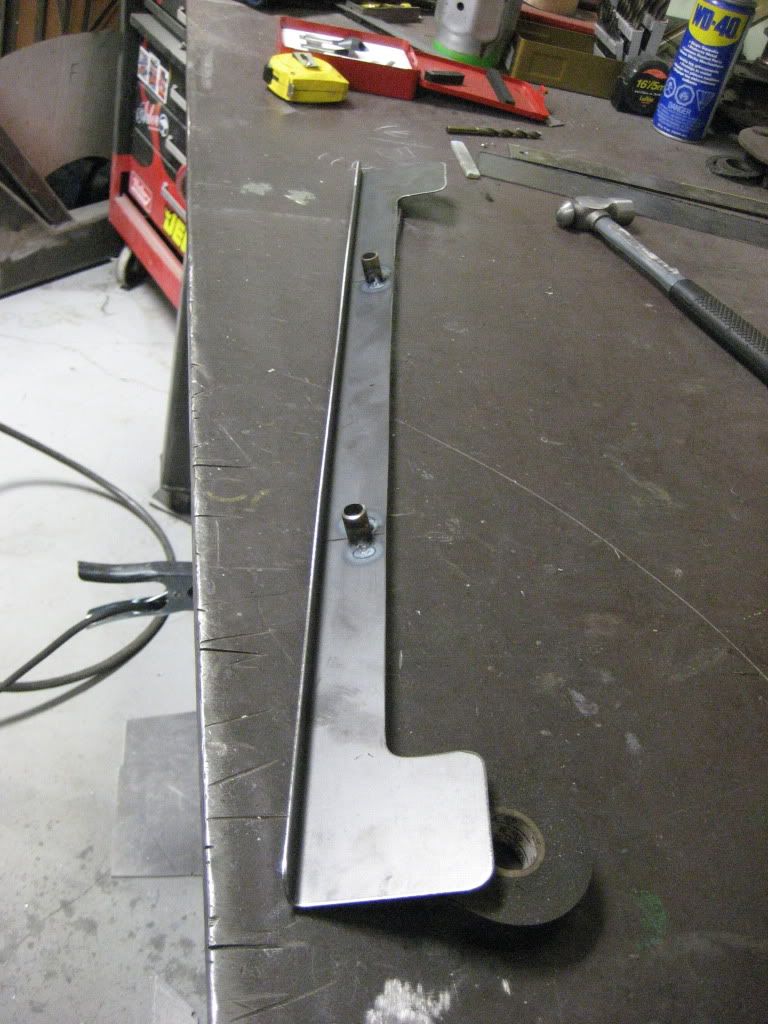
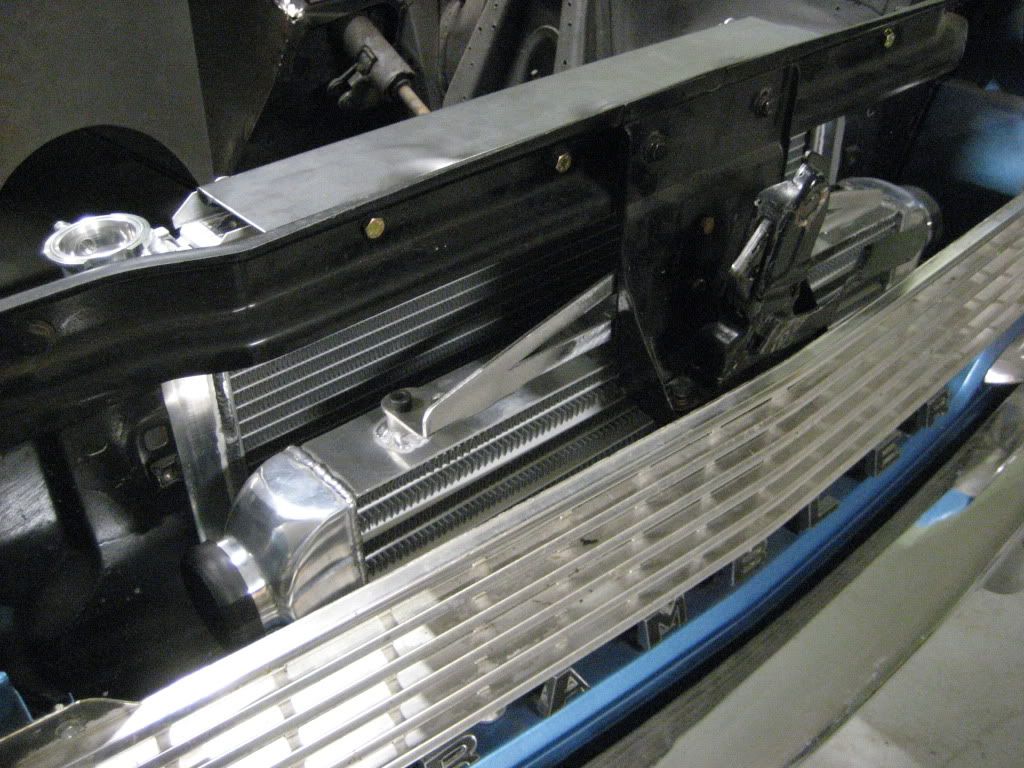
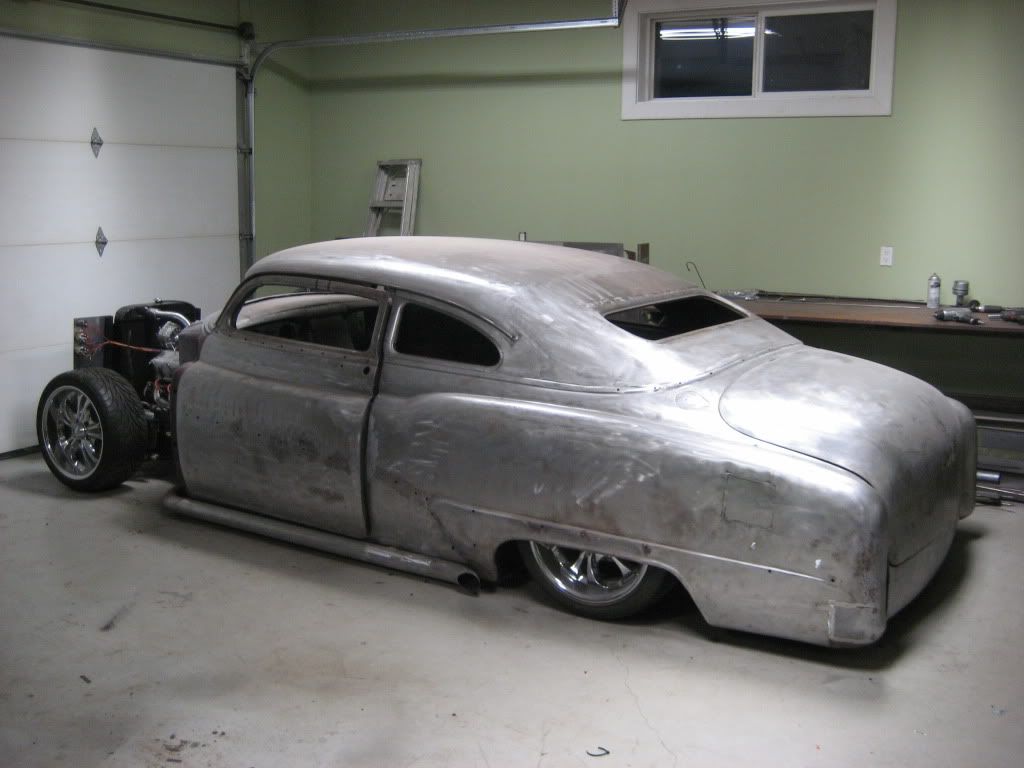
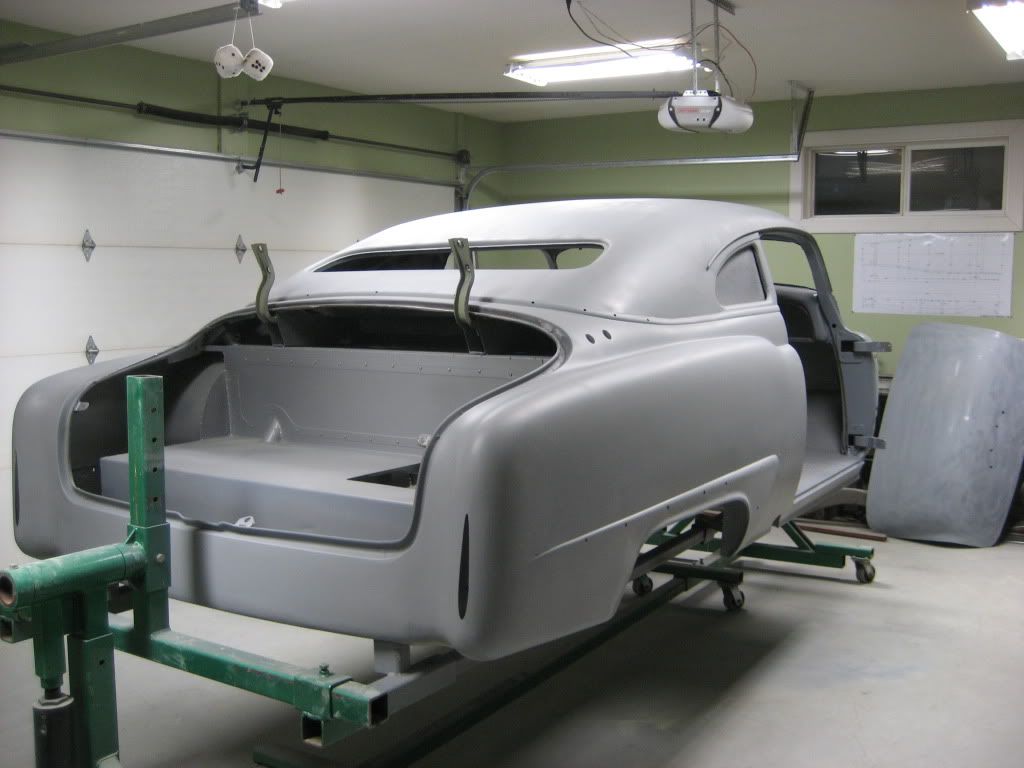
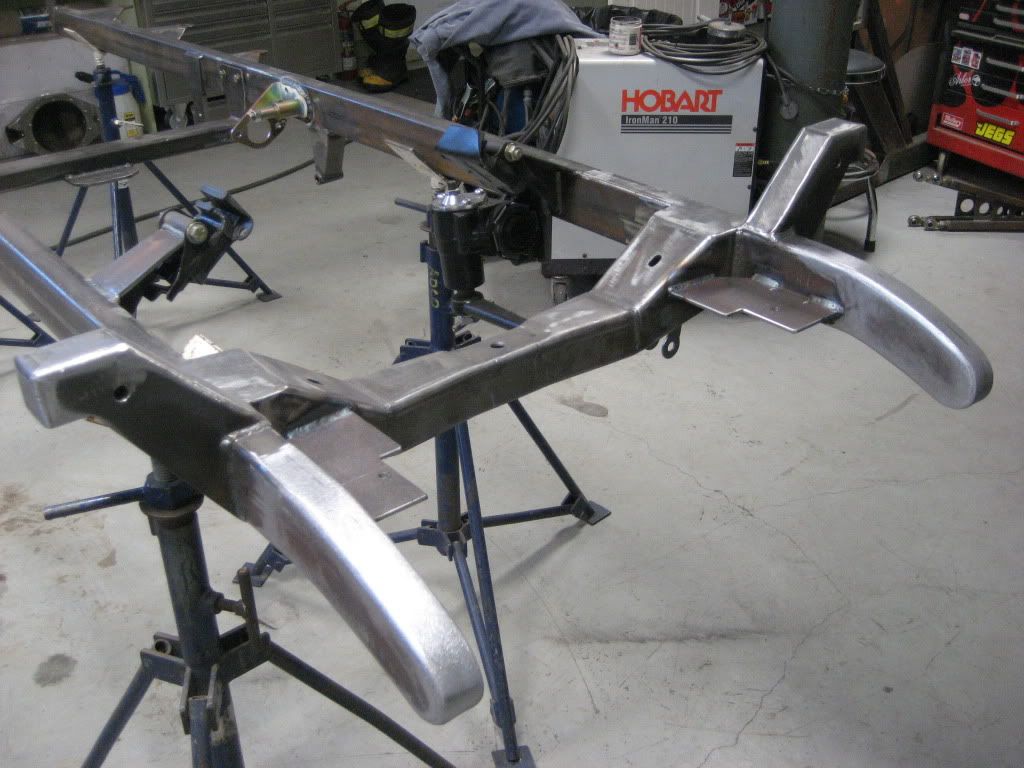
A little off topic but here is what else i worked on. A new wheel well in my father in laws hotrod

Image

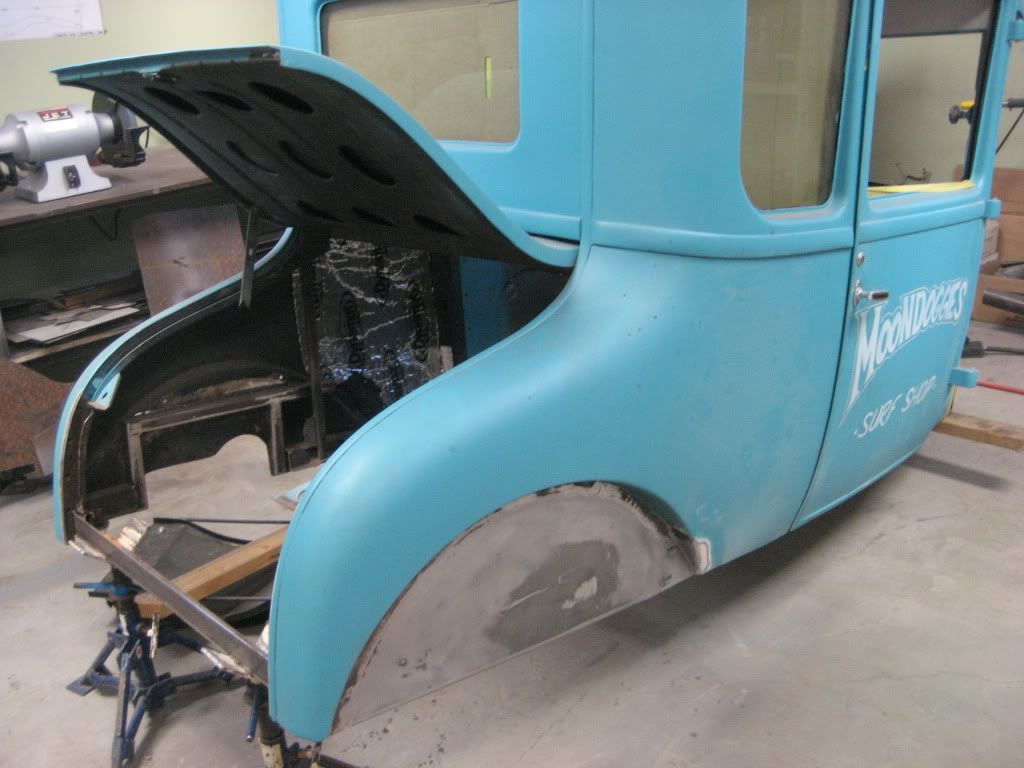
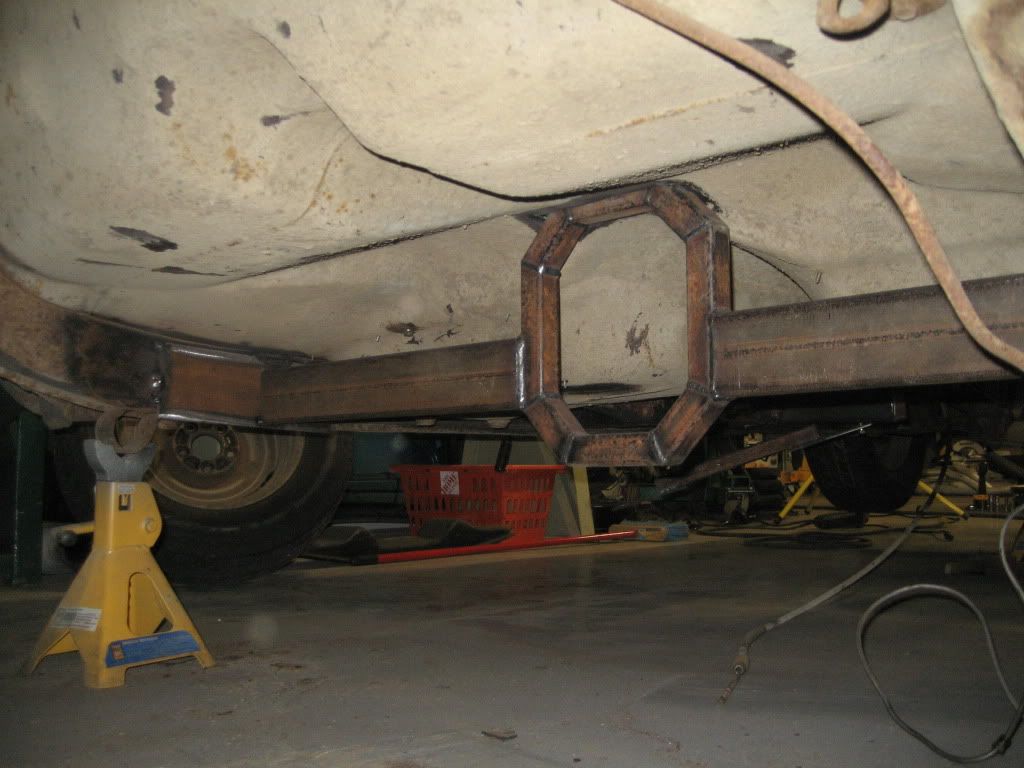
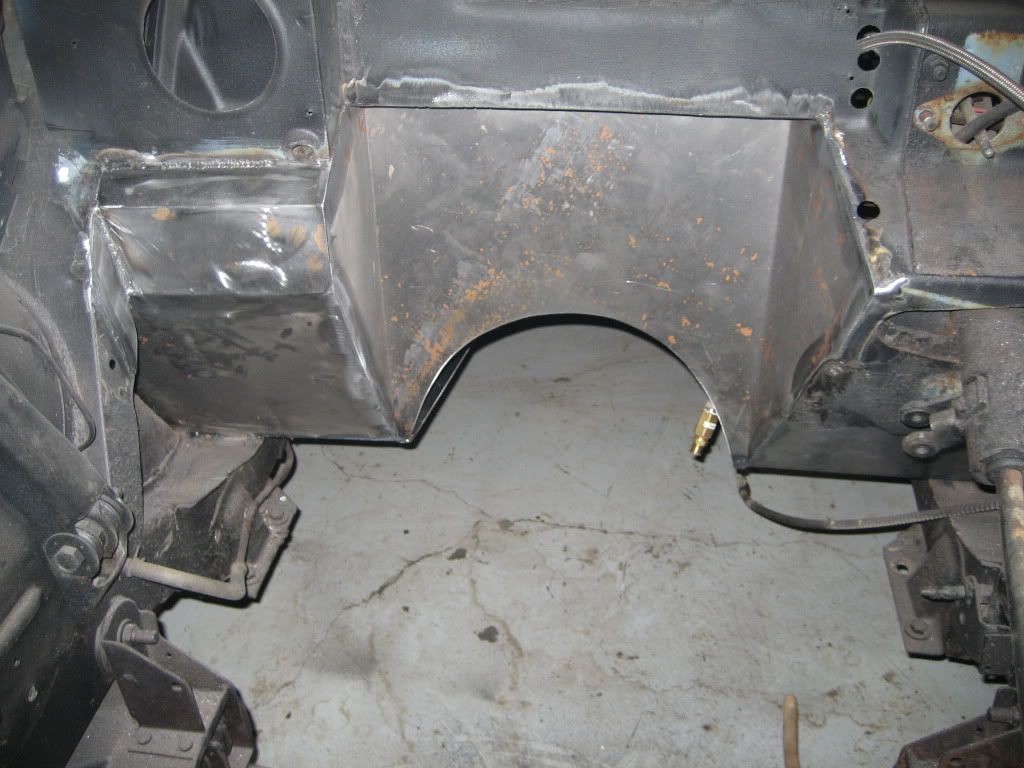
I also installed some frame horns on his chassis, they used to be straight.

Image

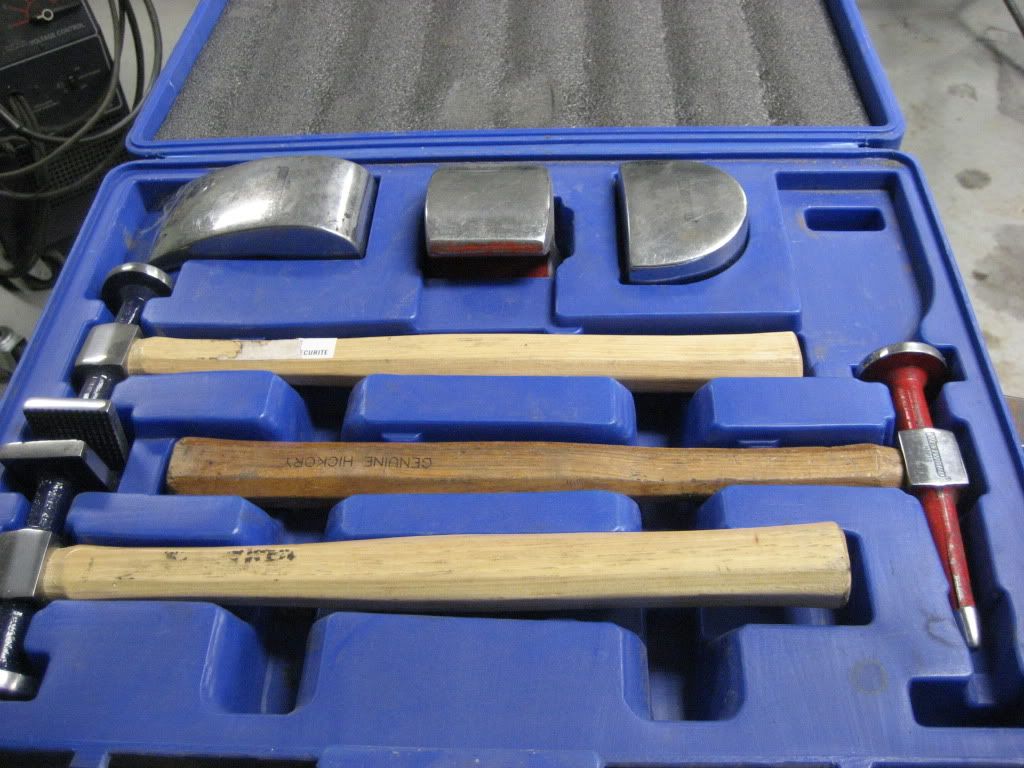
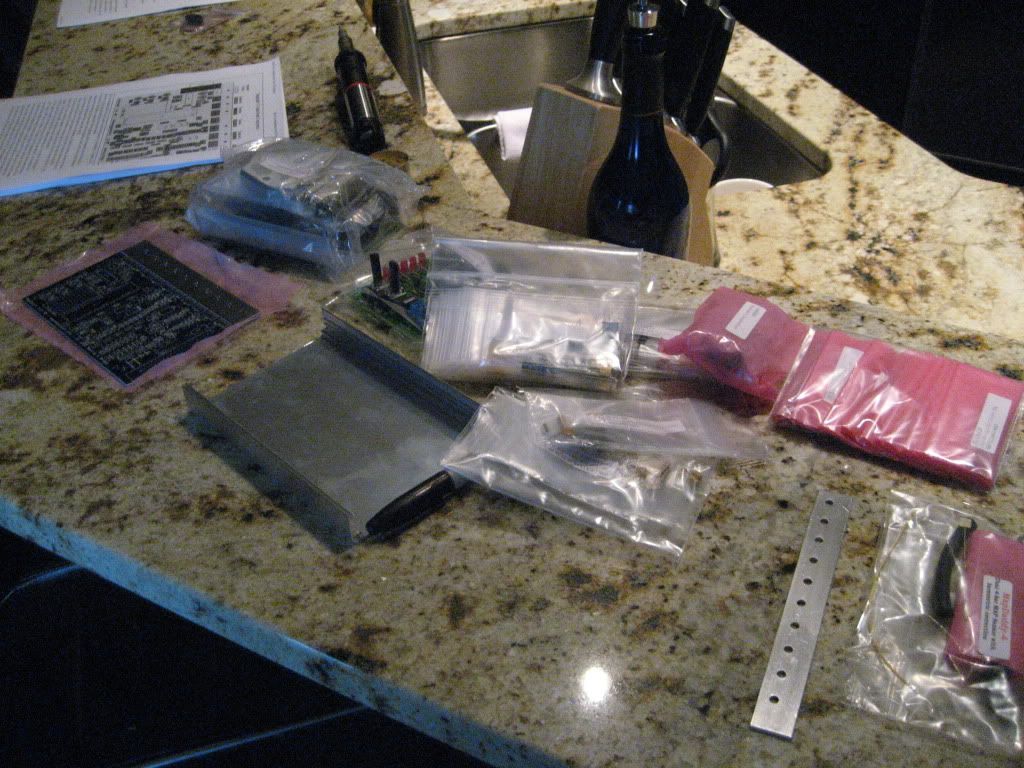
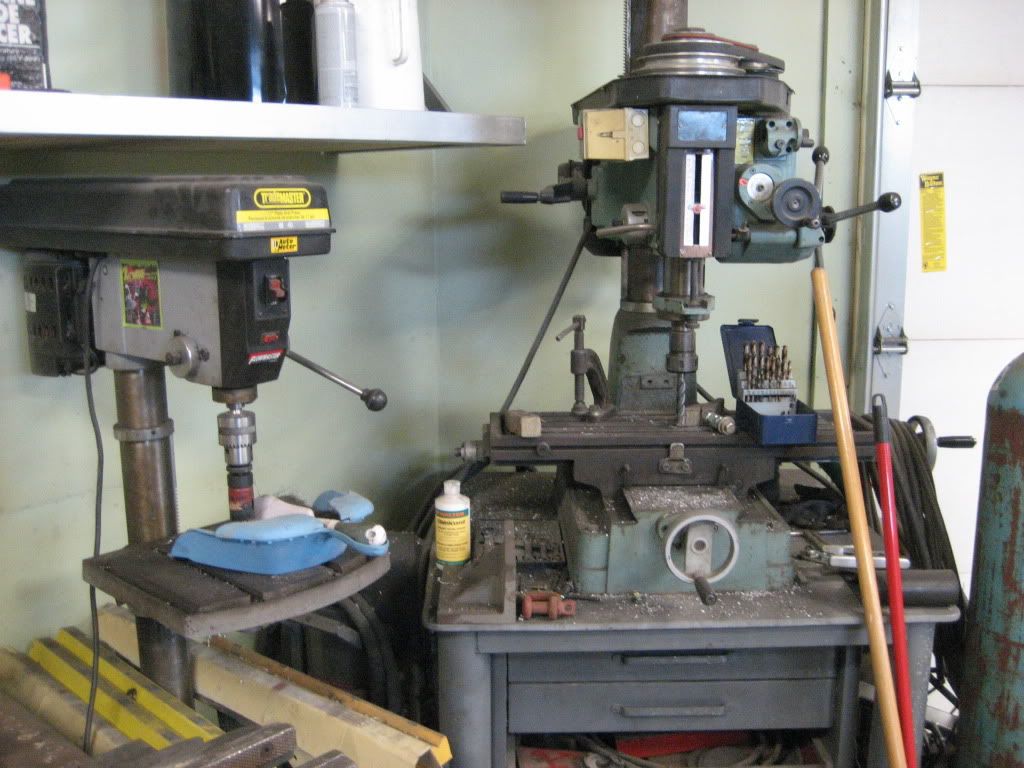
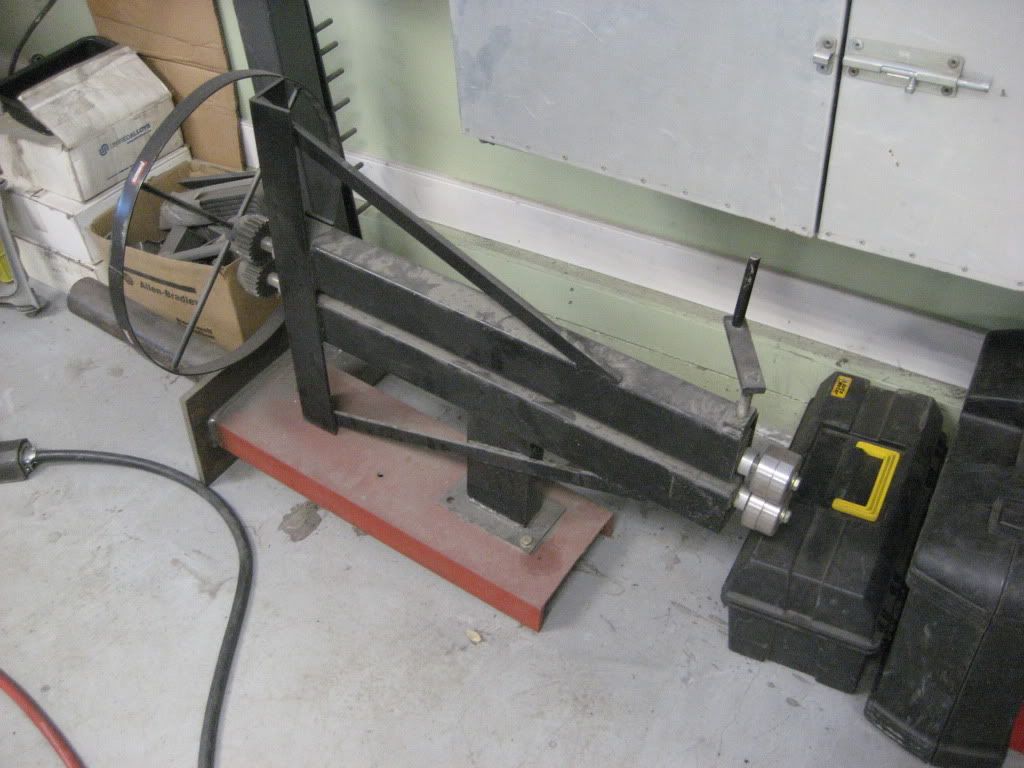
As a side note here are my "secret" tools as requested by ItzGenX.

Image
Image
Image
Image
Image
Image
Image
Image
Image

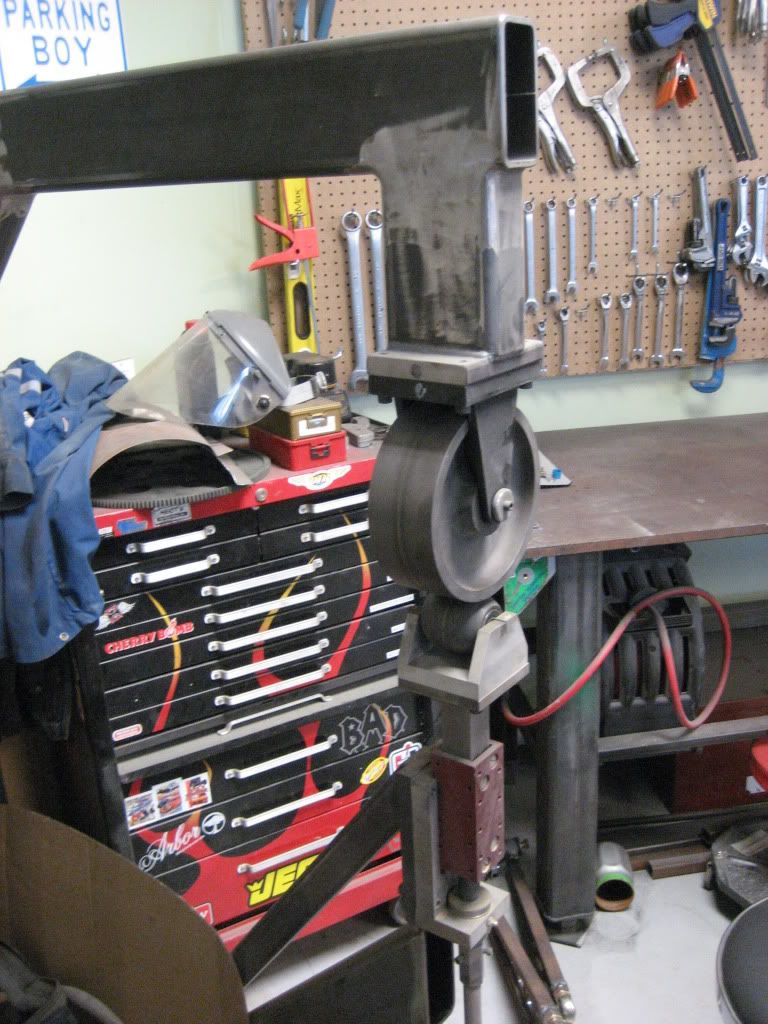
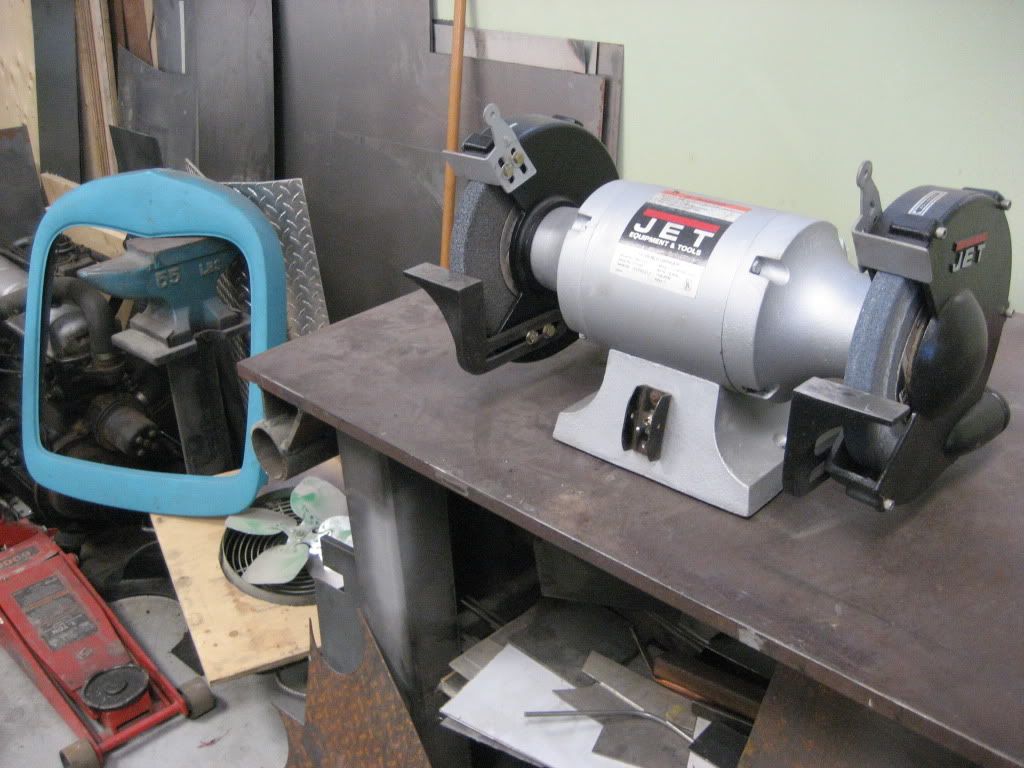
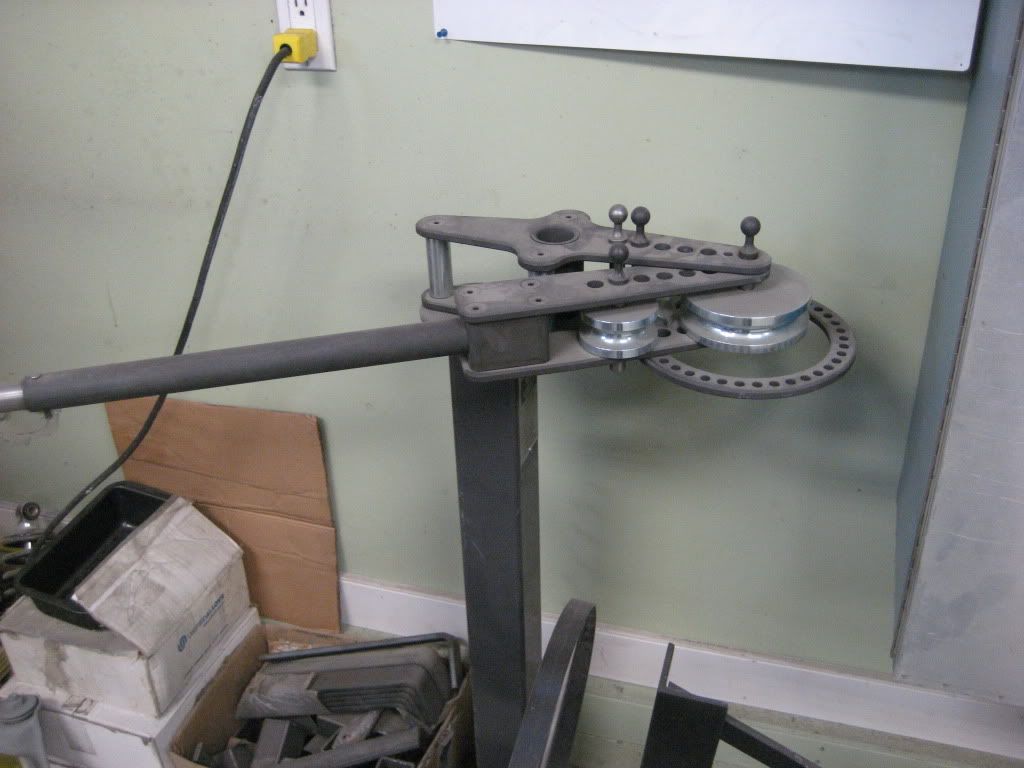
you can see some the tools have pipe welded off them, i have a sleeve welded on my tables to accept whatever tool I need at the time.

Image
Image
Image

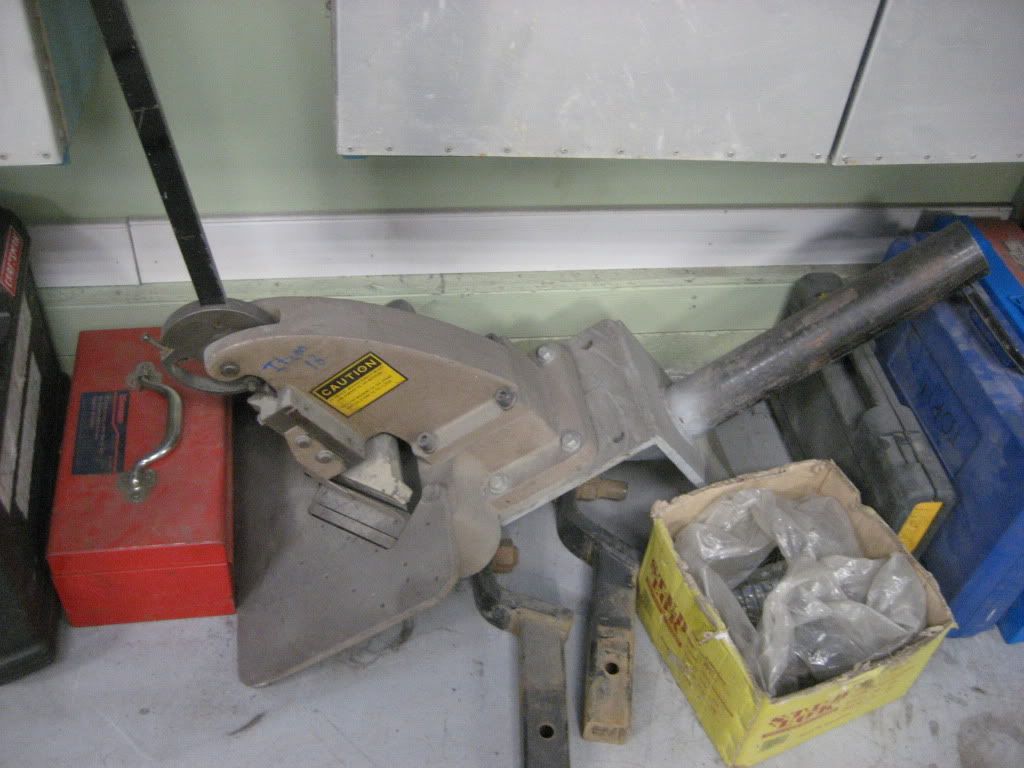
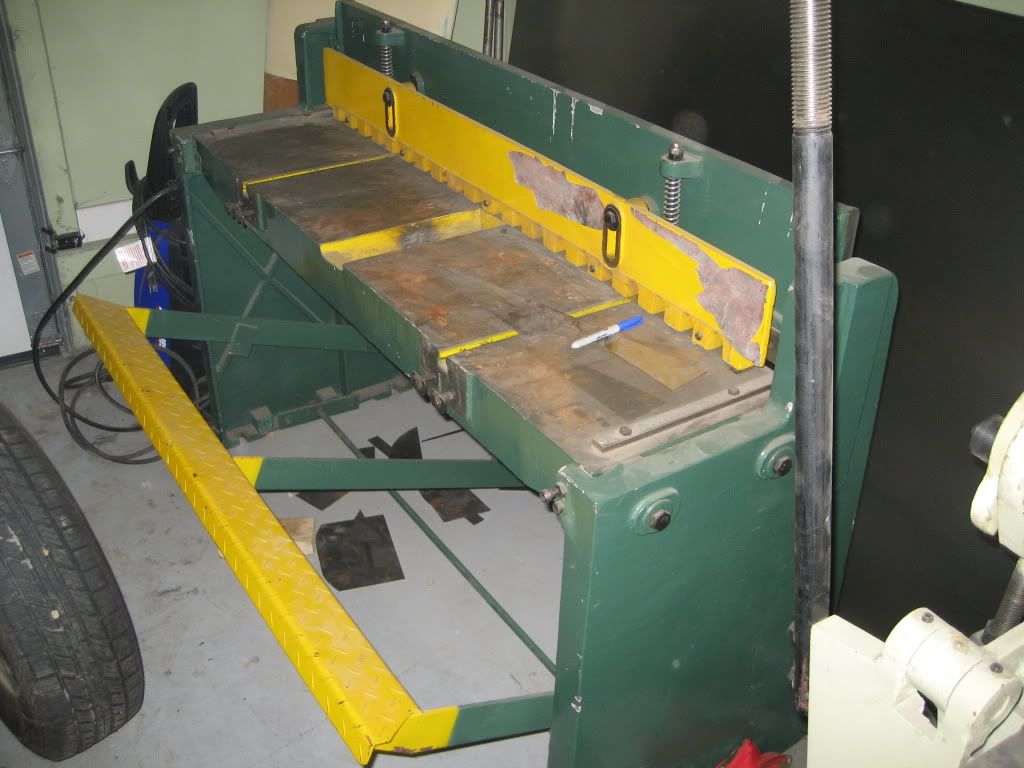
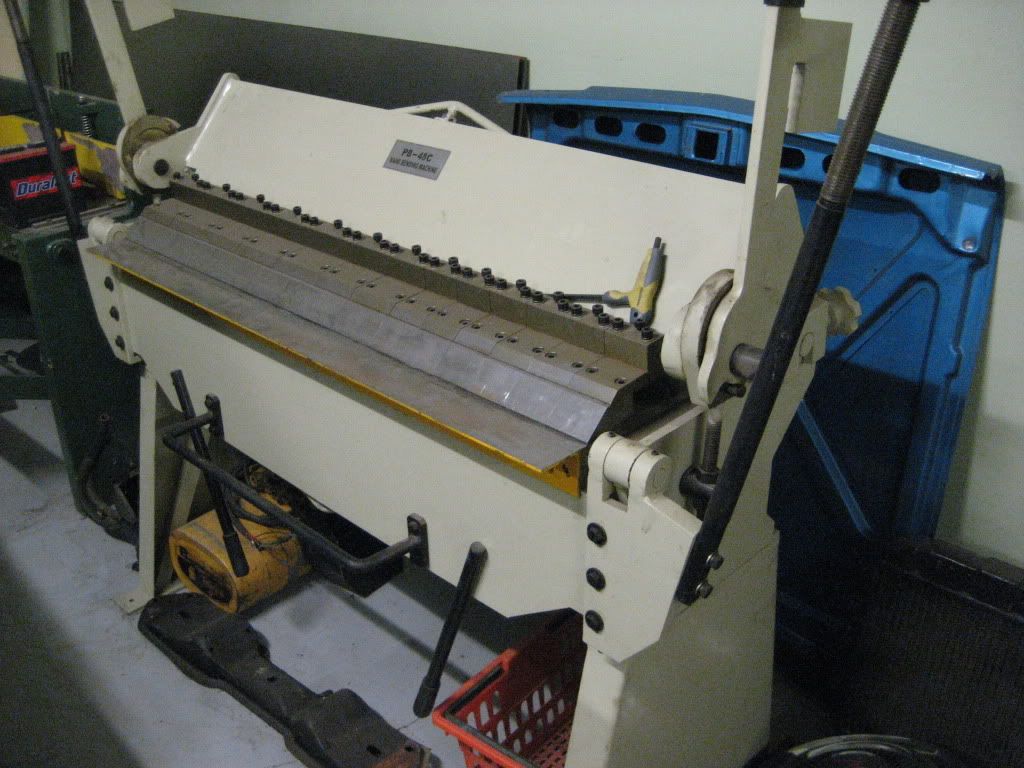
And lastly my most used metal shapping tools.
Image

ItzGenX
Posts: 1204
Joined: Wed Sep 04, 2002 7:46 pm
Car: Smoke Purple 95' S14.5. Powered by the "Iron Man".
Location: Gulfport, MS
Contact:

Post

Wow, a whole lot of nice things to have in a shop there. I need to start collecting more goodies to make a man cave lol. I like that hammer and dolly set. I'll have to look into getting a set for myself for future projects.

bmxarmy
Posts: 254
Joined: Tue Oct 12, 2010 7:27 pm
Car: 1961 rambler

Post

yeah man, like i said the most used by far! Mine is a westward set. I think it was like 80 bucks, definitely a must have tool.

User avatar
RB521
Posts: 9
Joined: Wed Feb 23, 2011 1:02 pm
Car: 71 Datsun PL521
Location: Tucson, Arizona
Contact:

Post

This build makes me so happy! I am going to need a video of that thing cruising when you're done with it!

USsil80
Posts: 1949
Joined: Sun Sep 07, 2003 6:21 pm

Post

wow.. that thing is nuts... and in the first post.. is that a old mercury i see in the back round in the second pic?

bmxarmy
Posts: 254
Joined: Tue Oct 12, 2010 7:27 pm
Car: 1961 rambler

Post

Thanks a lot guys. I have got some more done this last week and i will do an update on the rbambler later today. And the other car in the first post is my dads 51 buick. I have been working on it for years and hopefully this summer we can get it on the road.

Image

it is a little further than this now, the body has the floor painted and it is bolted down on the frame for good. All I have left to make is some inner fenders and shes ready for paint and finishing.

Image

User avatar
StricNyne
Posts: 3729
Joined: Thu Oct 30, 2003 1:11 pm

Post

wow dude, just wow !!! nice work !! how about those coil covers, you want to make some with vents for us ? for rb25 !!

User avatar
l0nestar
Posts: 2251
Joined: Fri Mar 10, 2006 5:24 am
Car: 1993 250sx, 2004 Altezza, 1963 Impala SS
Contact:

Post

StricNyne wrote:wow dude, just wow !!! nice work !! how about those coil covers, you want to make some with vents for us ? for rb25 !!
I was actually thinking about this as well. Either a solid plate (as shown), or possibly louvered (provided you have the stamp for it).

I was ready to pay for one from FiberGuy but he flaked out and nobody has heard from him in close to a year.

bmxarmy
Posts: 254
Joined: Tue Oct 12, 2010 7:27 pm
Car: 1961 rambler

Post

Yeah guys i would make as many as needed, not sure on a price though, the one i made was just out of 18gauge steel, i could make them aluminum or stainless or whatever, A louver stamp......on my wish list, I will ask the guy who machined my pulley if we will make me one. I do have those dimple dies though and could stamp like 3 or 4 of them down the center. other options could easily be like multiple smaller holes like 3/8 or something or like slots cut most of the way down. If you want something specific we could talk. PM if interested. I may make a few "prototypes" this week to see what everyone thinks. to the moderator should this be a separate thread? thanks again guys. Sounds dumb but knowing that people are following the build helps me get out in the garage more often to get s*** done.

User avatar
nissangirl74
Moderator
Posts: 14381
Joined: Sat Jan 17, 2009 1:15 pm
Car: 2014 Xterra Pro4X, '12 Titan 4x4, '98 240sx, '89 Pao, '77 620, '72 240Z w/RB25, '68 510, '67 WRL411, '67.5 SPL 311, '63 Bluebird, '63 NL320

Post

Subscribed to this thread!! :biggrin: Good luck on your build, I'll be looking forward to the updates. Would love to have one of those coil covers for my RB.


To "RB521"

Nice signature. Your truck is badass! :dblthumb:

bmxarmy
Posts: 254
Joined: Tue Oct 12, 2010 7:27 pm
Car: 1961 rambler

Post

Mini update time. I have been very busy lately, All this week I am working 10 hour days and that makes for slow progress. Also next week I will be out of town for the week. I have also been making more custom coil covers for the rb. The latest one kinda smooths the hole thing out, this piece is a real pain in the a** to make but I feel it will leave a lot of people guessing the motor. I plan on running this one on my rb in the rambler.

Image

Image

Image

I also bought some gauges off a friend that I thought might look good in the car. Here is the stock dash out of the car.

Image

After removing the stock radio cluster I made a stainless steel panel to hold 4 of the new gauges. And then started work on the new main gauge cluster. Here is how it sits now, I am not 100% happy with it but I will think about it for a while and see if I come up with something better. Does anybody have any better ideas for the main cluster?

Image

Image

I also found out that the rear end I was going to use wont work as it is to wide and I cant get rims to make up the difference, This means I will be narrowing a 9" ford rear I have to fit. The only problem there is that the car can only fit about a 6" tire and it seems very wrong to me to narrow a rear end just to run a skinny tire. So tubing the back half might just happen. Insert snowball effect here!! doing this is gonna be s*** as the car is a unibody and there is really nothing to structural to weld to, but I know a couple guys who have done nova's and that should have the same concept. time will tell and I will keep you all posted on progress.


Return to “RB20DET / RB25DET / RB26DETT Forum”