Note: This particular Z happens to be a left-hand-drive NA model.
These are the steps I took to successfully remove the dashboard of my car with minimal breakage...
Ok, lets start with the center console.
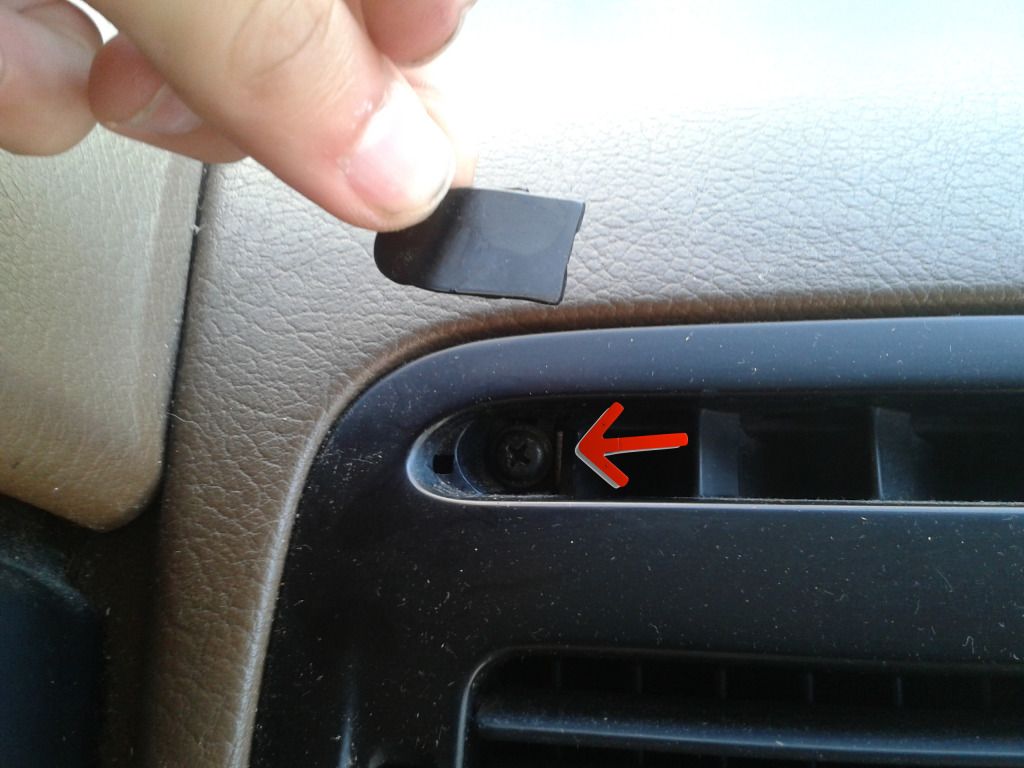
If you pry the long center cover off, there are two screws underneath.

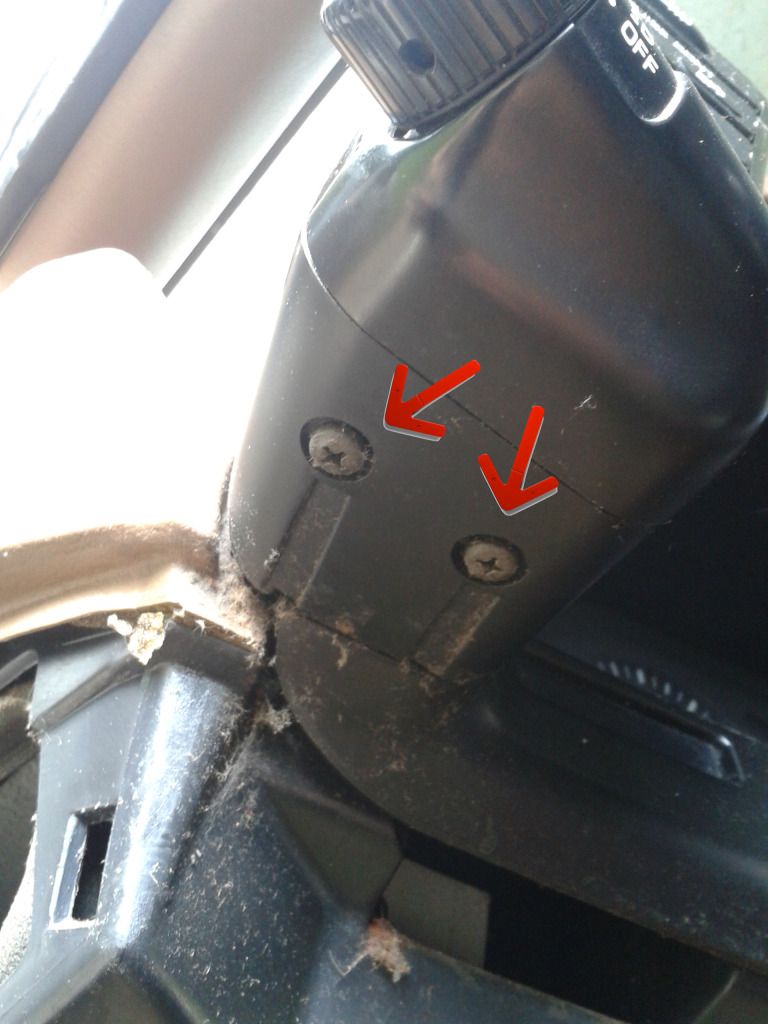
Also, there are two screws under plastic covers in the upper corners.
There are two metal clips in the bottom two corners that pop out with minimal force. Also, make sure to disconnect the clock wiring connector.
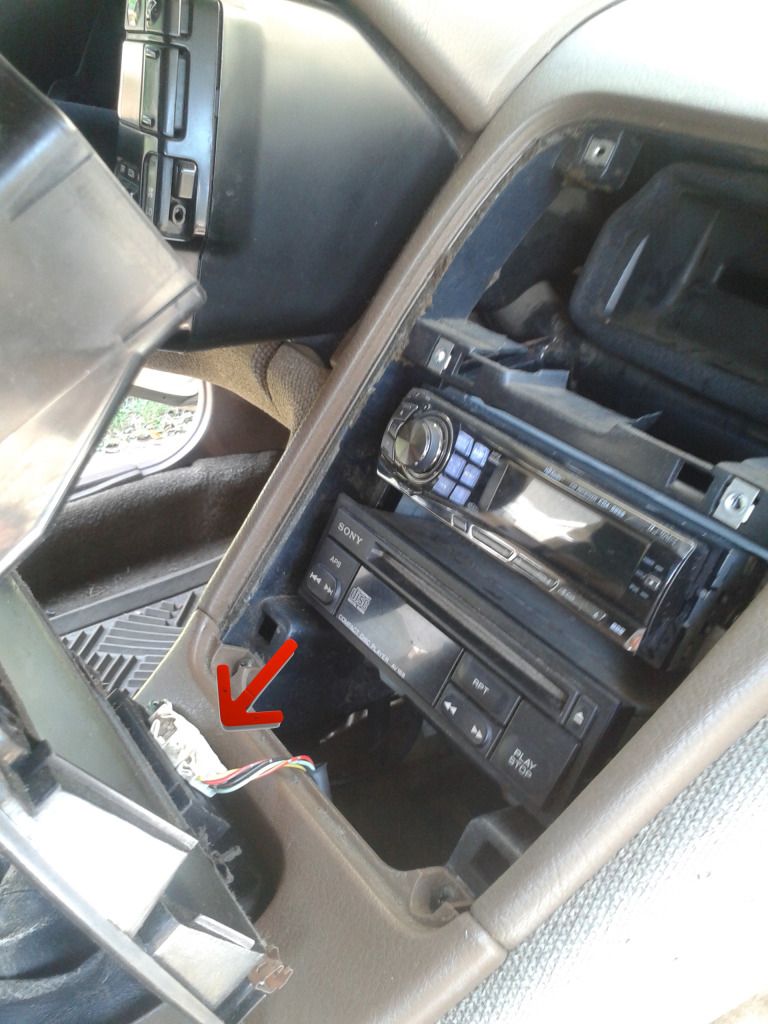
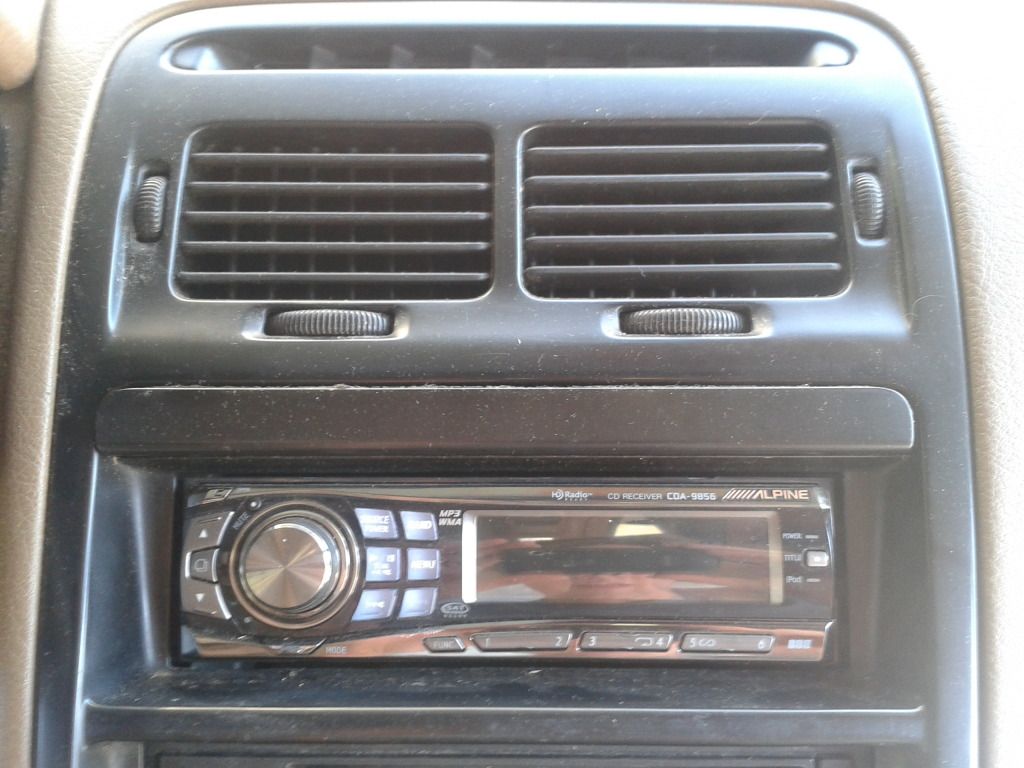
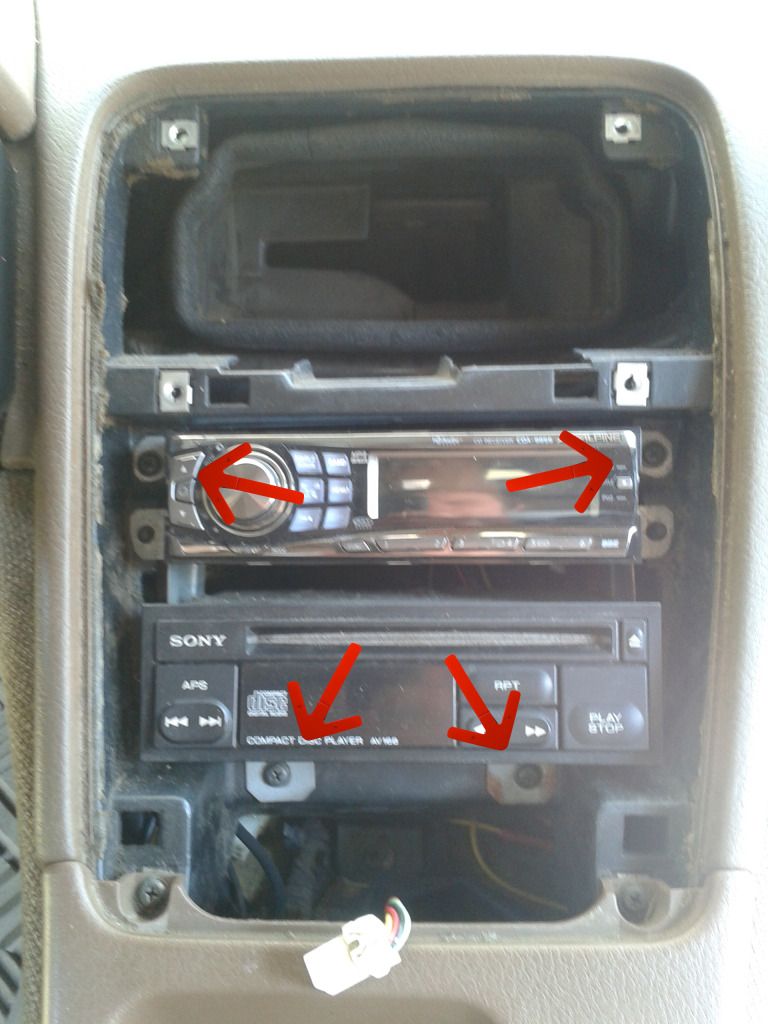
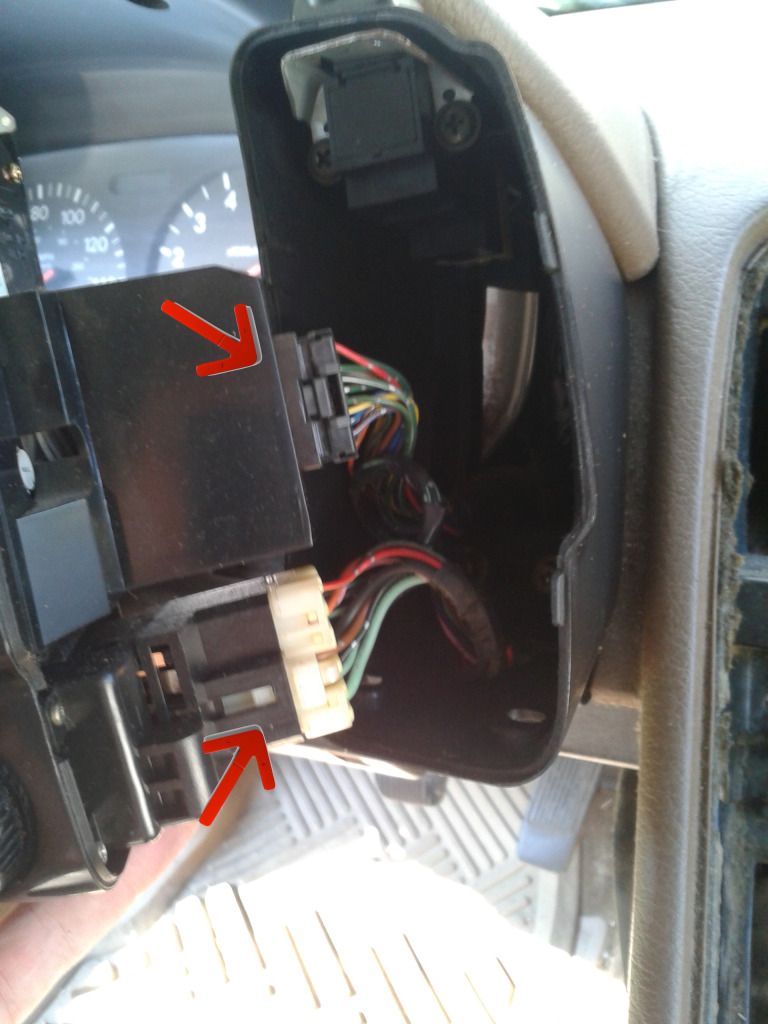
With the center console cover out of the way, remove the 4 screws that secure the head unit bracket.
There will be a jumble of wires keeping you from removing the head unit assembly.
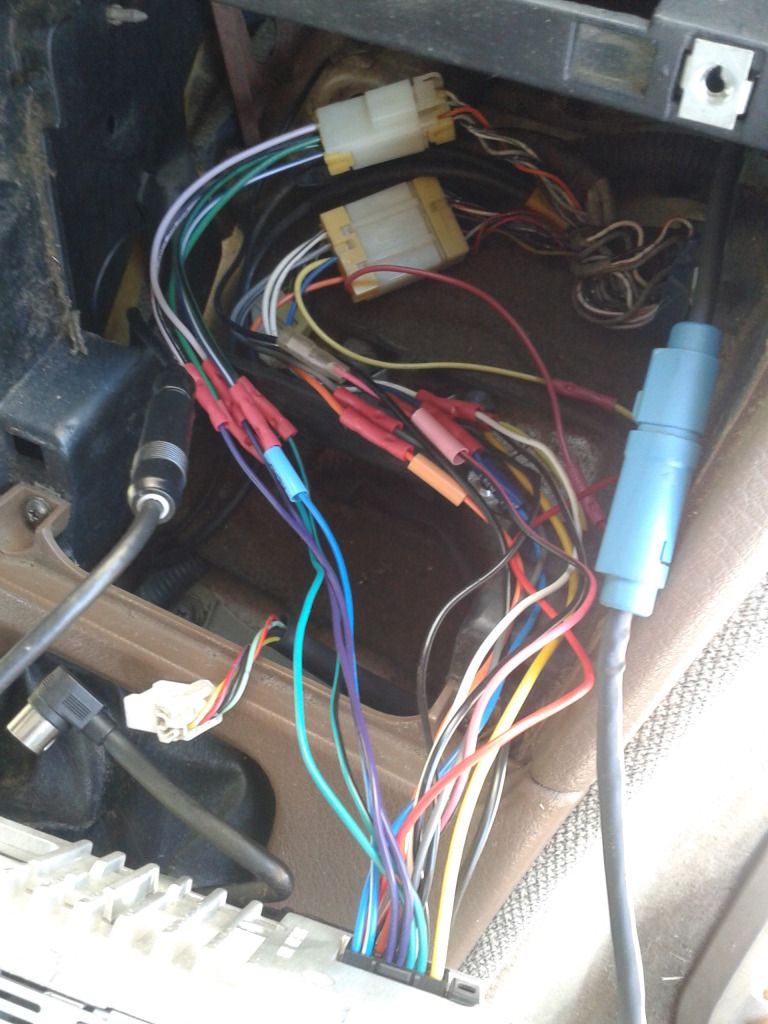
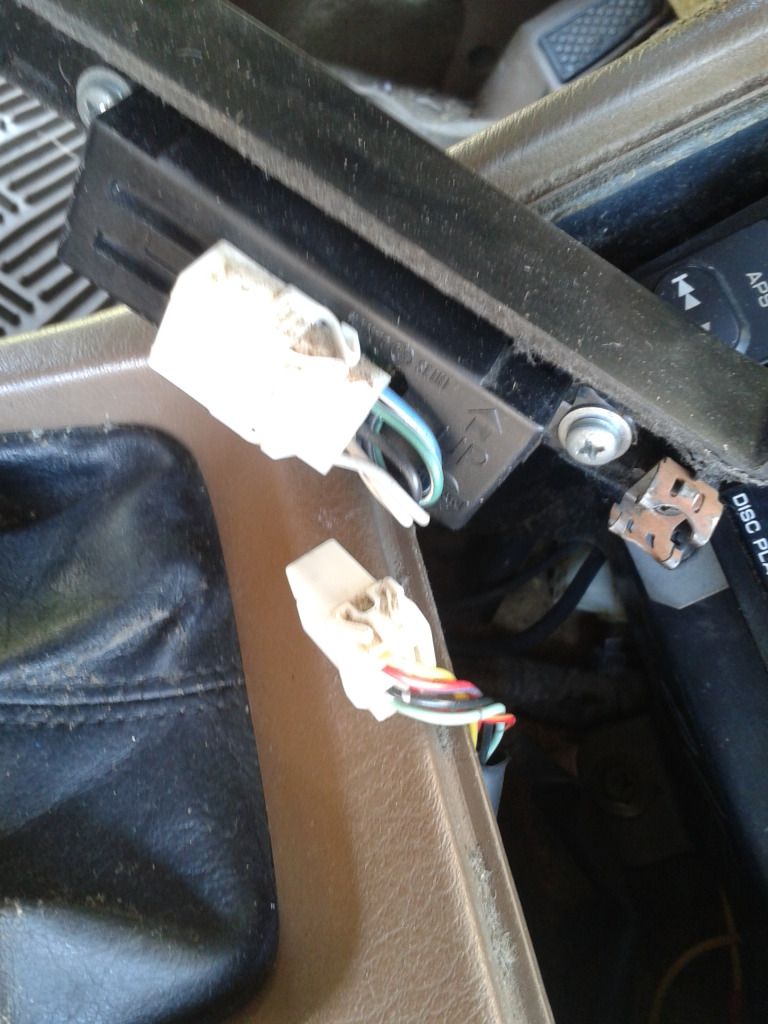
Anyone with an aftermarket system will probably have a wiring adapter like this. Simply disconnect to free the head unit. Don't forget the ground wire in the back that is secured to the body.
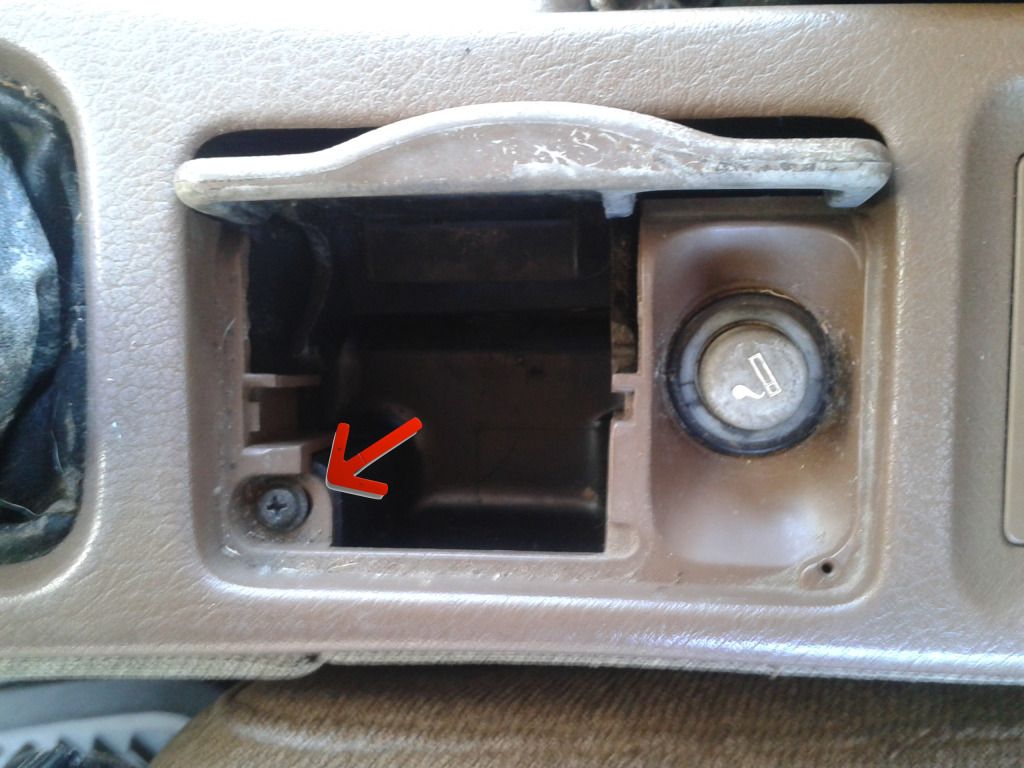
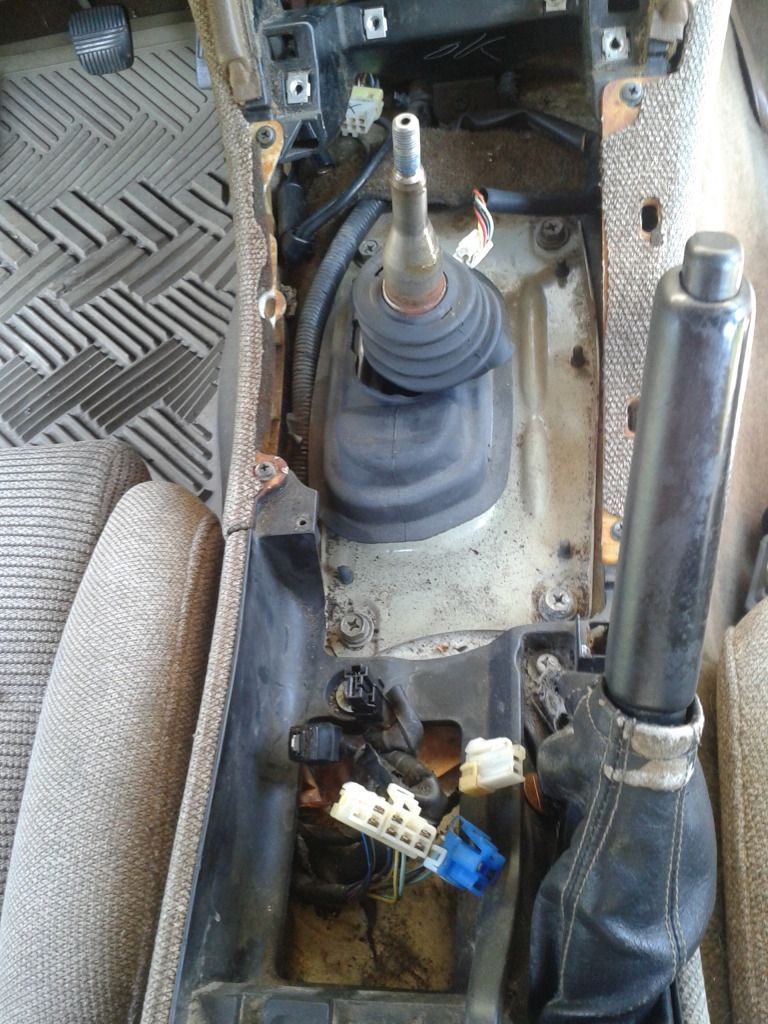
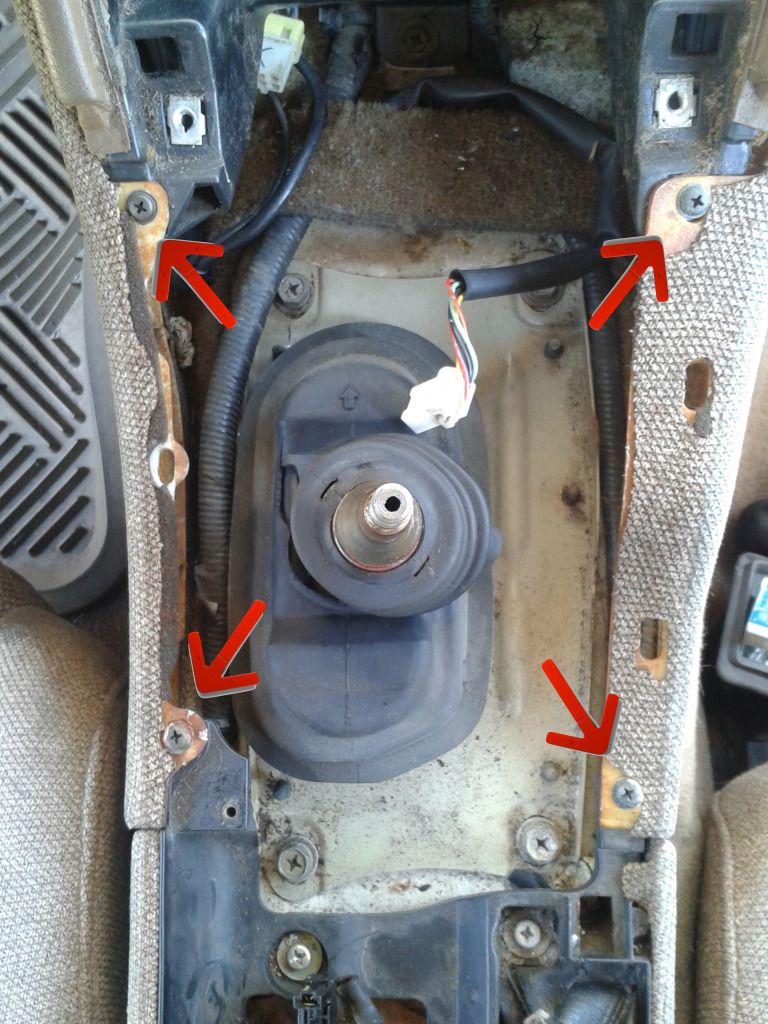
Upon removal of the center console cover, the location of two screws holding the plastic trim that goes around the gear shift knob is revealed. Remove.
There is another half way down that is hiding...
There it is!
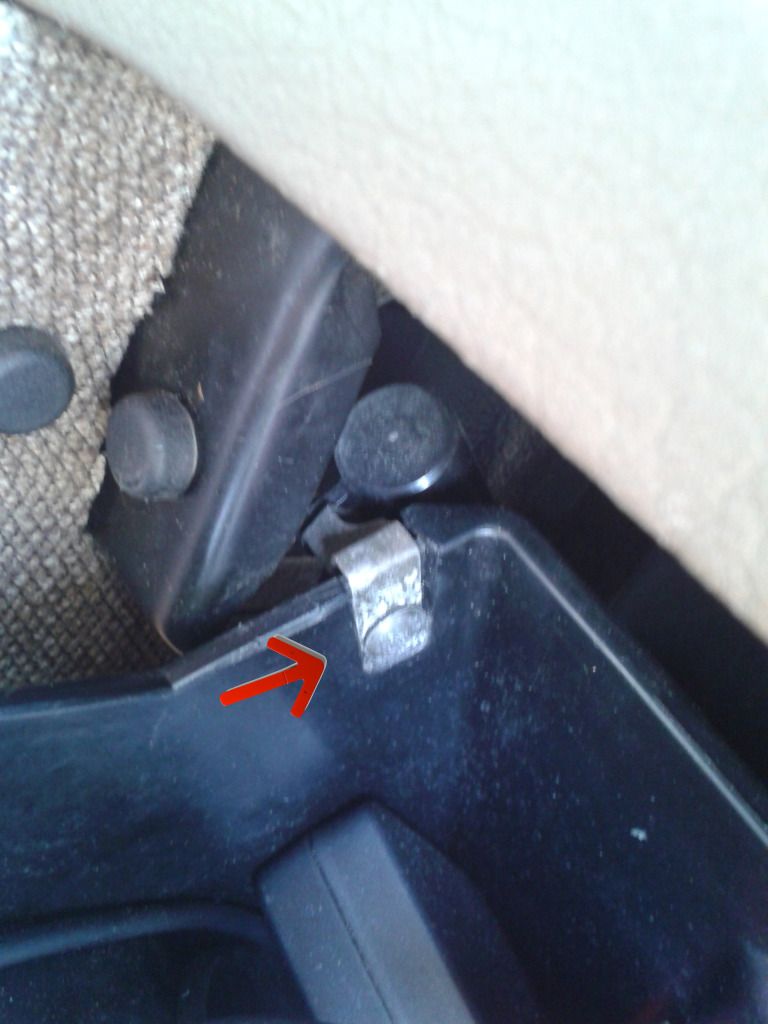
There is a metal clip that needs to be pried up just in front of the e-brake lever.
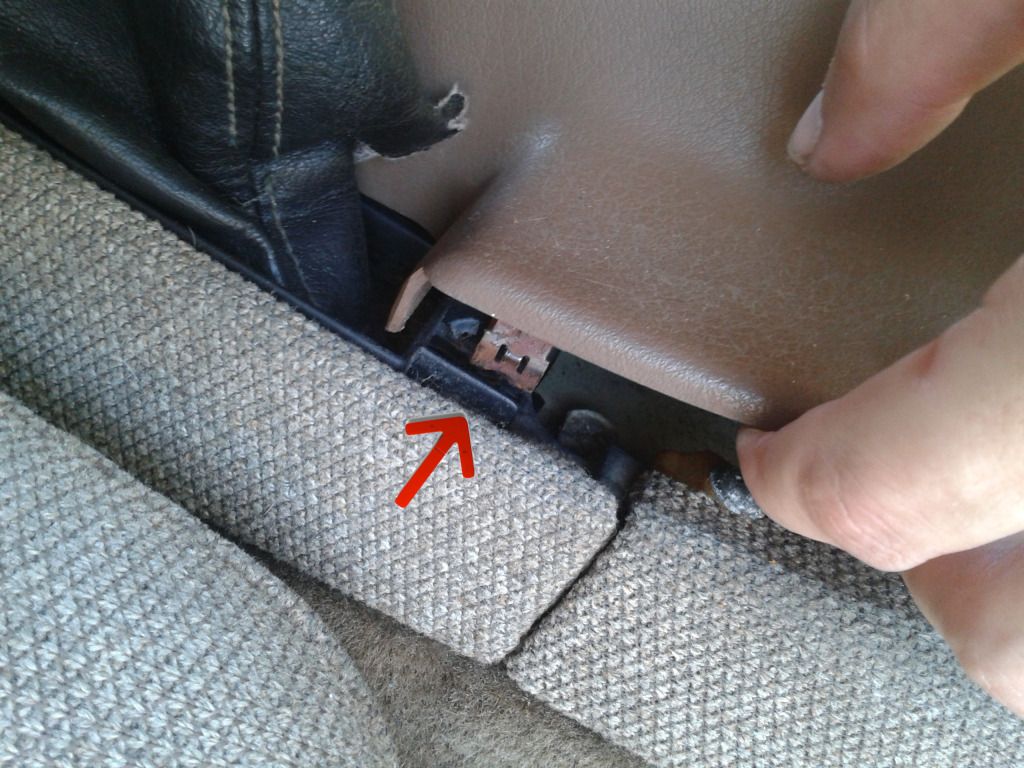
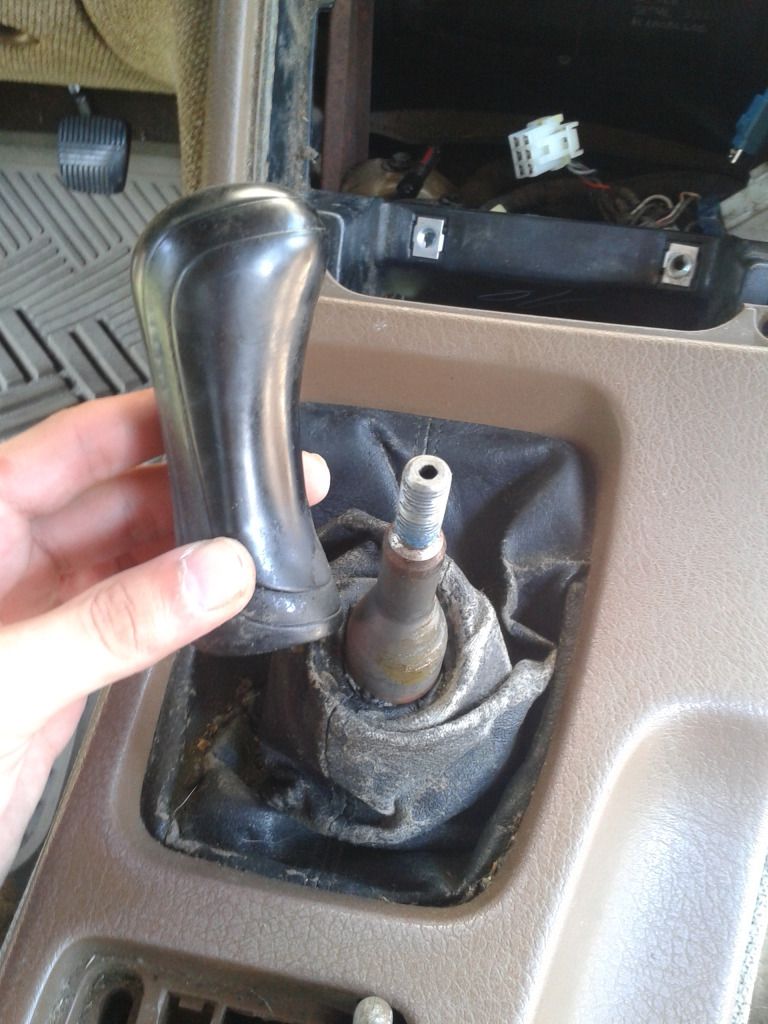
The shift knob needs to be unscrewed to let the leather shift boot off.
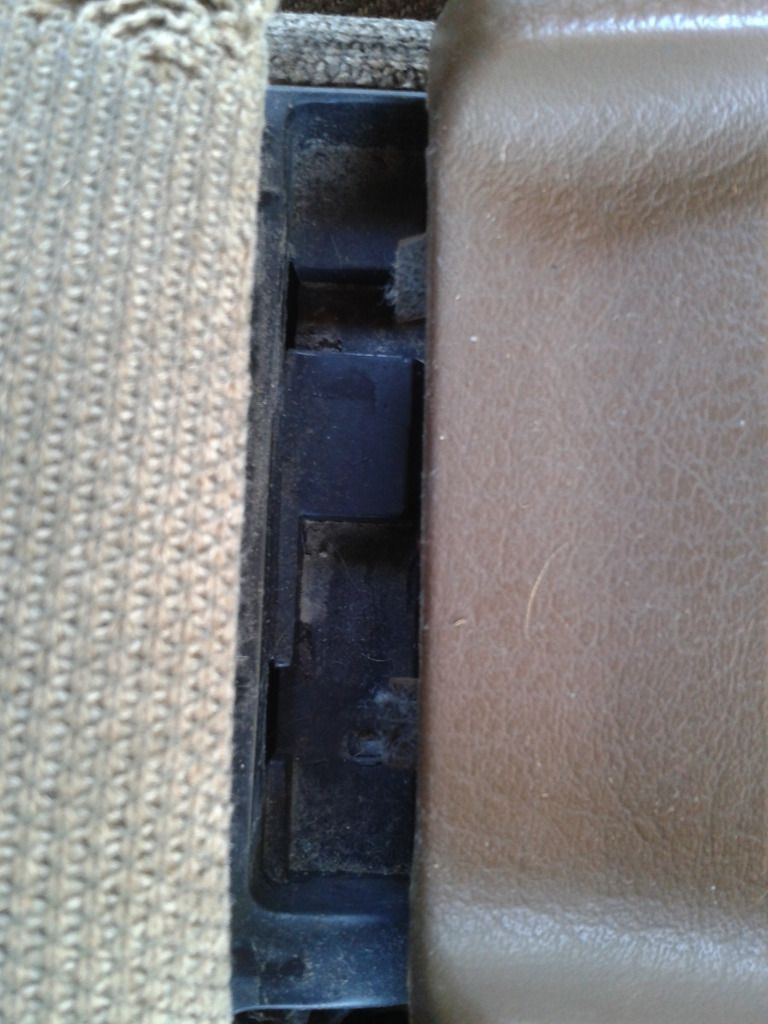
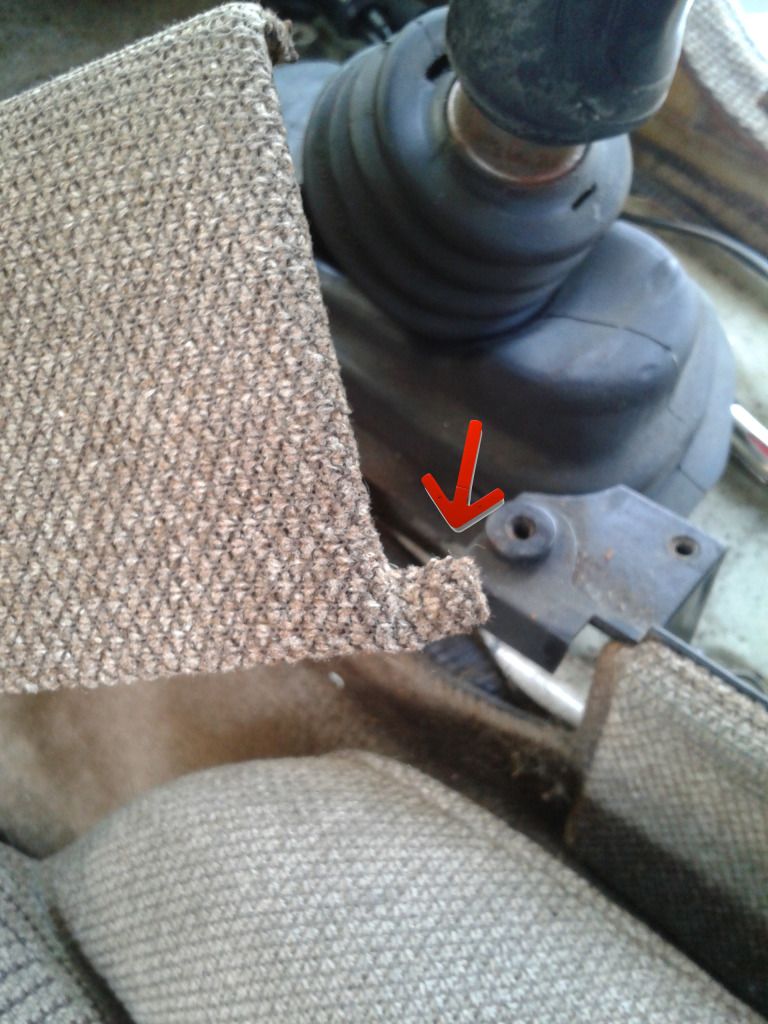
Now the whole section should slide out, but be careful of the two pawls in the back. Don't pull straight up, but forward.
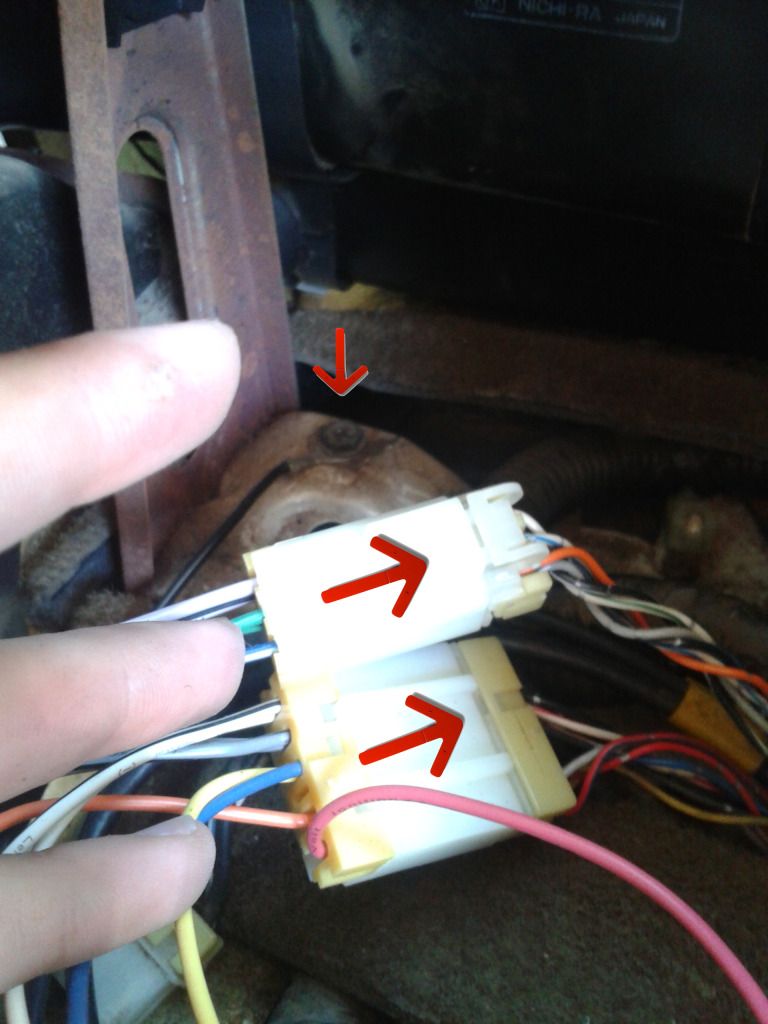
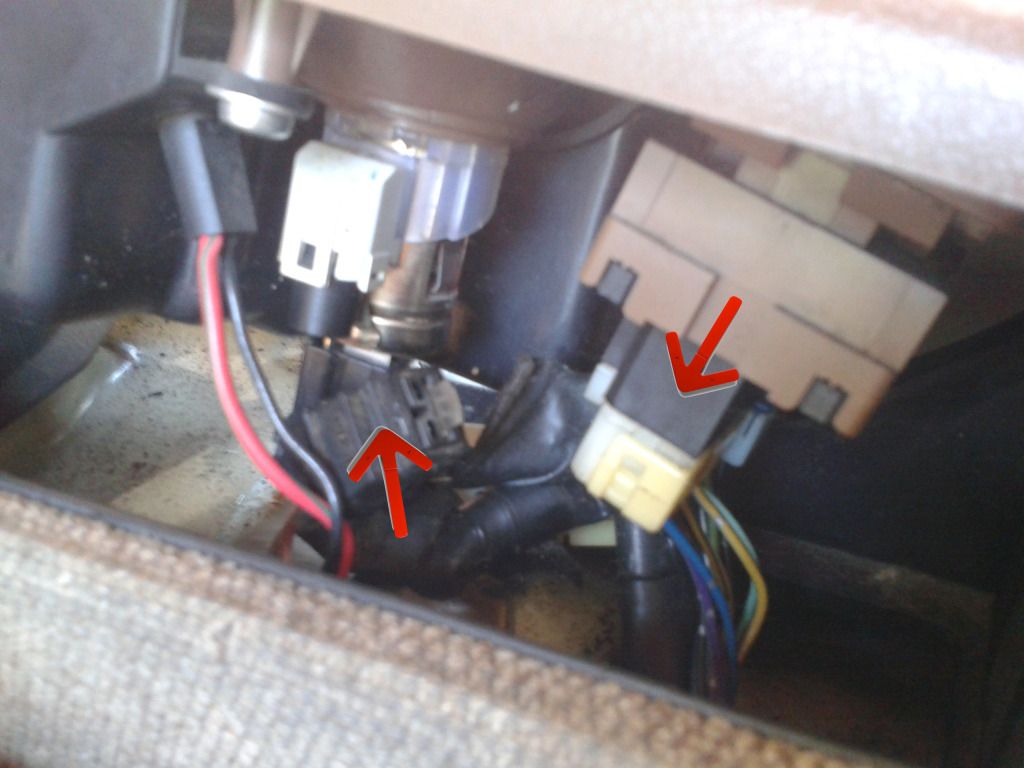
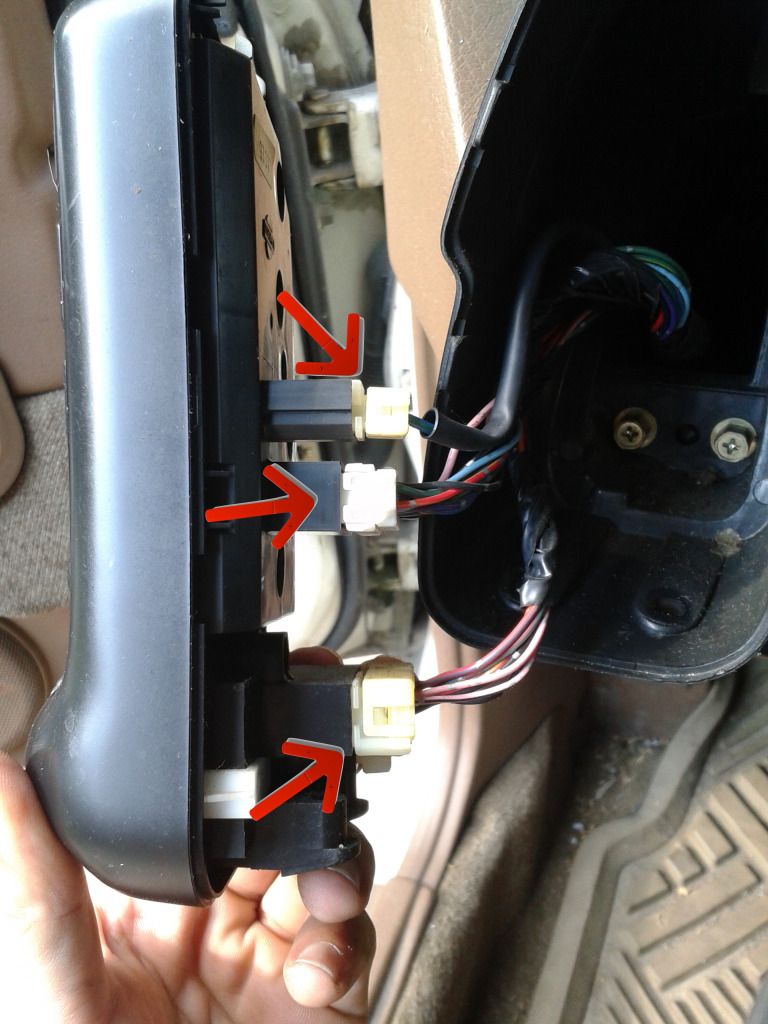
Before you get very far, some wiring underneath will hold you down. Remove the wiring connectors to the cigarette lighter and side mirror controller.
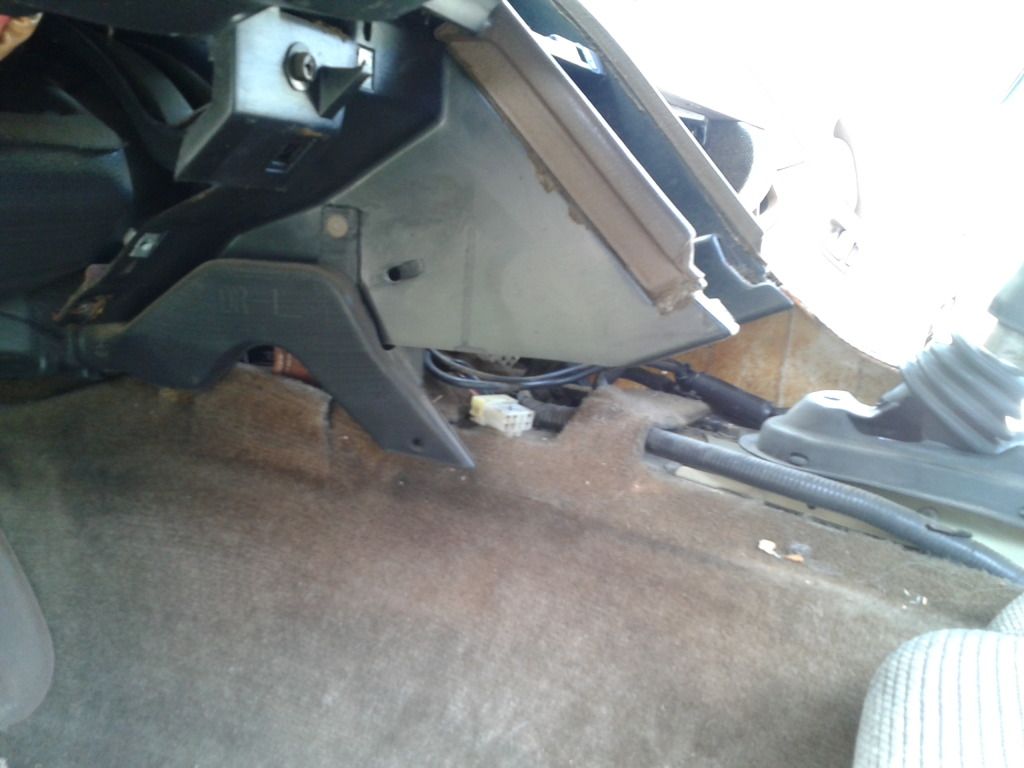
That section is now gone.
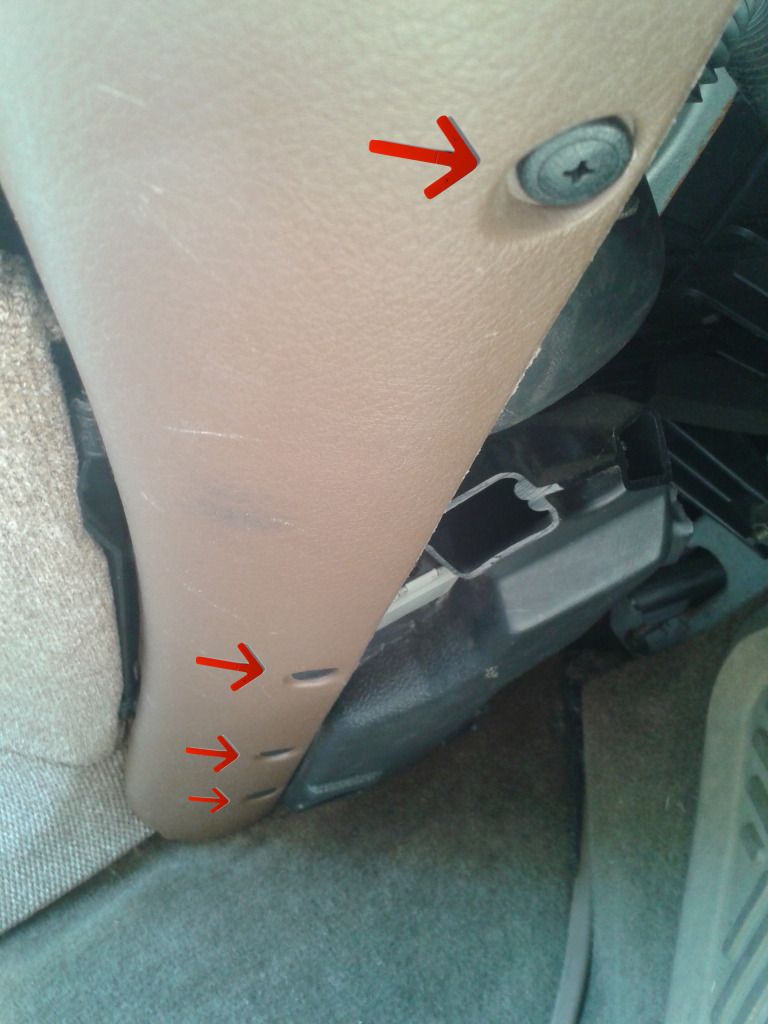
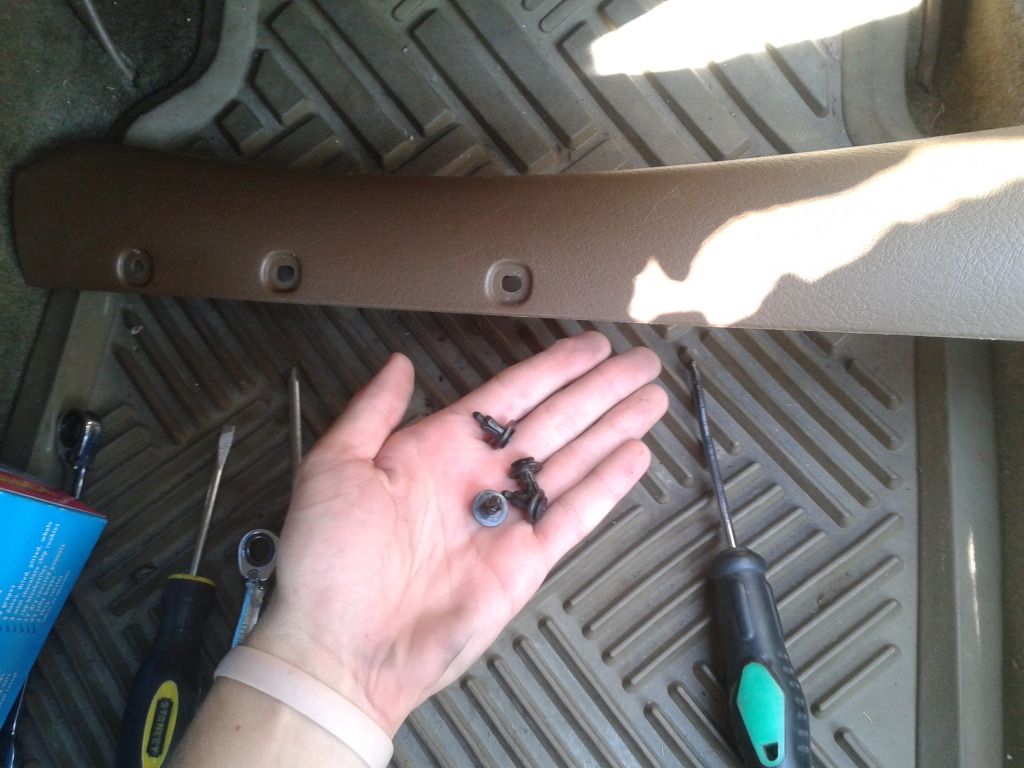
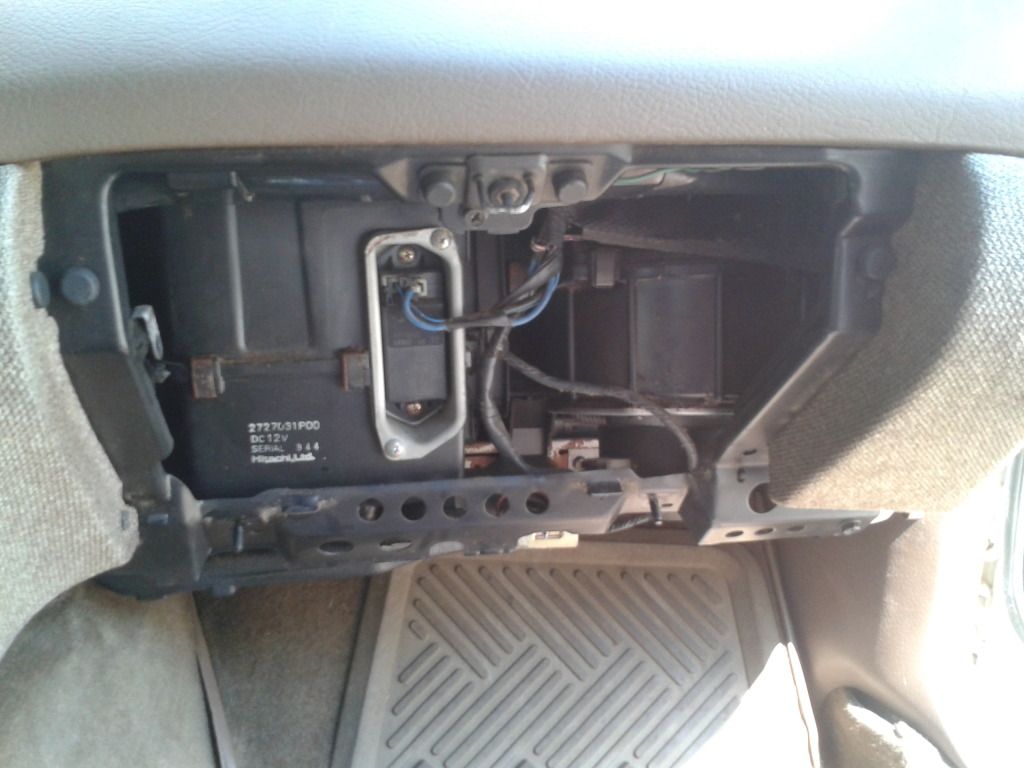
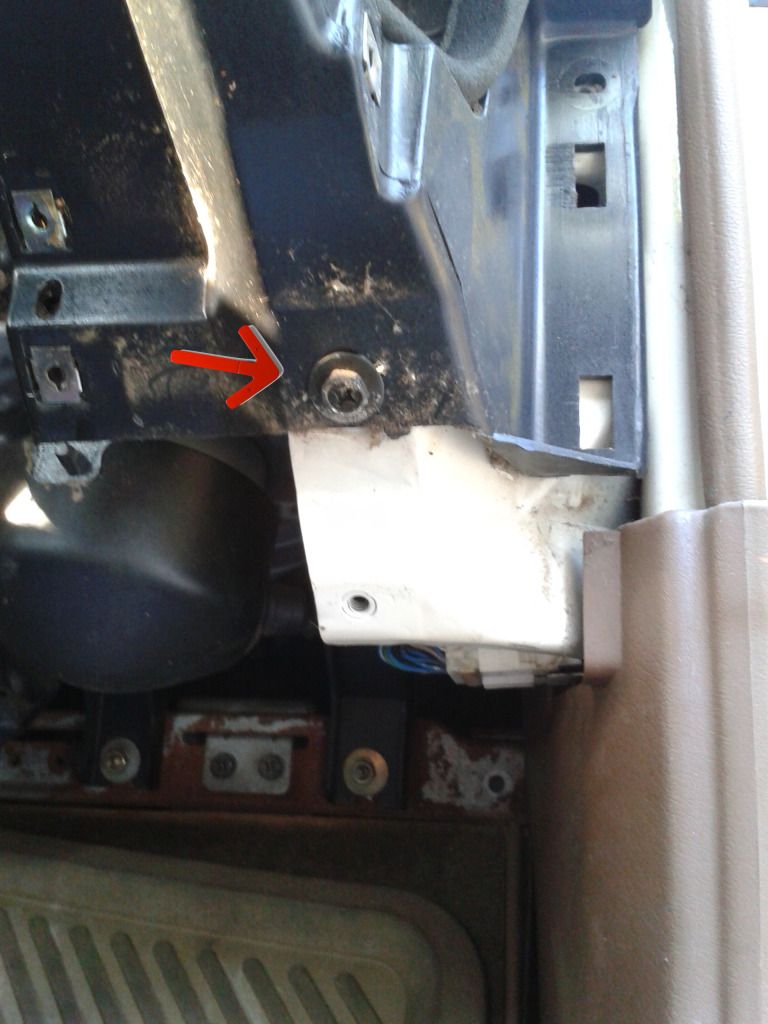
Next, I moved to the passenger side foot well. The plastic trim under the glove compartment is held on by 4 plastic screw clips. Simply unscrew until each screw is loose, but not out. Then pull down on the whole piece of trim and the clips will pop out.
This will have revealed the 2 bolts that secure the glove box in place. Remove these.

There is also another screw in the back left corner that needs to be removed before the glove box will come out.
Glove box removed.
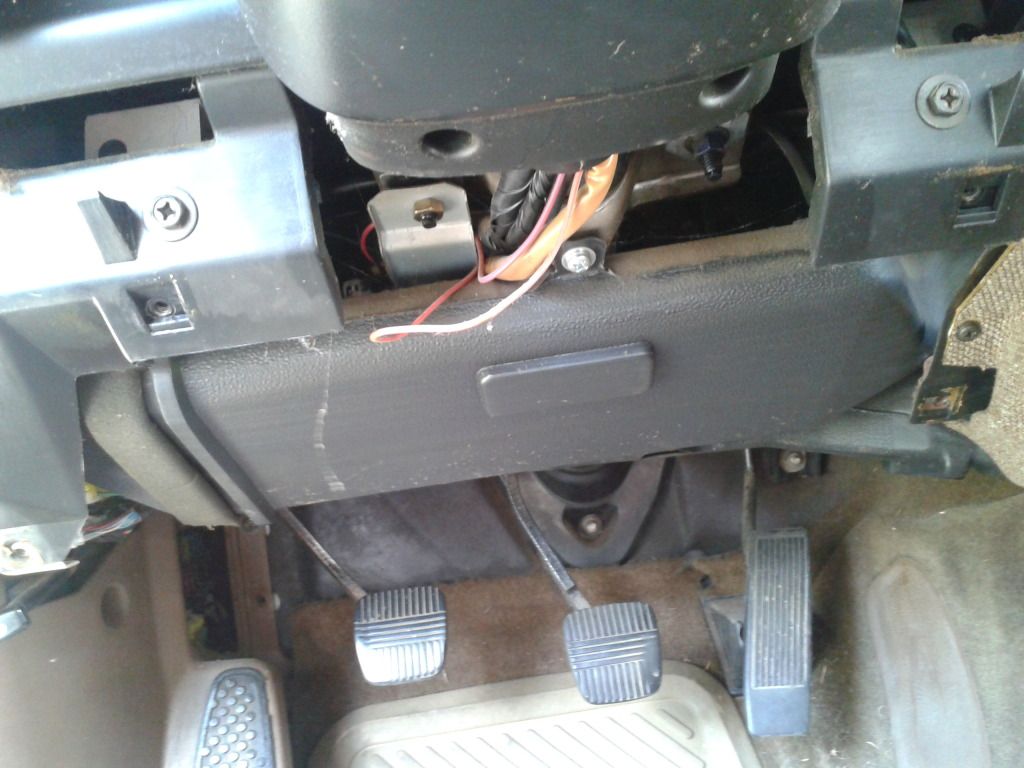
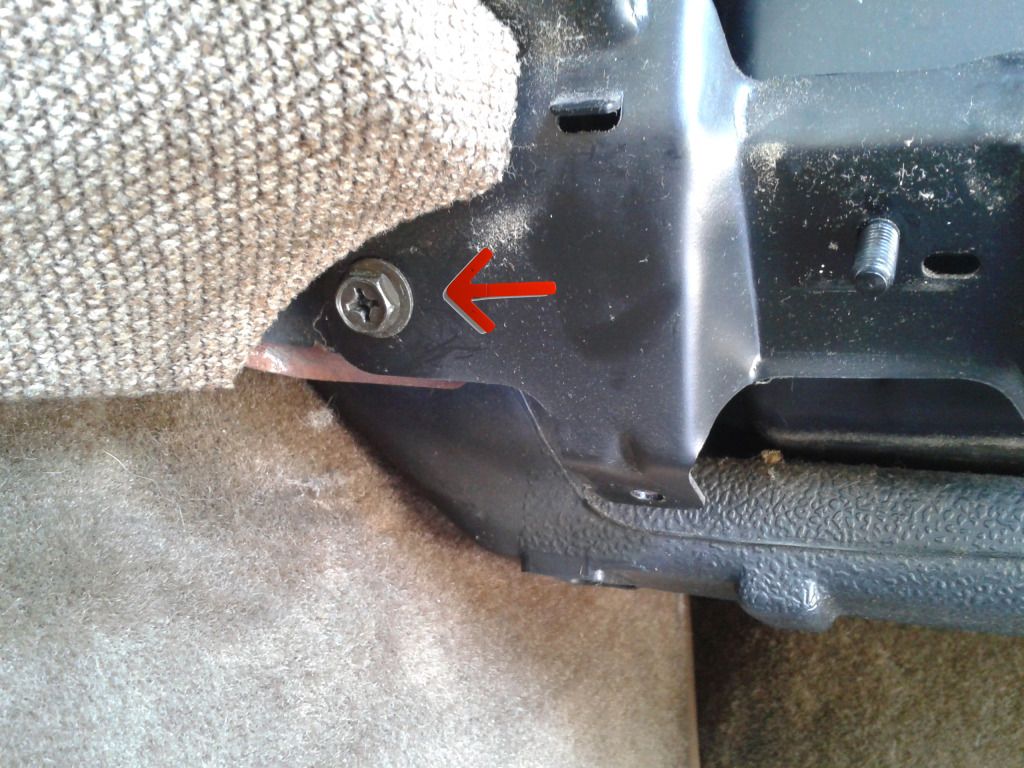
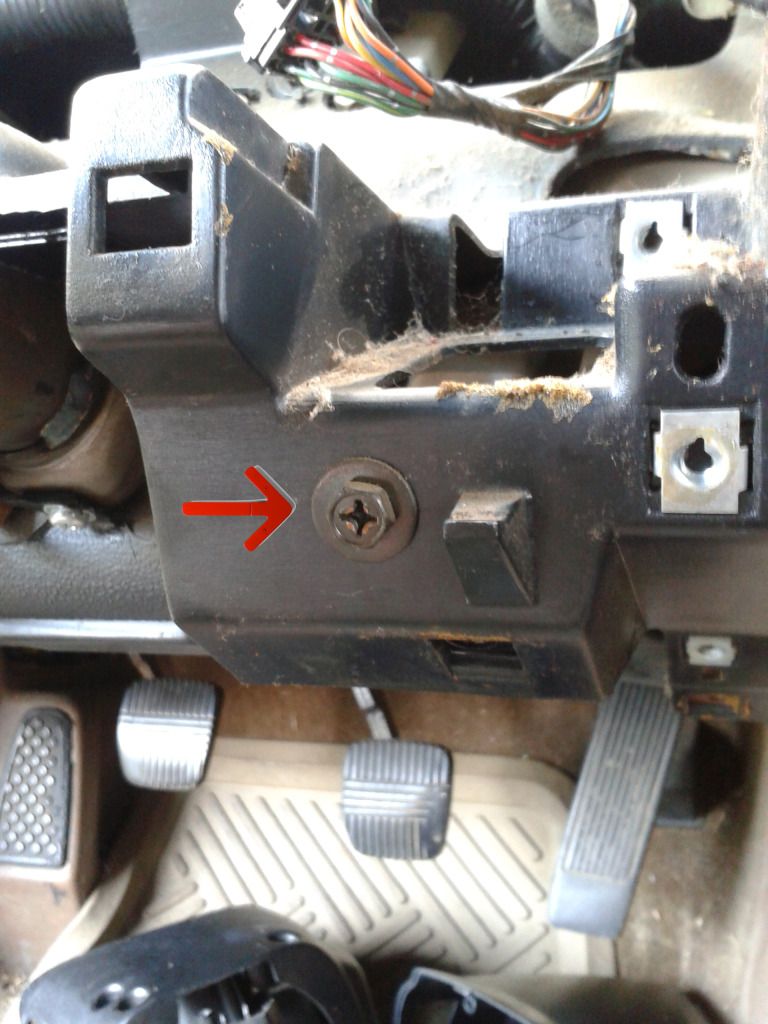
Now on to the drivers side. The panel under the steering wheel that you hit your knees on has 4 screws holding it in place. These are the first two.
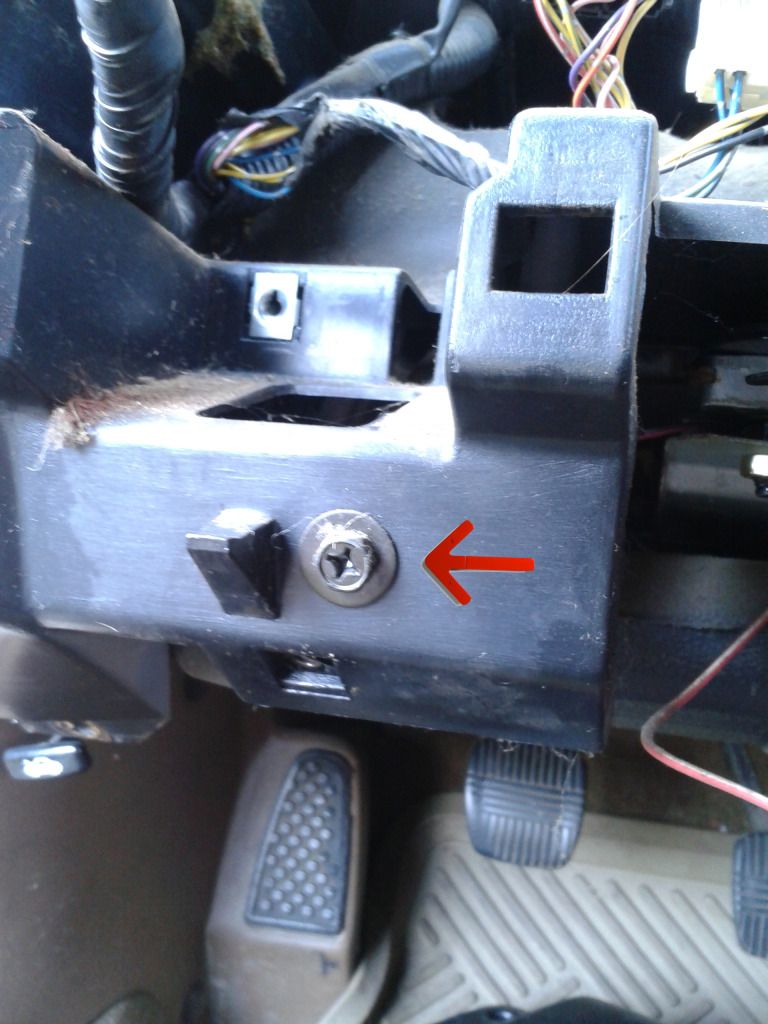
The other two are further underneath.
Panel removed.
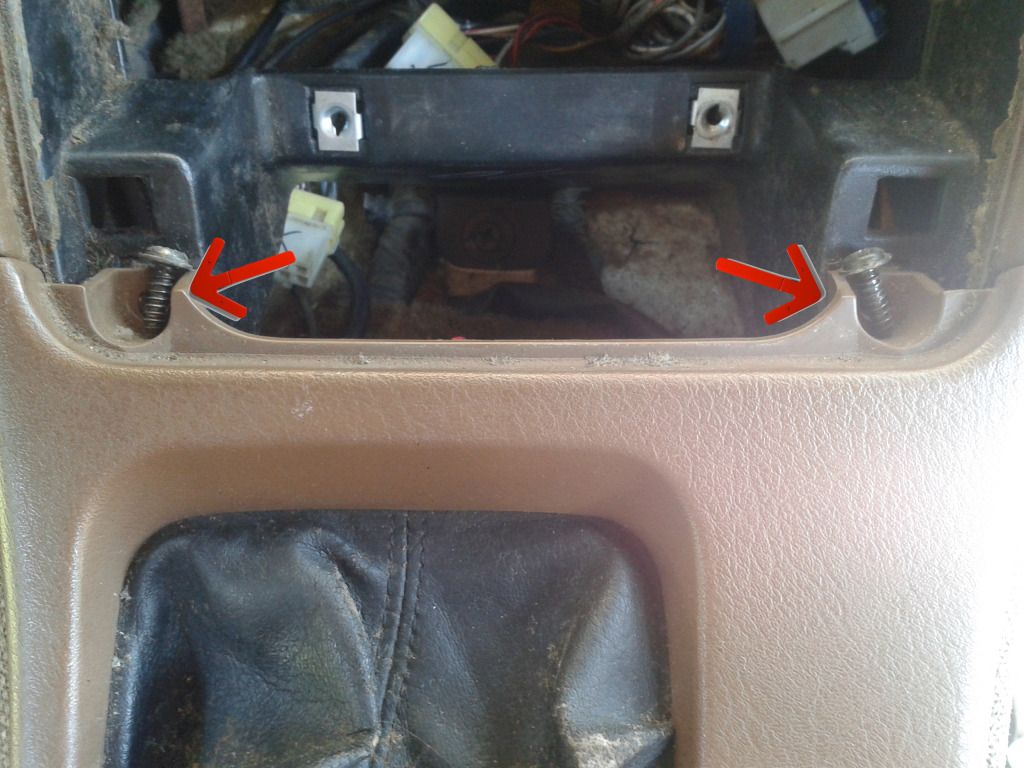
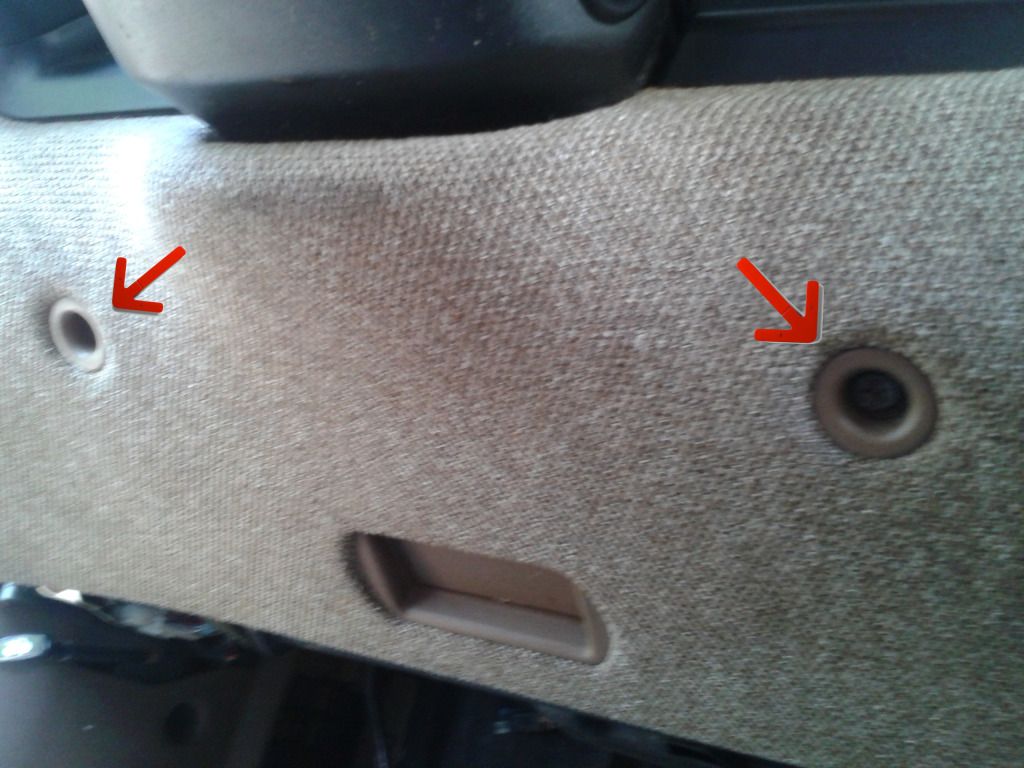
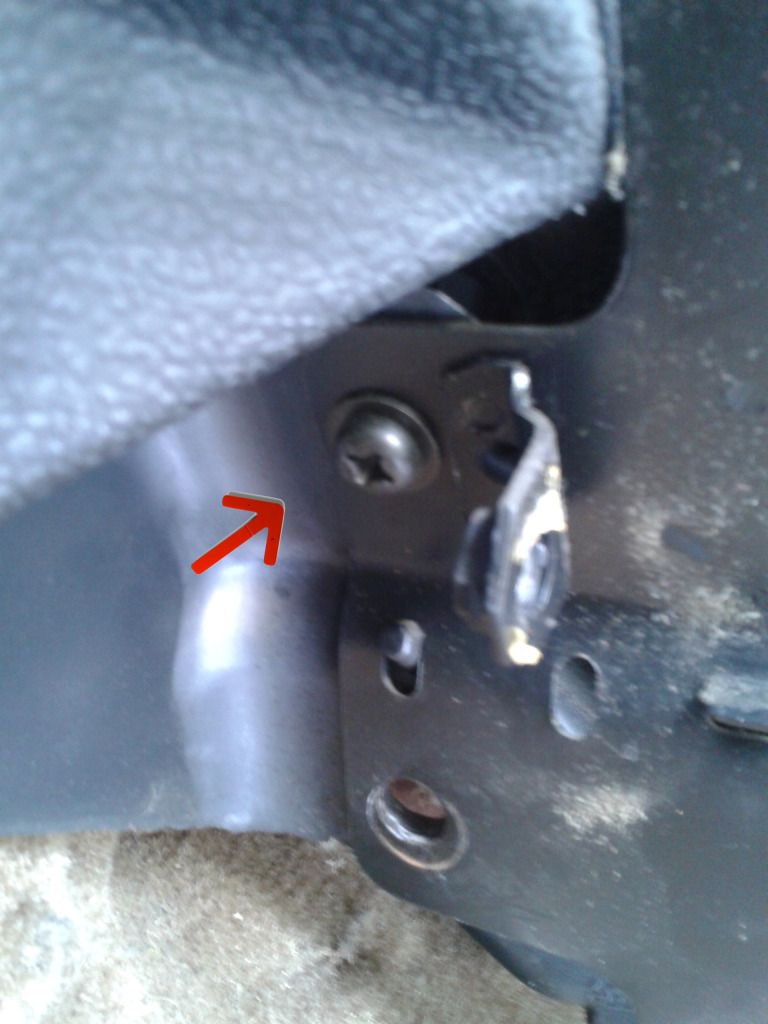
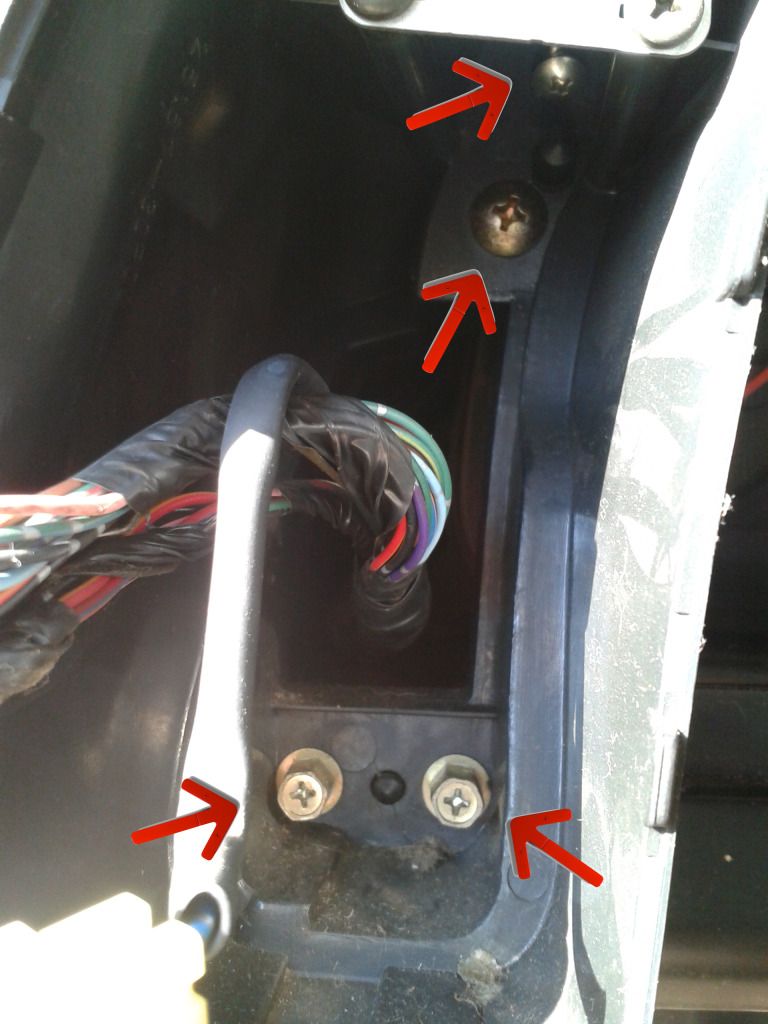
This reveals two new screws that are holding the trim around the center console. Remove these.
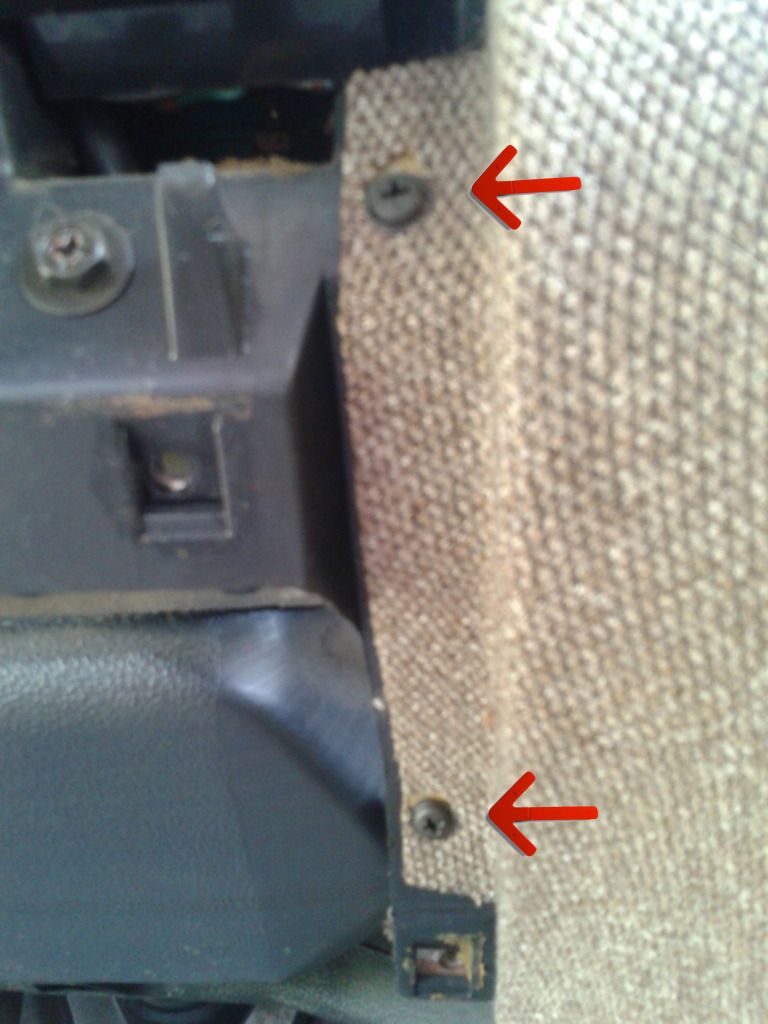
The passenger side trim also has two screws that were revealed upon removing the glove box.
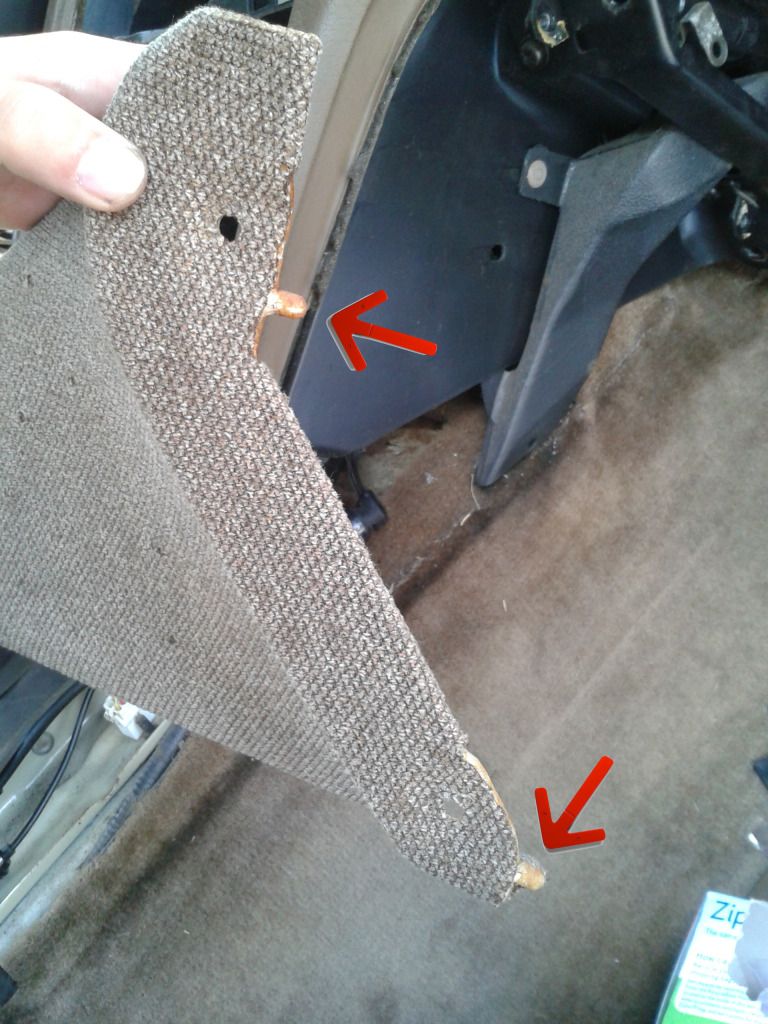
Beware! One is hiding under a cap that needs to be pried off.
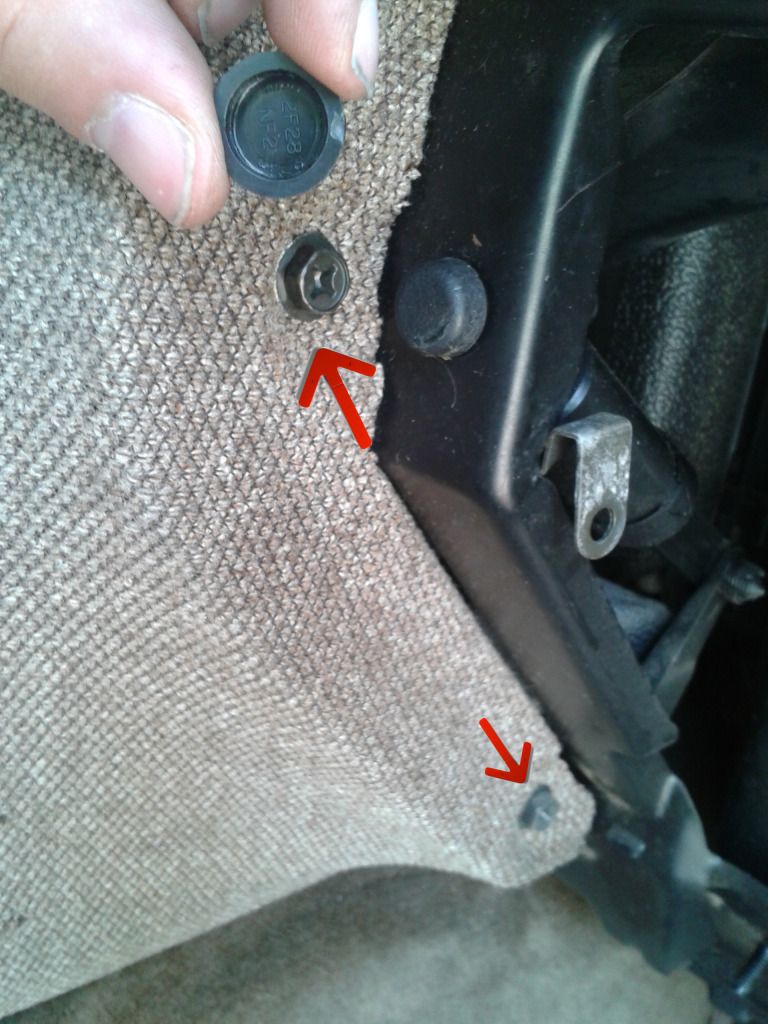
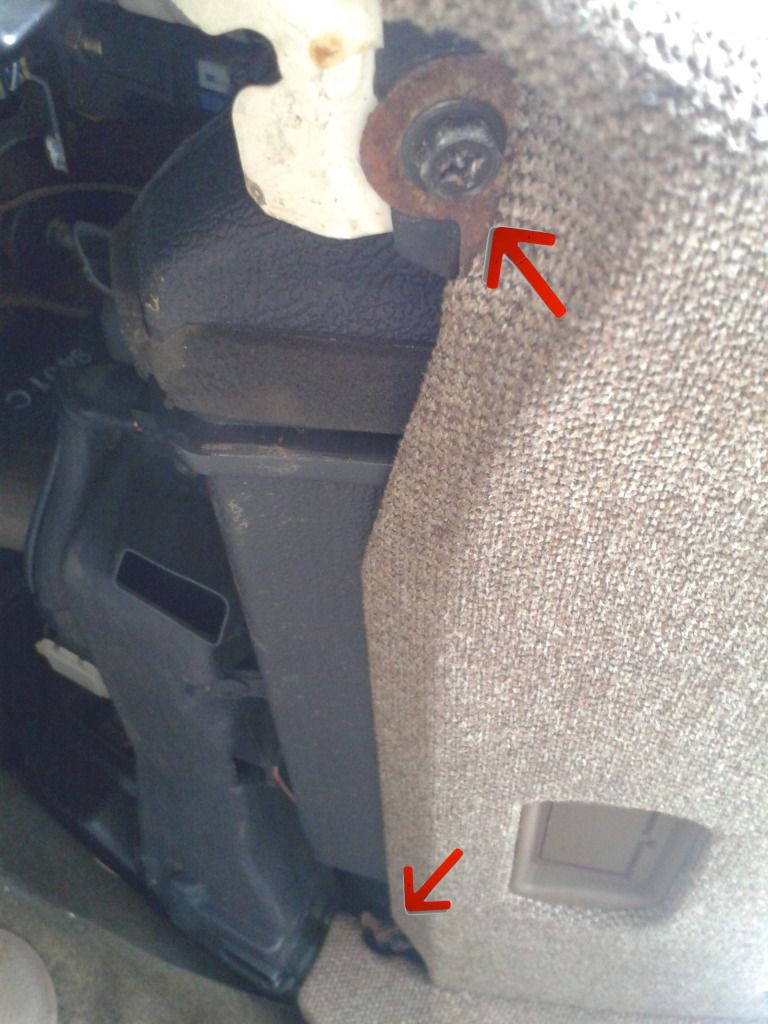
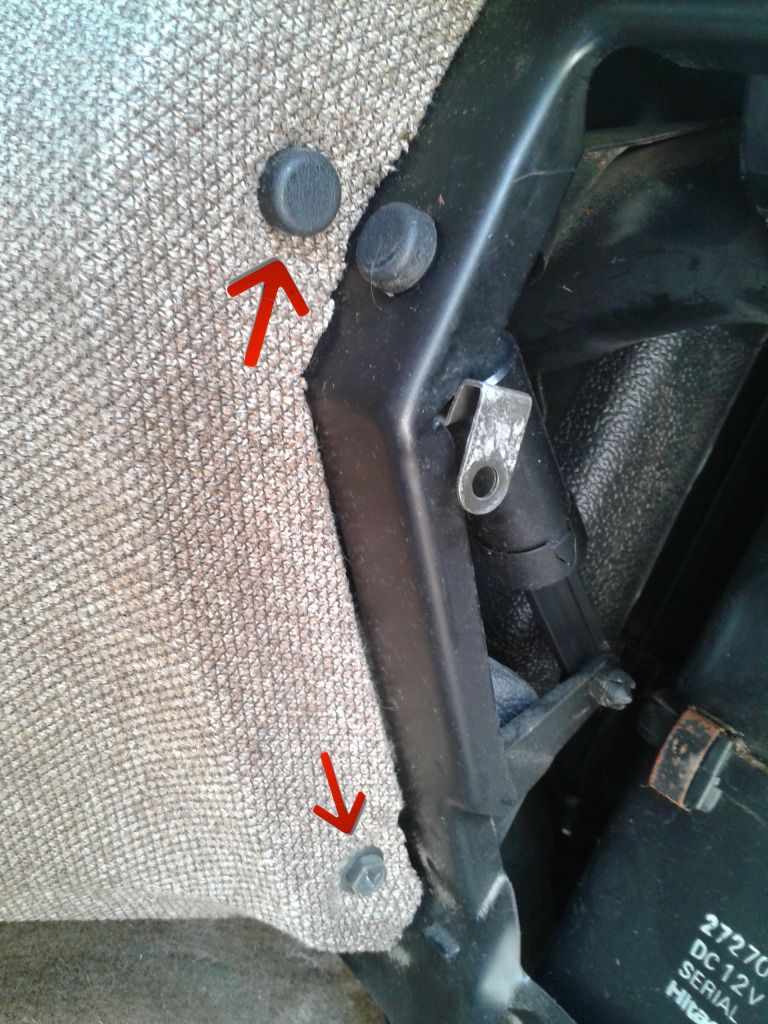
Both sides have an additional two screws securing them down.
Be careful. There is a small tab at the end.
Side trim removed.
The other side has one too.
The passenger side also has two alignment pins to watch out for.
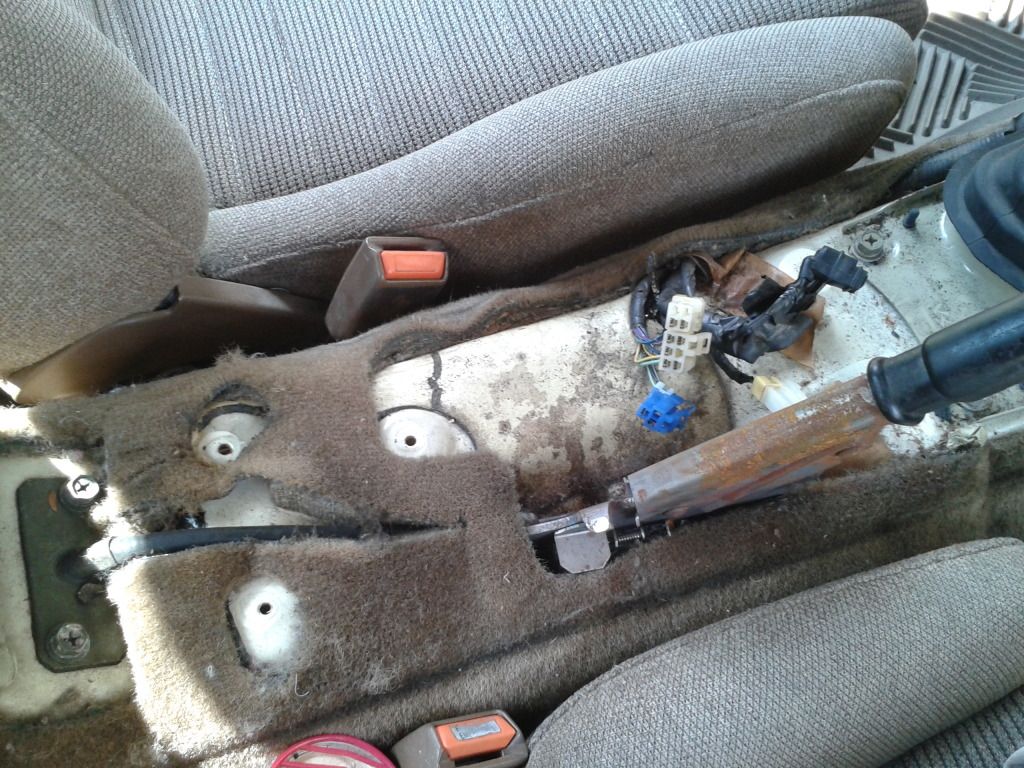
This next section is optional: To remove the arm rest section that covers the e-brake lever, remove these two screws.
Then pull up the lining in the arm rest storage space. It is secured with double sided sticky tape. Underneath you will find some screw covers that need to be pried out.
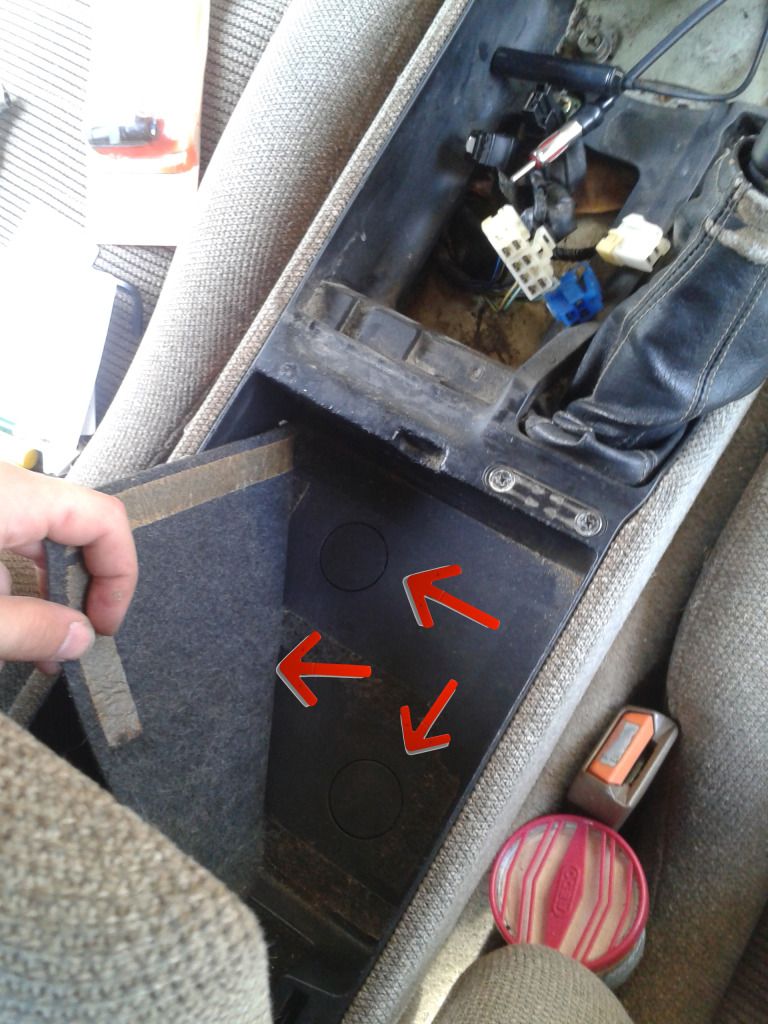
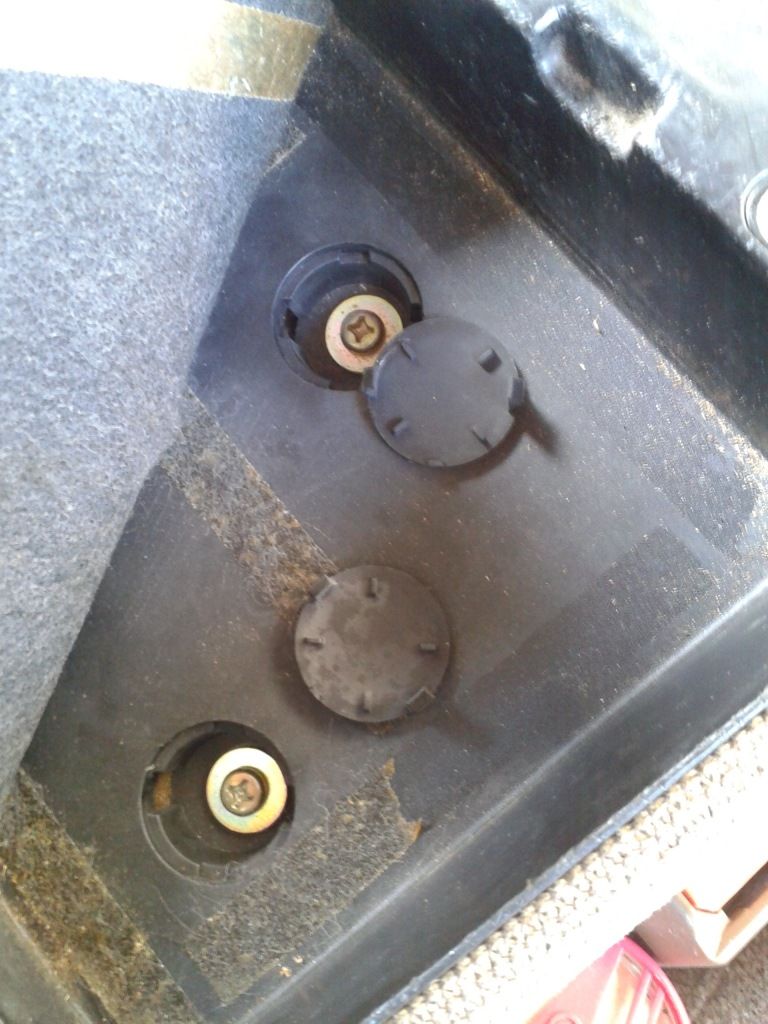
There are 3 screws here that need removed.
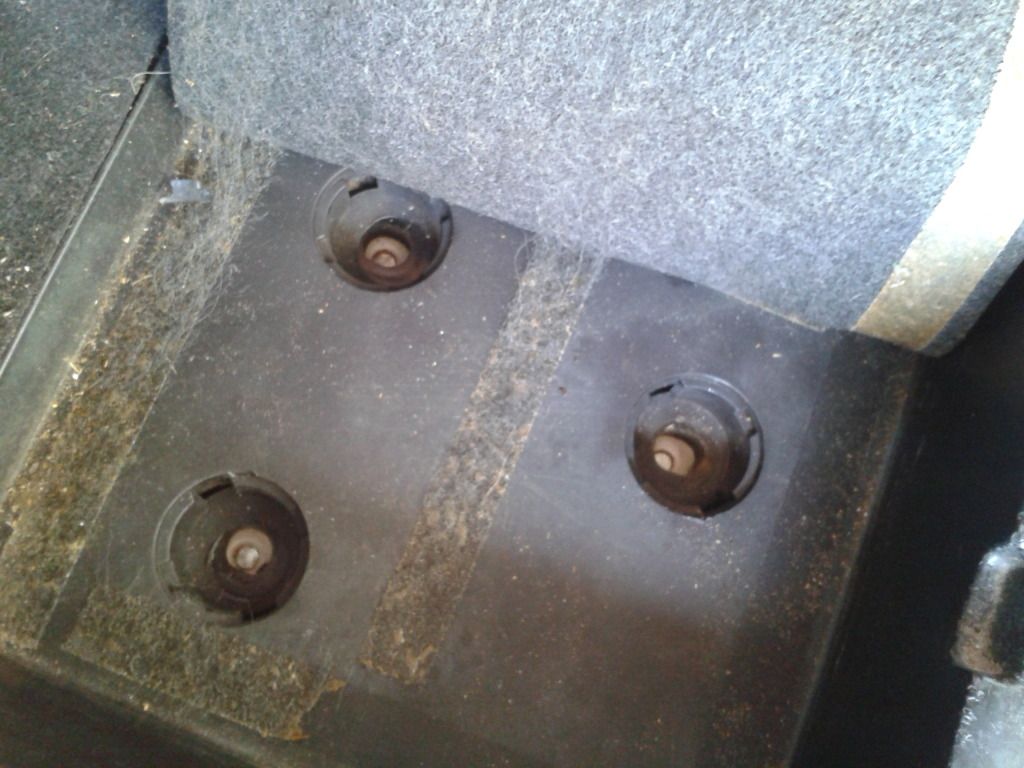
Arm rest removed.
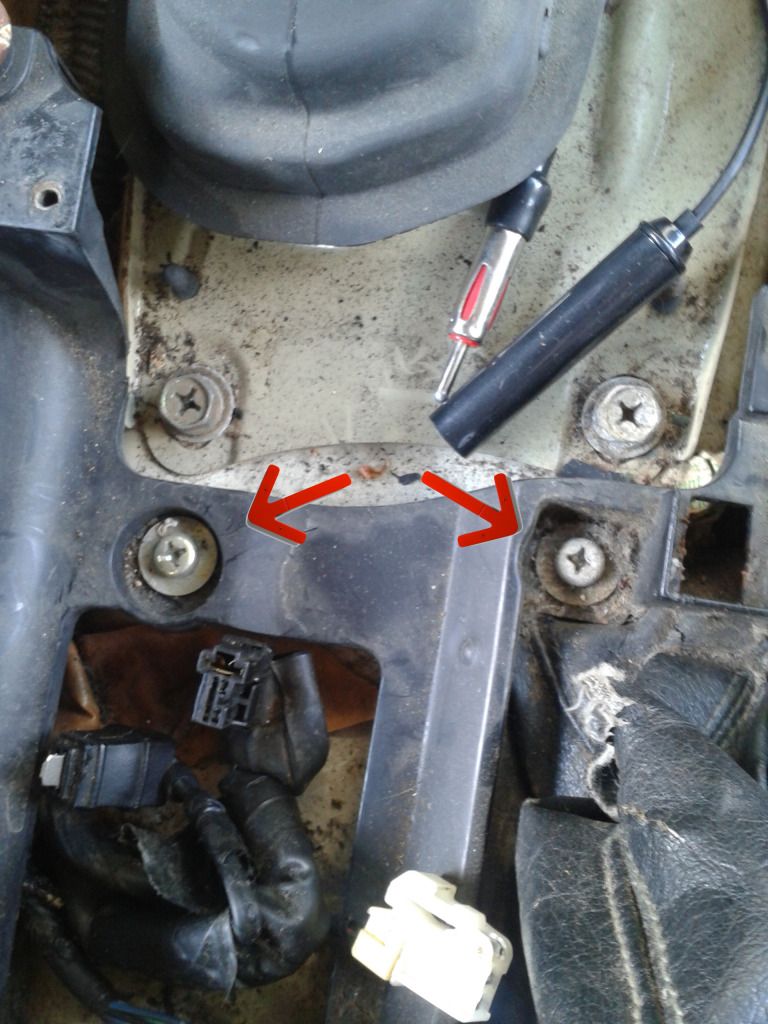
Now on to the framework surrounding where the glove box used to be. There are screws on both sides hiding under caps.

There is one in the middle.
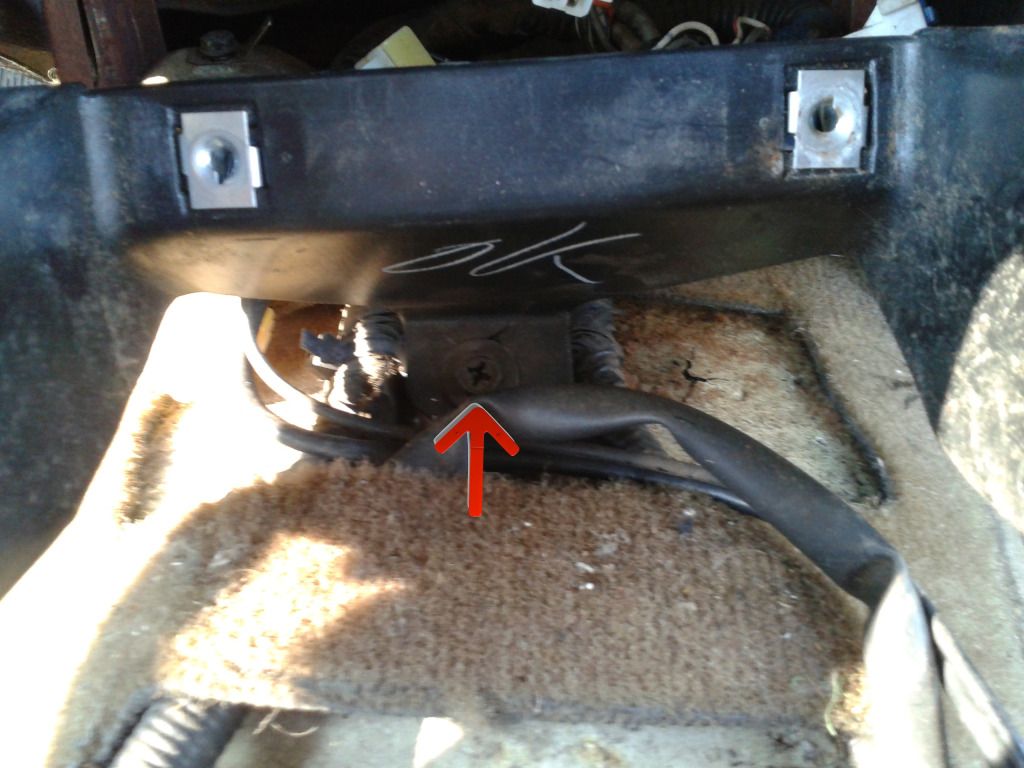
Also, underneath there are two more screws.

With the side trim removed, two more screws are revealed. One up top...

and one underneath. That is a total of 7 screws securing this frame.
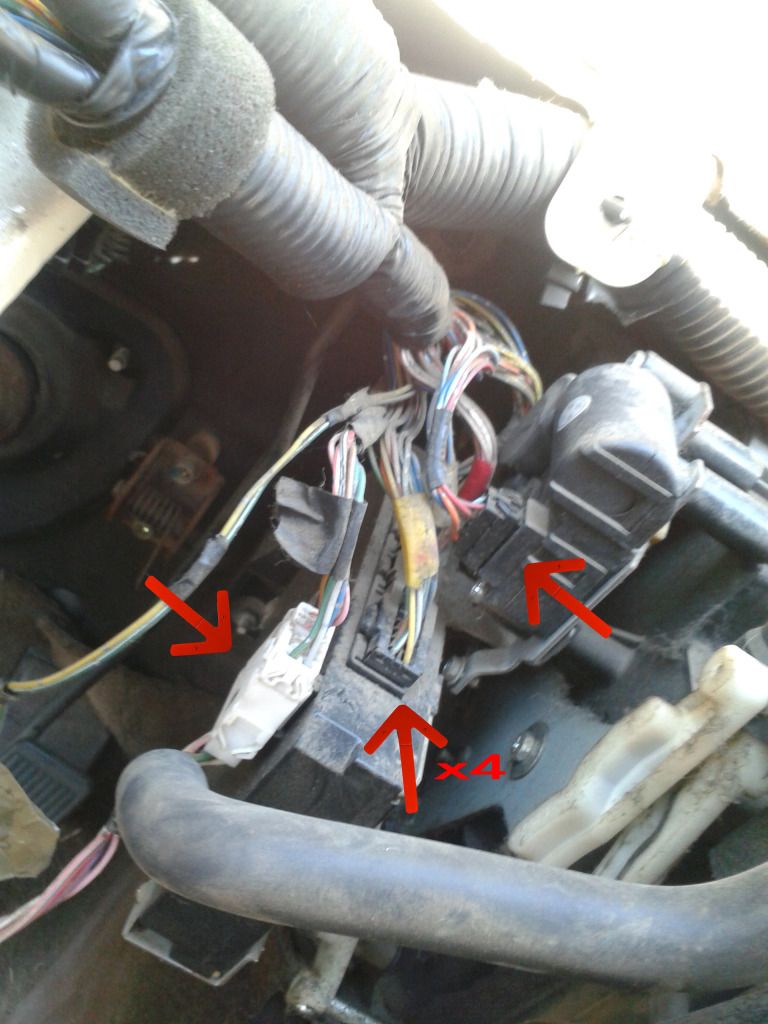
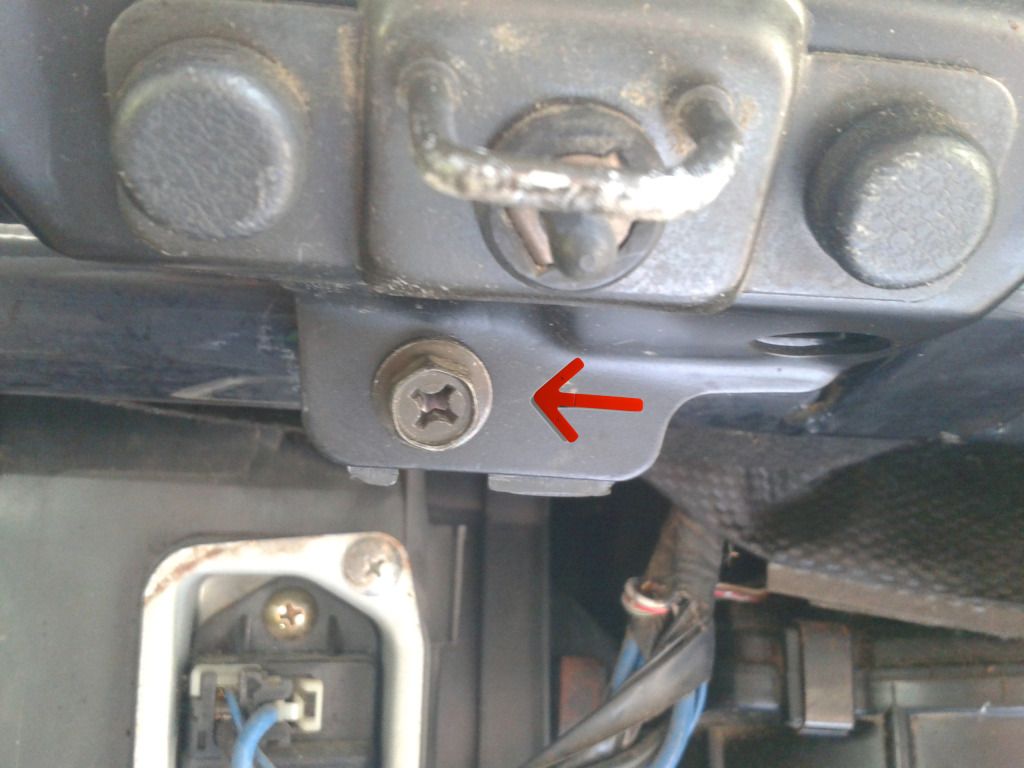
Be careful of this metal tab that sticks up. It will try to hold the frame in place and, as you see here, it caught some wires.
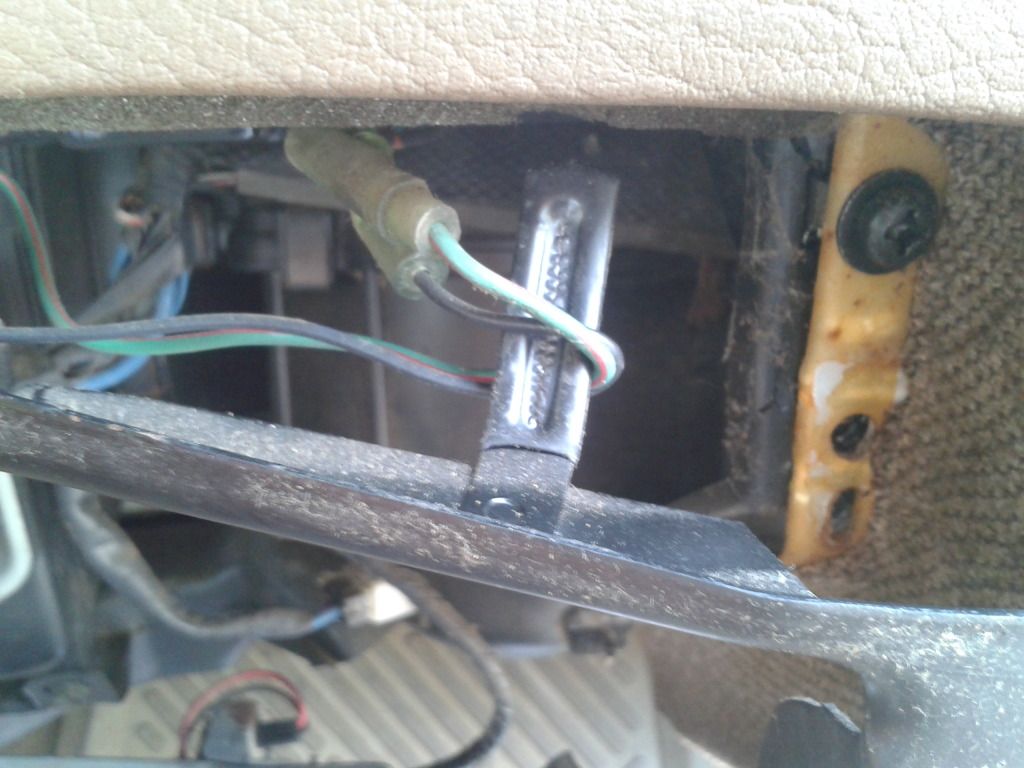
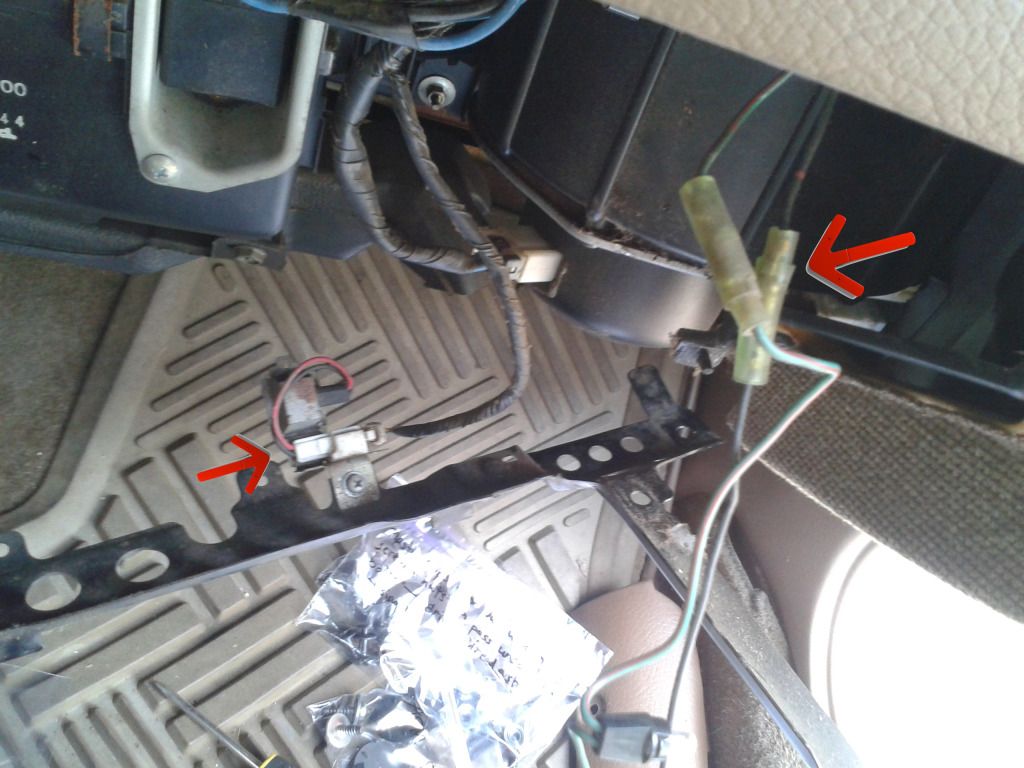
Disconnect the wires going to the floor and glove box lights. The frame is now free.
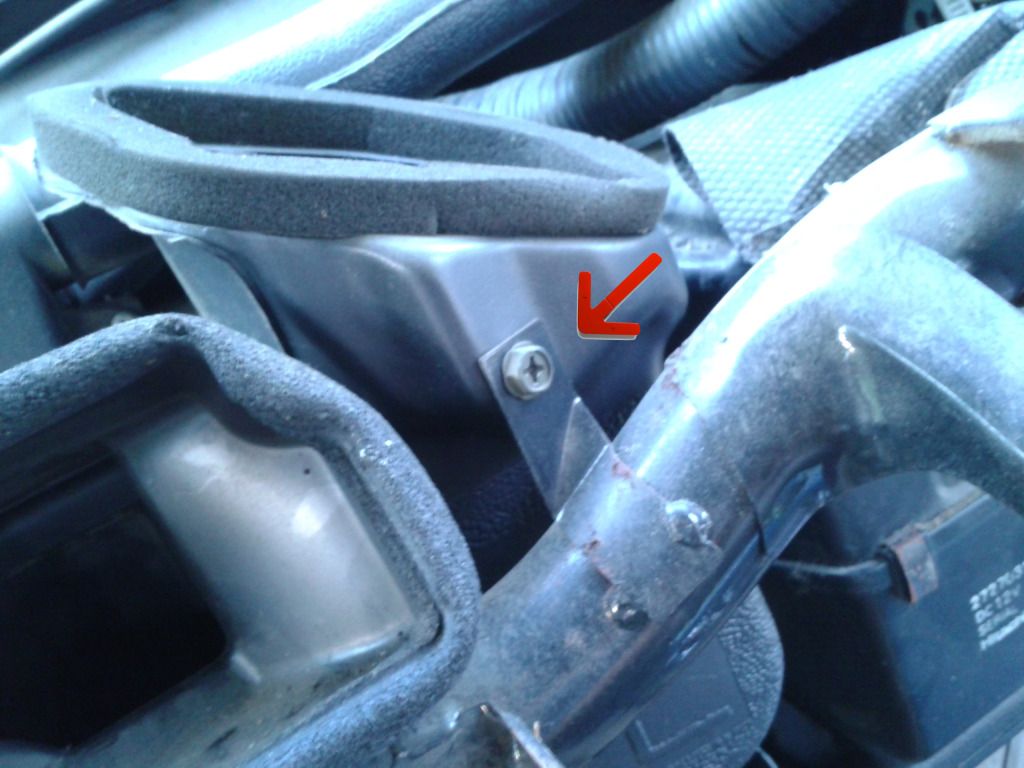
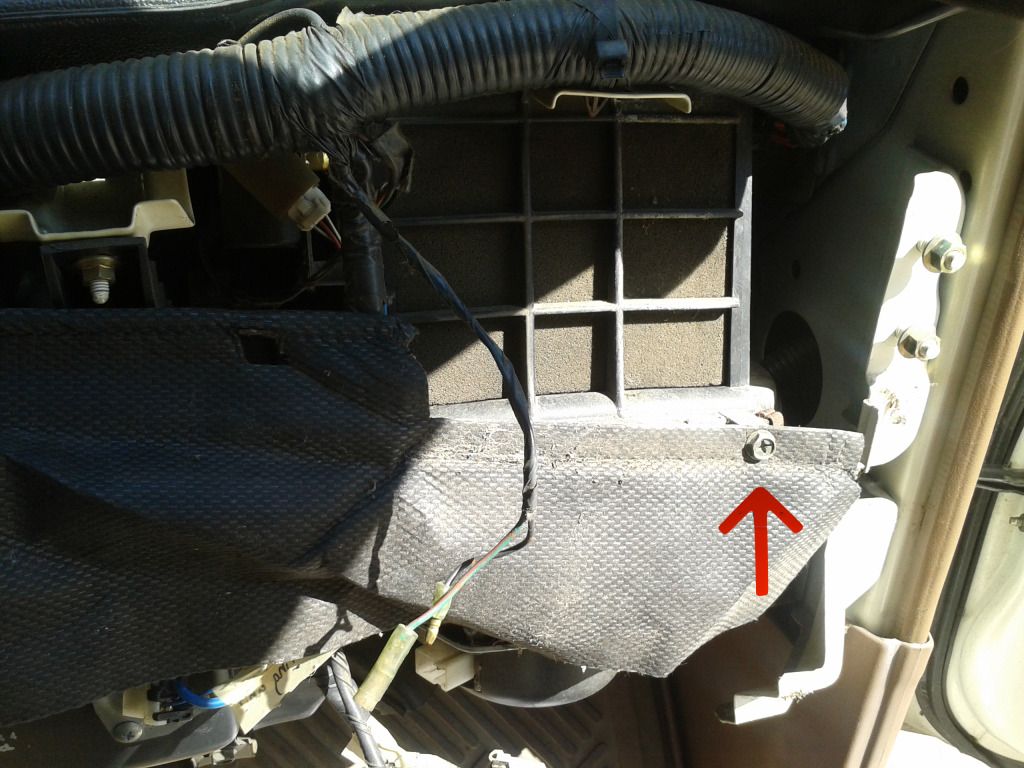
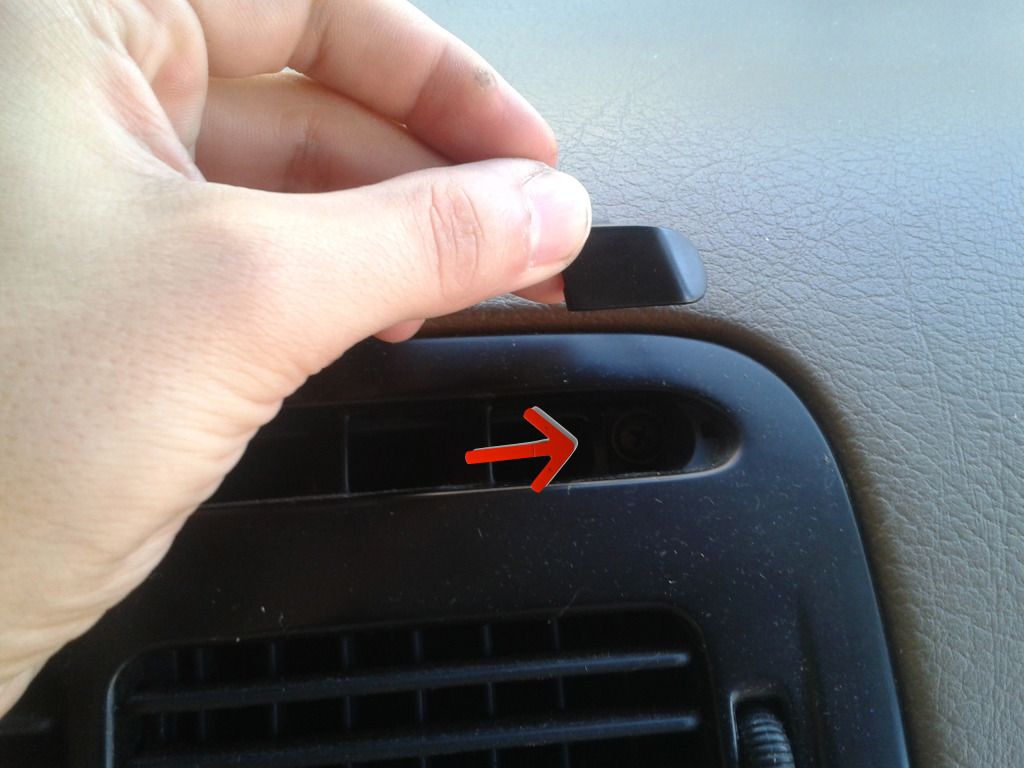
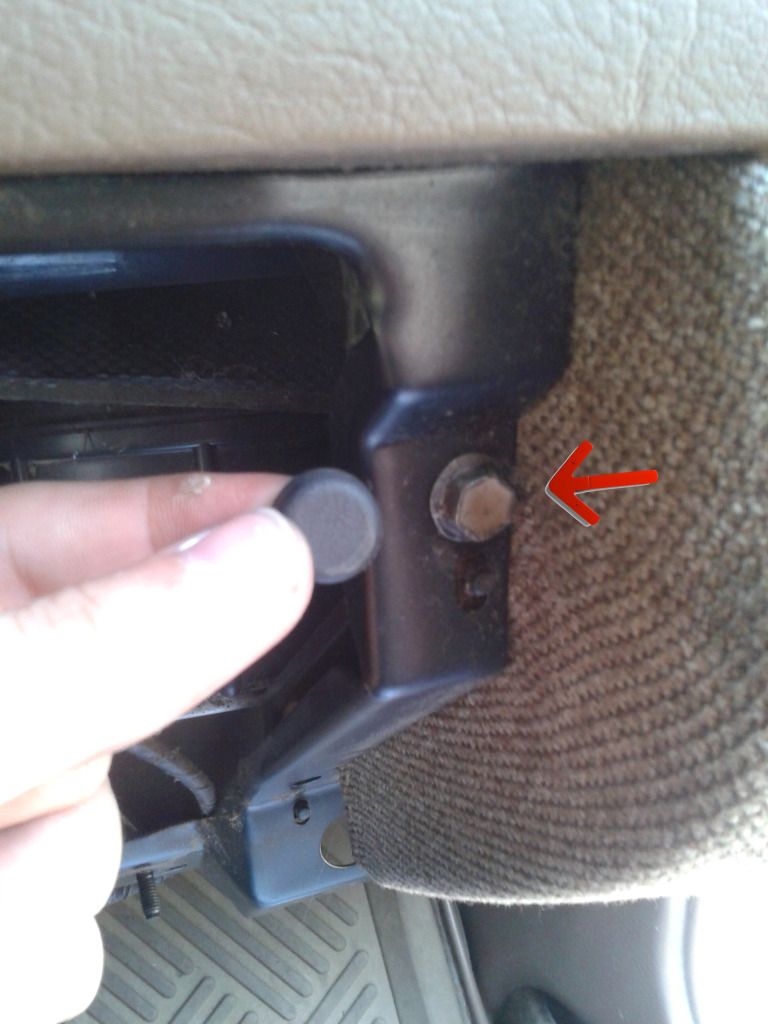
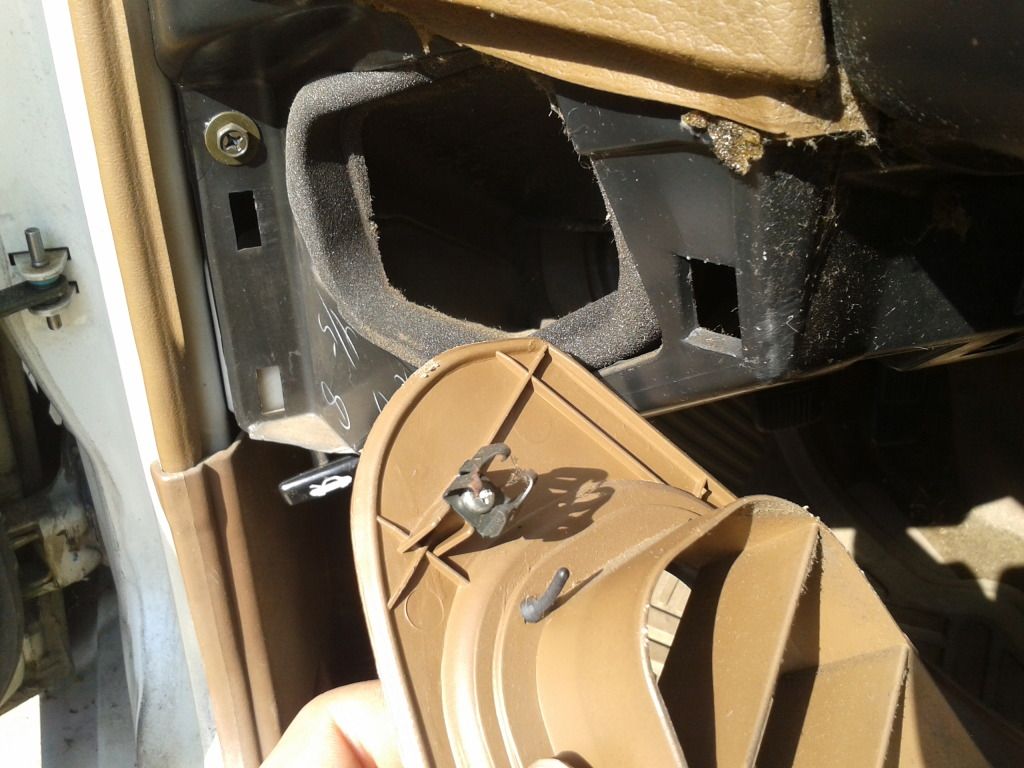
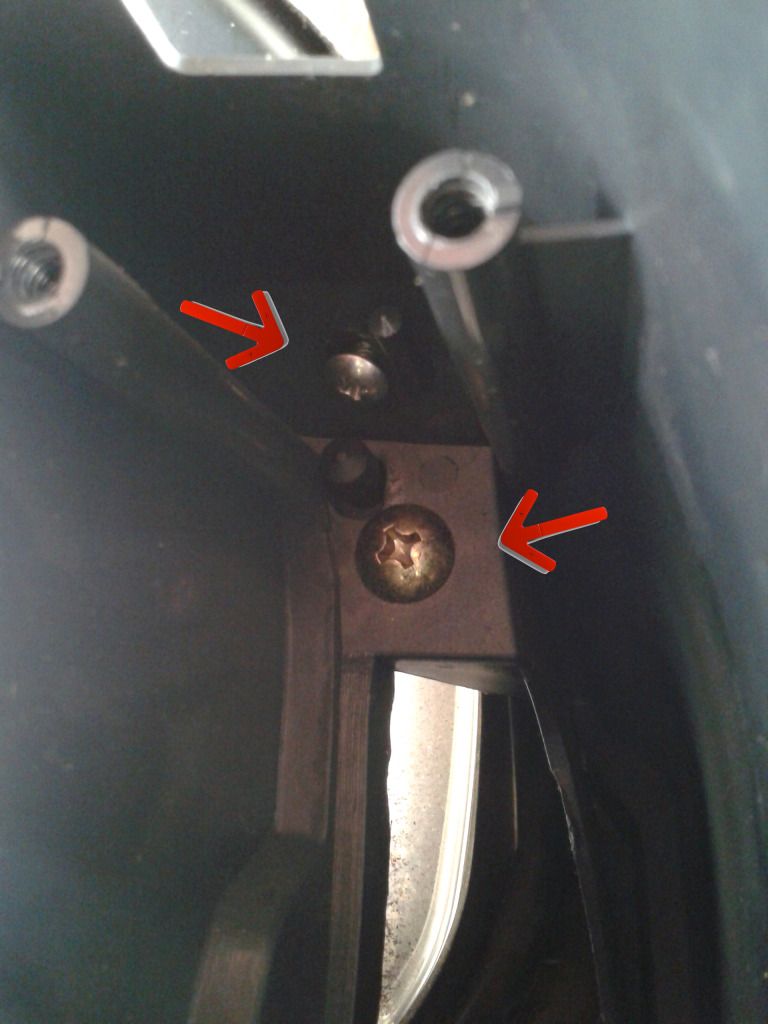
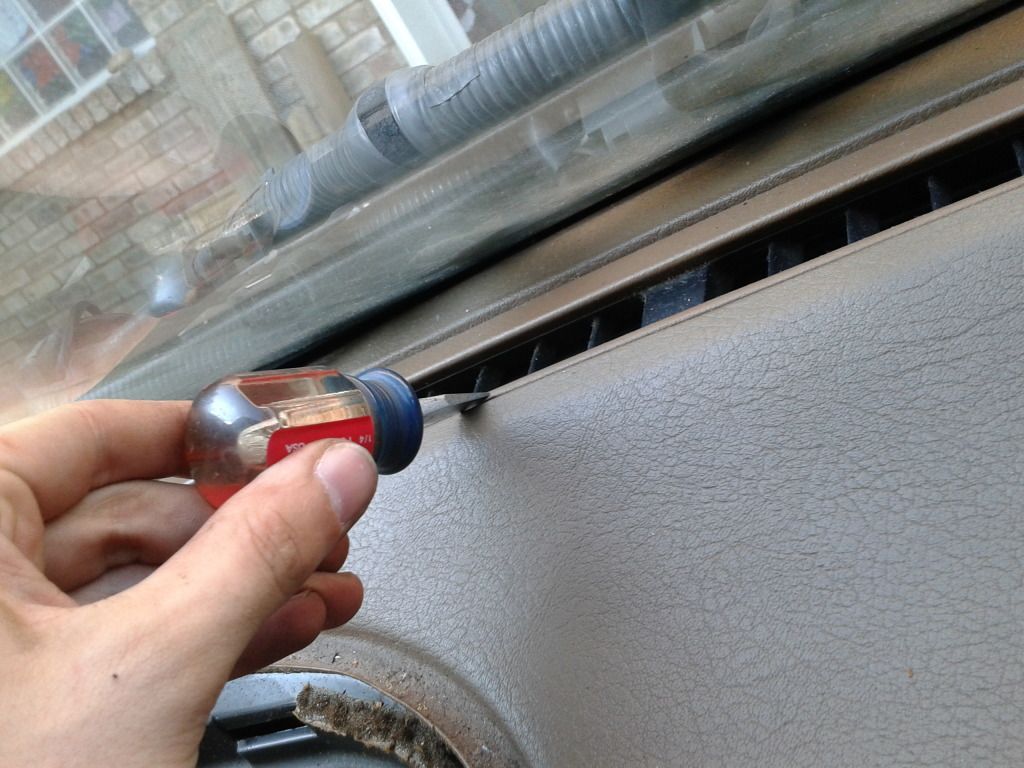
On the outside of the dash is a cover for the air vent that transfers air to the door. Pry around this area.
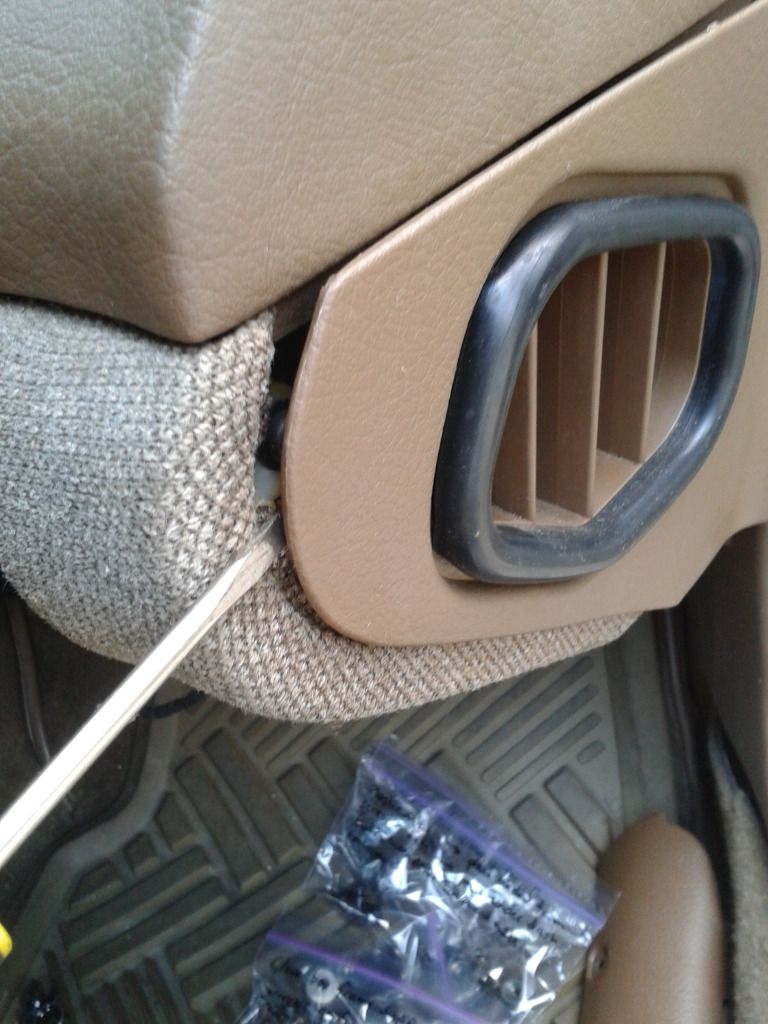
There was only one metal clip and two pawls holding it in place.

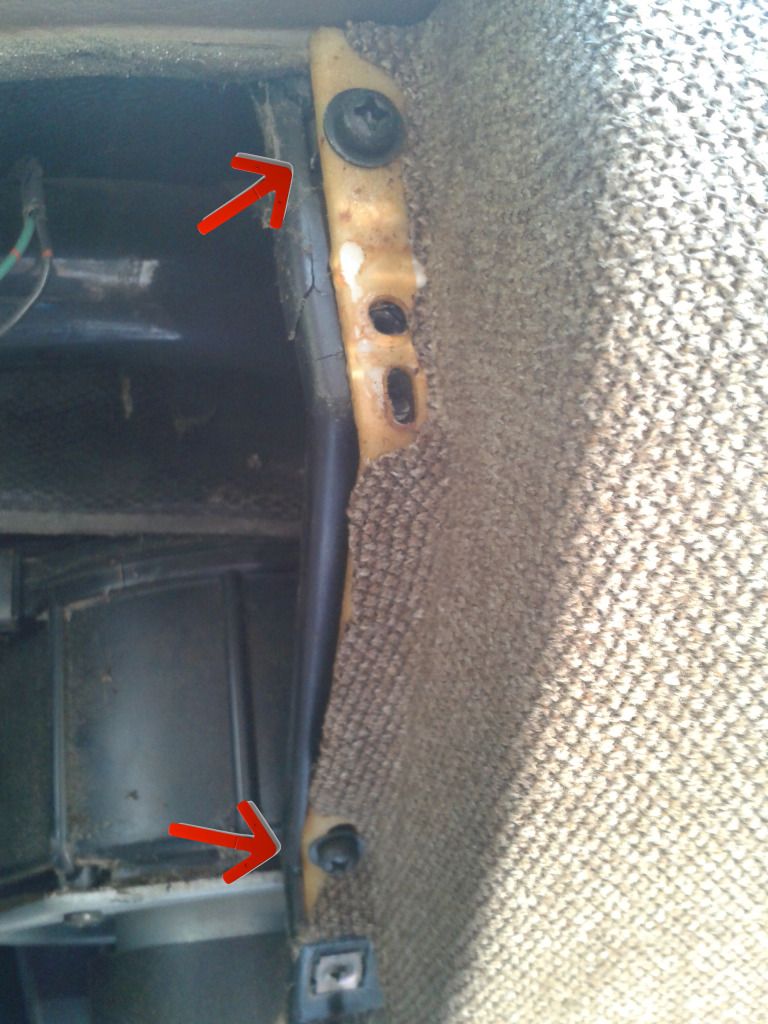
This reveals two screws that need to be taken out to remove this small piece of trim.
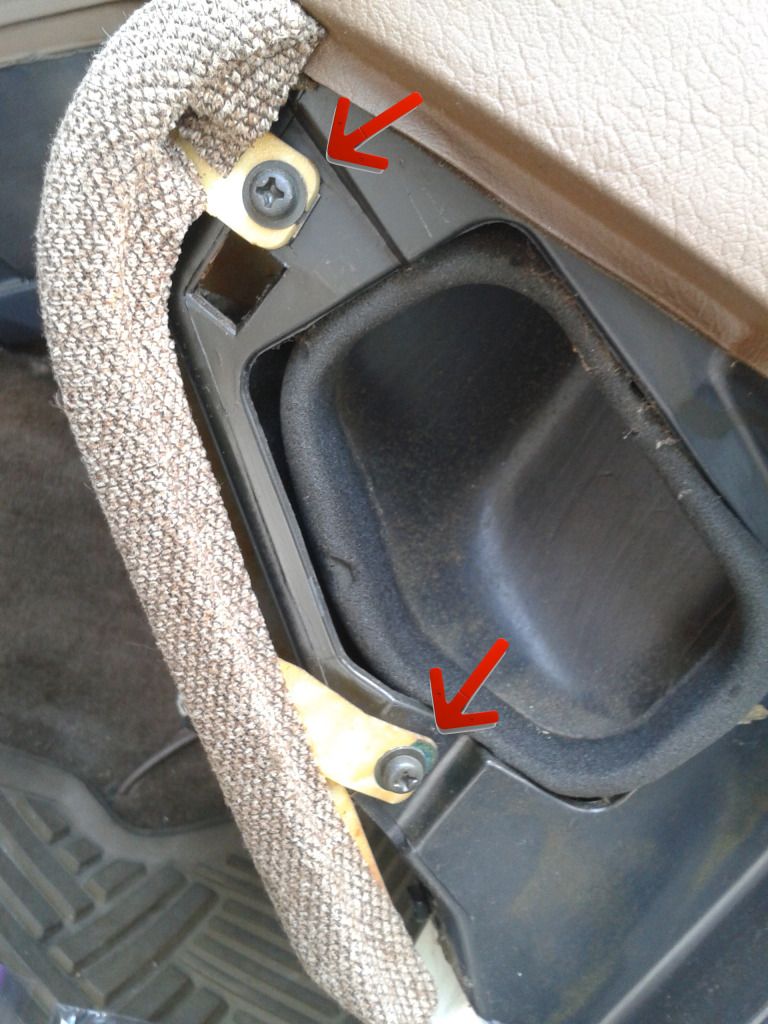
There are two more on the other side. Remove screws and trim.
The same thing is happening on the drivers side.
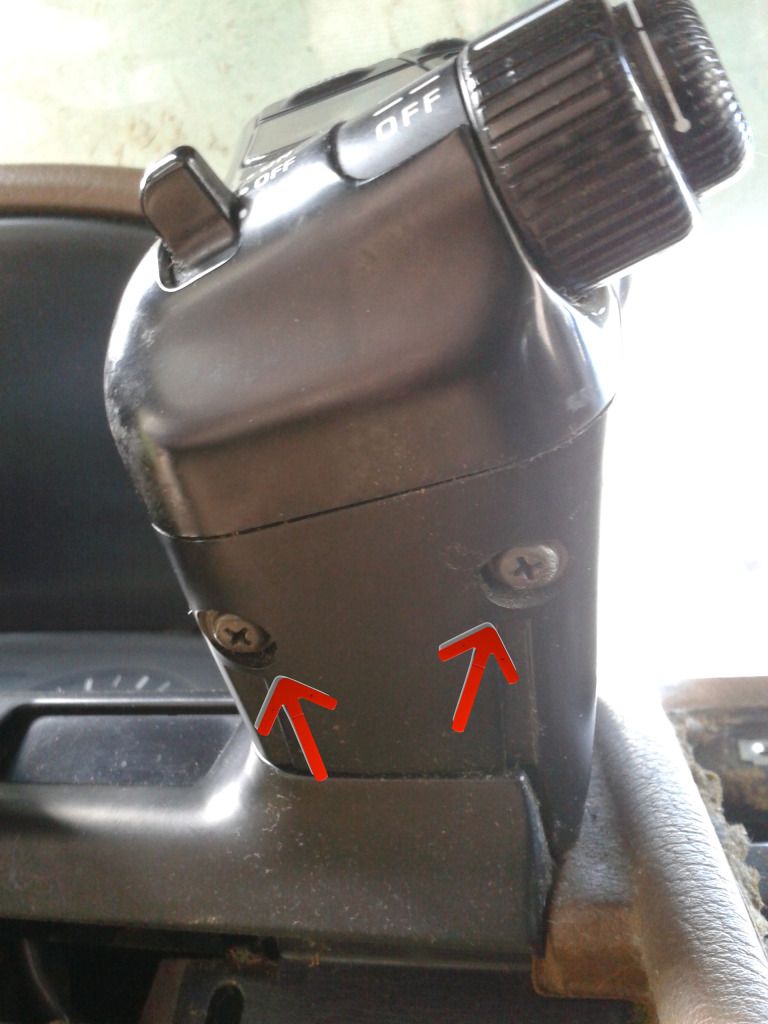
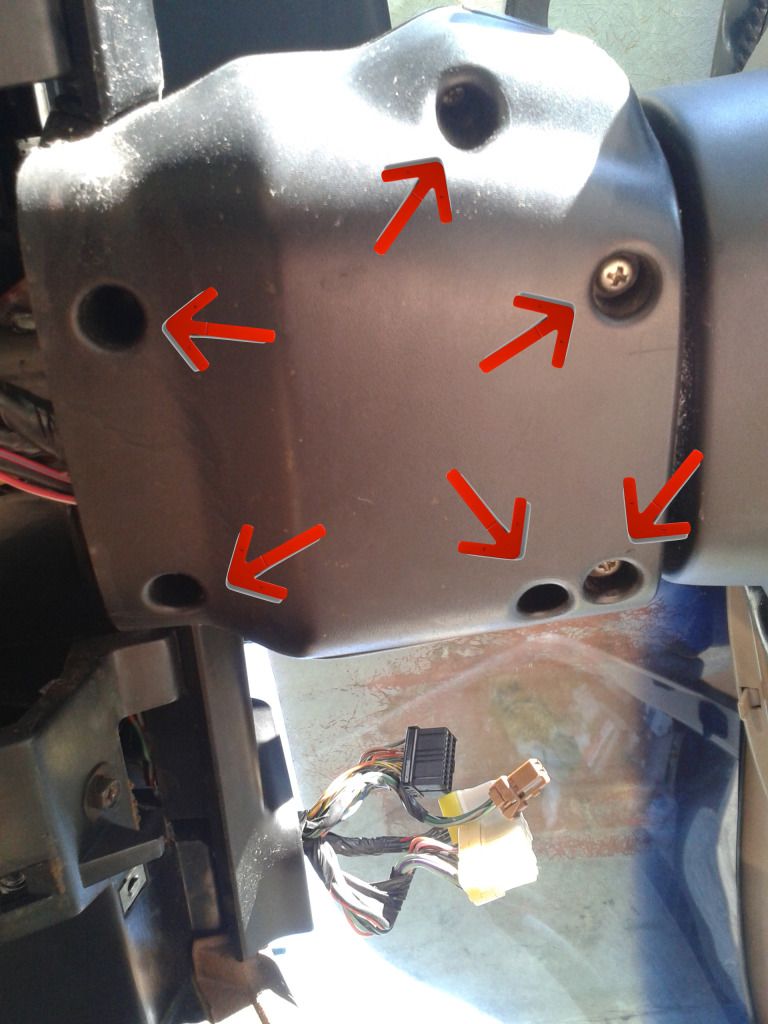
Next, we move on to the gauge cluster assembly, but before that we shall remove the pod controls. There are two screws underneath that hold the faceplate on.
Unplug the wiring connectors.
With the faceplate out of the way, we can see two bolts and two screws holding the housing in place. Remove these.
The right control pod is similar to the left. Two screws underneath.
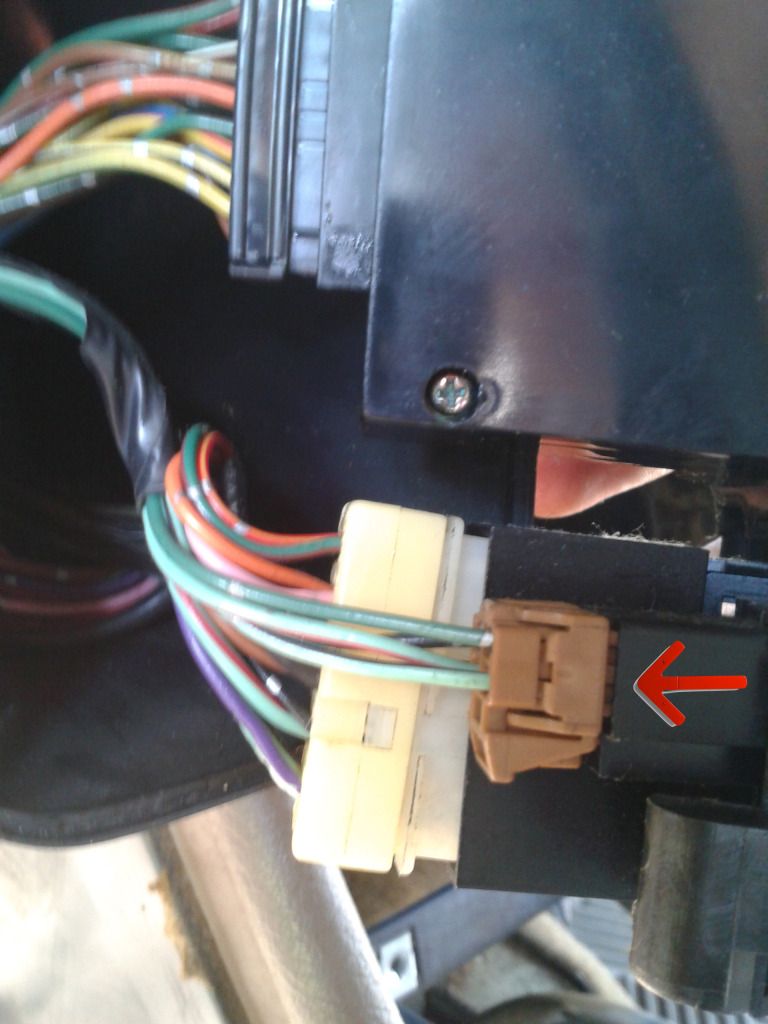
Remove the wire connectors.
Be careful of the sneaky little brown connector on the other side.
Remove the exposed bolts in the bottom and also the two screws at the top.
Pull the hazard lights button straight up and off.
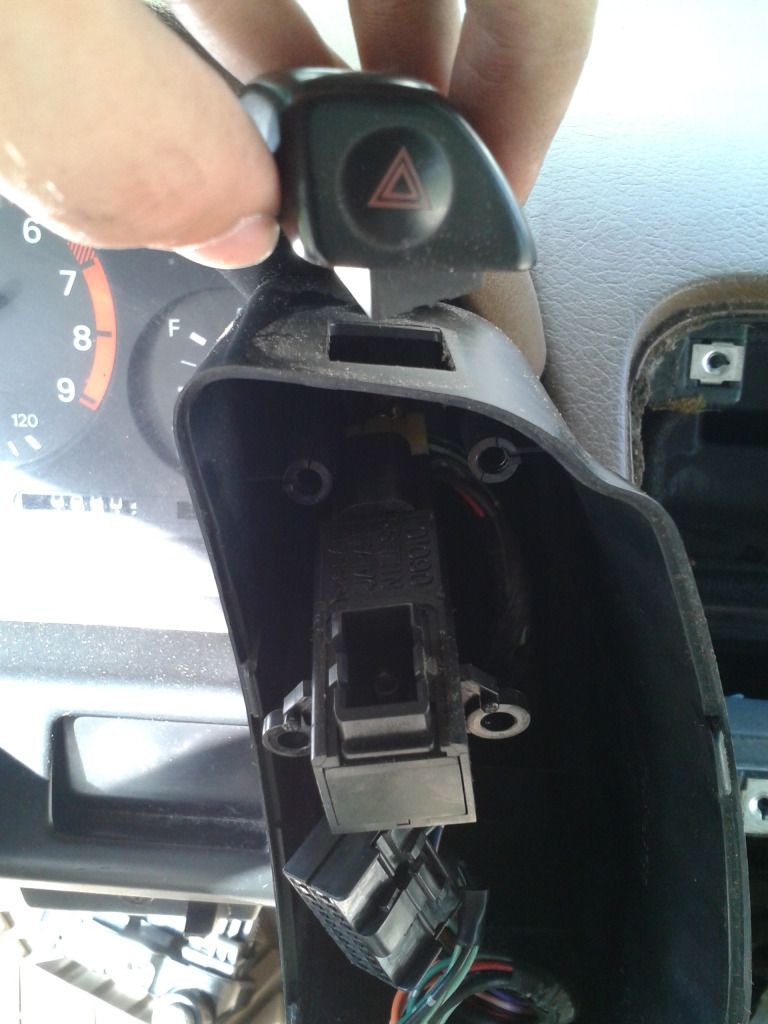
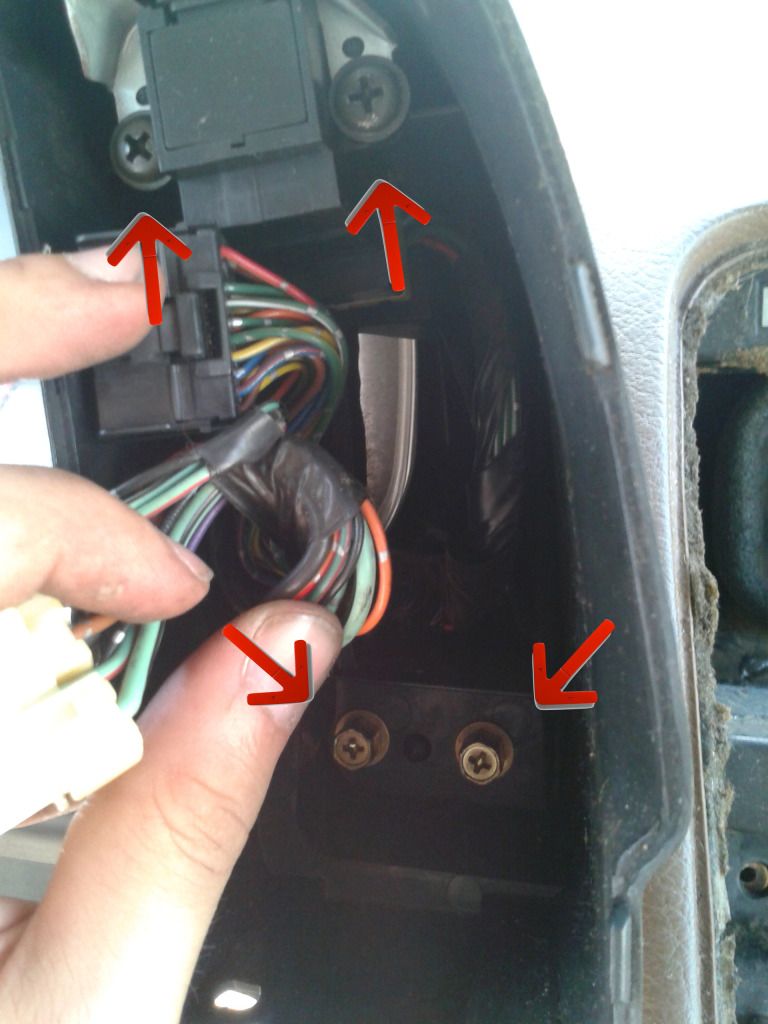
Now you can get to those two screws in the back.
Both side pods removed.
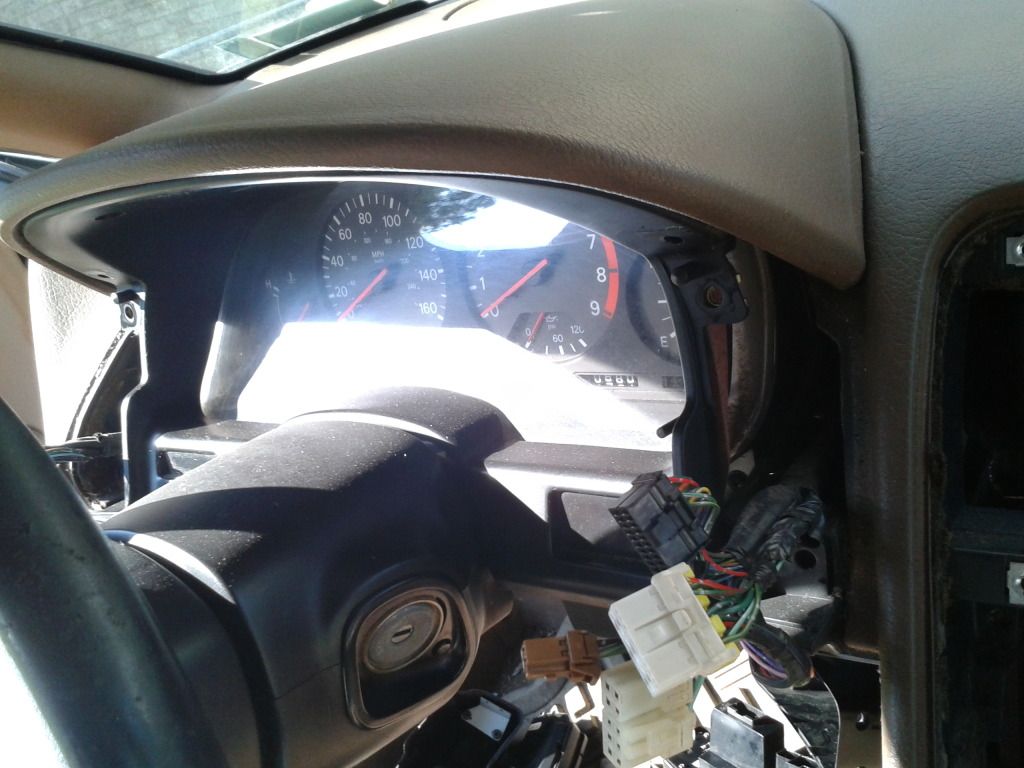
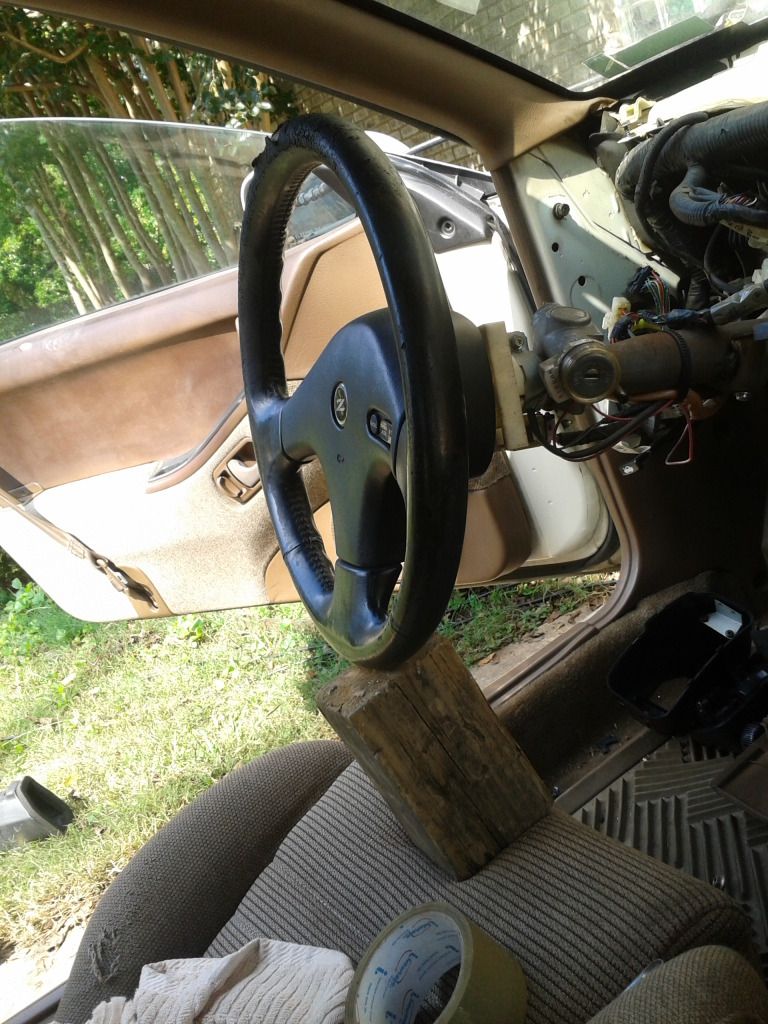
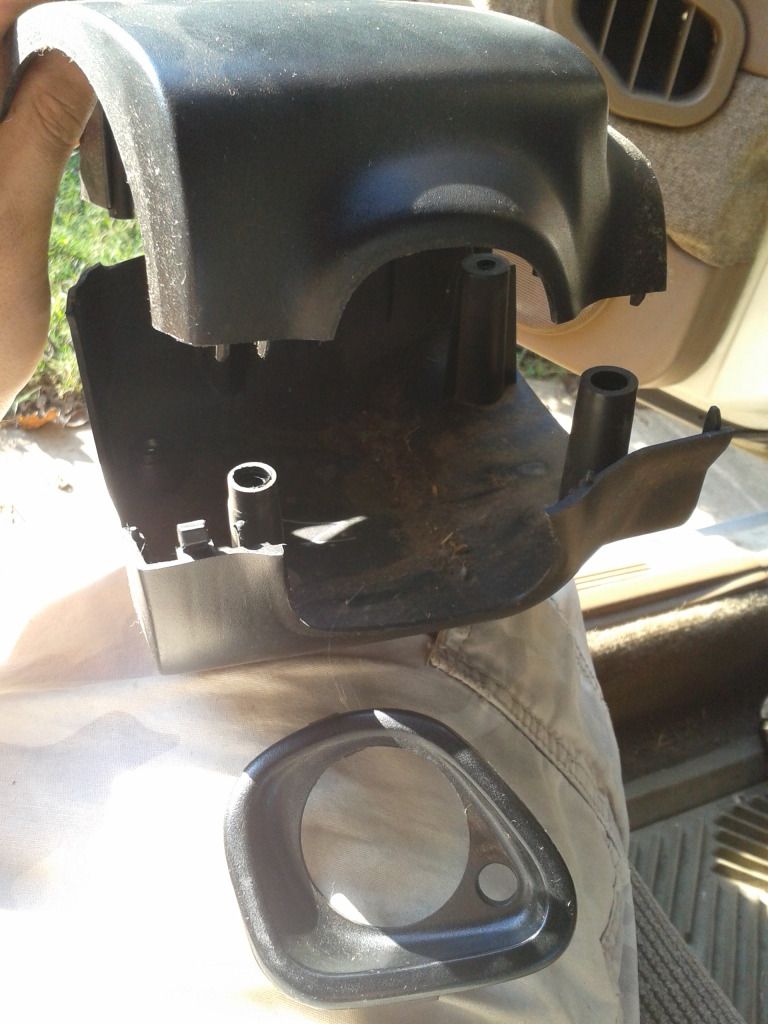
Next, I removed the steering column cover in case it was to get in the way of removing other things, but I don't think this was necessary.
There are three sections. The plastic trim around the key slot just sits between the other two.
Next, remove the two screws that are on the underside of the top of the cluster panel.
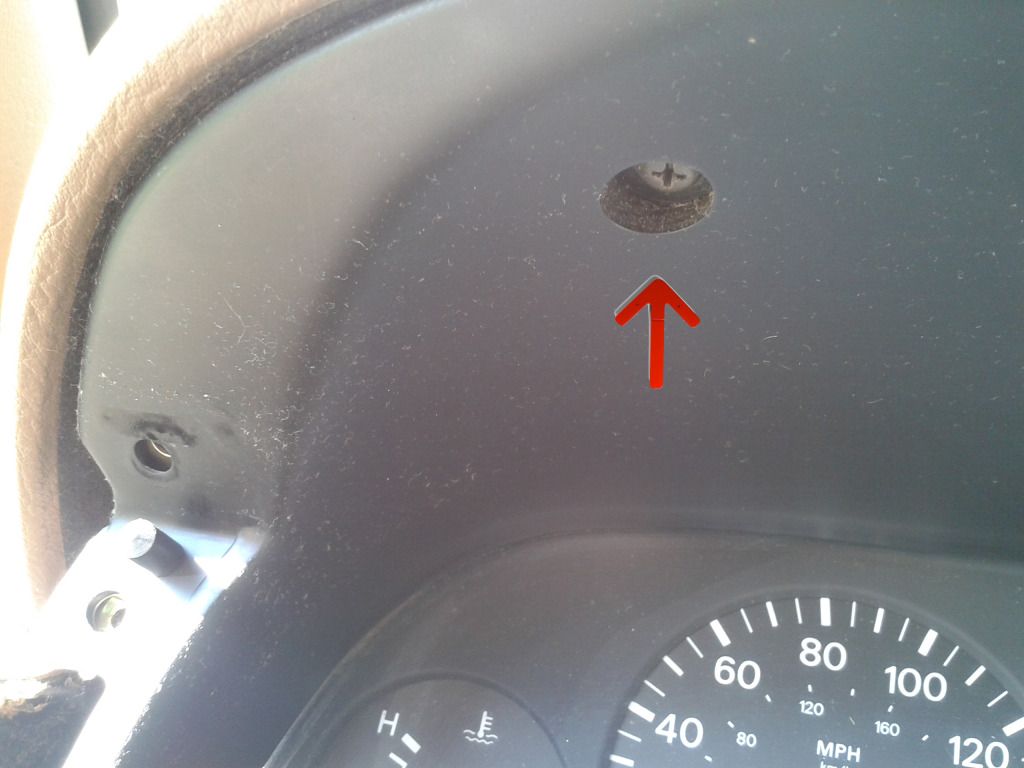
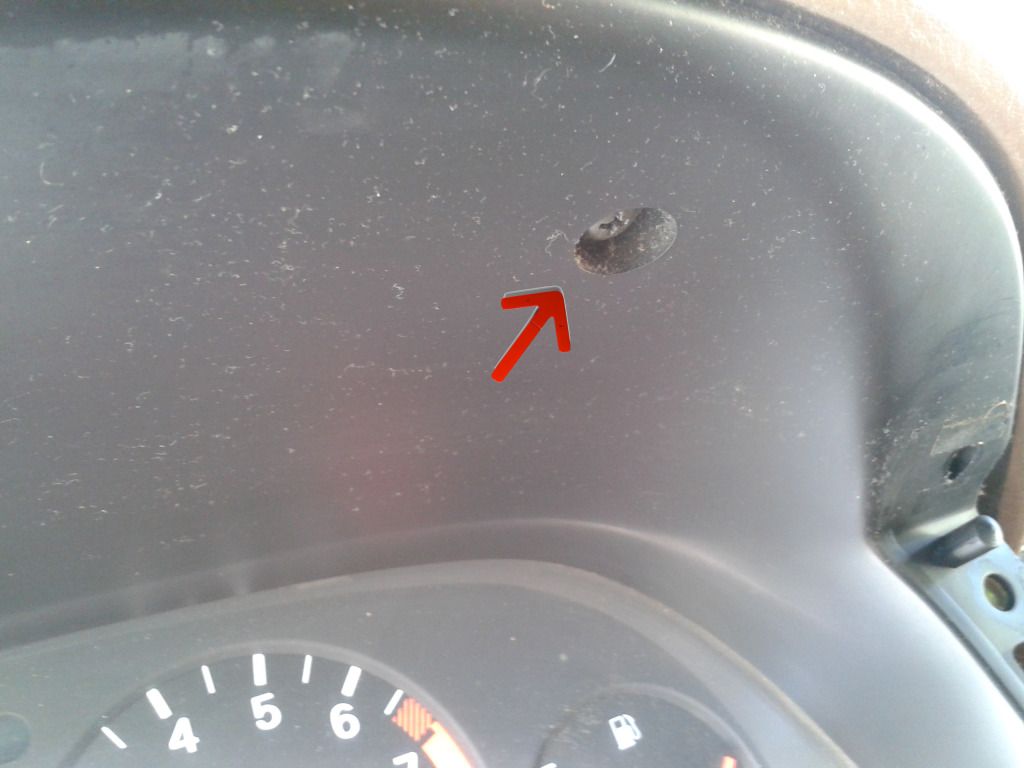
The top cover should be freed now. Remove.
There are 3 plastic tabs sticking up that hold the front panel of the combination meter on. These can be removed, but due to the frailty of all this plastic I suggest just removing the bolts at the back and removing the front panel along with the metal frame work at the same time.
There are also a metal clips on the bottom of each side.
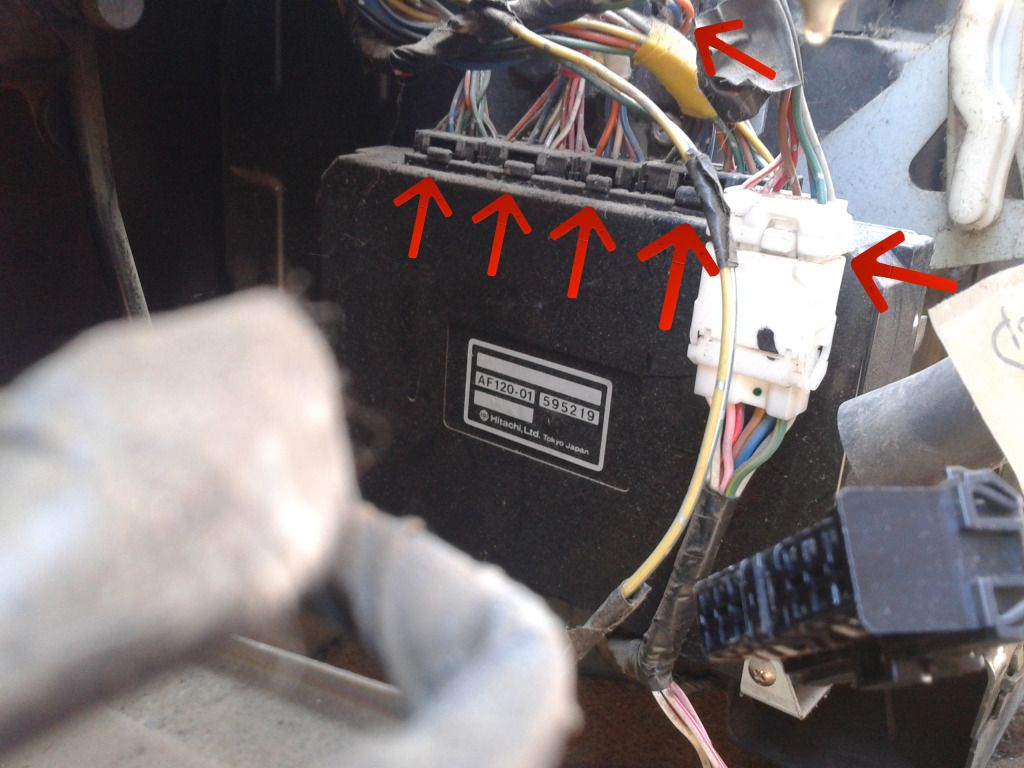
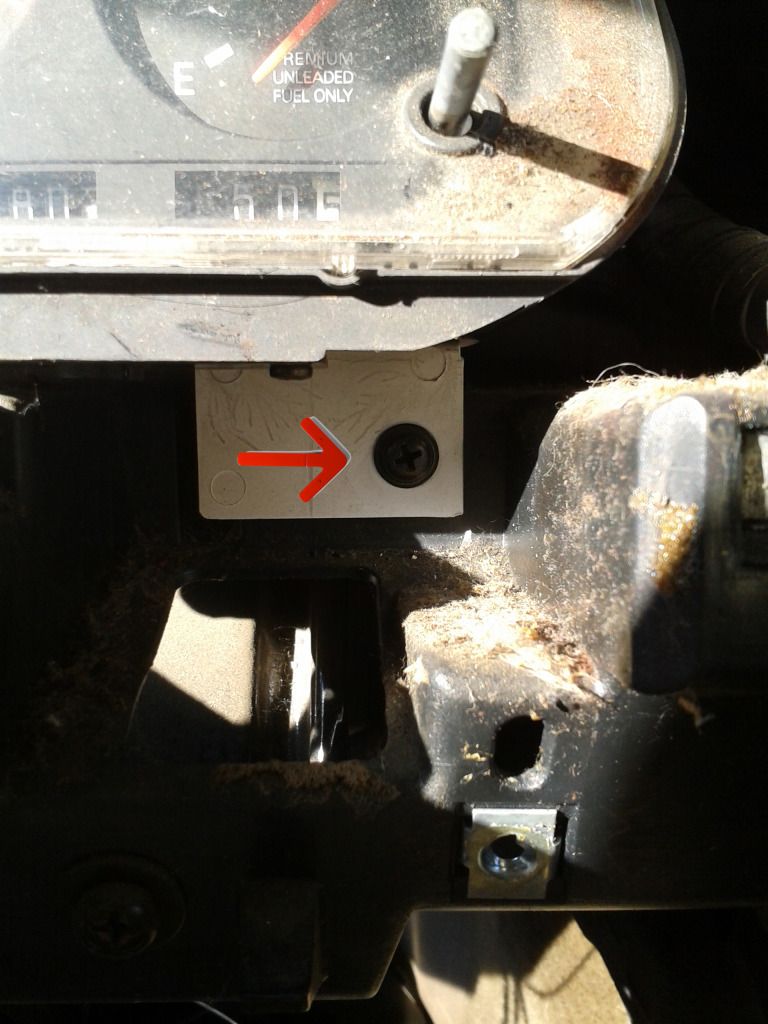
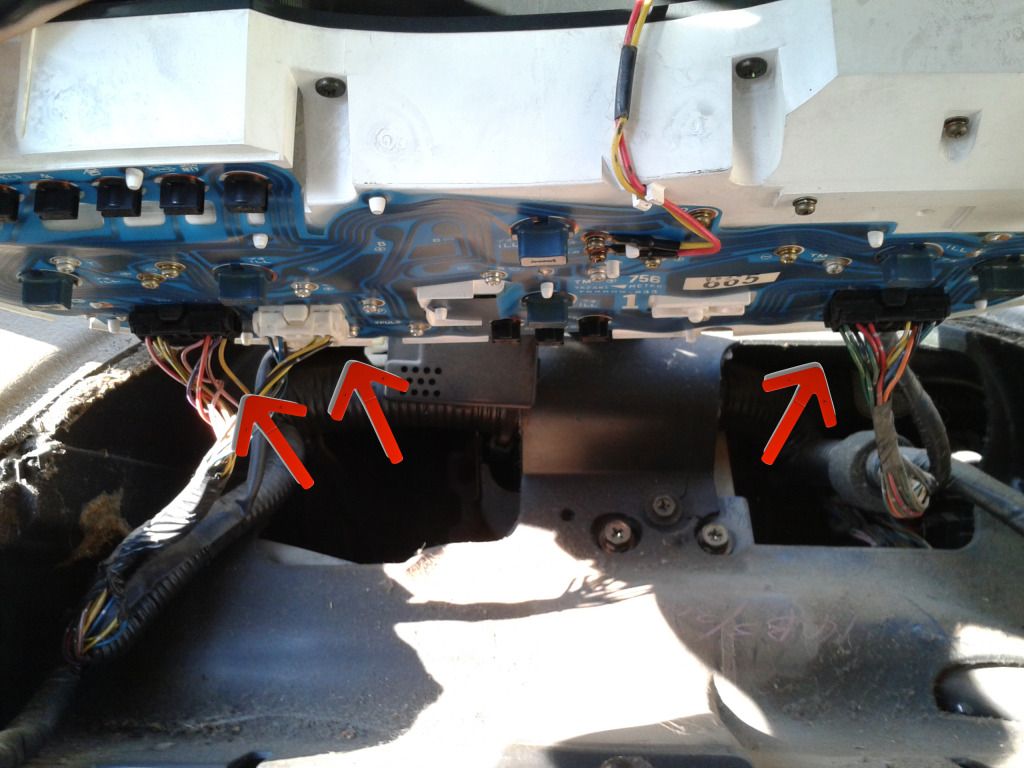
Before you get too far, you will notice wires connected to the front panel. The wire disconnect is above the combination meter.
Now for the actual gauge cluster, there are two screws on the bottom. One on each side.
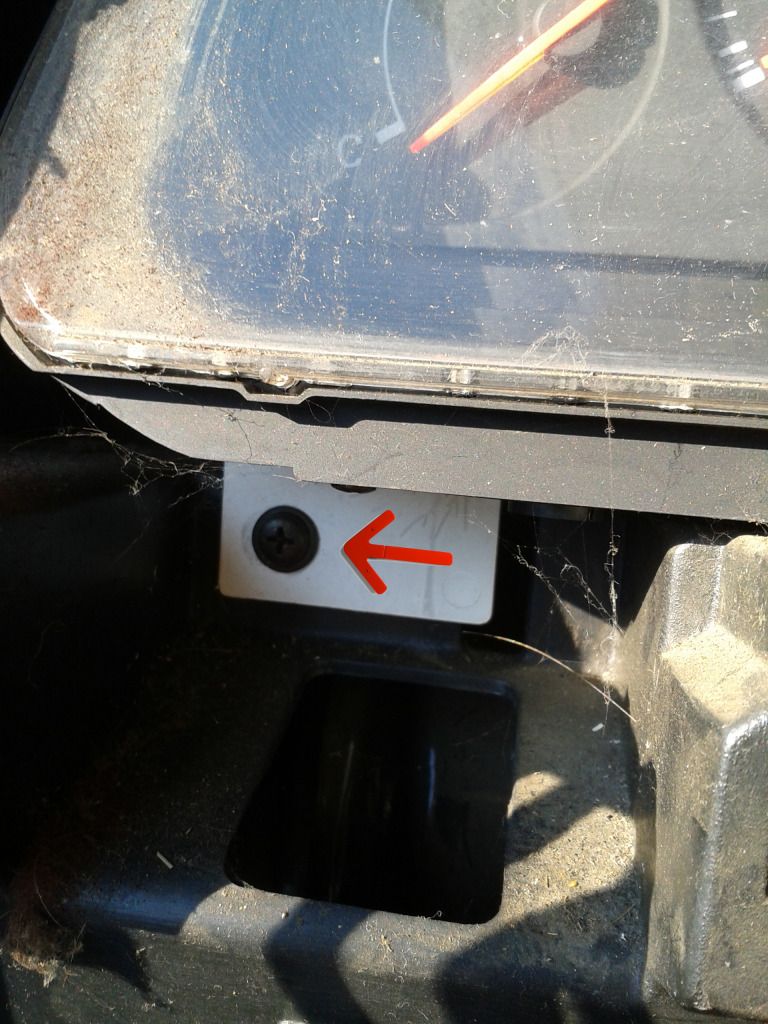
You can now lift it up to get to the wire connectors on its back.
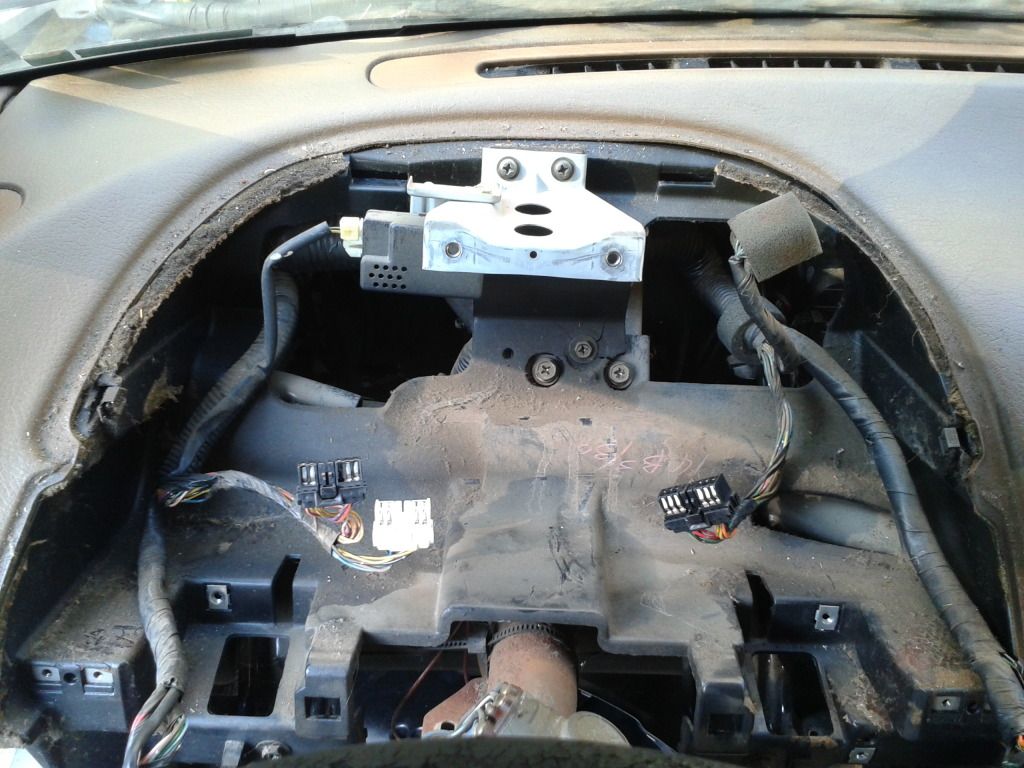
Gauge cluster removed.
You do not need to remove these small, side vent covers to remove the dash, but I did so, because I plan on painting them. There is a clip on each side, but no way to reach in there to squeeze them for release, so just pull up carefully. I only broke 50% of the tabs!
**[EDIT] You can actually get to them once the dash is out, so if you want to remove these, wait until a few steps further.**

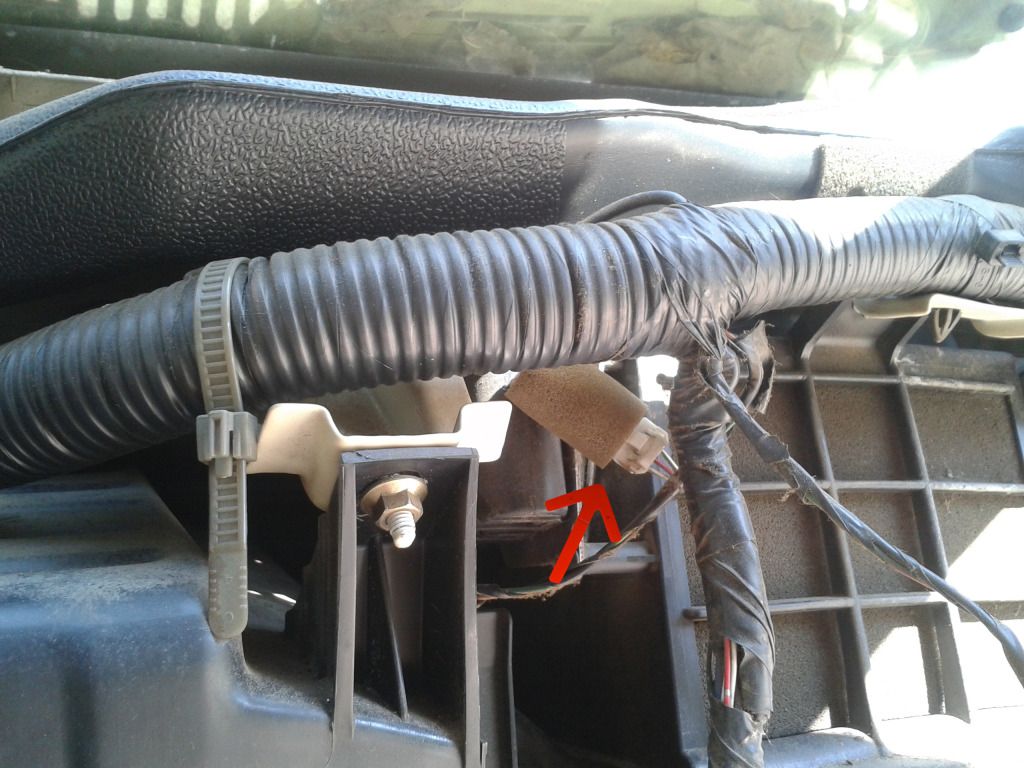
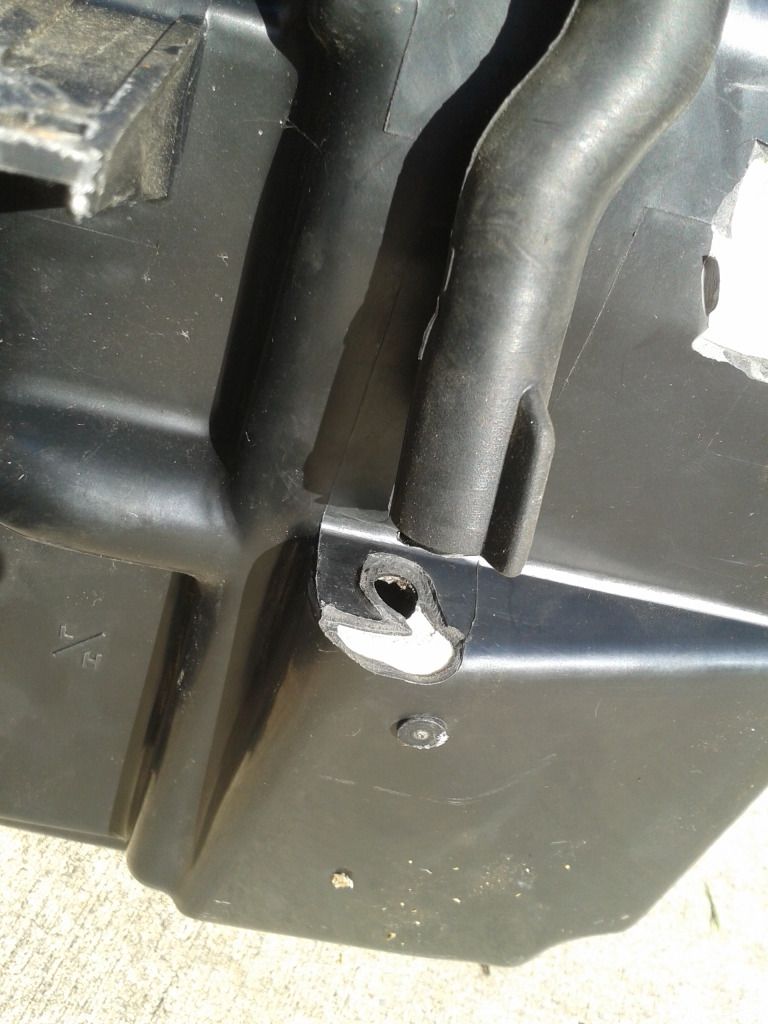
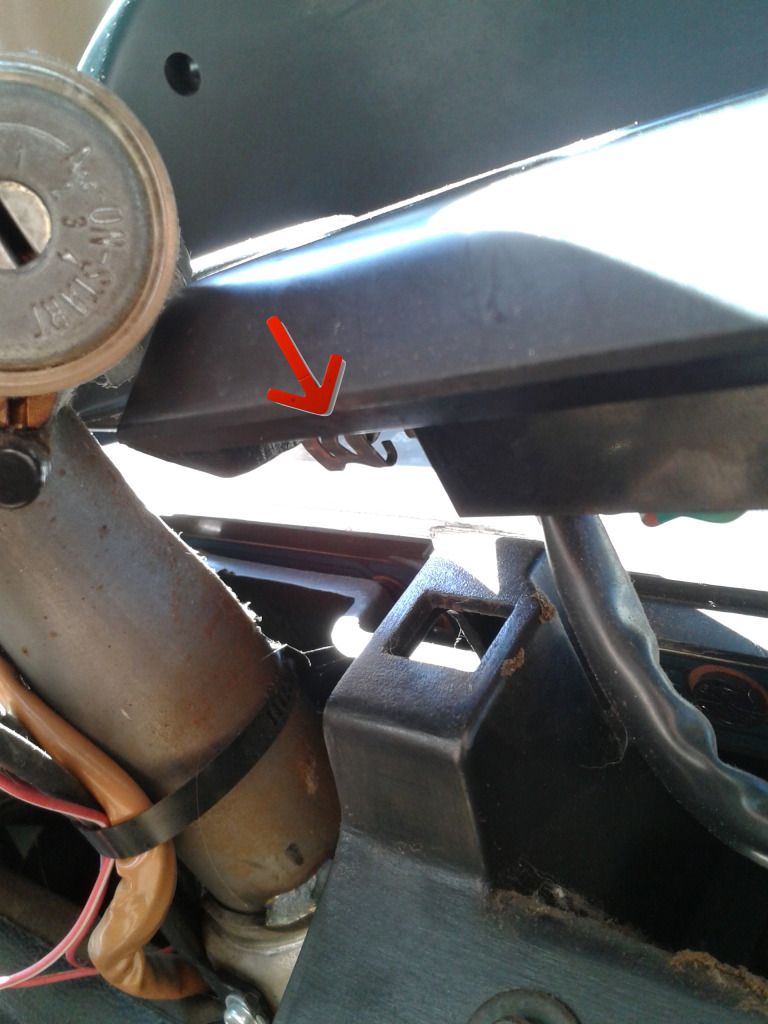
The defroster vents need to be pried up. They should be removed at the same time or you could break the pawls that keep them secured together.
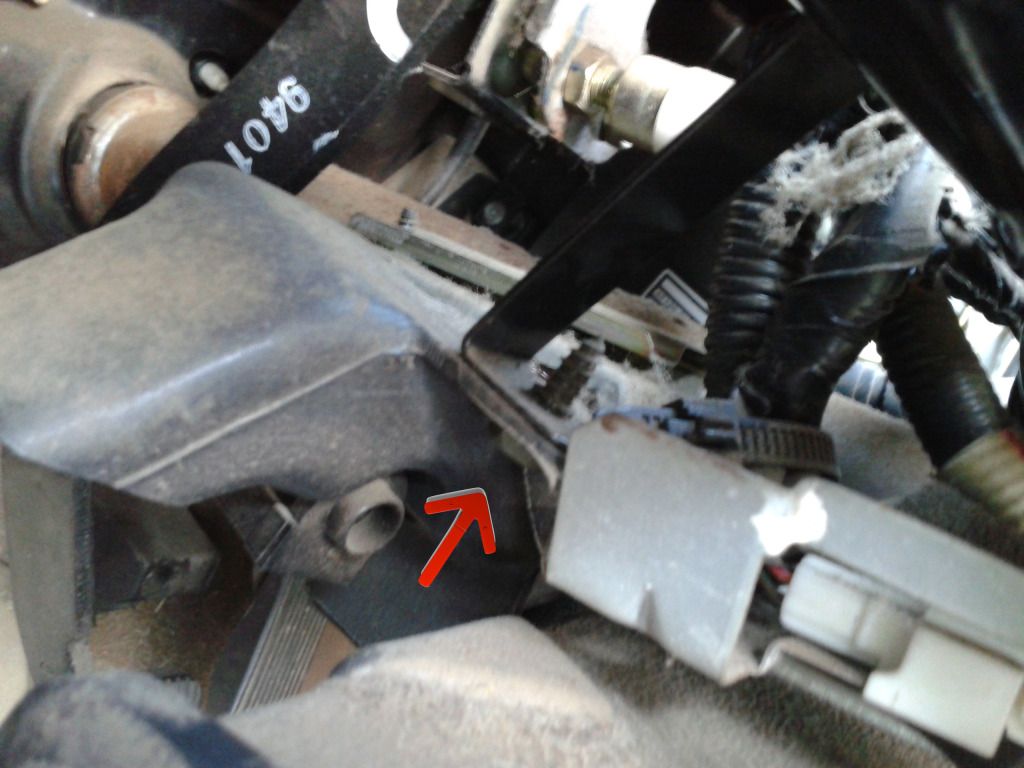
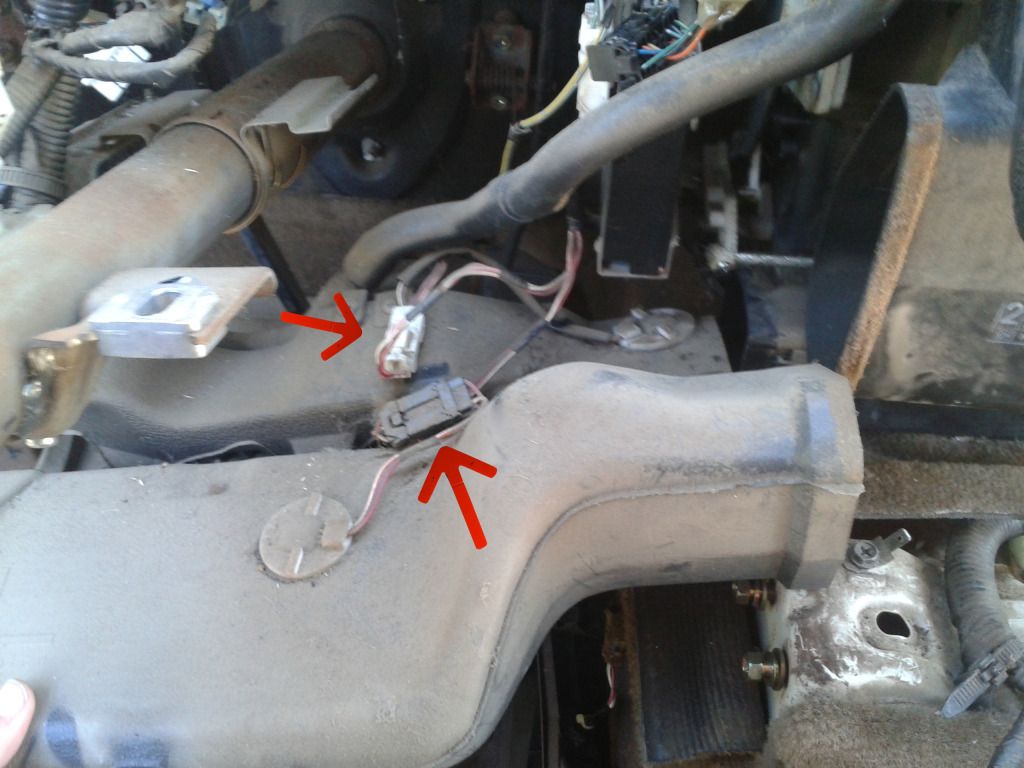
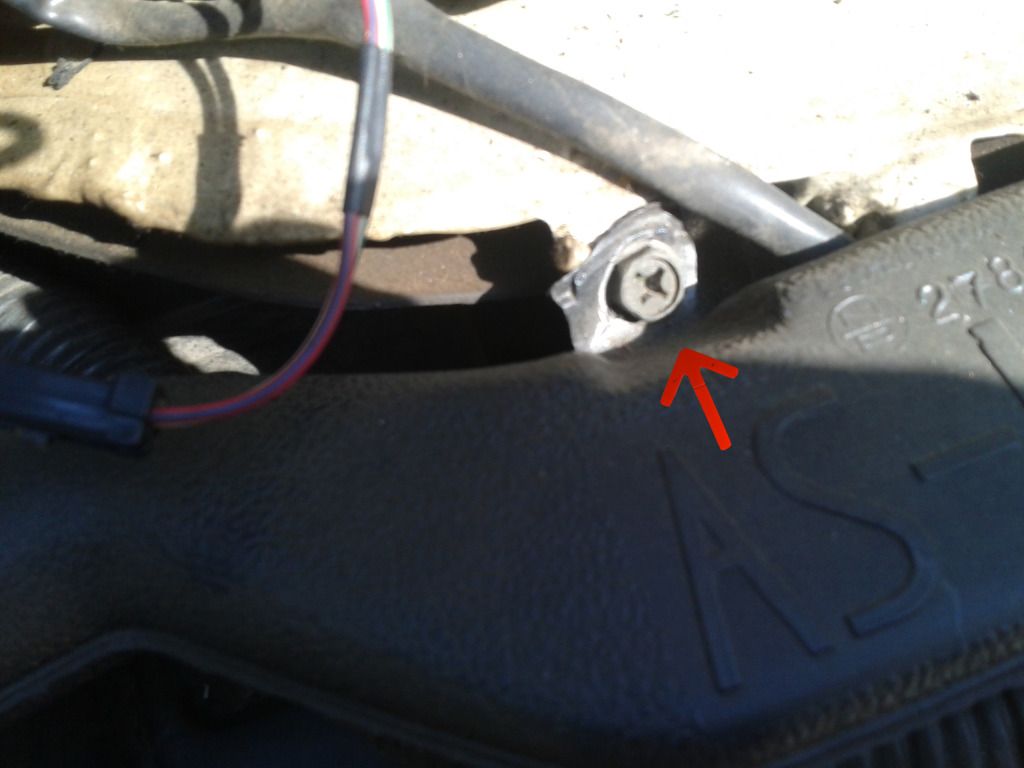
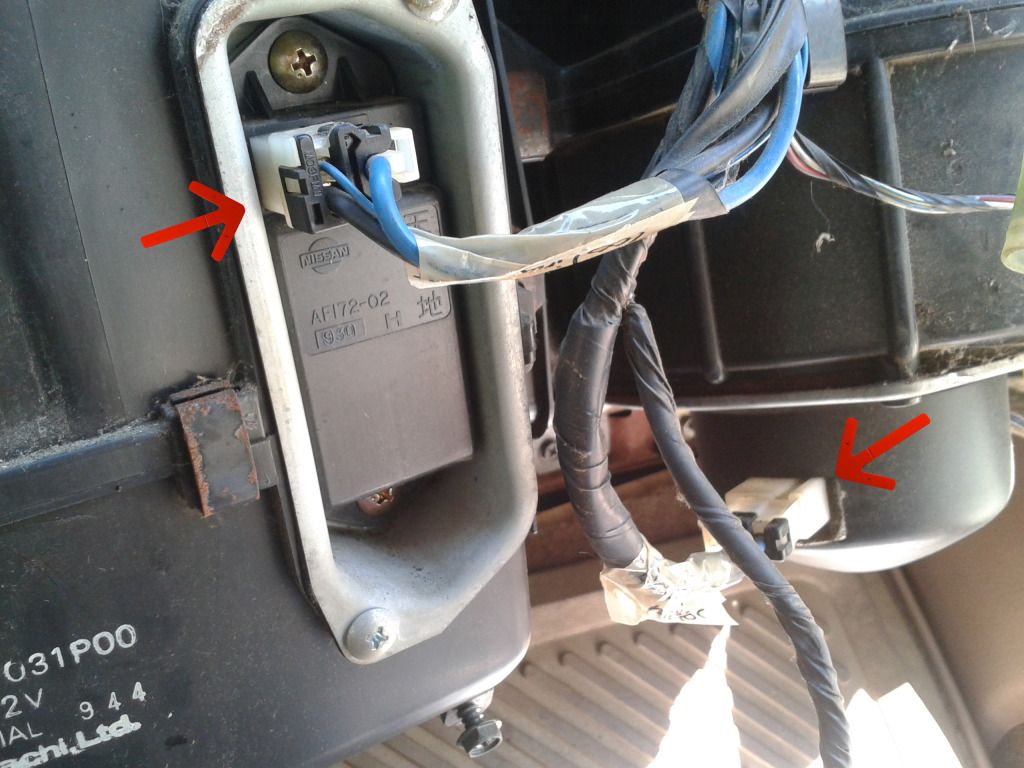
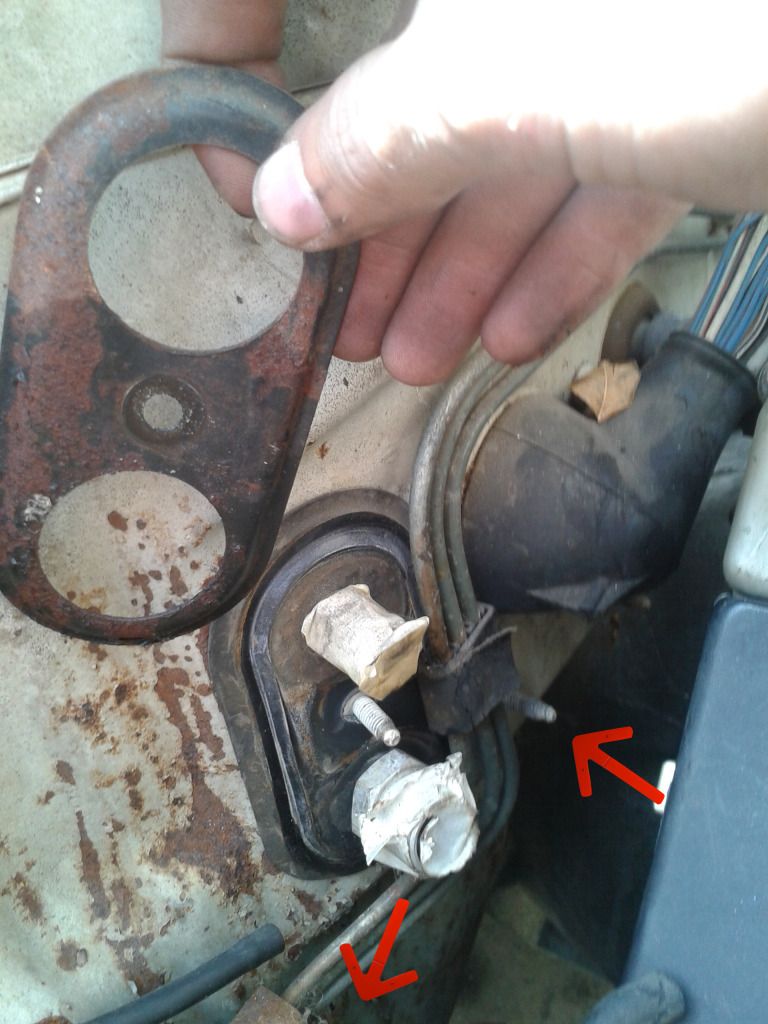
The passenger side has a hang up though.
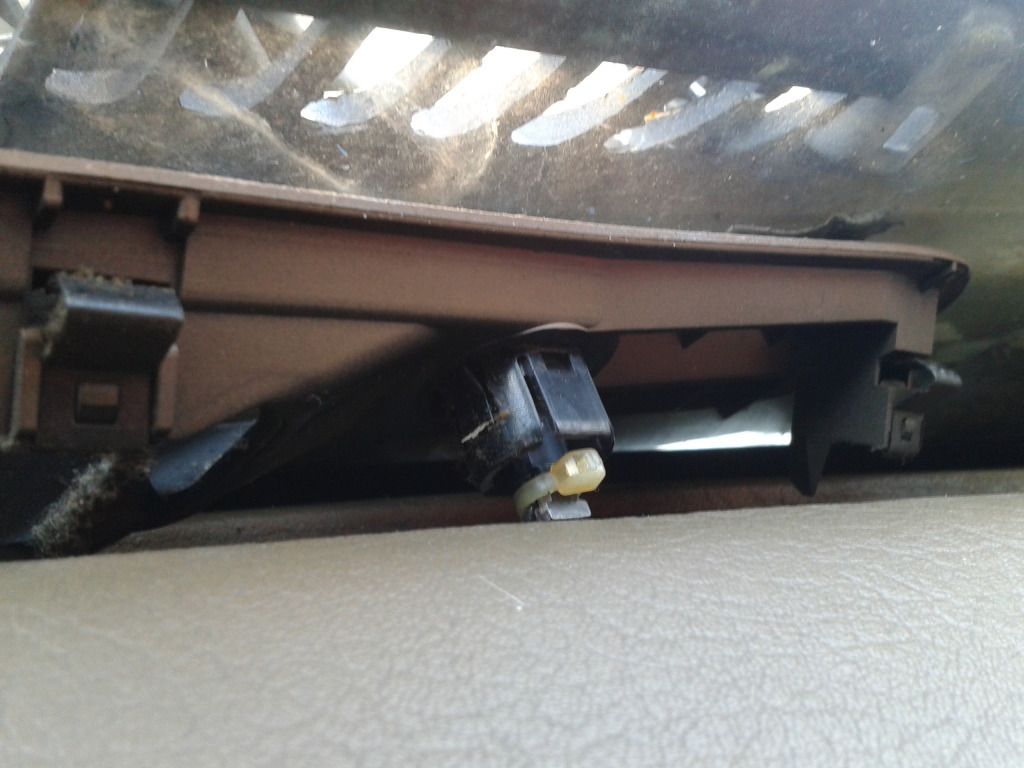
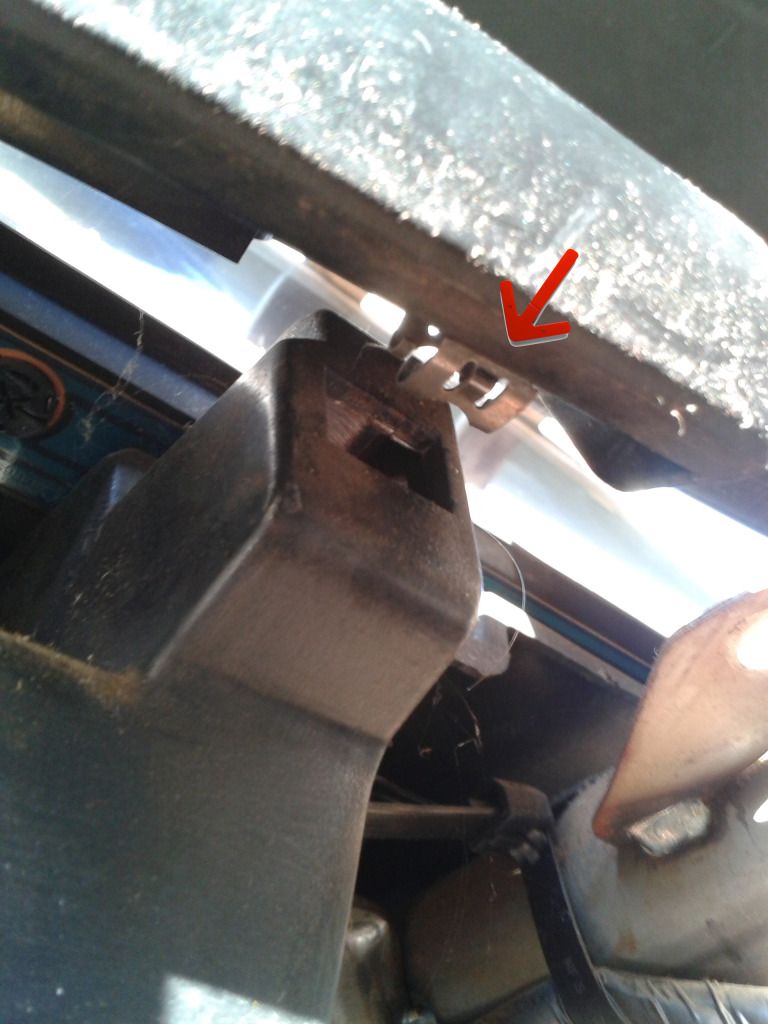
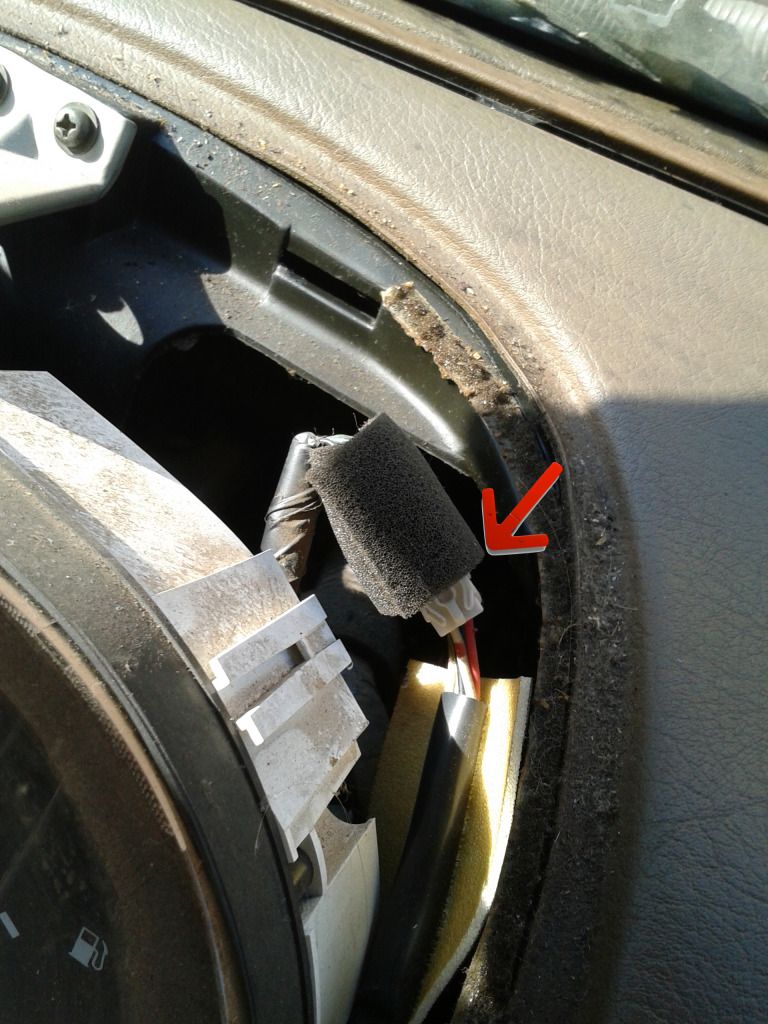
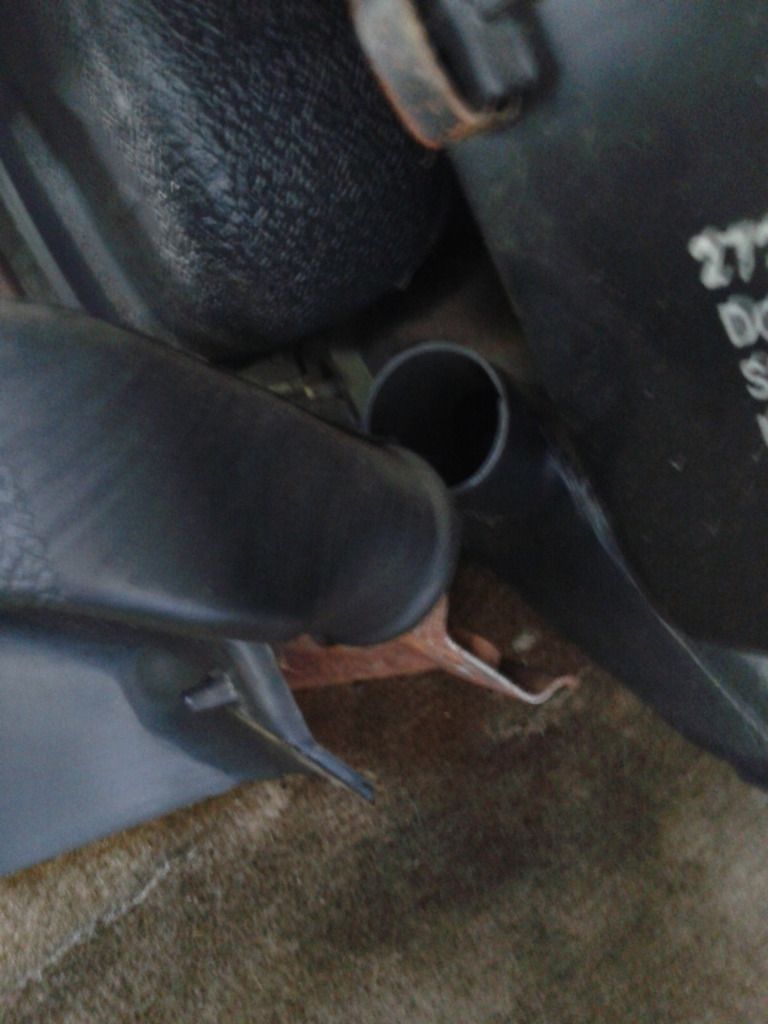
I'm not sure what this is. Maybe a light sensor?
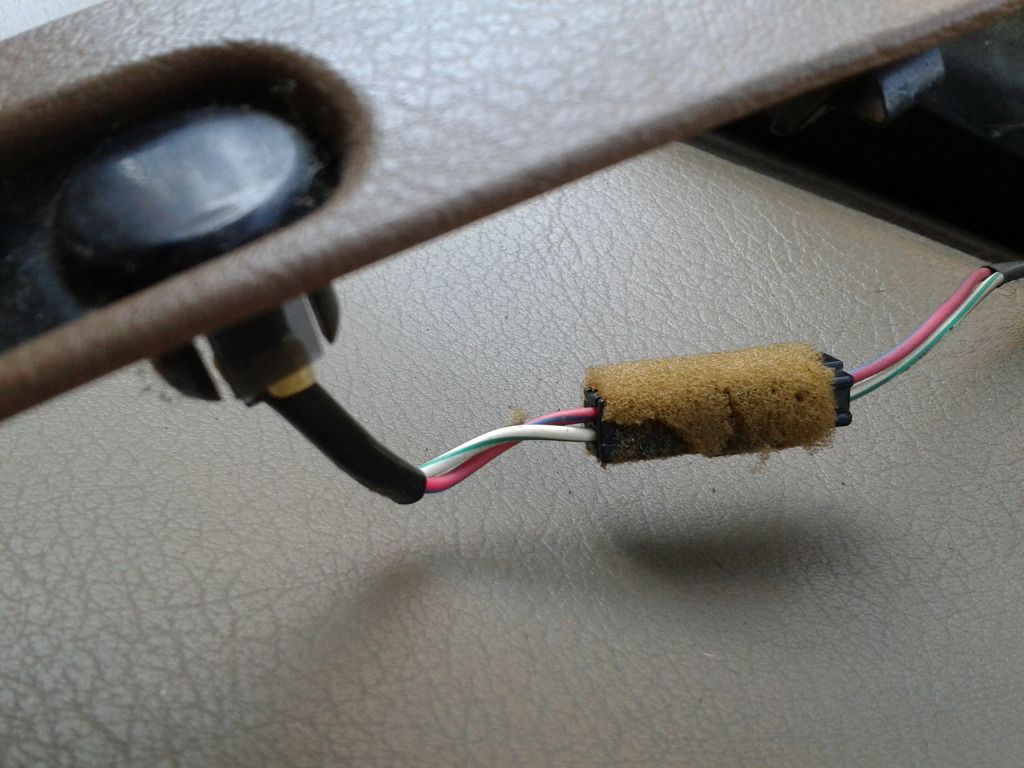
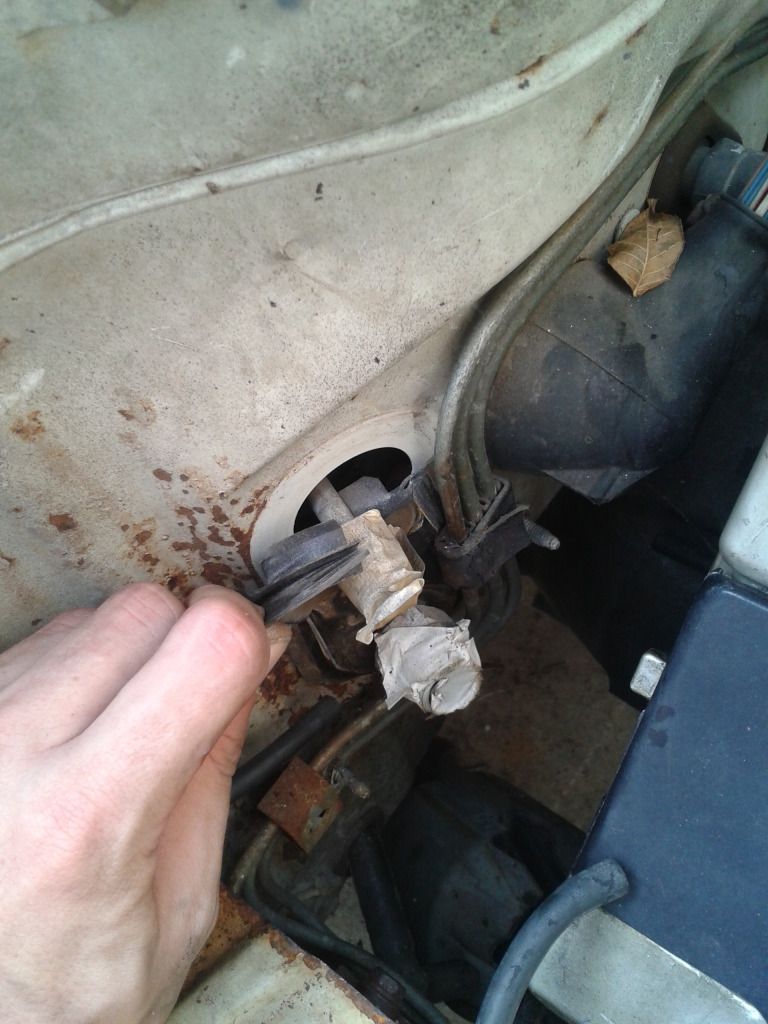
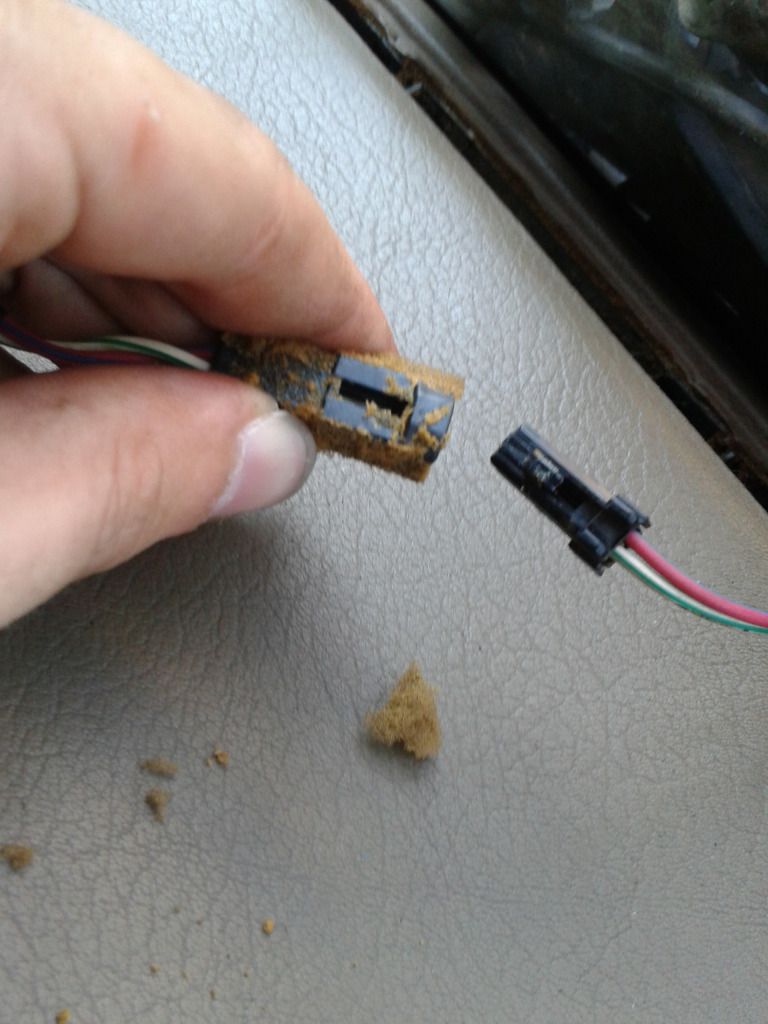
The connector was covered with foam tape that had to be scraped away to reveal the release.
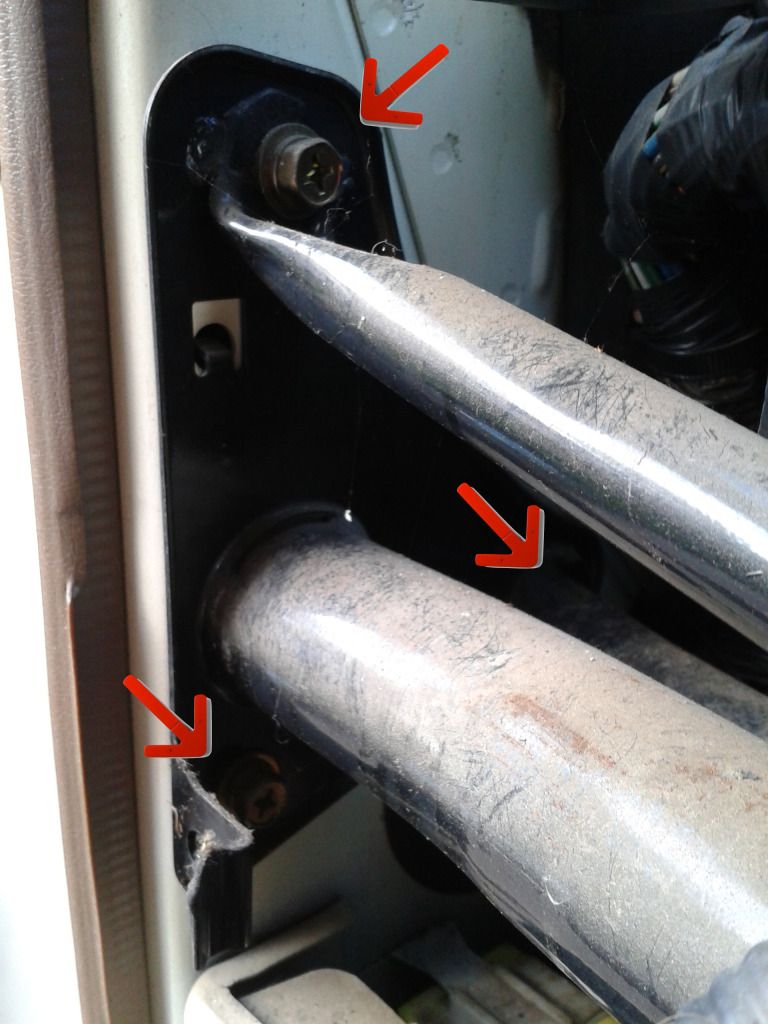
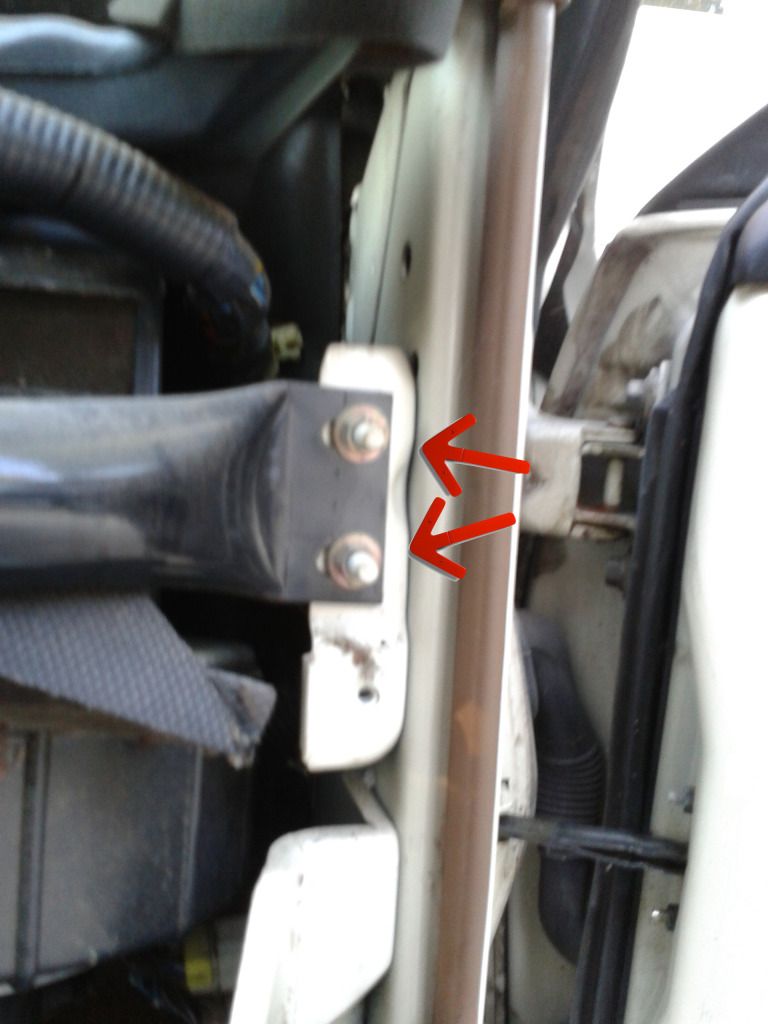
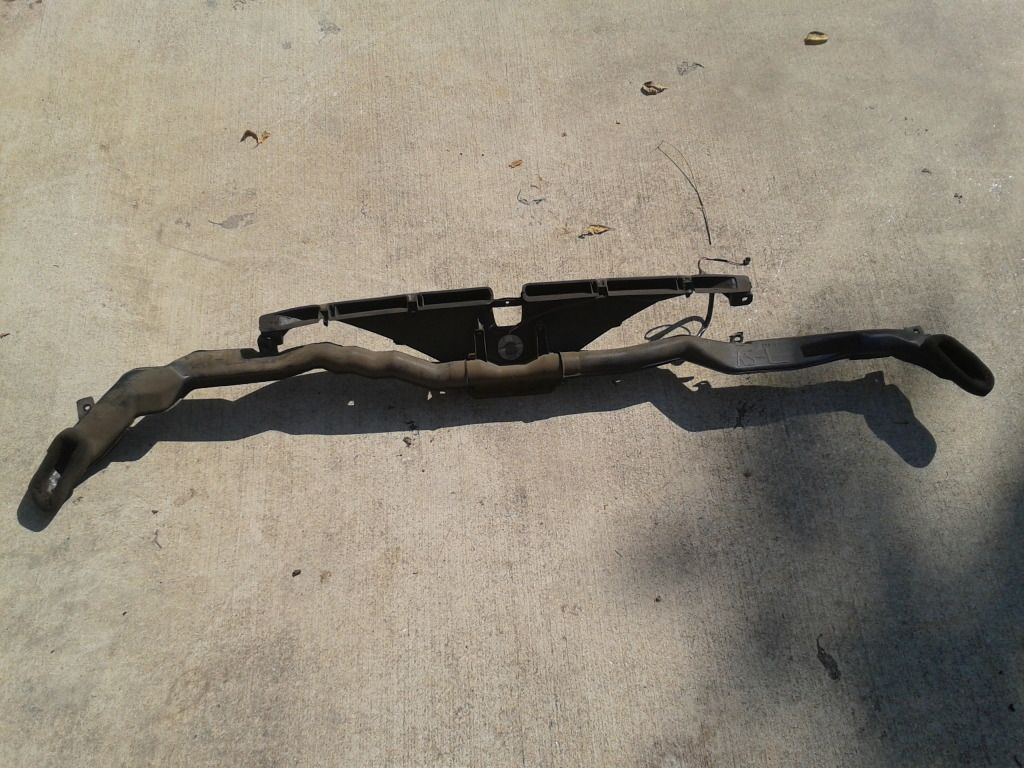
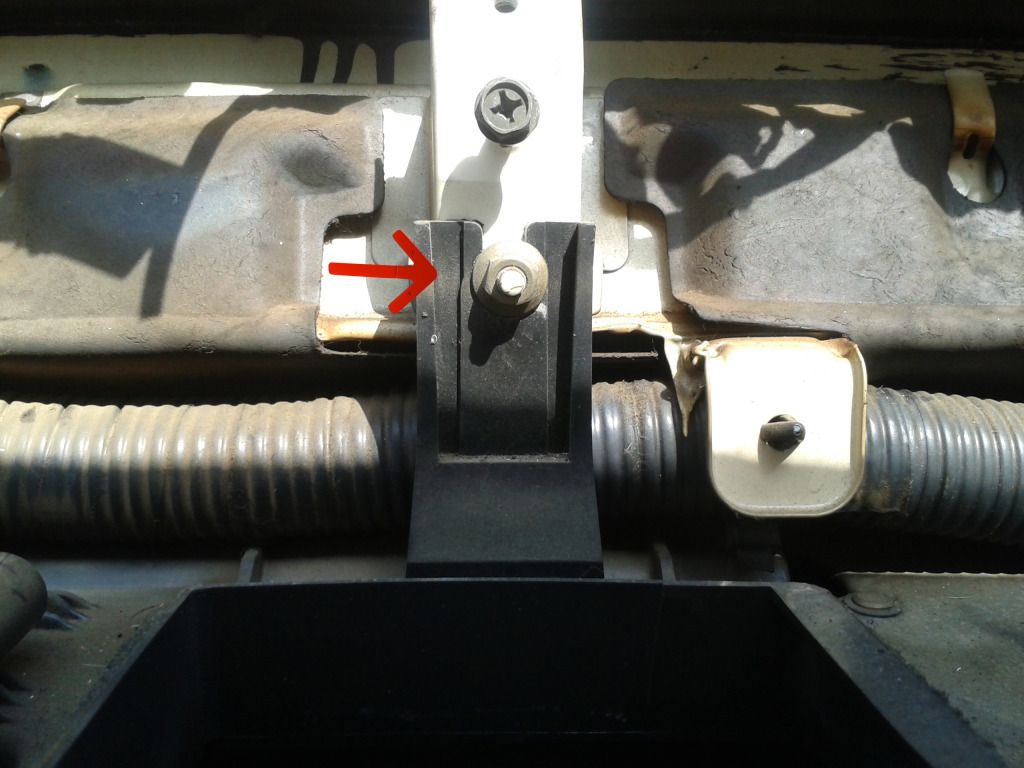
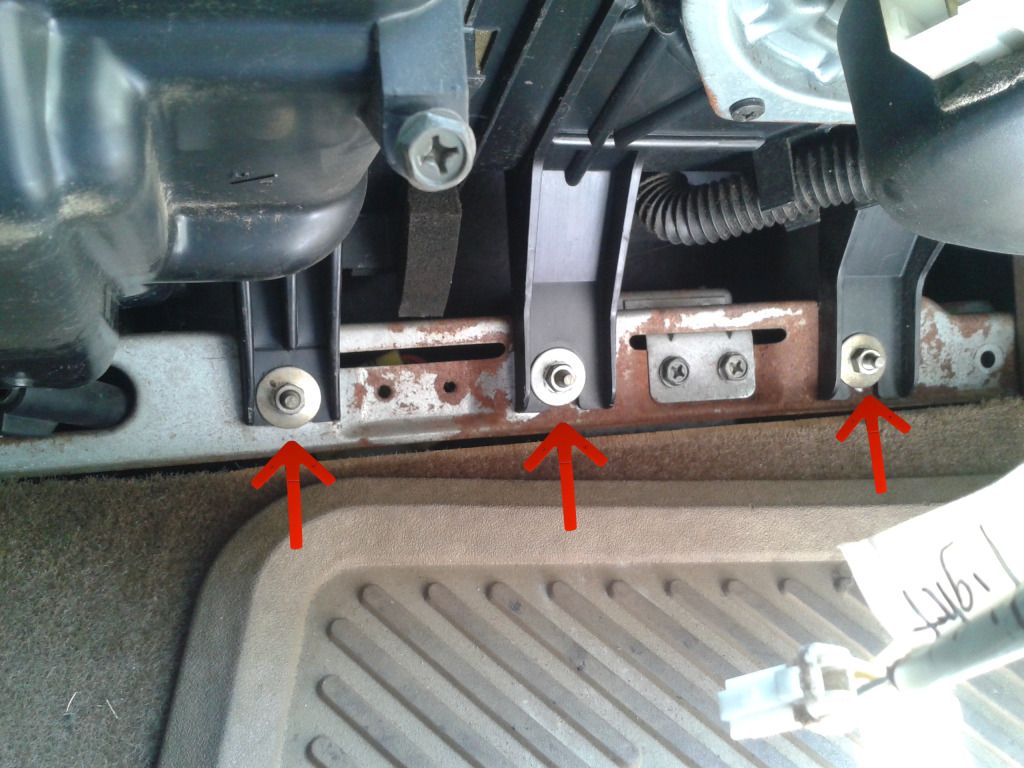
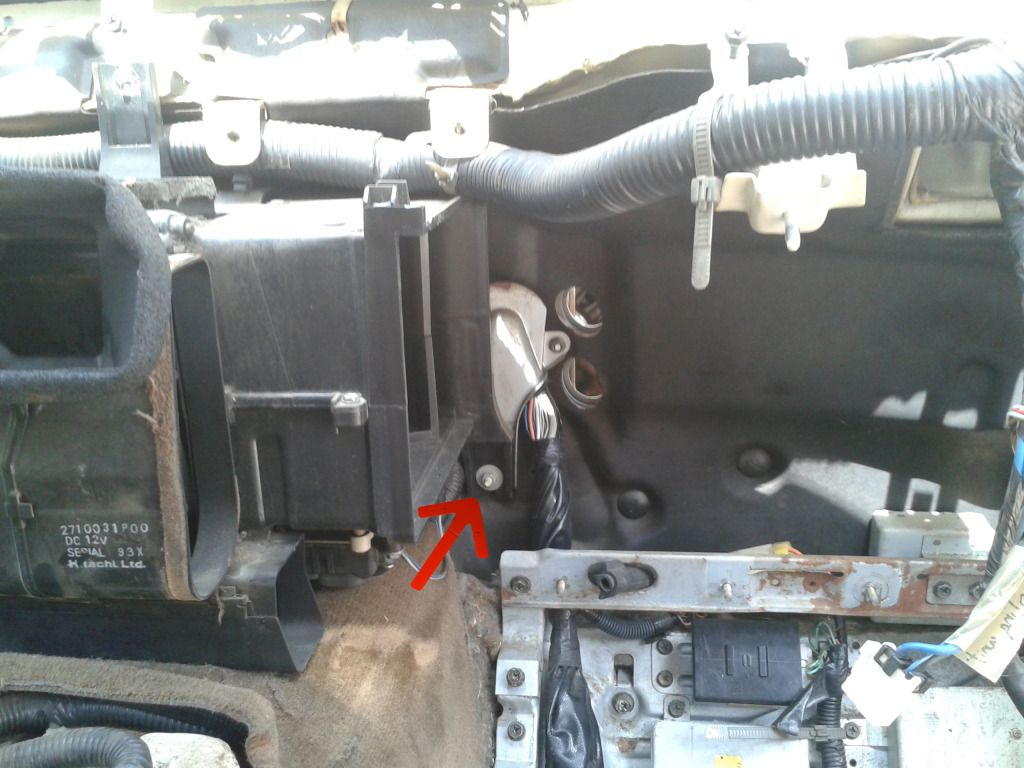
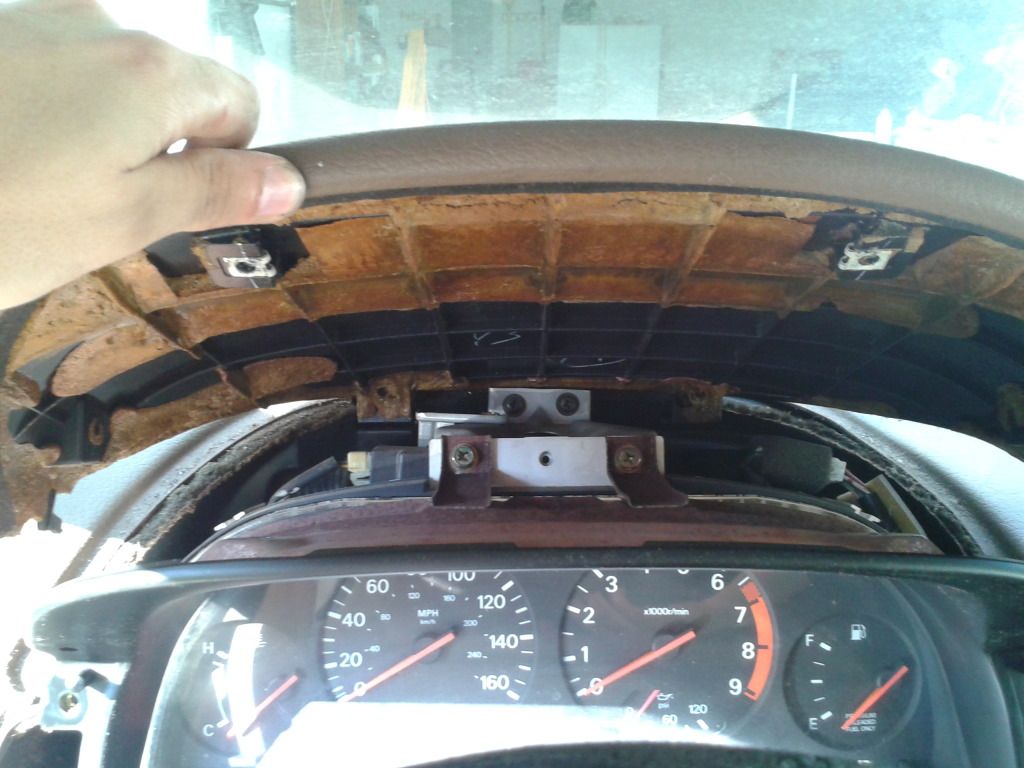
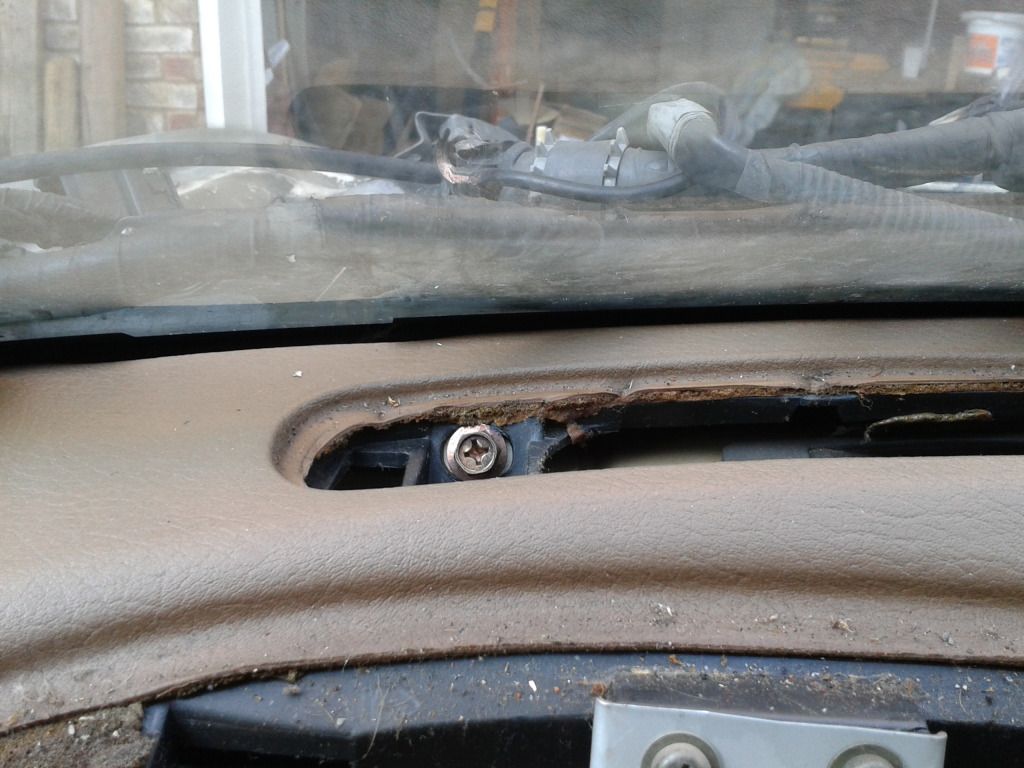
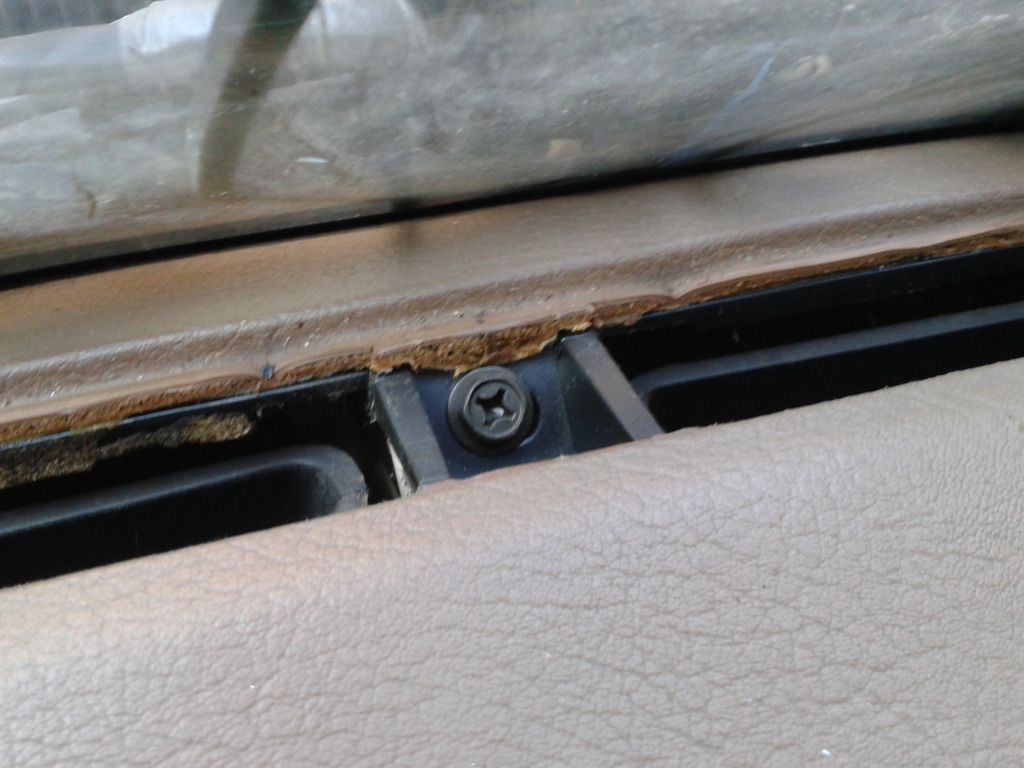
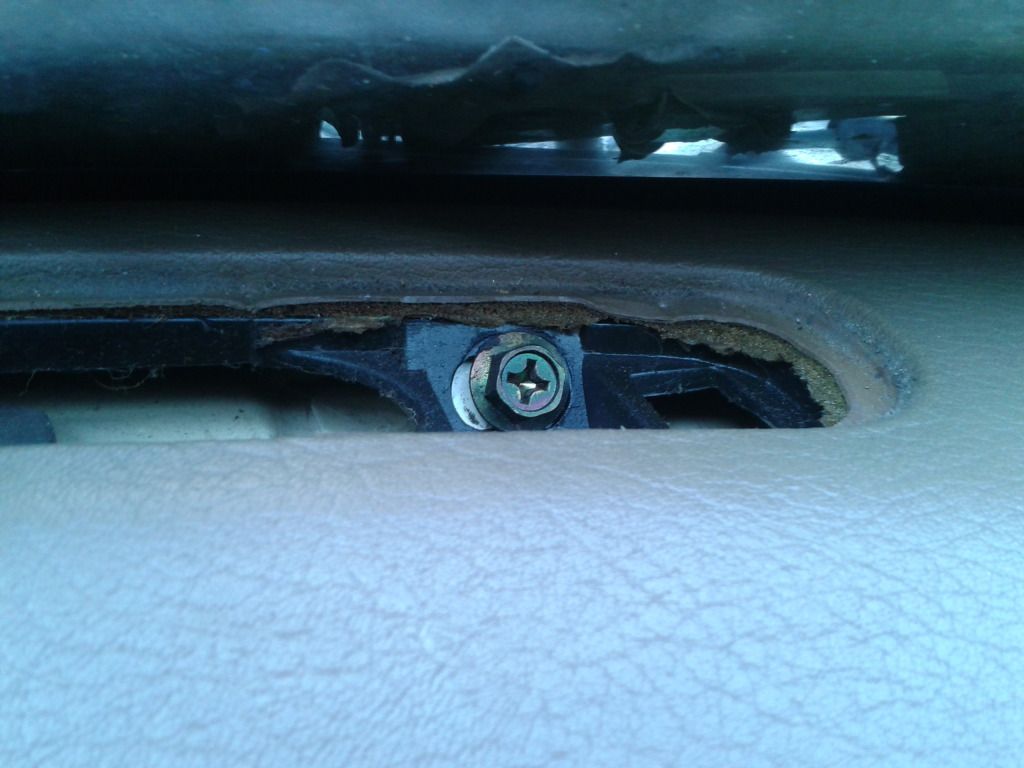
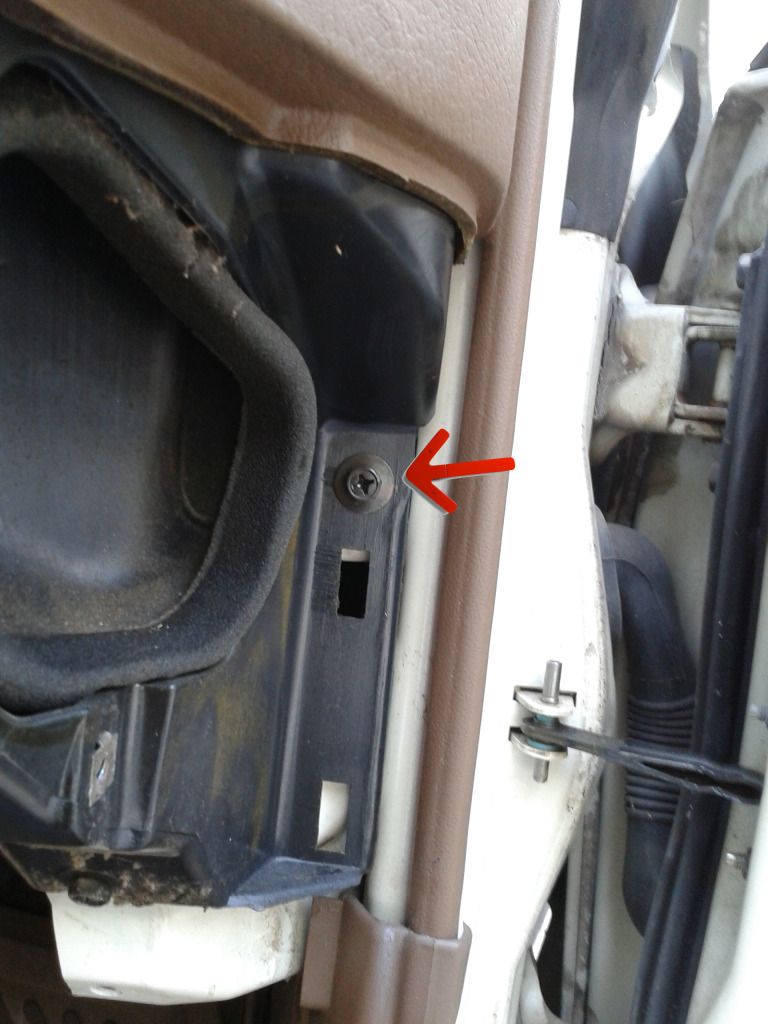
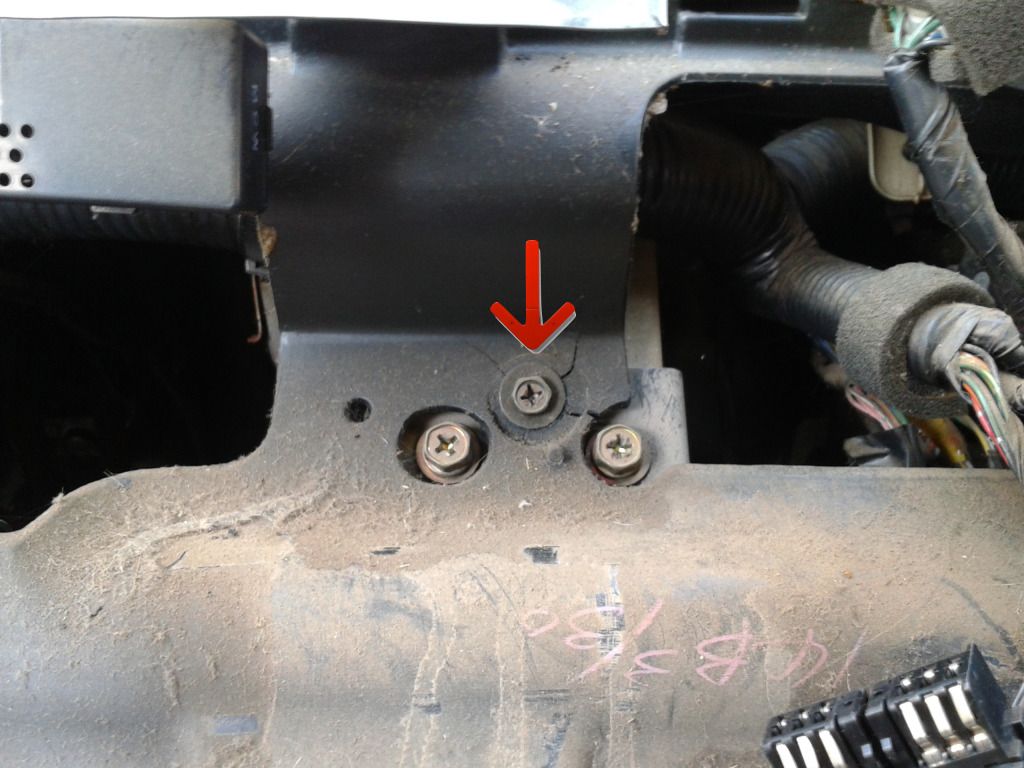
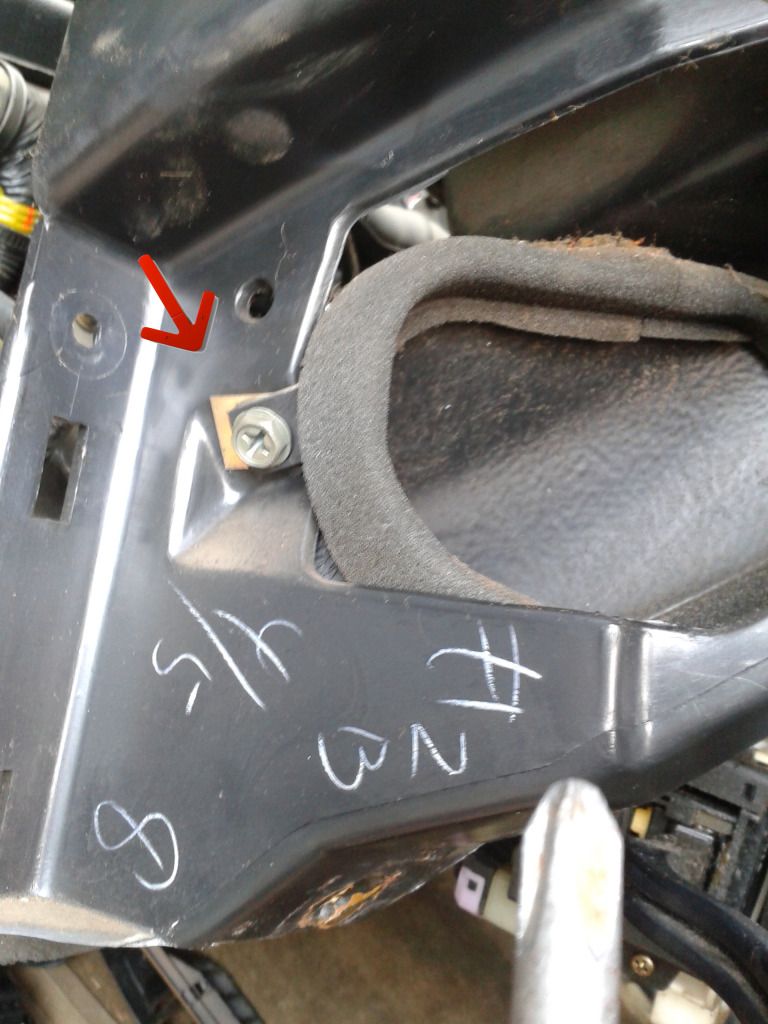
OK, we have finally arrived at the dash! There were 10 bolts securing it. Also, there are some clips in the back near the firewall. Just pull hard and straight out to release these. Starting from the drivers side and going clockwise, bolt #1...
#2-4 are under the defrost vents we just removed.
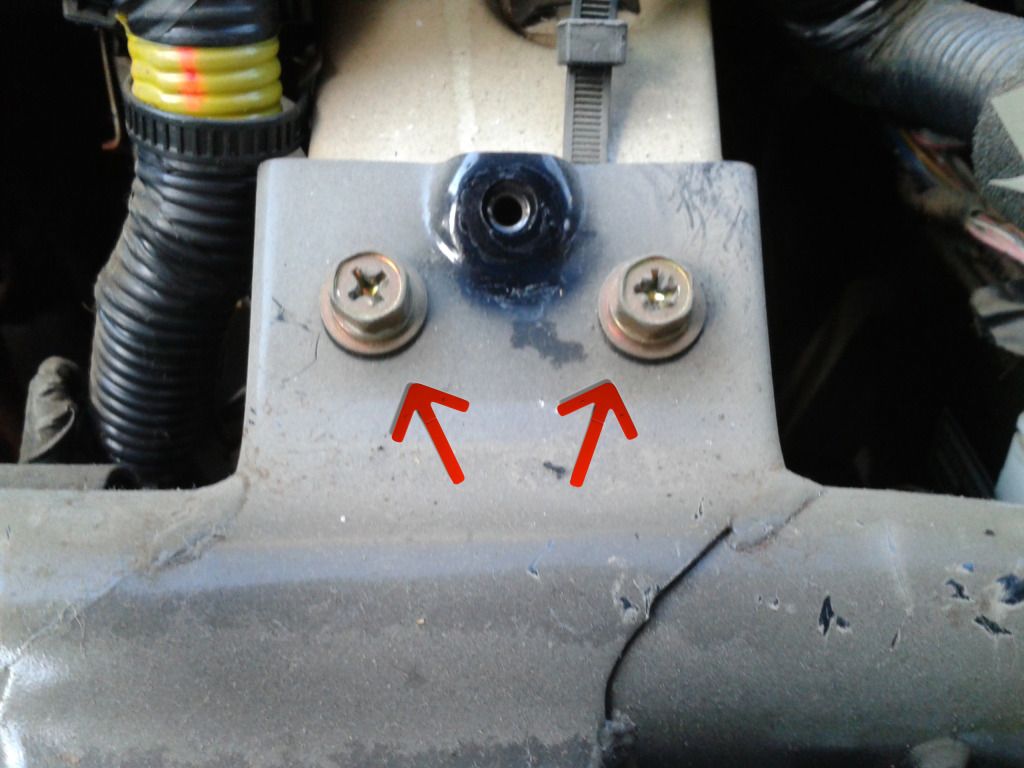
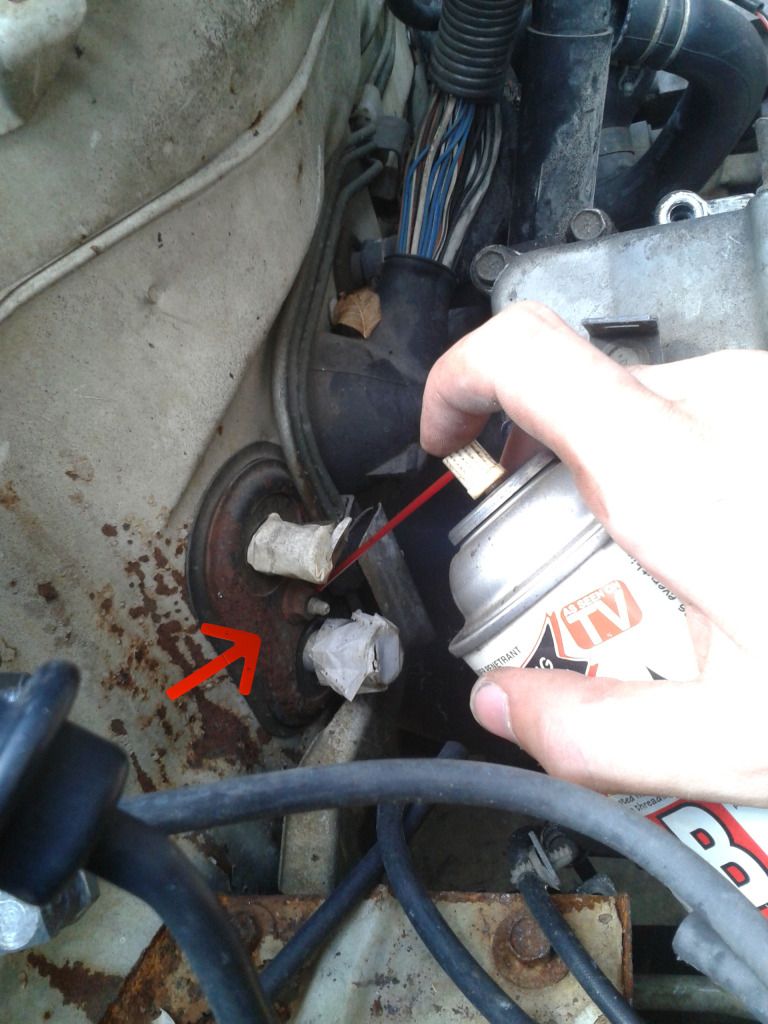
#5 passenger side.
#6 is right under number 5.
#7 is under the center console.
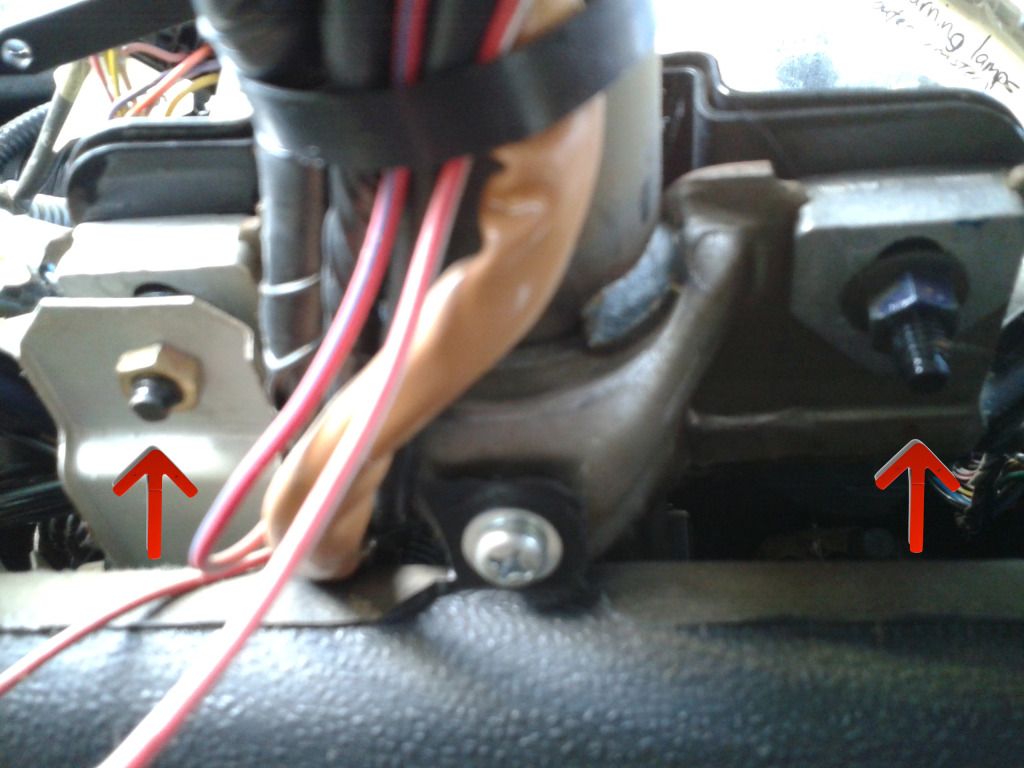
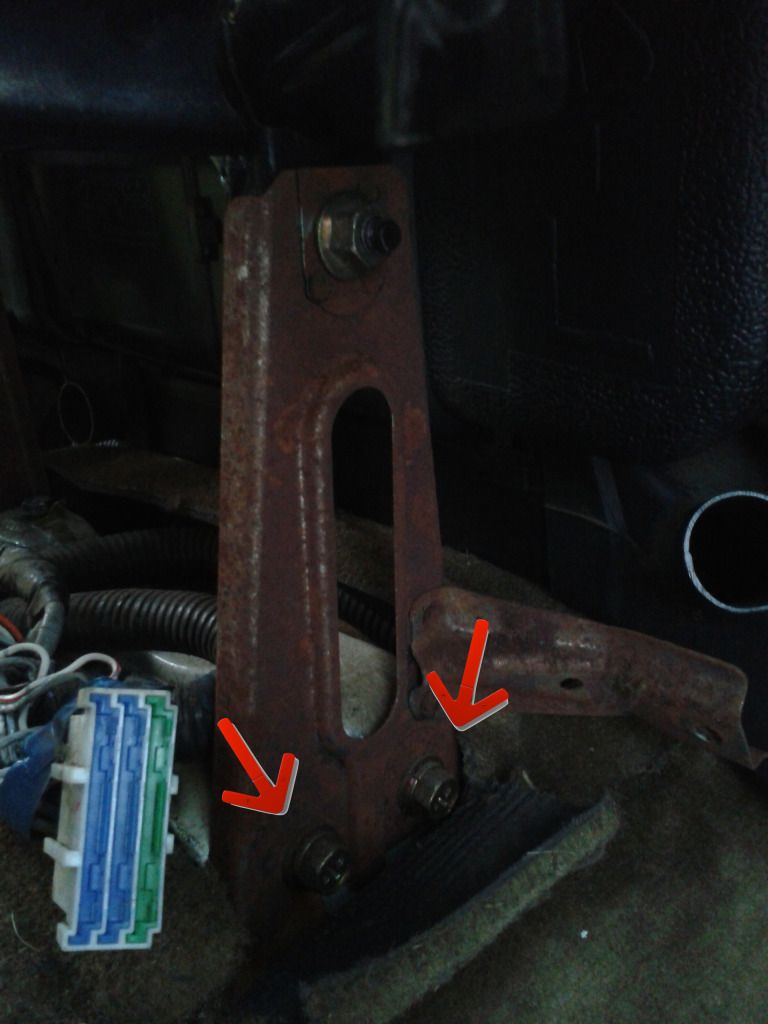
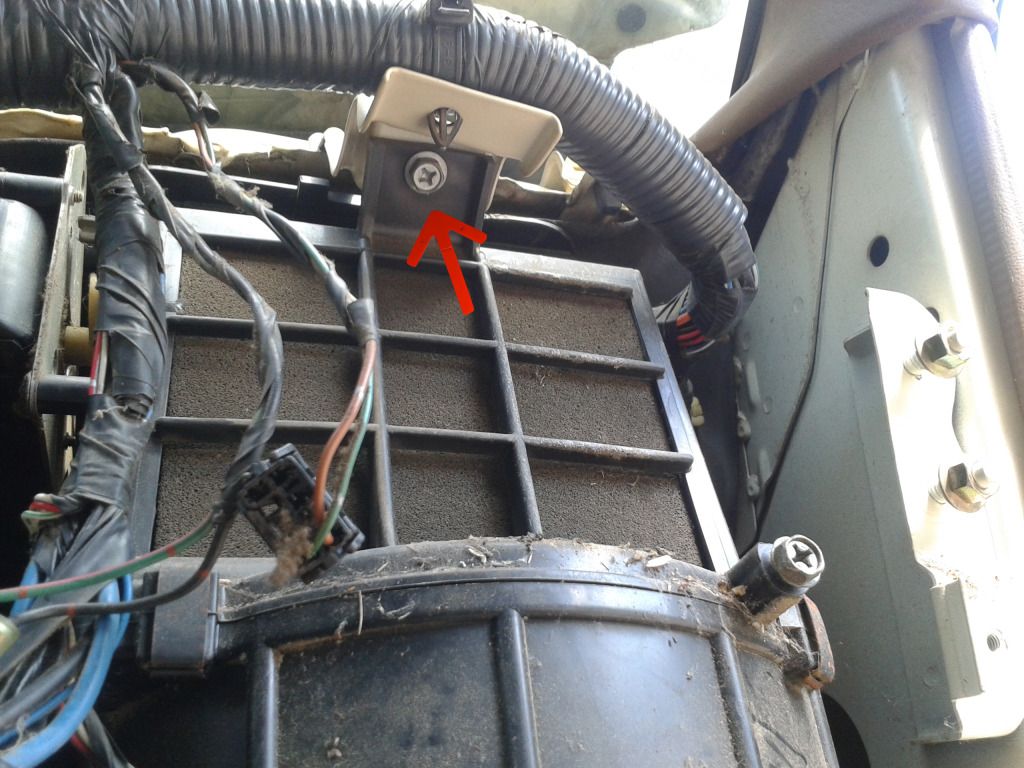
#8 & 9 are on either side of the steering wheel.
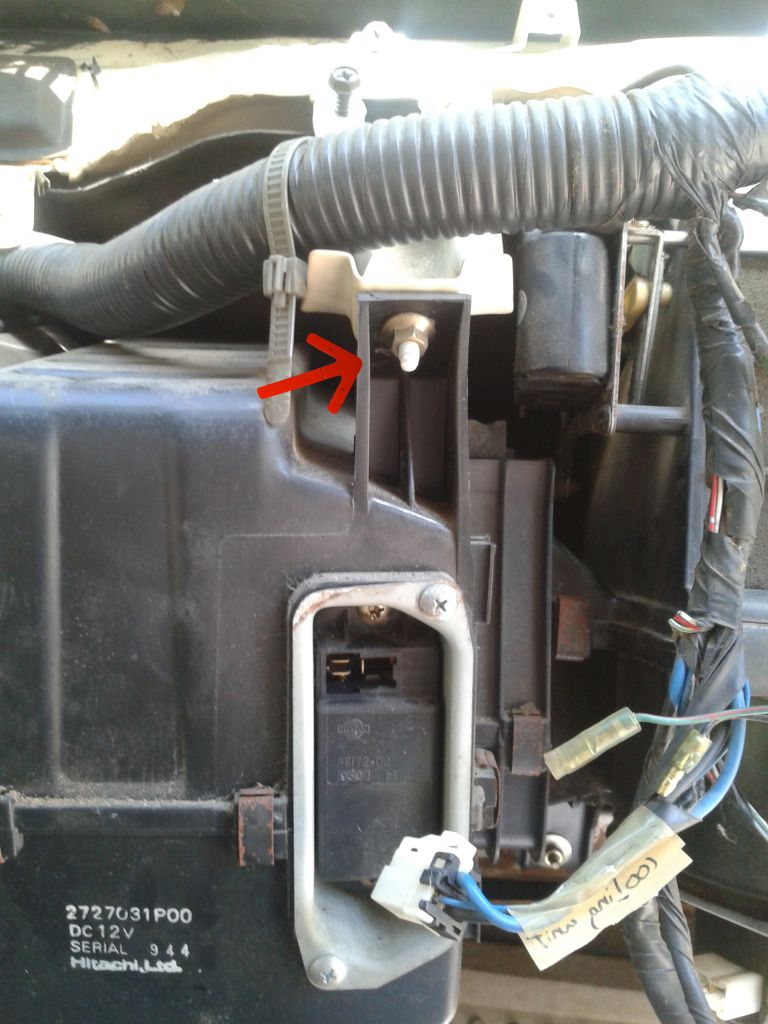
#10 is right behind where the gauge cluster was.
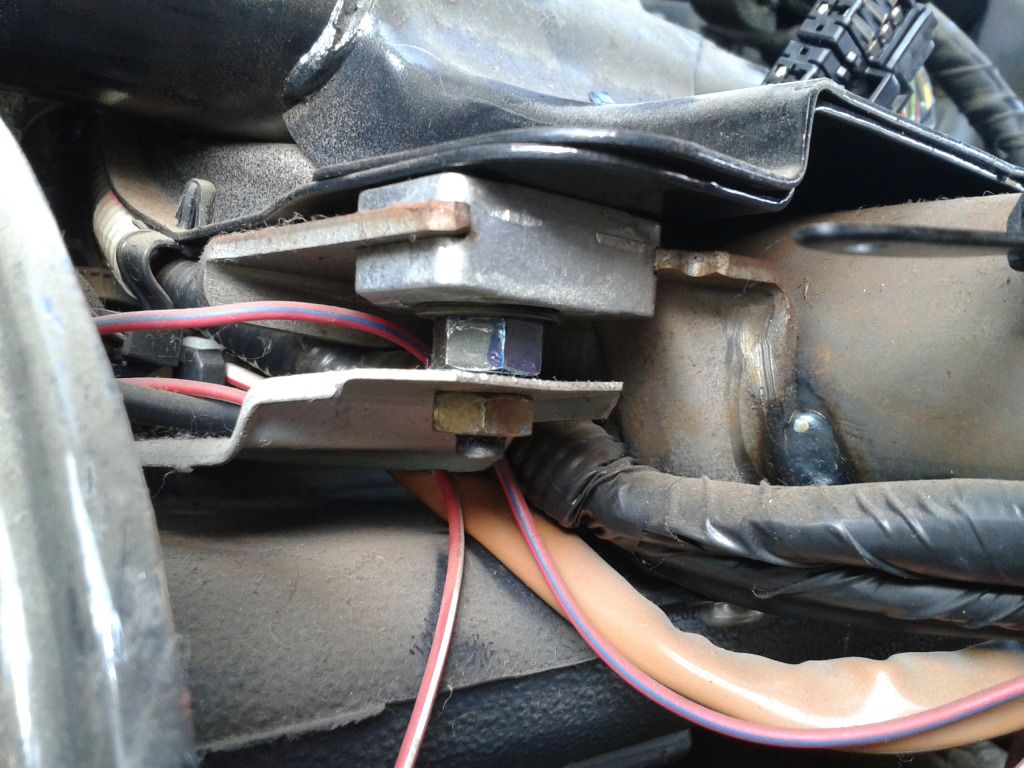
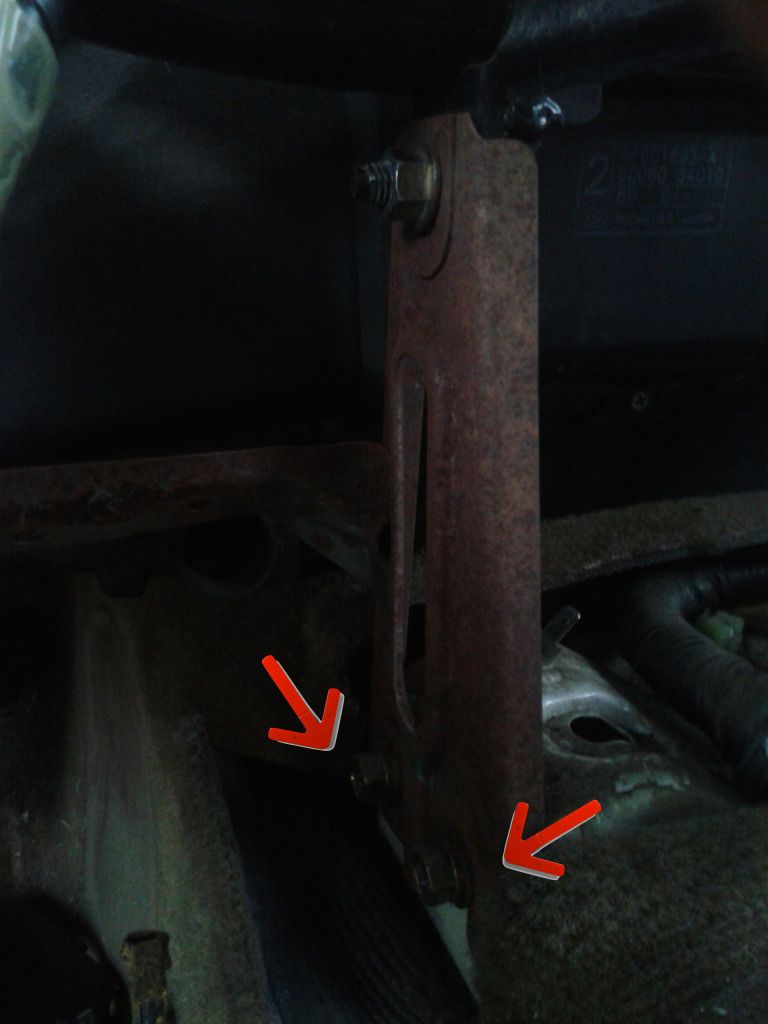
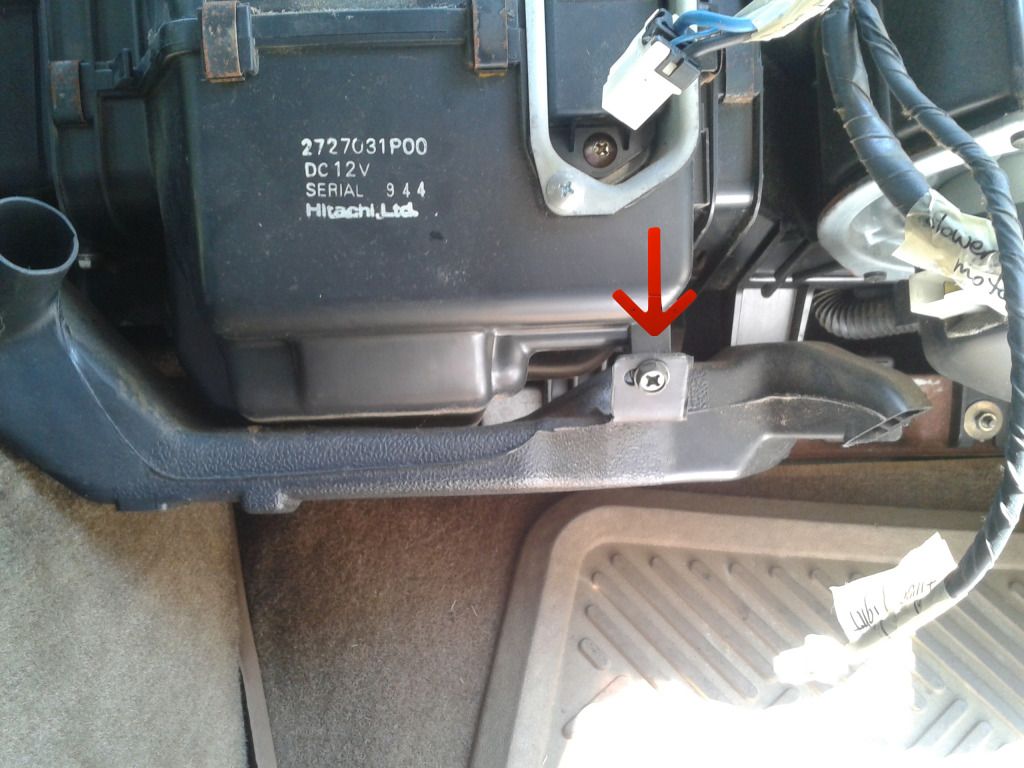
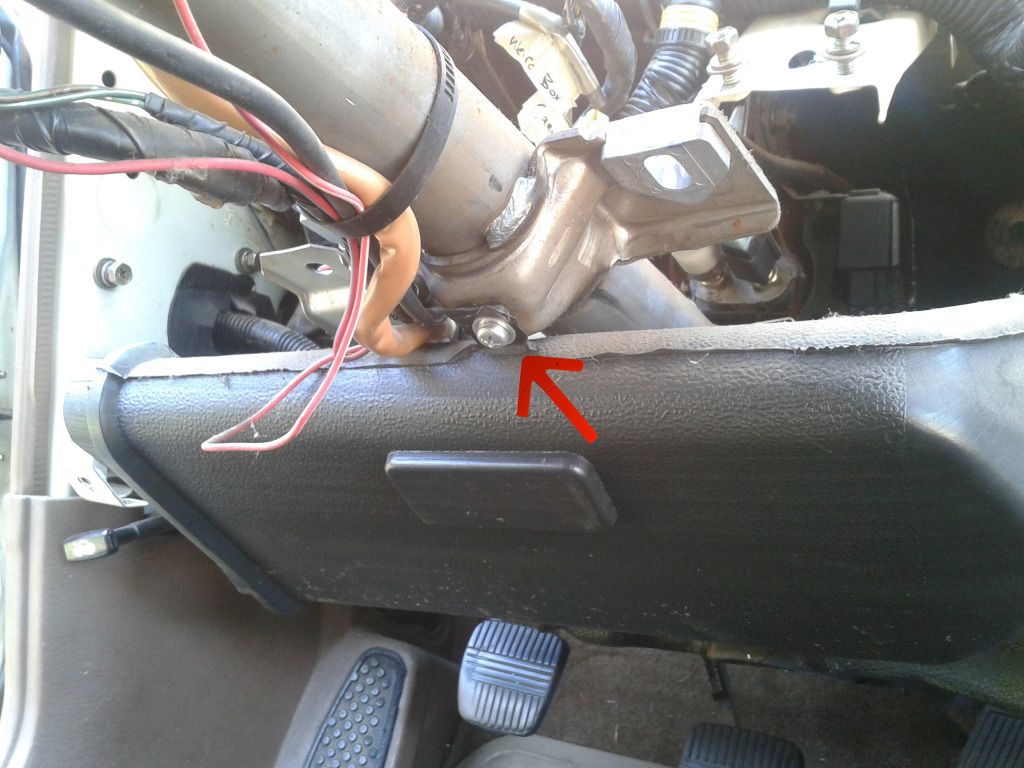
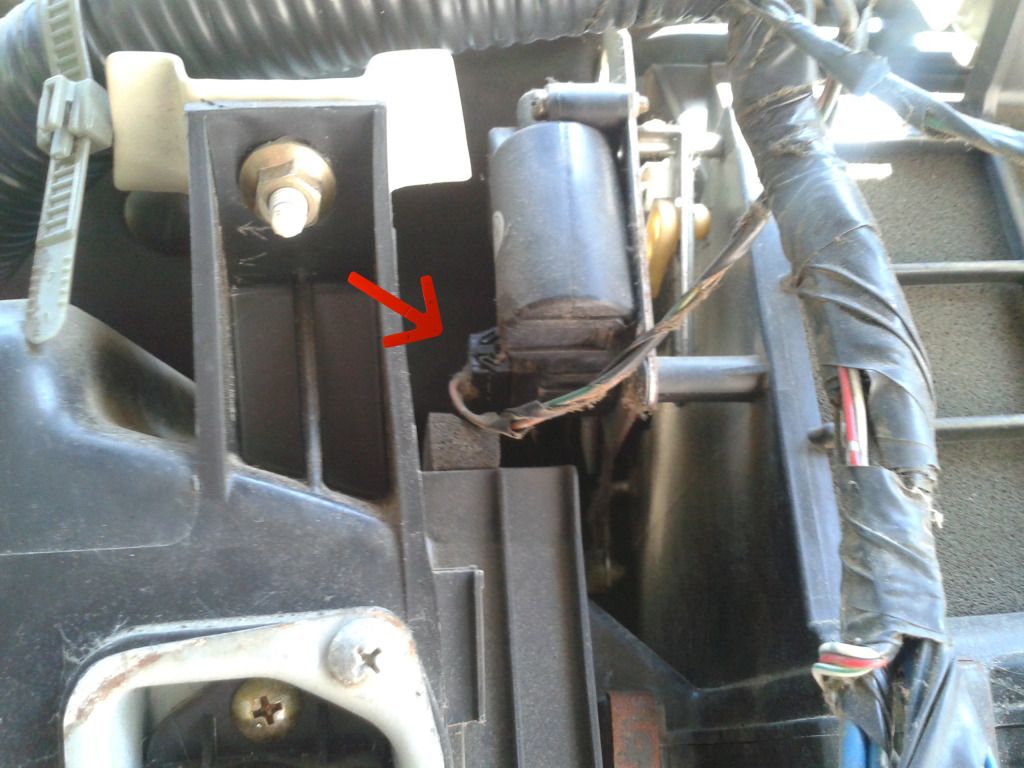
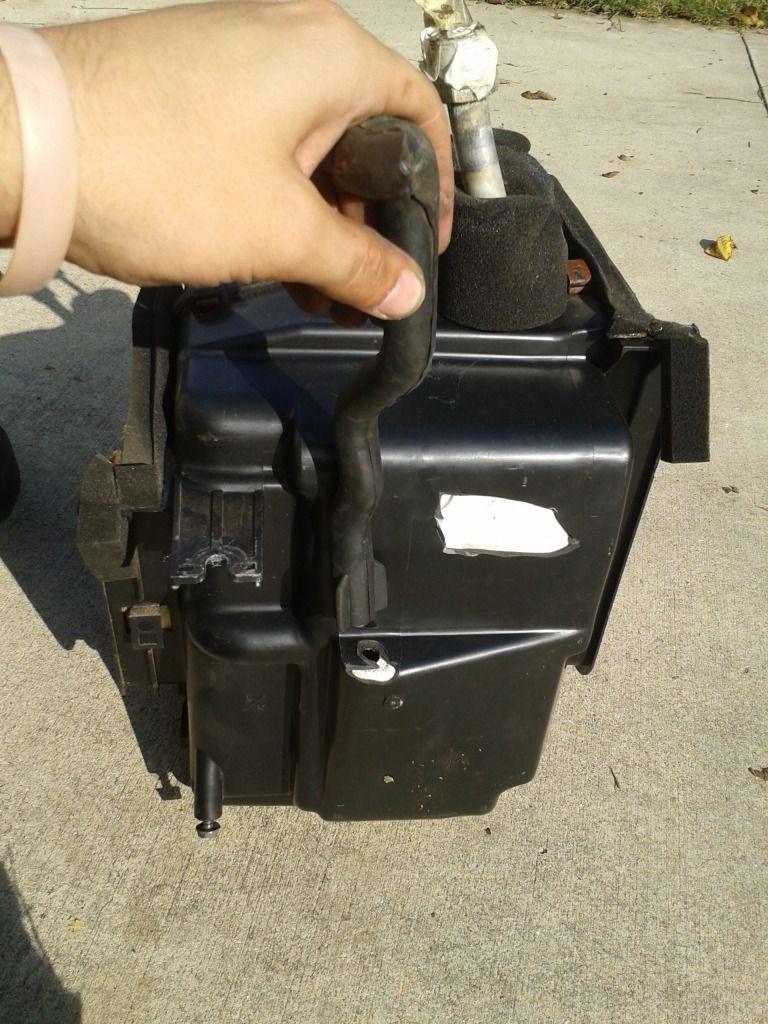
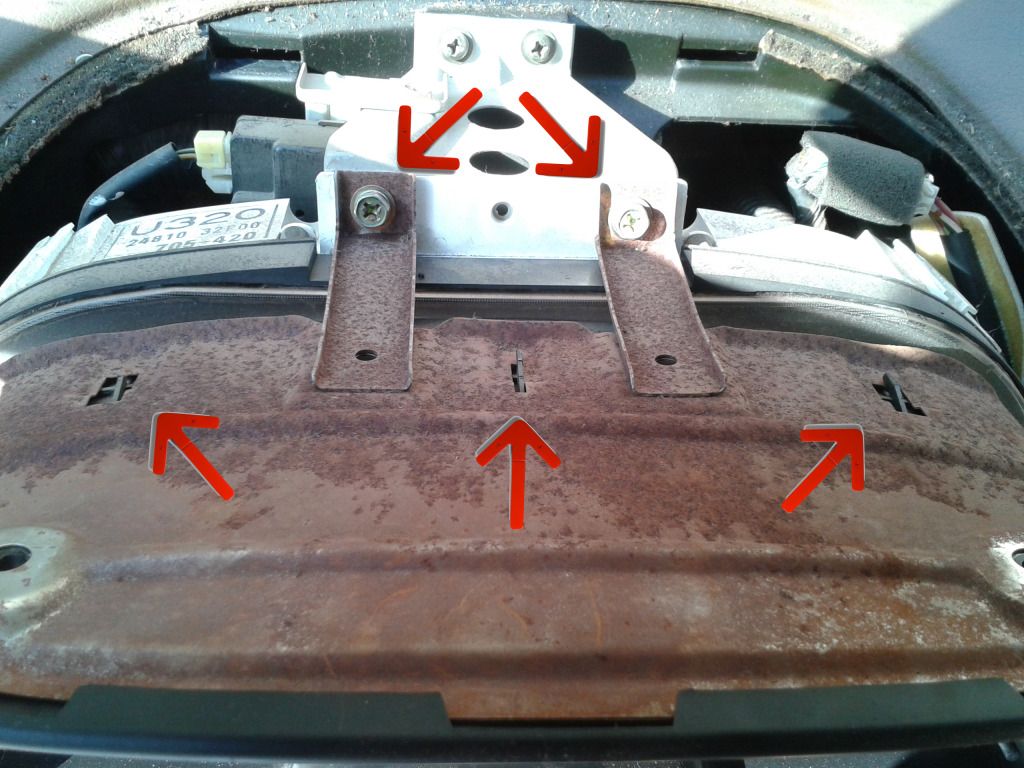
This device will hamper the mobility of your dash. Either remove the two bolts and let it dangle or just unplug the wire connector and let the brace go with the dash.

When pulling the dash out the air ducts will come apart right here on both sides of the center console.
This duct hung up on something, so I removed it.
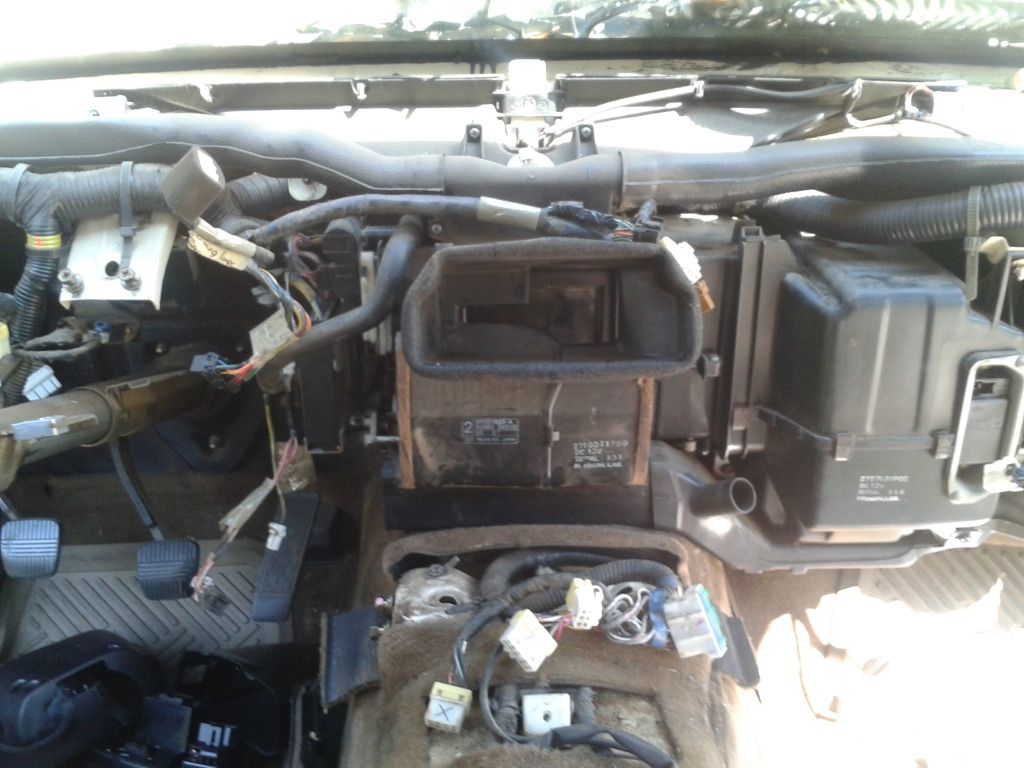
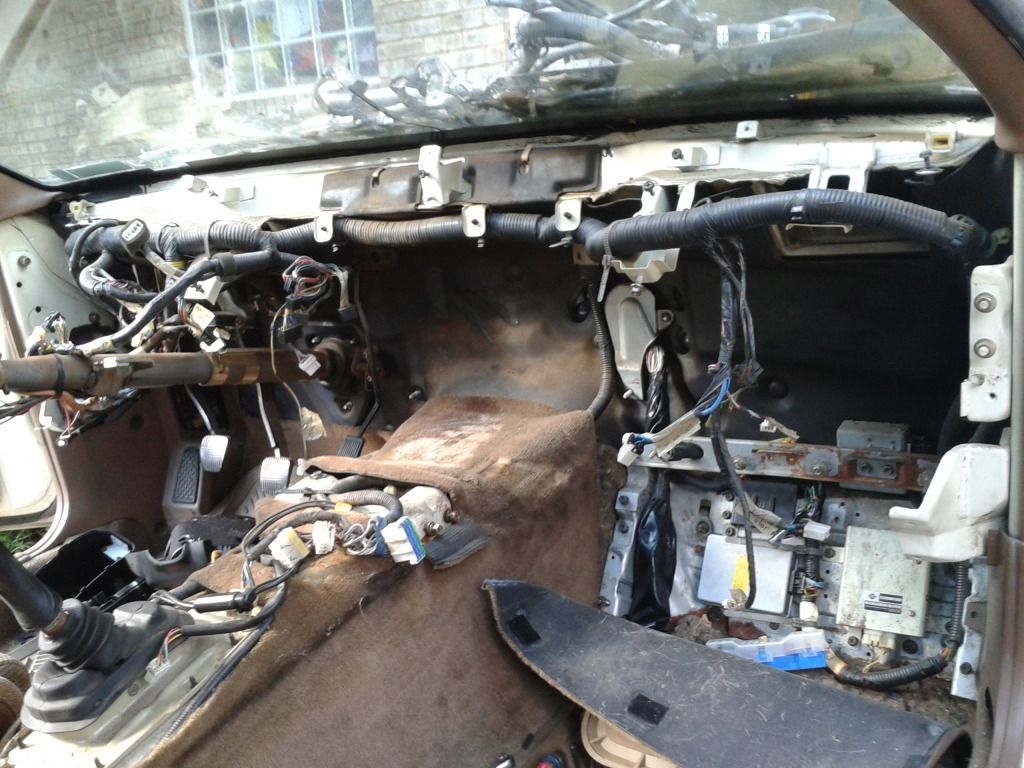
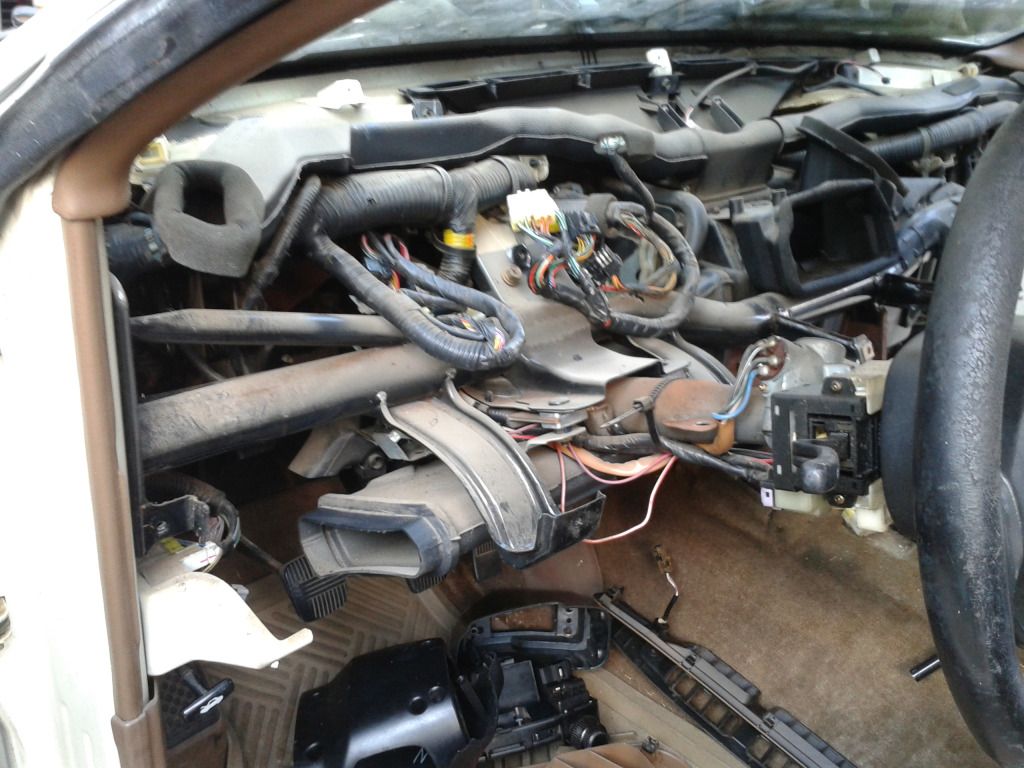
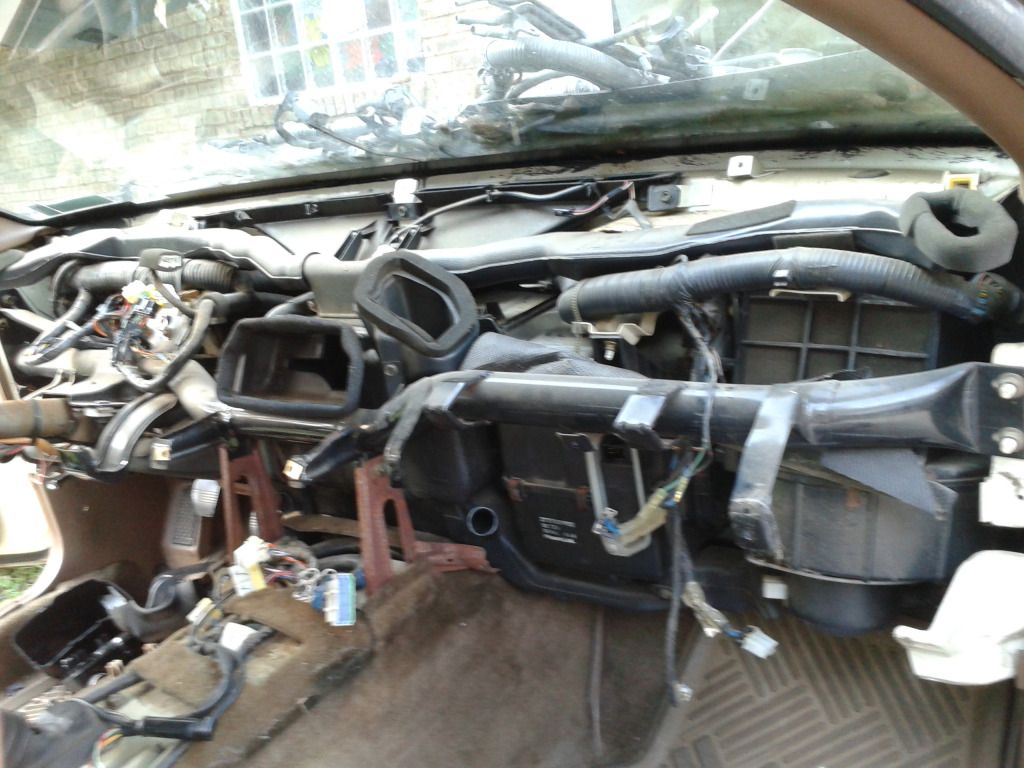
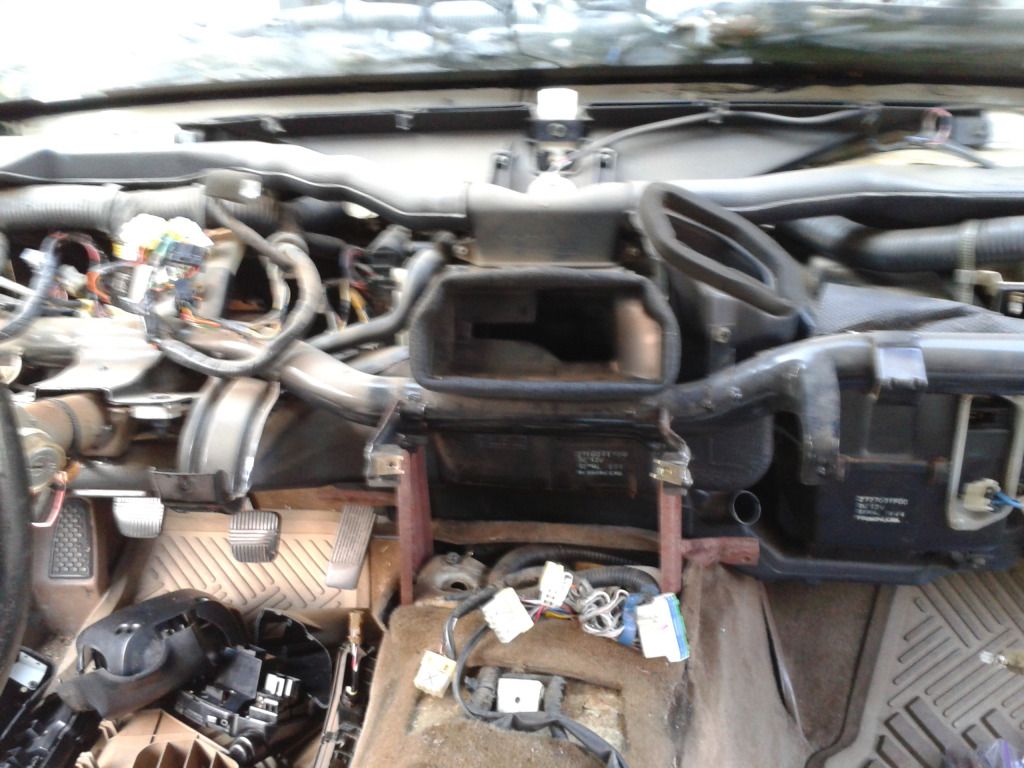
Dash gone!
A helpful tip: keep loose bolts labeled and organized. Zip lock baggies are awesome!

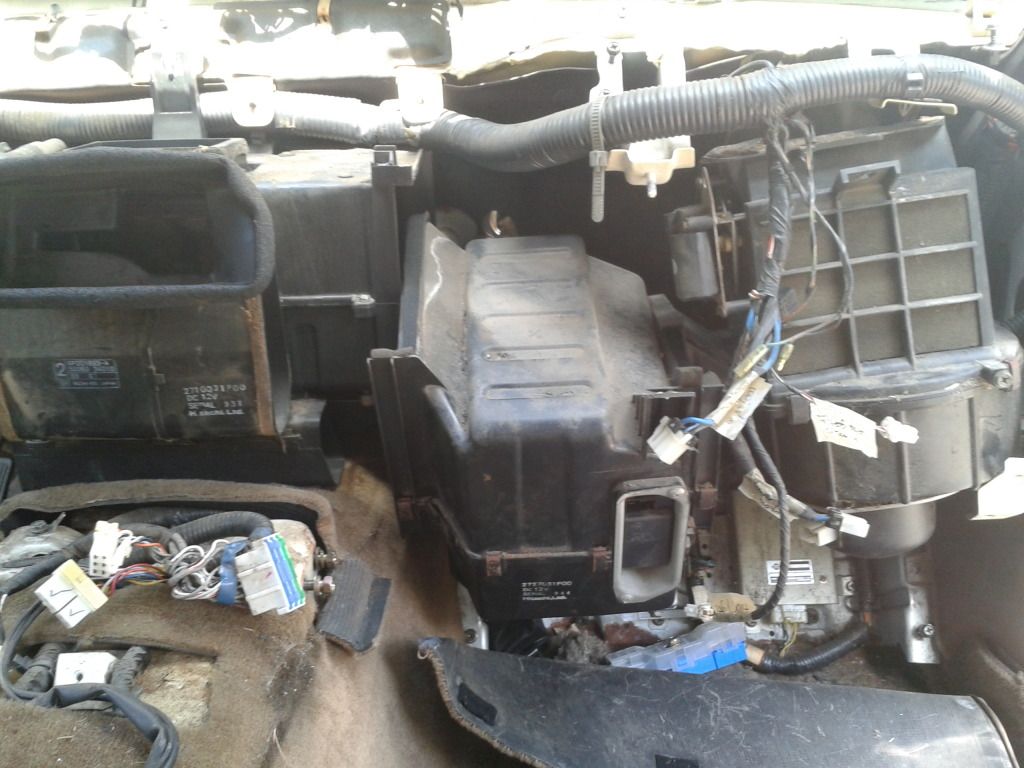
Tomorrow I will be continuing on with further removal of the under dash contents...