DISCLAIMER: Do this at your own risk, I am not responsible for any injuries from or during this modification. Be careful this can be dangerous.
Time - 2-4 hours
Difficulty - ***
Tools
- Angle grinder
- Metal cutoff wheel
- Cordless power drill
- Self threading tap bit (I used m10x1.5)
- Small drill bit
- Step drill bit
- Permanent marker
Materials
- B14 200sx front seat belts (You can use almost any seat belts you want just be prepared to figure out how to fit it and grab the matching buckles)
- 4 long bolts 30mm+
- 6 .5in thick washer/spacer (I used the ones included with my seat belts and buckles)
- 6 self threading screws
- 2 locking washers
- 2 nuts for the long bolts
Directions:
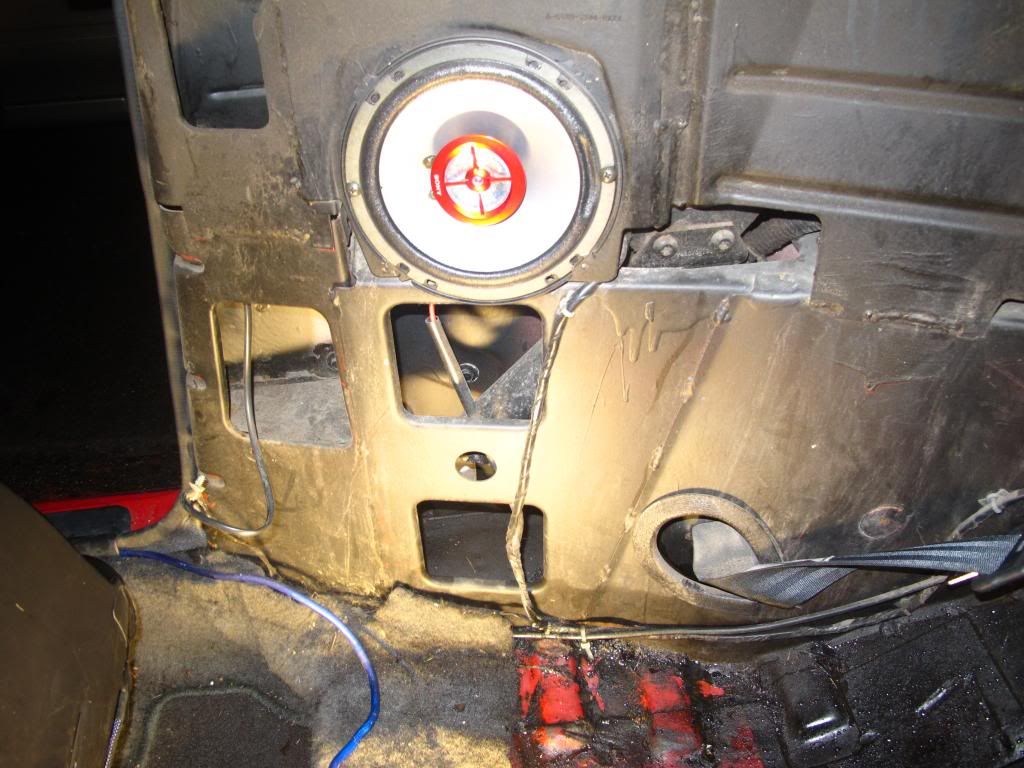
1) Remove your rear panels held on by 6 screws on each side.
2) Locate the lower opening closest to the door.
3) If your using a seat belt with a large retracting reel like me then you'll need to mock up your reel and trace some lines to use as a guide to cut.
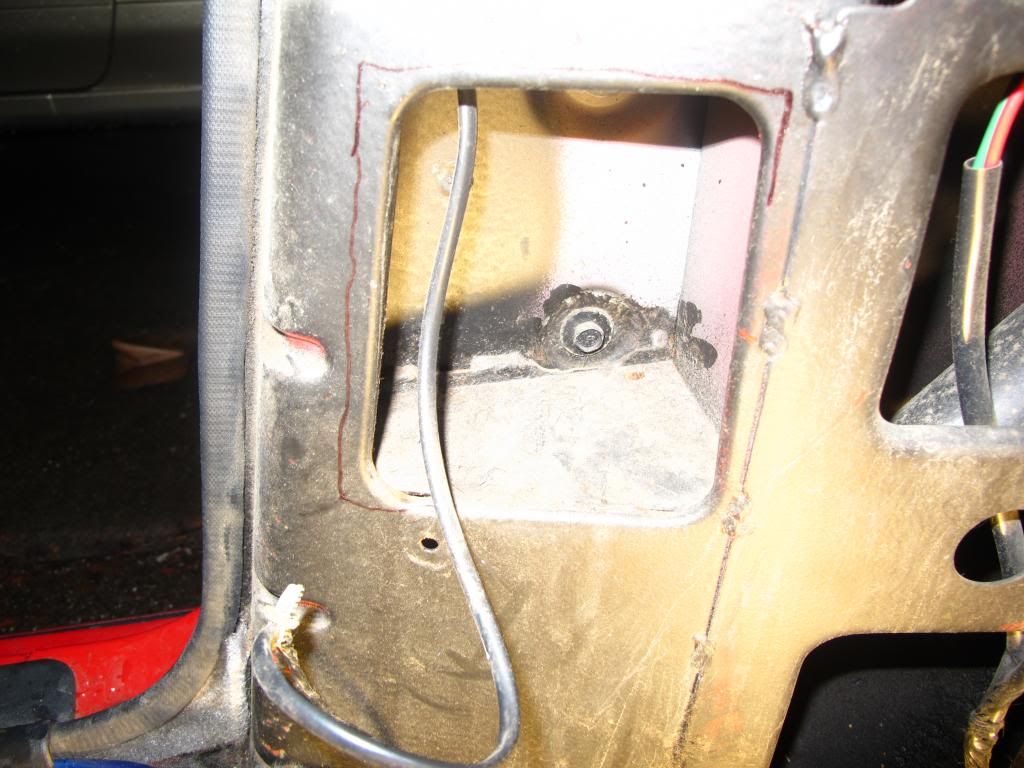
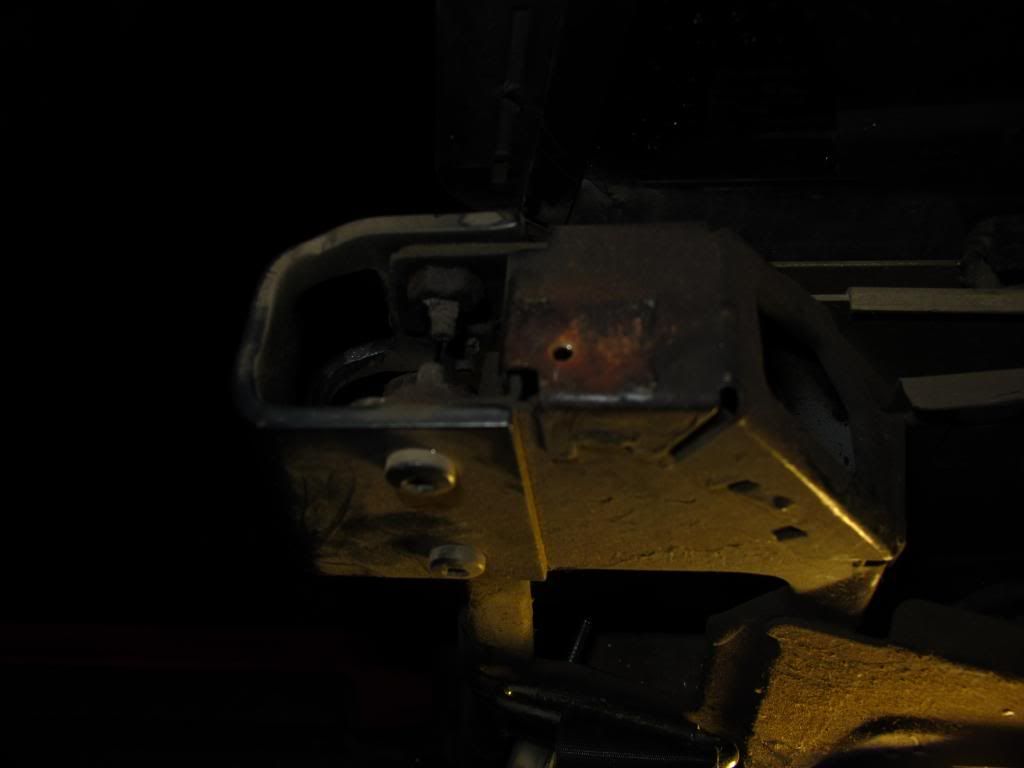
4) Once the lines are drawn, take your grinder with the cutoff wheel and cutout the excess metal in the way.
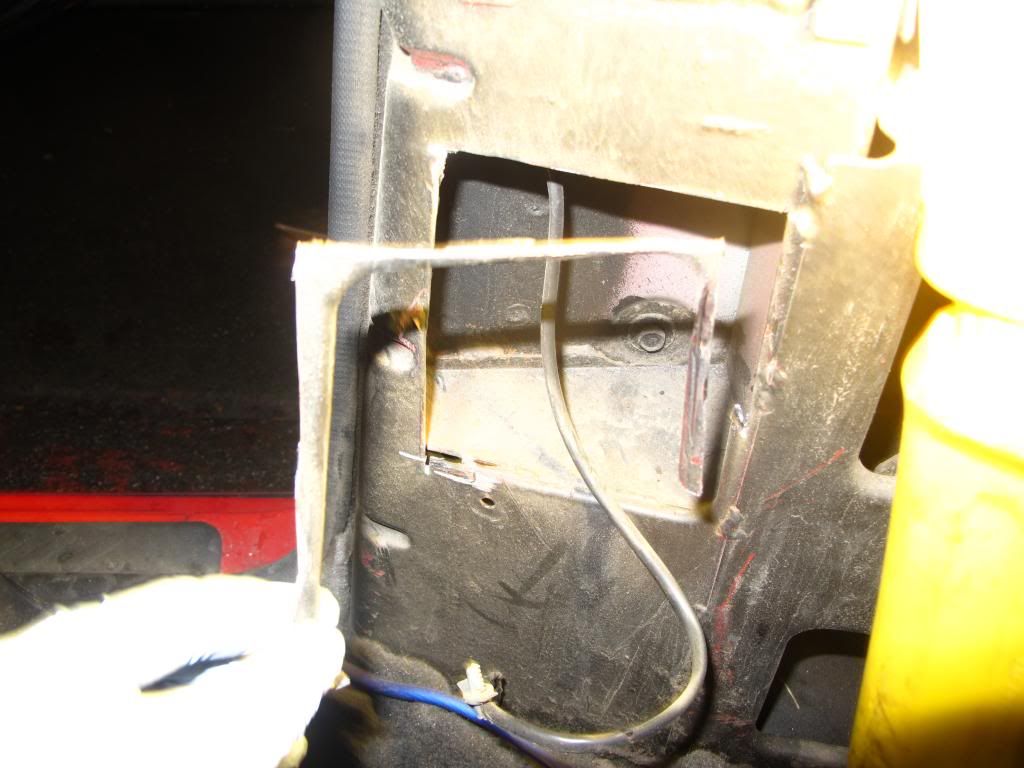
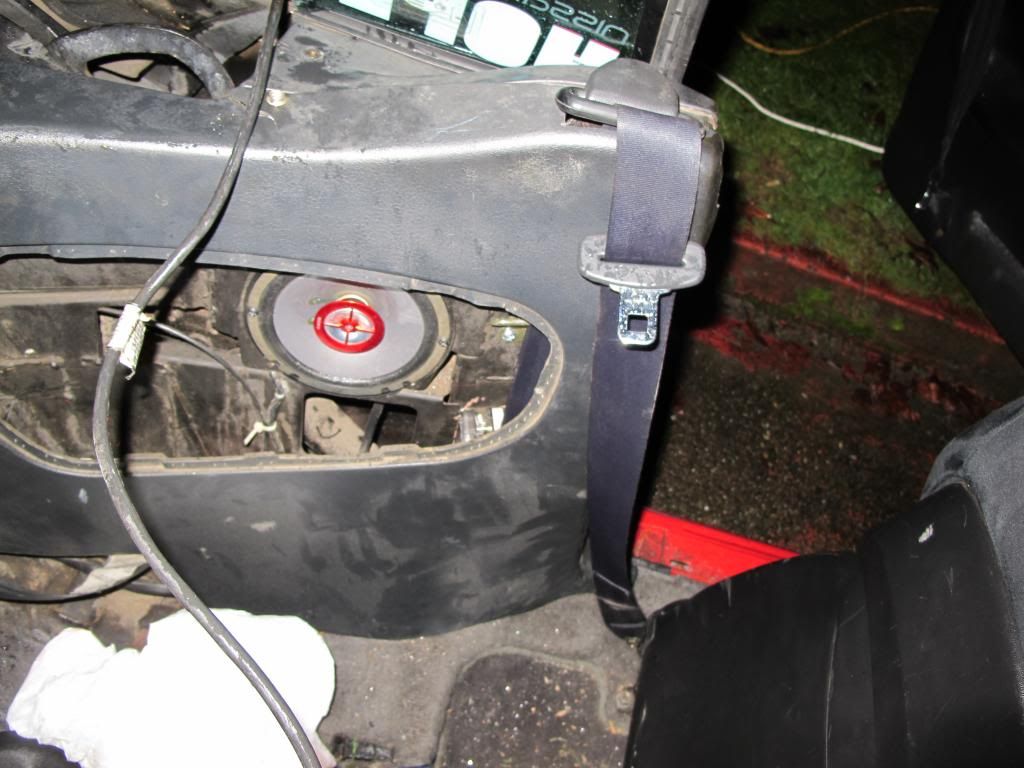
5) Fit the reel in place make sure it sits in there comfortably and mark the necessary spots that needed holes drilled and drill em.
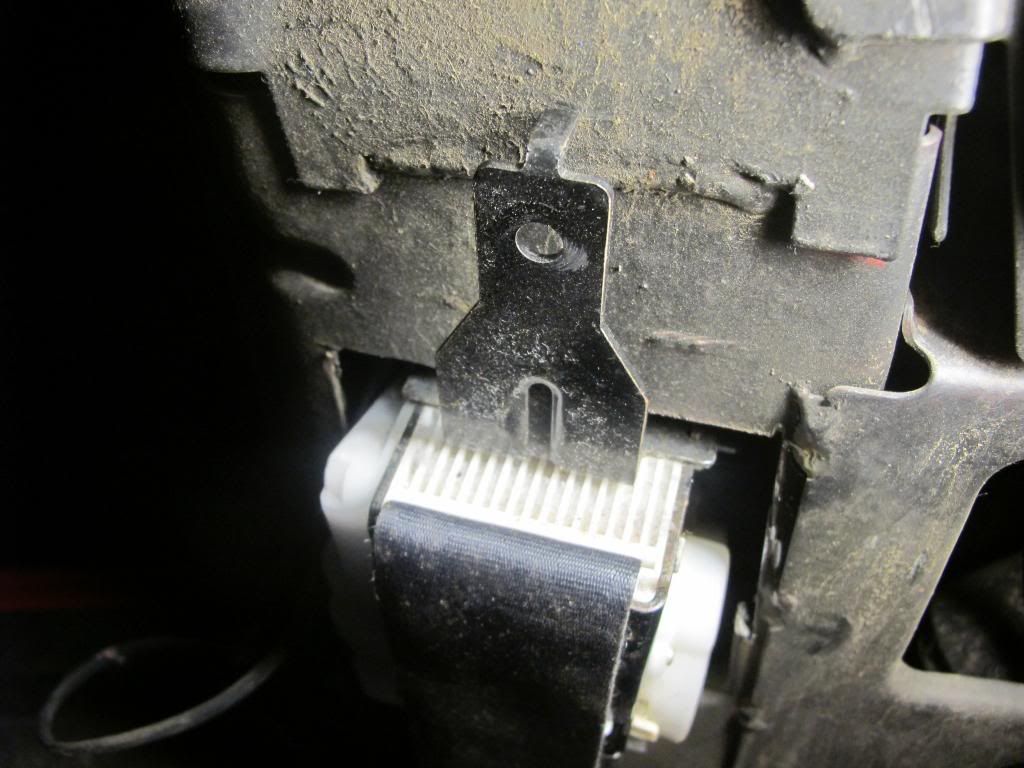
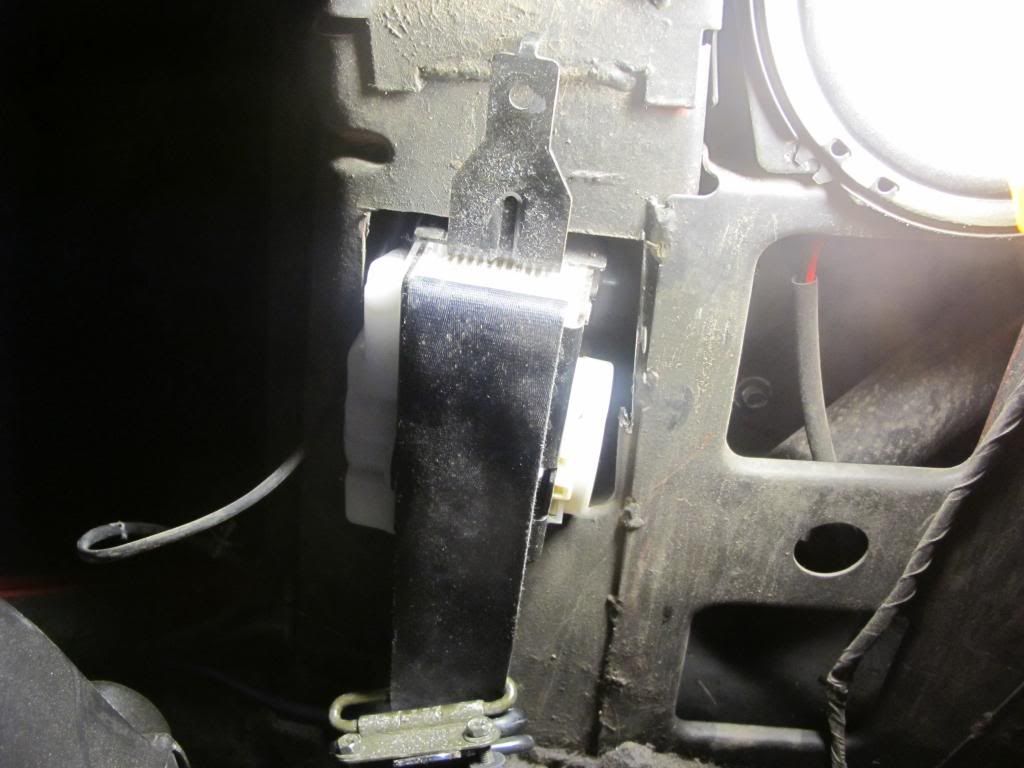
6) Once holes are drilled use your self tapping screw to secure the reel in place.

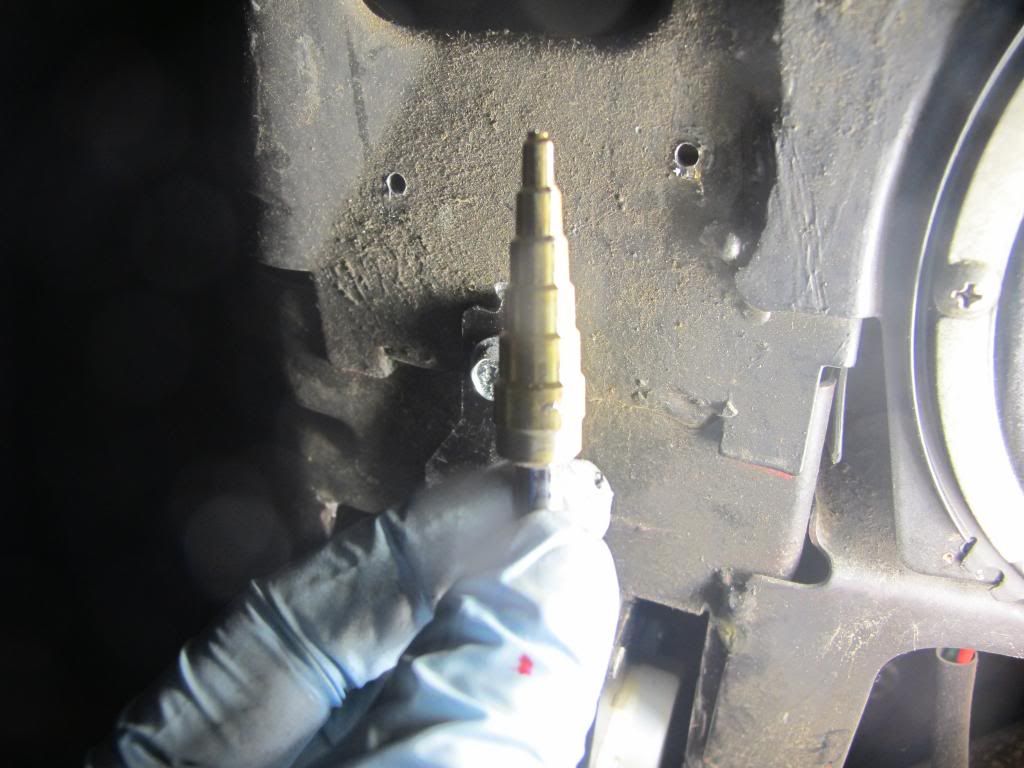
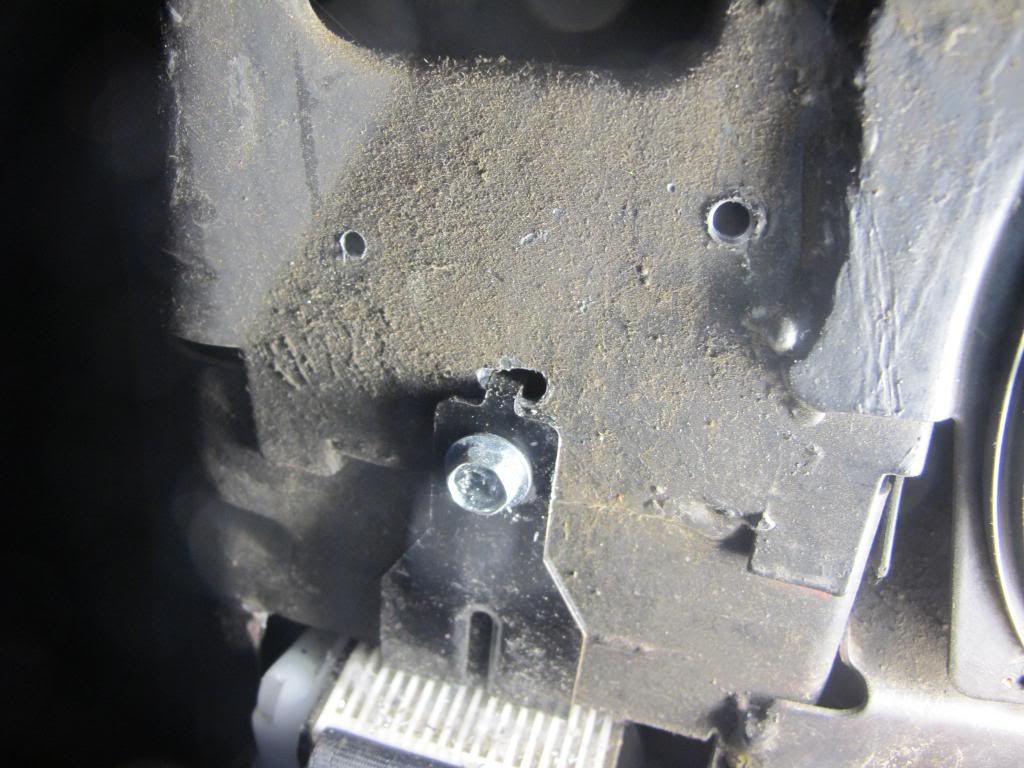
7) Take your tap drill bit and run it through the lower hole.
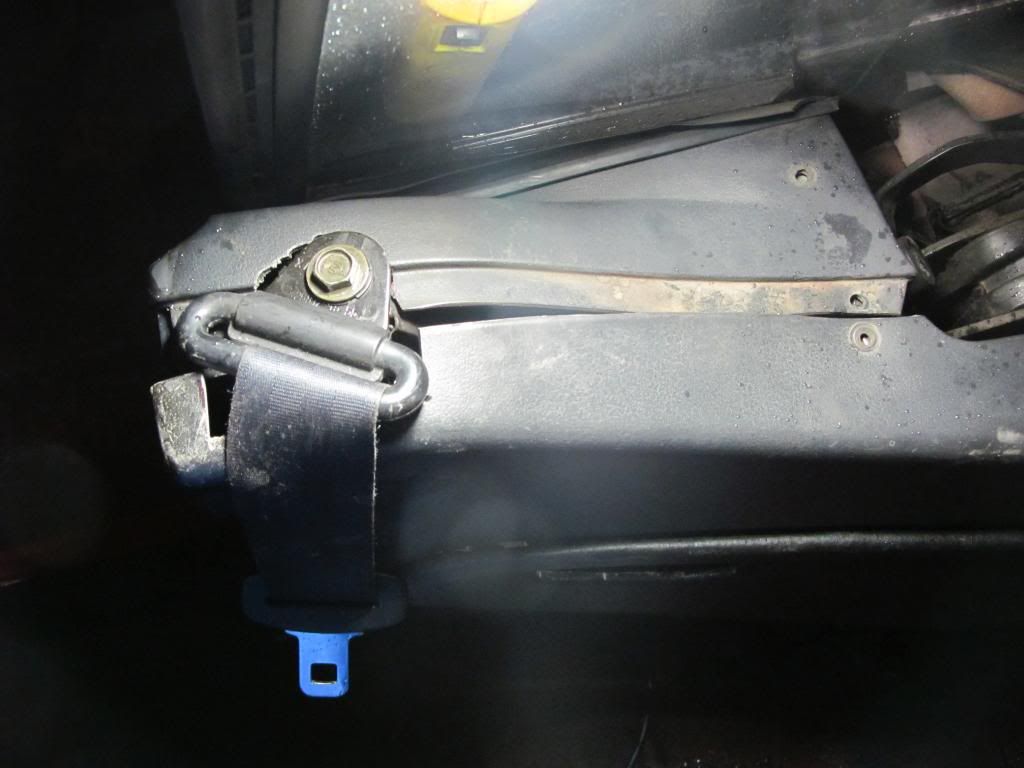
8) Use your bolt and slip a .5in spacer in between the reel and chassis.
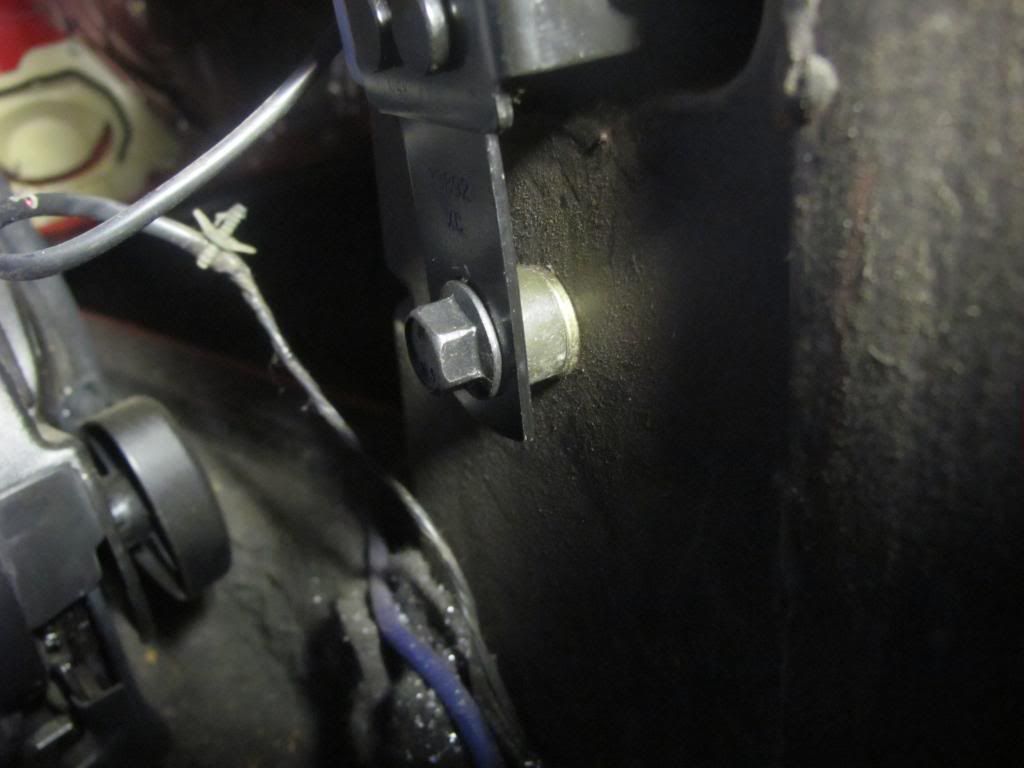
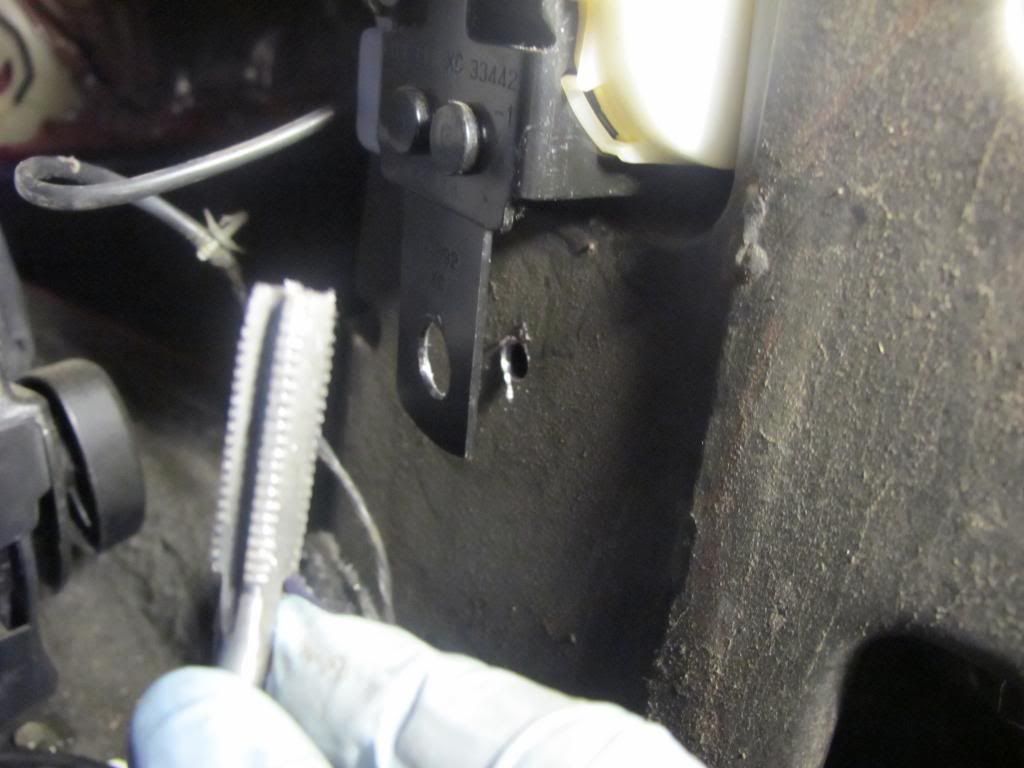
9) take the attached bracket and put up to the chassis and mark new holes and drill em. Determine the necessary size hole you need for the self threading screw to run through.
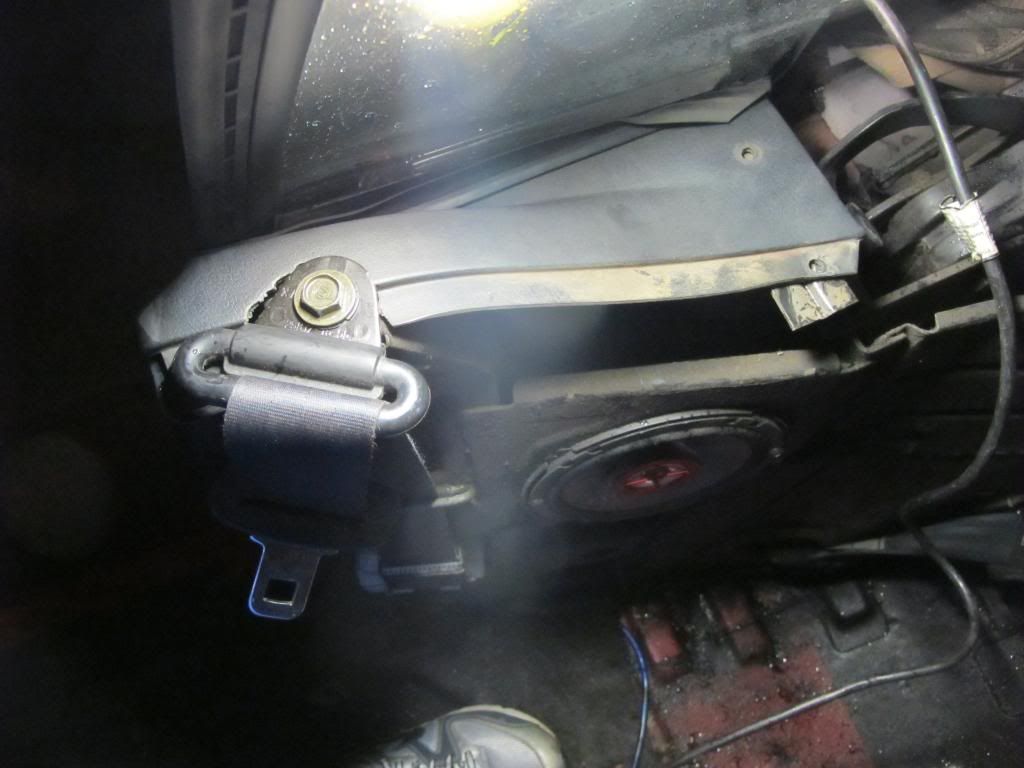
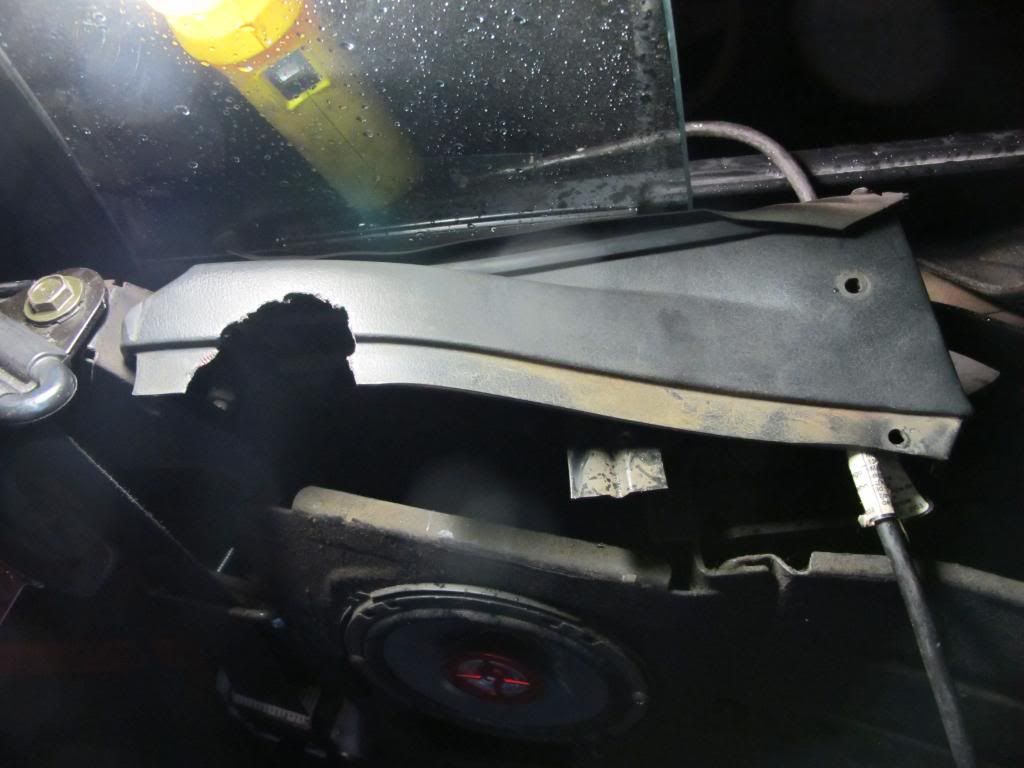
10) Now we need to figure where to mount the highest point of your seat belt. I opted to mount it in position that replicates the JDM position. I chose that because it is the closest location to that of a coupe. Mark a spot in the center of the B pillar and drill it and widen it to fit your bolt. Run the .5 in spacer on the bolt before you pass it through the B pillar then you slip in another .5in spacer on the other side and finish it off with the nut. Reason i opted to use both spacers on each end was to increase the height of the seat belt to clear plastic panels on the top end and to create less threading needed to awkwardly ratchet the nut tight.
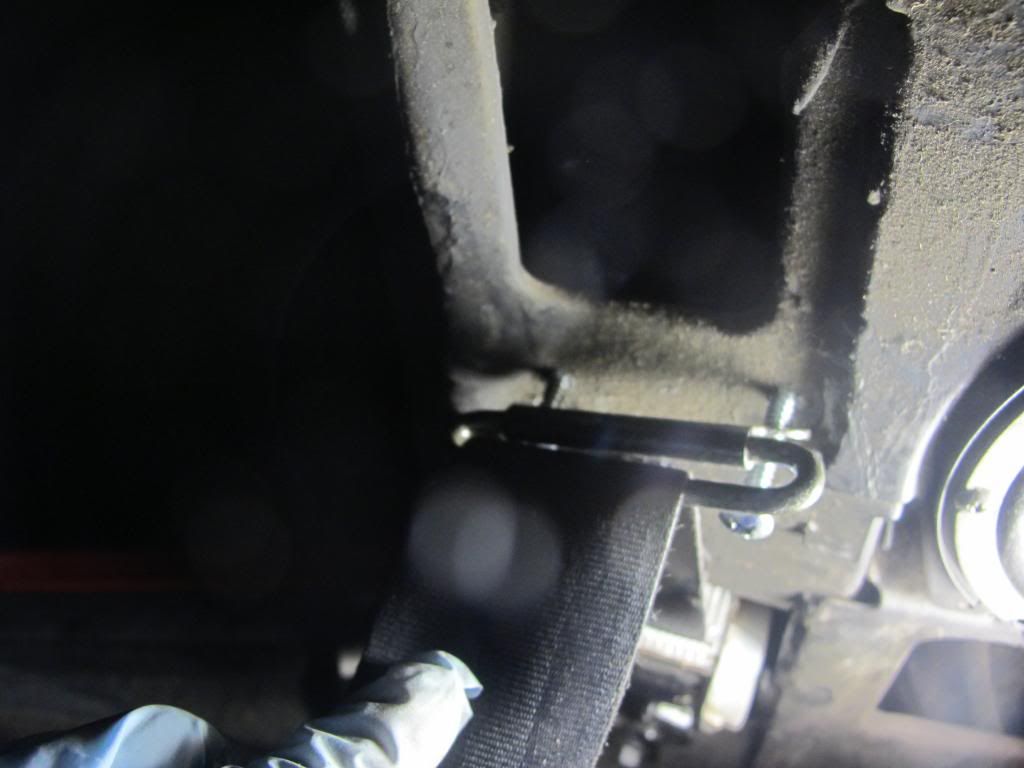
11) Find the lower hole to mount the last portion of your seat belt. You will need to poke a hole in your carpet but the hole is threaded (this is the stock location for JDM and CDM seat belts).
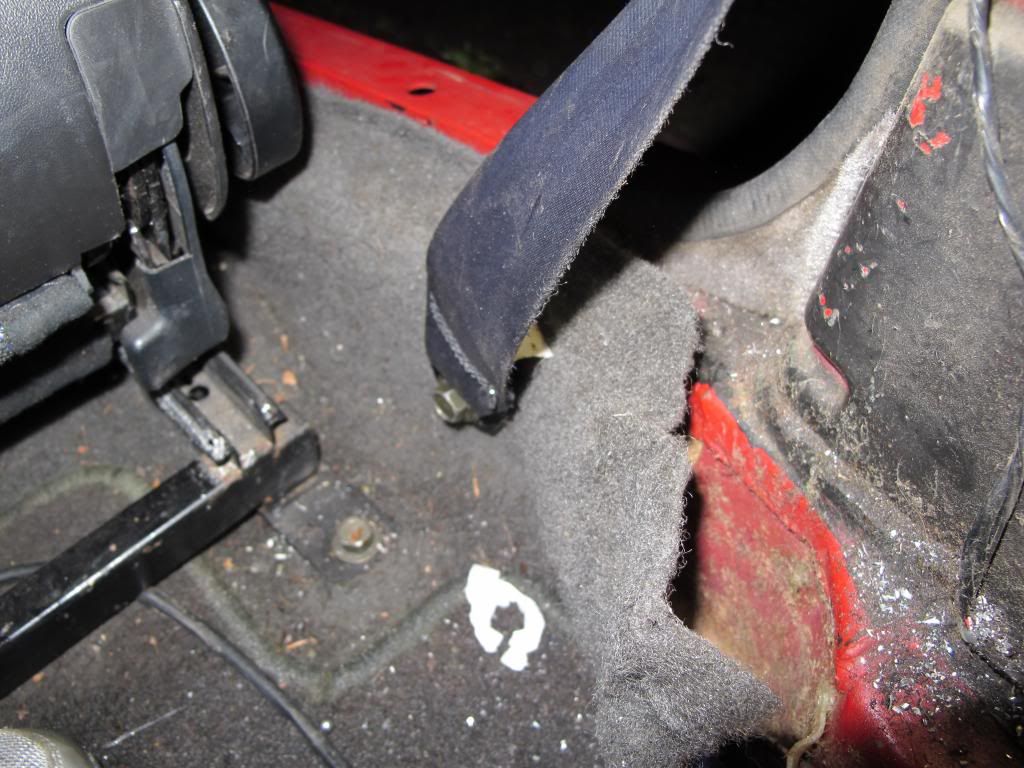
12) Your almost done, now you need to mock up your interior pieces and cut off as necessary to clear the seat belt bracket. A dremel tool would be great here but i got creative since i did not have one. once both of your panels are trimmed fit them back on your car and add on the seat belt bracket cover to finish off the look.
13) Here is the finished results:

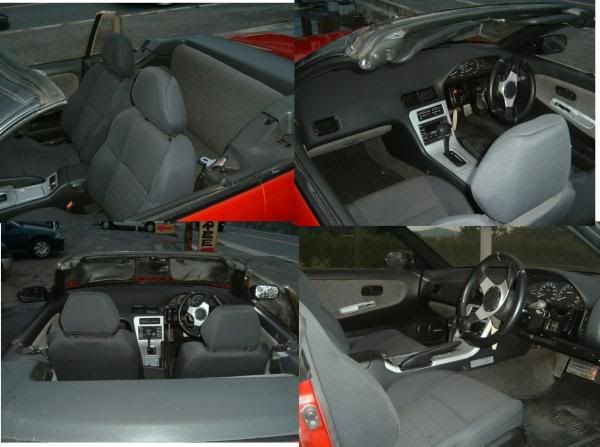
And your done! Here was the picture for my inspiration:
All the information i used to get to starting this project began here: http://www.nicoclub.com/archives/240sx- ... moval.html and here: how-to-240sx-convertible-door-pillar-re ... 88-90.html
PIcs of my vert to come once i swap my doors out tomorrow.
