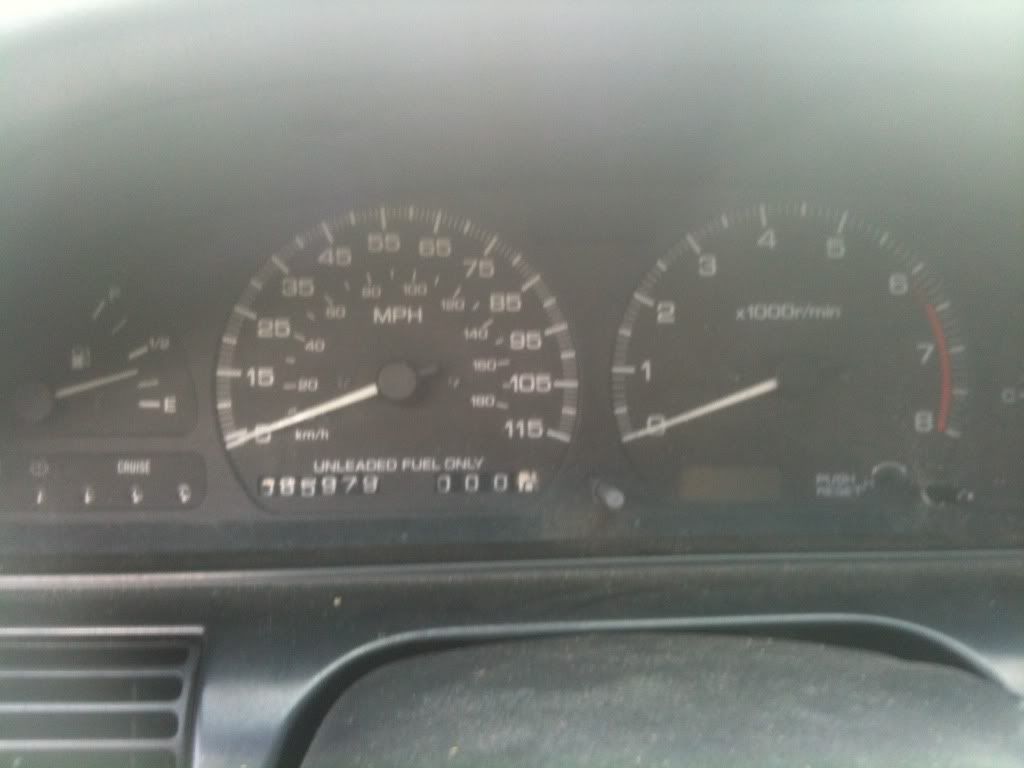
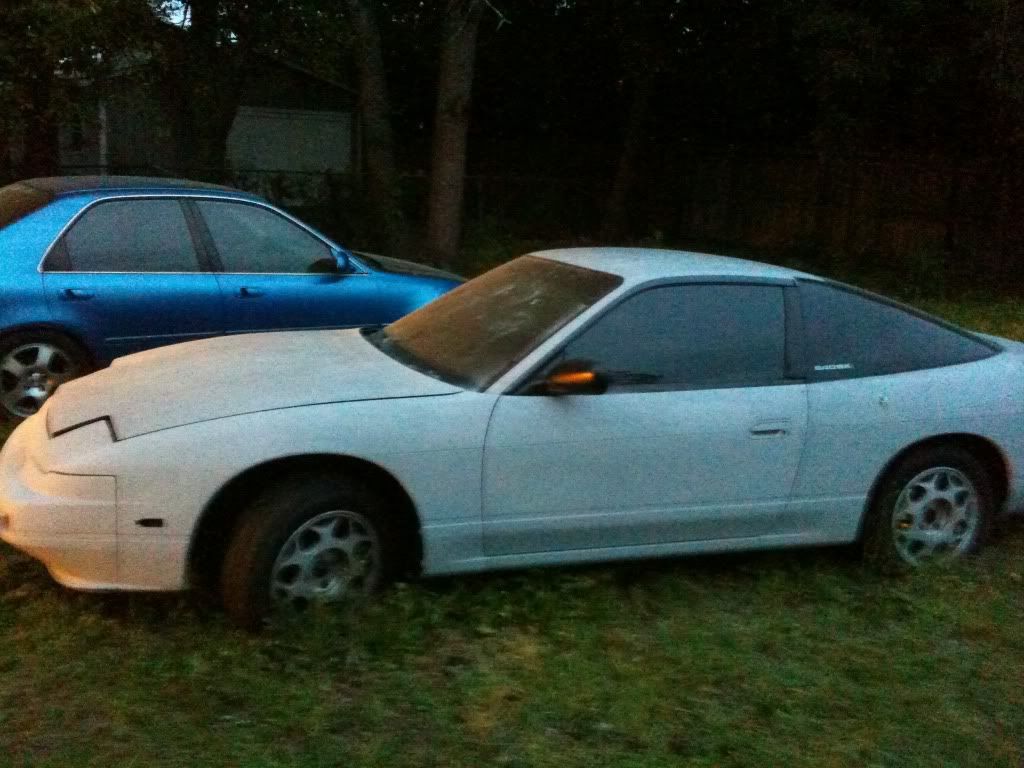
Ok well to start off, i got my 1990 s13 for 500 bones, a steal for the condition it was in. The pics at first might not show it to be but its a gem in hiding. Interior is mint, even for it sitting up for a year or two. Rust were the battery sits but oh well on that, gotta cut through it to run the piping. Undercarriage of the car was straight no rust or damage.
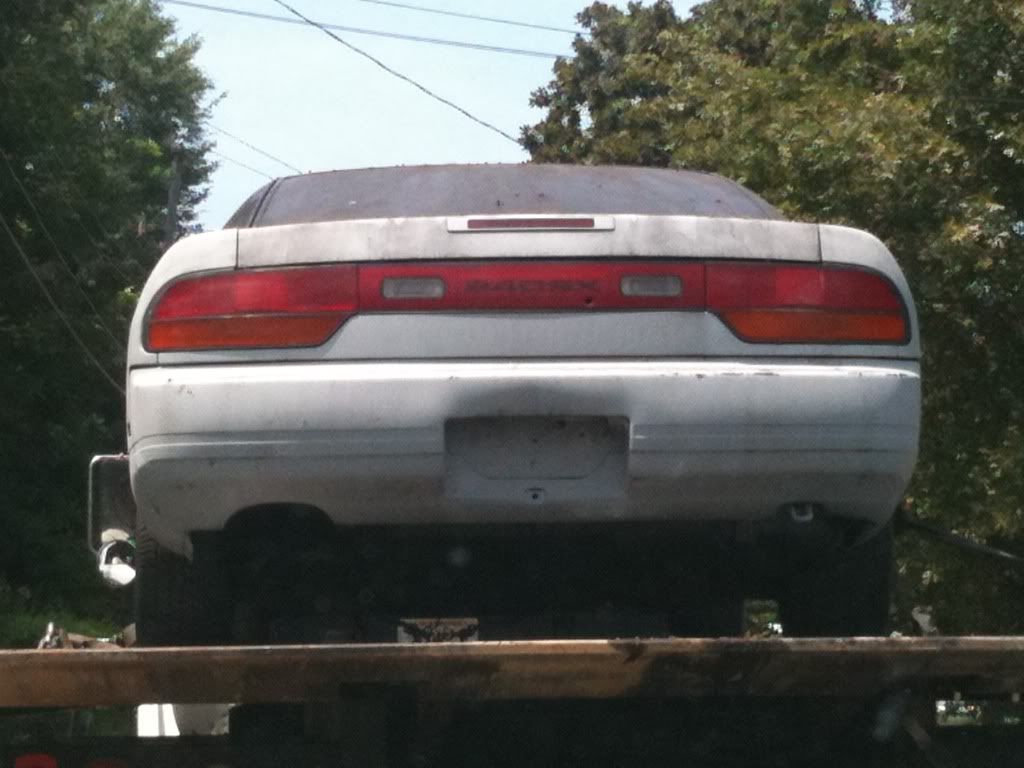
Where it was at before i got it
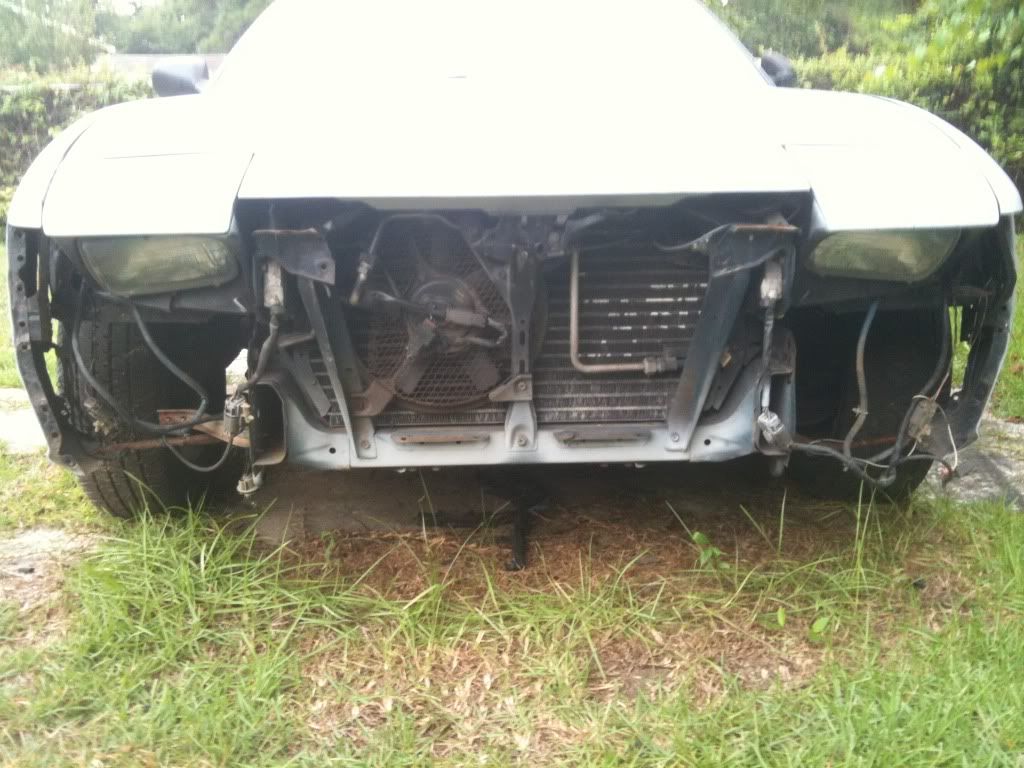
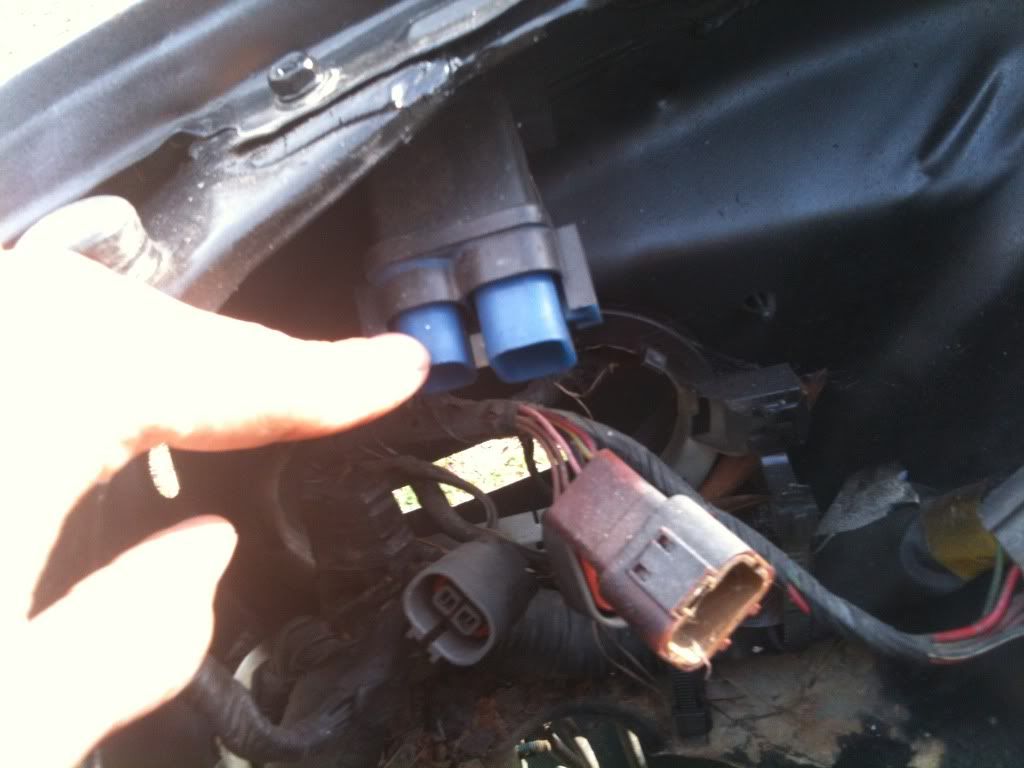
Hood isnt bolted to the hinges and not fully locked down thats why the gap is there.
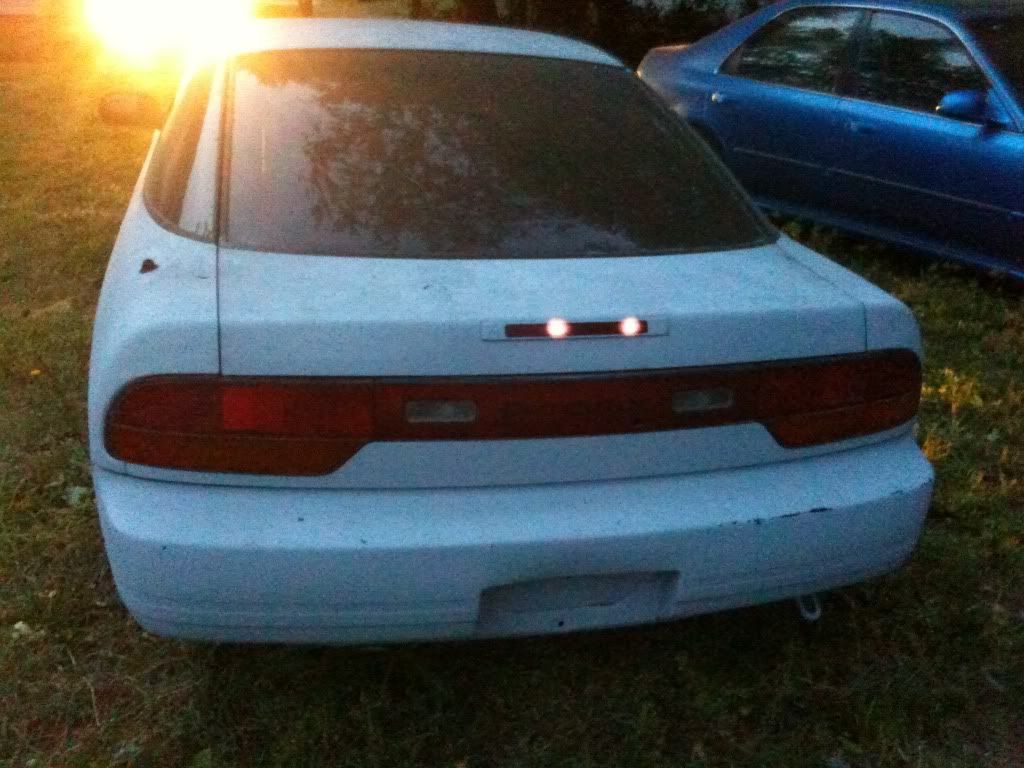
On the way home
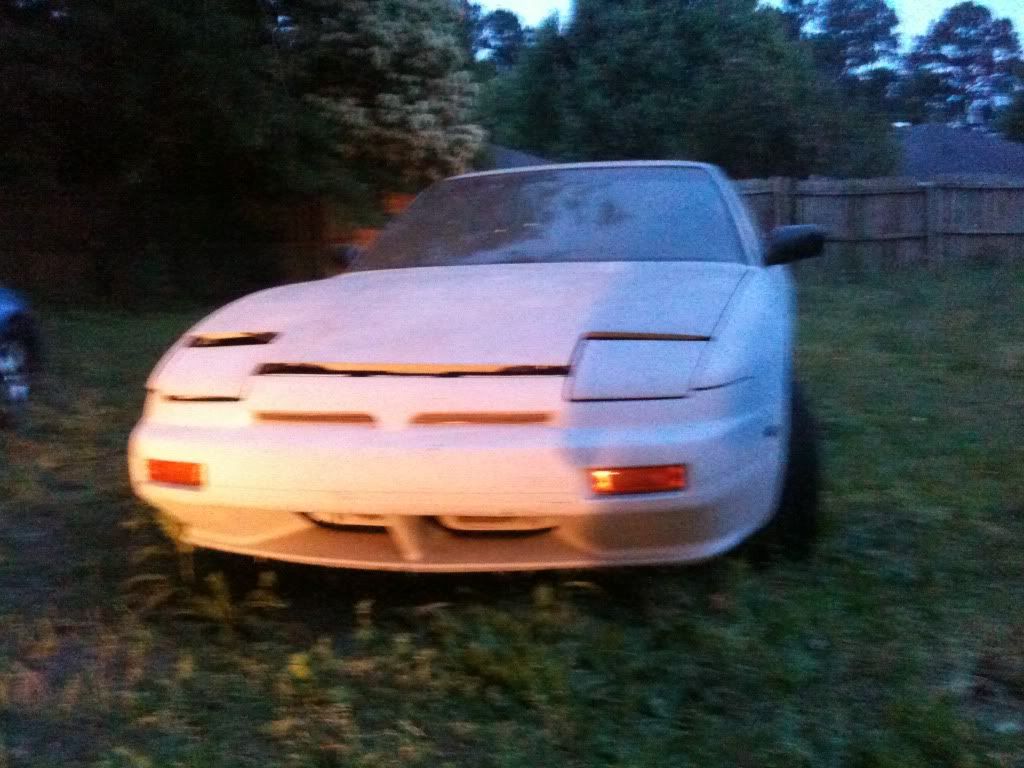
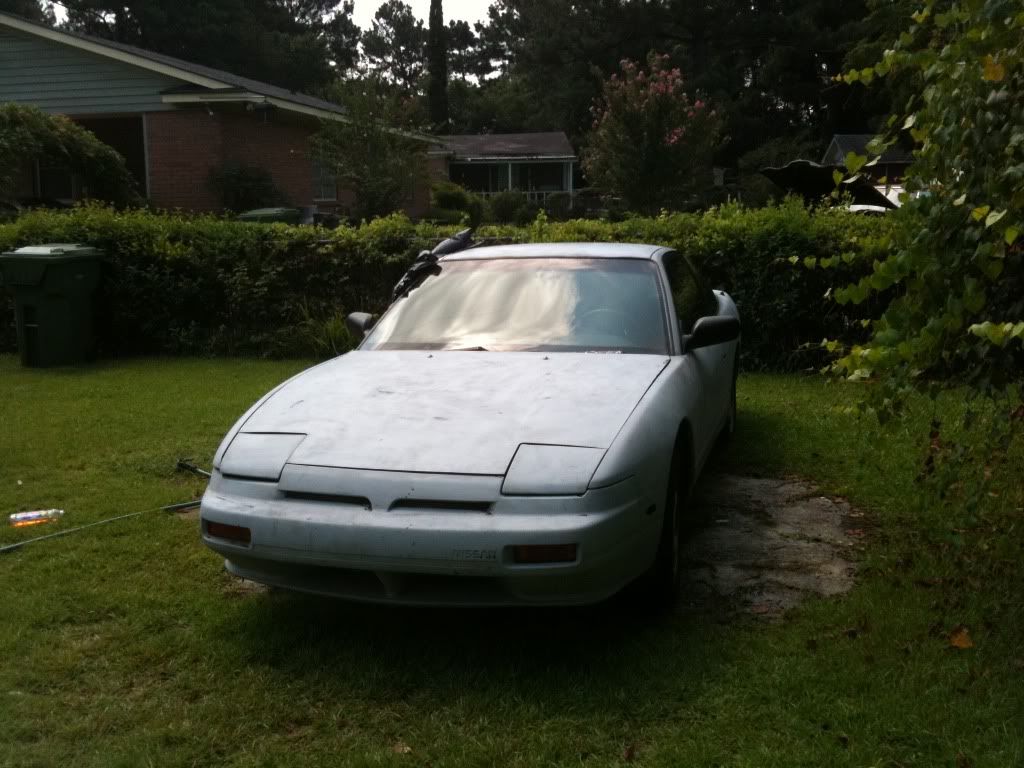
Once i got her home, i got her all wash up and cleaned inside and out
Seats are fresh, i were told these are skyline seats, dont know how of what model though
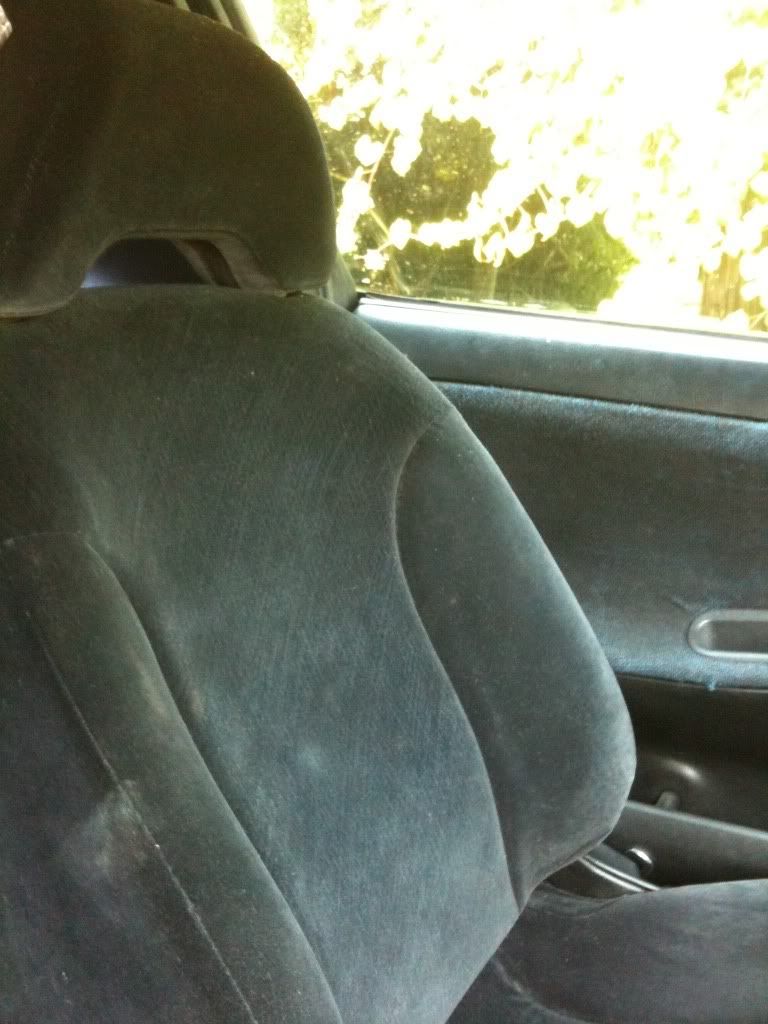
and also i am missing two bolts that bolt them in, anybody wouldnt happen to know the size i need would that?
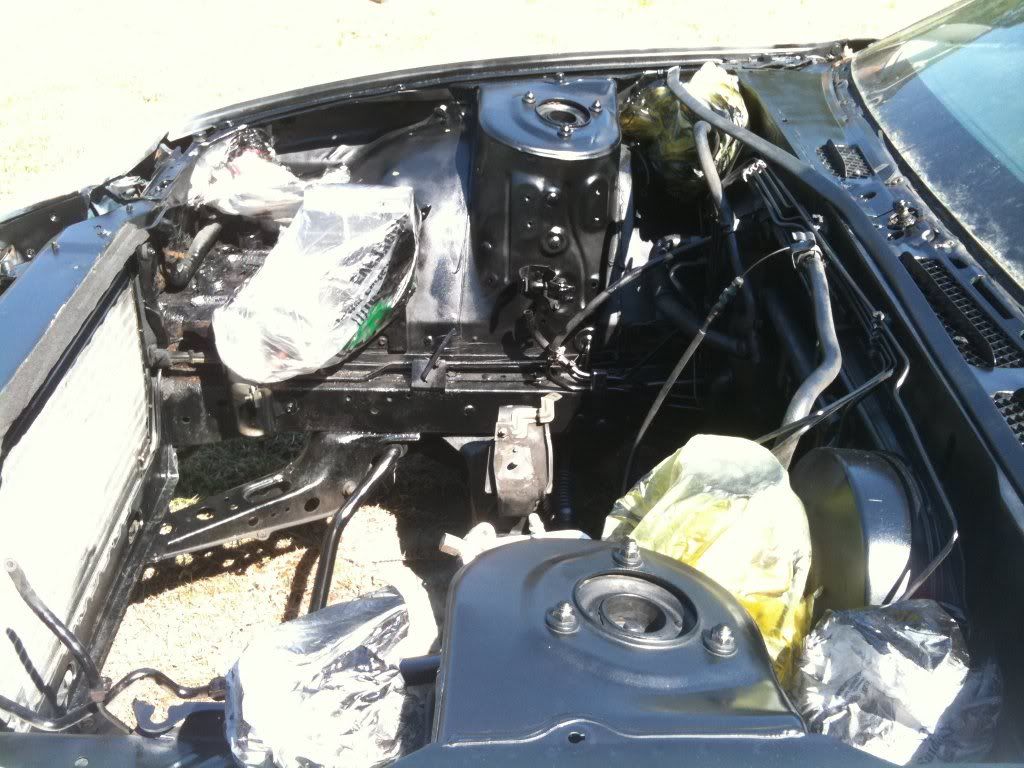
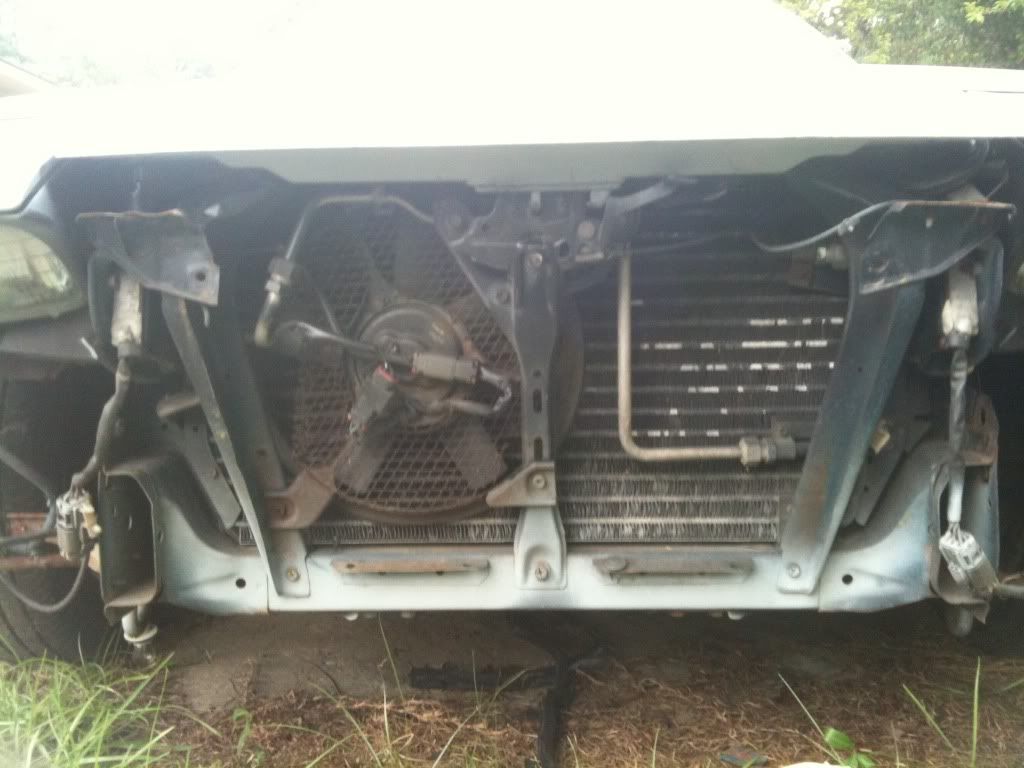
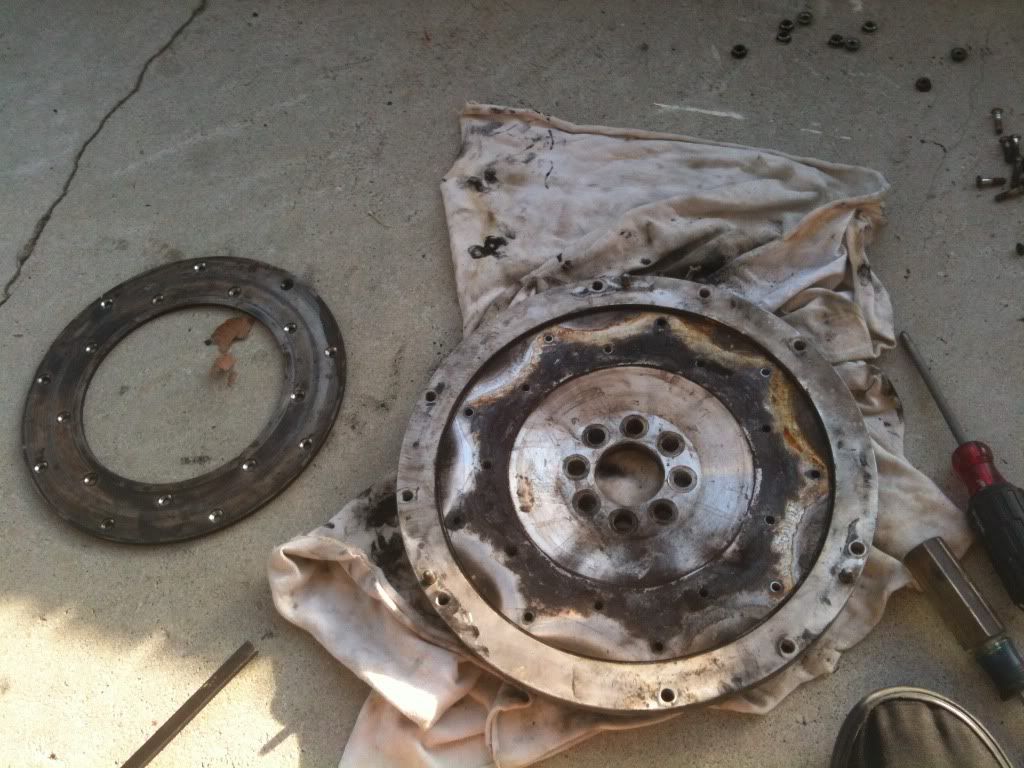
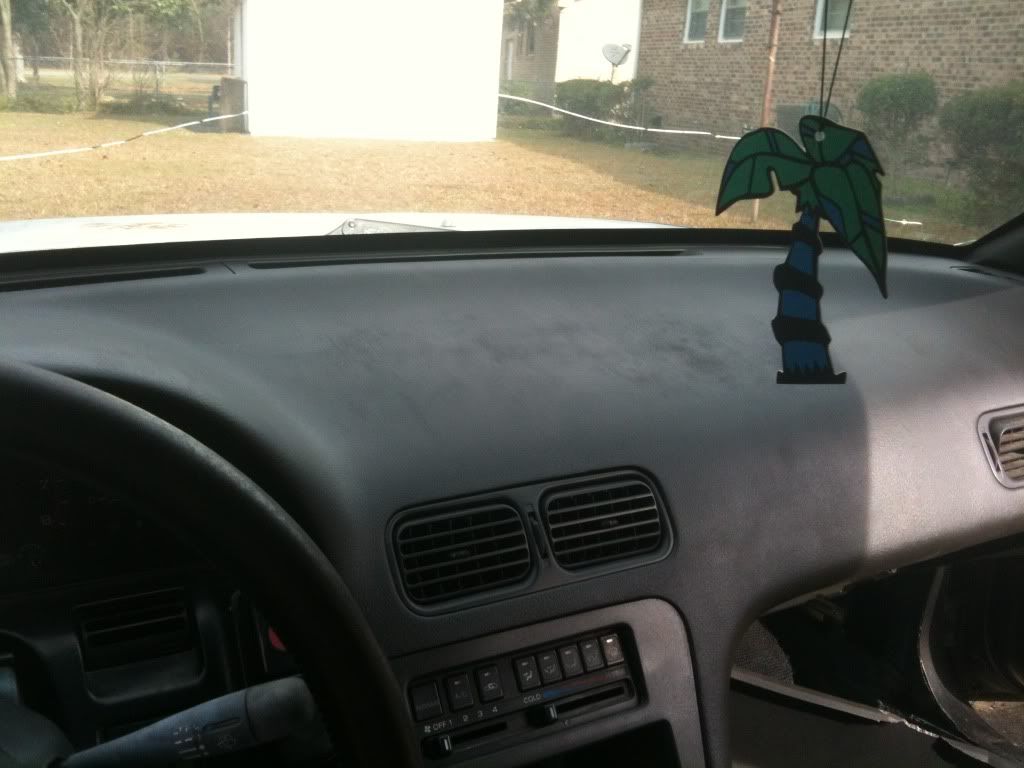
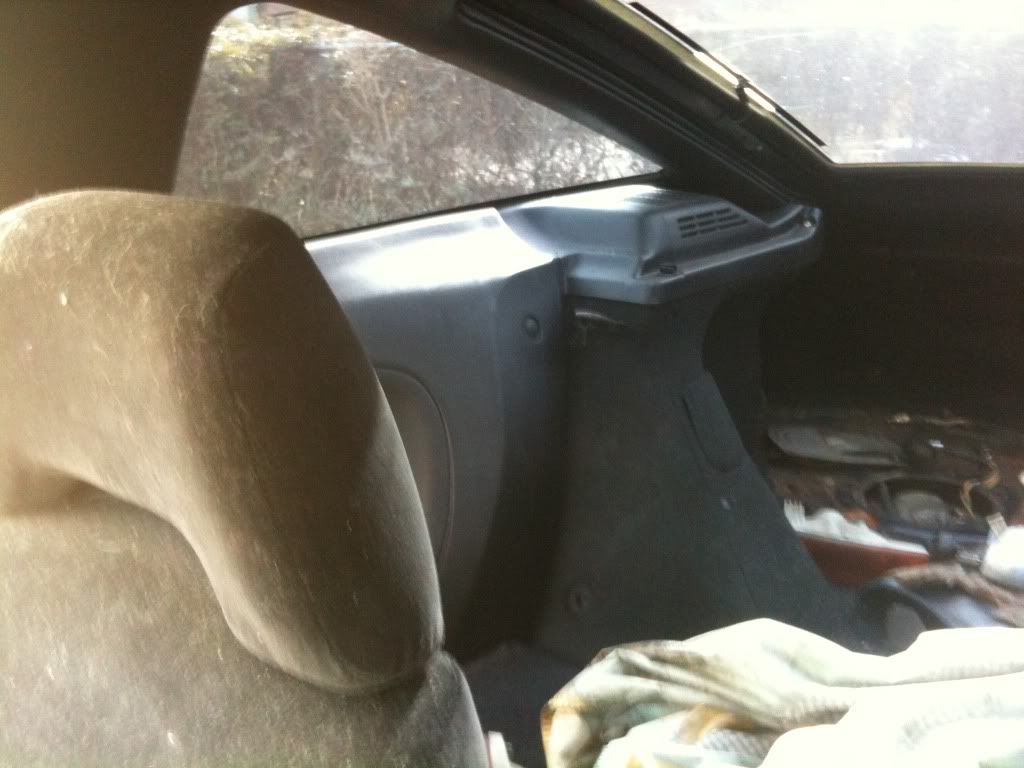
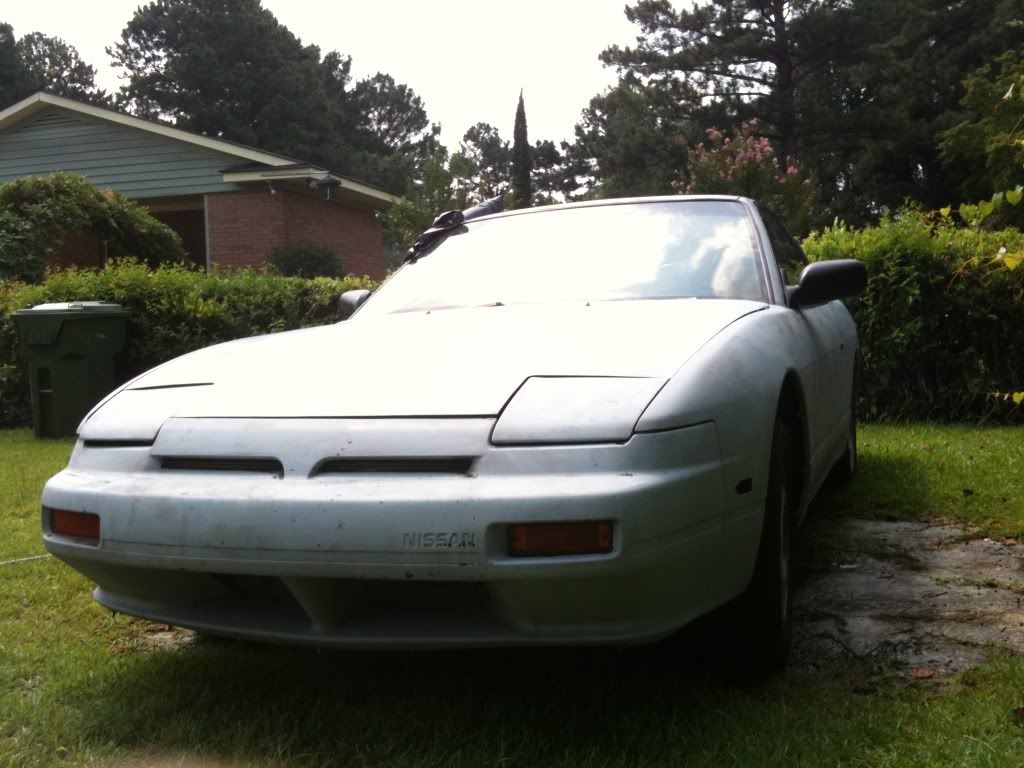
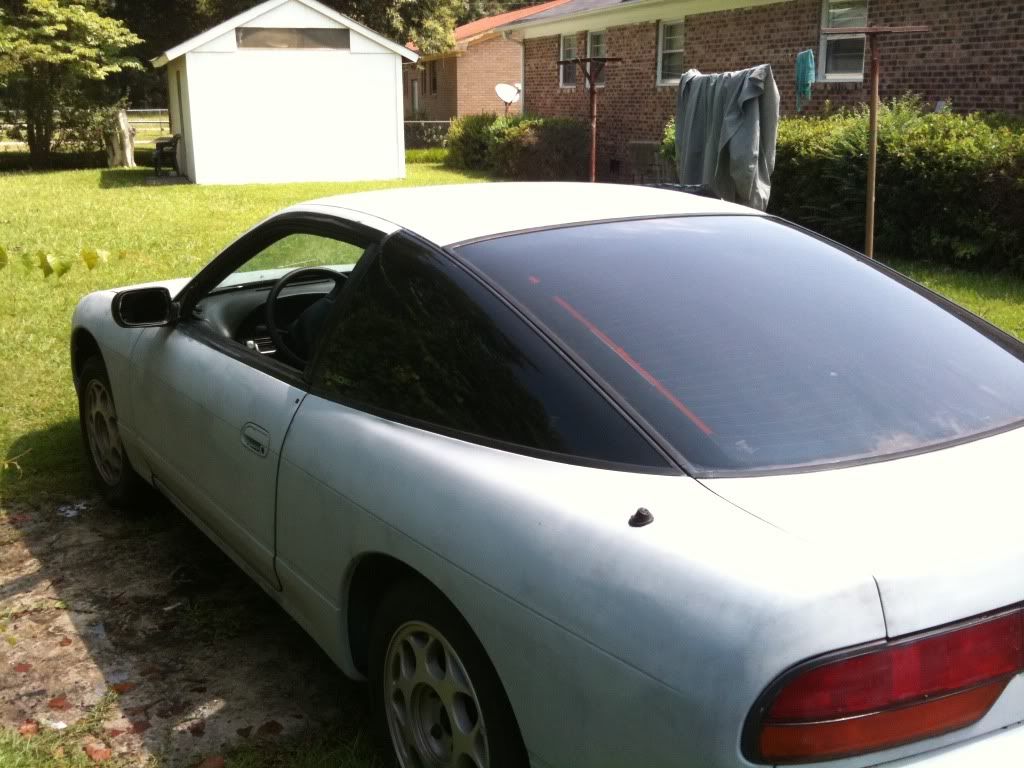
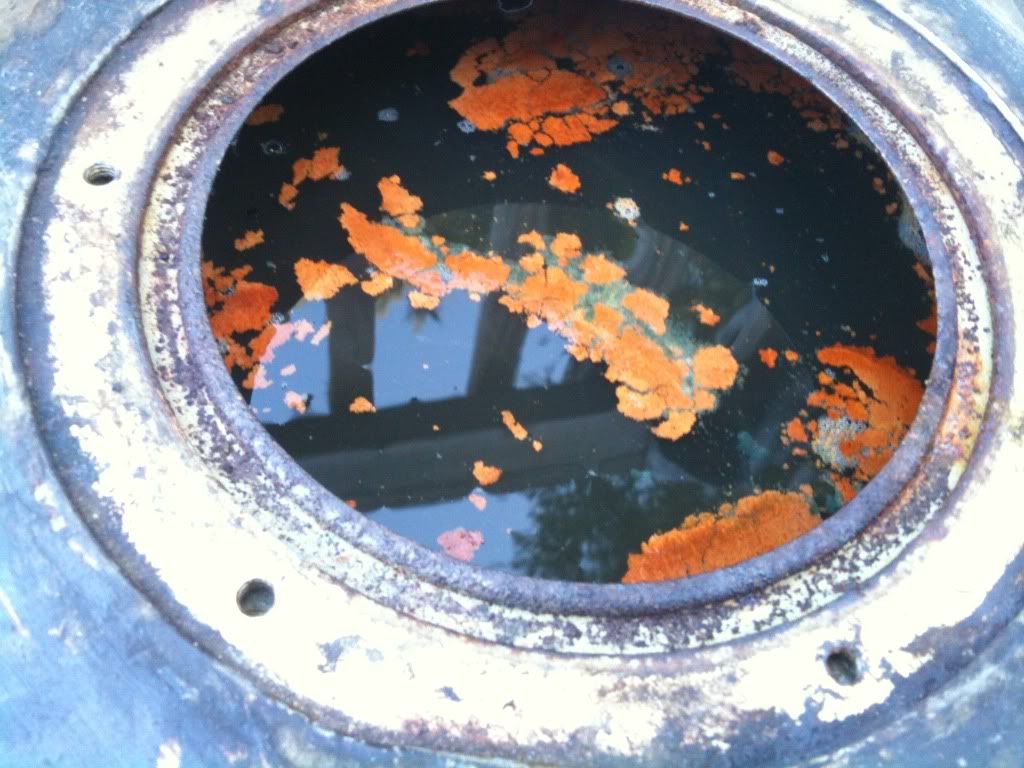
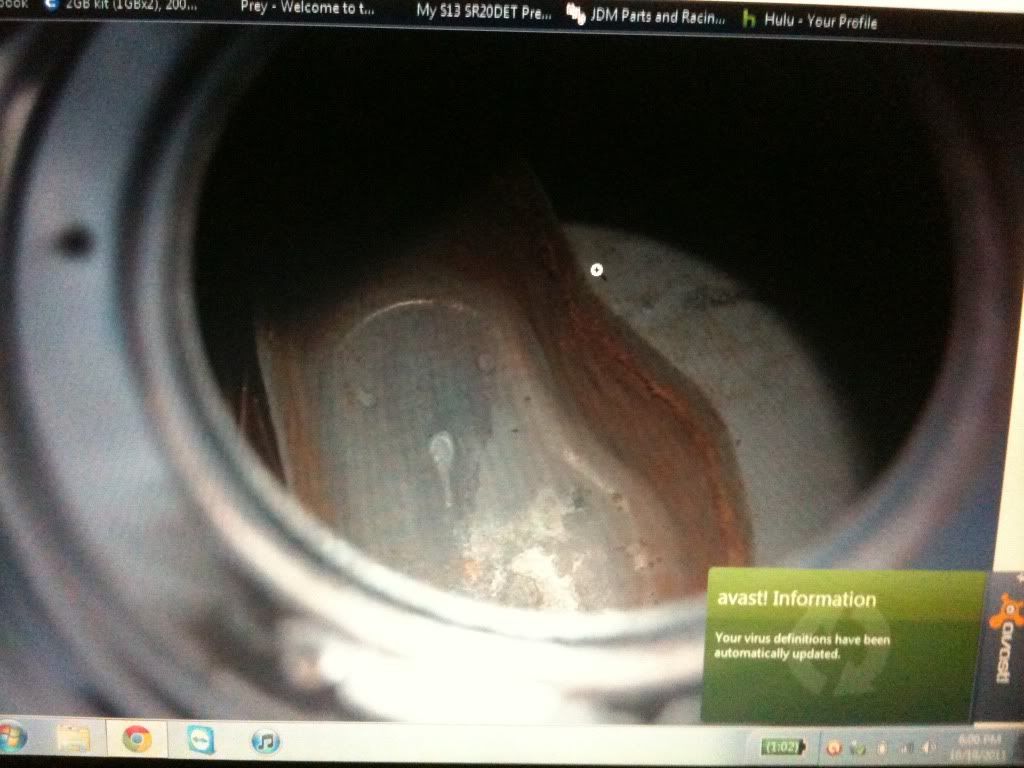
Ok as can be seen, its pretty clean, its primered, gonna change that tax time. Main thing that was a prob was the gas tank which had gas in it for the whole time it was sitting up which didnt do good for the tank (but i came up with a fix for that)
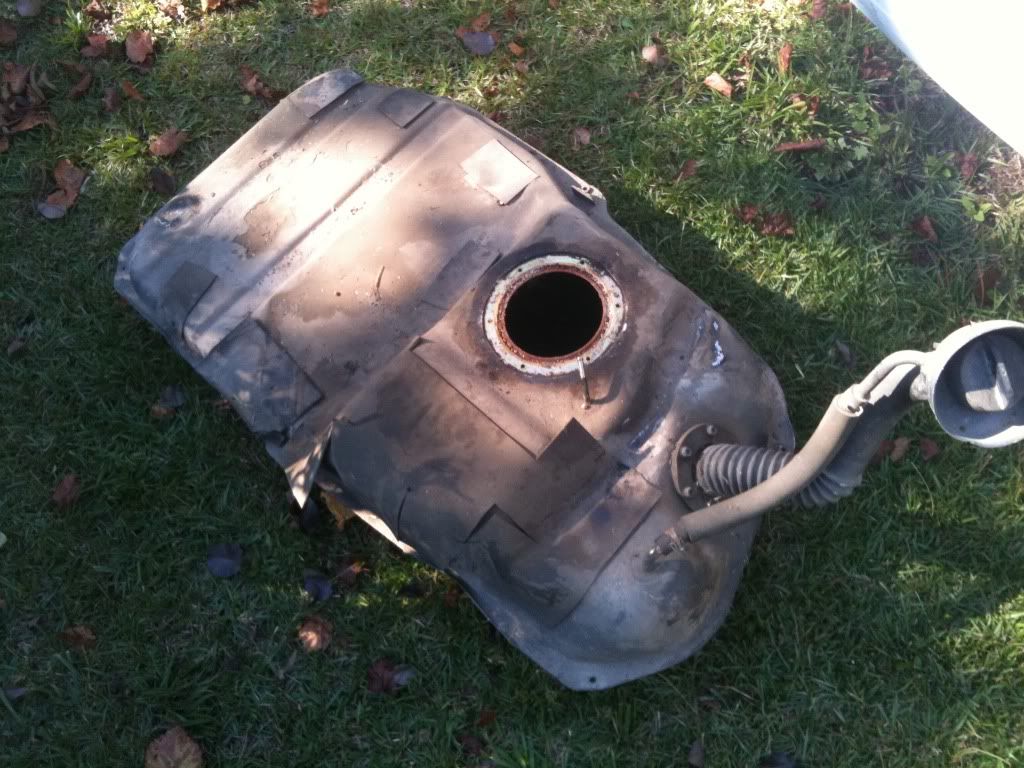
This is what my tank use to look like..
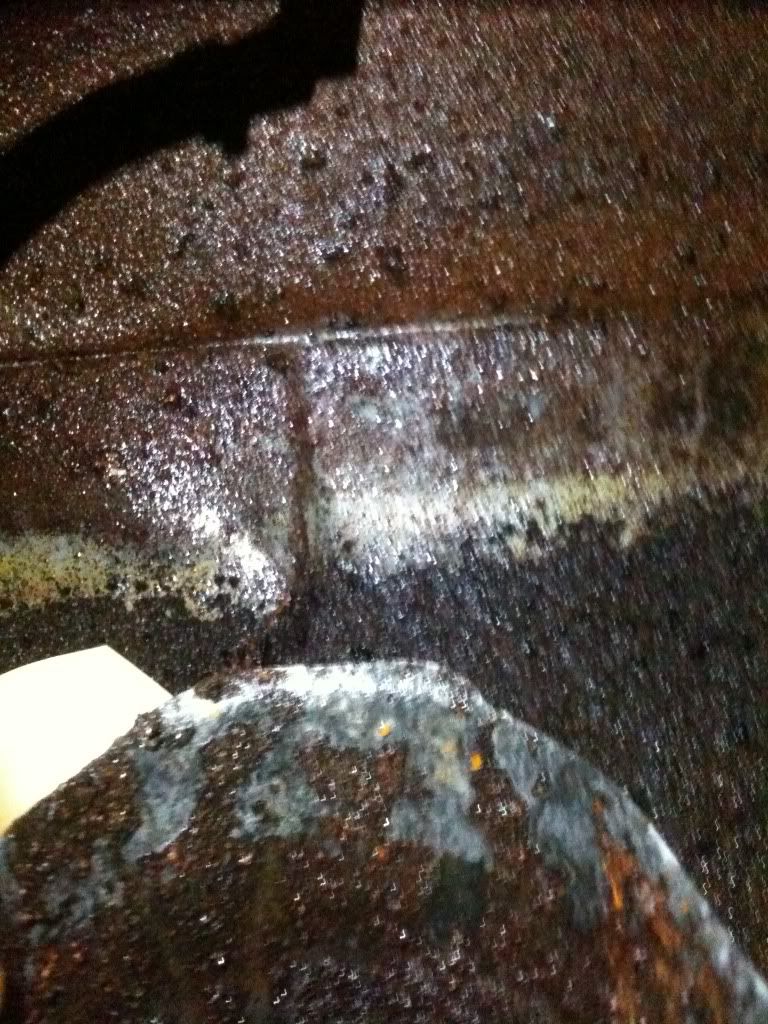
Example here.
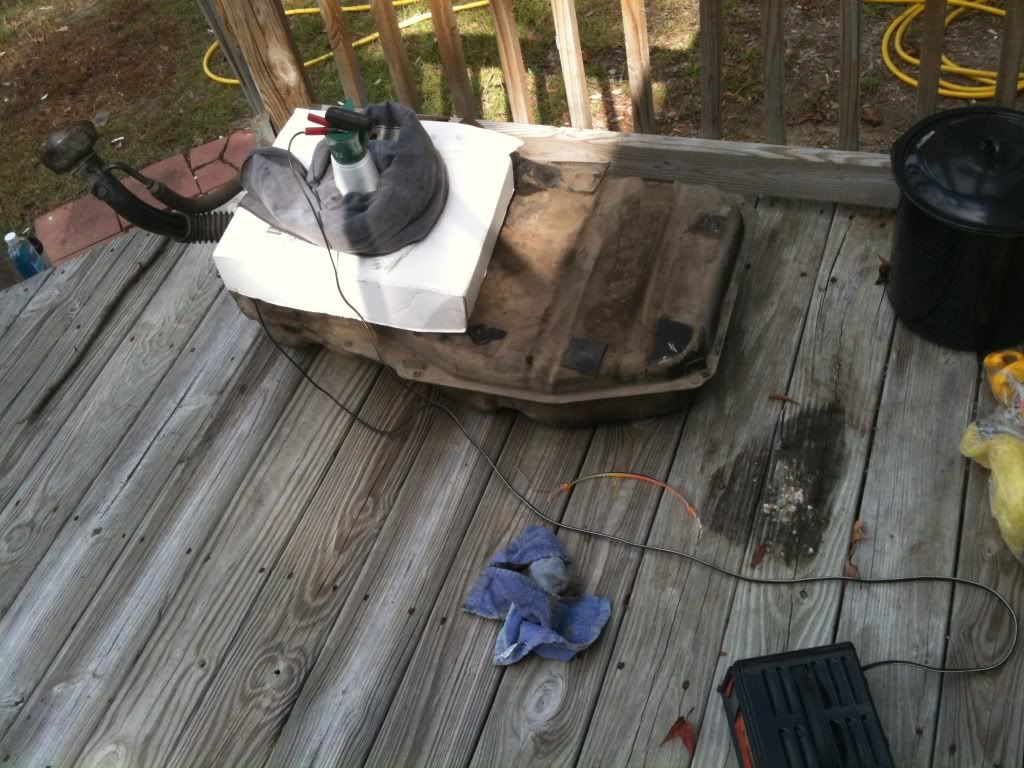
Well after using a process called electrolysis, i was able to remove pretty much all of the rust from my tank for the cost of some armor hamer washing soda (not baking soda) for people that might want to use this concept. This picture gives details on the process. its normally used on motorcycle tanks so i thought why not try it but just a bigger doseage?

My setup..
See the flakes of rust floating in the water baking soda solution.
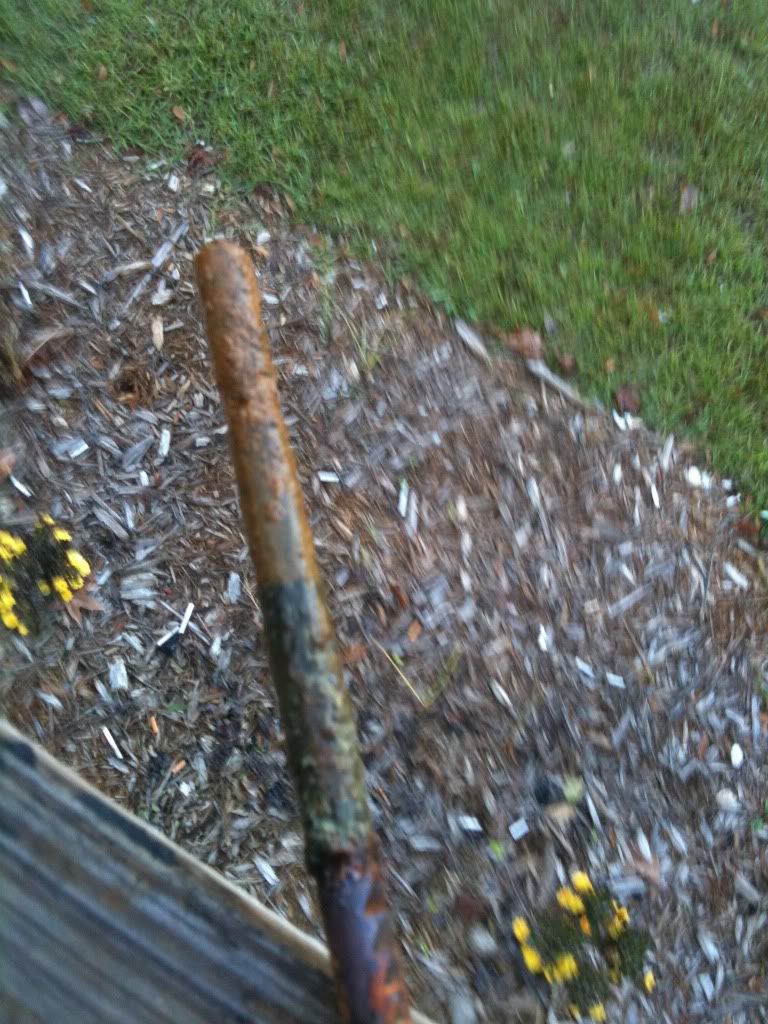
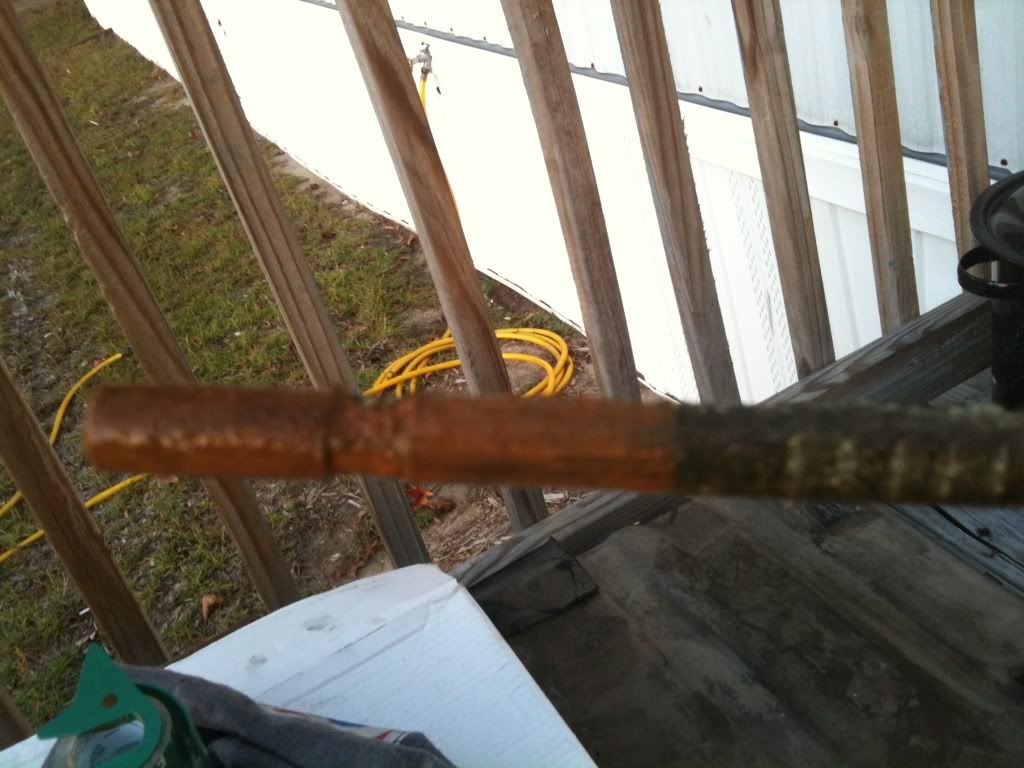
The rod i used to run the current through, use to be a old ebrake out of truck, it had groves all the way down it, after i was done using it you could barely tell that anymore.
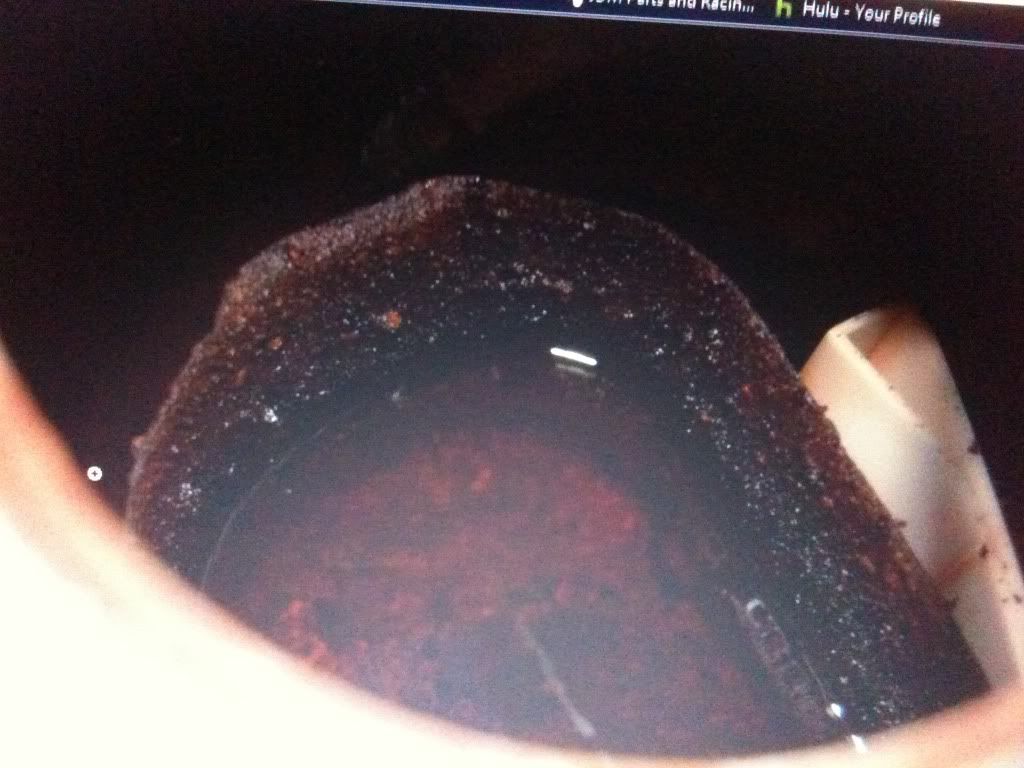
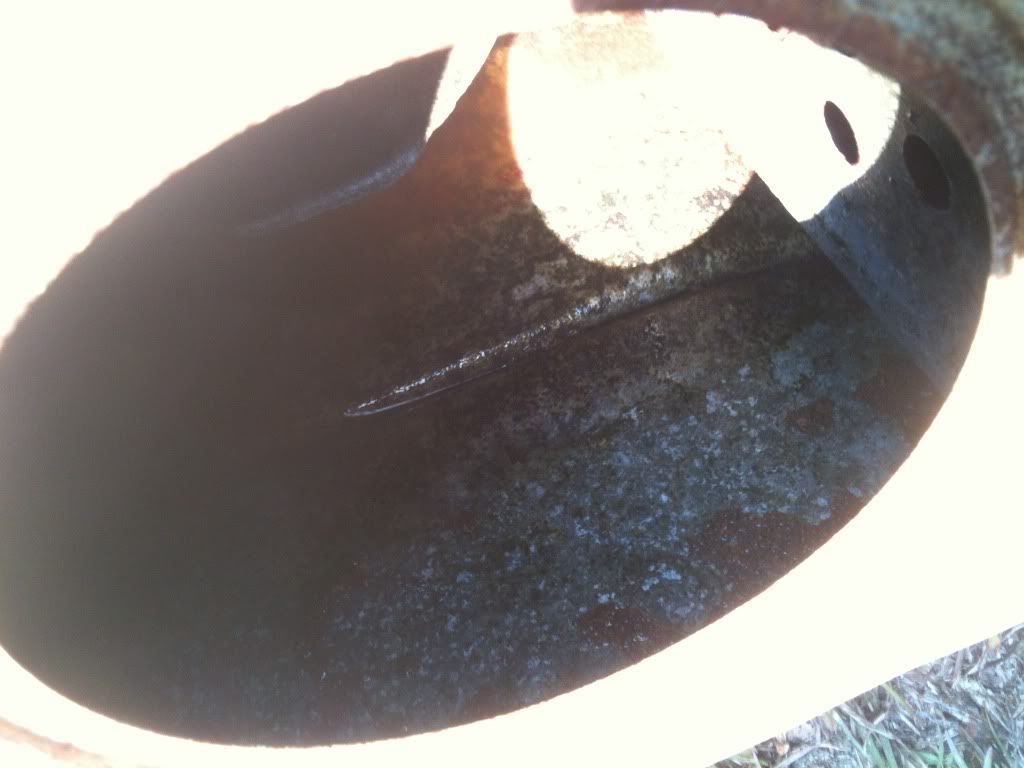
Ok well after that process this is how my tank turned out
Ex from other person..
Ok so tank is now done and ready to go back in, question though, when i put it in the spout never lines up right. would i have to fully unbolt it from the tank run the spout in straight then bolt it to the tank? Seems after being that way for so long its not gonna move. not really a big deal was just wondering.
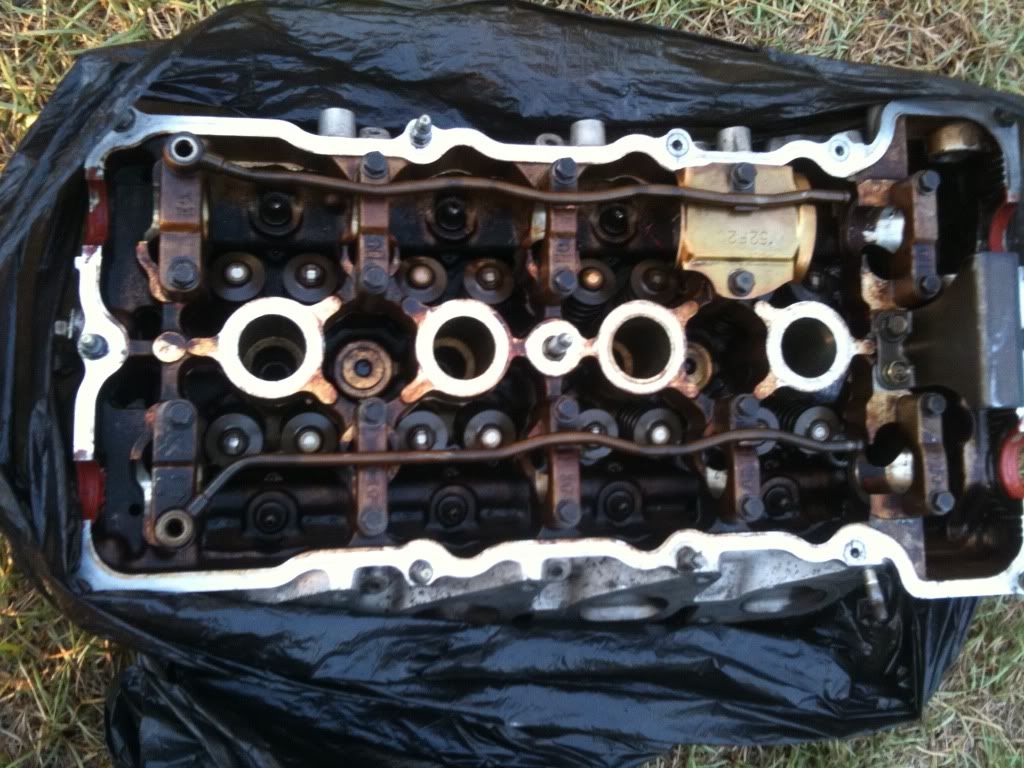
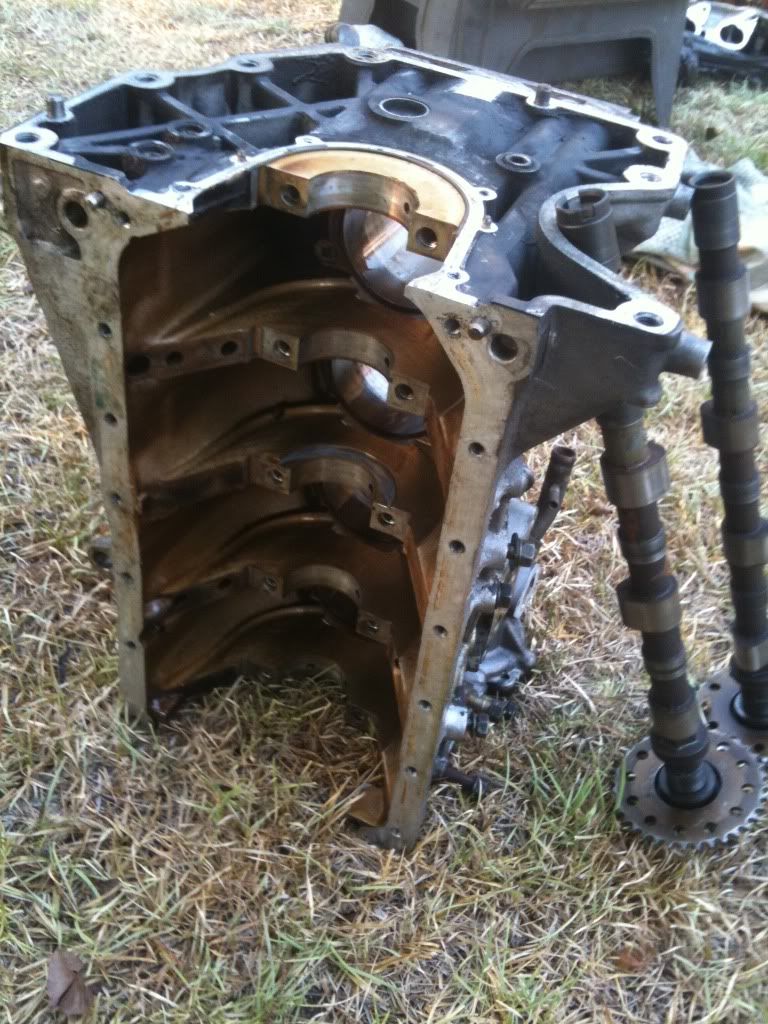
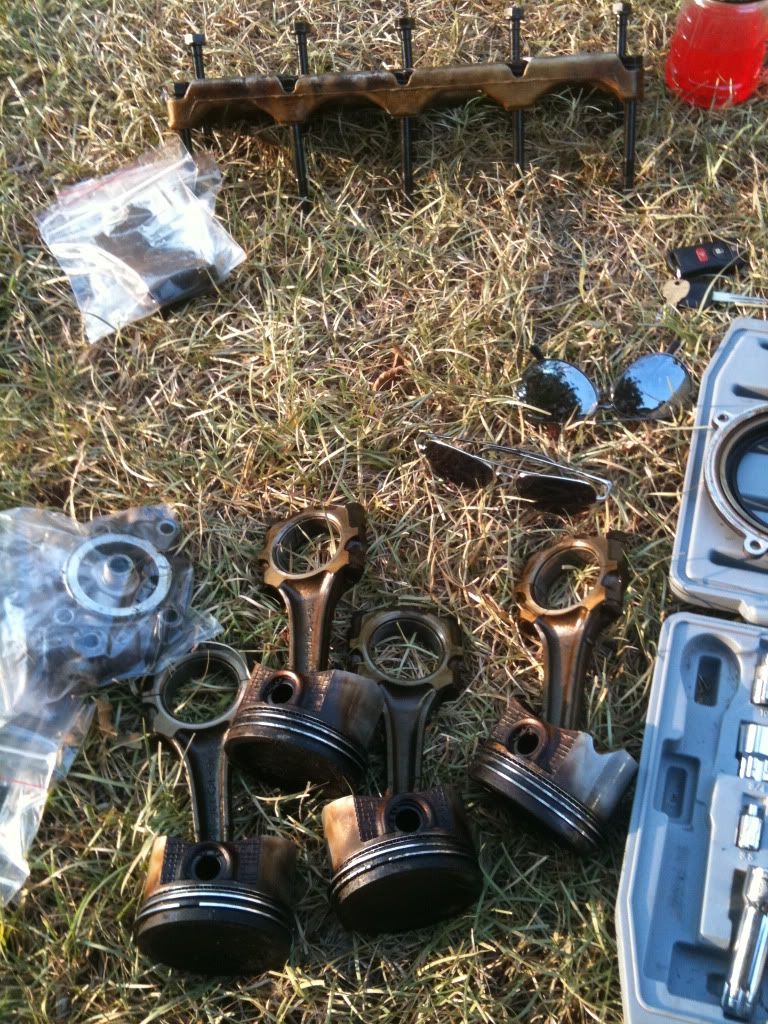
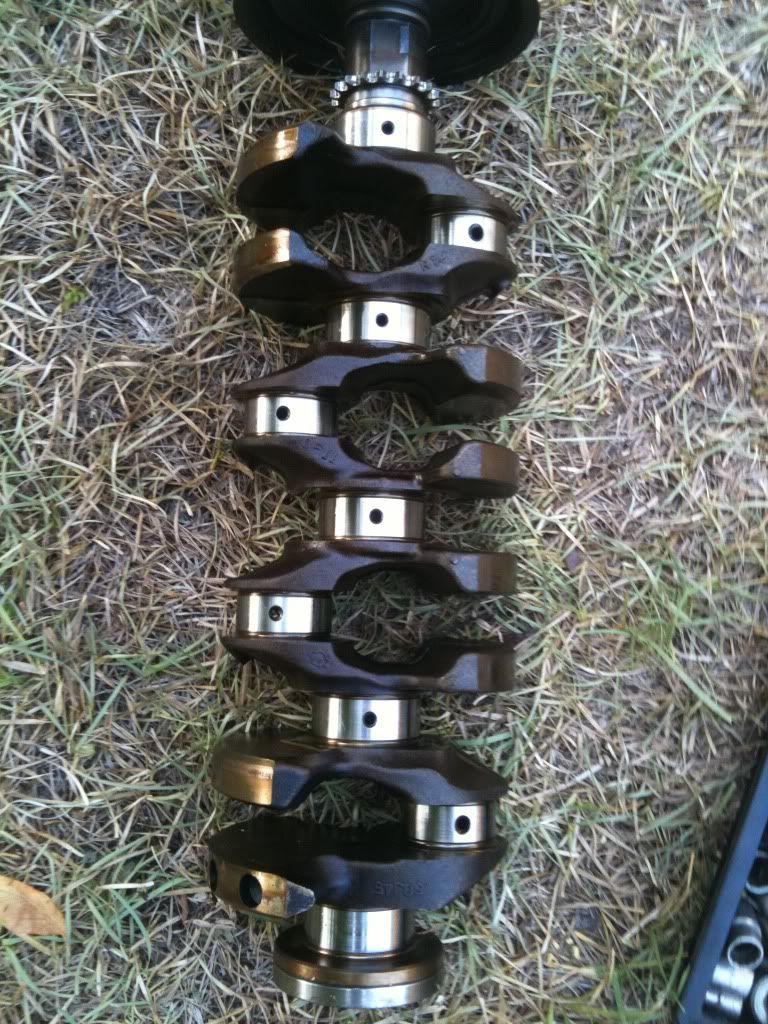
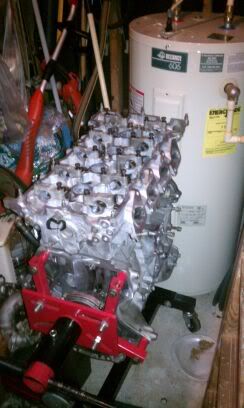
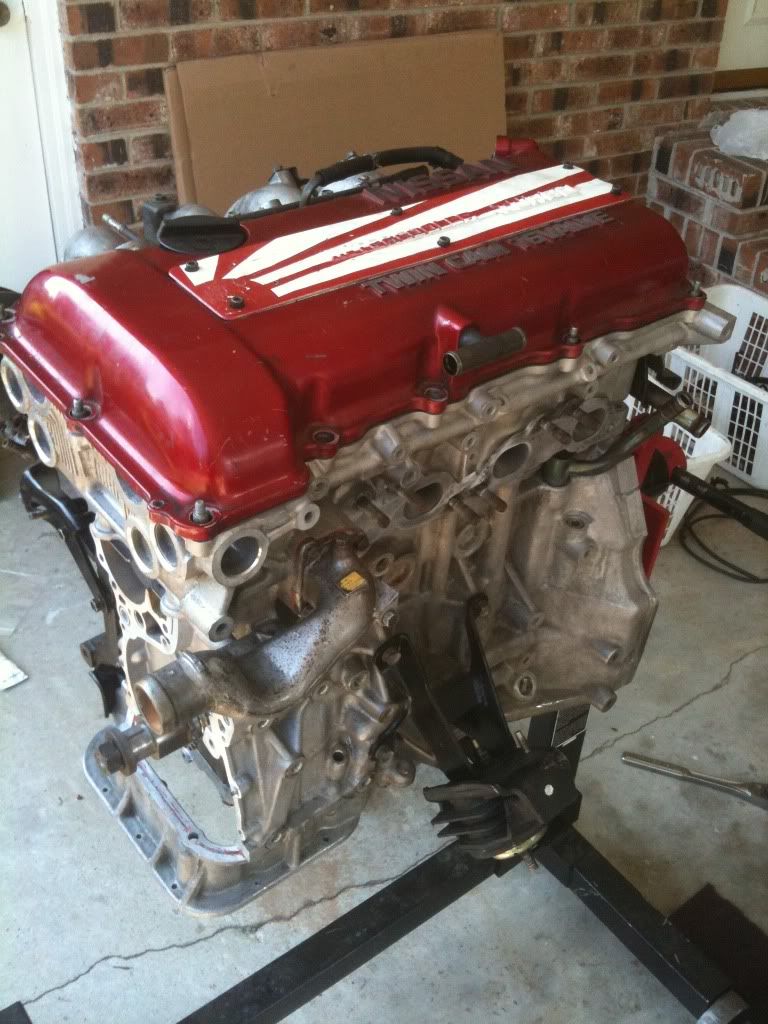
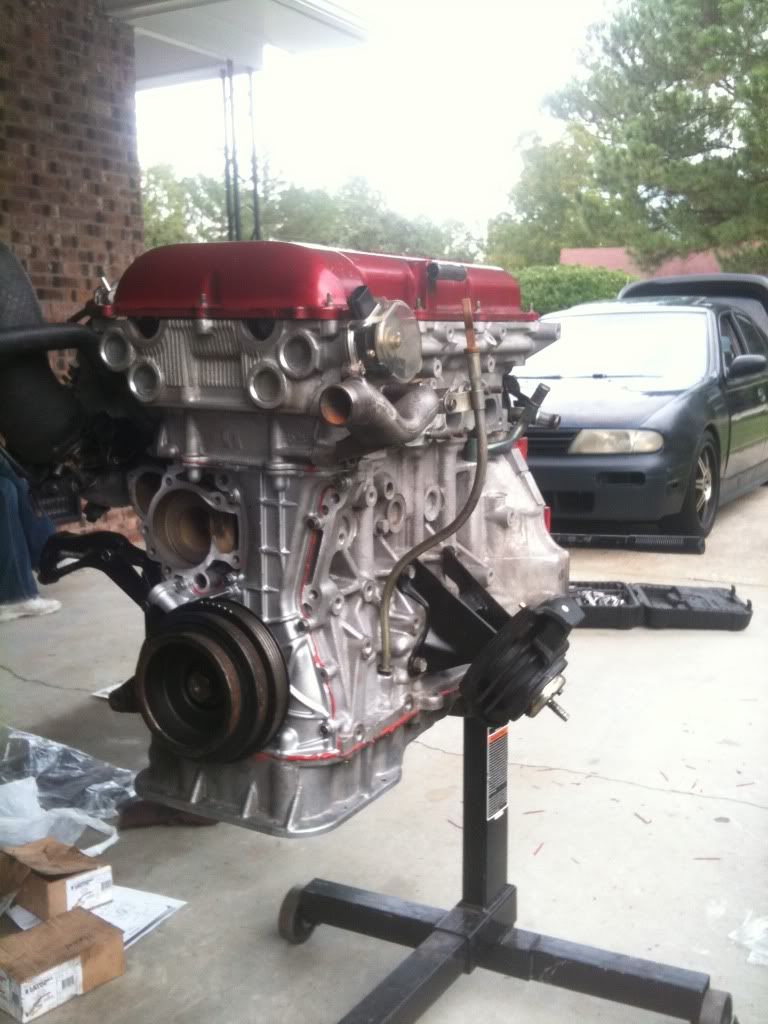
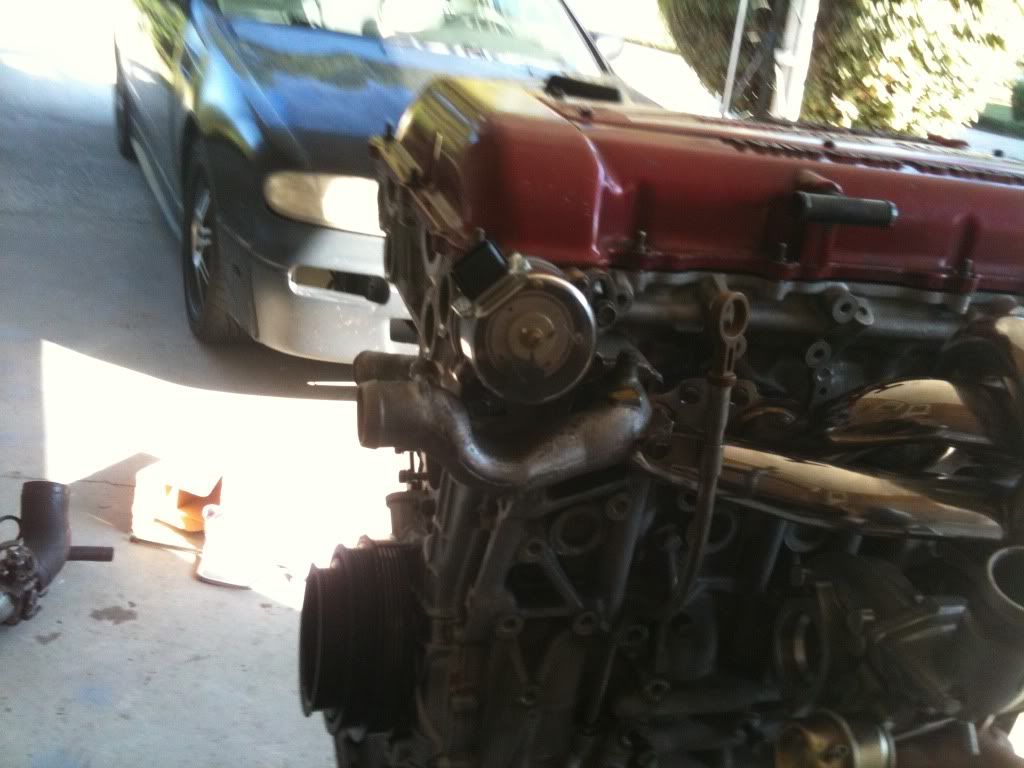
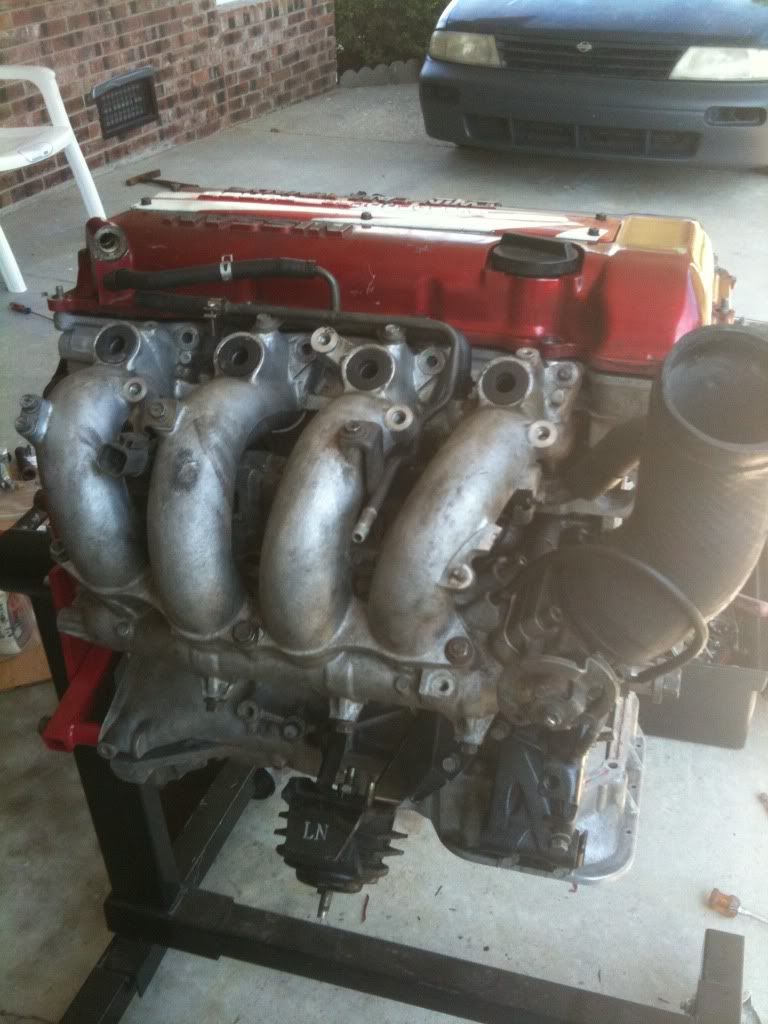
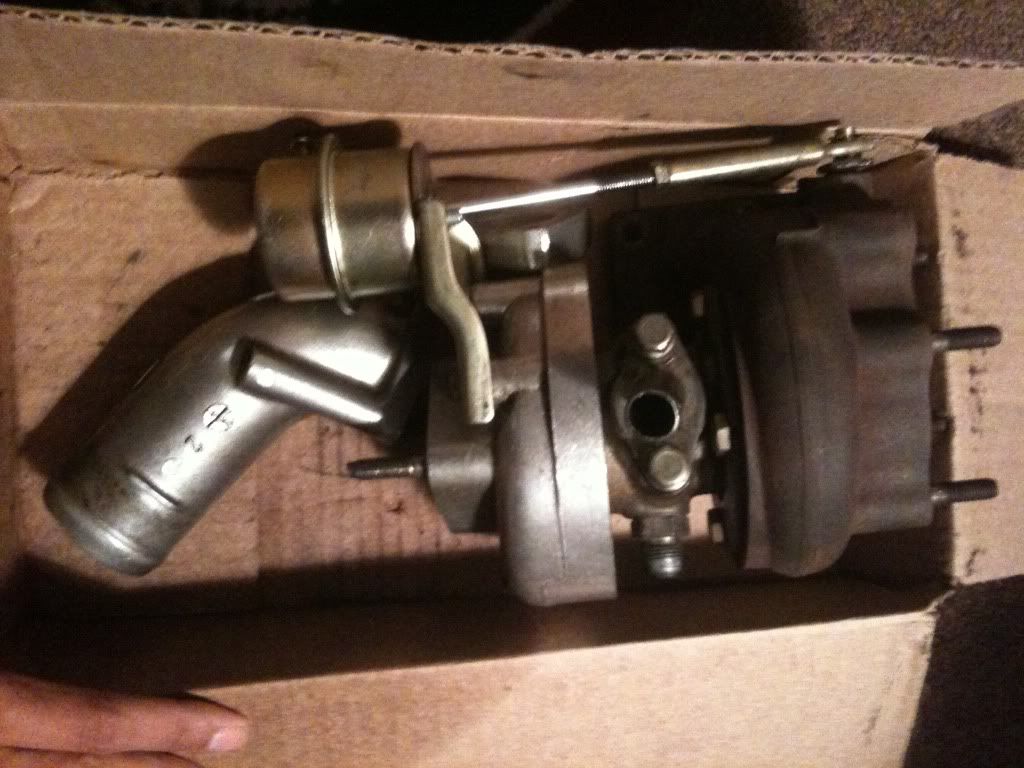
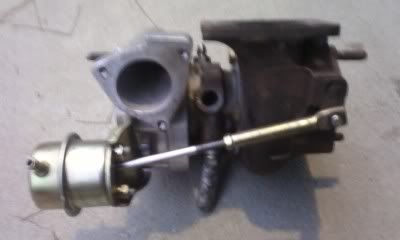
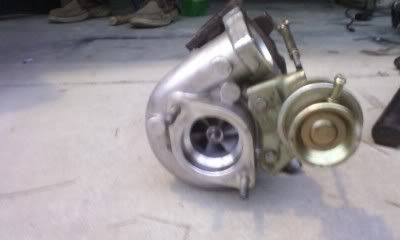
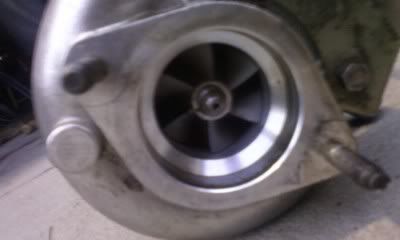
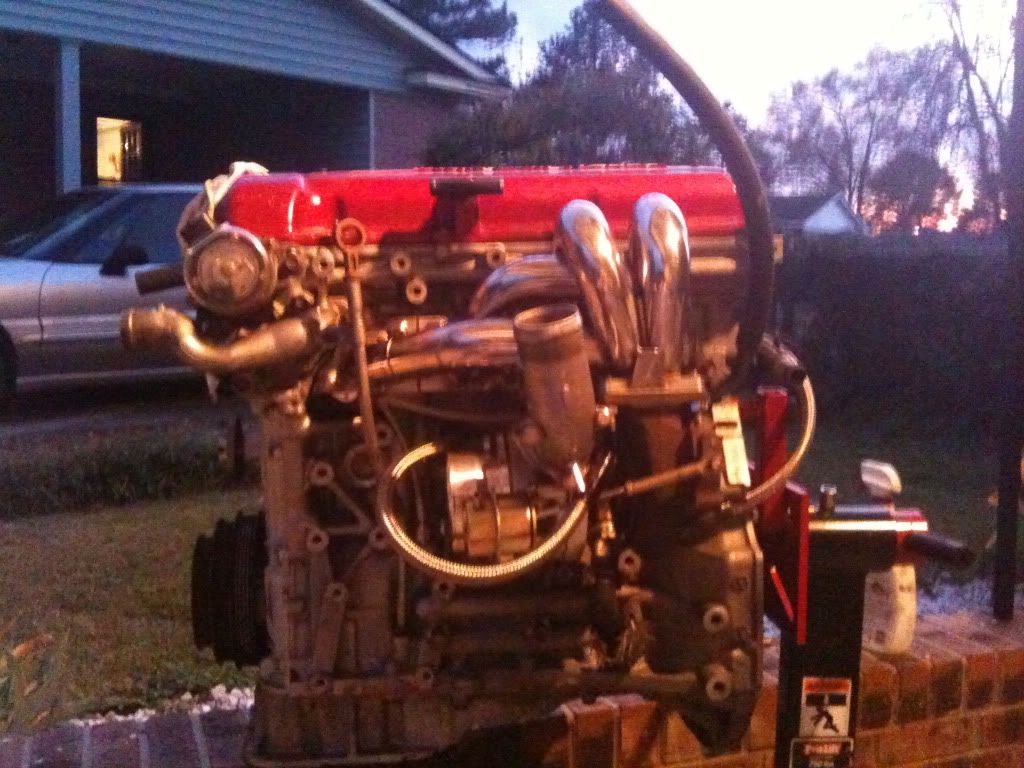
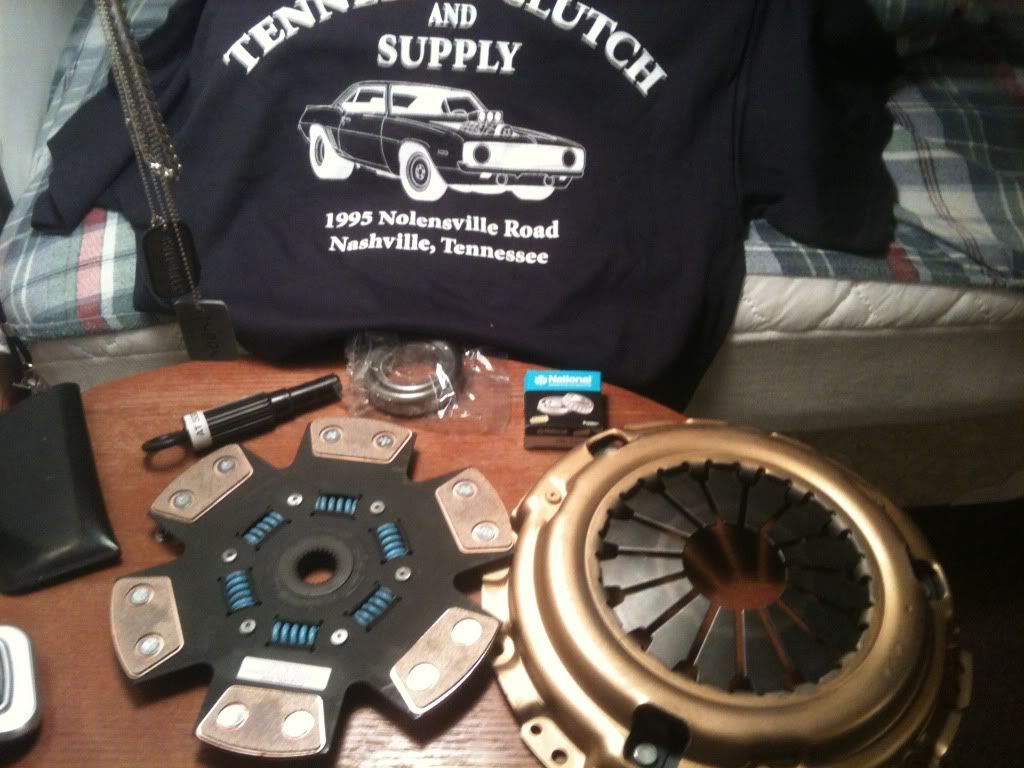
Since were done with issues now on to the good stuff, Parts and the heart of the beast!
First few parts i got to start off..
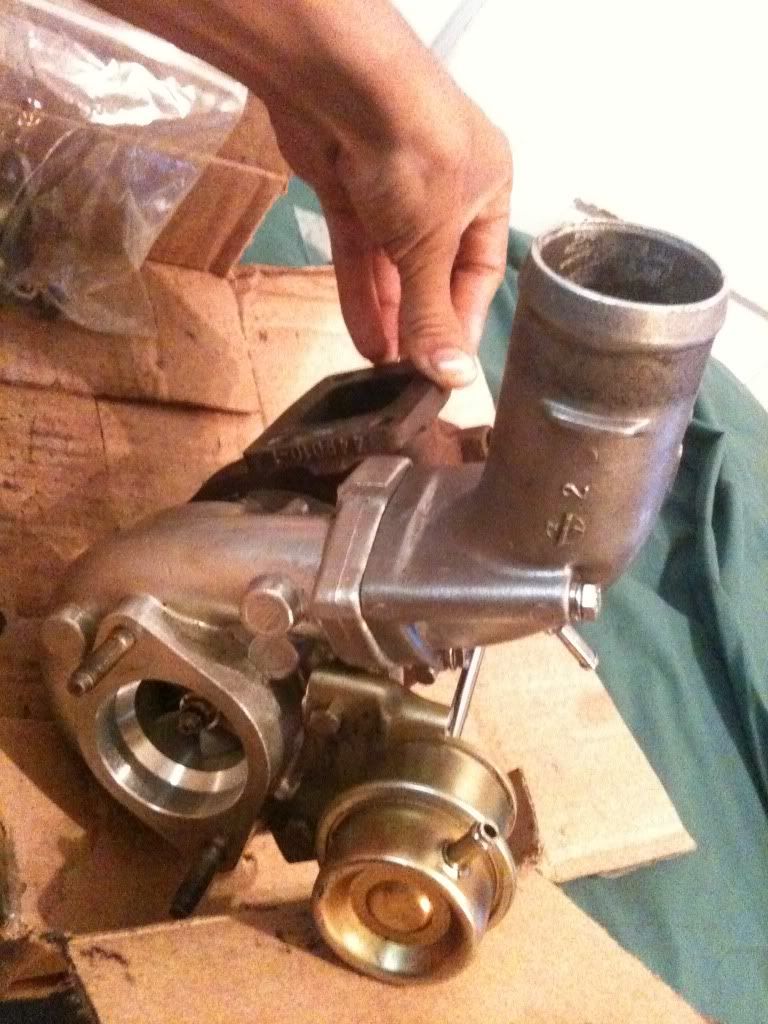
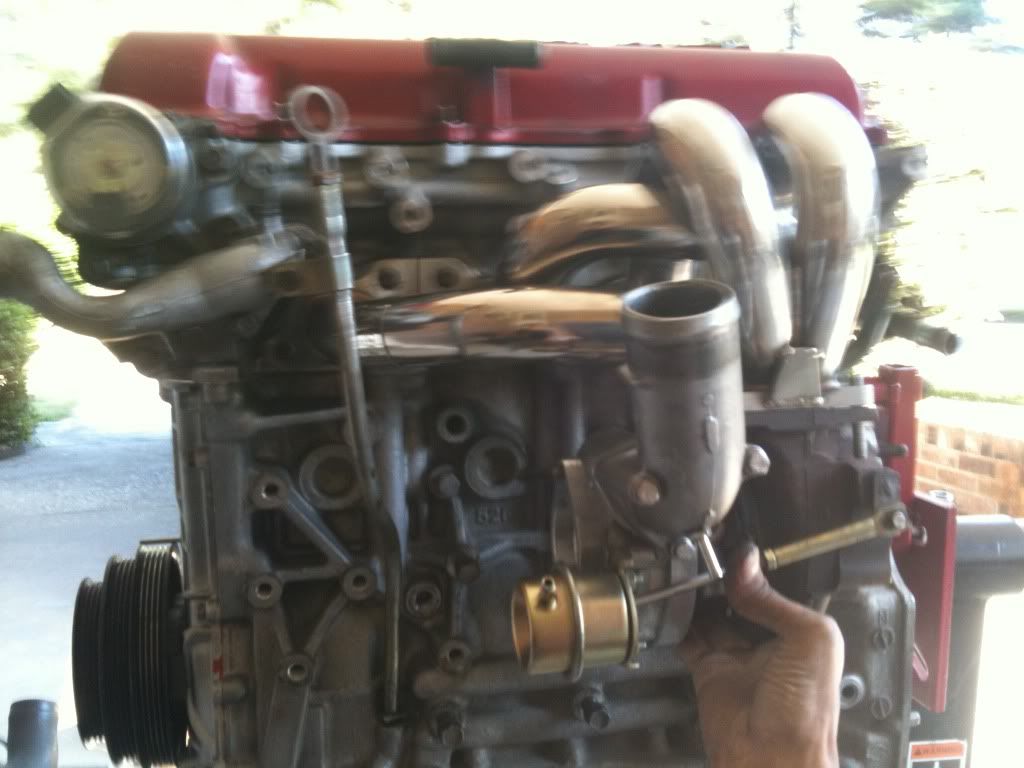
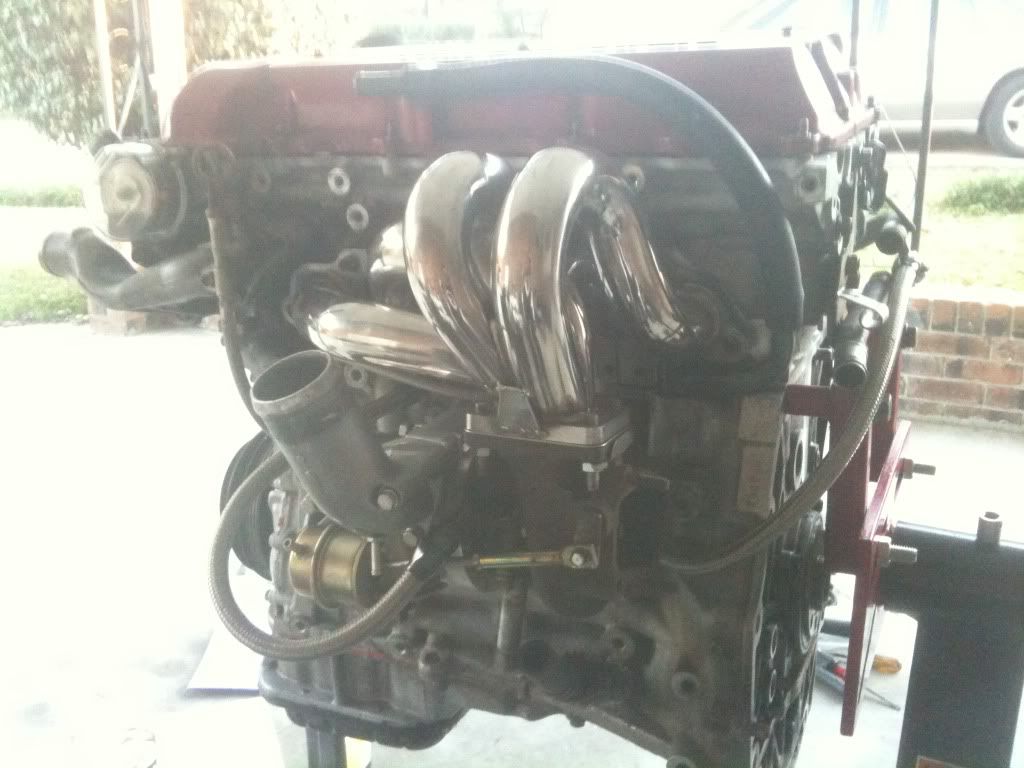
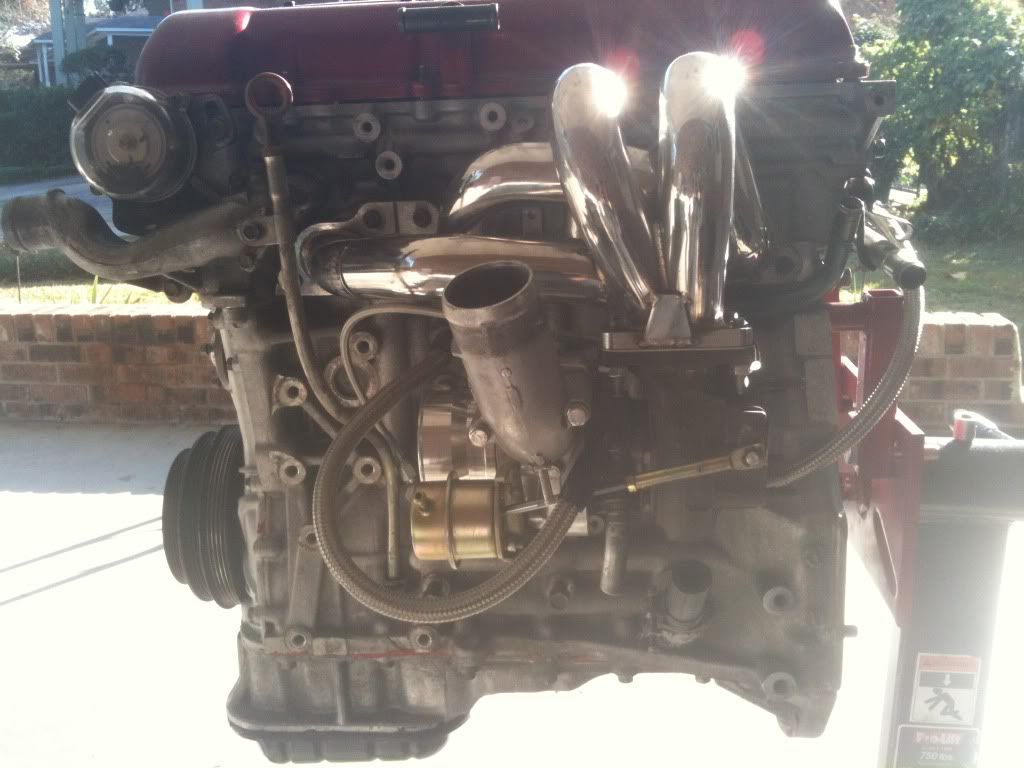
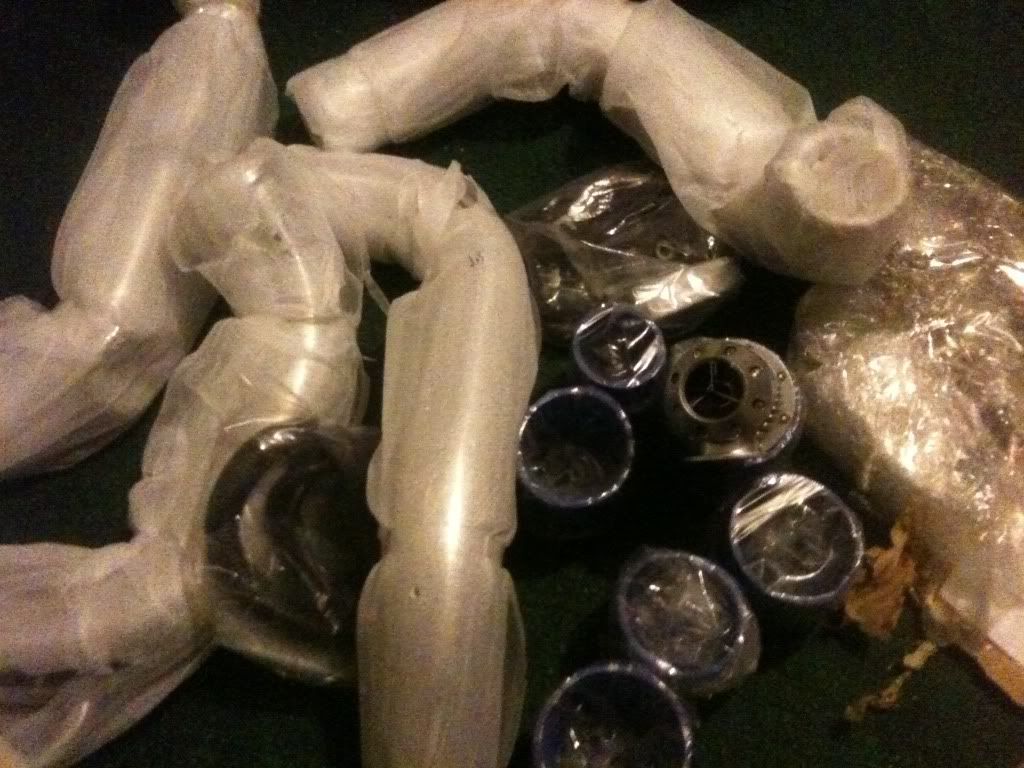
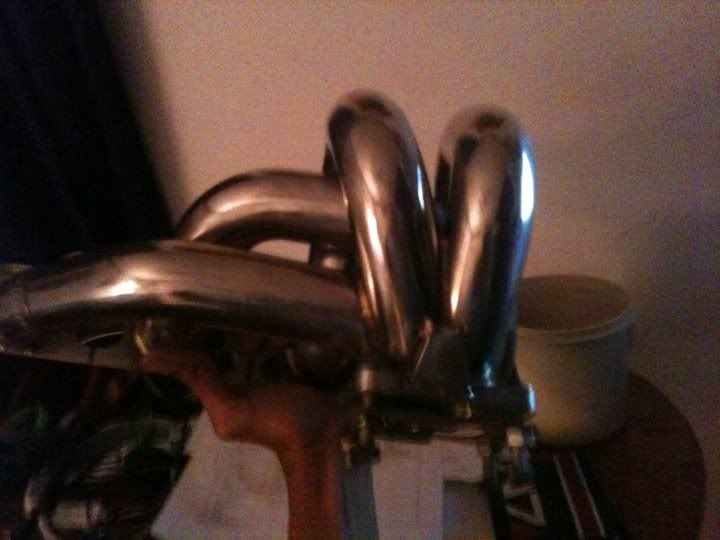
Meagan Racing Manifold
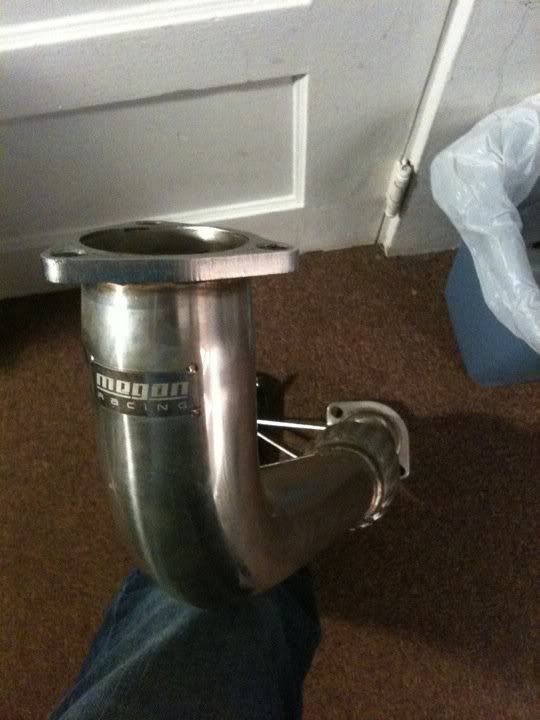
Meagan Racing Downpipe
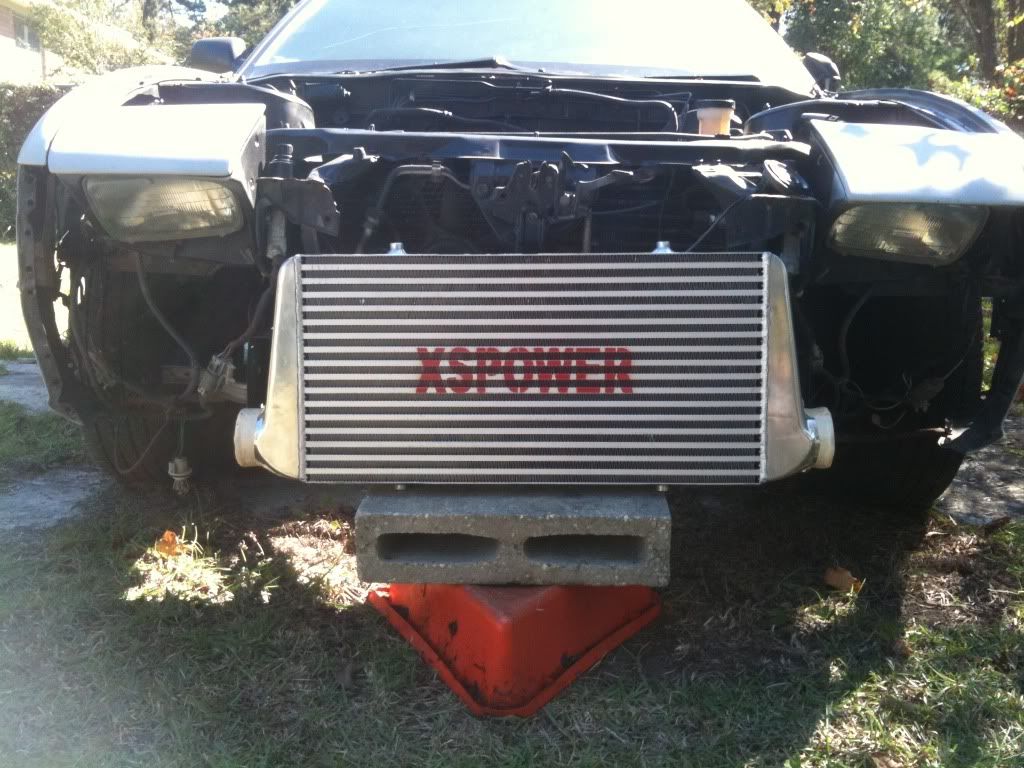
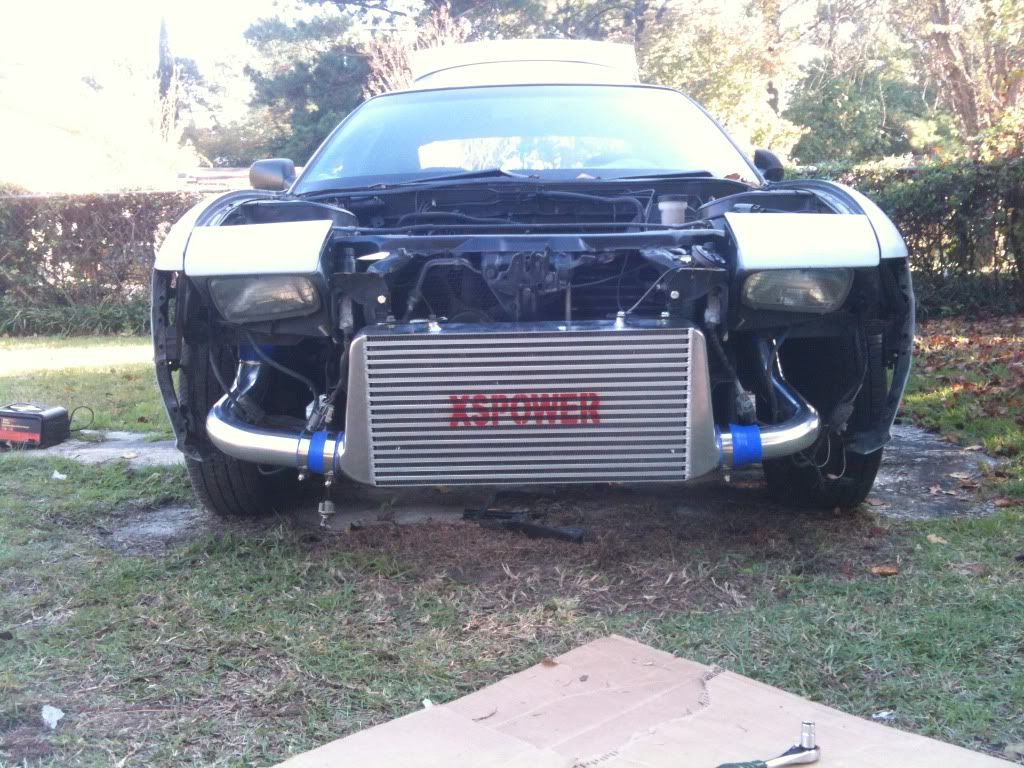
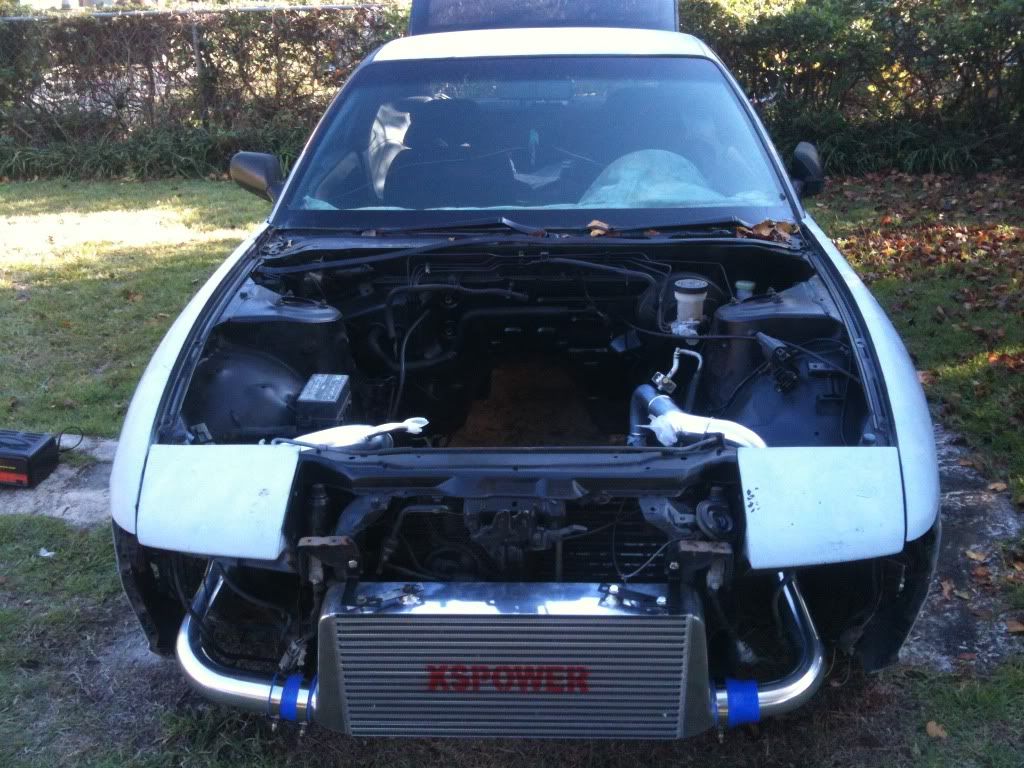
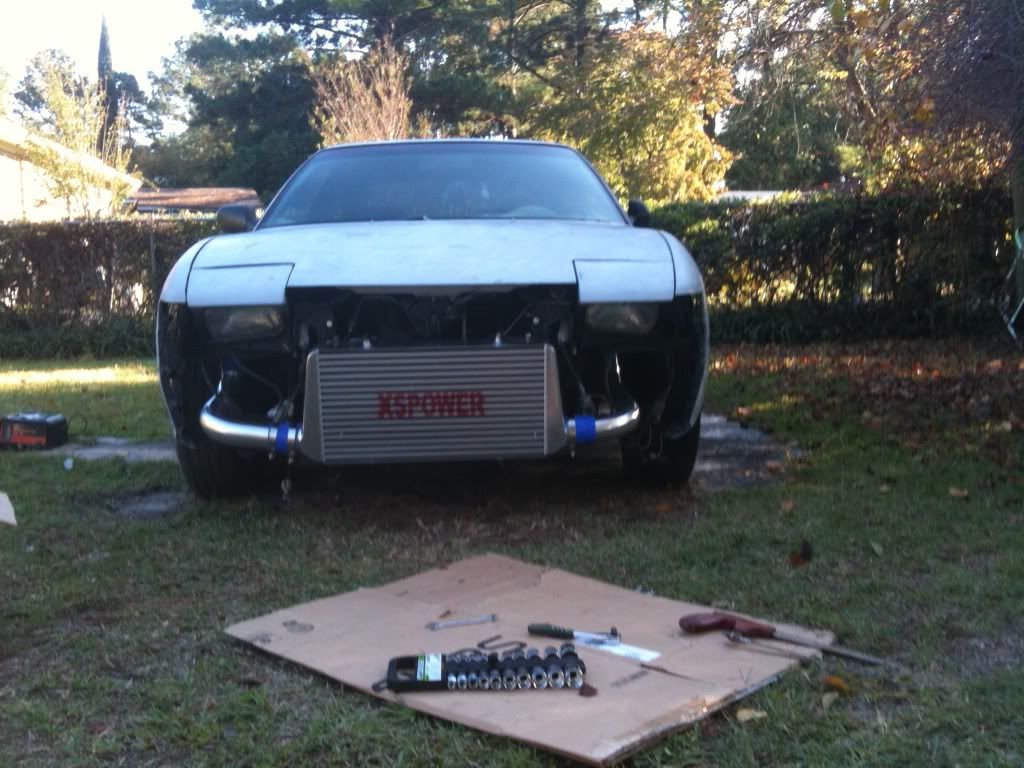
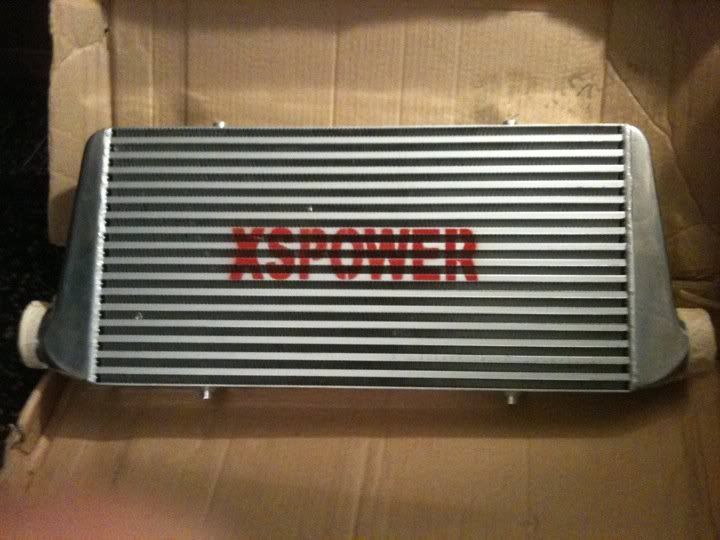
xs power intercooler( got it for 40 bucks brand new so wasnt complaning about a brand)
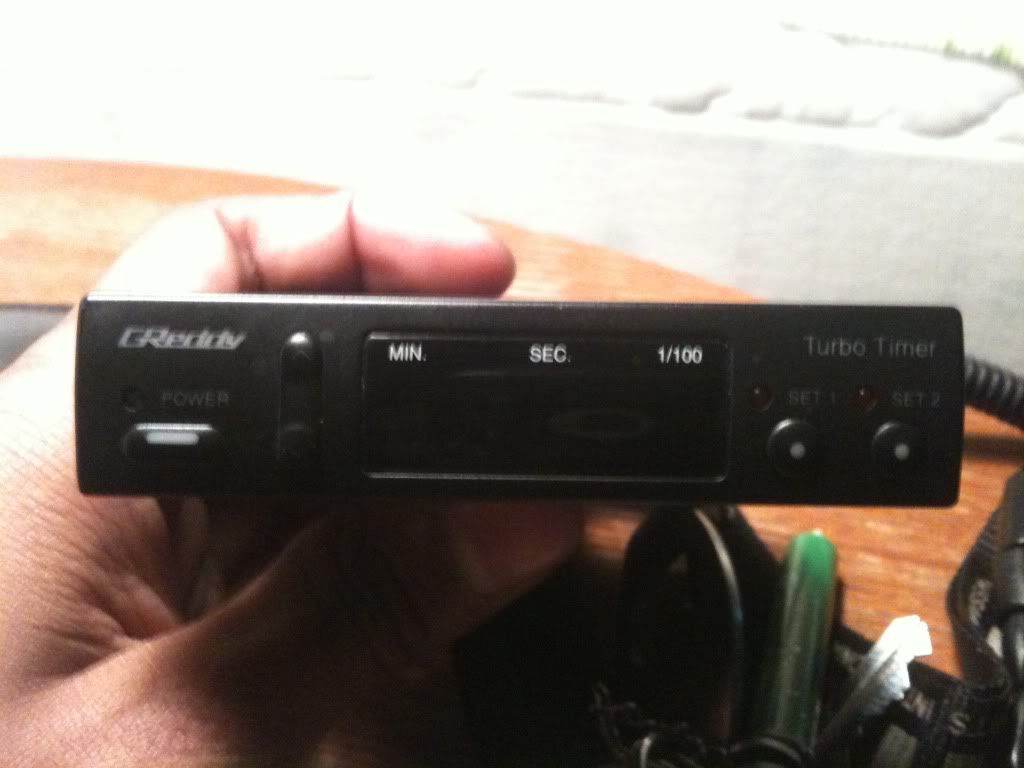
Old Style greddy Turbo Timer( Anybody got instructions for this? I have looked on their website with no luck
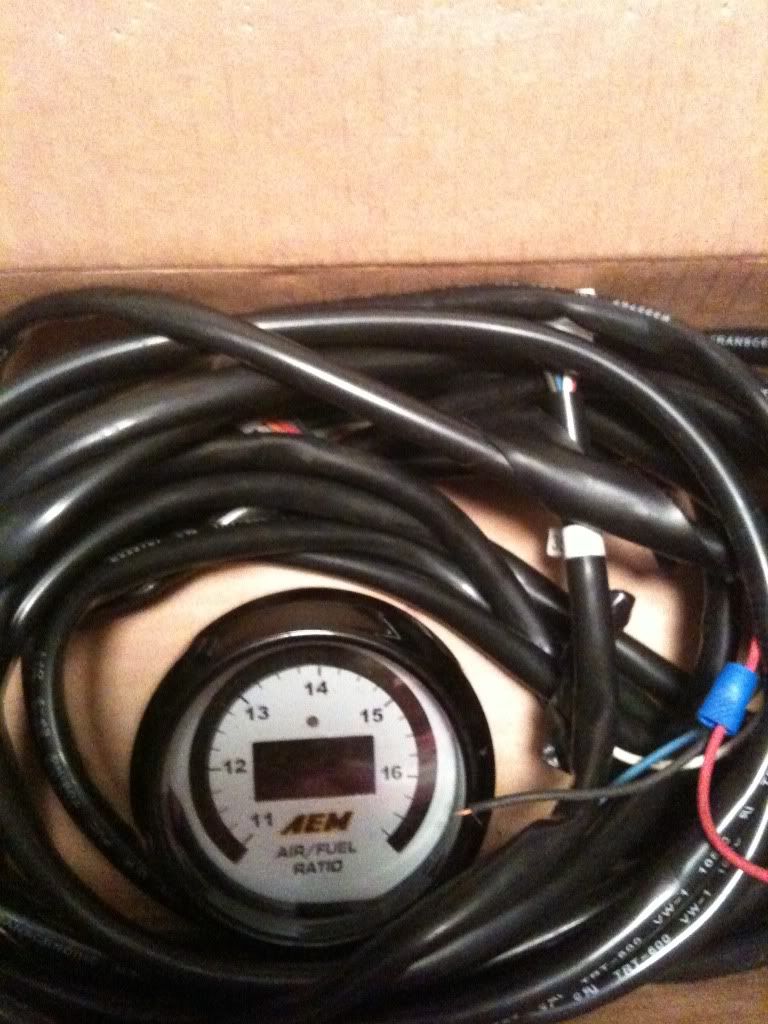
AEM UEGO (Also how far down the downpipe would be the best to tap in for the o2 bung for the gauge?)
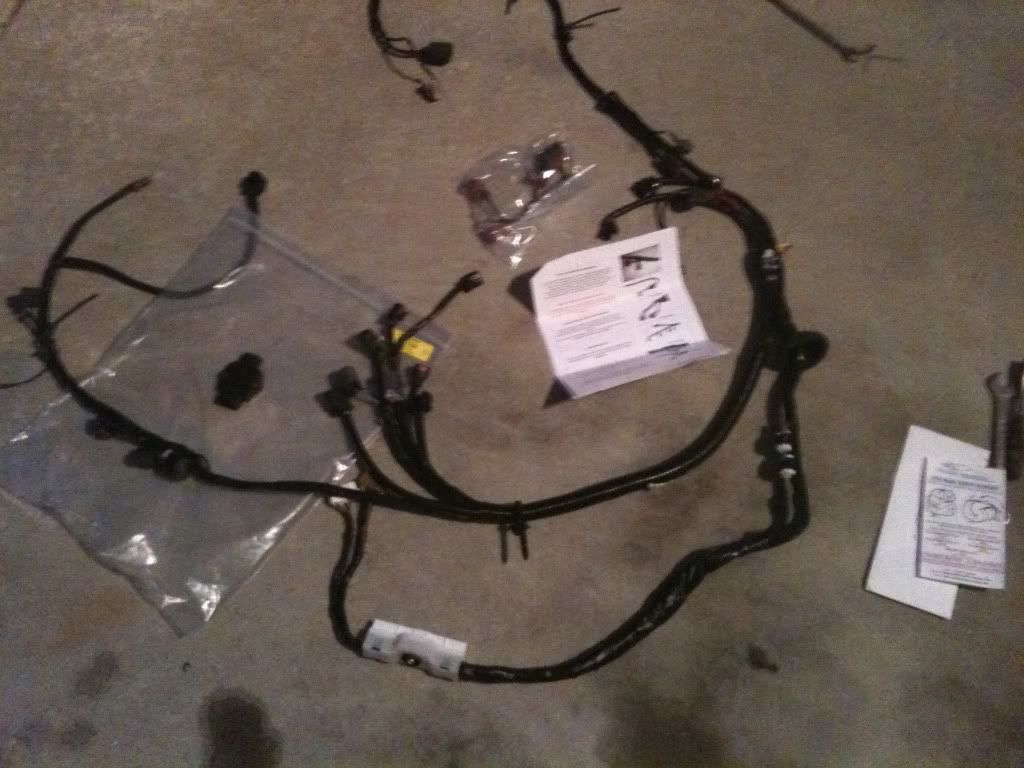
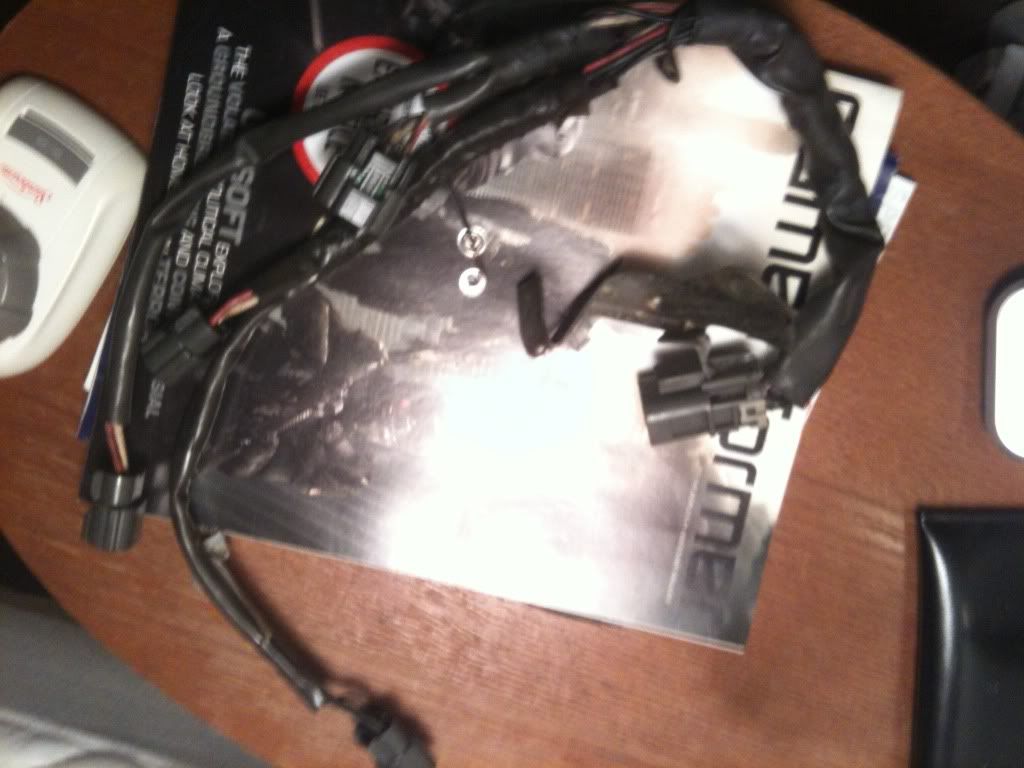
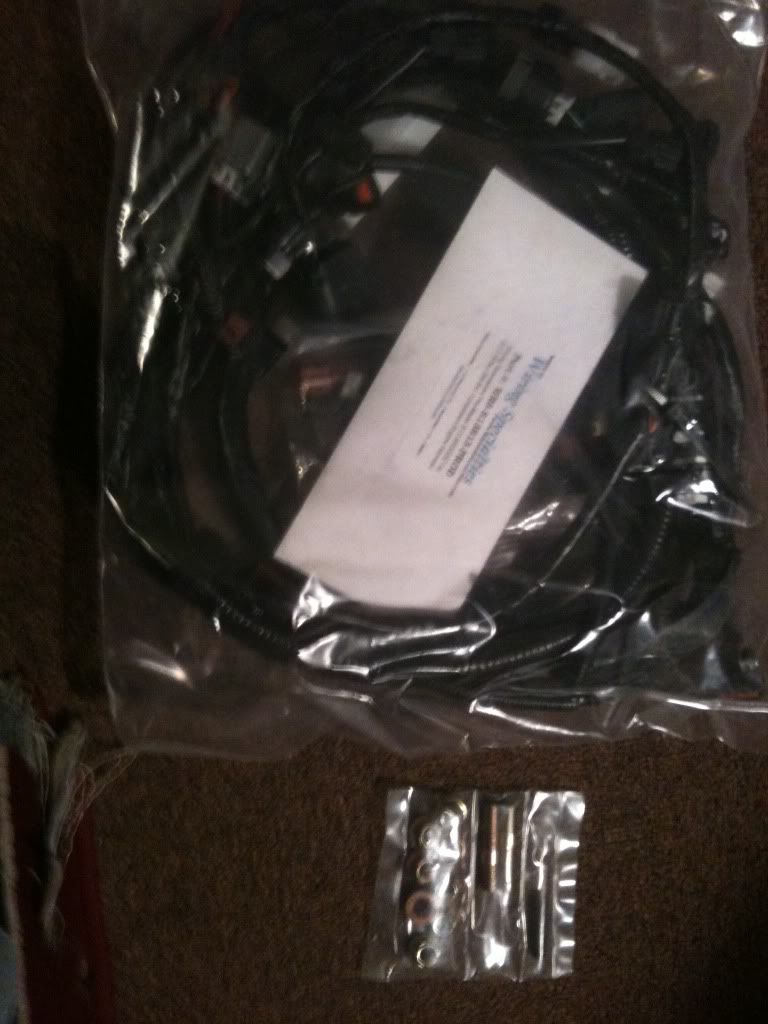
Wiring Harness From Wiring Specialities
Well that mainly covers exterior parts for the motor, now for internal parts.
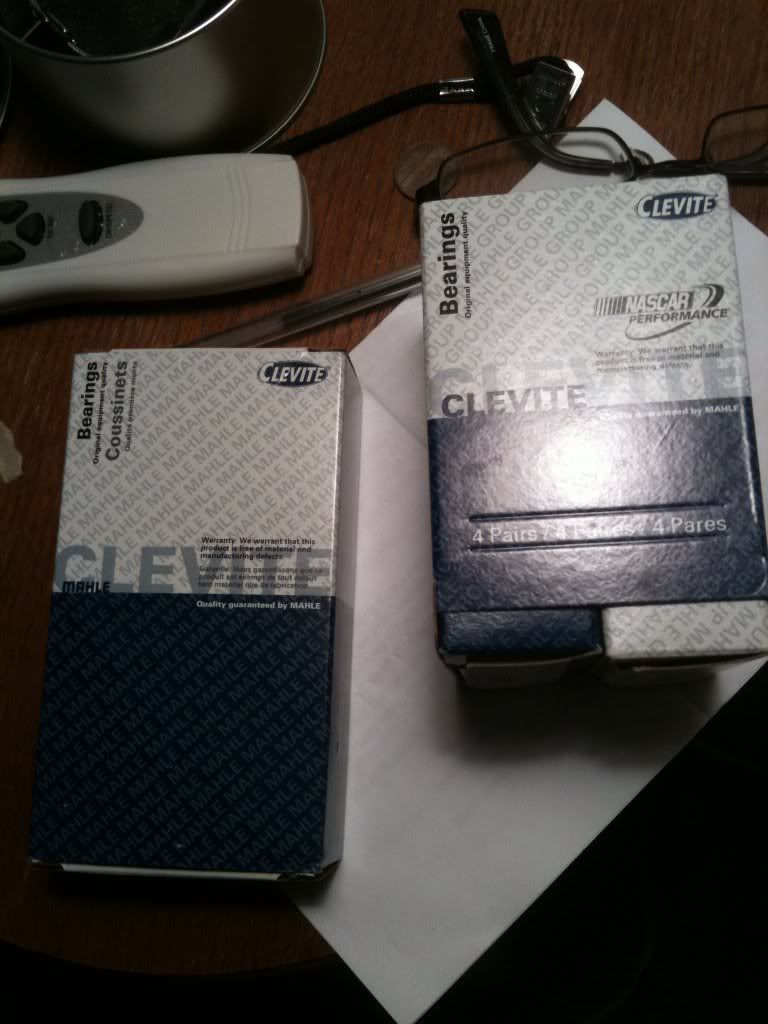
Clevite Main and Rod bearings
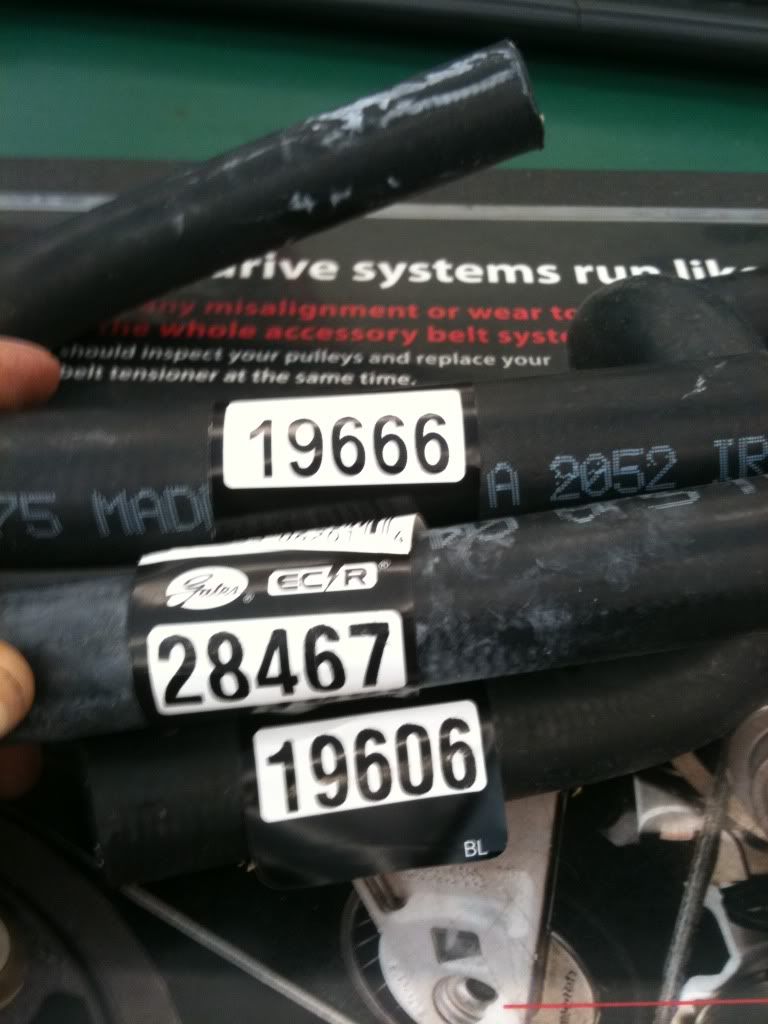
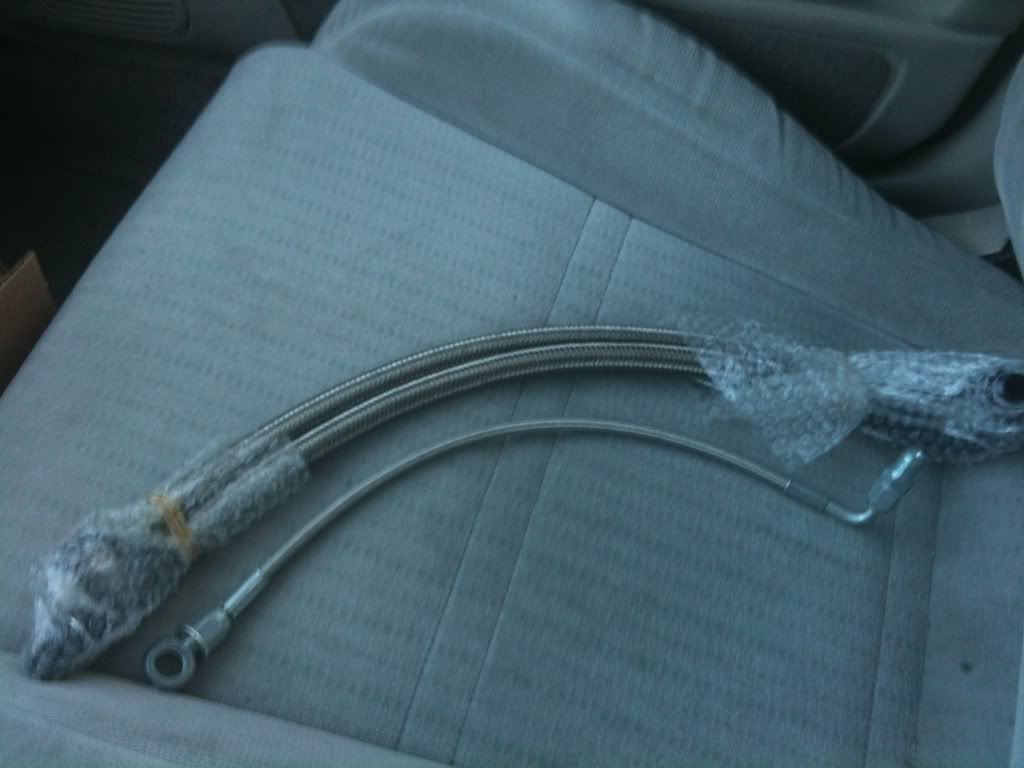
ISIS Turbo Lines
OEM Water Pump

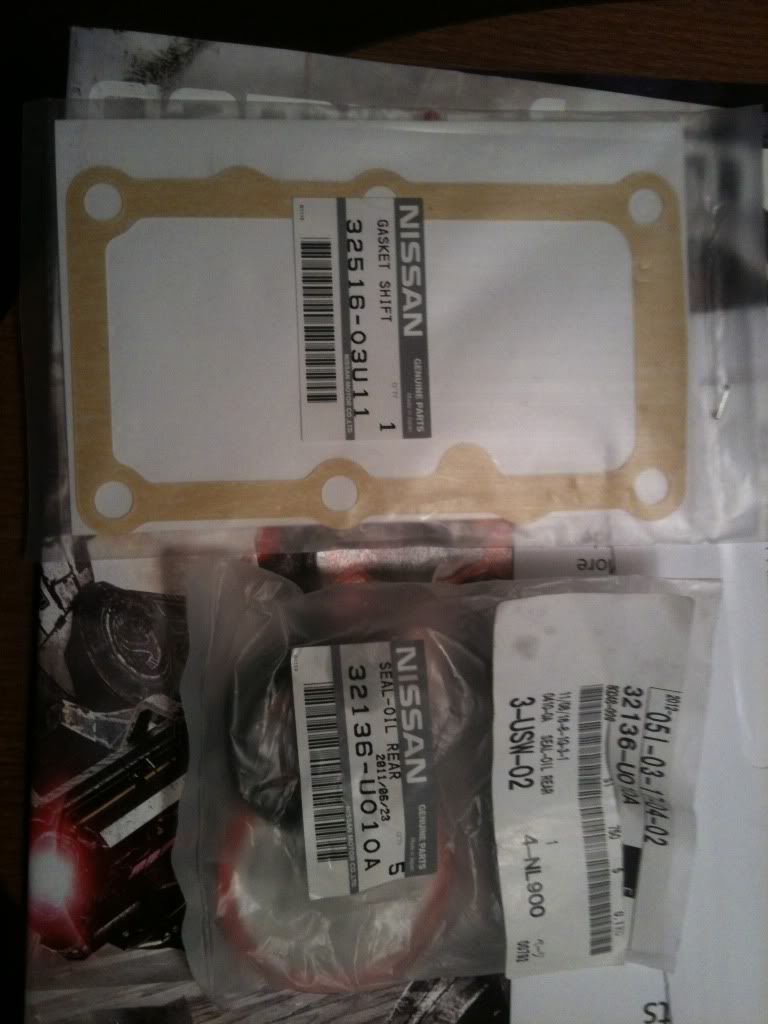
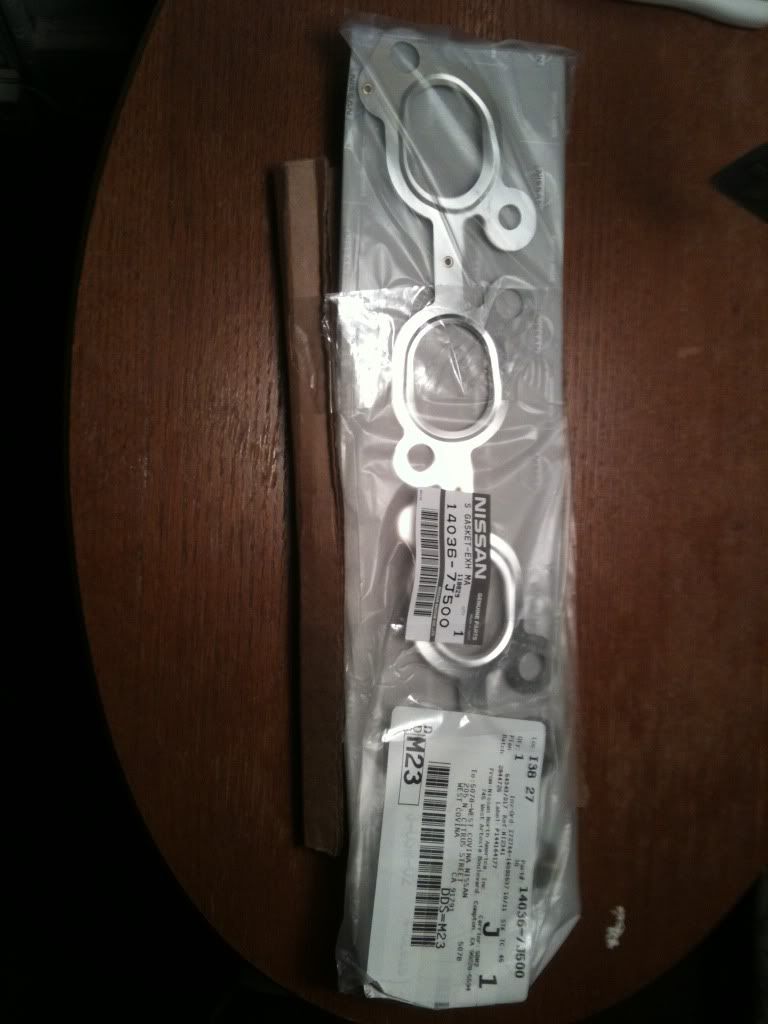
Multilayer Exhaust Gasket
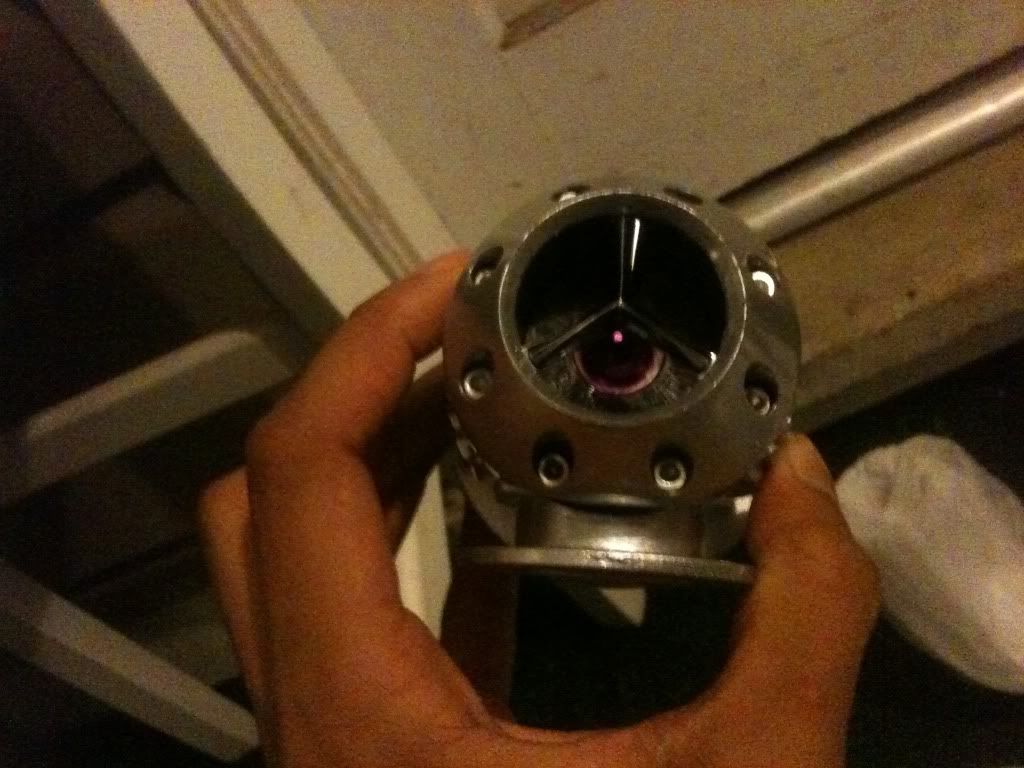
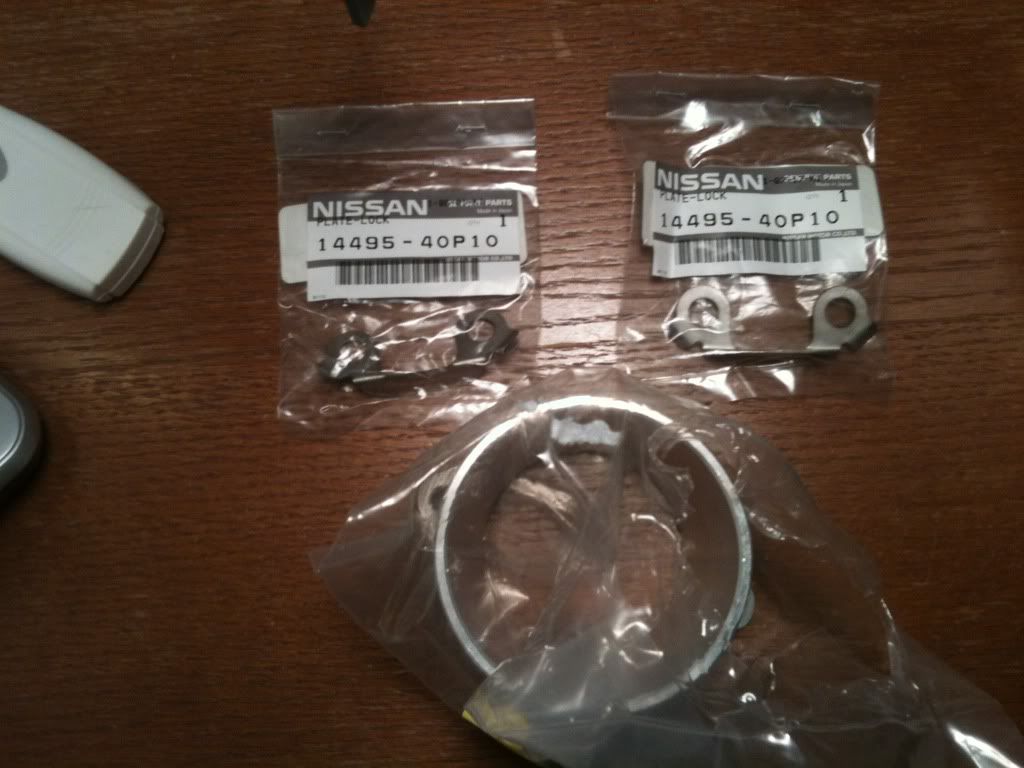
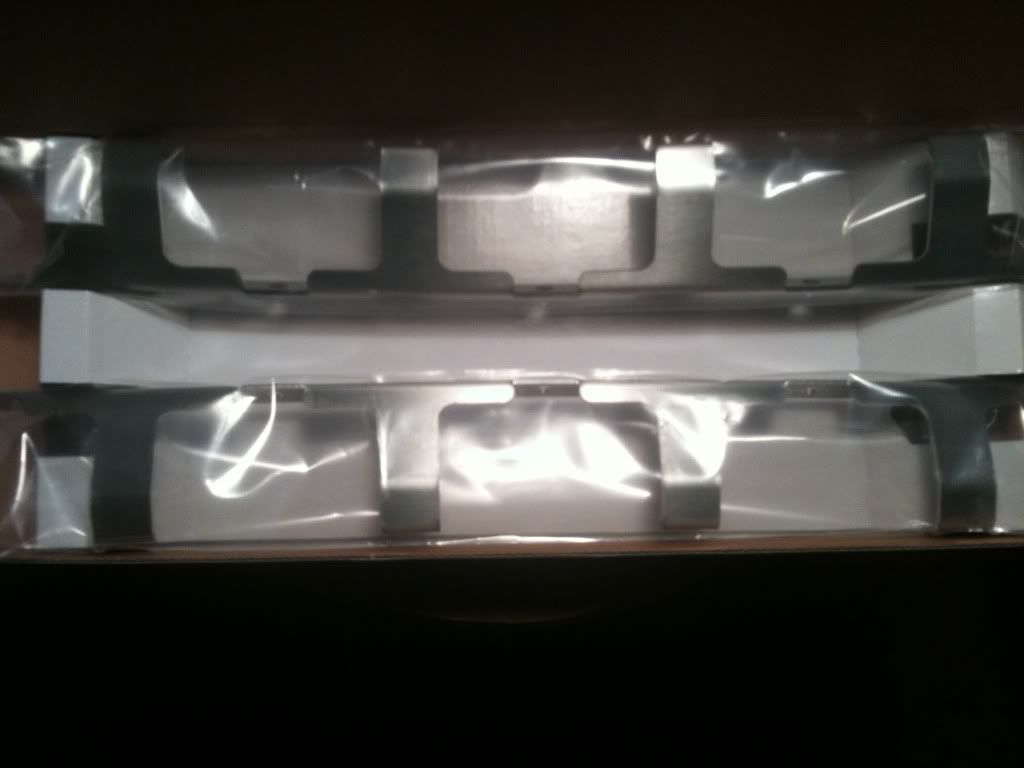
Turbo Inlet and Turbo Locking Tabs
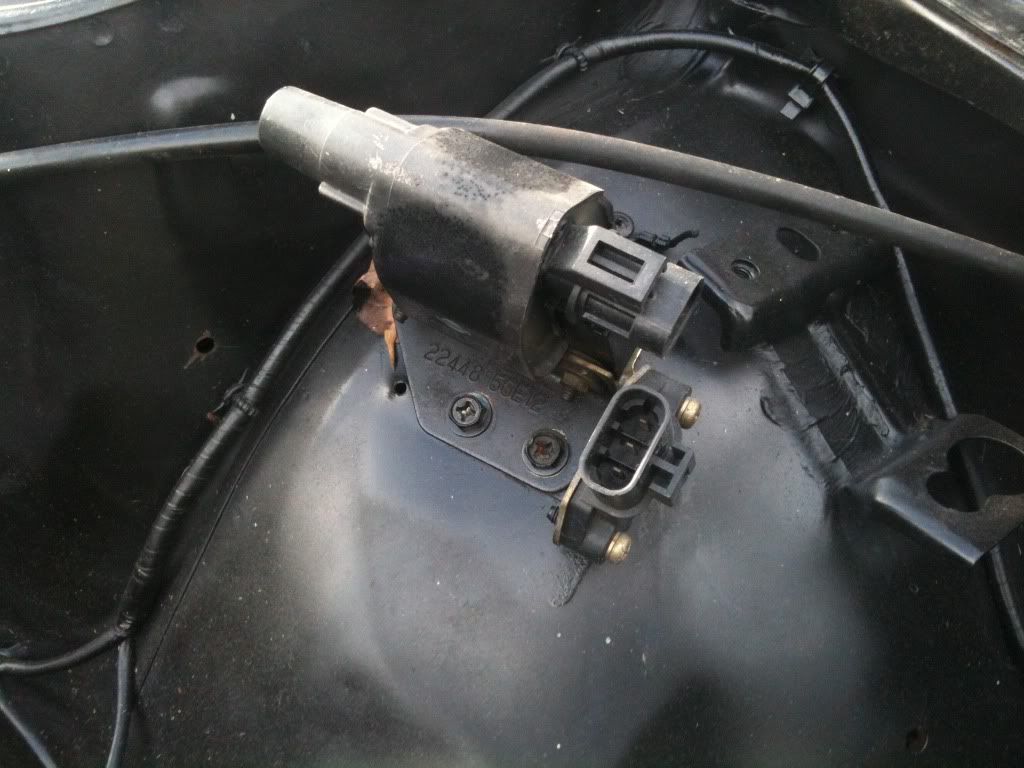
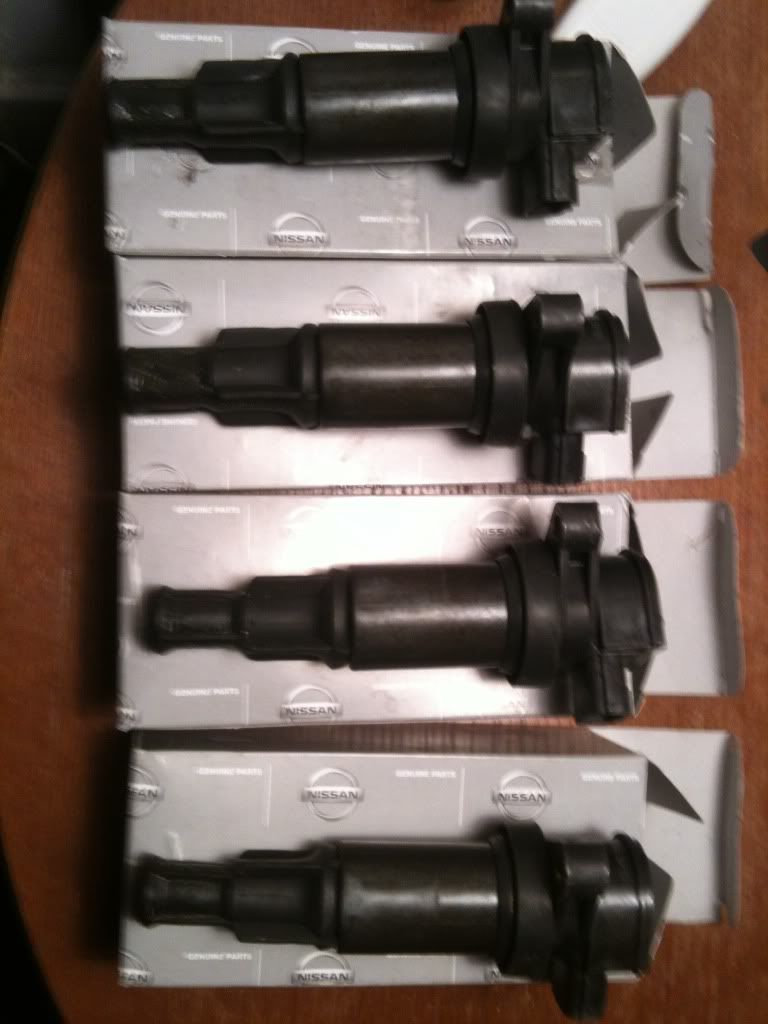
Coil packs
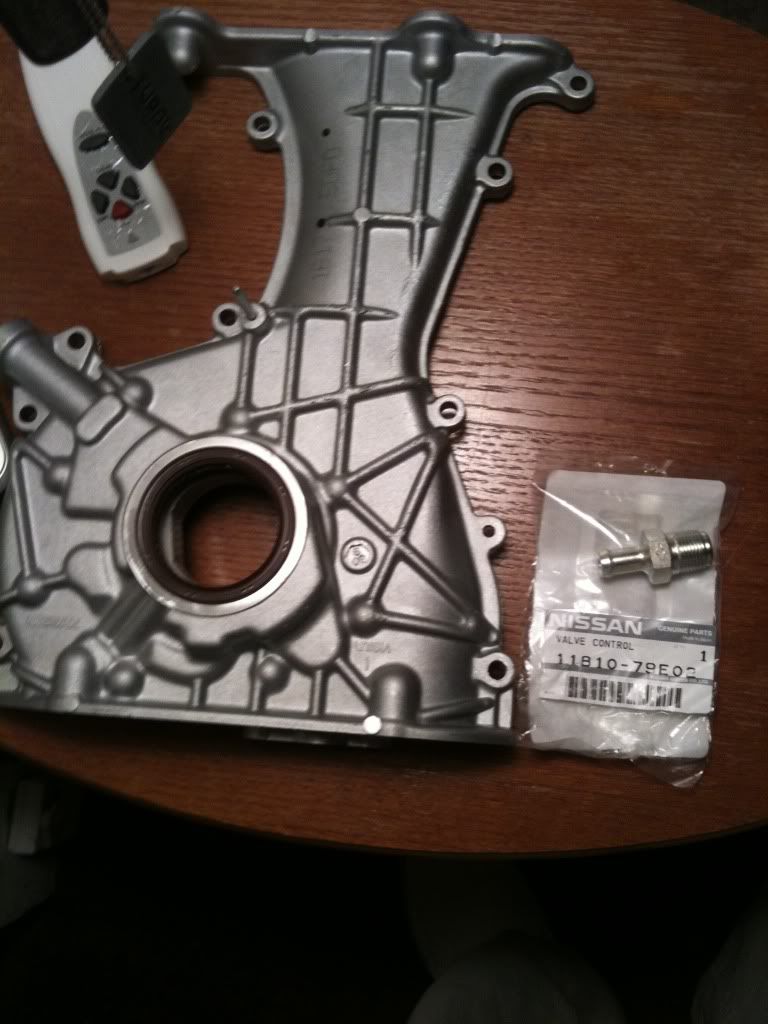
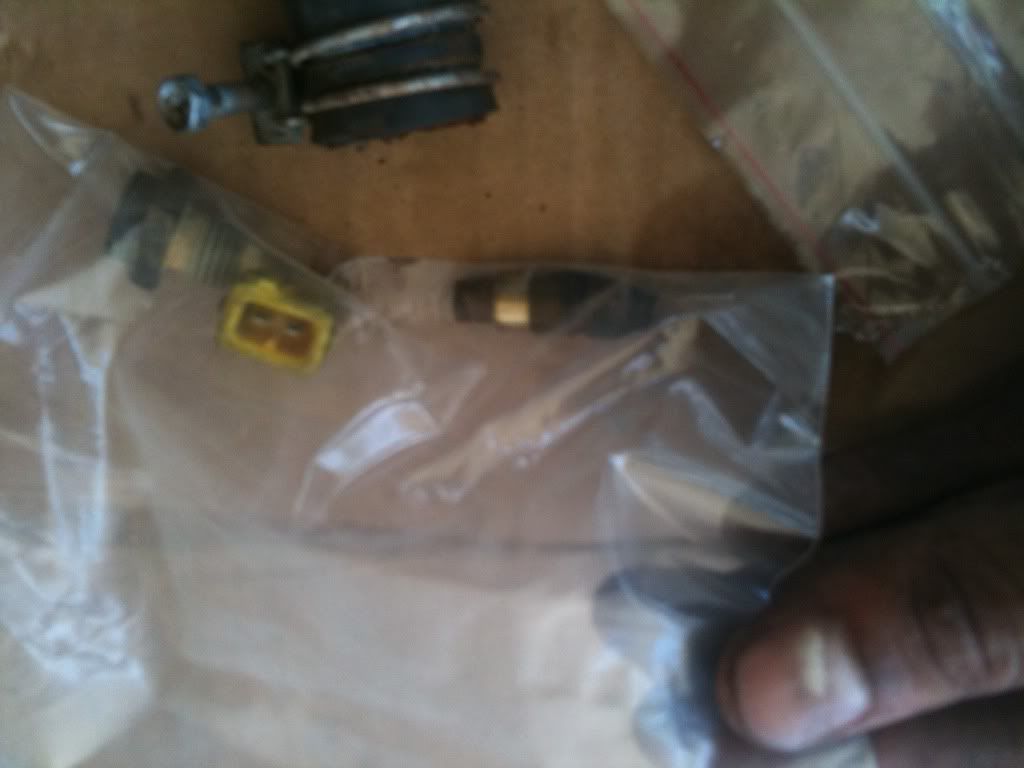
Oil Pump and front cover and PCV Valve
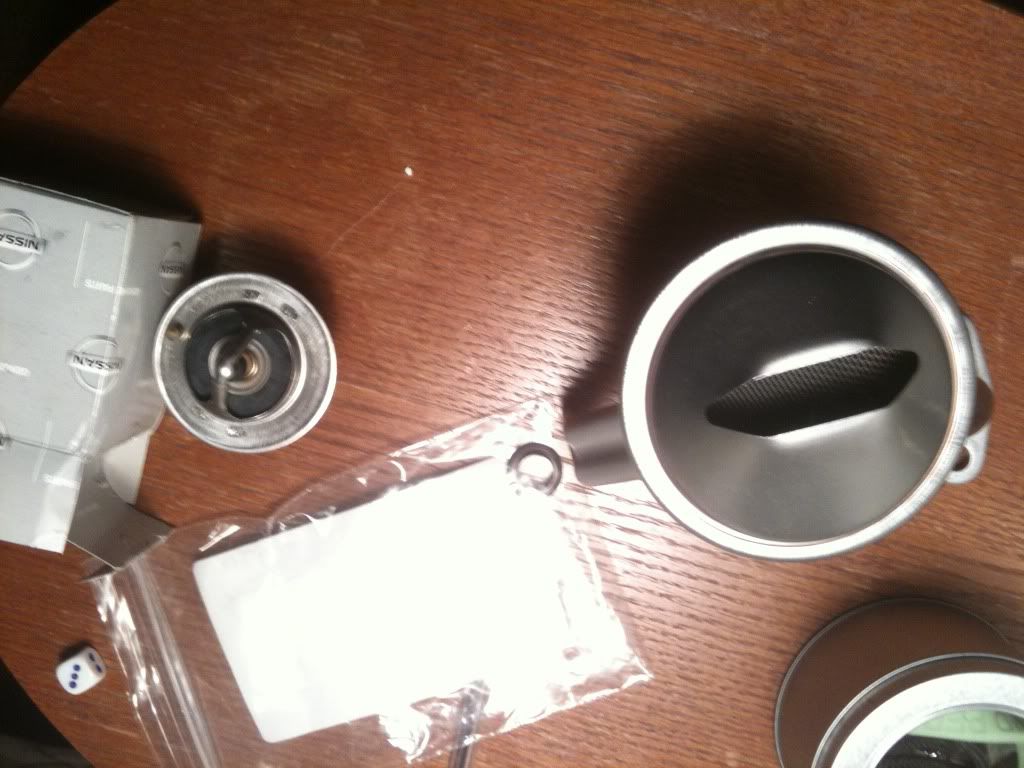
Oil Pickup (Newer Version), OEM Thermostat, and O rings for the oil filter bracket.
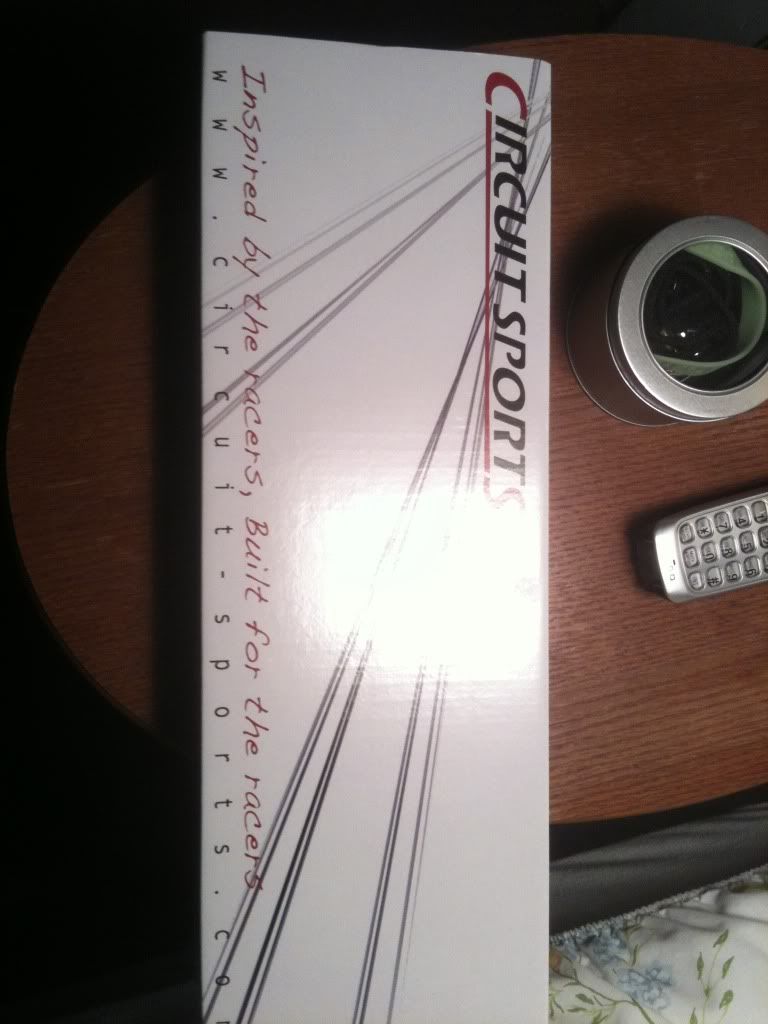
Circuit Sports RAS
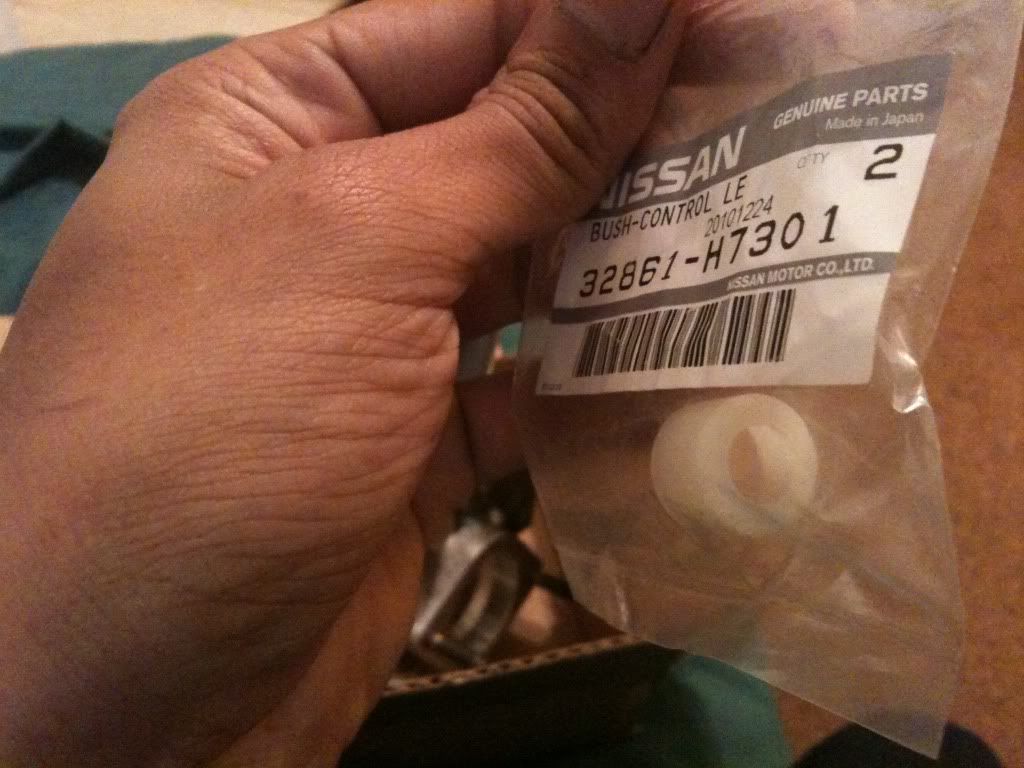
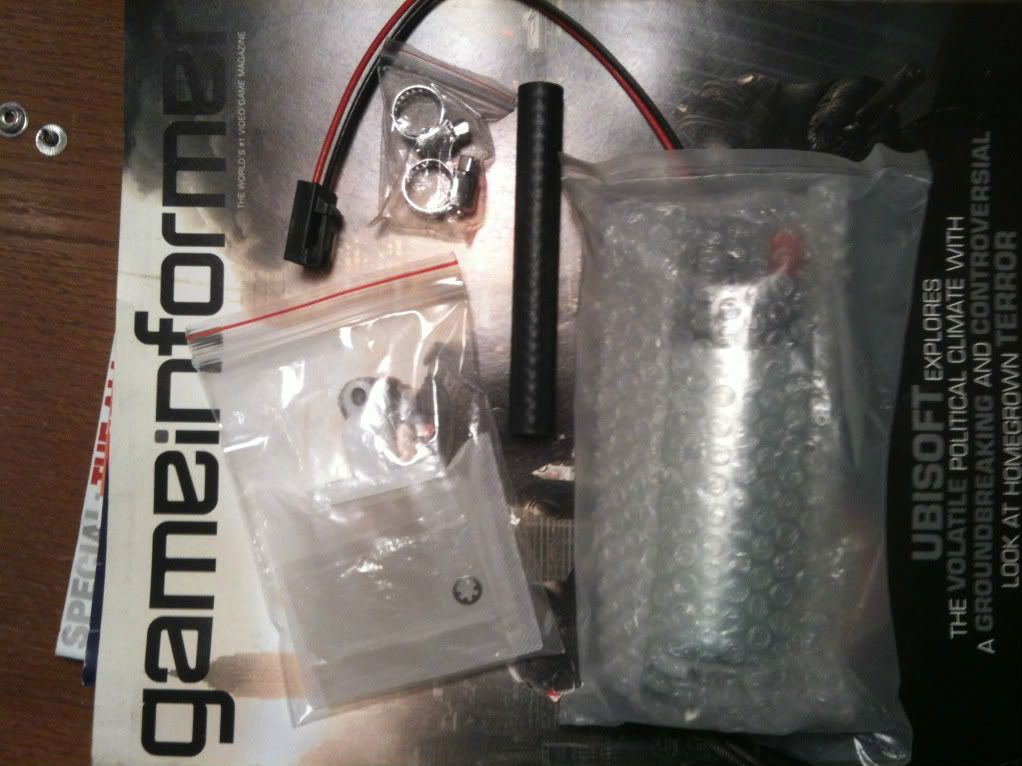
New Coolant Sensor ( there is the product number for anybody that might need it)
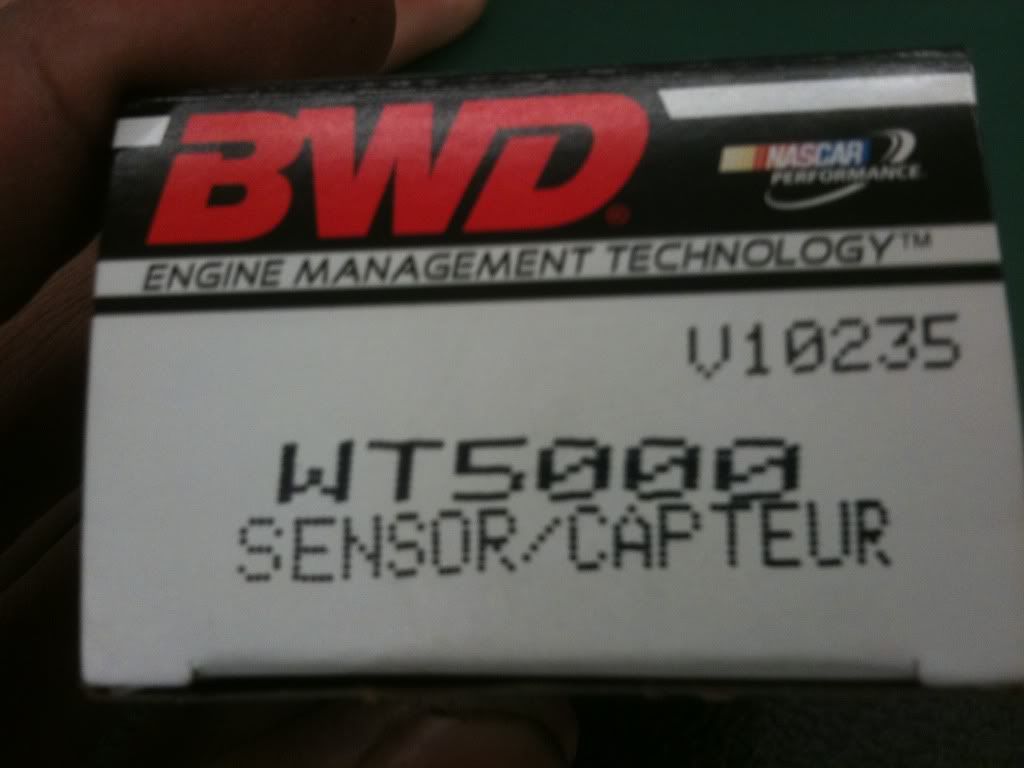
Mine snapped when unscrewing it
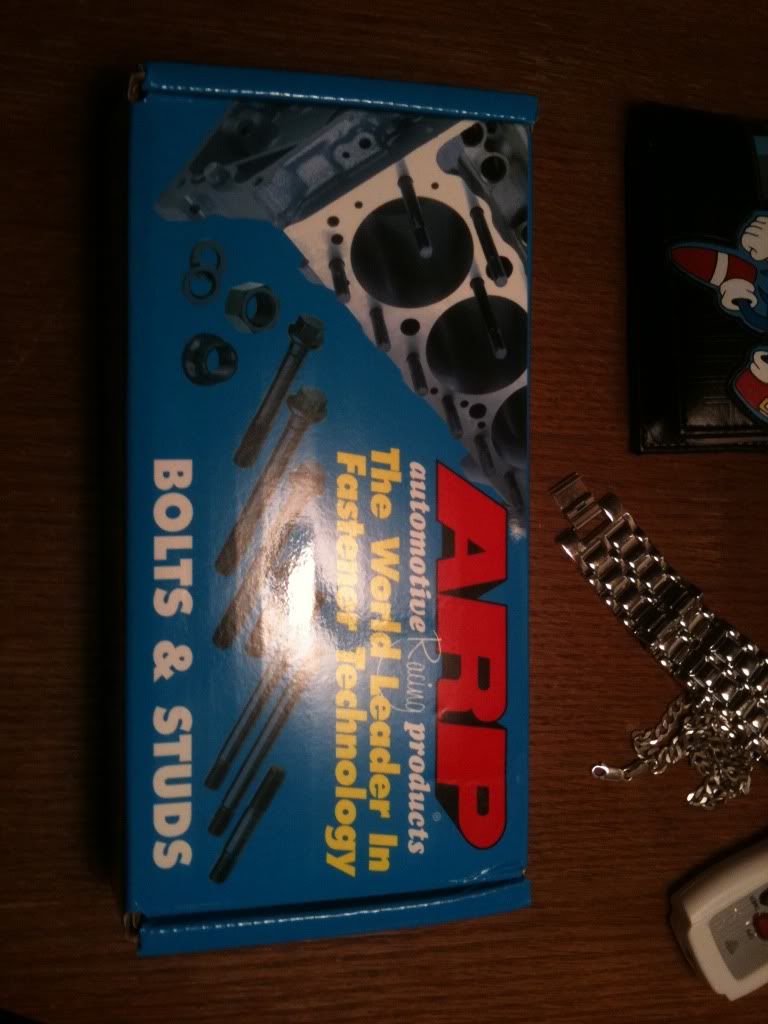
ARP Headstuds
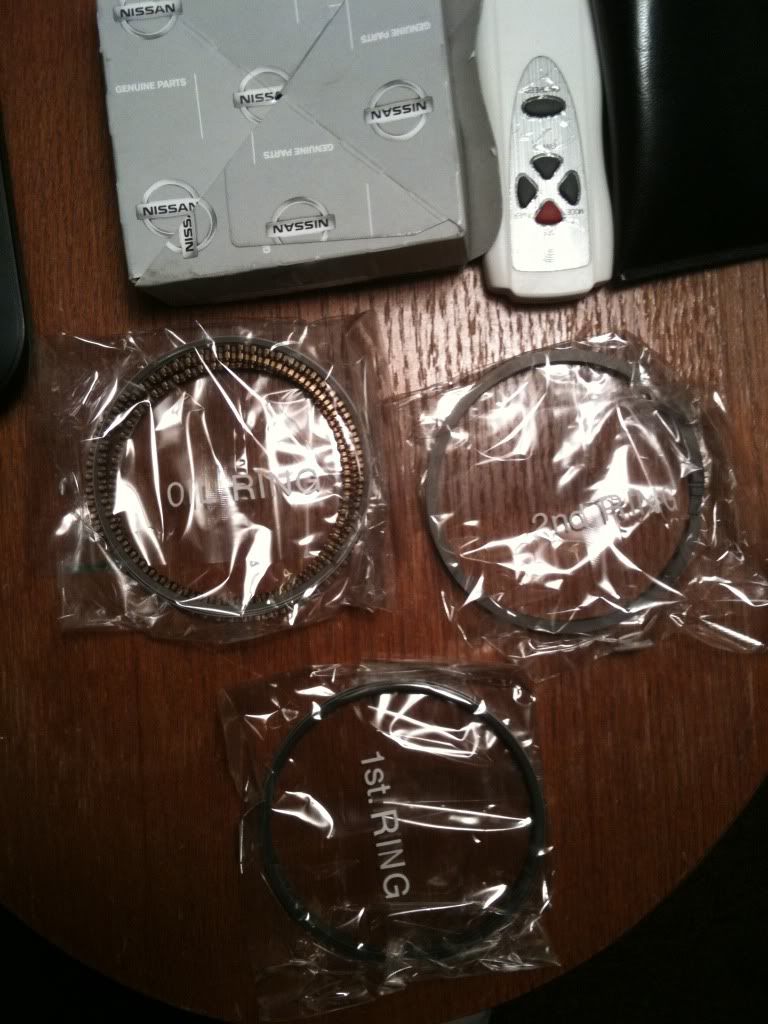
Piston Rings
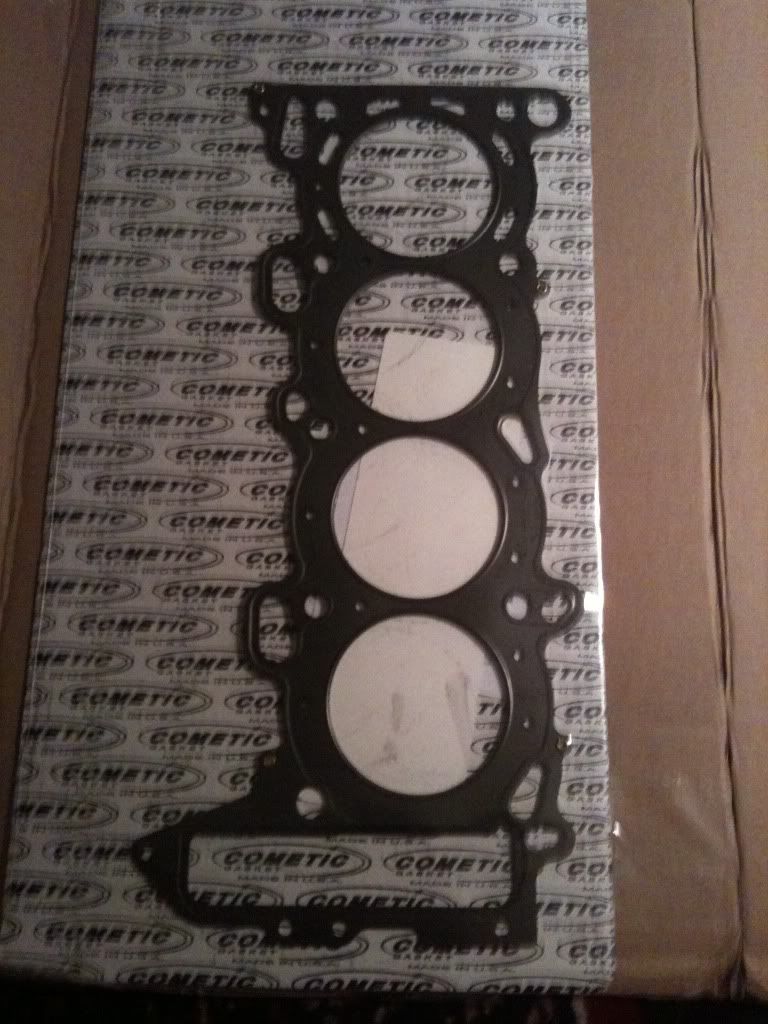
Cometic Head Gasket
Timing Chain Kit

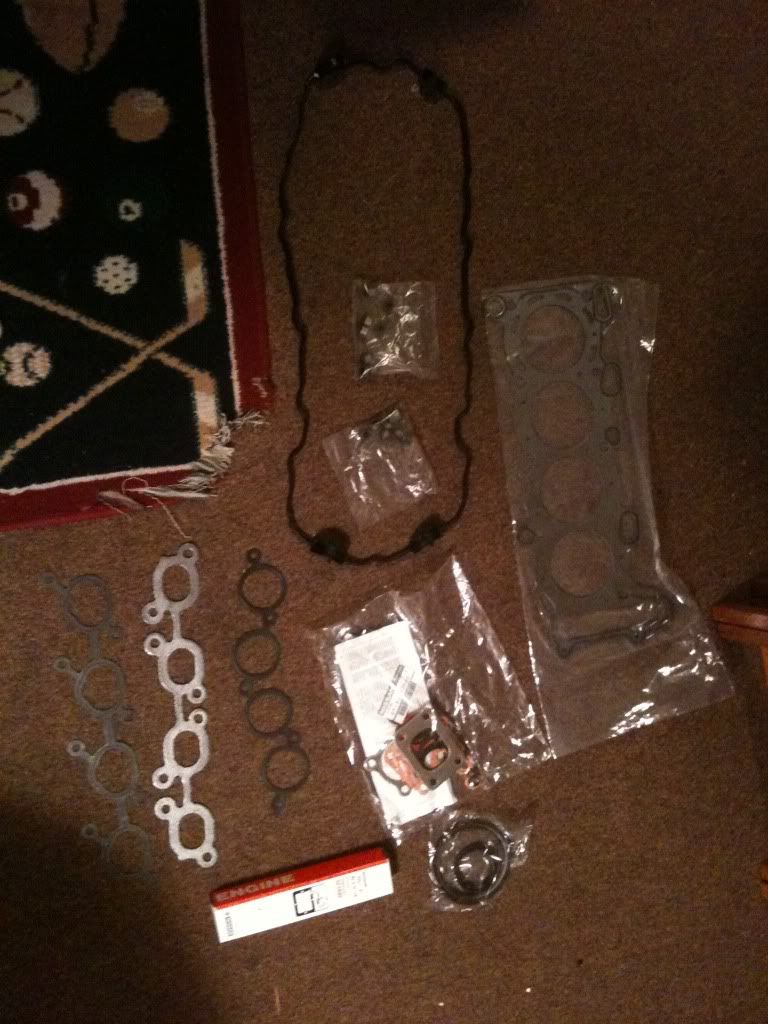
And last is my gasket set from Nissan
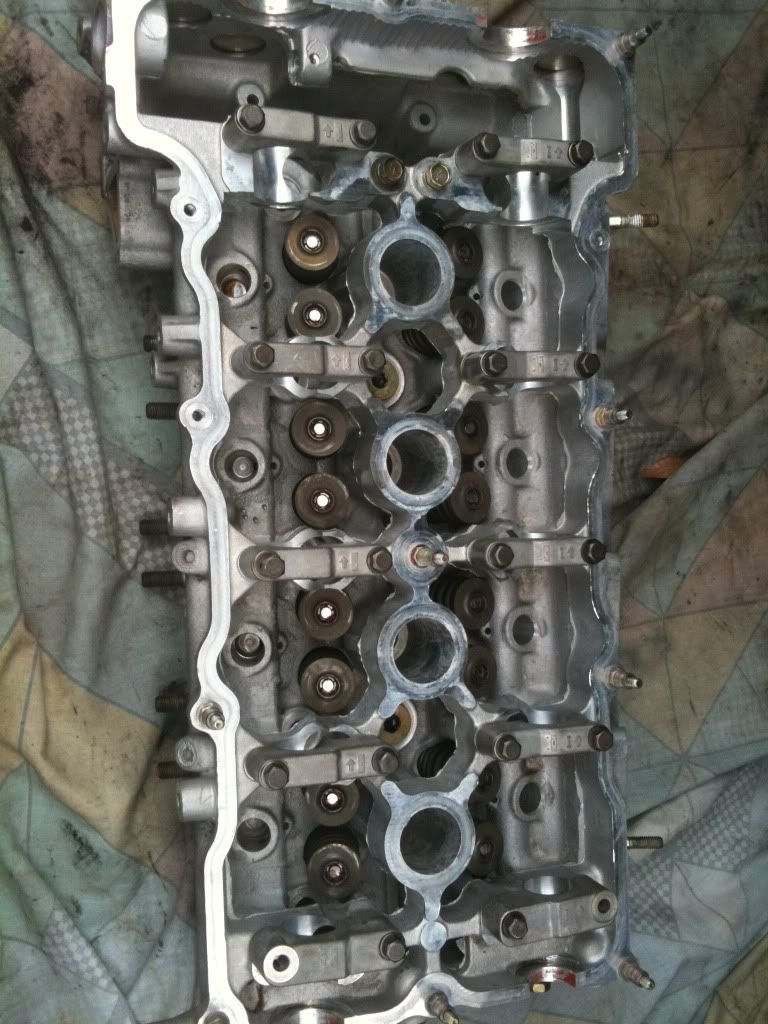
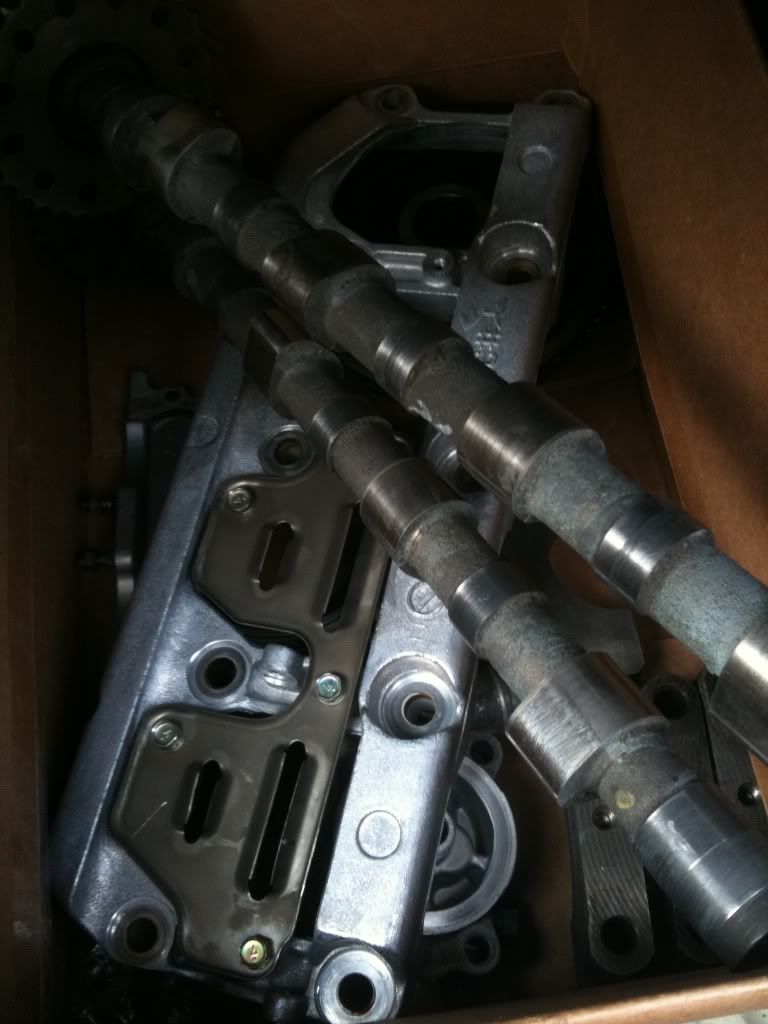
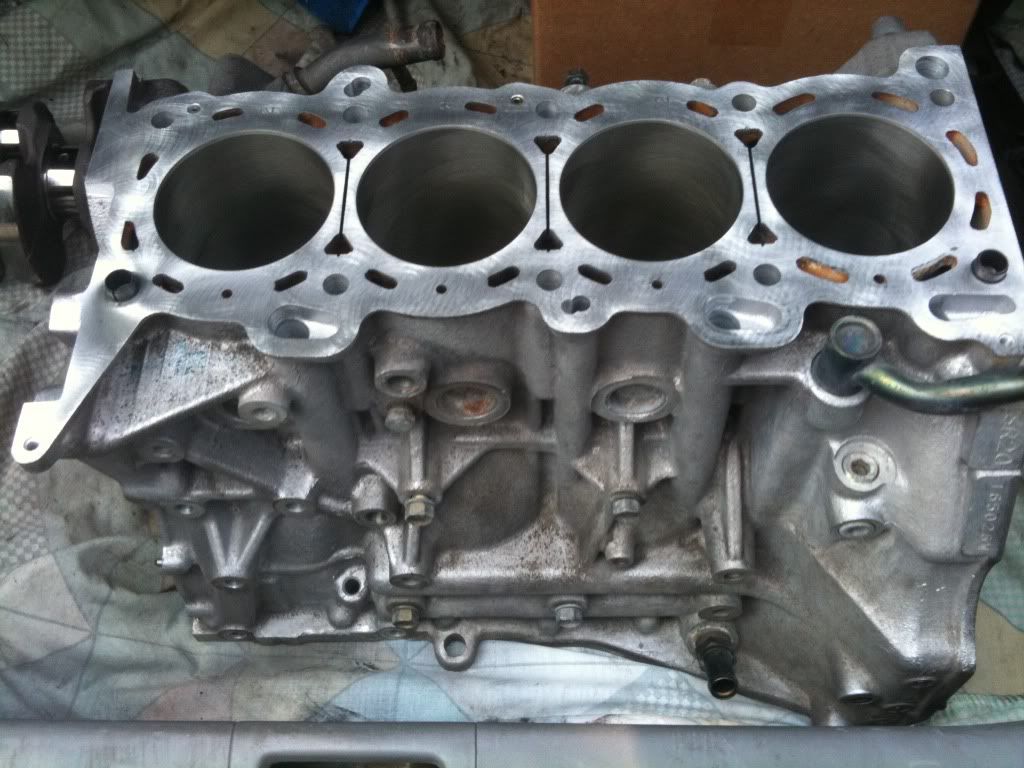
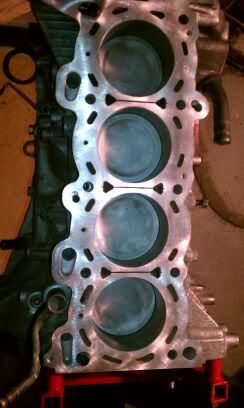
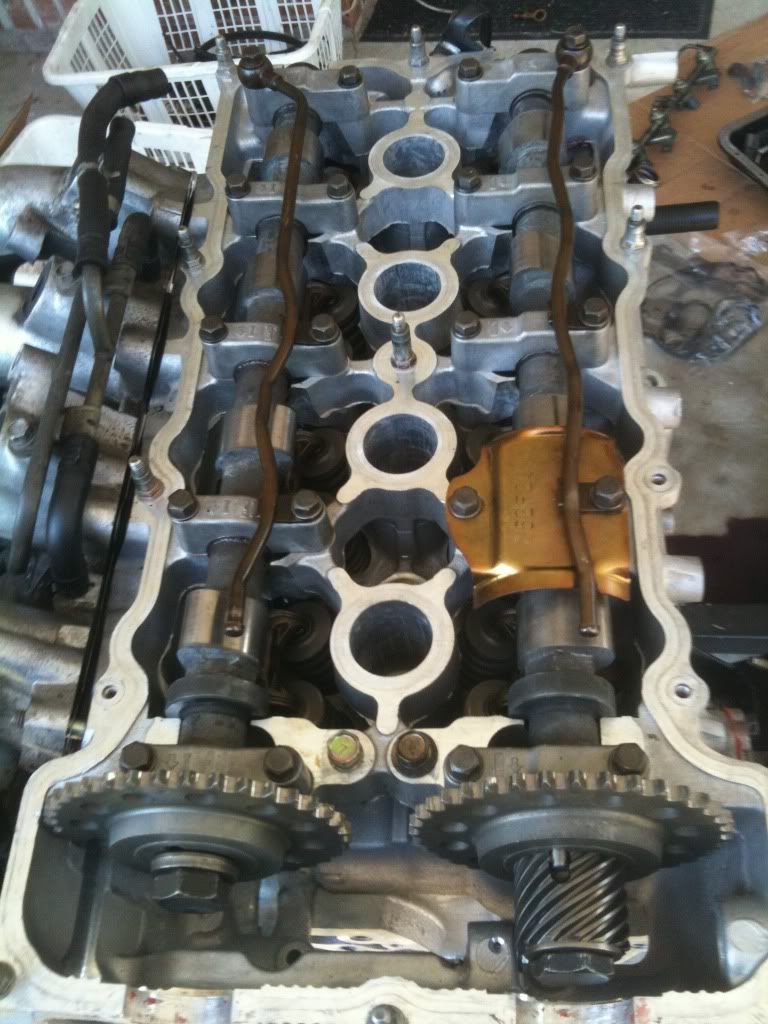
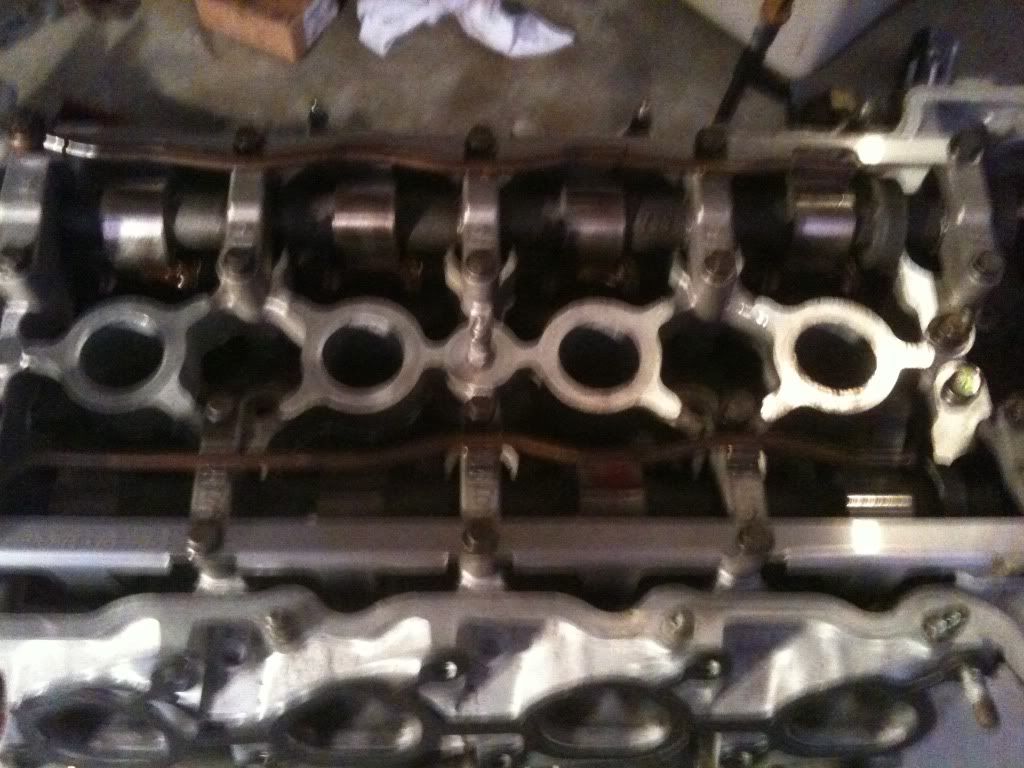
Ok well i think this is enough for one post, my next one will have my build and pics of whats most important, the motor! Also if you could answer any of the question in between pictures, that would greatly appreciated.