Difficulty: ****
Time: ~4-6 hours
Cost: $750-1000
Materials:
- T25 bottom mount turbo manifold
- penetrating lubricant
- Scotch Brite pad
- brake cleaner
- oxygen sensor
Tools:
- metric socket wrenches, extensions and universals
- screwdrivers
- metric wrenches
- drill and bits (optional)
- easy-out (optional)
- vice grip
Procedure:
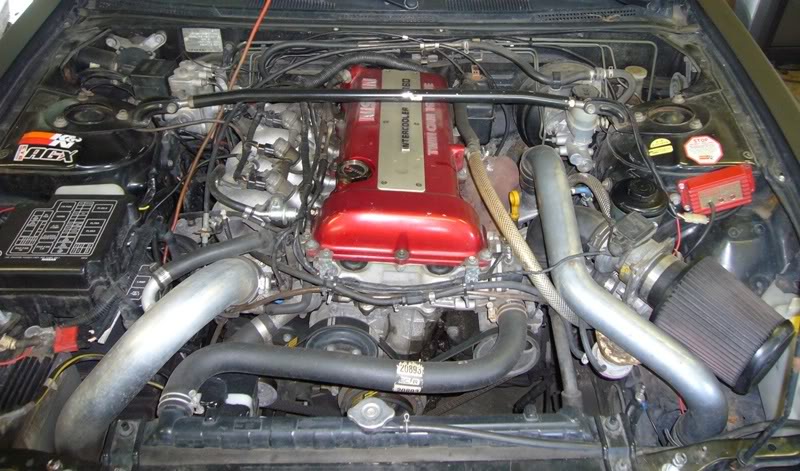
The first thing you should do is call a couple of friends to keep you company while you do this also they will give you a ride to the parts store when you break something. Begin by parking your car on a nice level surface, preferably with some nice smooth clean pavement underneath it. Pop your hood and find yourself something to do for a while, everything is going to be really hot, let it cool down for a while. While I was waiting for everything to cool I took a moment to clean my valve cover and fuse box cover, aren’t they pretty? While I was waiting for my moral support I smoked a couple cigarettes and cleaned some more. Once the car is cool its time to get started.
Detach the battery cable before beginning.
New manifold:
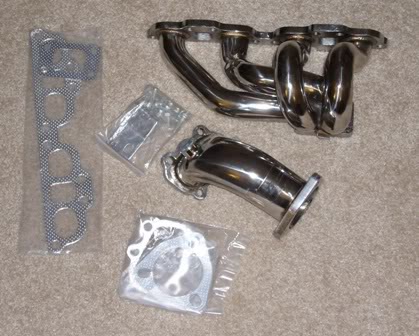
Dirty
Shinny
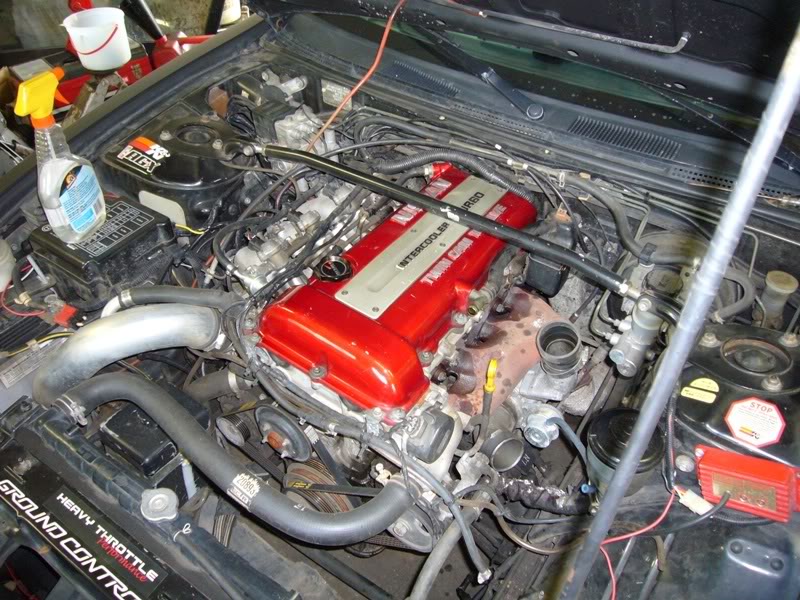
1. Start by taking off the intake pipe, and hot pipe, removing them will allow you more room to work, depending on whether or not you have a strut tower bar and how it is designed, you may want to remove that as well, I left mine in.
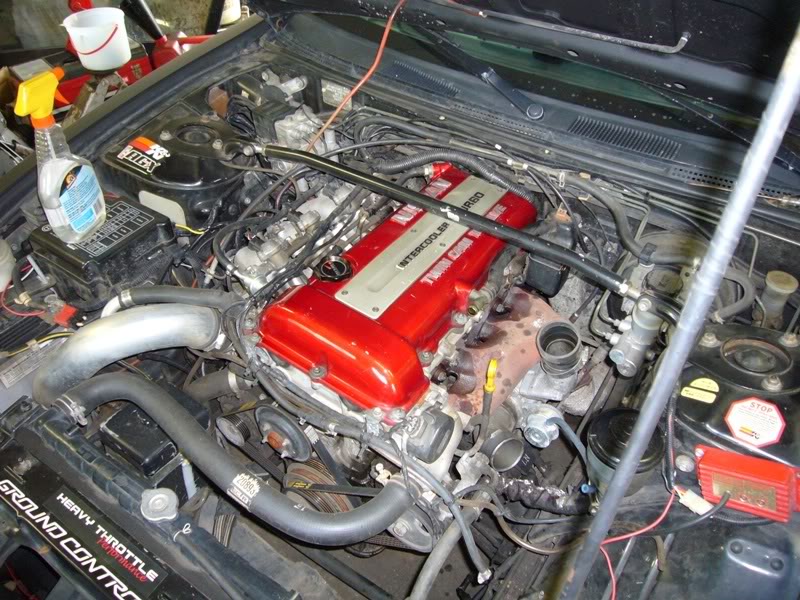
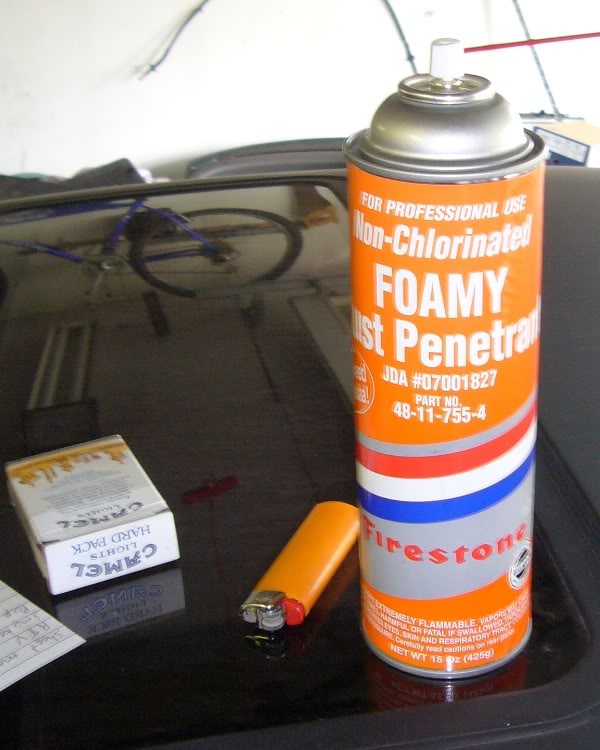
2. If you have any heat shields on your manifold or turbo extension, remove them now. Now that you have access, it’s a good time to start spraying penetrating oil on all the nuts holding the turbo to the manifold and the manifold to the head, if you are also installing the turbo extension you can spray those studs down too. Keep spraying them periodically until you have them all off.
This stuff is awesome, read the top of the can
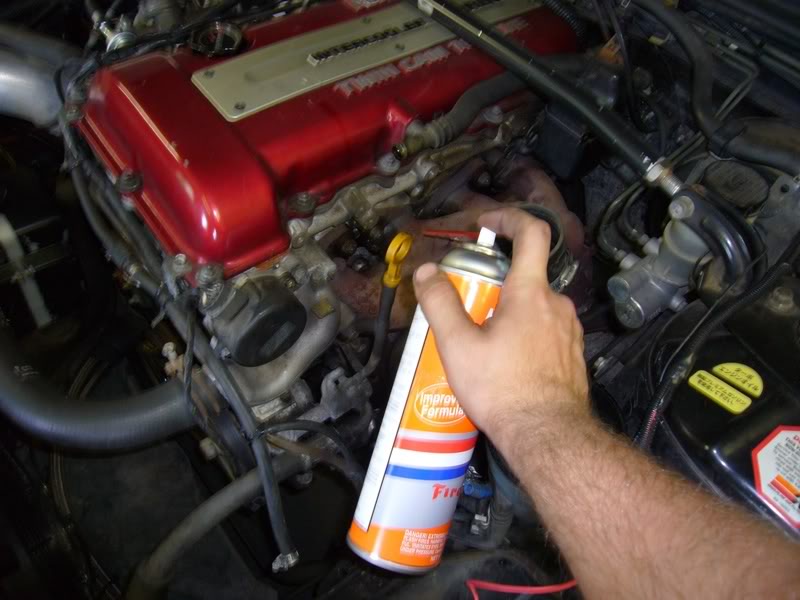
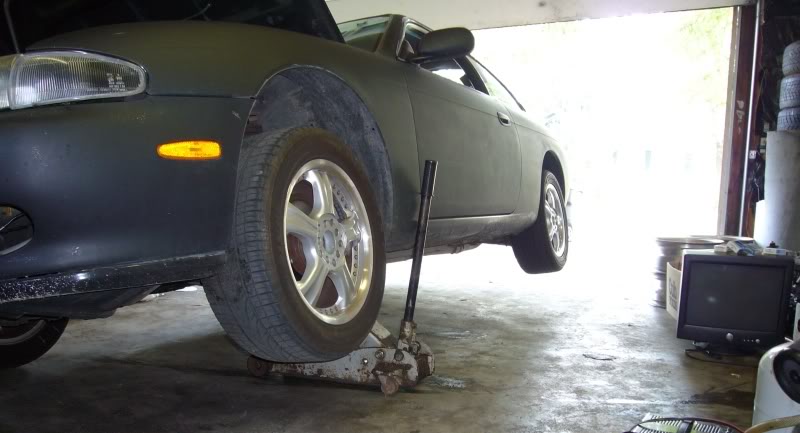
3. While your waiting for the penetrating oil to do its thing, grab your handy floor jack and a couple jack stands, I chose to jack up the whole side of the car instead of just the front to make it easier to remove the down pipe. Make sure to support the car with jack stands not just the jack unless you have the urge to become very skinny. Don’t forget to keep spraying. Yes I used jack stands, I just didn’t take a picture of them.
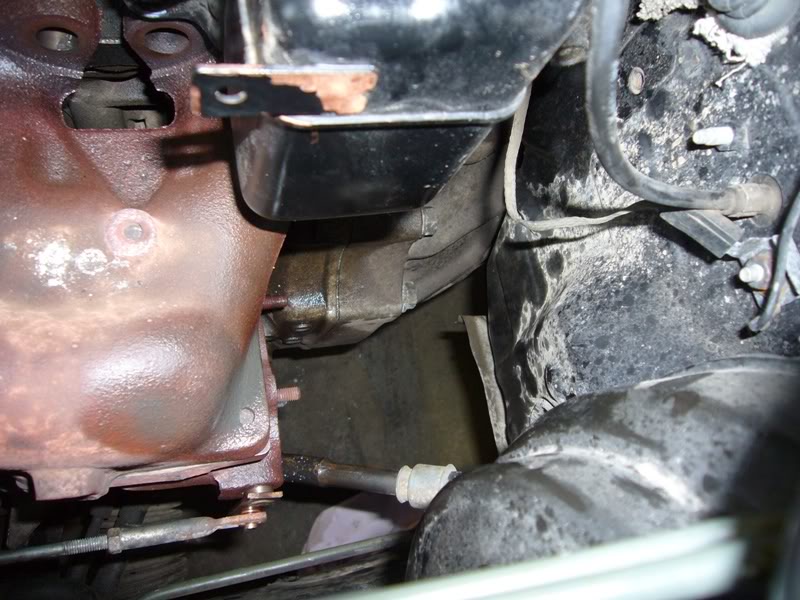
4. If you are installing the turbo extension grab a 13 mm socket and ratchet also a 13 mill wrench. If not, skip to step 9. Unplug the o2 sensor, and remove it using a 17mm wrench or o2 sensor socket. Unbolt the stock extension from the turbo; you should be able to reach the top three nuts from topside, for the other two you will need to slither underneath the car. Before you get underneath make sure to grab a light and whatever size socket you need to remove the down pipe from the cat, mine was a 14mm. Once underneath the car remove the bolts holding the down pipe from the cat, leave one on the bolt part way in so you don’t bash yourself in the head. Remove the other two nuts holding the extension to the turbo. Now remove the brace holding the down pipe from the transmission cross member. You should now be able to remove the down pipe and extension from the car as one unit.
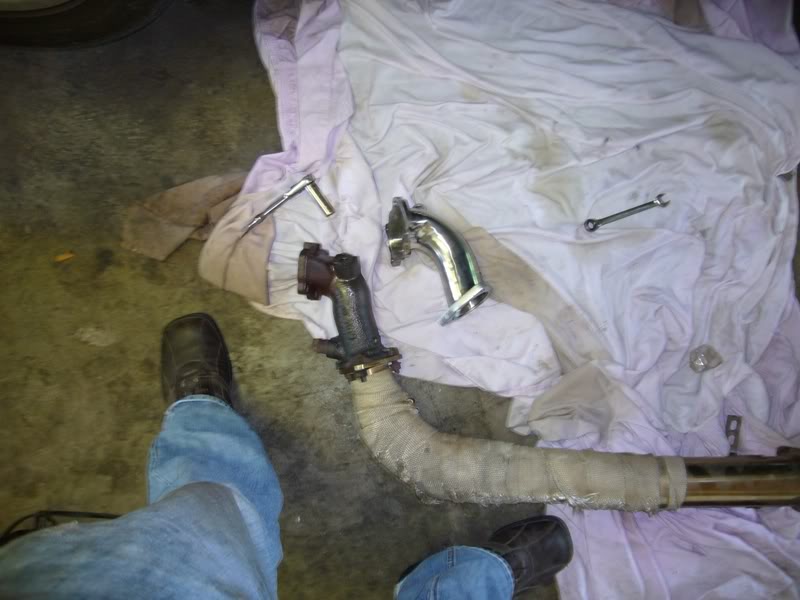
5. Now that you have the extension and down pipe out, grab the socket of your choice, mine was a 14mm. Take the three nuts off and separate the two. Set your old extension off to the side.
6. Now grab your Scotch Brite pad and use it to clean the gasket surfaces on the down pipe, make sure they are really clean or they are going to leak.
7. Once it is all cleaned up take your new extension and install all of the studs into it, put the new gasket onto it and install it onto the down pipe, make sure it’s facing the right direction or everyone will make fun of you later. Make sure to tighten it down properly, remember, tight is tight, and too tight is broken. Once that is done, set it aside for later.
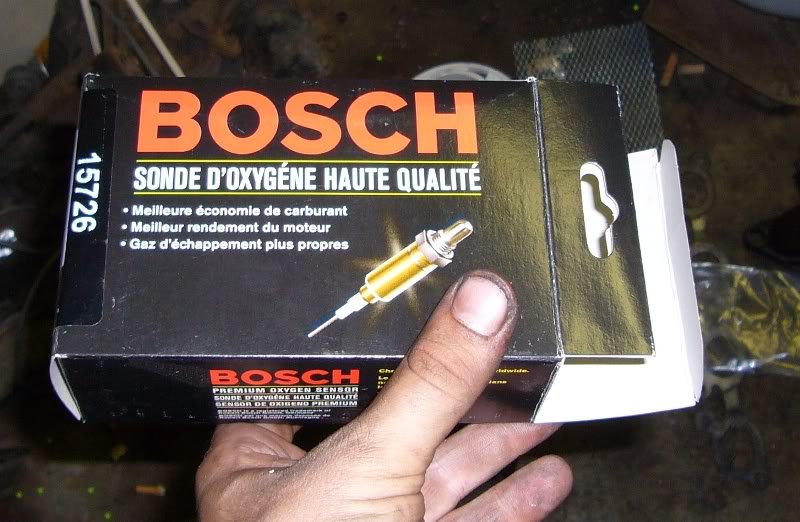
8. Now is the time to make a decision about o2 sensors, the Top Speed extension uses a fat style o2 sensor bung, but the factory redtop extension uses a skinny o2 sensor, it looks to me like the bung on the factory extension is actually an adapter that can be removed. I didn’t really feel like trying to remove it, so I picked up a universal fat type o2 sensor from a 95 300ZX TT and wired it to the factor o2 sensor plug. Set it aside, you will install it later.
I don't know why I took pictures of the Spanish side of the box
9. Ok, everyone back together? Now its time to really get your mitts greasy, your still using the penetrating oil right? I thought not. Grab a 13mm wrench and start removing the nuts holding the turbo to the manifold it’s kind of a tight fit but you can get all four. If you break any off, don’t start crying yet, remember your not reusing the manifold, if you are reusing it, you shouldn’t be reading this and you should stop wasting both of our time, but I digress. If you have braided steel oil lines you can just allow the turbo to drop down and rest on the cross member. If not, unbolt the hard lines from the block and allow the turbo to slide off the manifold studs.
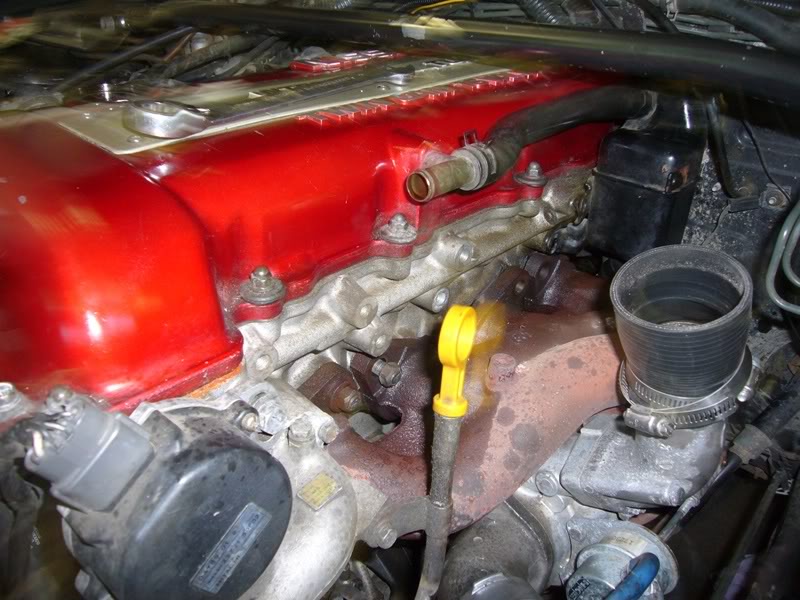
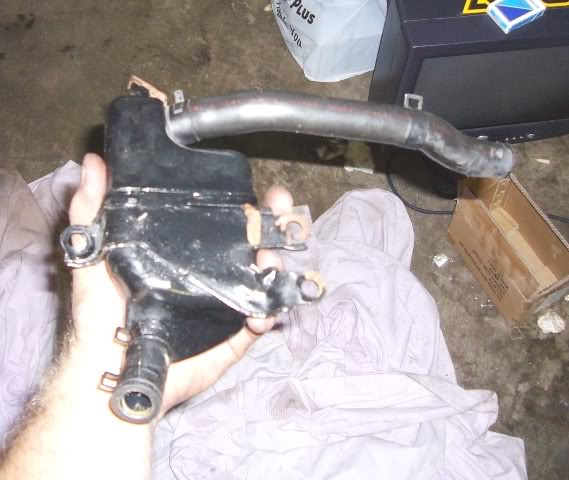
10. The black oil separator can mounted to the back of the head is in the way, take a pliers and remove the hose clamps from the black hoses on the top and bottom of the catch can. Using the socket of your choice, I think they are 14s, remove the three bolts holding it to the head, two towards the front of the engine and one on the back. Set it aside, you will need it later.
11. Removing the 10mm bolt holding the dipstick tube to the water neck will allow you to push it aside.
12. Remove the three 10mm bolts holding the compressor housing extension. Remove it, and set it aside.
13. Back to business; time to get that manifold out. If you slacked off and didn’t use penetrating oil, now is when you will regret it. The repeated hot cold, hot cold cycle the studs holding the manifold on have endured has most likely caused them to become very brittle. Regardless, grab a 14 mm socket and start taking them off, you can reach all of them with a socket and ratchet as long as you are creative with extensions and universals. Don’t loose any of the nuts or big washer or you will be digging around the engine bay for hours.
14. Once all the nuts are off, remove the manifold, it might take a little wiggling, but it should come.
Notice the broken studs
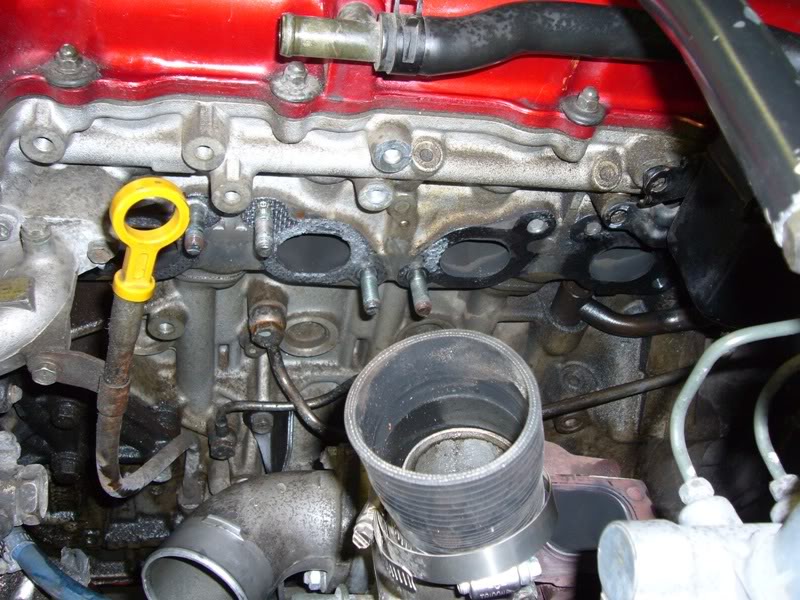
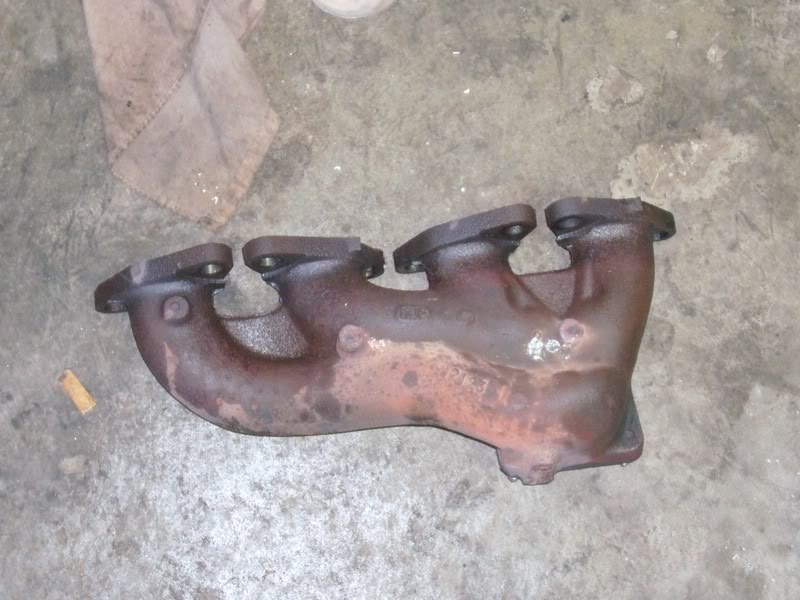
15. If they all came off without incident, give yourself a hug and go get some food while I learn the newbs how to remove broken studs. Come back when I get to step 14.
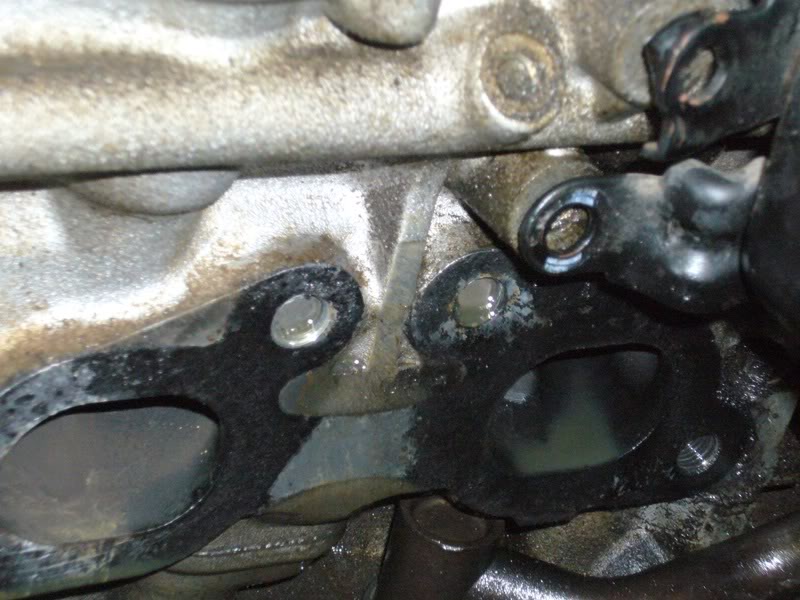
16. If you are lucky the stud broke off with some threads sticking out of the head, if that’s the case, grab your handy dandy vice grips and pull that sucker out. If your not so lucky, or your anything like me, (I suck at life, luck has nothing to do with it) then the studs you broke off are flush with the head.
17. Keep spraying penetrating oil on the broken studs, it will make things easier. Get your drill, plug it in, you will want to start with a very small bit like 1/16 inch. Drill a whole in the center of the broken stud, go very slow and don’t use a lot of pressure, you don’t want to break the bit, keep spraying, it will lubricate the bit and keep it from squealing or dulling too fast. Once your whole is about a ¼ inch deep, step up to a 1/8 inch drill bit, you shouldn’t need to drill as deep with this one. Once you have a 1/8 inch whole, put your easy out into the drill, and switch it to reverse. Insert it into the whole and apply pressure to the trigger, go very slow, if you go to fast you will either strip out the bit, or break it off in the whole, in either case you’re an idiot. Start as slowly as you can, it shouldn’t take much, the bit should grab in the whole and begin to turn the stud out of the head. Hooray, you did it, lets move on, if you screwed up, too bad, sell your car, its over, just kidding, just use a slightly larger bit to widen the whole and try again.
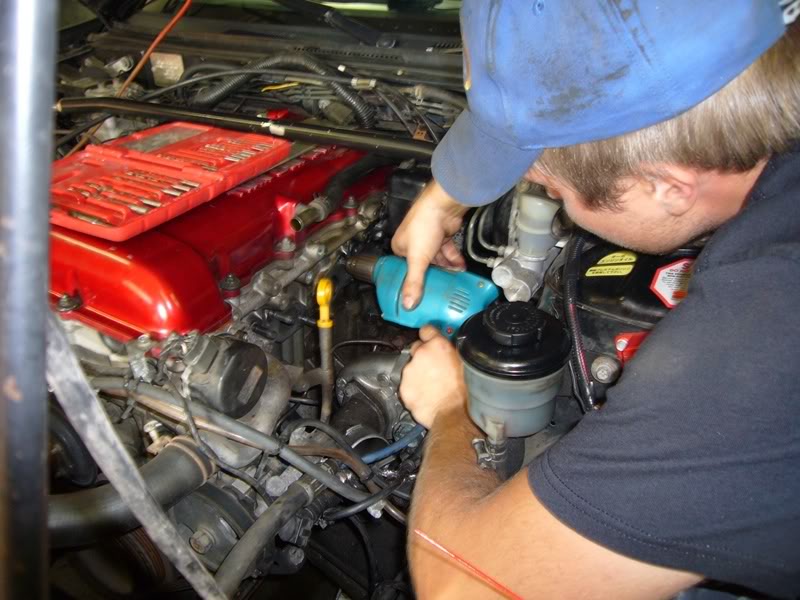
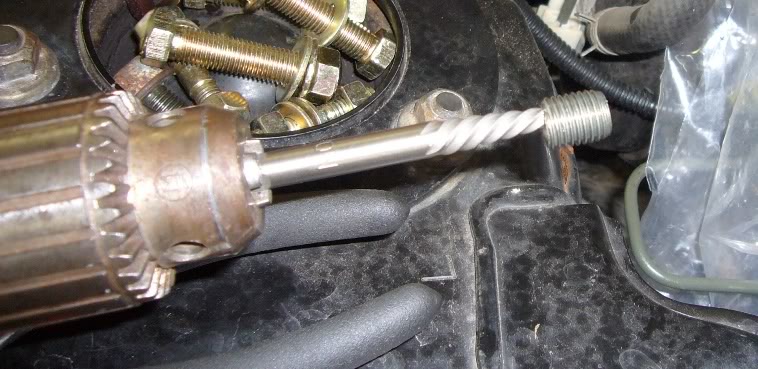
18. For the lucky ones welcome back smarty pants how was your break? Well stop lounging around, let’s get back to work. Ok, time for more cleaning, grab your Scotch Brite pad and clean the head and turbo gasket surfaces, remember, leaks = bad. Now is also a good time to clean some of the carbon out of the exhaust ports.
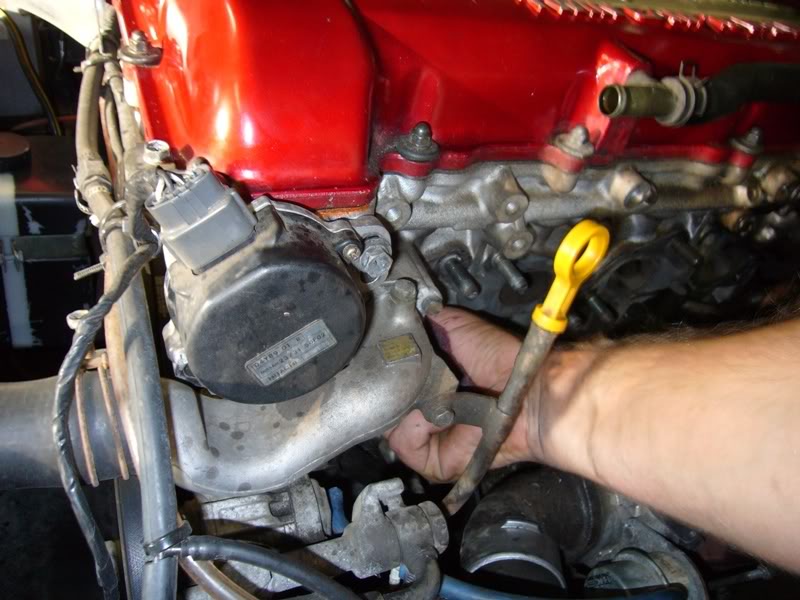
19. Now is a good time to get out your new manifold and match it up with the old manifold, making sure flange locations and sizes are the same.
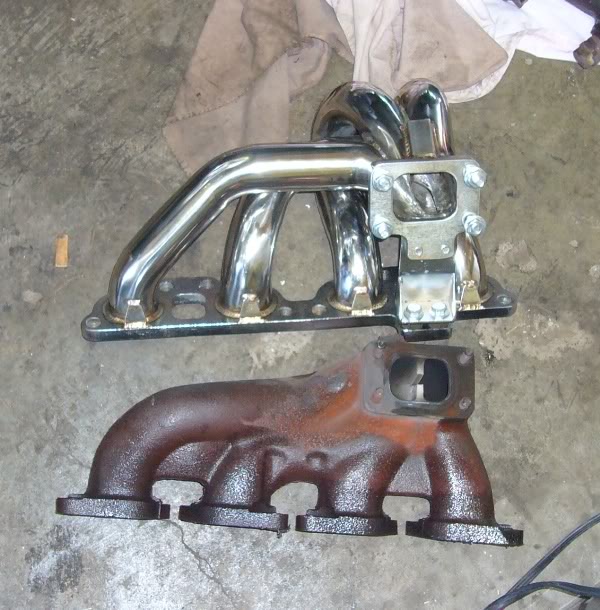
20. If your manifold came with a brace, install it now; also install all the studs onto the turbo mounting flange
21. Install the new gaskets and start working the manifold into place, its going to take some wiggling.
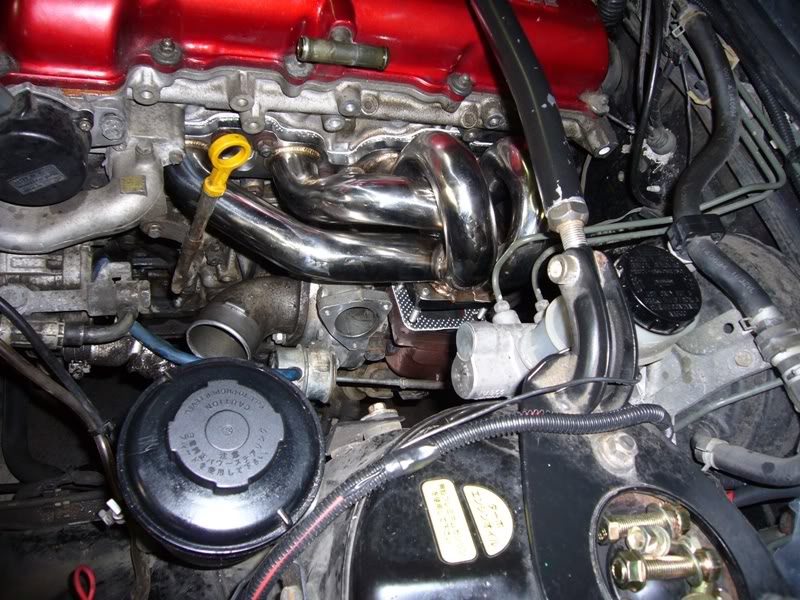
22. Once the manifold is into place on the head, install the nuts to hold it, don’t forget the big washers. Tighten them down starting in the center and working back and forth towards the outside, each time increasing tightness until they are all fully tight.
23. Pick the turbo up and slide it over the studs on the new manifold, make sure to put the nuts on the engine side of the flange on first, if you pull it all the way flush they will not fit, so work them all on slowly. Tighten all four using a criss-cross pattern.
24. If you have hard lines, reinstall them with new copper crush washers
25. Reinstall the compressor extension.
26. The factory oil separator can will not fit due to the location of the number four exhaust runner, it will need to be modified slightly. Start by bending one of the brackets on the side of it so you can attach it to the corner of the valve cover. Attach the lower hose. Find a piece of hose the correct size for the top of the separator and cut it to proper length, it will need to be slightly longer than the factory piece. Make sure you use hose capable of withstanding the heat created by the manifold and turbo. Install the hose on top of the separator. Don’t forget to hose clamp it.
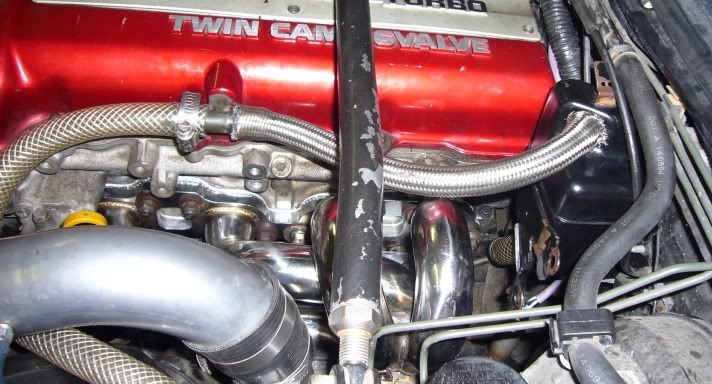
27. Reattach the oil dipstick tube.
28. Install the hot pipe and intake tube in the reverse order that you removed them.
29. If you are not installing a new turbo extension, you’re all done, make sure everything is tight, and drop the car down. Before starting the car, use some brake parts cleaner and a clean rag to thoroughly clean the manifold, any fingerprint left on it will cause discoloration, and it will look all nasty when it gets hot if you don't. Now you can start it up, check for leaks, and take it for a spin.
30. If you are installing the extension, bare with me, we are almost done. If you got new studs for the exhaust housing, install them now along with the new gasket. Slide the down pipe and extension under the car and wiggle it back up to the turbo, if you can fit you ham fists up there put on one or two of the nuts, if not, have one of your buddies do it. Hold the down pipe in place until all of the nuts are tight. Reinstall the brace that holds the down pipe to the transmission, if it does not want to fit, don’t force it, that will put stress on the manifold causing it to crack.
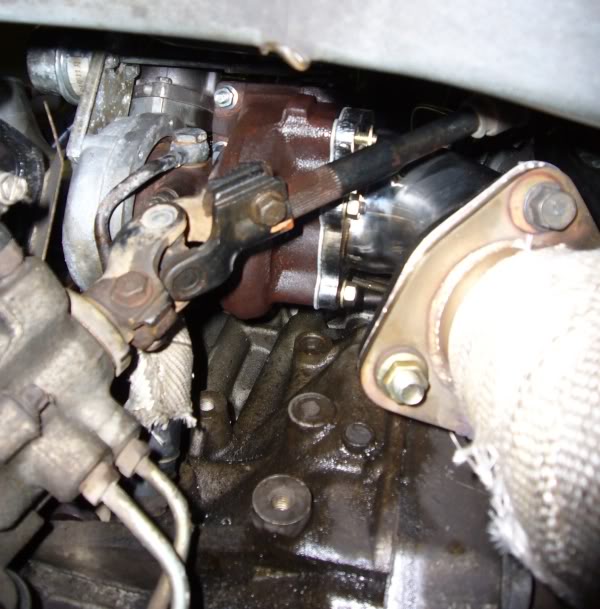
My friend Broc putting on my nuts.
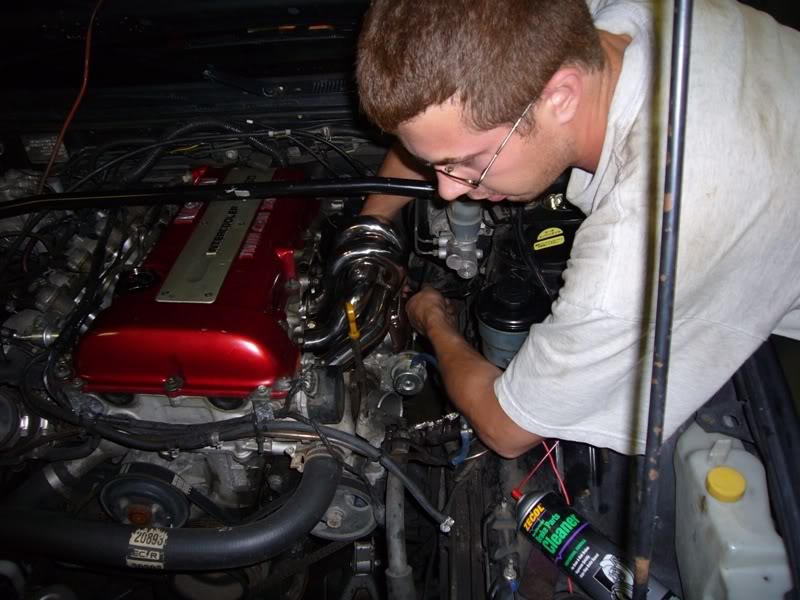
31. If your down pipe brace doesn’t fit anymore, or you never had one, you will either have to modify the original, or fabricate one of your own. You’re on your own there buddy, what do you think this is, I’m not going to do all the work for you.
32. Install the new gasket between the down pipe and the cat, and bolt them together
33. If you installed the extension, install the o2 sensor into it now, don’t forget to plug it in.
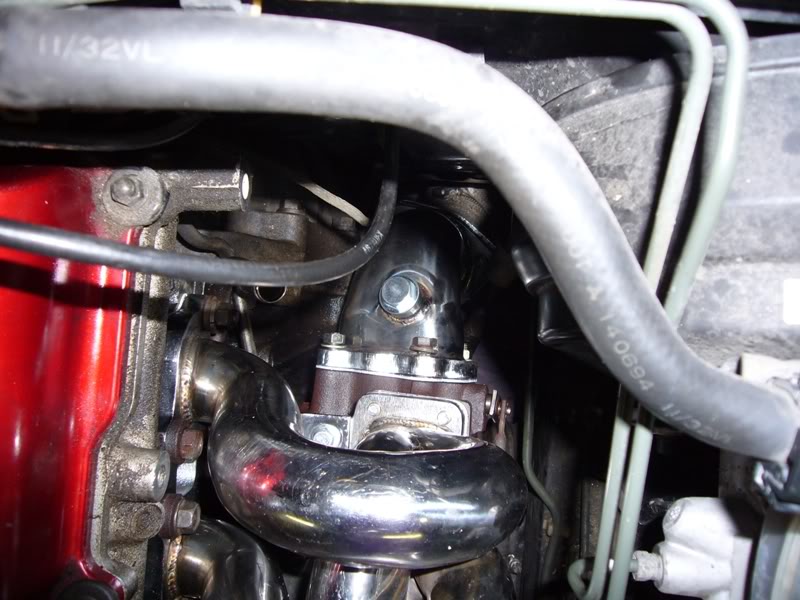
34. Your done, make sure everything is tight, drop the car down, clean the manifold check for leaks and have a victory smoke.
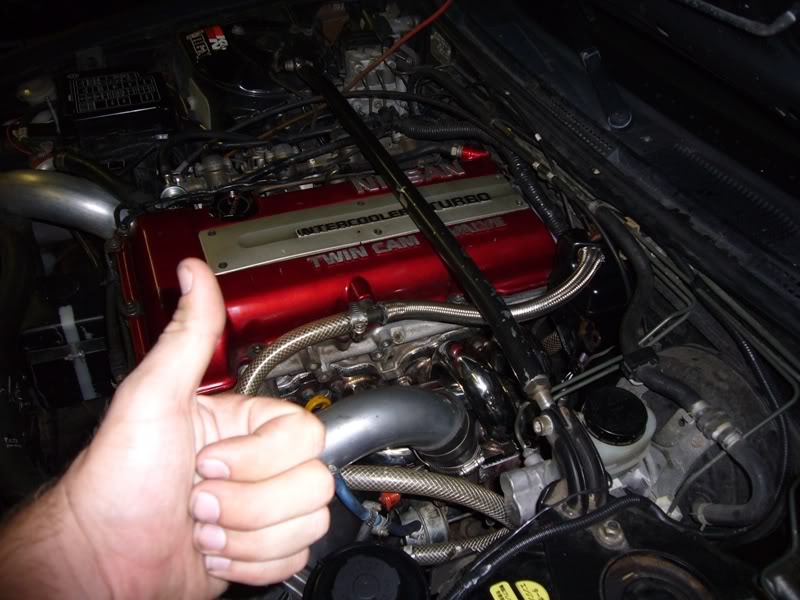
That was my write up for installing the manifold, hopefully in the coming weeks I will also do a write up on fabricating a heat shield to keep my brake fluid from boiling. For anyone who actually read that whole thing, I congratulate you, because I’m not doing cliff notes. As long as this helps at least one person, I’m happy, because at least I’m trying, I’ve gotten so much from NICO without ever really giving anything back.
Parts Review
For the price this manifold is an awesome buy, it comes with extra bracing, and beefy welds, it also comes with a large bracket that connects the turbo flange to the head flange. All gaskets and hardware were included. As far as fitment goes I am very satisfied with the fitment, everything lined up and bolted on the way it was meant to. The only thing that had to be modified was the oil separator. The difference in o2 sensor bung size was something I didn’t realize until the last minute but it is an easy part to source so it did not complicate things. The manifold started off silver but after a day of driving it, it turned to a shinny gold color, it has been almost a week and I have not noticed any unsightly discoloration. I am very pleased with the tuned tone it gave my exhaust and the increased boost response is very entertaining.
by FlatBlackIan
