
Skill Level 4 of 5
Time ~2-2 1/2 hours
Required Equipment
- Switch bulbs: Radio Shack P/N 272-1092
- Small flathead screw drivers or the like to pry open the switches
- Scissors
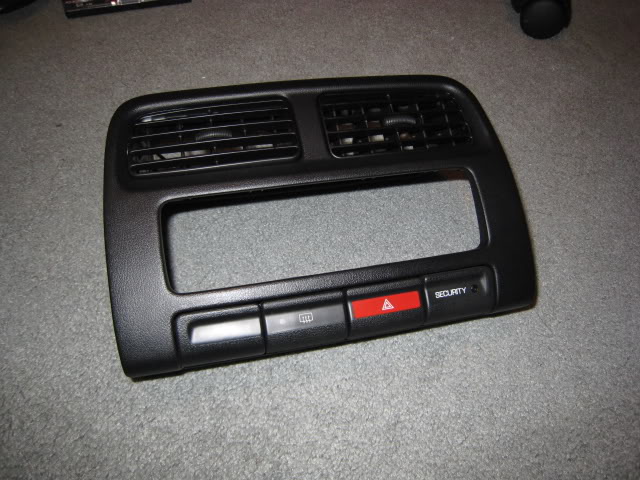
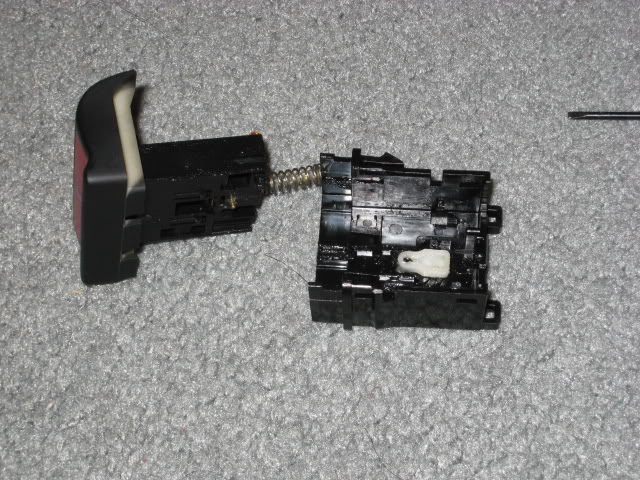
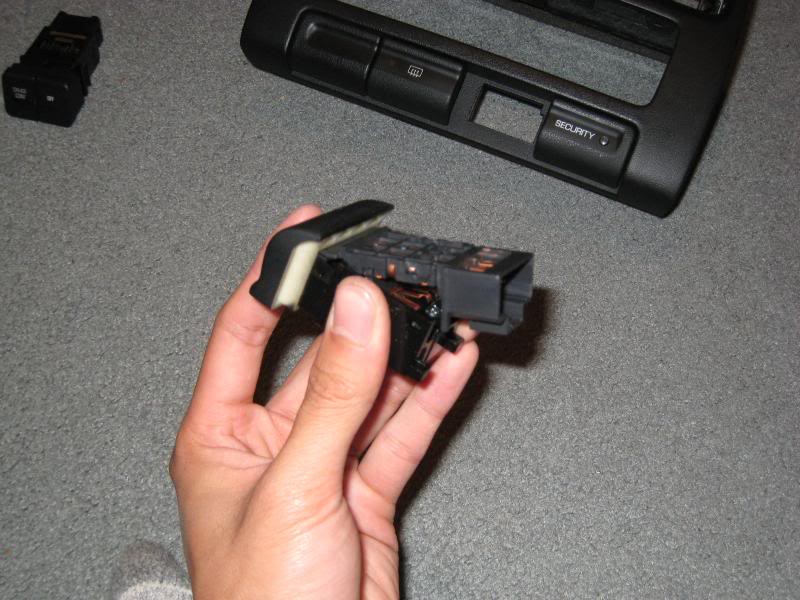
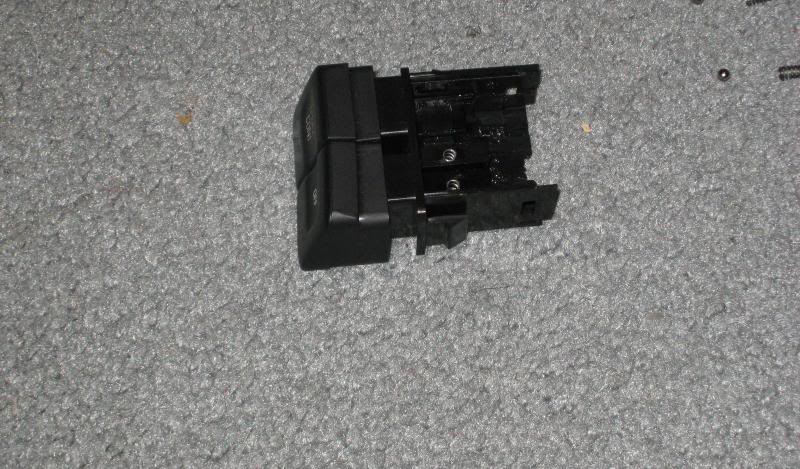
HAZARD SWITCH
Hazard and rear defogger switches
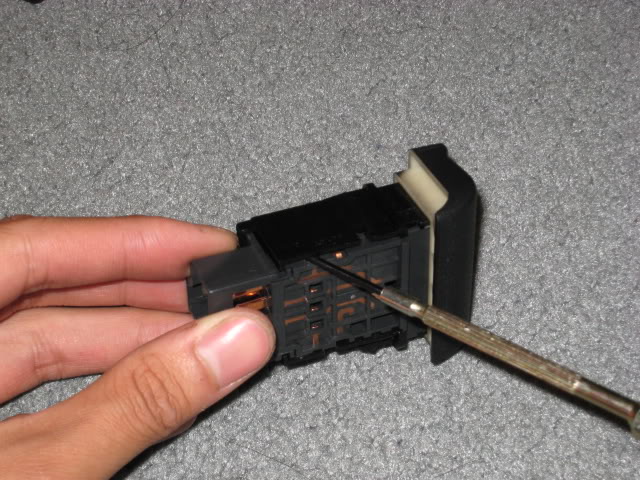
Press the tab
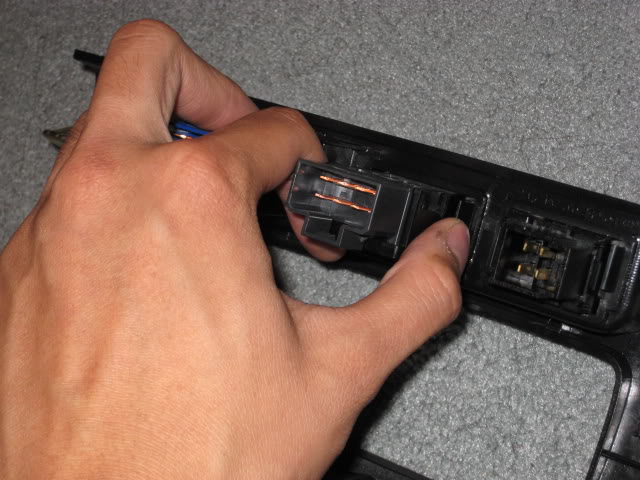
and push it out of the housing
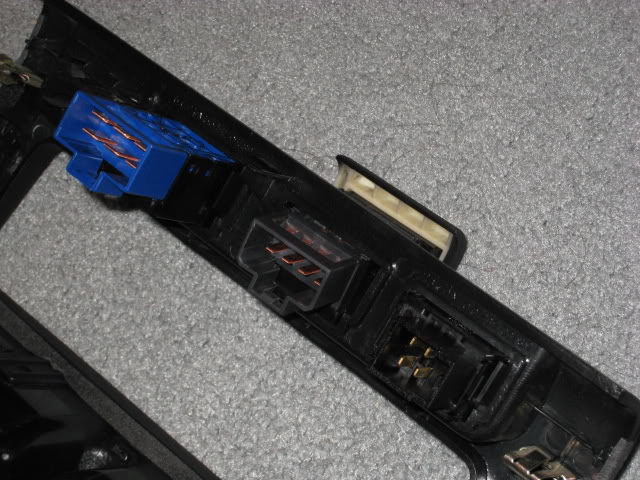
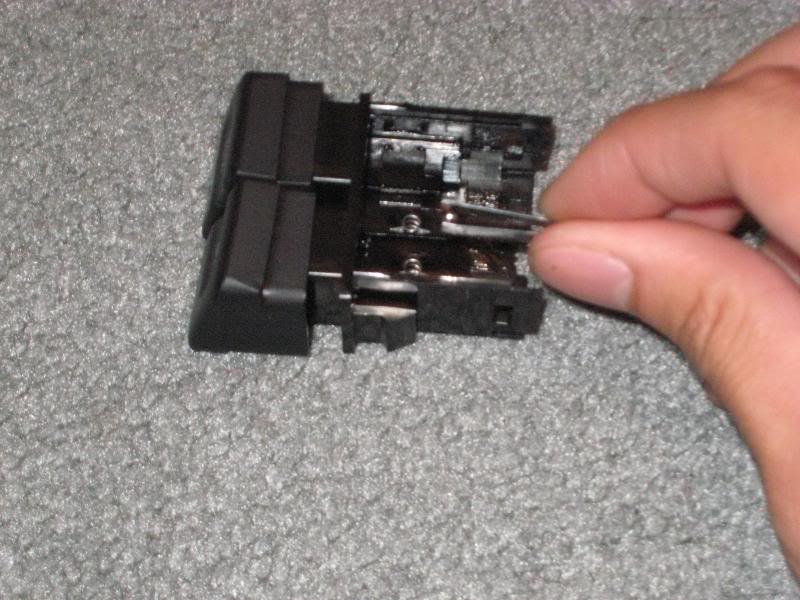
Pry on the tabs on both sides
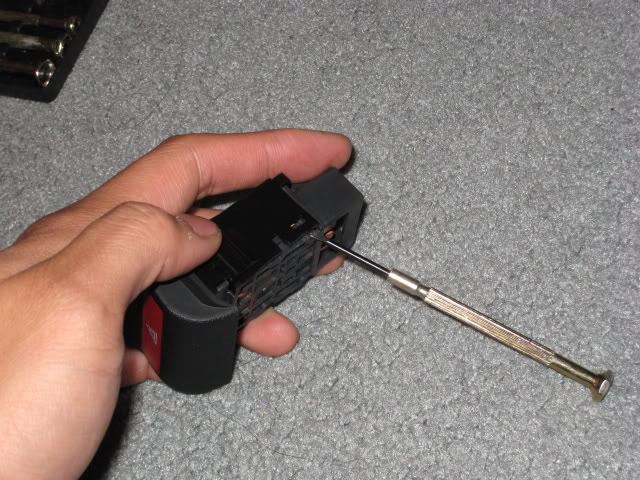
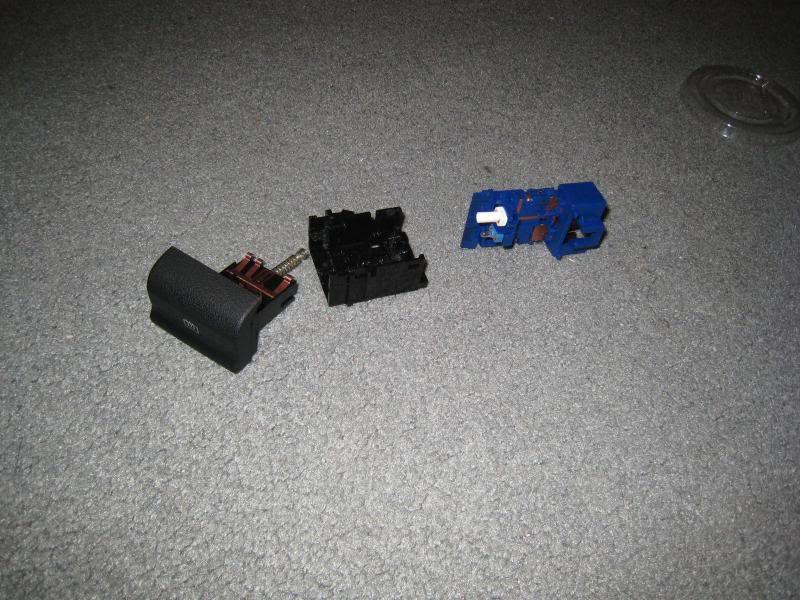
Looks like this after you got both sides out. Just lift pop the gray part
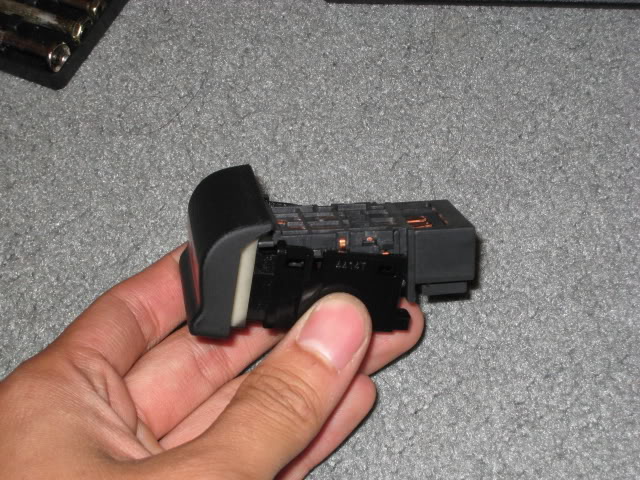
then it'll fall apart
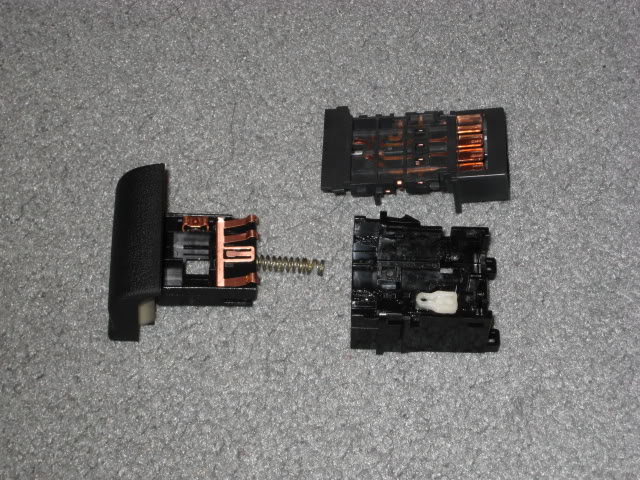
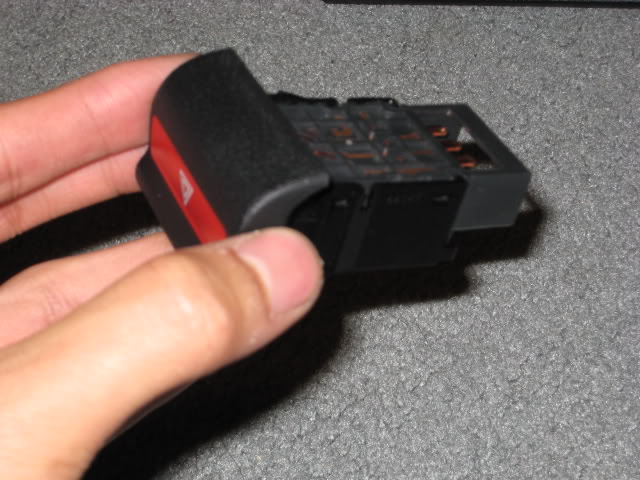
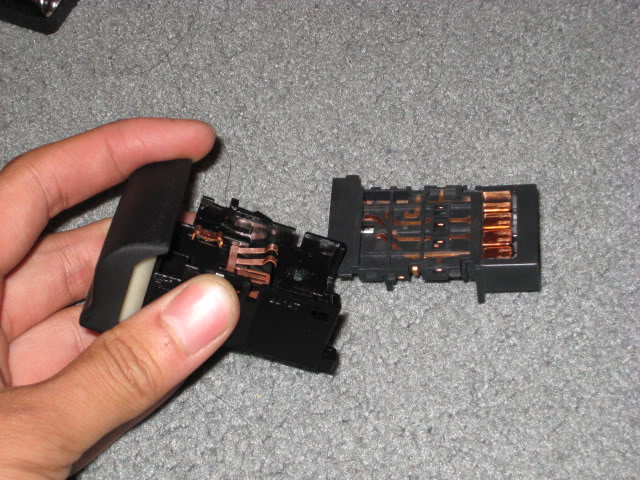
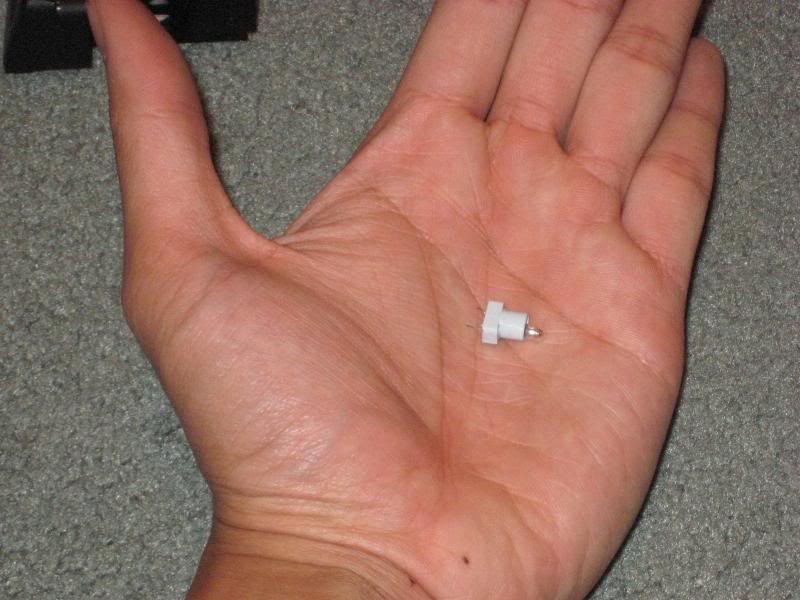
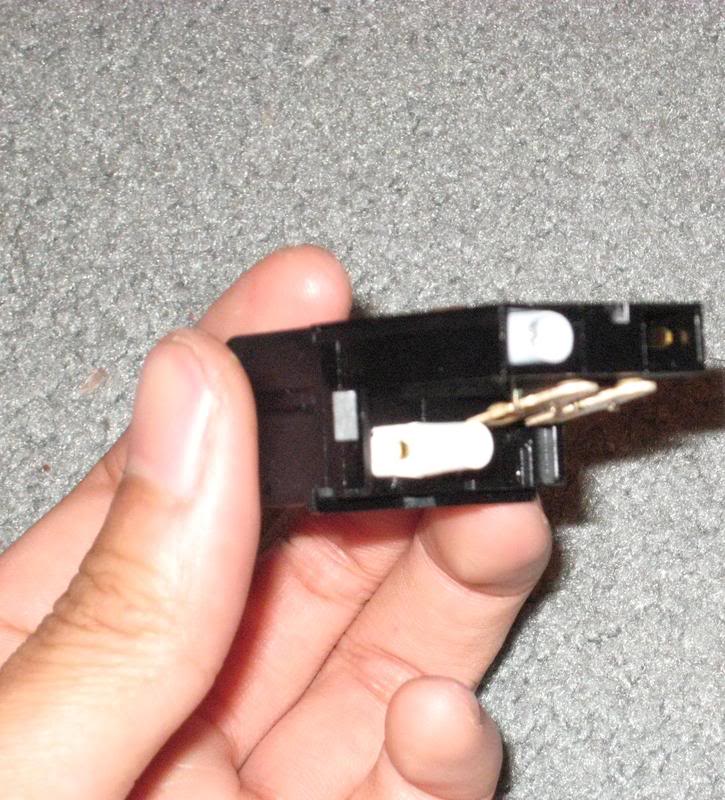
The gray piece contains the illuminating bulb. Pull it out
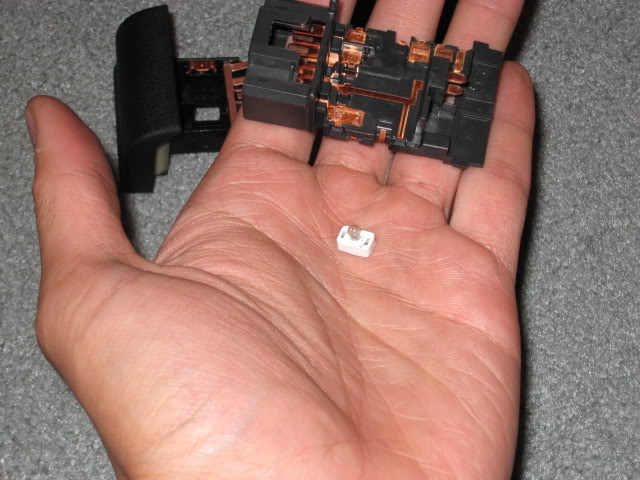
Untie the wires at the base, noting how it was wound. Discard the old bulb and install the new Radio Shack bulb
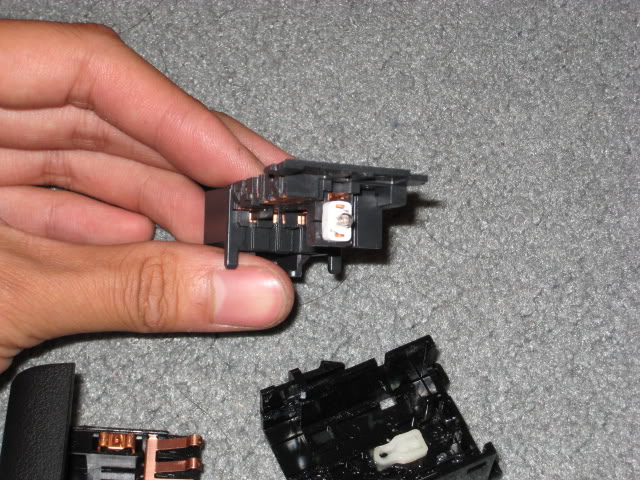
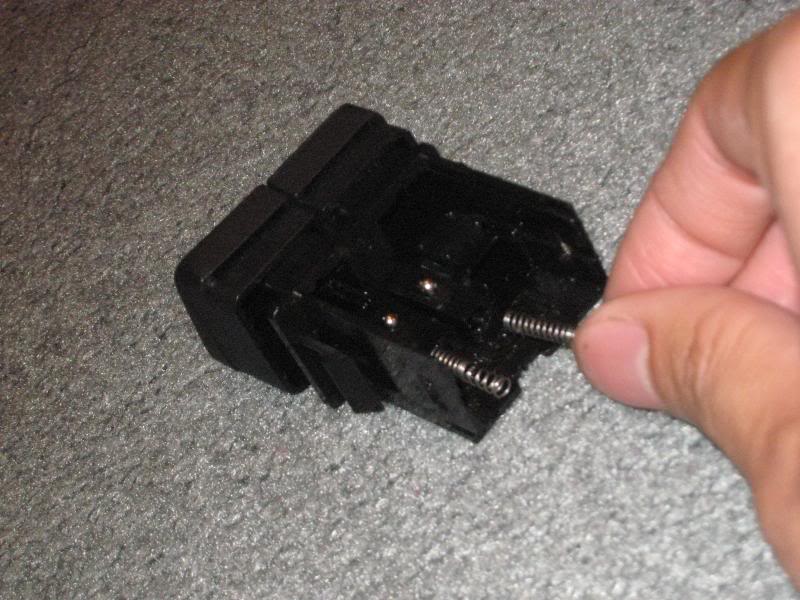
Note: It might take some time to figure how to put the switch back together. In the pic below, you'll see a little gold color pin on the piece on the left. That pin will have to fit over the little white piece on the right side. Also look at the white piece, there's a hole in it. This white piece actually rotates on top of a little black pin right underneath. If the white piece falls out, just put in back over that black pin.
Installation
Install the spring in place, then set the 2 parts so that the pin just mentioned fits over the little white piece.
Once they line up, test the mechanism by pressing it and feeling the clicks as though you're using the fully assembled switch. Now hold the 2 parts you just put together firmly...
Insert the gray part. Press the gray part down, while pressing the front cover against the gray part (where my index finger is)
With a little wiggle it'll pop in like this. There are 2 little tabs at the rear of the gray part which need to fit in 2 corresponding holes on the black piece

That's it. The hard part is assembling the switch back. Just be patient.
Note: If things fall apart, retry - be confident as there's almost no way you can destroy anything.
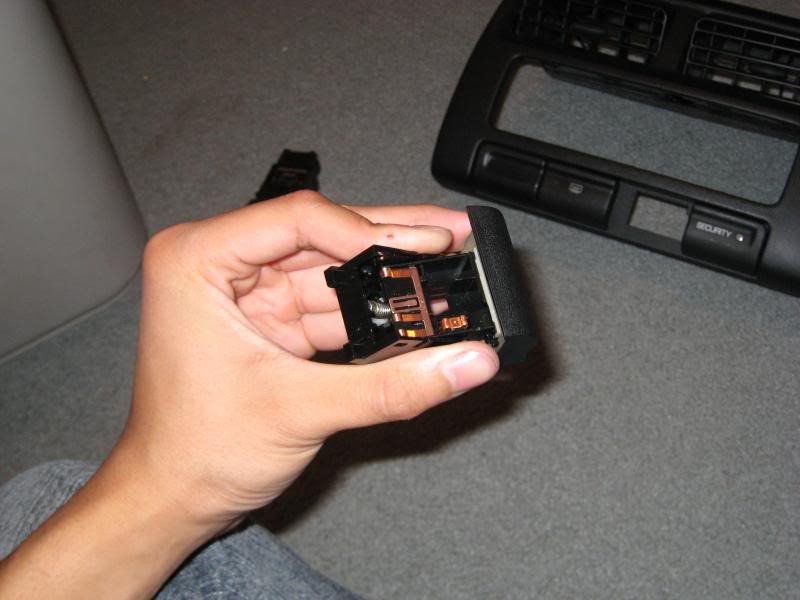
REAR DEFOGGER SWITCH
Note: It's basically the same as the hazard switch. There are 2 bulbs inside.
DIMMER SWITCH
To remove the switch, pry it out of the instrument cluster with a flathead. If it's too stubborn, take the time to pop the entire bezel out first.
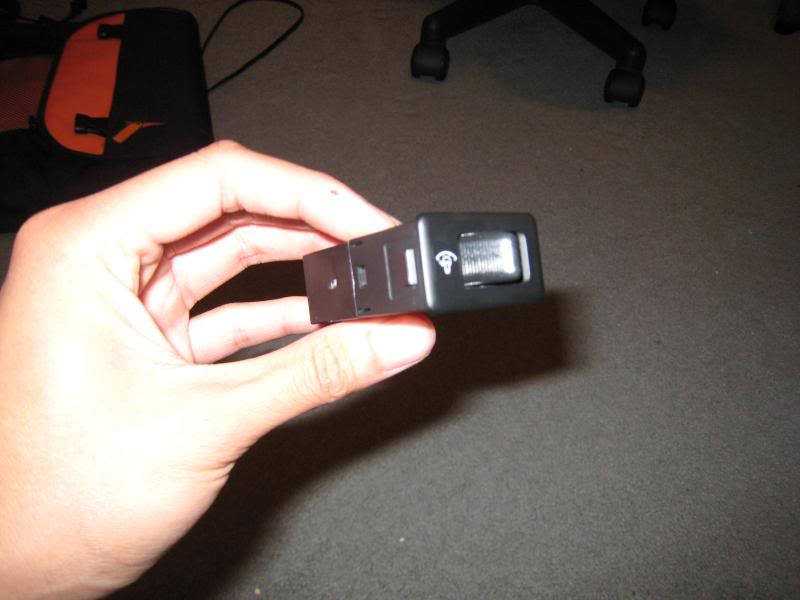
Pry the tabs on both sides and pull out
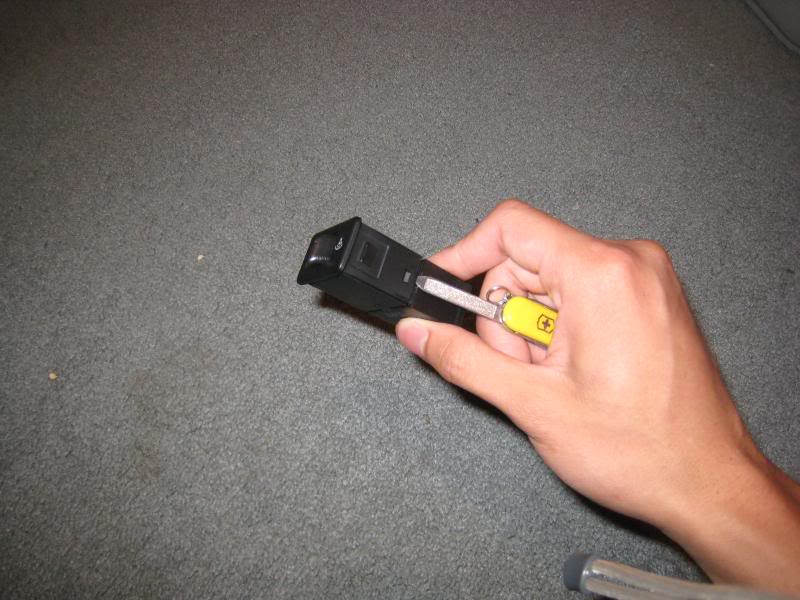
The light bulb is in the middle piece

CRUISE CONTROL SWITCH
Note: There are many small pieces inside this switch be sure to this in a clean area where you can control small flying pieces.
Pop the switch out of the cluster bezel just like the dimmer switch.
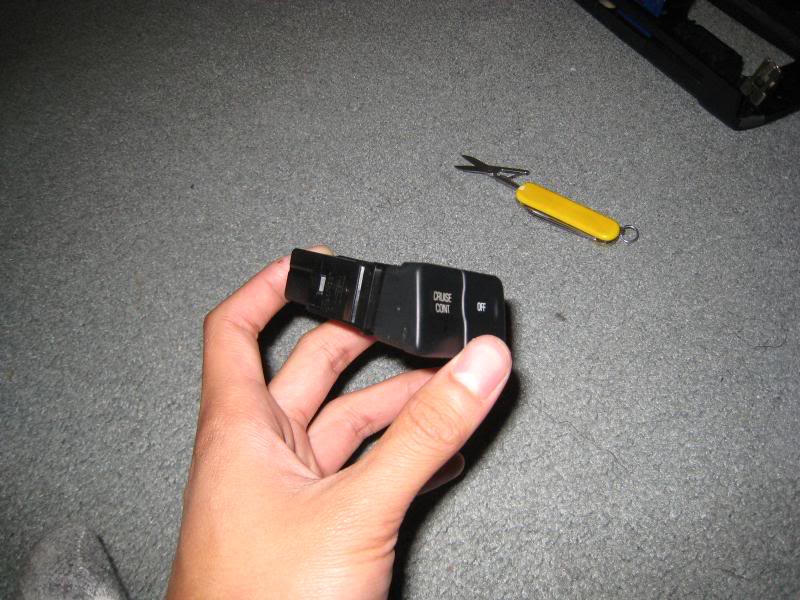
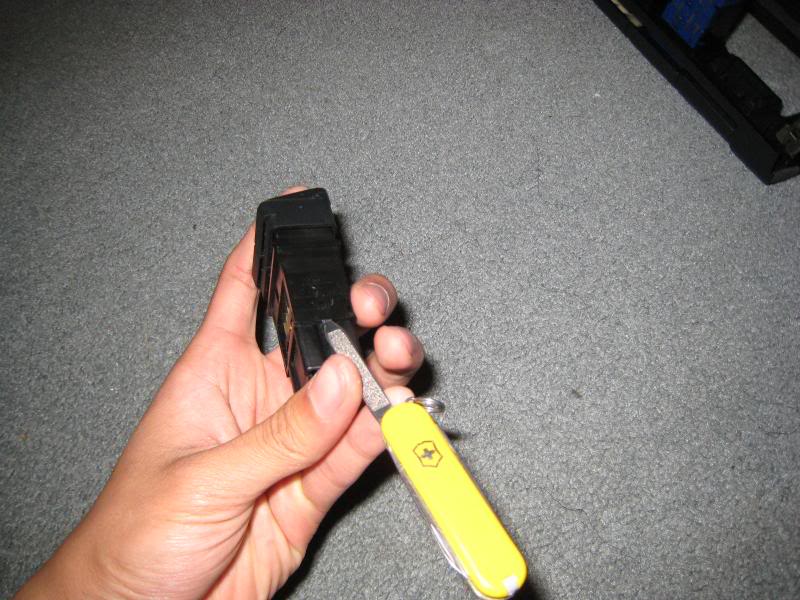
Pry on the sides and pull out
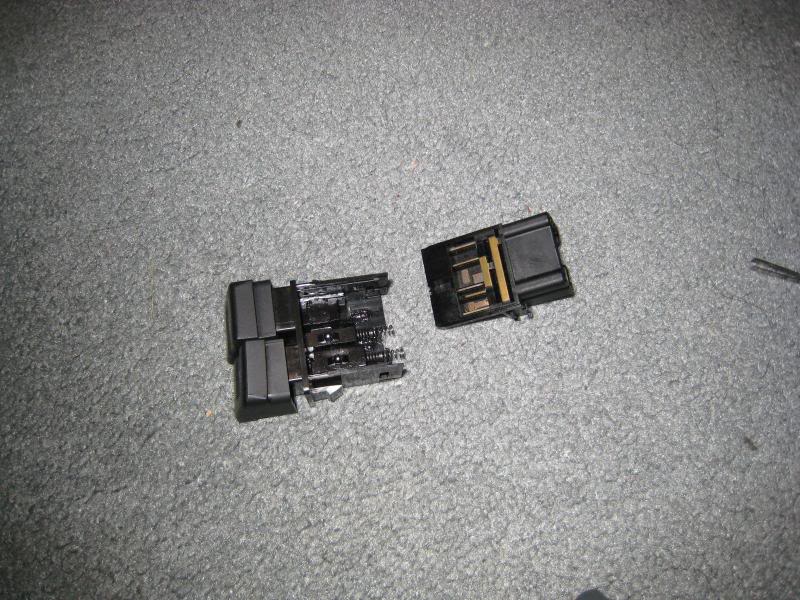
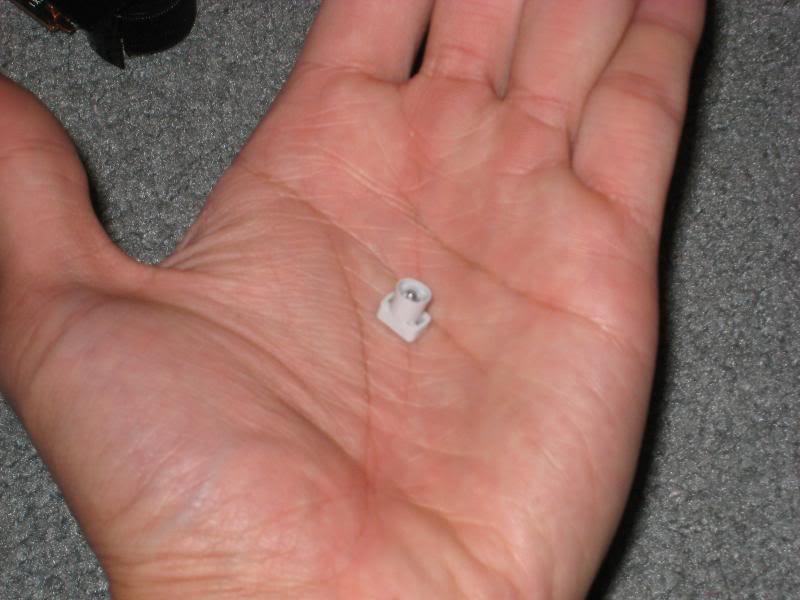
Here's why I recommend working on a surface where you can see every little part. The cruise switch contains: 2 small black plastic holders2 tiny 3mm long springs2 little balls 2 15mm springsDon't lose them!

In case things fall apart as you disassemble the switch, follow these pics. First put the 2 3mm springs in the holes
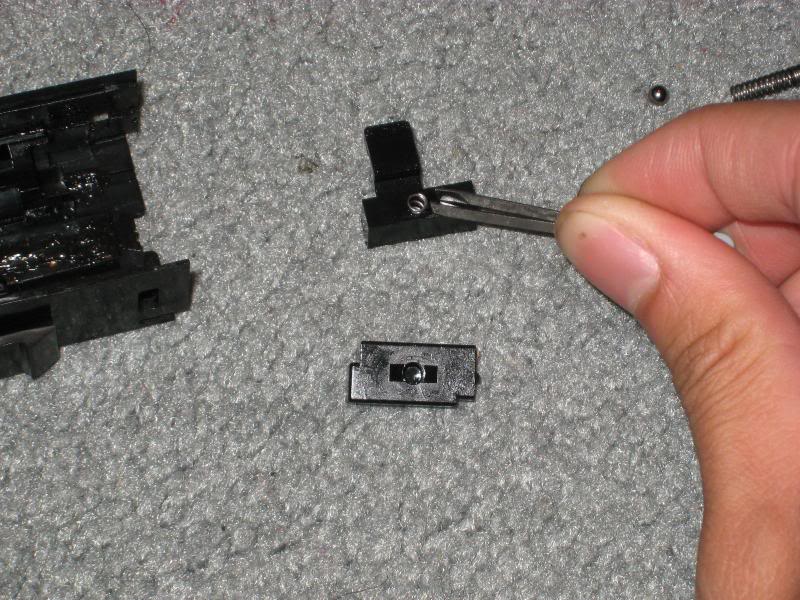
Put the 2 black plastic holders in place
Drop the 2 balls on top of the little springs and press them in slightly
Install the 2 longer springs in
Here are the 2 bulbs you'll replace
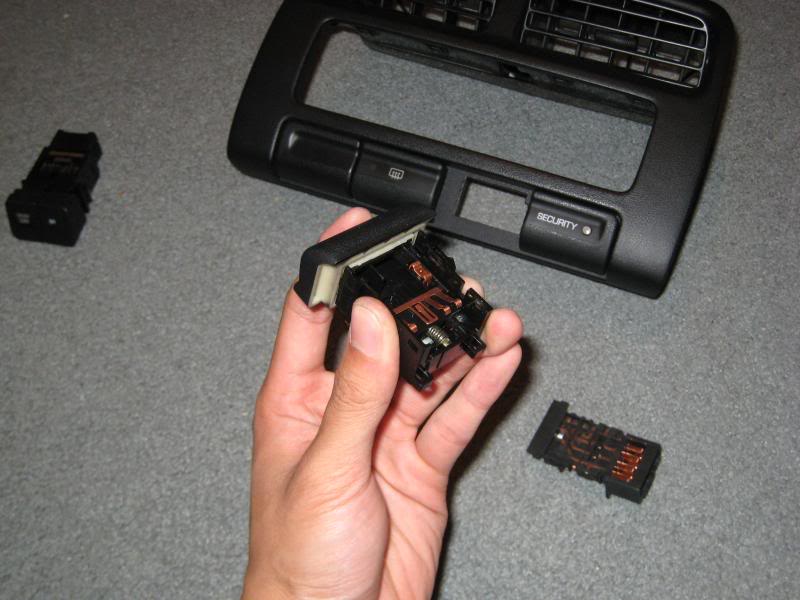
Installation: Snap the switches back into the cover and secure it back in to the dashboard, in reverse order of removal.
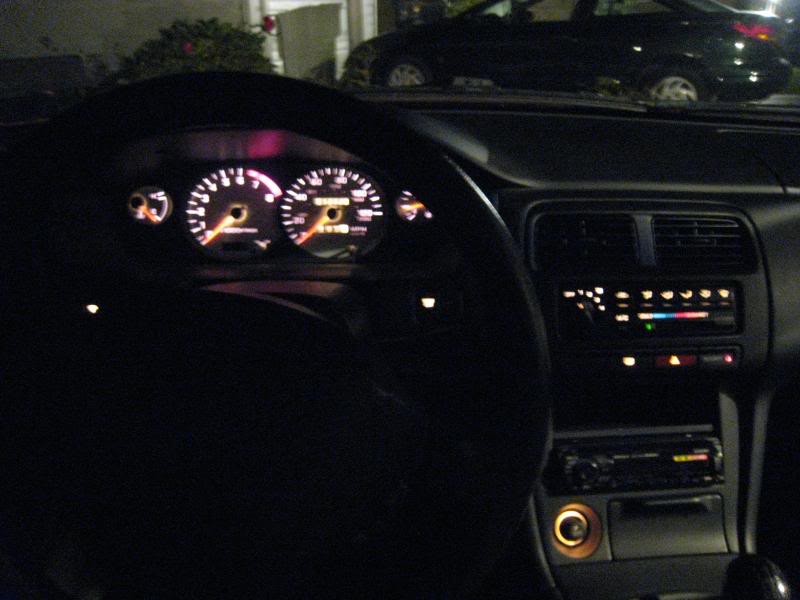
RESULTS
Inside the car
Originally written by hai1206vn