THE WRITE UP:This is a write up on how to change out subframe bushings on the Nissan S14 chasiss. No. Not the little spacers that go in between the top and bottom of the subframe, we’re talking THE ACTUAL BUSHINGS. Doing this job on your own will save you lots and lots…did I mention loads of money. Although. Unless you have invested in a hydralic press there will be a small dollar amount to burden. This cost should not be too much (2-3 hundred at the most). You can expect aproximately four or five hours of shop labor. It is a potentially lengthy project, but well worth it for hard core driving enthusiasts.
Additionally, Here’s something I learned while dealing with the shop: make sure they know what they’re doing! Of course that’s common sense, but the shop I had work on pressing my bushings out and in said they knew what they were doing. Come to find out they had not used their press in a long while and even more so that they have not actually replaced subframe bushings before! I guess they thought I was a sucker or something. But, as nice of a guy I try to be I feel like I got F****D over. So make sure that whom ever you go to knows their S**T!
Honestly the was the first time I had pulled my subframe all the way off, so I learned from a few mistakes I made and I hope you can learn from them too!
First off, you will have to know that your car will be completely undrivable for about a week (or in my case two or three, but it should not be more than a week.) Yes it is possible to get this done in a day, but it takes lots of preporation and tedious work to pull a subframe. So I suggest that a schedule be made, here’s an example:
• Day one: >>PREP<< get all tools together and borrow or buy what you don’t already own...it’s worth the investment to own your tools.
• Day two: >>WORK<< get lots of good rest the night before.
• Day three: >>BUSHING PRESSING<< take the frame to the shop and go back to do other work on your car.
• Day four: >>REINSTALATION<< more hard work, but well worth it!
Second, know that you should have a four wheel alignment performed when all is done. (although I put my subframe back in and it drove reletivly the same as far as alignment goes…but the road feel was greatly improved due to solid bushings.) So this would be a good time to upgrade any suspension components front or rear.
Third, you’re better off raising the entire car off of the ground, but it can be done with just the rear end up. It’s just easier to pull the subframe straight down instead of at an angle.
Fourth, have on hand these items:
• Air drive gun
• Various size metric open ended wrenches and sockets with ratchet wrench (you’ll need sizes 10mm to 21mm.)
• I suggest both regular and gear wrenches (ratcheting)
• Large wooden blocks to set rear hub assemblies on
• Jack and stands to raise and support vehicle
Ok, so here’s the day by day breakdown on changing subframe bushings:
• Day one: >>PREP<< gather ALL tools and make sure there is plenty of workspace to move around in. Park, raise car and set up jack stands in correct positions. Get some good sleep cause you will be wrenching on and lifting things quite a bit.
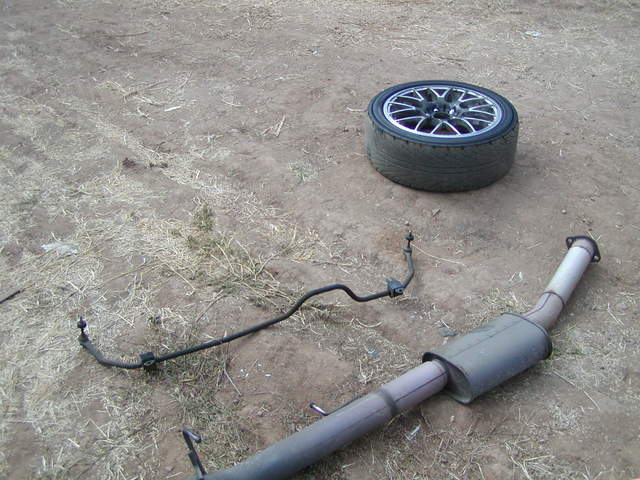
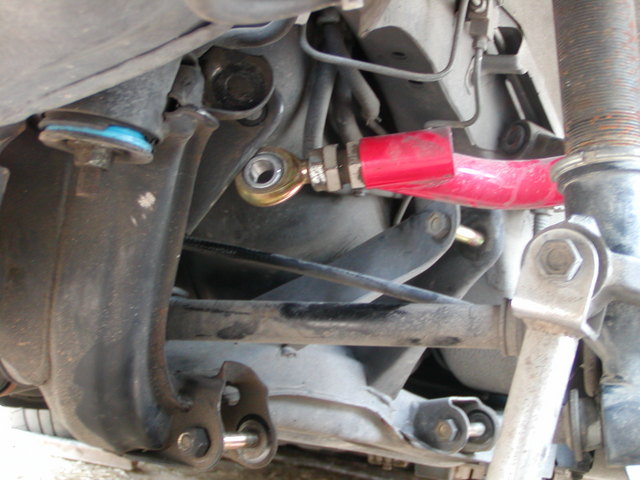
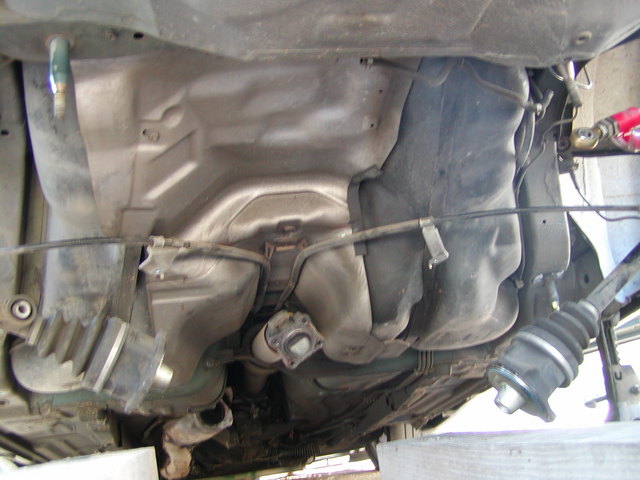
• Day two: >>WORK<< pull off rear tires, disconnect all suspension arms from the subframe side (not from the rear hub spindle) NOTE!: place wooden blocks underneath the rear hubs for support as not to strain the struts and their top mounts, remove exhaust, remove swaybar, disconnect half axles, unbolt e-brake bracket from top of subframe, disconnect drive shaft from differential, place your hydralic floor jack under differential, unbolt the subframe nuts at each of the four corners ( I’d recommend removing these in a kitty corner pattern), lower the entire subframe together (check the balance of the assembly on the jack to make sure it does not fall off and crush your face.), remove the differential from the subframe, clean up for the day, making sure the car is left in safe condition to be left unattended.

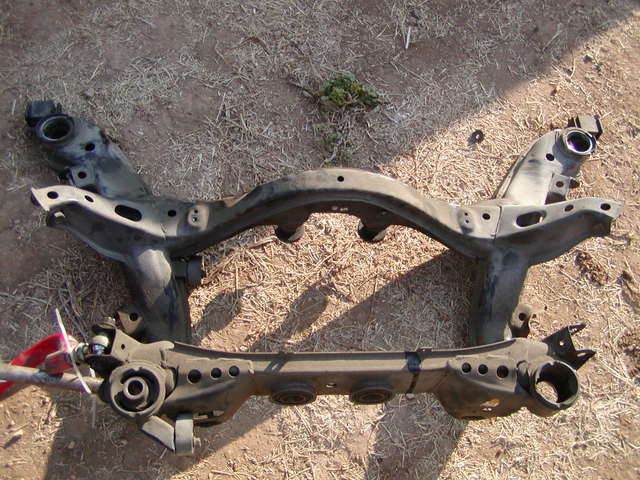

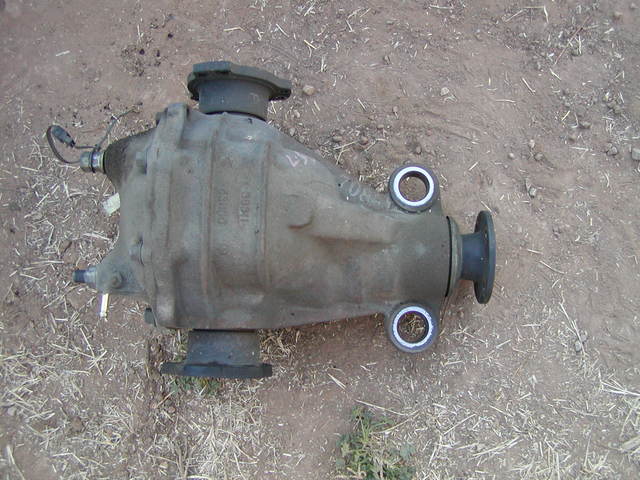
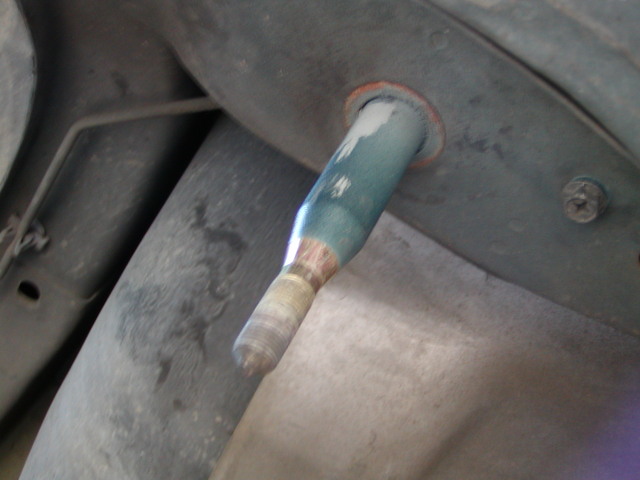
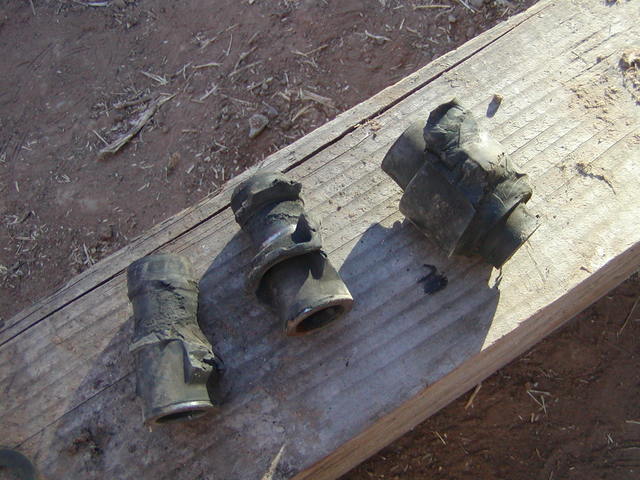
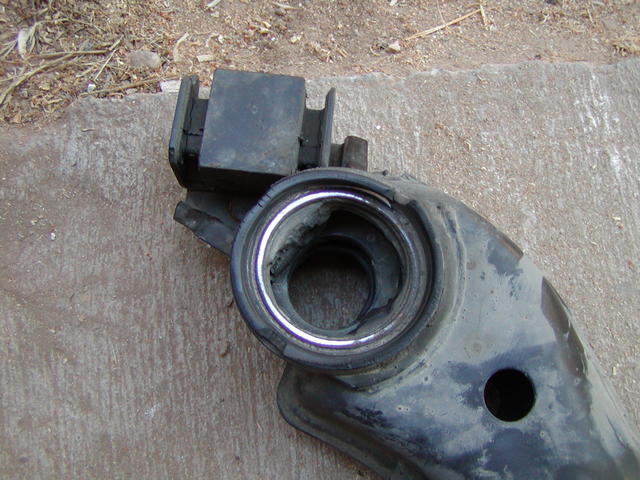
• Day three: >>BUSHING PRESSING<< if you have a press and know how to use it safely, by all means press out the old bushings and press in the new ones. If you don’t have a press, take the whole subframe to a shop and have them do it. Allow the entire day for this, as most press jobs are tedious and simply take some time. This day would also be good to replace any other parts that need replacing, or changing diff fluids, and whatnot while the cars is completely up in the air.
•
• Day four: >>REINSTALATION<<inspect the subframe bushings to make sure they are installed plum with rings and that they fit extremely snugly, reinstall the differential to the subframe (it may be possible to do this after reinstalling the subframe to the underside of the car, but it sure is easy when the assebmbley is out of the car), in order to get the jack under place the subframe on two medium length wooden blocks to hold it about a foot or so above the ground, position jack under differential and raise up in a balanced fashion and carefully roll the frame into place under the car (if you are inserting subframe spacers NOW is the time to do it. Other wise you will have to do all this work over again), raise frame up until it fit loosely under each stud, check all four corners for proper alignment of holes to studs and make any adjustments if necisary, jack up the entire assembly until it pushes taughtly on the underbody of the car, making sure the jack will not be rolled away; get under there (again if using spacers, NOW is the time to insert them) with the air gun and rebolt the nuts onto the studs. Now’s the fun part of reconnecting all the suspension arms that you had to take off the subframe. Take the time to check all your nut and bolt fastening to ensure things will not come loose on their own, reinstall sway bar, reinstall exhaust, replace wheels onto hubs and tighten accordingly, clear out all tools and wooden blocks from underside of car, lower car back to the ground and listen carefully for any possible play of subframe clanking or spacers clicking. Ideally you won’t hear too much except for a little settling of parts. Once the car is back on the ground take her for a little test sli..uh..uh, cough, cough…test spin. Spin…yeah! that’s what I MENT to say. Once you’ve made sure that everything is solid and to your liking clean up all your tools and bask in the glory that is solid subframe!

If you have any questions or want more pictures on the process feel free to contact me via email at [email protected]. God luck and have fun sliding!
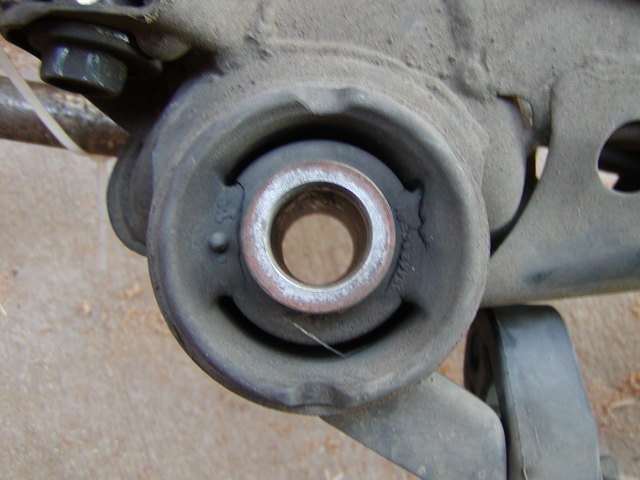
NOTE: see image names for descriptions