Yea, I am mostly going to be using my car for a daily and auto-x/drift car so I dont know if I reallyhave to have it certified but I think as long as it passes tech, then it should be fine for most events excluding like fromula d an stuff like that.
The subframe already has energy supsension bushings in it. I will be replacing other bushings like the diff bushings and front ones if I have any that won't be replaced by my multi link like the steering bushings.
The over fenders are dmax and I have to say that they are one of the best looking fiberglass aero parts that I have seen. I know they are simple in design but I had some really botched up ones before so I appreciate something that fits. They are +40mm and I may be pulling them wider depending on my wheels.
I will have an update pretty soon here. Just waiting on my computer guy to fix my s***.lol
s14 Build
-
bllabong89
- Posts: 485
- Joined: Tue Sep 01, 2009 1:25 pm
- Car: 1995 s14
Re: s14 Build
Well I have a little bit of an update. I can't find my SD card that had pics of the main hoop in the car so this is the best I can do.
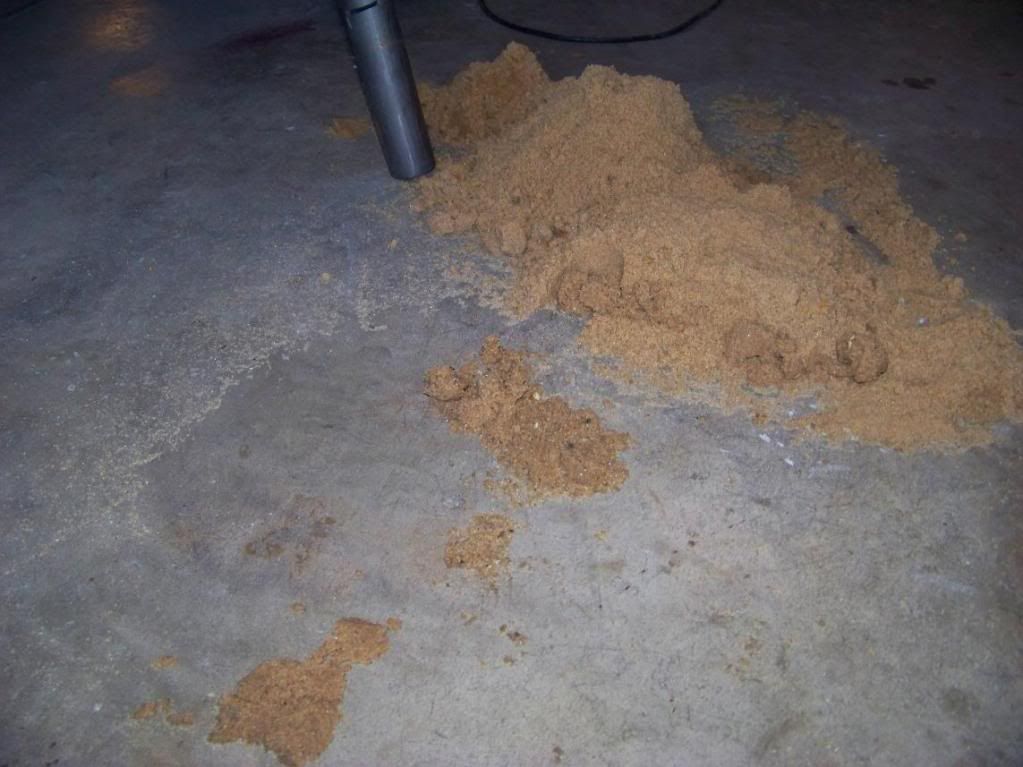
And this is after I got the sand out. This isn't even all of it but it probably cut the weight in half and made it much easier to work with...
After I had the hoop back out and emptied, I worked on cleaning up the garage a little bit and pulling some stuff off.
I got the rear brake lines off so I can get started on removing the undercoating back there and what do ya know...more rust.lol

After that stuff was removed, I moved on to getting the rest of the plastic pieces off and the weather seal stuff.
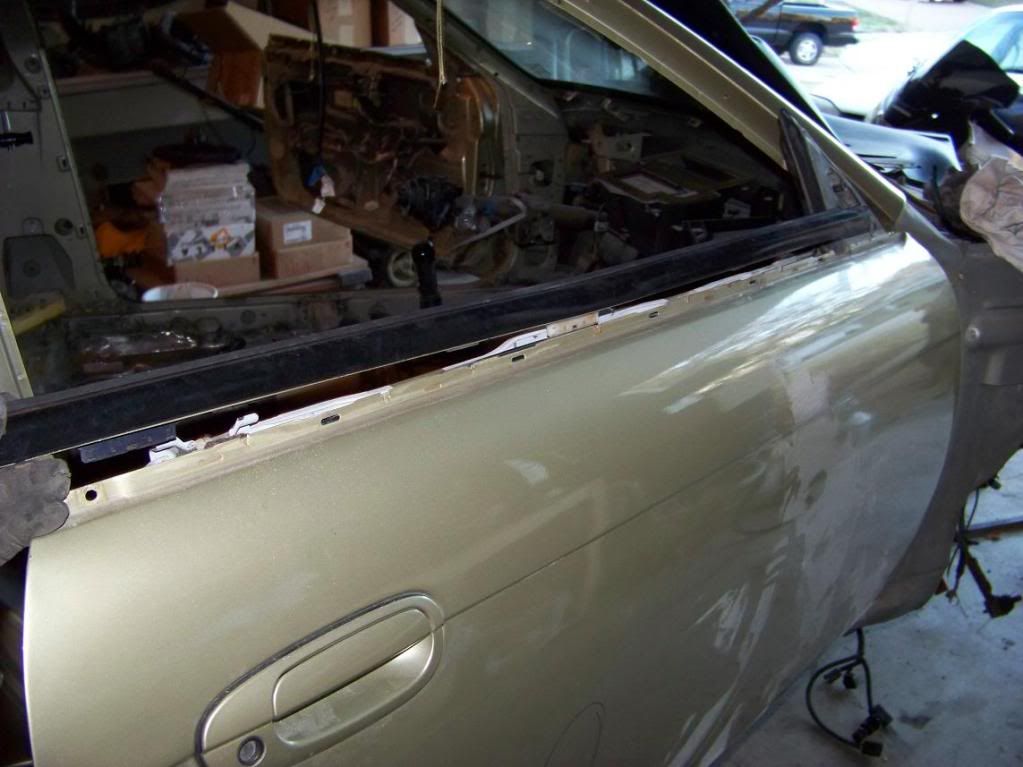
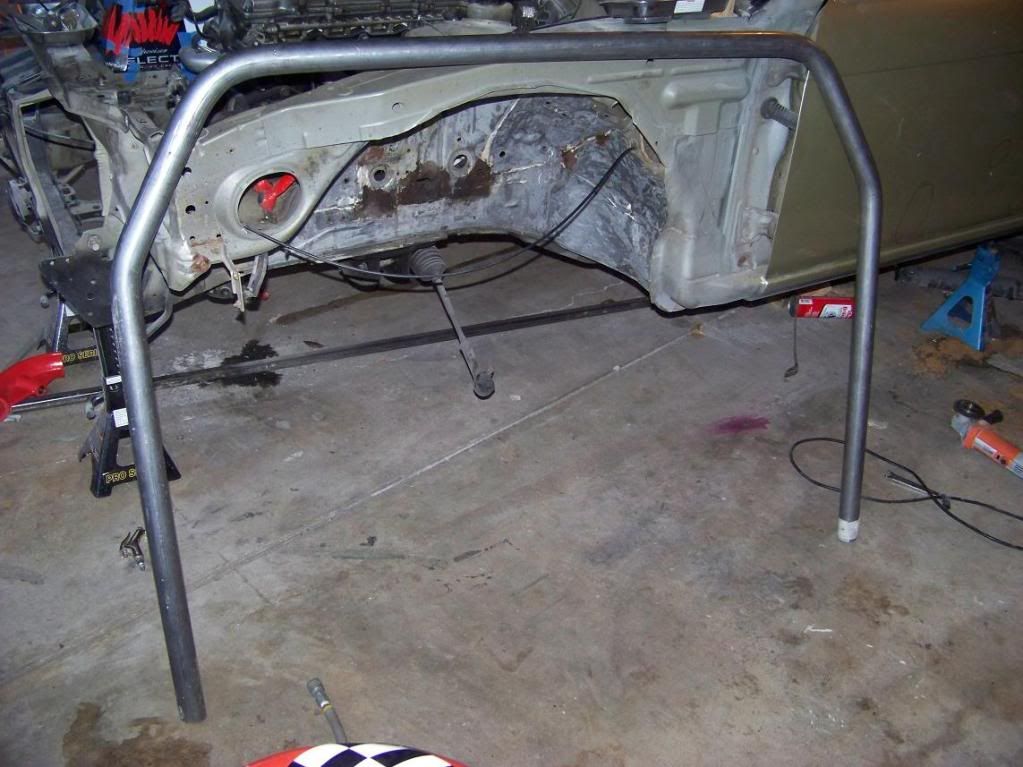
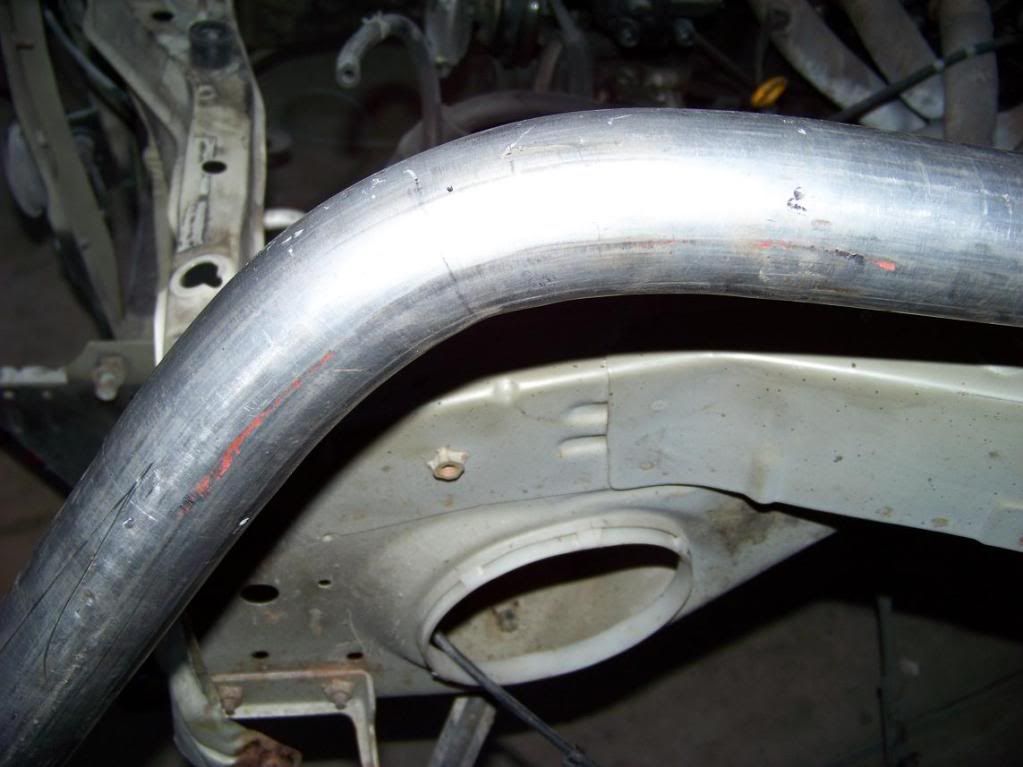
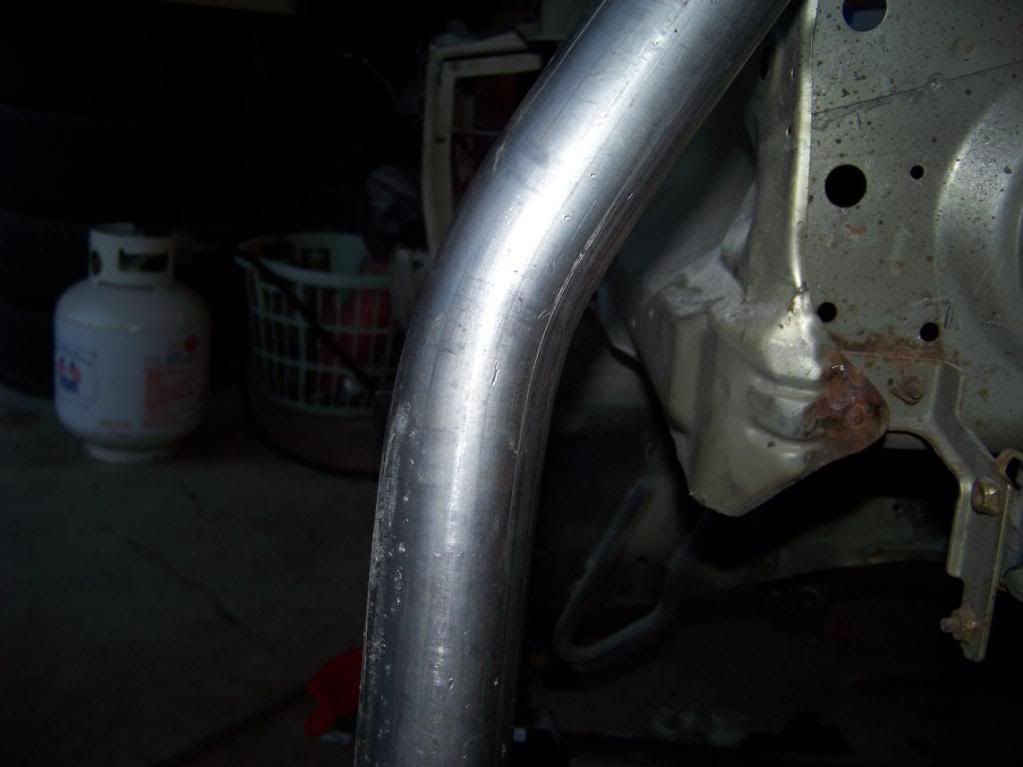
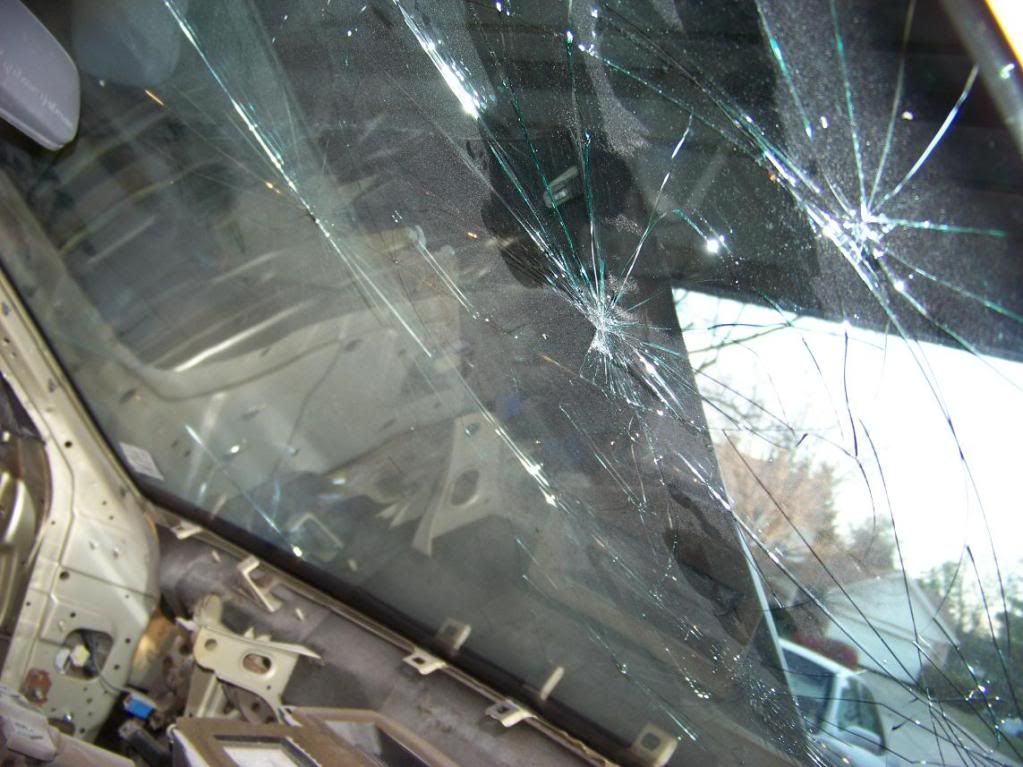
And heres a couple of other pics...This is what happens when you put a main hoop with very long downward tubes in your car by yourself.
And this is after I got the sand out. This isn't even all of it but it probably cut the weight in half and made it much easier to work with...
After I had the hoop back out and emptied, I worked on cleaning up the garage a little bit and pulling some stuff off.
I got the rear brake lines off so I can get started on removing the undercoating back there and what do ya know...more rust.lol
After that stuff was removed, I moved on to getting the rest of the plastic pieces off and the weather seal stuff.
And heres a couple of other pics...This is what happens when you put a main hoop with very long downward tubes in your car by yourself.
-
bllabong89
- Posts: 485
- Joined: Tue Sep 01, 2009 1:25 pm
- Car: 1995 s14
Re: s14 Build
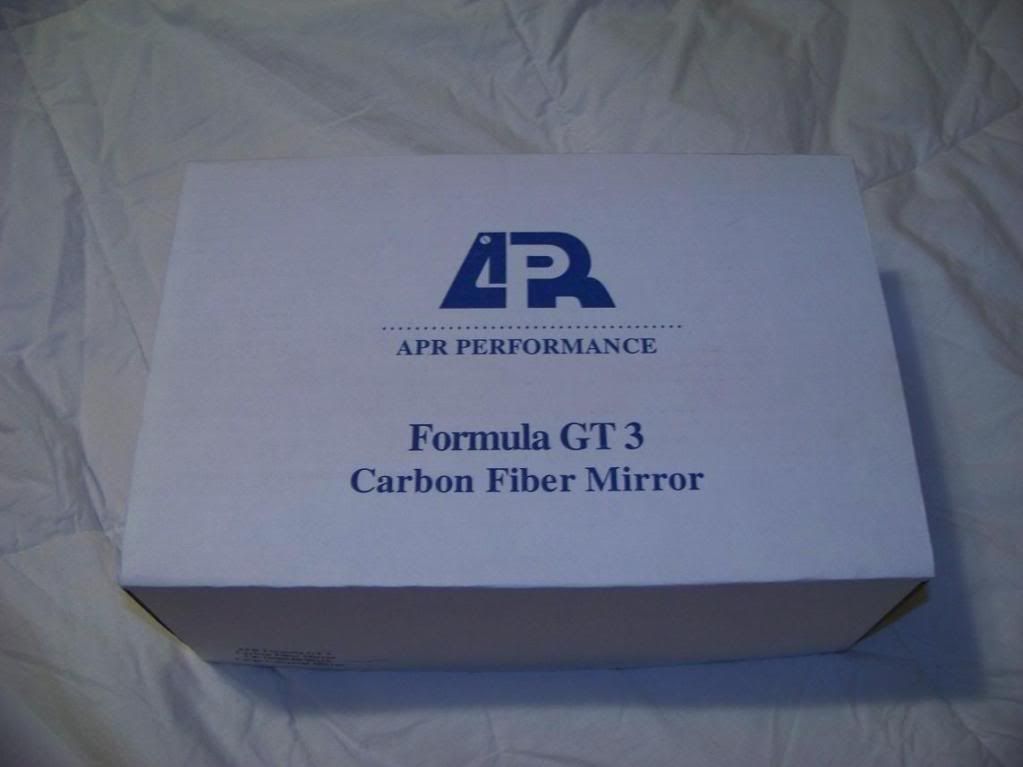
So...I didn't get any work done. When my girl says she will help...that means we will have a car day on sunday now.lol. Well atleast I got some goodies. She had ordered me some mirrors for part of my xmas present and didn't want to worry about having them at her crib so she gave them to me early...
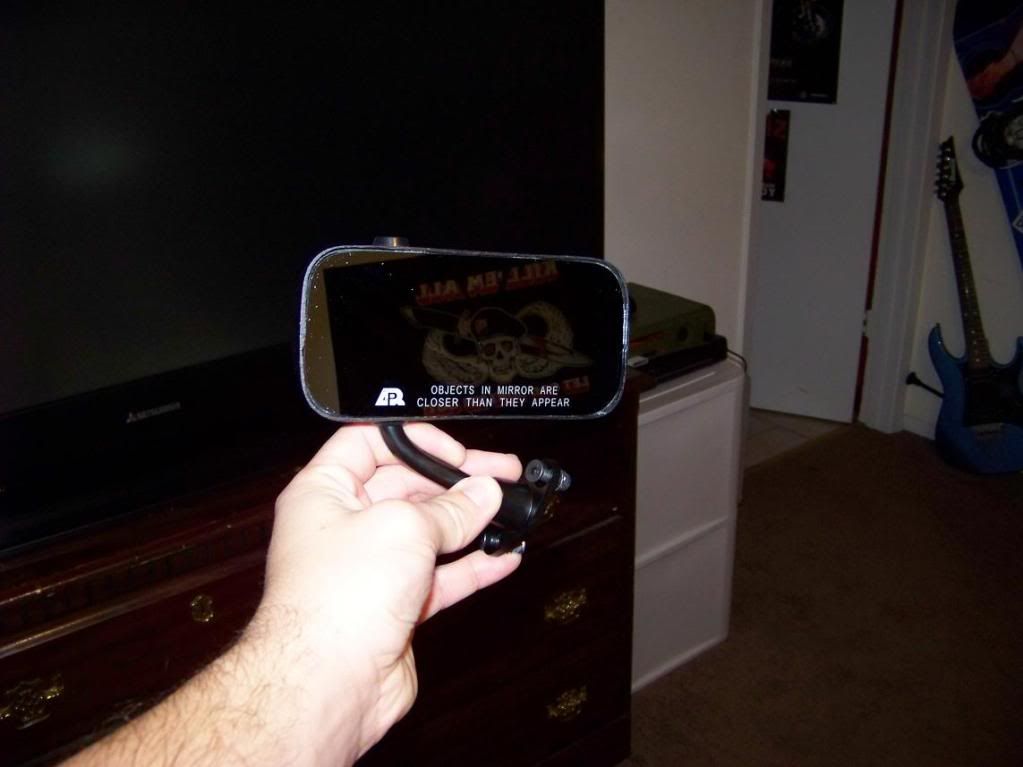
And look at that... A nice big fingerprint.lol
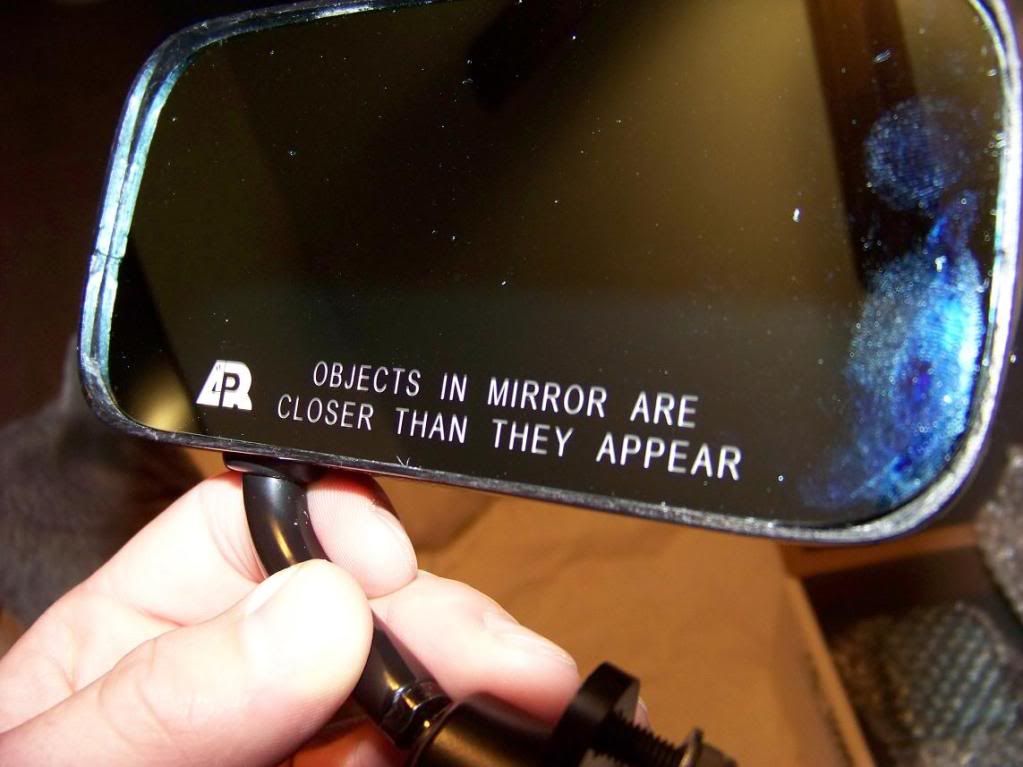
And look at that... A nice big fingerprint.lol
Re: s14 Build
whats the difference of you moding in your real quater panel and riveting it on then moding it?
-
bllabong89
- Posts: 485
- Joined: Tue Sep 01, 2009 1:25 pm
- Car: 1995 s14
Re: s14 Build
I suppose its just preference. Using the fiberglass +40 over fenders allows me to run a larger wheel/tire combo then just doing a pull and I could even do a pull on the overfenders to make them 60-70+ or more. Check out ill Garage's S13.
Pulling the original quarter panel will let me run a larger wheel but it would take alot of work to run as large of a wheel as I could with the over fenders. Another plus is that if I smack something with the rear, I just have to drill the rivets and replace the panel compared to having to cut off the entire quarter panel and then welding the new one on, smoothing everything out and then pulling it again to match the other side.
I also like the way it makes the rear look wider. It just has a more aggresive look.
Re: s14 Build
oh geez i wrote mod instead of mold. sorry, i was in my C programming class while looking at this and my teacher kept saying modular and mod.
lol so, molding it would be a easier replacement and install than riveting it in place?
lol so, molding it would be a easier replacement and install than riveting it in place?
-
motoman399

- Posts: 2982
- Joined: Mon Oct 09, 2006 9:18 pm
- Car: 98' wrecked (RHD coming soon) 240
- Location: Eureka, Ca
- Contact:
Re: s14 Build
nice mirrors. when you put those qp's on, make sure you put some kind of undercoating inside them, so if you kick up rocks it doesnt chip them from the inside out. same goes for your bumpers. happened to mine one time. looks like crap.
-
lamonsterscorner
- Posts: 68
- Joined: Thu Nov 25, 2010 2:16 am
- Car: 1989 nissan 240sx
- Location: Alpharetta, Georgia
Re: s14 Build
man great job on ur build. its lookin awesome. Are you going to paint the car at all?
-
bllabong89
- Posts: 485
- Joined: Tue Sep 01, 2009 1:25 pm
- Car: 1995 s14
Re: s14 Build
lol. It's all good. Nah, molding it would be way more difficult than just riveting them in. I will be riveting mine on once I get to that point.Eion wrote:oh geez i wrote mod instead of mold. sorry, i was in my C programming class while looking at this and my teacher kept saying modular and mod.
lol so, molding it would be a easier replacement and install than riveting it in place?
Nice to know. I didn't even think of that.motoman399 wrote:nice mirrors. when you put those qp's on, make sure you put some kind of undercoating inside them, so if you kick up rocks it doesnt chip them from the inside out. same goes for your bumpers. happened to mine one time. looks like crap.
lol And yes I will be painting the car. I'm def. not going thru all this work to skeet out on the makin it pertty aspect.lollamonsterscorner wrote:man great job on ur build. its lookin awesome. Are you going to paint the car at all?
-
DamonDread

- Posts: 422
- Joined: Sun Sep 13, 2009 6:28 am
- Car: 1987 Toyota Supra Turbo
- Location: Daytona Beach, FL
Re: s14 Build
I love this thread!!
-
bllabong89
- Posts: 485
- Joined: Tue Sep 01, 2009 1:25 pm
- Car: 1995 s14
Re: s14 Build
Well I got some stuff in and did some work on the main hoop of the cage this weekend. First off I am going to show the new products.
I got my stuff that I ordered on black friday from FRSport.com...
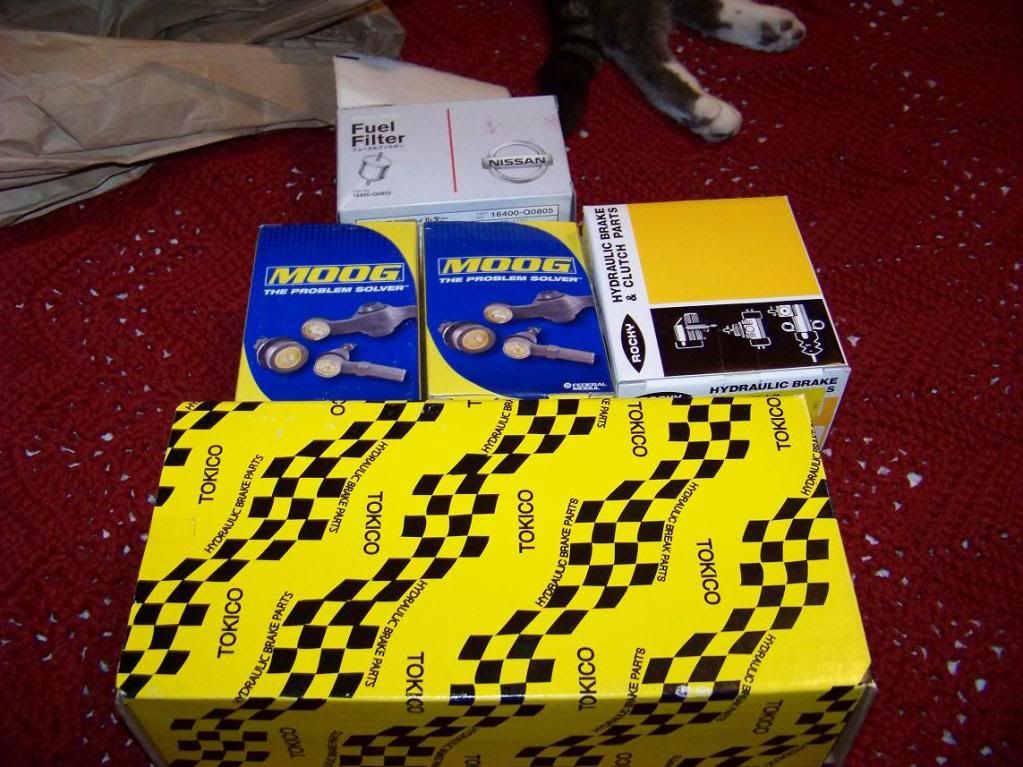
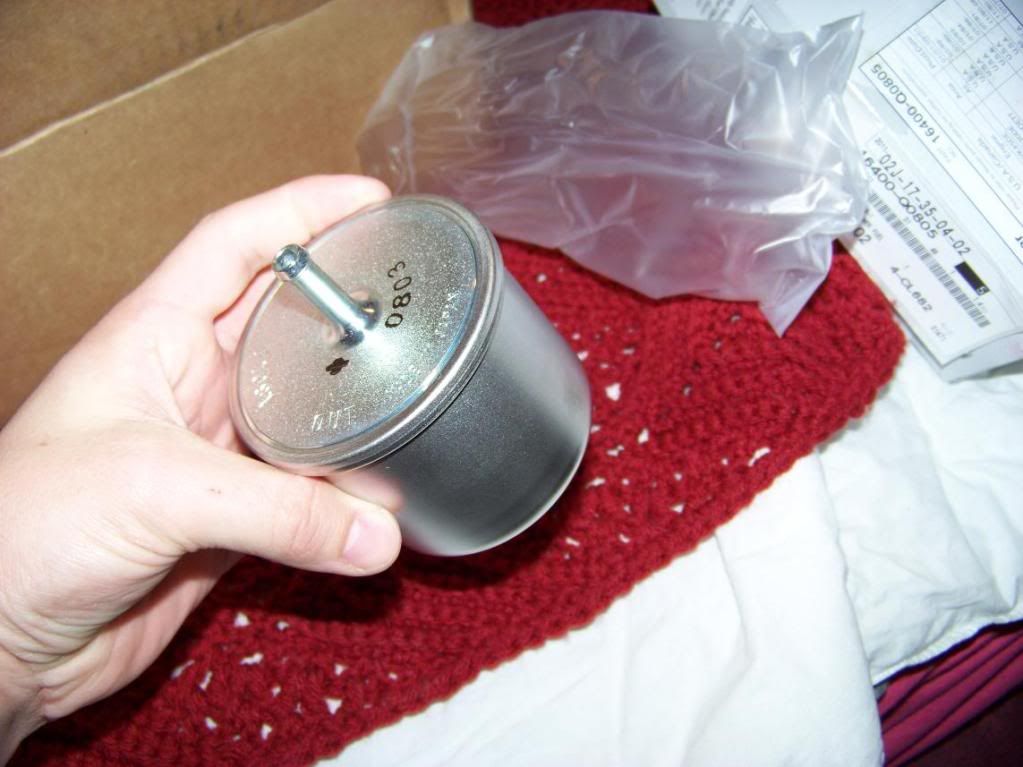
First thing is my Z32 Fuel Filter to keep things fresh and clean
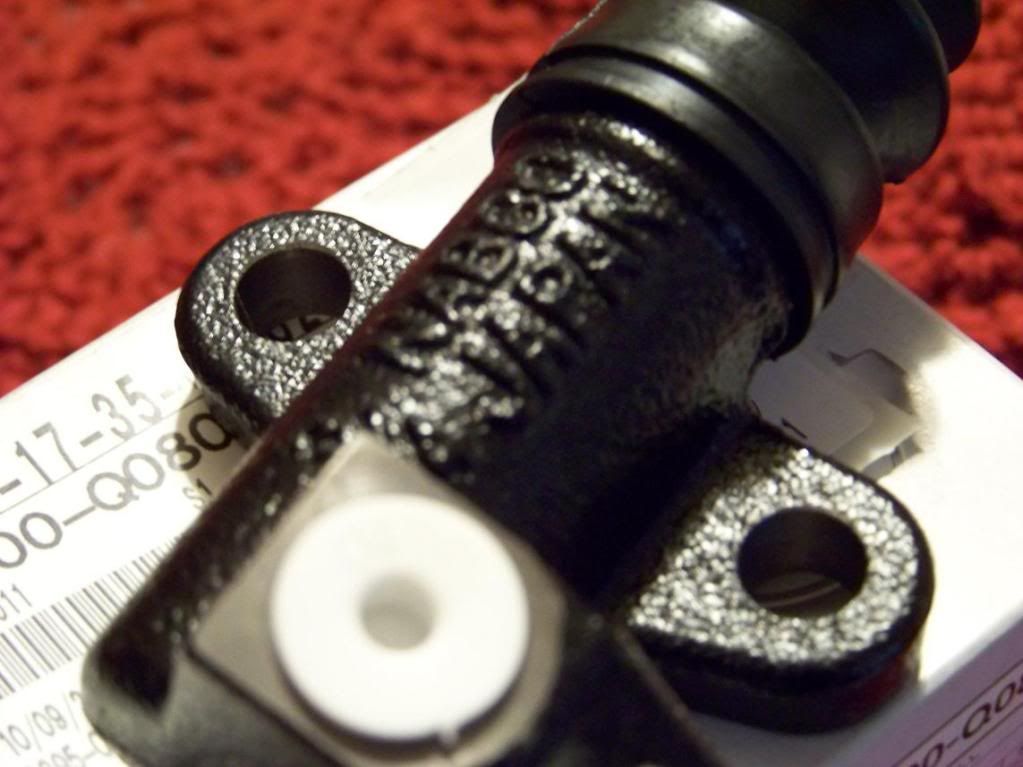
Then I got some parts to take care of the Hydraulic clutch system since I had already ordered my S.S. clutch line...Like this Tokico Clutch Slave Cylinder
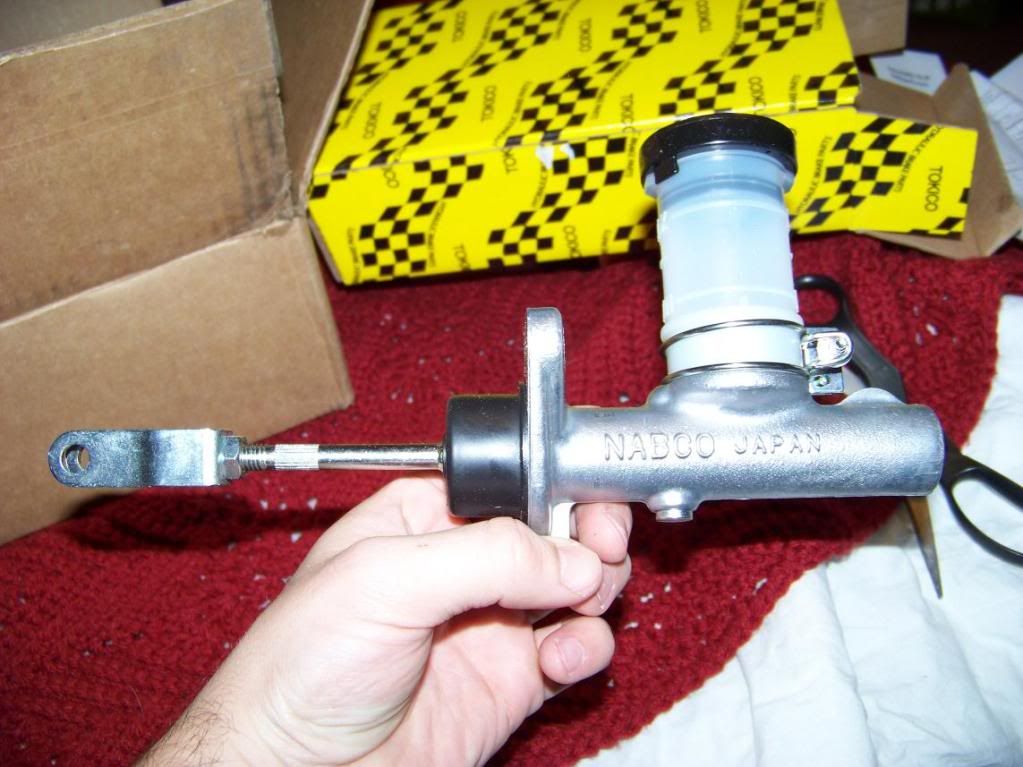
And this Tokico Clutch Master Cylinder
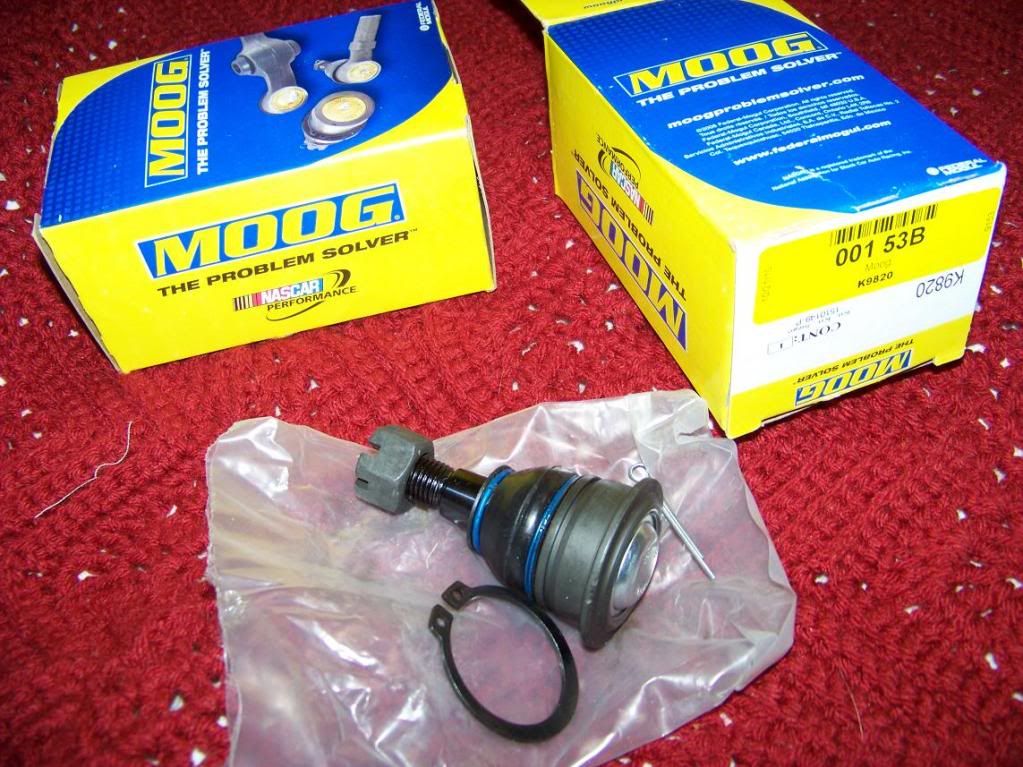
And then I also purchased some Moog Front Ball Joints
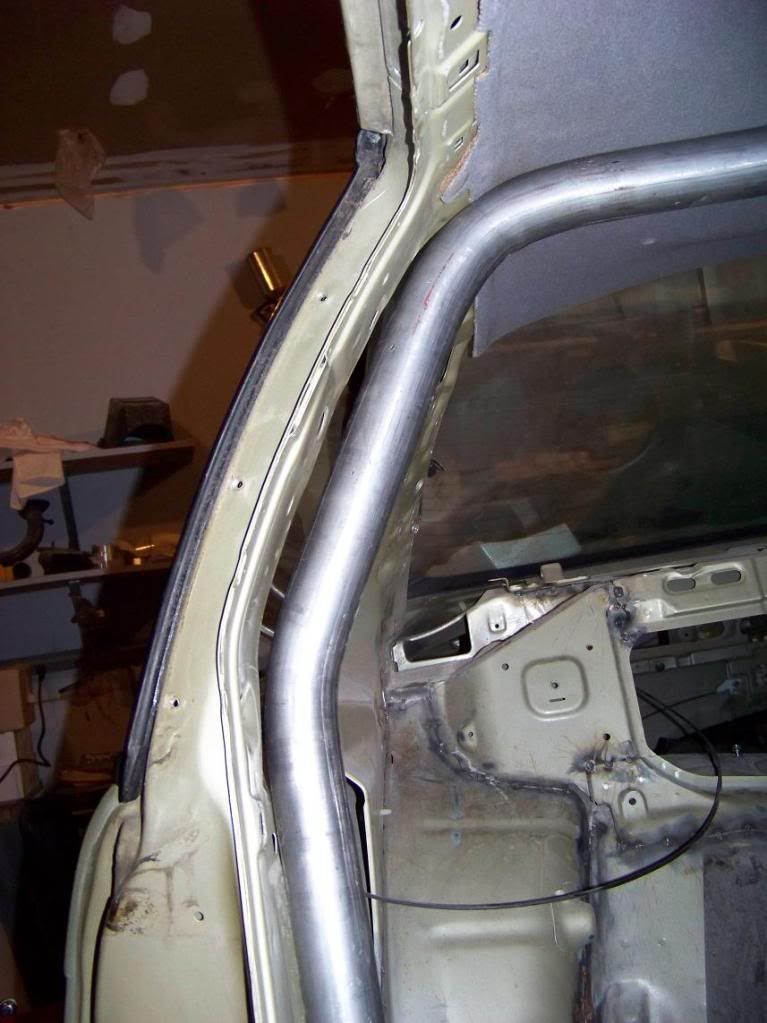
That is it for the new parts but here is a little update on the main hoop. I got it in the car and have the final cuts on the downward tube lengths.
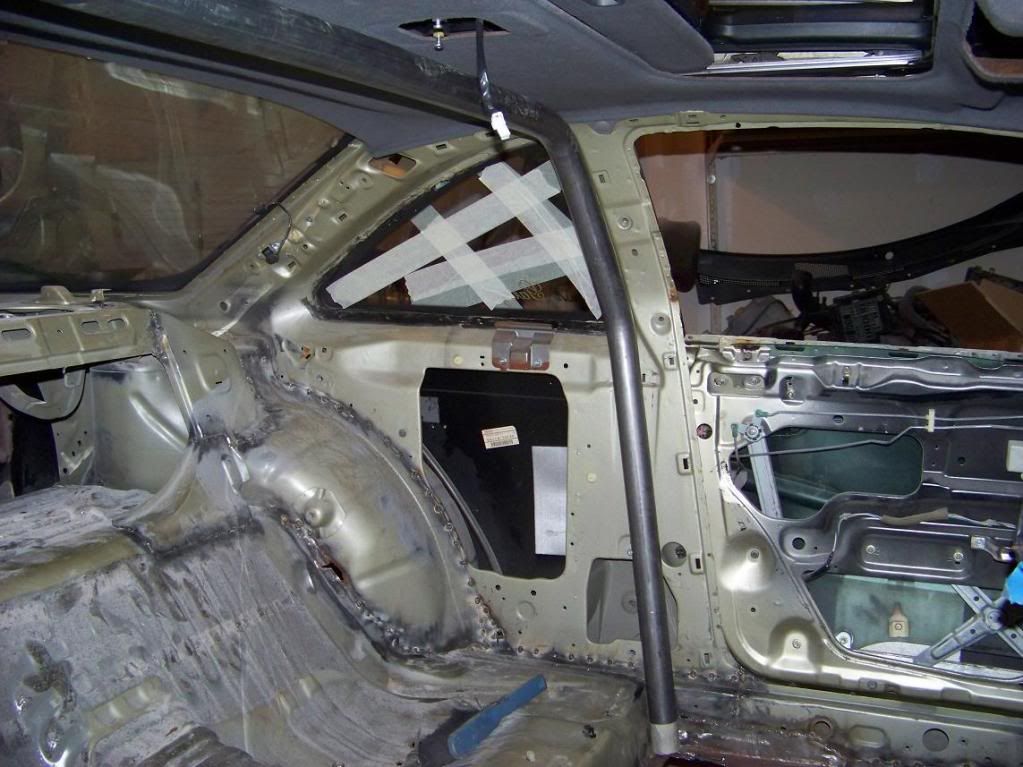
Not to bad for my first time ever using tubing for something...
Well, that is it for my car stuff but my yard and my neighbors yard were infested with the migration...lol
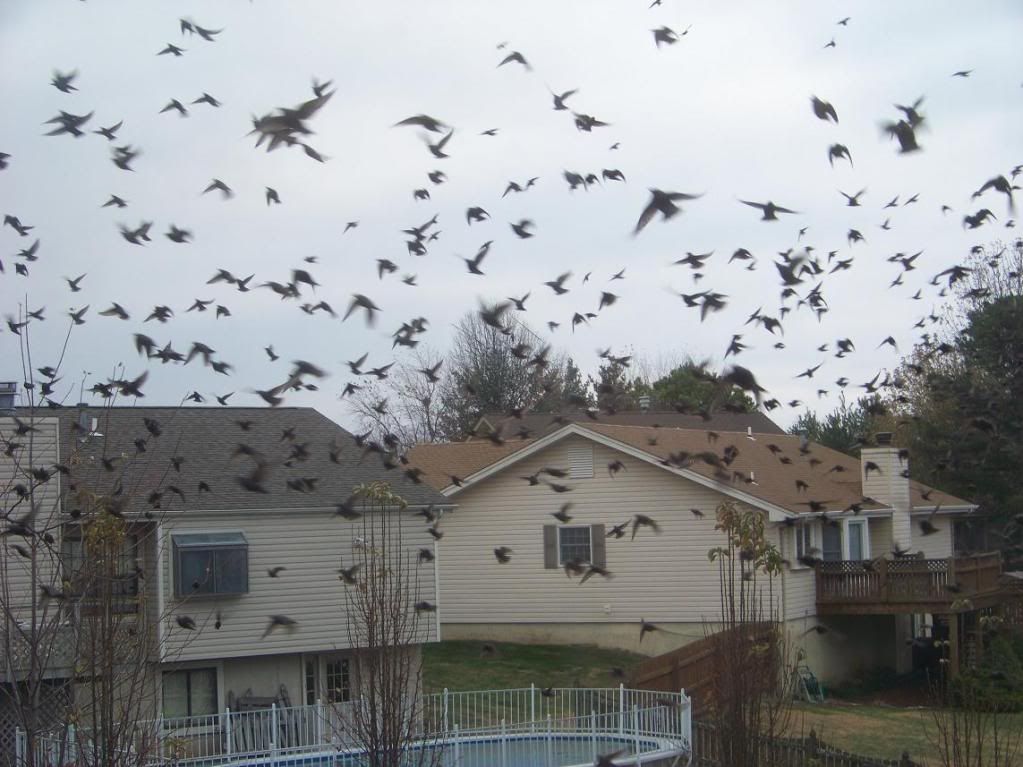

Enjoi
I got my stuff that I ordered on black friday from FRSport.com...
First thing is my Z32 Fuel Filter to keep things fresh and clean
Then I got some parts to take care of the Hydraulic clutch system since I had already ordered my S.S. clutch line...Like this Tokico Clutch Slave Cylinder
And this Tokico Clutch Master Cylinder
And then I also purchased some Moog Front Ball Joints
That is it for the new parts but here is a little update on the main hoop. I got it in the car and have the final cuts on the downward tube lengths.
Not to bad for my first time ever using tubing for something...
Well, that is it for my car stuff but my yard and my neighbors yard were infested with the migration...lol
Enjoi
-
bllabong89
- Posts: 485
- Joined: Tue Sep 01, 2009 1:25 pm
- Car: 1995 s14
Re: s14 Build
Alright...I will start this off by saying it was an expensive weekend...lol
I went to the Blues game Saturday which we lost again...surprising right? I spent atleast 60 bucks on beer there since they cost $9 a cup. But the big thing happened before that. I made a payment on my wheels. I found some wheels on craigslist and gave the guy half of the money and took two wheels and am going to pay the other half when I get paid. This ensures he has a buyer and I have two wheels...a front and a back.
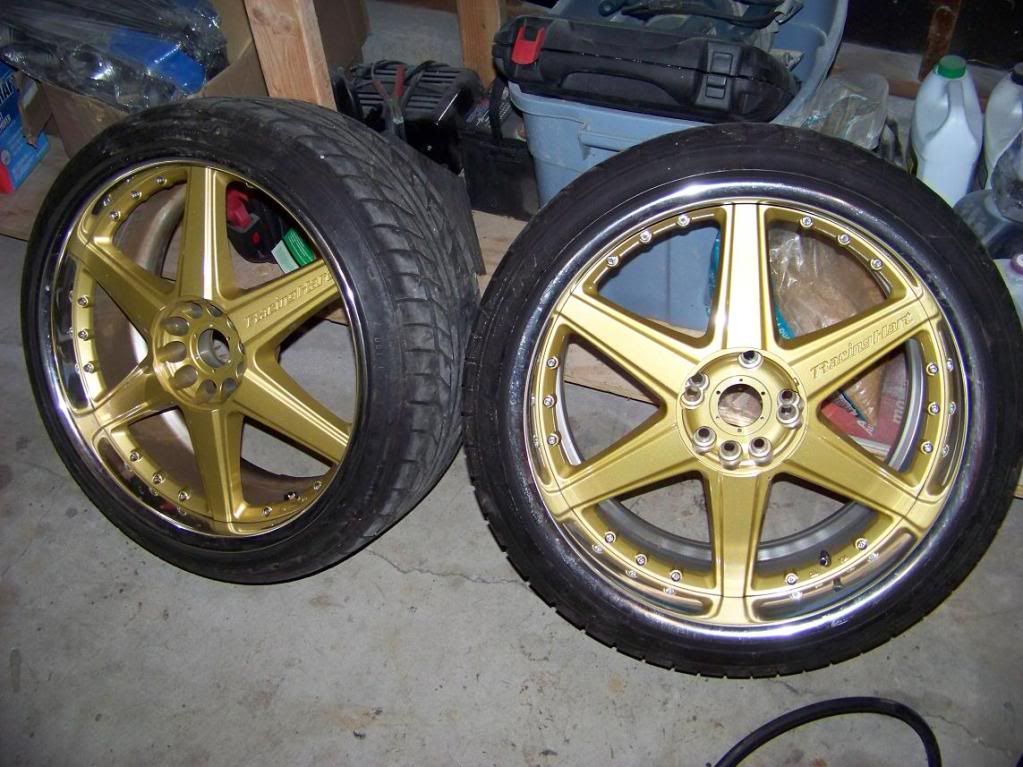
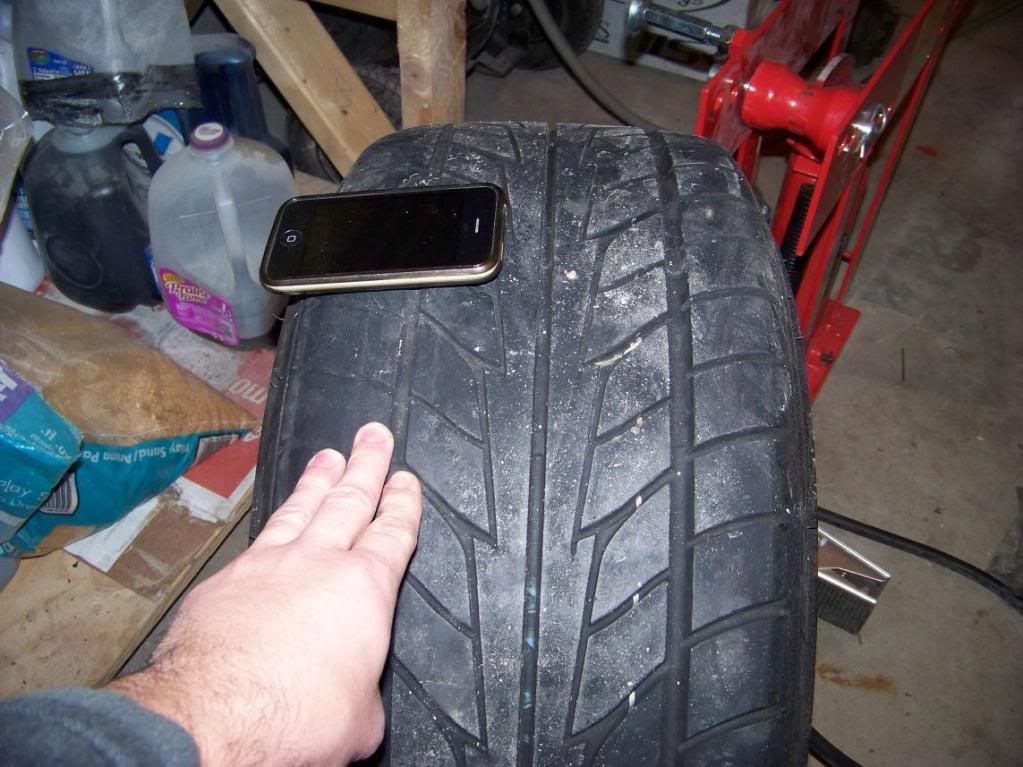
The wheels are Racing Hart CR's in special order gold. They are 19x9 +26 and 19x10 +22. The tires half some life left on them so they will look good once on the car.
Front Wheel:
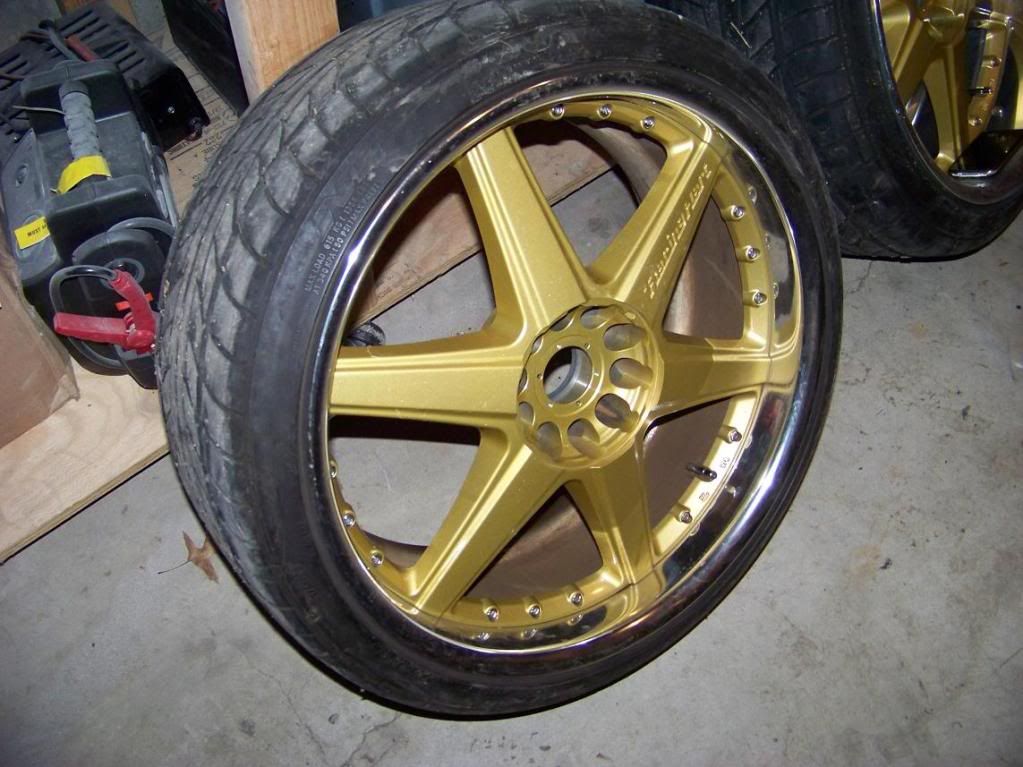
And Rear:
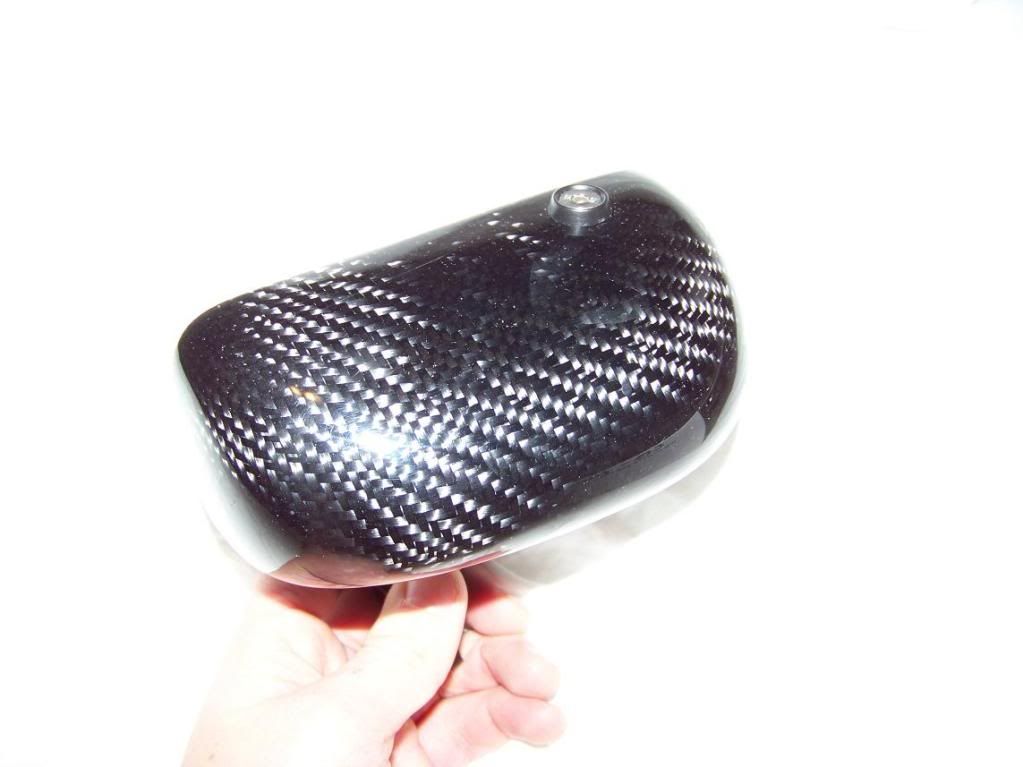
After I got the wheels up...I decided to get some work in. I have been trying to figure out a way to use my new mirrors in a way that don't look so cheap...On the APR website, you can look at the universal Formula GT3 mirror pictures. They have them on a silvia but they don't look good to me just because they are mounted to a Carbon Fiber plate.
I know that this is because it is a track only car but I have seen others that follow the same path and I want mine to look good. It is the little things that put a car together and I am going to do the little things to my standards...
So this began:
I started with the mirror and took the threw screws out of the bottom and cut the power mirror wires to get them apart.
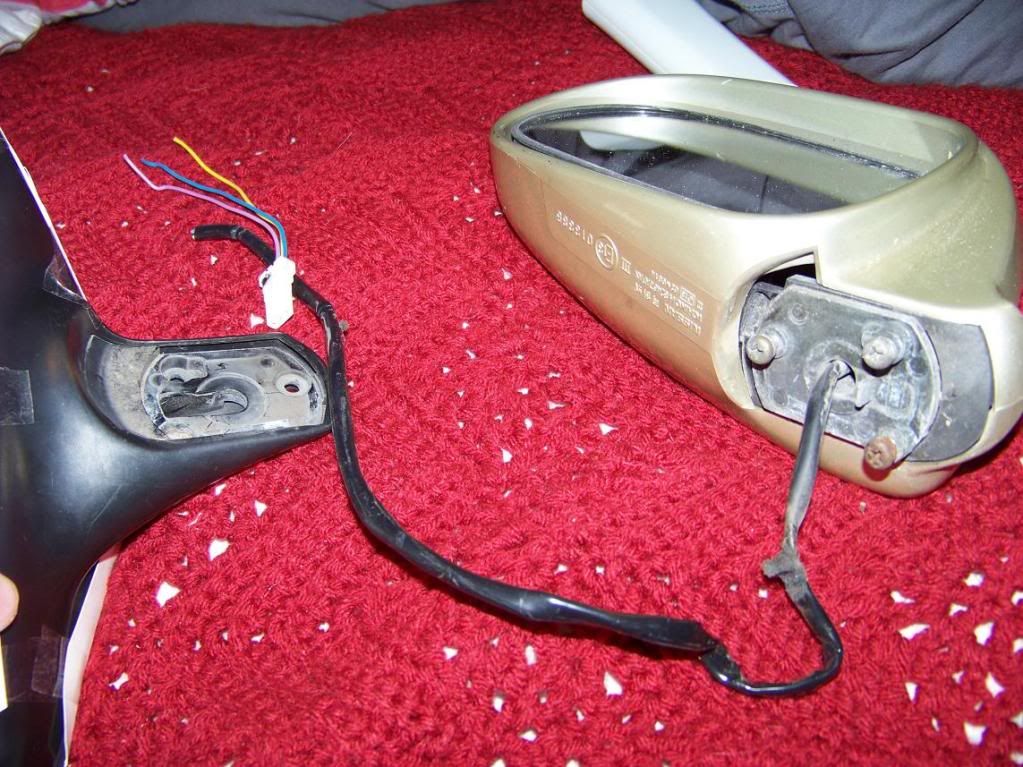
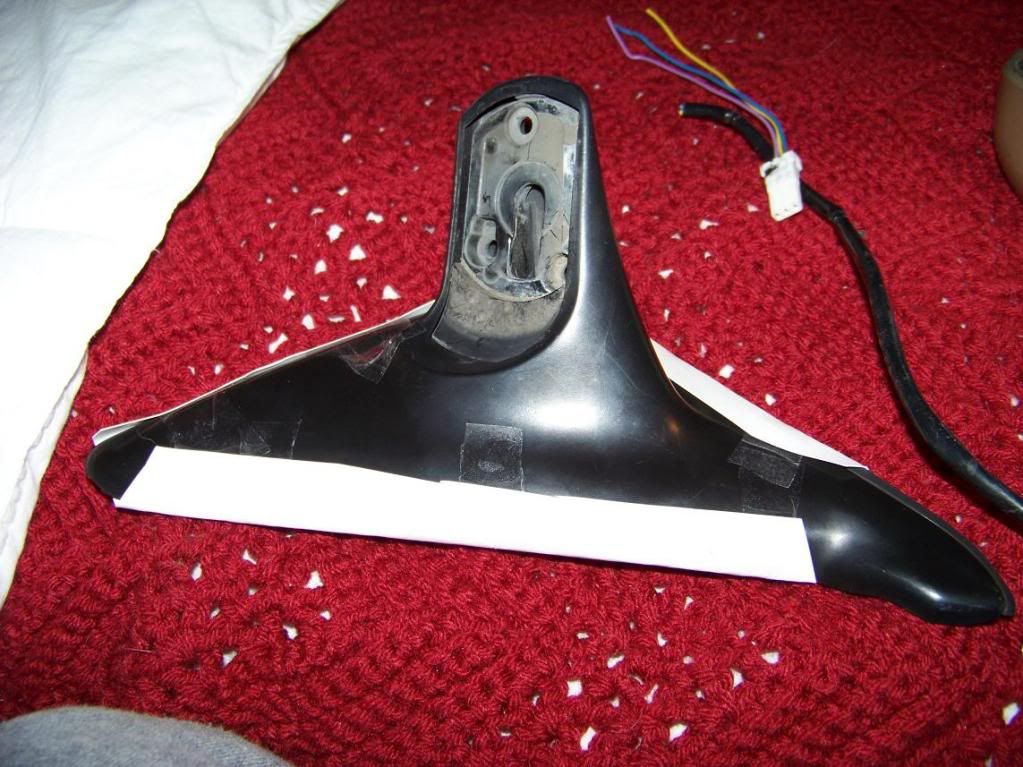
After that, I began to disassemble the parts that I could. This included three more screws that hold the metal structure to the plastic housing.
Once that was done, I took a cut-off wheel to the housing and trimmed out the area that curved outwards.
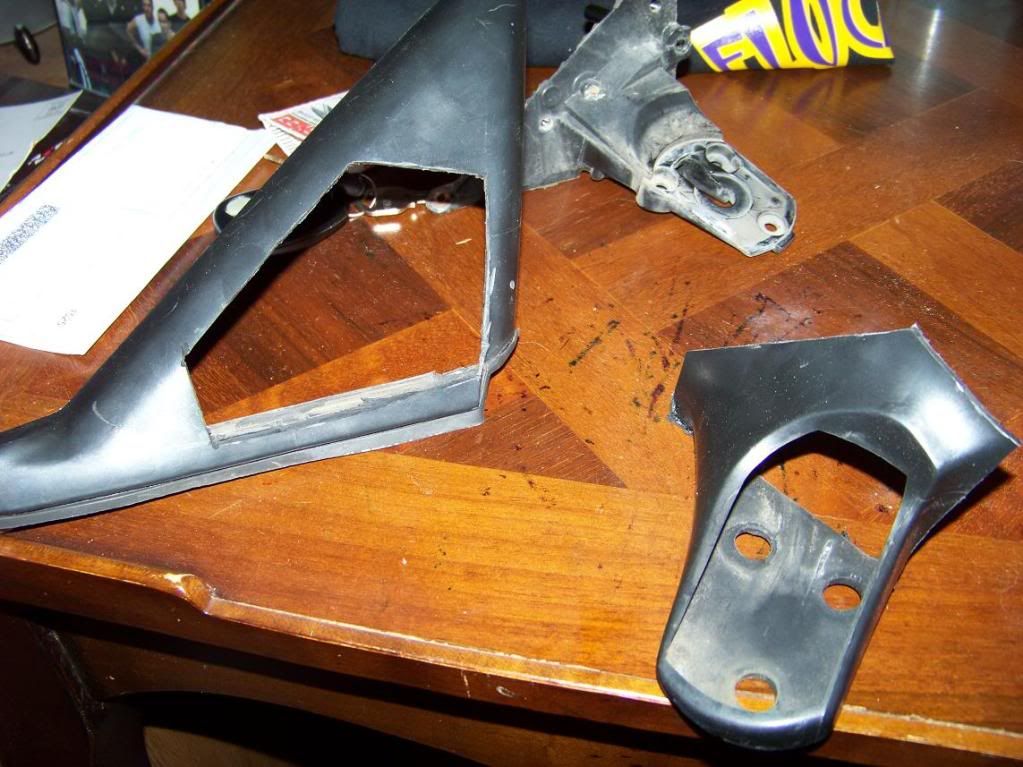
After that, I made a template and cut out some sheet metal.
Took this from my old work. This glue is the strongest s**t around.lol

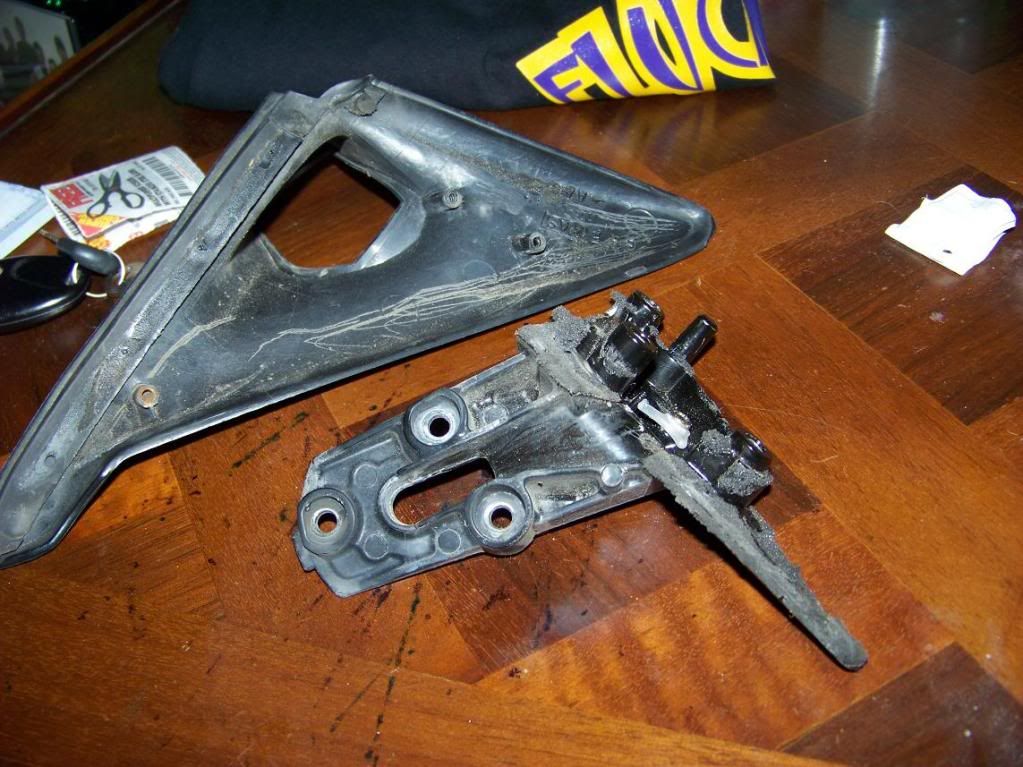
After that, I took the metal skeleton and trimmed it down to hold the plastic housing and keep my bolt holes to bolt it to the car.

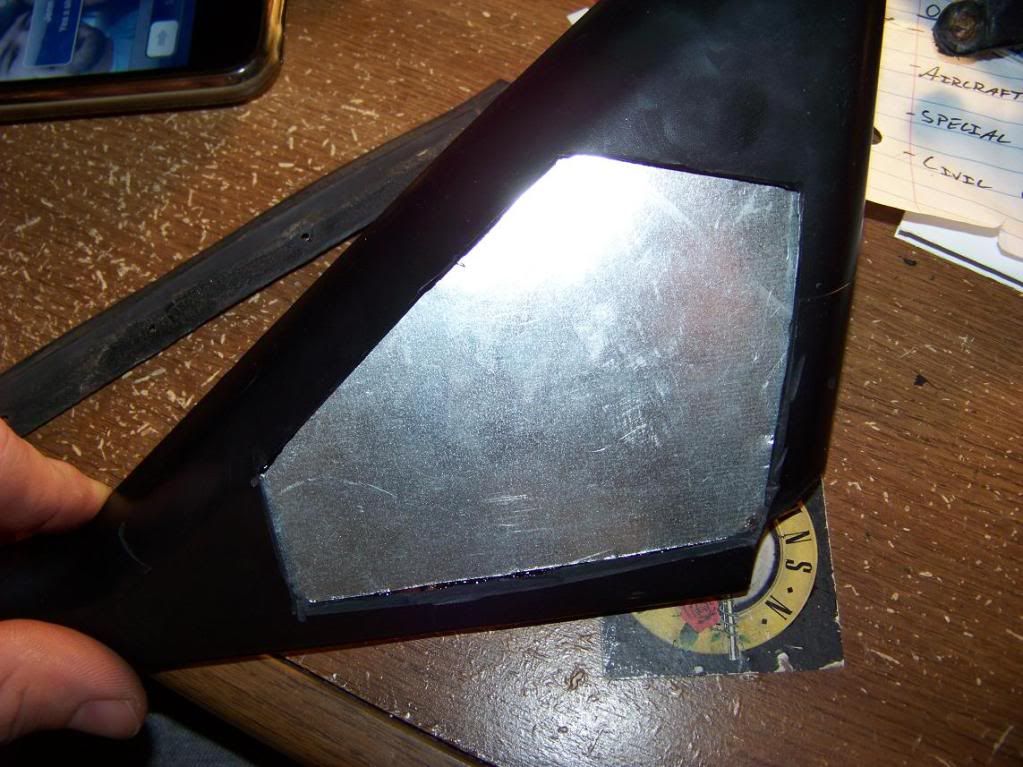
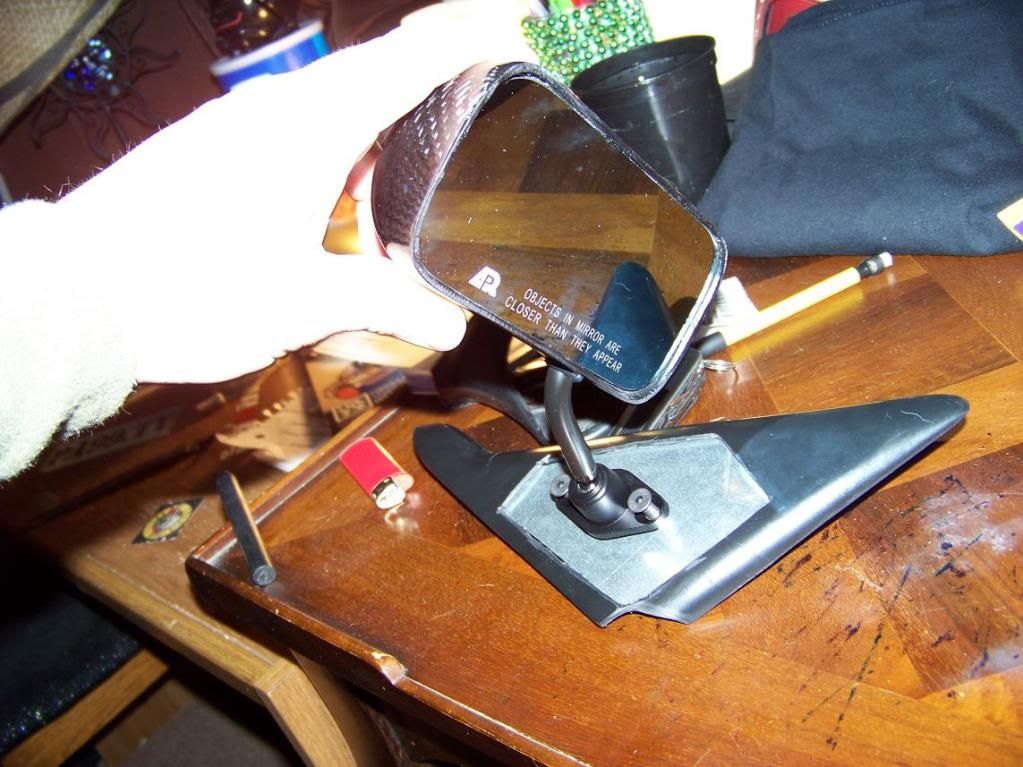
And this is a rough draft of what it will look like. I still need to weld on a thicker plate of metal to hold the mirror and then fiberglass everything, sand and paint...
I also received these saturday in the mail. I ordered these last thursday maybe after mailing hours so Kudos to ManoNegra on zilvia. I believe he is the owner of Skullworks or works for them and he got these too me in a hurry. I didn't tell him I need them quick but they got here quick. They look and feel like extremely well made parts and he included the hardware with them. Two bags with four bolts each. Thanks again...
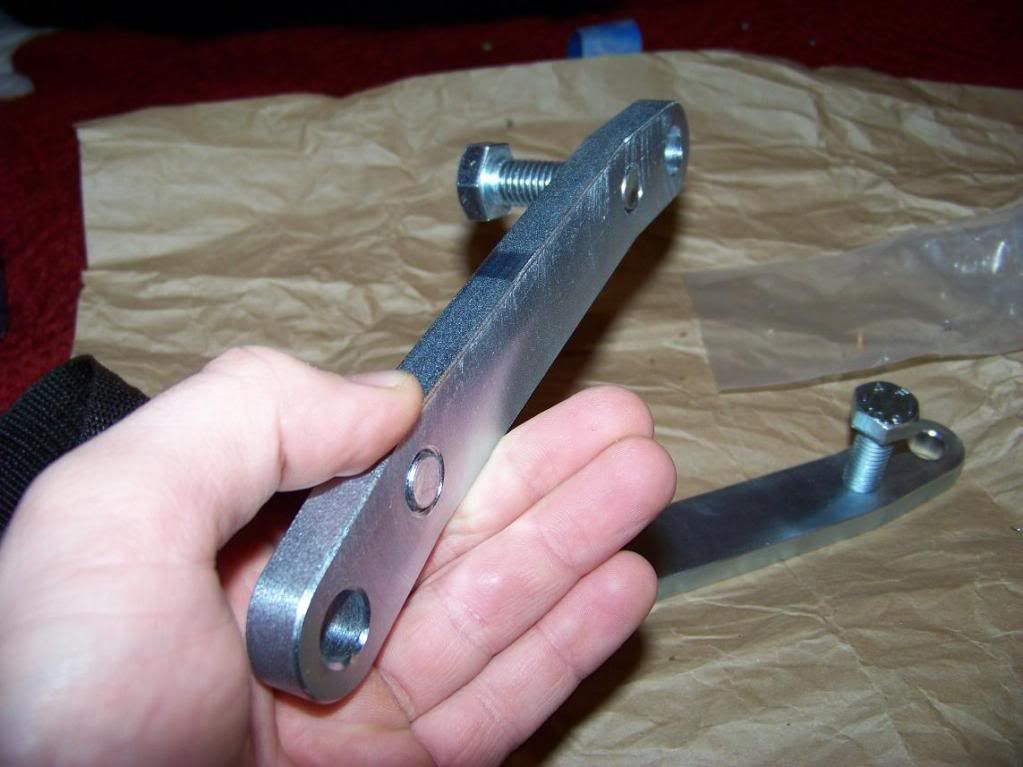
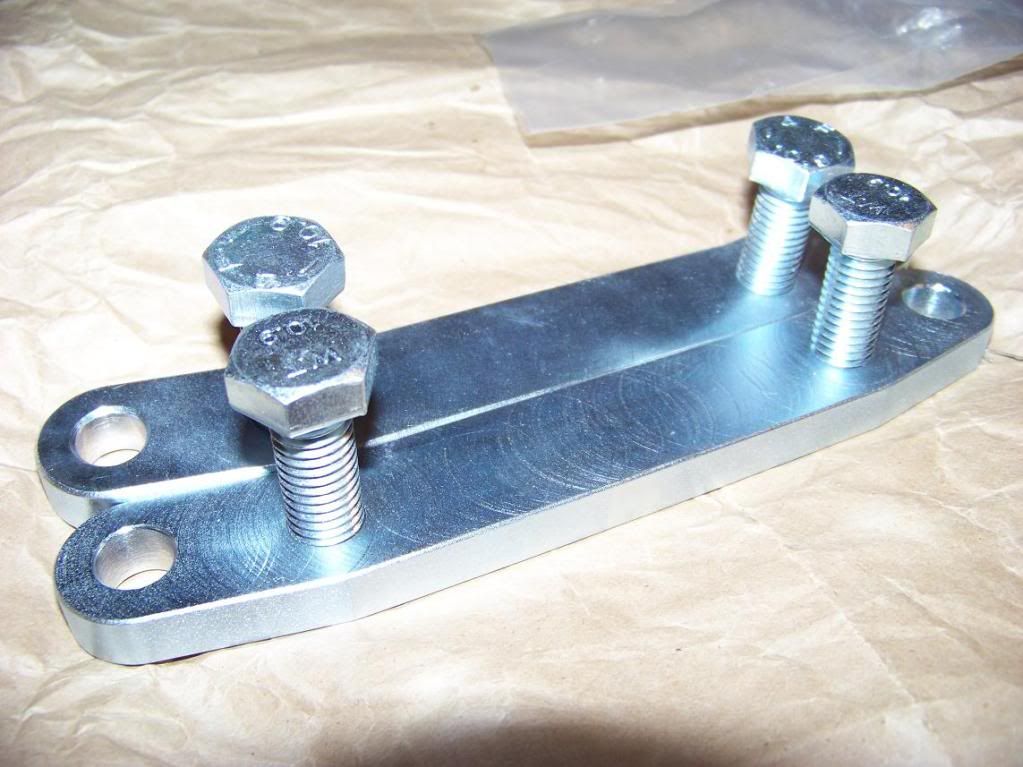
Now that I have the Brembo Conversion brackets, I can throw a front assembly together and see if the wheels clear the brakes. I held them up and they looked like they should but they may need a 5mm spacer or so at most.
Enjoi
I went to the Blues game Saturday which we lost again...surprising right? I spent atleast 60 bucks on beer there since they cost $9 a cup. But the big thing happened before that. I made a payment on my wheels. I found some wheels on craigslist and gave the guy half of the money and took two wheels and am going to pay the other half when I get paid. This ensures he has a buyer and I have two wheels...a front and a back.
The wheels are Racing Hart CR's in special order gold. They are 19x9 +26 and 19x10 +22. The tires half some life left on them so they will look good once on the car.
Front Wheel:
And Rear:
After I got the wheels up...I decided to get some work in. I have been trying to figure out a way to use my new mirrors in a way that don't look so cheap...On the APR website, you can look at the universal Formula GT3 mirror pictures. They have them on a silvia but they don't look good to me just because they are mounted to a Carbon Fiber plate.
I know that this is because it is a track only car but I have seen others that follow the same path and I want mine to look good. It is the little things that put a car together and I am going to do the little things to my standards...
So this began:
I started with the mirror and took the threw screws out of the bottom and cut the power mirror wires to get them apart.
After that, I began to disassemble the parts that I could. This included three more screws that hold the metal structure to the plastic housing.
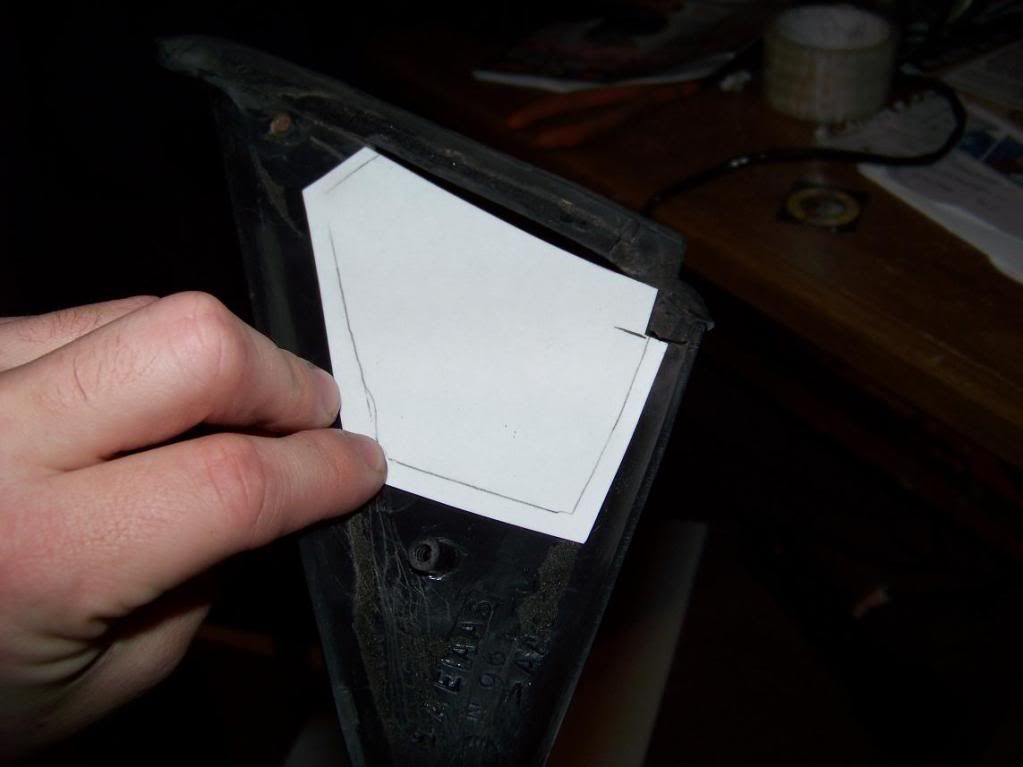
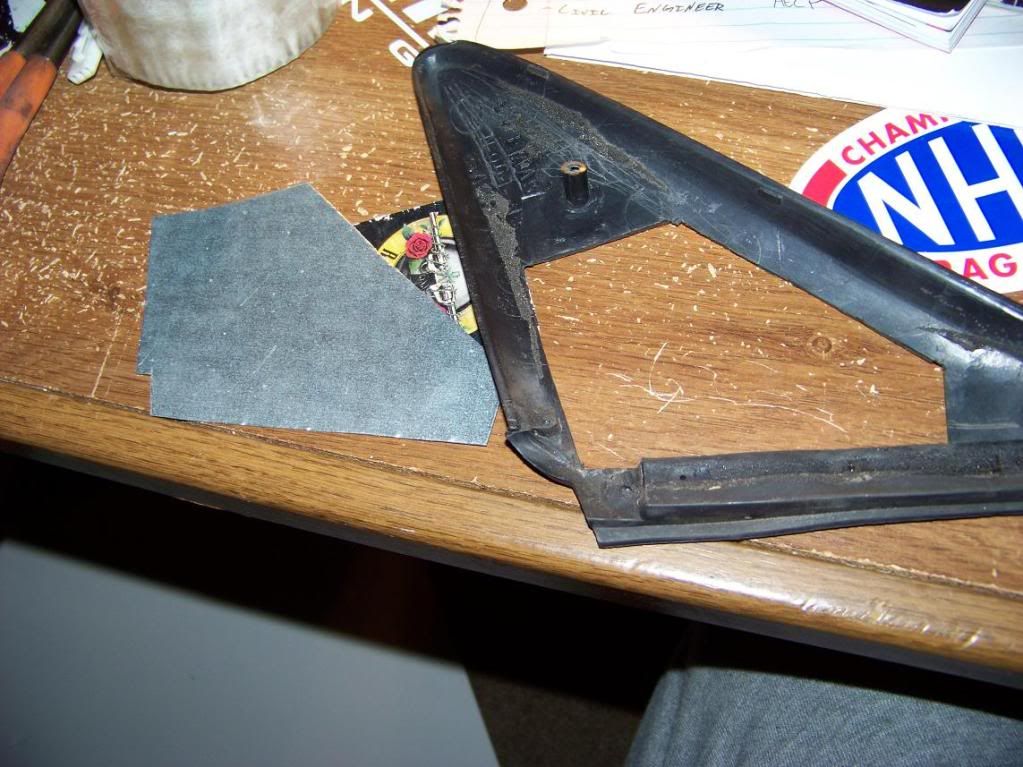
Once that was done, I took a cut-off wheel to the housing and trimmed out the area that curved outwards.
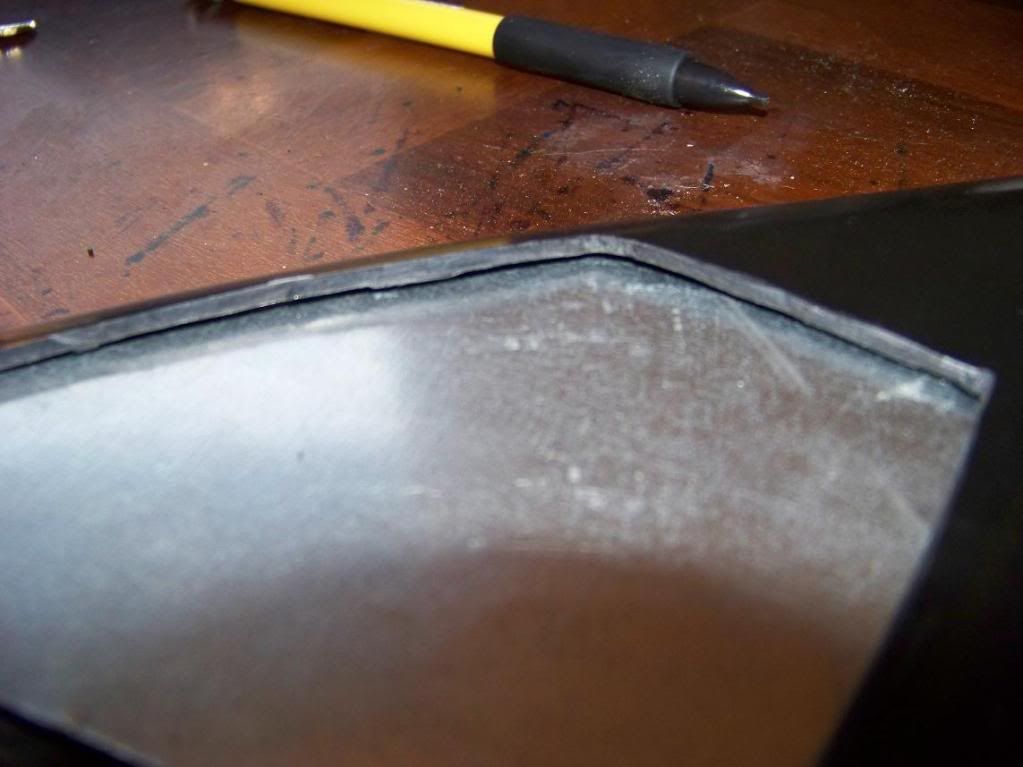
After that, I made a template and cut out some sheet metal.
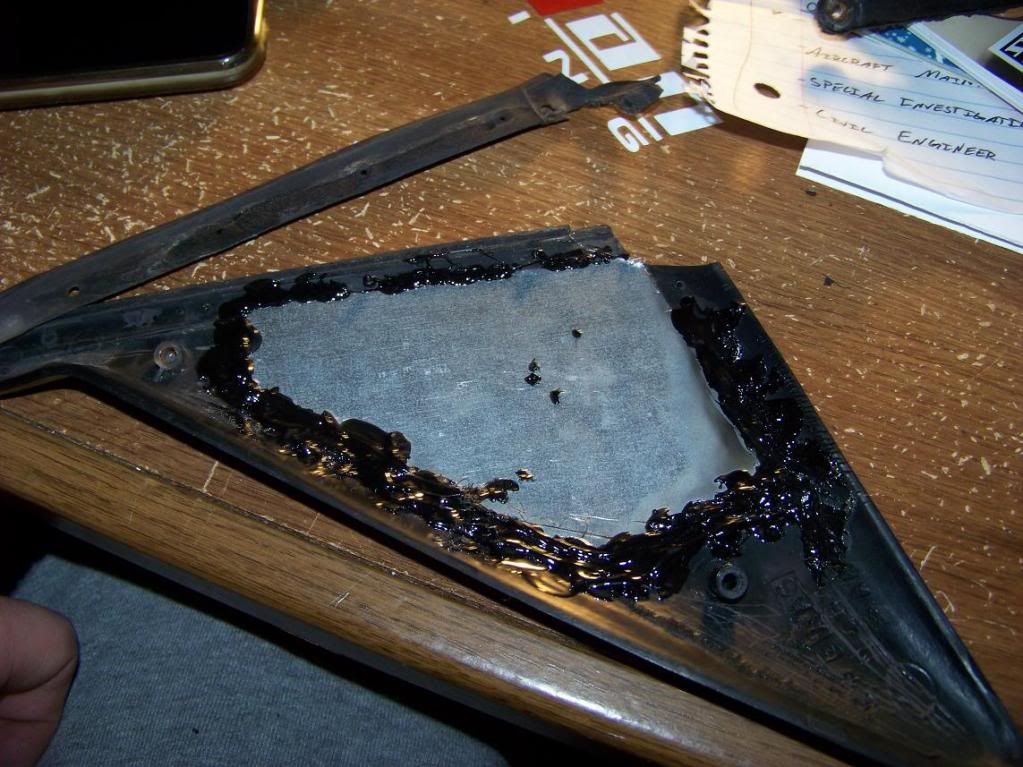
Took this from my old work. This glue is the strongest s**t around.lol
After that, I took the metal skeleton and trimmed it down to hold the plastic housing and keep my bolt holes to bolt it to the car.
And this is a rough draft of what it will look like. I still need to weld on a thicker plate of metal to hold the mirror and then fiberglass everything, sand and paint...
I also received these saturday in the mail. I ordered these last thursday maybe after mailing hours so Kudos to ManoNegra on zilvia. I believe he is the owner of Skullworks or works for them and he got these too me in a hurry. I didn't tell him I need them quick but they got here quick. They look and feel like extremely well made parts and he included the hardware with them. Two bags with four bolts each. Thanks again...
Now that I have the Brembo Conversion brackets, I can throw a front assembly together and see if the wheels clear the brakes. I held them up and they looked like they should but they may need a 5mm spacer or so at most.
Enjoi
-
nevertheless

- Posts: 1378
- Joined: Tue Jan 22, 2008 11:12 am
- Car: 1993 240sx hatch
1995 Nissan D21 - Location: Omaha, Nebraska
- Contact:
Re: s14 Build
Cant wait to see the stance on those wheels. They look different. Are you going to keep the 14 champagne?
-
bllabong89
- Posts: 485
- Joined: Tue Sep 01, 2009 1:25 pm
- Car: 1995 s14
Re: s14 Build
Nah, I was initially thinking of keeping that color but have decided to go with a gunmetal or dark silver
-
motoman399
- Posts: 2982
- Joined: Mon Oct 09, 2006 9:18 pm
- Car: 98' wrecked (RHD coming soon) 240
- Location: Eureka, Ca
- Contact:
Re: s14 Build
i havent seen the brackets for the brembo conversion before. i was going to make mine. how much did you pay for those? and what are your brembo's from again (i think an evo?)
good job on the mirrors. that will look much better. your right usually they look tacky with the CF base.
good job on the mirrors. that will look much better. your right usually they look tacky with the CF base.
-
bllabong89
- Posts: 485
- Joined: Tue Sep 01, 2009 1:25 pm
- Car: 1995 s14
Re: s14 Build
Yea the brembos are from a Evo 8. The conversion brackets were 110 shipped. I was going to make mine too but I figured if it's on something as important as the brakes, I would use something that was proven to work. And thanks, I think the mirrors will look sick once they are done
-
motoman399
- Posts: 2982
- Joined: Mon Oct 09, 2006 9:18 pm
- Car: 98' wrecked (RHD coming soon) 240
- Location: Eureka, Ca
- Contact:
Re: s14 Build
hmmm mind measuring the distance of the mounting holes on center, on your brembo's. since mine are the gold ones from the STI, i dont know that they are the same mounting..
-
S14Kouki10
- Posts: 472
- Joined: Thu Feb 25, 2010 6:13 pm
- Car: 1997 240sx
- Location: TX
Re: s14 Build
Evo's and STI's brakes have different mounting holes, but i think they make some brackets for the STI's brembos as well.
-
SX APPEAL

- Posts: 1345
- Joined: Tue Oct 05, 2004 10:26 am
- Car: 06 G35 Coupe 6MT
95 Maxima SE 5MT - Location: Springfield, MO
Re: s14 Build
Do you just use the Evo rotors with those calipers and brakets then? Or something else?
-
bllabong89
- Posts: 485
- Joined: Tue Sep 01, 2009 1:25 pm
- Car: 1995 s14
Re: s14 Build
Yea, I will measure them when I get a chance but I believe s14kouki10 is right. The rotors are evo rotors. I can use brembo's on the back from an sti but not an evo. If my research is correct, you can have these two set-ups for the sti/evo brembo brakes:
Front/Back
sti/sti
evo/sti
The sti rear calipers supposedly bolt directly up to the factory mounting points with no help. The Evo ones don't and I believe require alot more work for the brackets than neccesary but again, I could be mistaken. No matter what caliper you use, you must use evo rotors for the brembo brake set-up.
I will most likely be running z32 rears because I have yet to find STI rears for less than 600 so if you know of any, let me know.
-
motoman399
- Posts: 2982
- Joined: Mon Oct 09, 2006 9:18 pm
- Car: 98' wrecked (RHD coming soon) 240
- Location: Eureka, Ca
- Contact:
Re: s14 Build
im also using z32 rears. not about to drop 500+ on a set of rear brakes that are almost identical as the z32's. the only thing i might do (and i havent researched this yet) is if the sti rear brakes are larger diameter rotor, get one or equivalent.
im going to use the stock sti front rotors. i know they are 5x100, but i am going to re drill and also make the center hole larger. i already compared them with the z32 fronts and the dimensions are the same other than the center hole and the lug width.
i think you would be able to use 350z track rotors also?
-
SX APPEAL
- Posts: 1345
- Joined: Tue Oct 05, 2004 10:26 am
- Car: 06 G35 Coupe 6MT
95 Maxima SE 5MT - Location: Springfield, MO
Re: s14 Build
So... not to take shots at you guys for going with the Brembos, but what exactly is the motivation? If the Z32s are the same size, a lot less trouble and a lot cheaper?
Knowledge bomb please...
Knowledge bomb please...
-
motoman399
- Posts: 2982
- Joined: Mon Oct 09, 2006 9:18 pm
- Car: 98' wrecked (RHD coming soon) 240
- Location: Eureka, Ca
- Contact:
Re: s14 Build
lol at the knowledge bomb. the brembo's from the sentra se-R are the same or real similar as the 300zx (at least the fronts) but the evo and sti brakes are 12.75" rotors i believe. like i said in my last post, i dont know the size of the rears, i still havent researched yet. but the sti and evo brakes require a minimum wheel size of 17"
so basically you get a brake to fill the wheel up. the z32 rotors are i think 11" or 11.5" and are still good for MOST people. i came across a great deal on mine and i couldnt pass them up.
so basically you get a brake to fill the wheel up. the z32 rotors are i think 11" or 11.5" and are still good for MOST people. i came across a great deal on mine and i couldnt pass them up.
-
SX APPEAL
- Posts: 1345
- Joined: Tue Oct 05, 2004 10:26 am
- Car: 06 G35 Coupe 6MT
95 Maxima SE 5MT - Location: Springfield, MO
Re: s14 Build
Oh ok I misread somewhere about the rotor size. Cool 
-
bllabong89
- Posts: 485
- Joined: Tue Sep 01, 2009 1:25 pm
- Car: 1995 s14
Re: s14 Build
yea, I got my calipers for 250 so I figured I might as well spend a little more on some huge calipers if they are available...and here is a teaser...

-
motoman399
- Posts: 2982
- Joined: Mon Oct 09, 2006 9:18 pm
- Car: 98' wrecked (RHD coming soon) 240
- Location: Eureka, Ca
- Contact:
Re: s14 Build
^^ nice dude. i got my calipers for 200, but there is a broken off bleeder valve and its 60 to fix it lol
-
bllabong89
- Posts: 485
- Joined: Tue Sep 01, 2009 1:25 pm
- Car: 1995 s14
Re: s14 Build
Yea, the Subaru calipers are rediculously expensive. I have contacted a number of people with full sets but they don't want to seperate them and they want like 1k just for the calipers...f*** that...
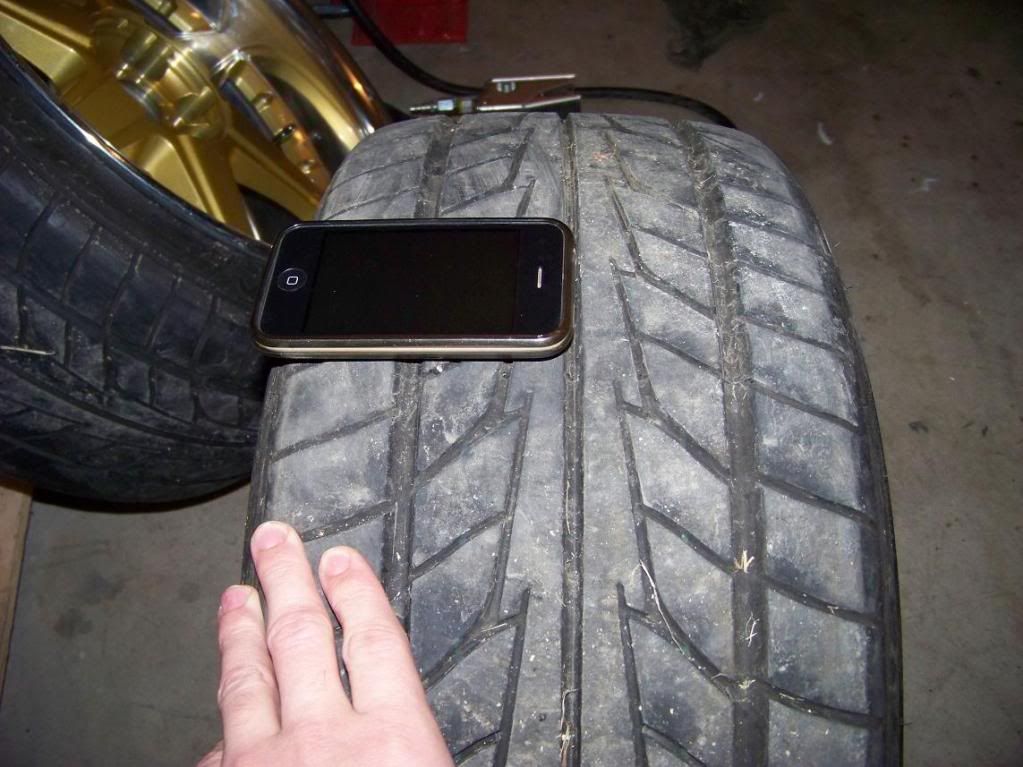
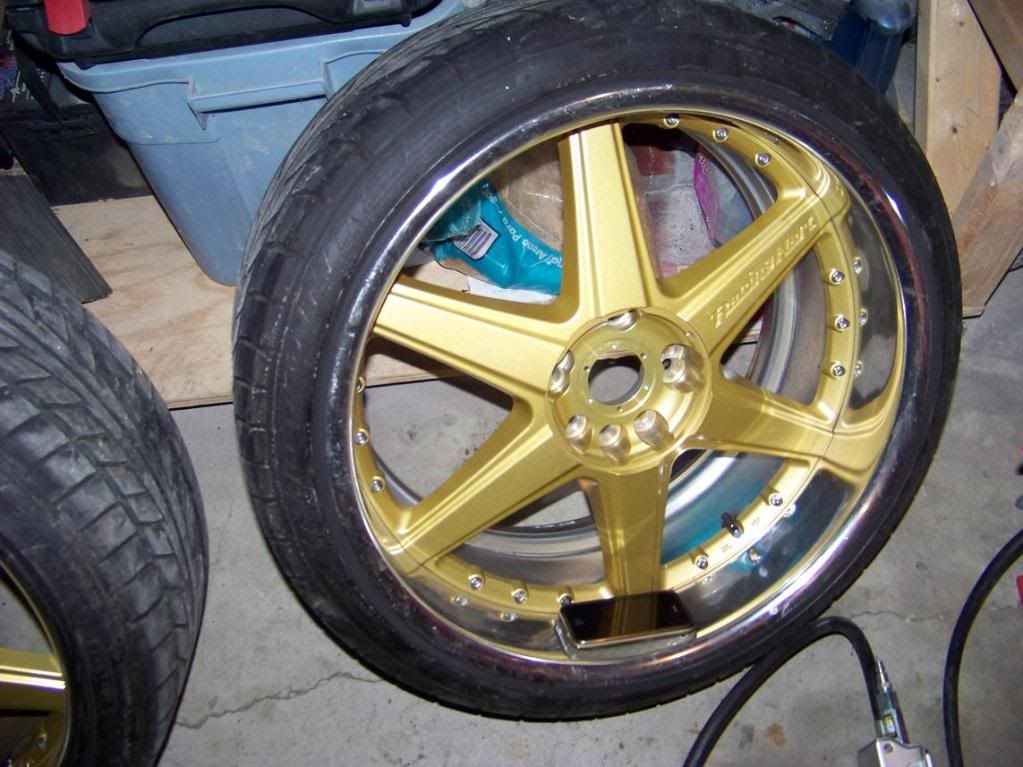
I just met up with guy to get my other two wheels last night. I couldn't afford them at once so I took two and paid him half and got paid a couple days ago and met up to get the other two...I am stoked to get these things on...If only I had the suspension and underside done to where I got see how it would look...
sorry for the low quality pic...didn't have my camera on me
-
motoman399
- Posts: 2982
- Joined: Mon Oct 09, 2006 9:18 pm
- Car: 98' wrecked (RHD coming soon) 240
- Location: Eureka, Ca
- Contact:
Re: s14 Build
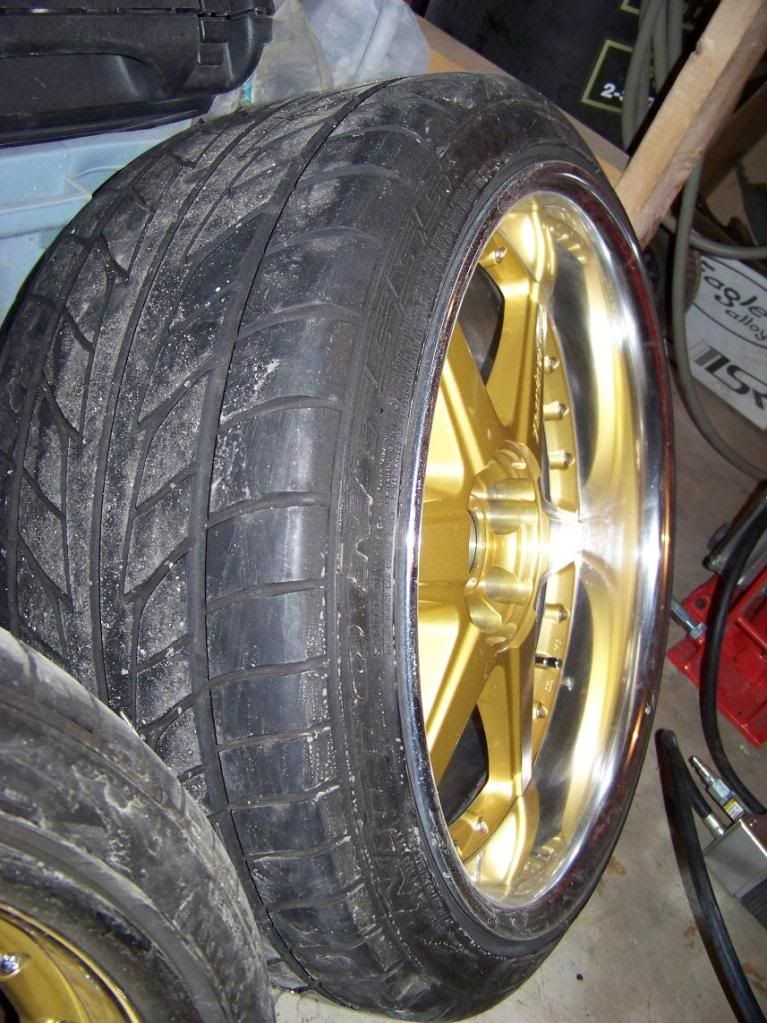
they look nice man. congrats. are they slightly different bolt design front to rear (lug)
-
bllabong89
- Posts: 485
- Joined: Tue Sep 01, 2009 1:25 pm
- Car: 1995 s14
Re: s14 Build
Yea, I didn't even notice that until you mentioned it. I think that the rear are universal 4 or 5 lug wheels and the front are 5 lug only...Good call.lol
-
motoman399
- Posts: 2982
- Joined: Mon Oct 09, 2006 9:18 pm
- Car: 98' wrecked (RHD coming soon) 240
- Location: Eureka, Ca
- Contact:
Re: s14 Build
haha. thats what i thought too. good thing your 5 lug now. just kinda weird.