
Skill Level: 2 of 5
Time Required: ~1-2 hours (Depending on the glue used)
What you will need:
- Cupholder from mid-90's Altima
- Philips screwdriver
- Dremel with cutting wheel
- Safety glasses (very important when working with a Dremel...)
- Water-resistant material
- Glue (I used Gorilla Glue...that stuff sticks to anything)
- Small clamps and some scrap cardboard
- Sharpie
- Scissors
- Needle and thread
- Modification
I'll skip the part about taking everything out of the dash, as I believe everyone knows how to do that.
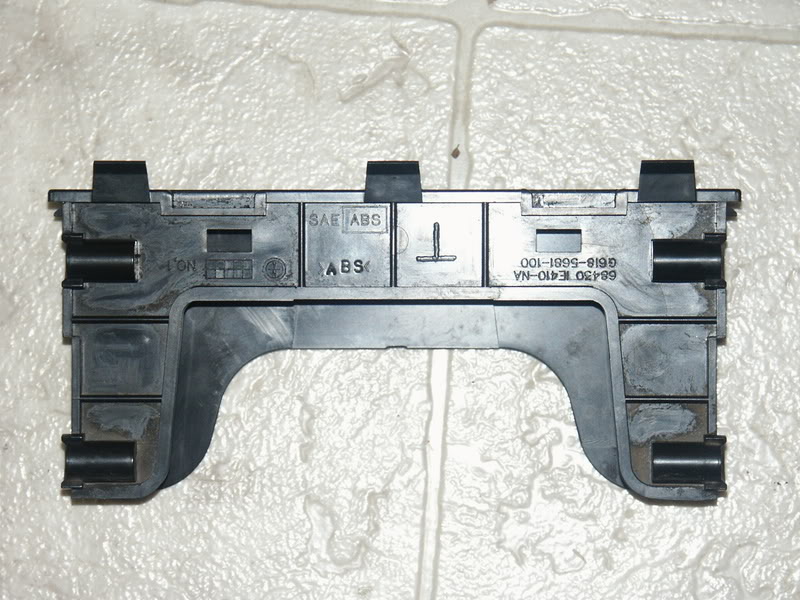
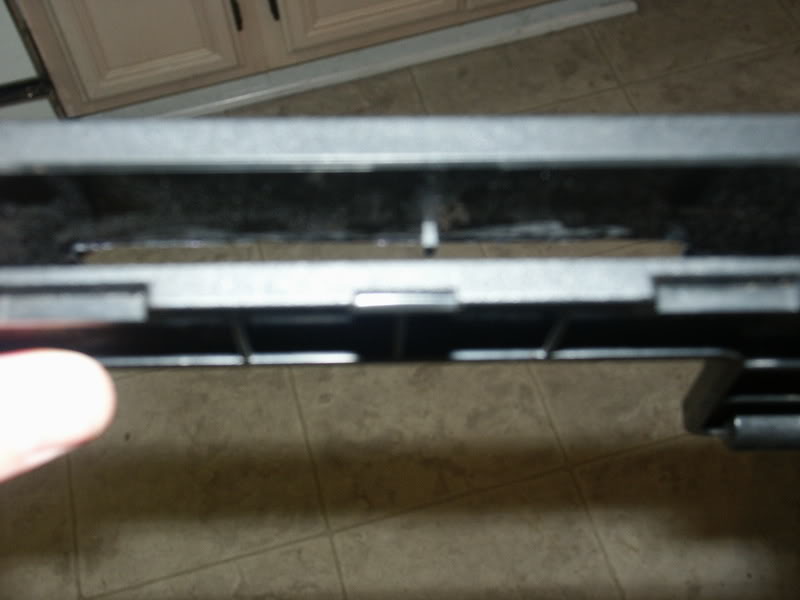
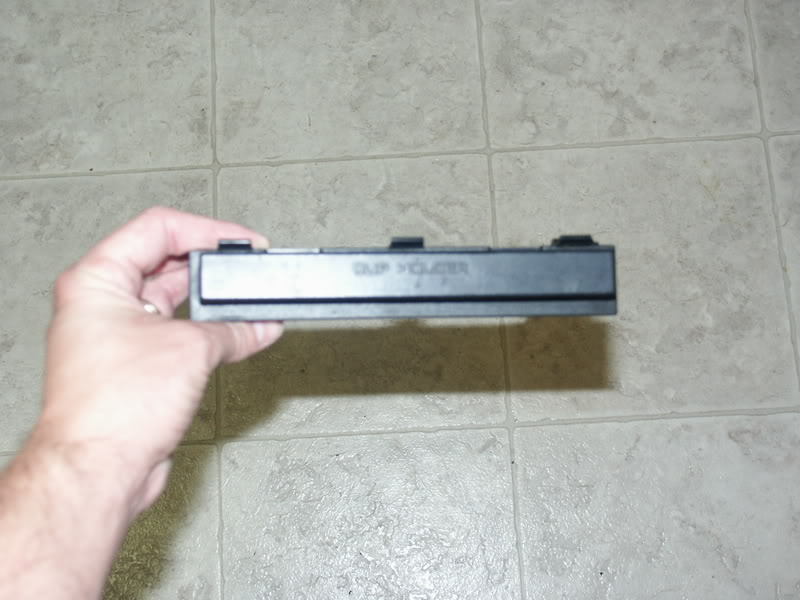
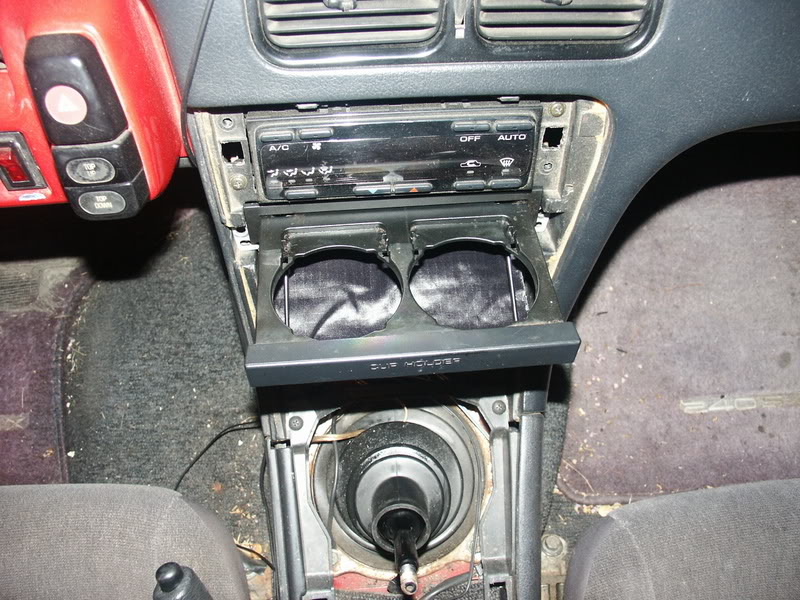
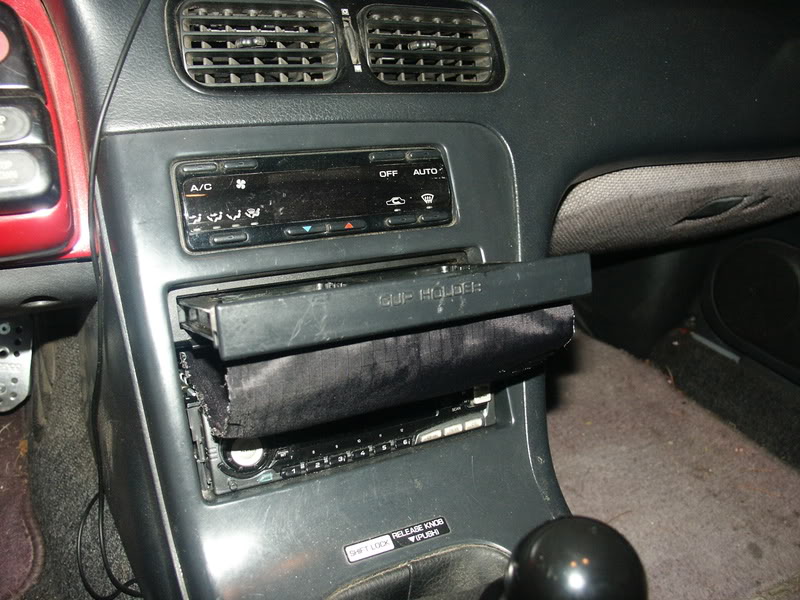
This is what your Altima cupholder should look like fresh out of the car:
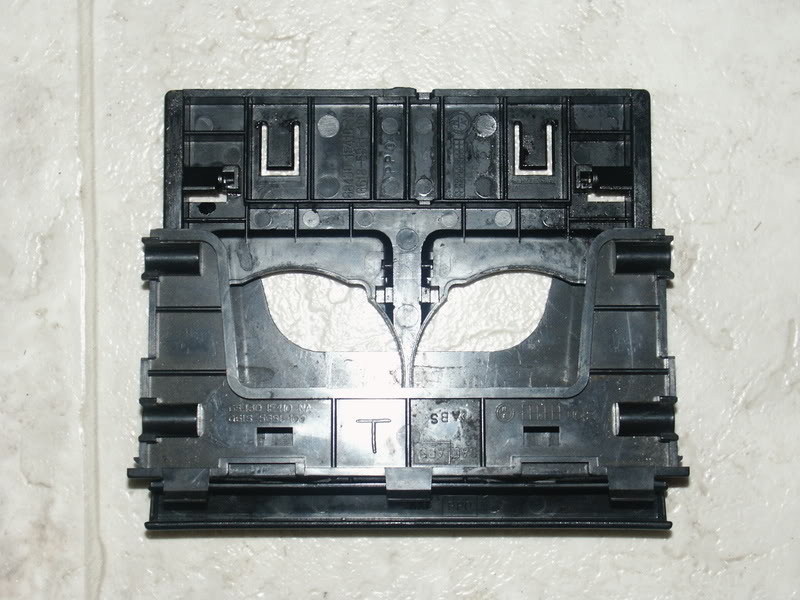
There are 2 problems with using it just the way it is:
1. The holes for mounting it in the dash make it sit way too low, and create a gap both above and below the holder.
2. If you have a radio, condensation is going to drip all over it.
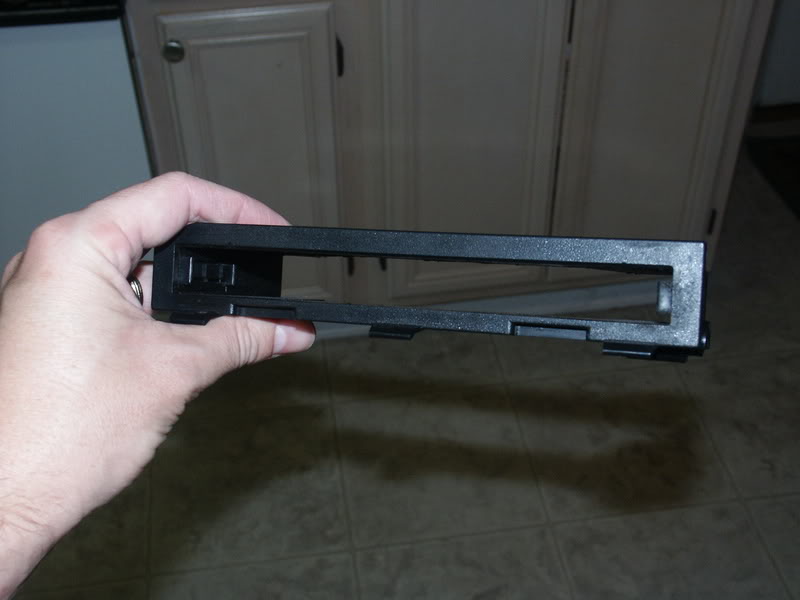
3. This is the orientation as it is stock.
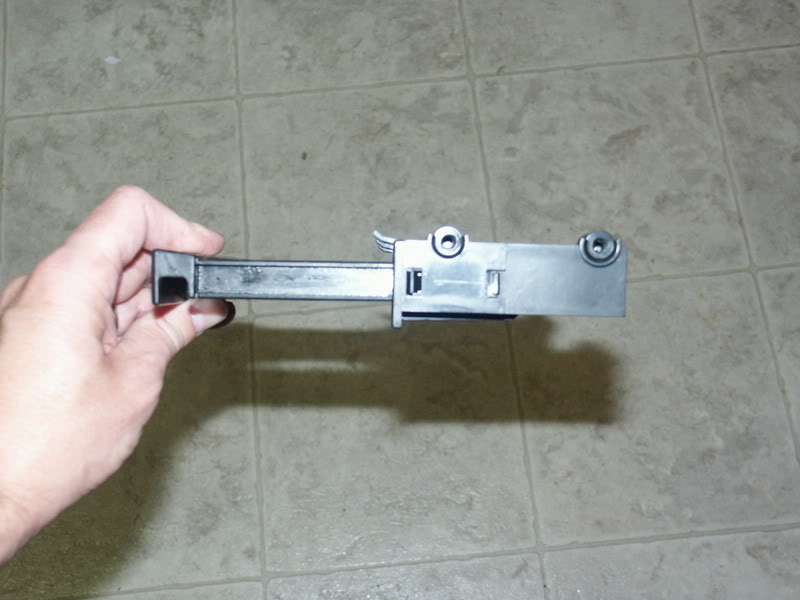
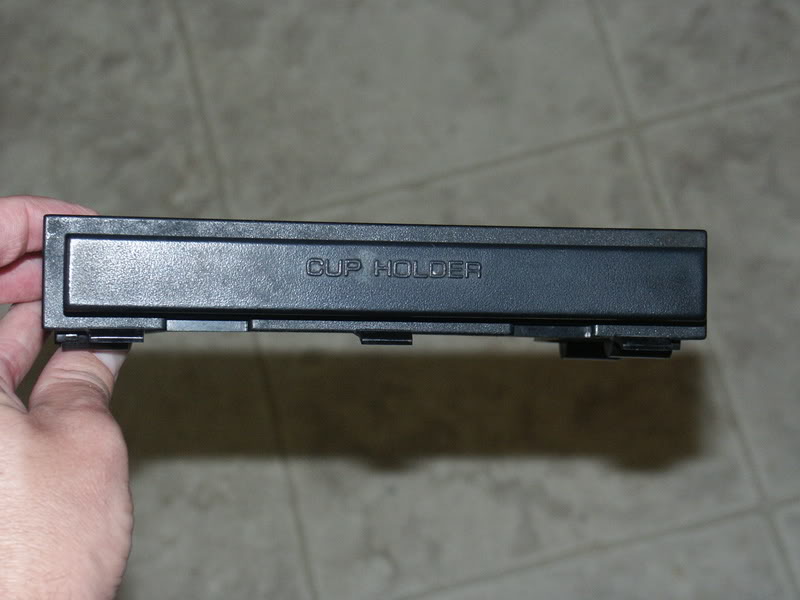
And this is the orientation we want:
To get there, first we have to flip the actual "insert part" over.
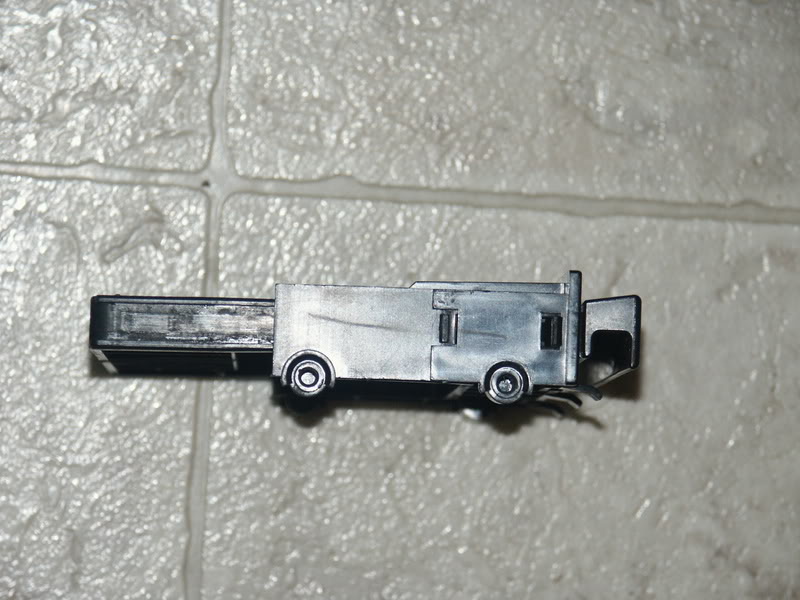
Note: The problem with this is that there are 2 tabs that keep the insert from being pulled all of the way out of the dash every time you open it
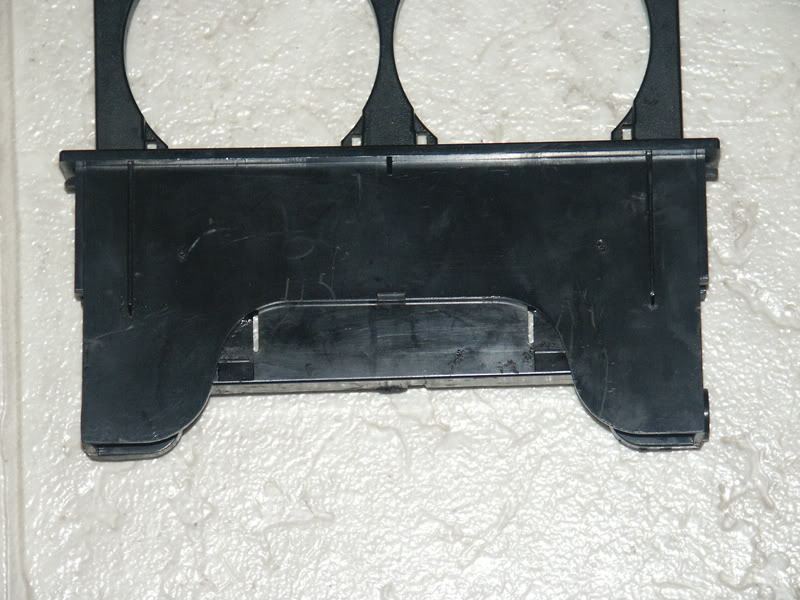
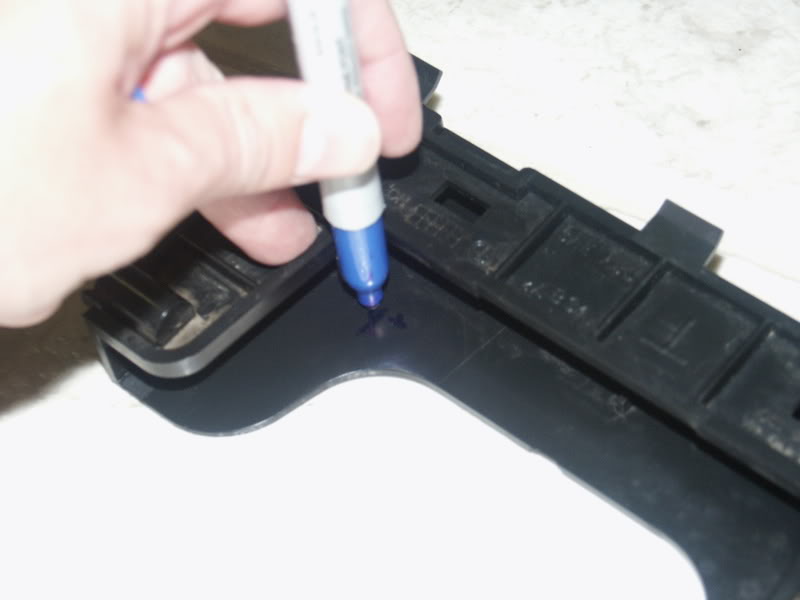
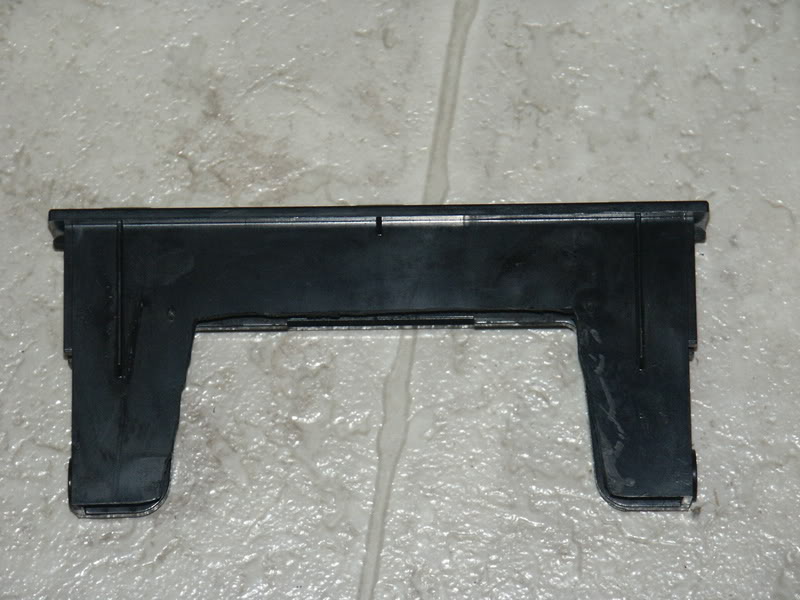
The "base" piece is not symmetrical from top to bottom, as you can see here:
What we need to do is make the base symmetrical. Take your Sharpie and trace the outline from the top to the bottom:
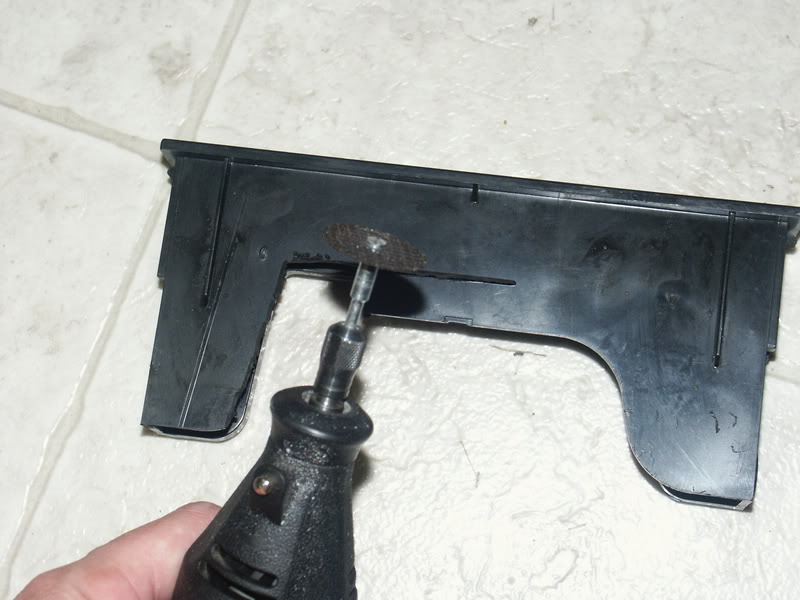
Next, put on your safety glasses (don't forget....tiny plastic shards in your eye aren't very pleasant). I found it easiest to remove the excess plastic in small stages, as getting the right position with the Dremel can be tough.
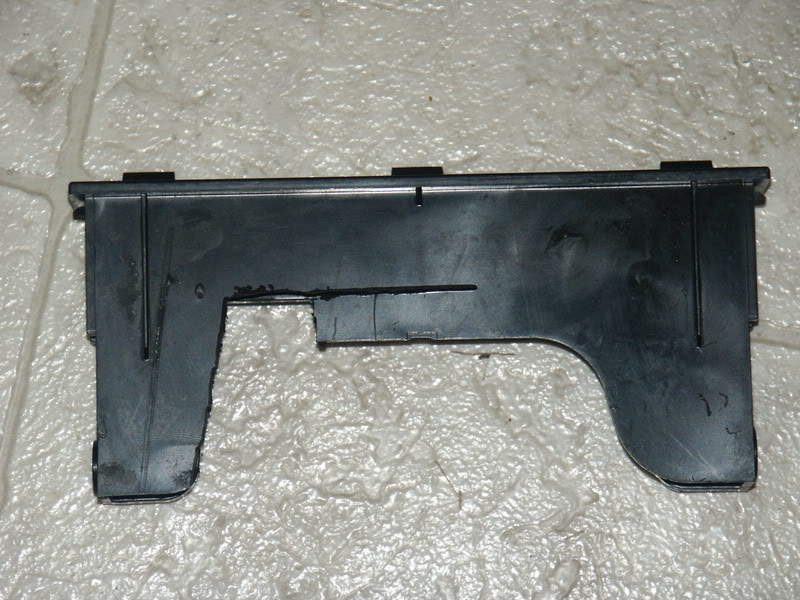
You will also have to remove this small tab to allow the "slider" to slide correctly:
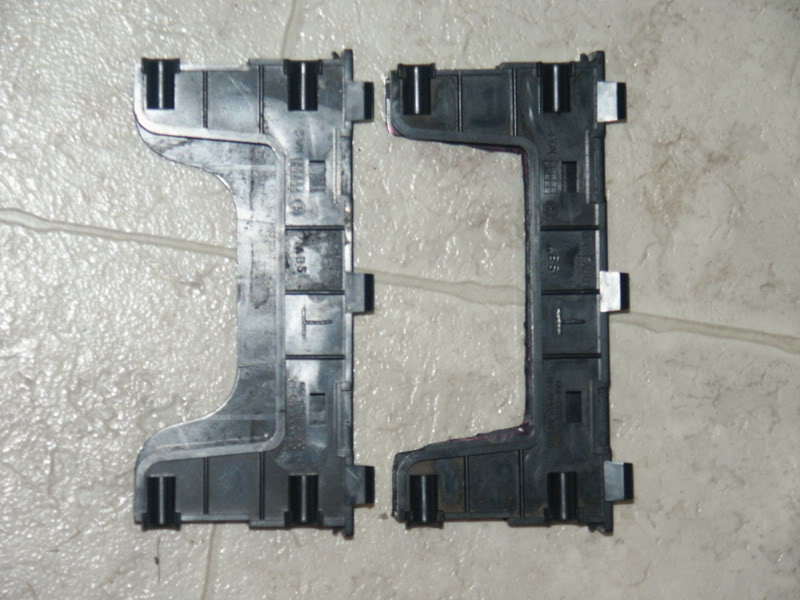
Your base should look like this when you're done:
I've put a modded and stock one side-by-side to illustrate the difference:
Now that your base is ready, the hard part is over. Put the "slider" part back into the base with the orientation as shown:
Note: Your tabs should line it up like this (note the position of the tabs)
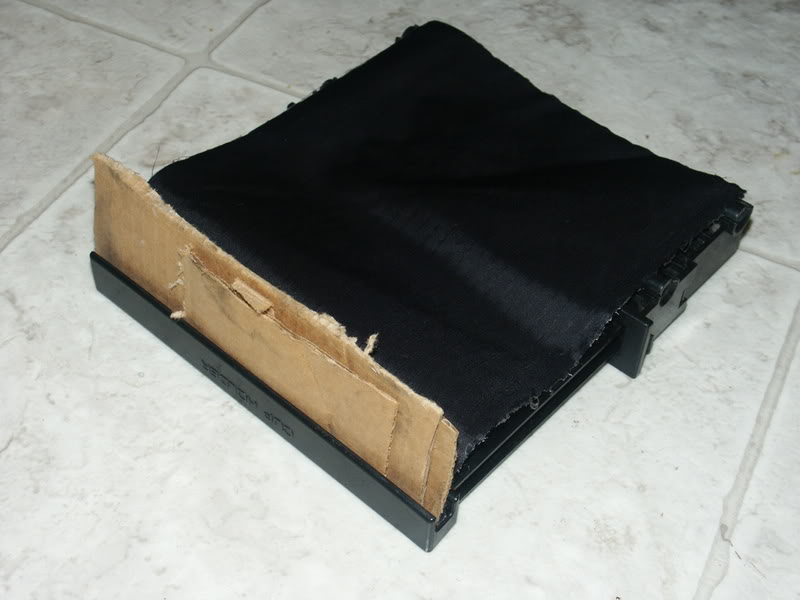
Cut your fabric to 6.5" x 8.5". The 6.5" side will go into the front lip of the "slider". Put a small bead of Gorilla Glue on the edge and put into place. Cut a couple of small pieces of cardboard to wedge in and keep the fabric in place while the glue dries:
Note:Now you can glue to fabric to the base and attach a couple of small clamps (or potato chip bag clips, as I did) until it dries, which should only be an hour or so.

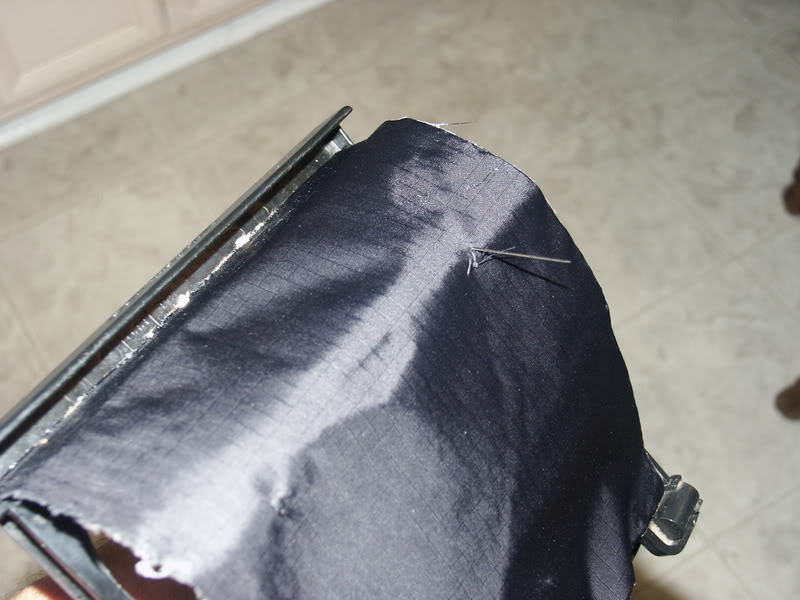
Once the glue is dry, you'll need to tack the fabric to the bar that supports the actual drinks. This is important as it makes the fabric fold up correctly when you close the drink holder. I put a small piece of tape to hold the fabric to the bar, and just tacked it down using regular black thread:

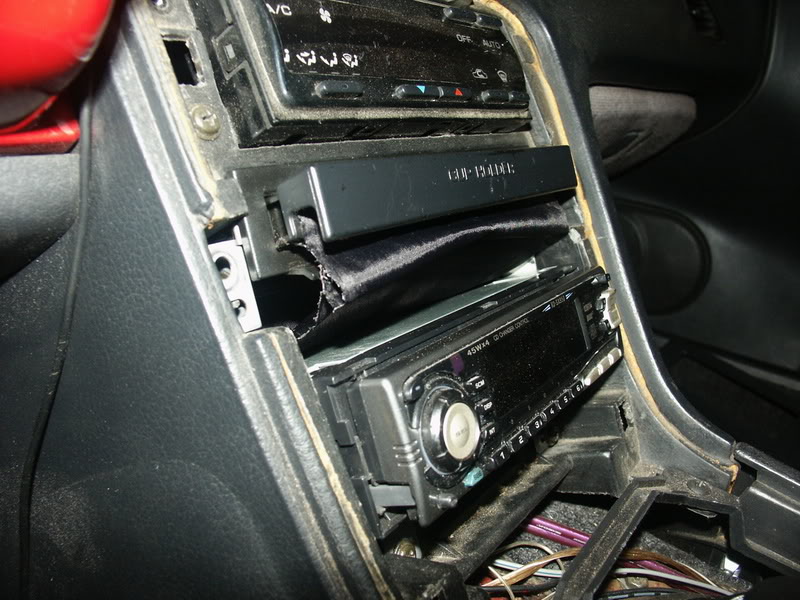
Installation
Your cupholder is now ready to put back in the dash! This part may take just a bit of trial and error, as you have to get the angle of your radio just right for the console trim to go back on.
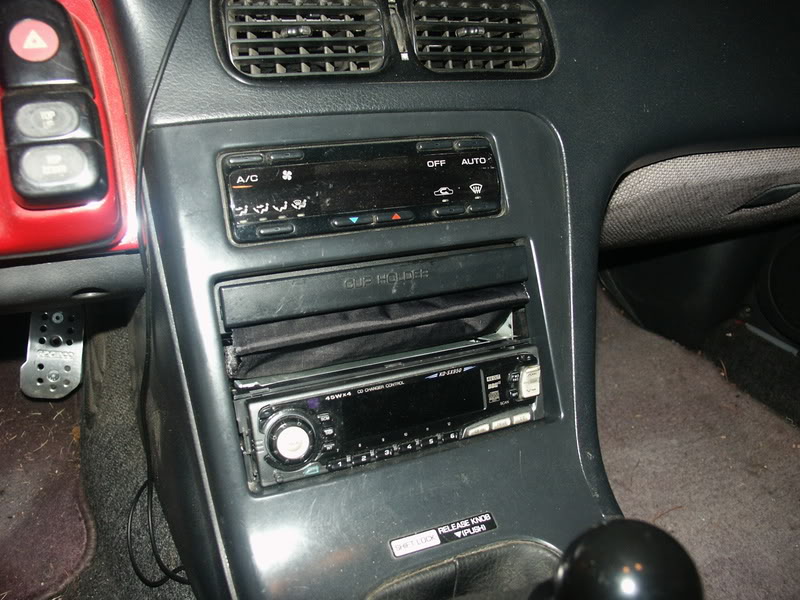
Basically, the entire assembly should look like this:
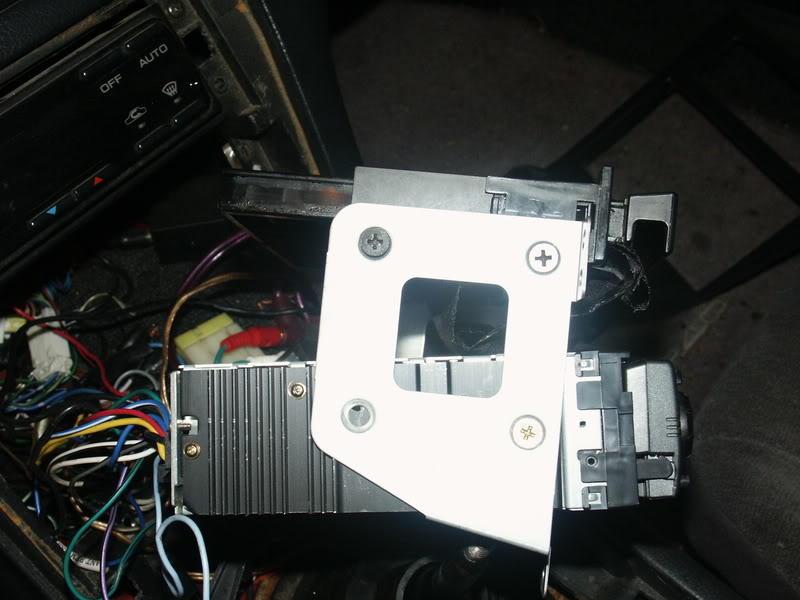
Note: The severe angle of the radio versus the cupholder, which is level.
Place the entire assembly into the dash. You'll only be able to attach the bottom 2 screws, as you want the assembly to sit as close to vertical as possible.
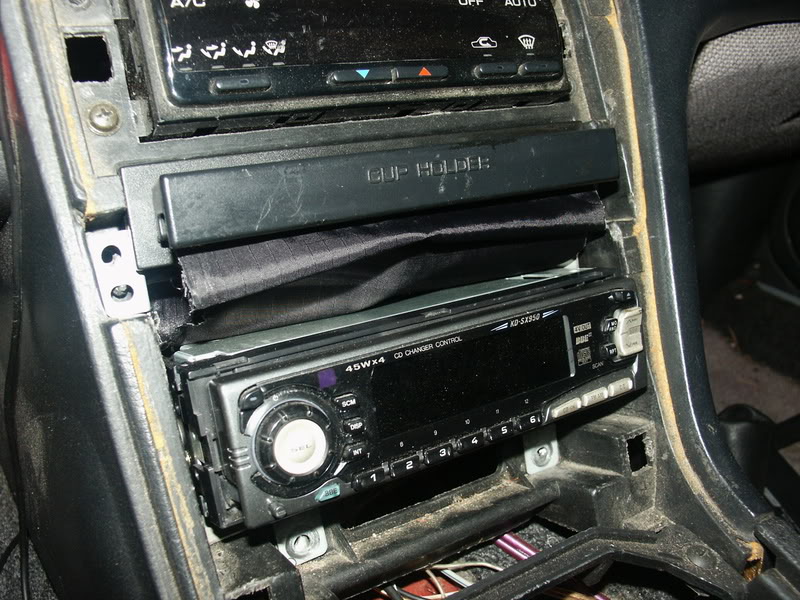
Replace the center console trim and enjoy your tasty beverage! Cheers!
Originally Posted by NISXAN