
Difficulty: ***
Time: 4 hours
Cost: $689 from splparts.com
Materials:
- SPL FLCAS- Pieces of wood
Tools:

- Jack
- Jackstand(s)
- Imact gun with 14/17/19 mm (optional)
- Wrenches 17/14 mm
- Rachet with extension
- Sockets 14/17/19/deep 14 mm
- Needlenose plyers
- Vice grips
- Crescent wrench (for adjust/locking control arms)- Hammer (just to knock ball joints out)
Procedure:
Start by jacking your car up. If you're low you may need blocks of wood to get the jack under the car. Loosen your lugs before lifting to make your life easier. Raise the car from the proper jackpoints and support securely on jackstands.
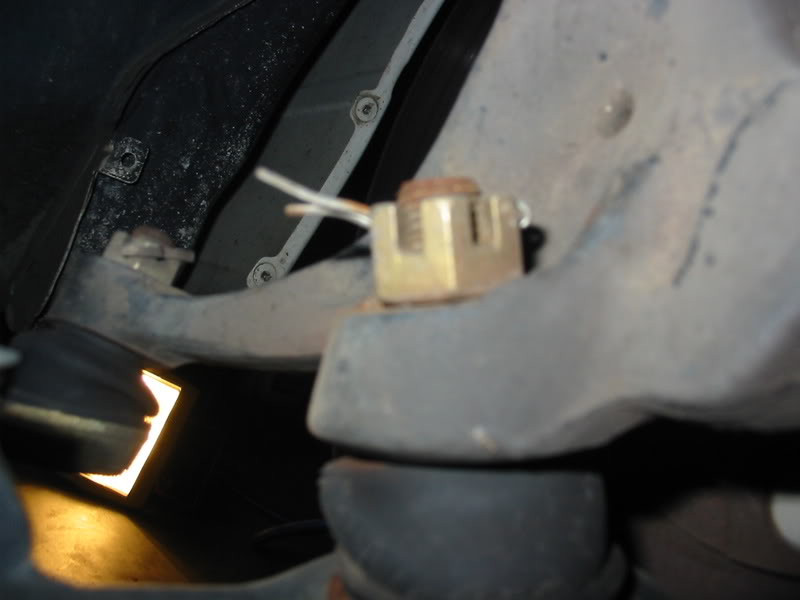
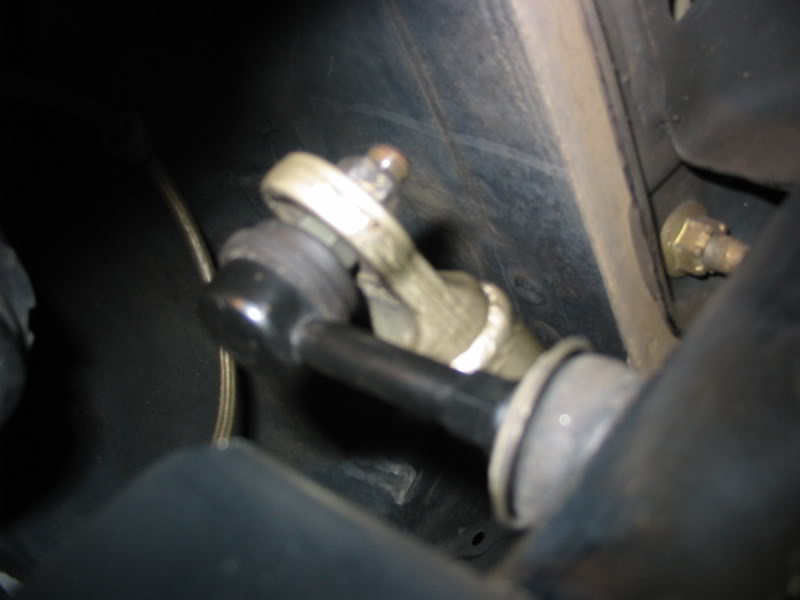
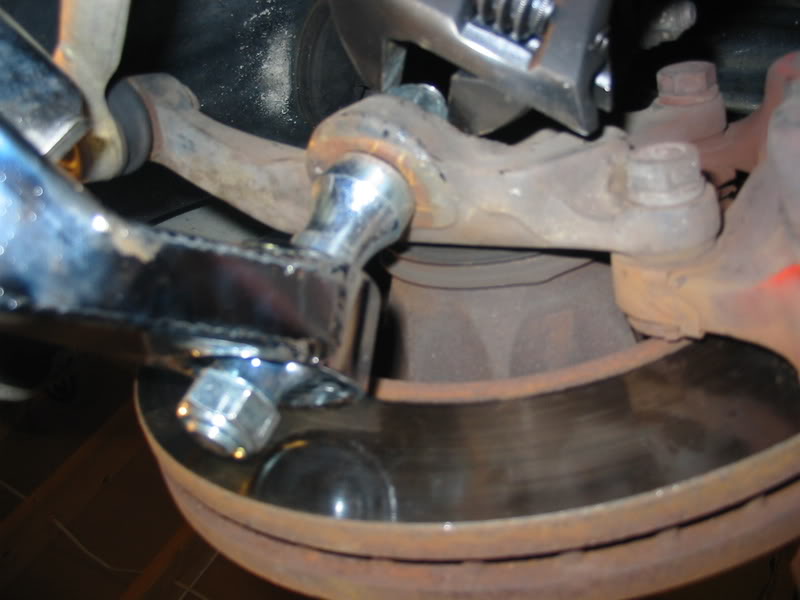
after removing your wheel, the spindle should be visible:
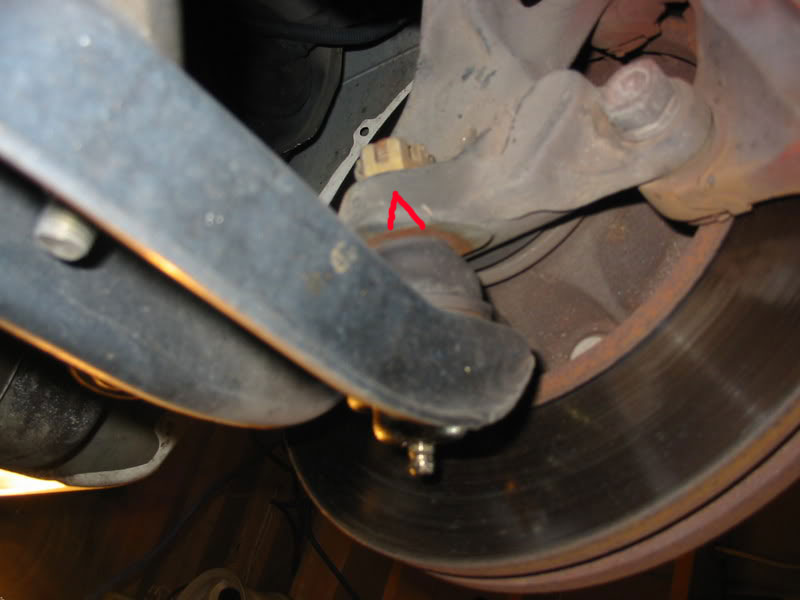
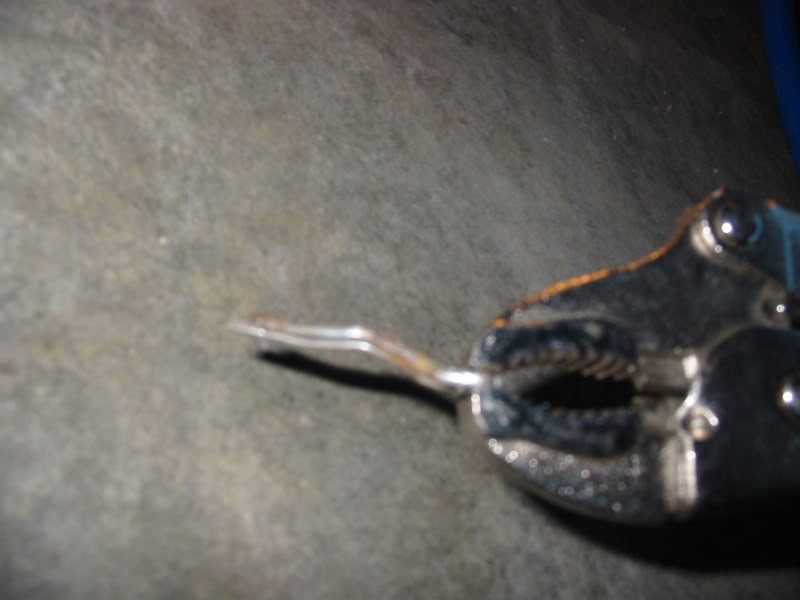
Use needle nose pliers to straighten and remove the cotter pin on the nut:
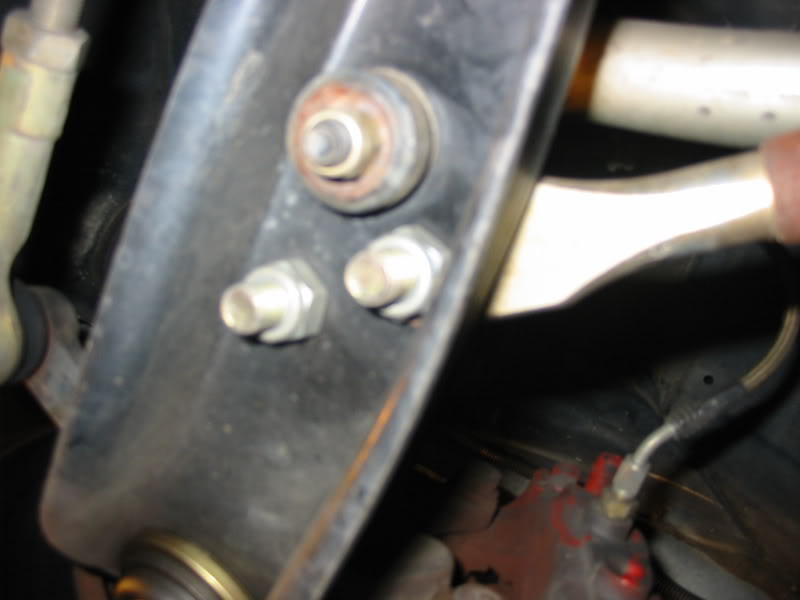
Remove the 14mm and 19mm bolts holding the old FLCA to the TC rod and anti-sway bar:
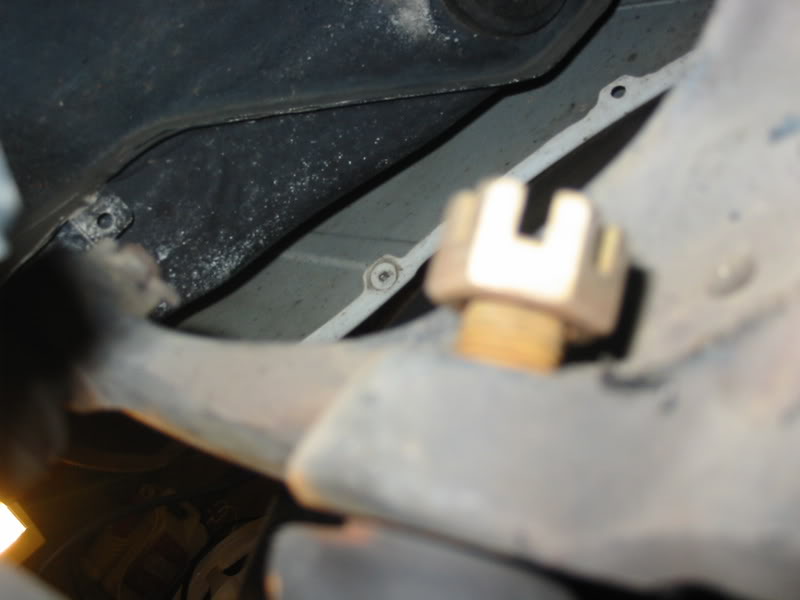
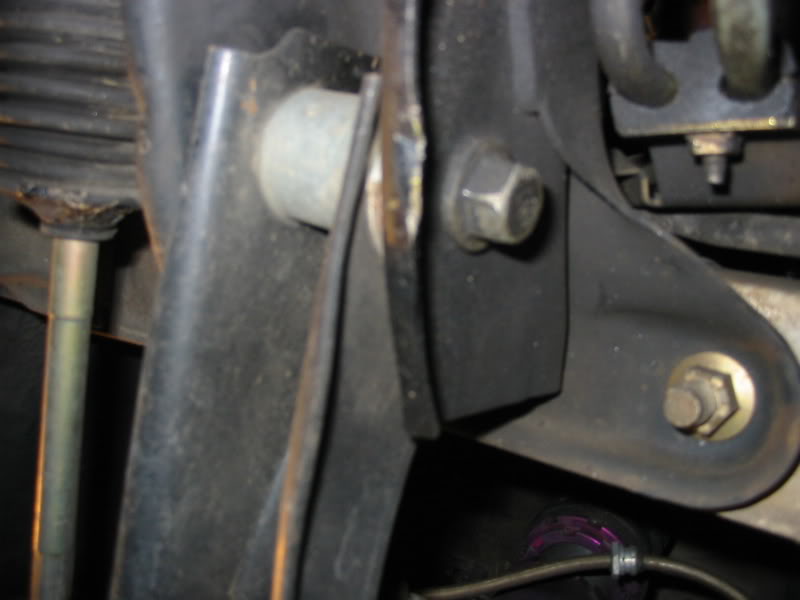
Remove the bolt holding the FLCA to the crossmember. A breaker bar would be a handy tool to have in this situation. Remove the unit when done.
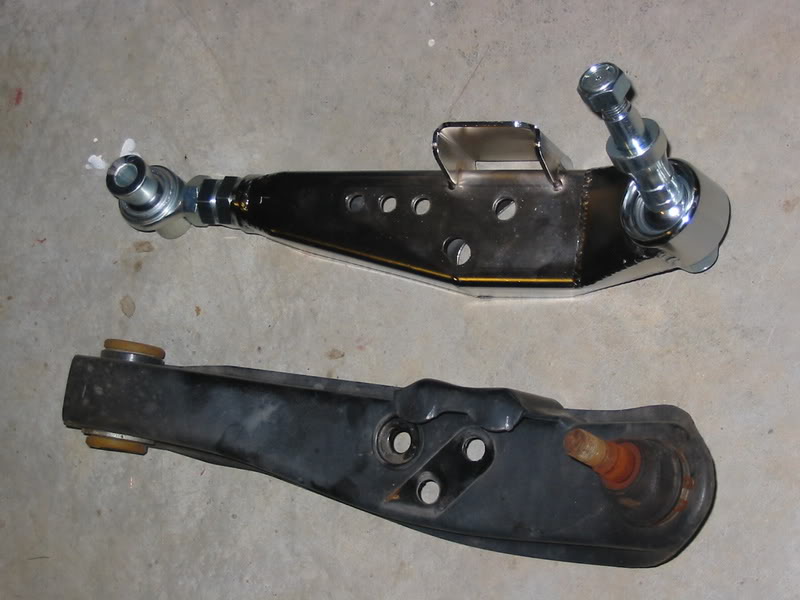
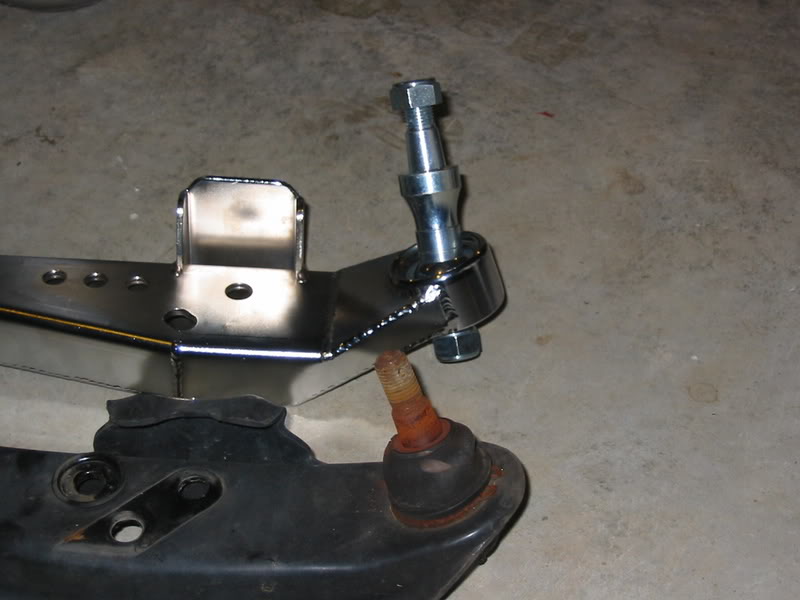
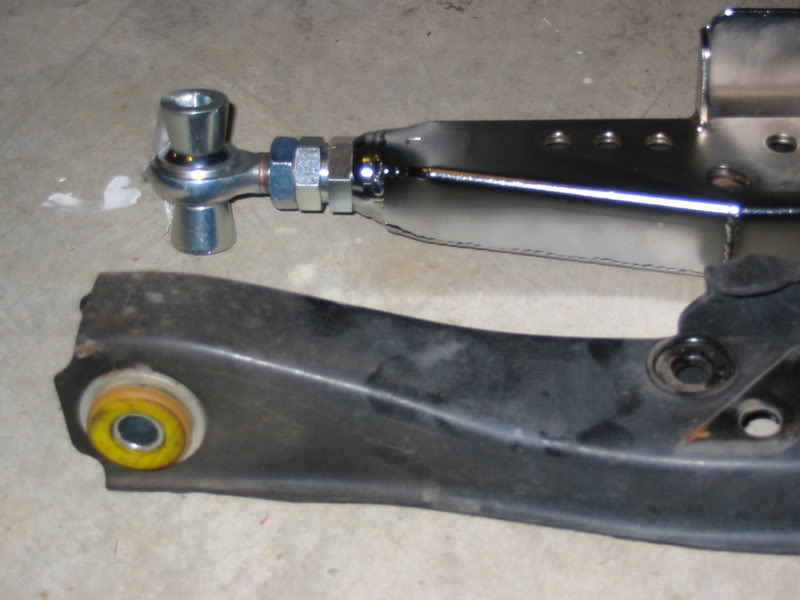
Comparison of the new and old FLCAs:
Put the ball joint in on the spindle and use a crescent wrench to tighten the nuts on both bottom and top of ball joint. I had to do this without anything else attached to be able to reach the nut:
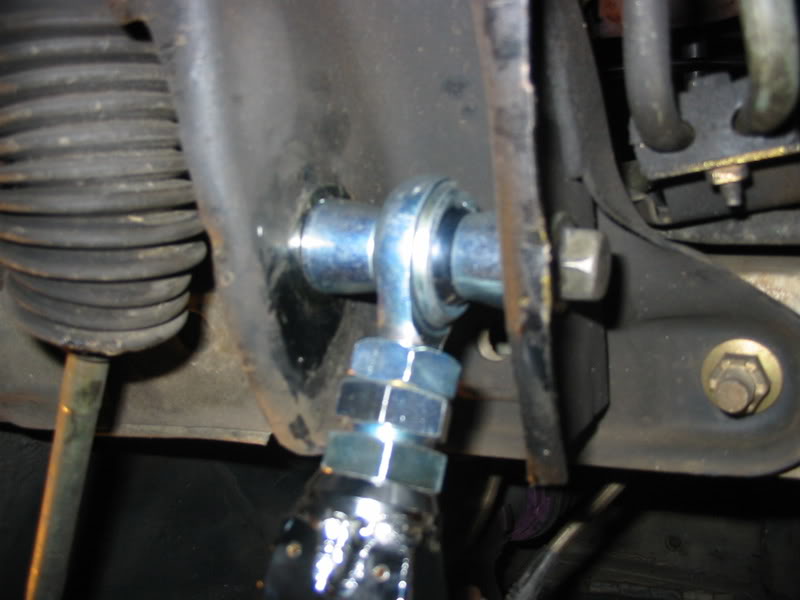
Aftermarket sway bars may be too thick to allow proper maneuvering to reinstall the new FLCA. I had to remove the bolt on mine to gain clearance:
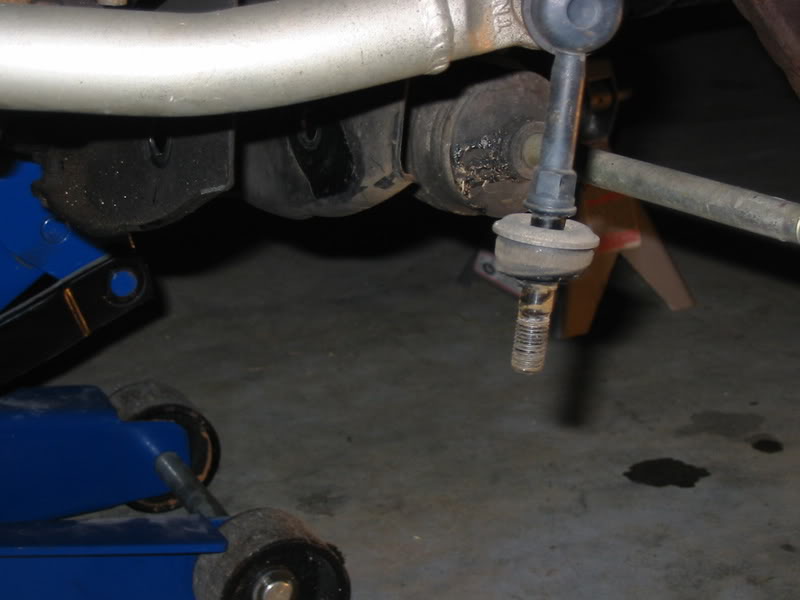
Also had to loosen (but not remove) the top of the the anti-sway bar endlink, using 14mm wrench and 14mm socket. Just tightened both the mounting points and endlinks after everything was installed.
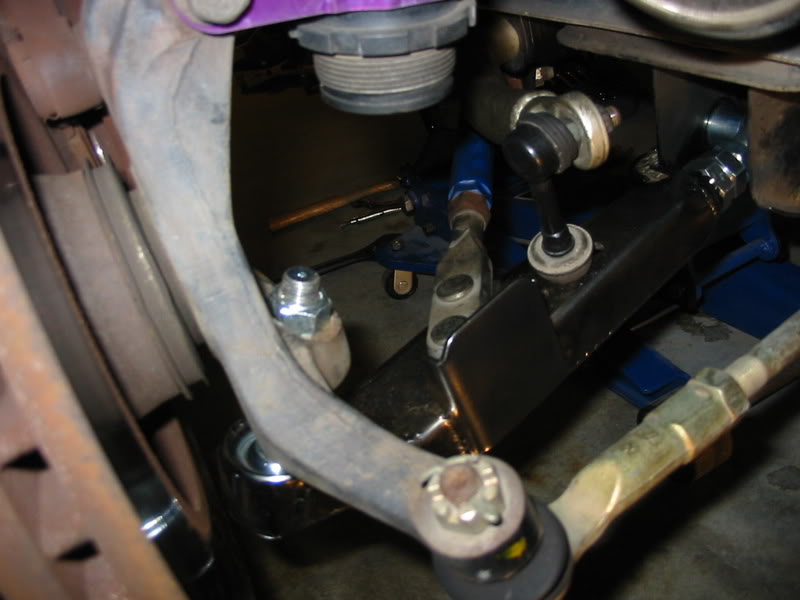
After you move the FLCA into place, you should be bolting the endlink and TC rod using the 14 and 19mm nuts.
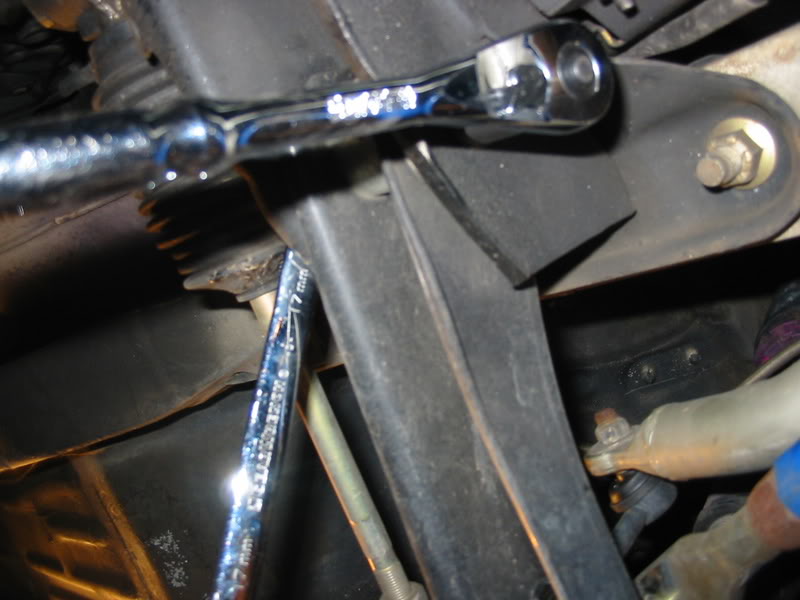
attach the crossmember bolts:

All done:

by biggie