
Difficulty- 6 out of 10, its not really hard, just lots of manual labor.
Cost: ~ $14 per ball joint online
Materials:
- b12 Sentra front ball joints
Tools:
- hammer
- torch
- 1.5 inch and 2 inch galvanized pipe
- bench vice
- torque wrench
- socket set
- other common hand tools
Procedure:
**note- the entire upright does not need to be removed for this project. Mine are removed though for other work being done to them, therefore my pics and description will show the whole unit being removed**
STEP 1- getting started
This article isn't intended to walk you through the steps of removing the uprights and hubs, but rather to focus on the ball joints. With this in mind, it's up to your own know how and the fsm to get the uprights off the car. once you get to this point.
you're ready to get started.
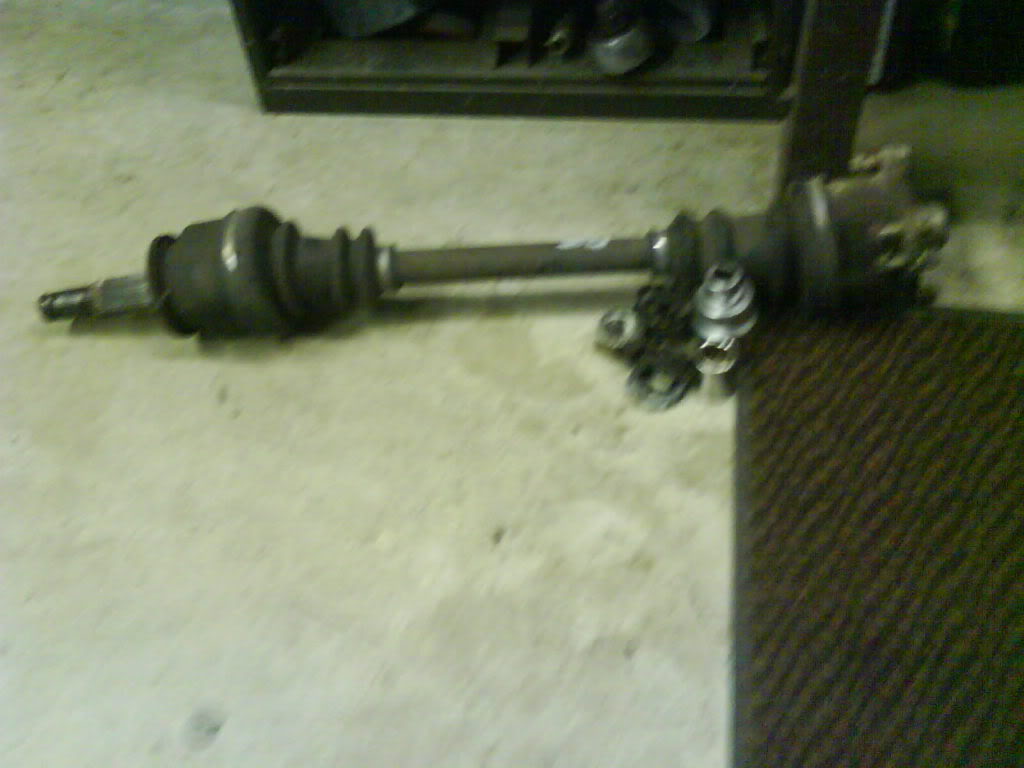
remove the cotter pin holding the axle as well as the adjusting cap and the large nut holding the axle into the hub. after the nut is removed, remove the axle shaft. you may need to lightly tap the end of the axle to loosen it. be sure to use a piece of wood to prevent damage to threaded end of axle. after the axle is out lay it aside until you're ready to reinstall it
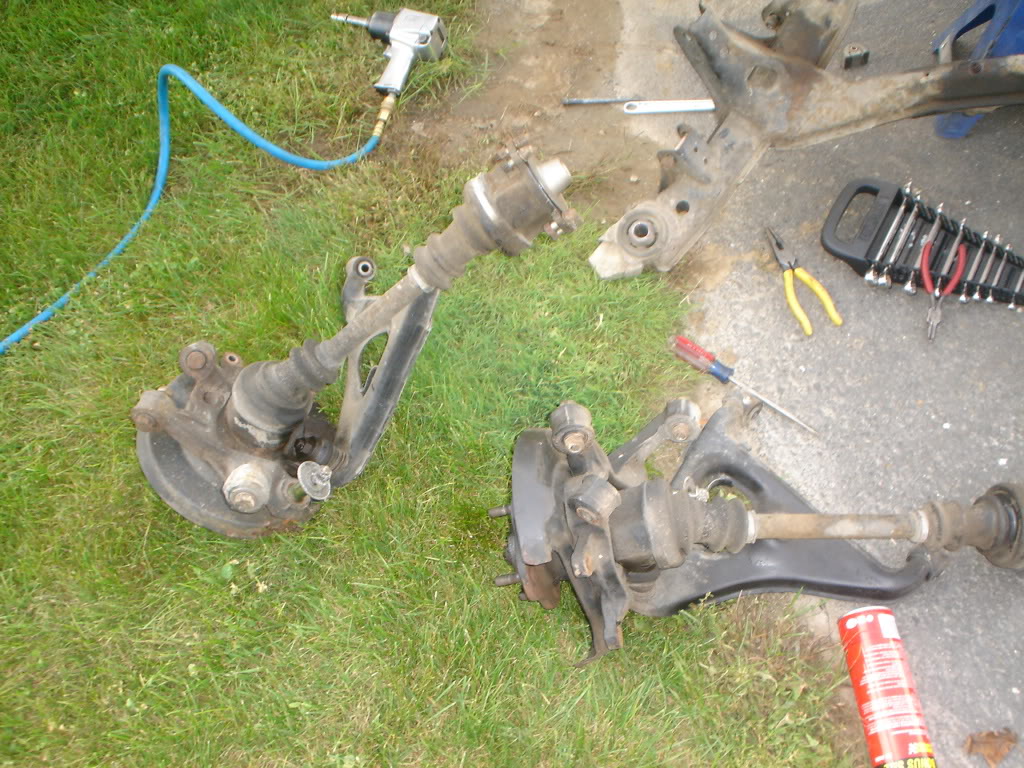
STEP 2- remove the upright and hub
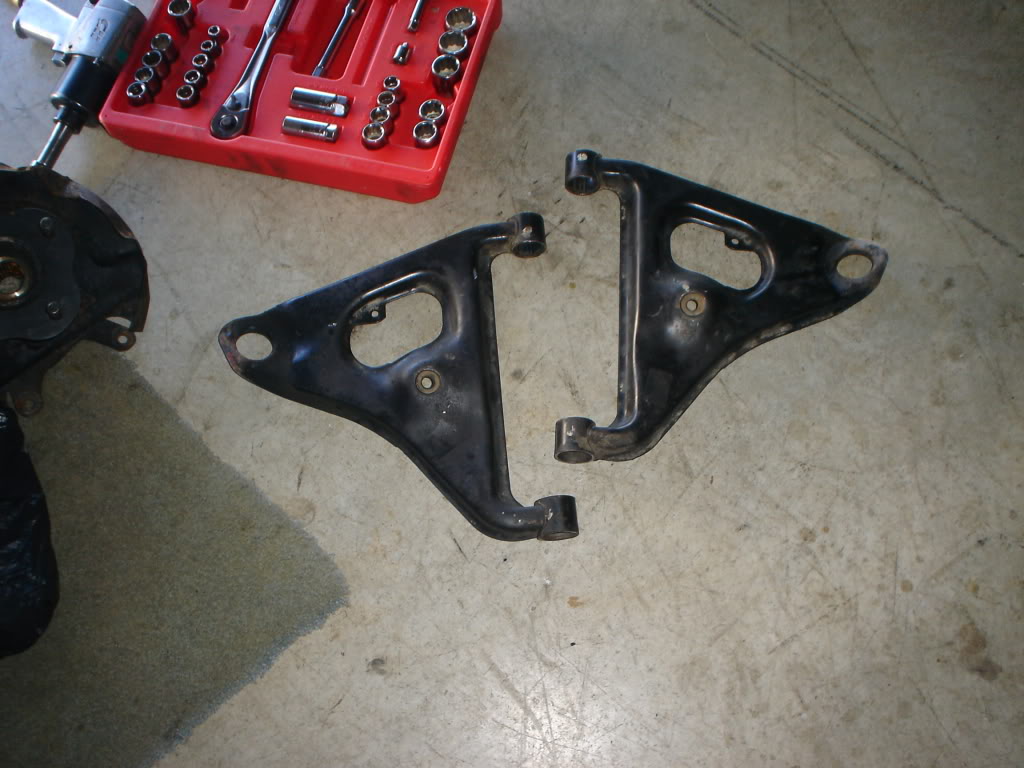
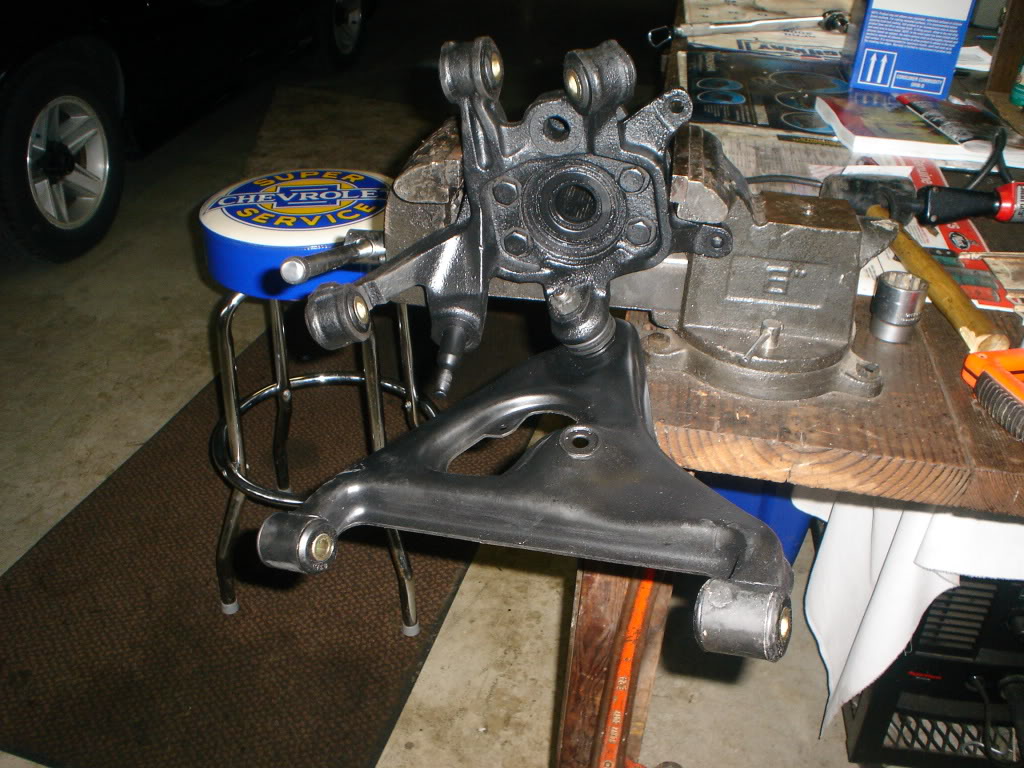
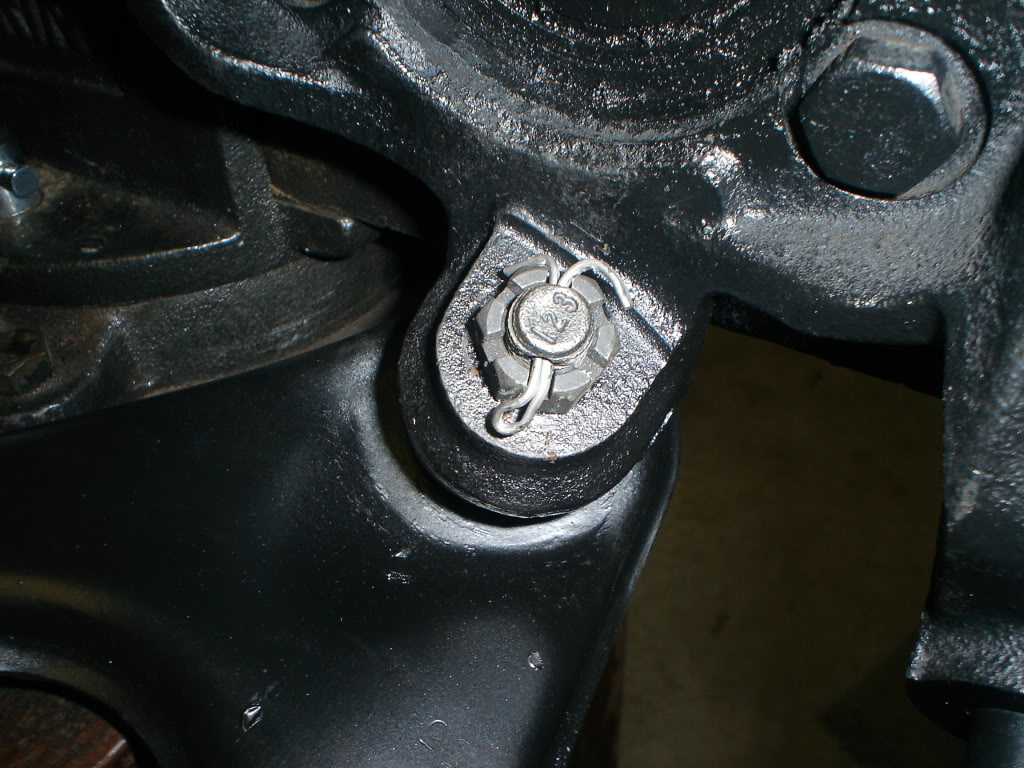
Once the axle is out of the way, remove the cotter pin for the ball joint and zip off the nut. Leave the nut on the first several threads and tap lightly with a hammer to separate the upright and rear lower control arm. You could also use a pickle fork if you'd like. the downside would be that it would destroy the ball joint, but if your replacing it it doesn't really matter. everything should look like this now

lay the upright aside with the axle, seeing as you're done with it for now
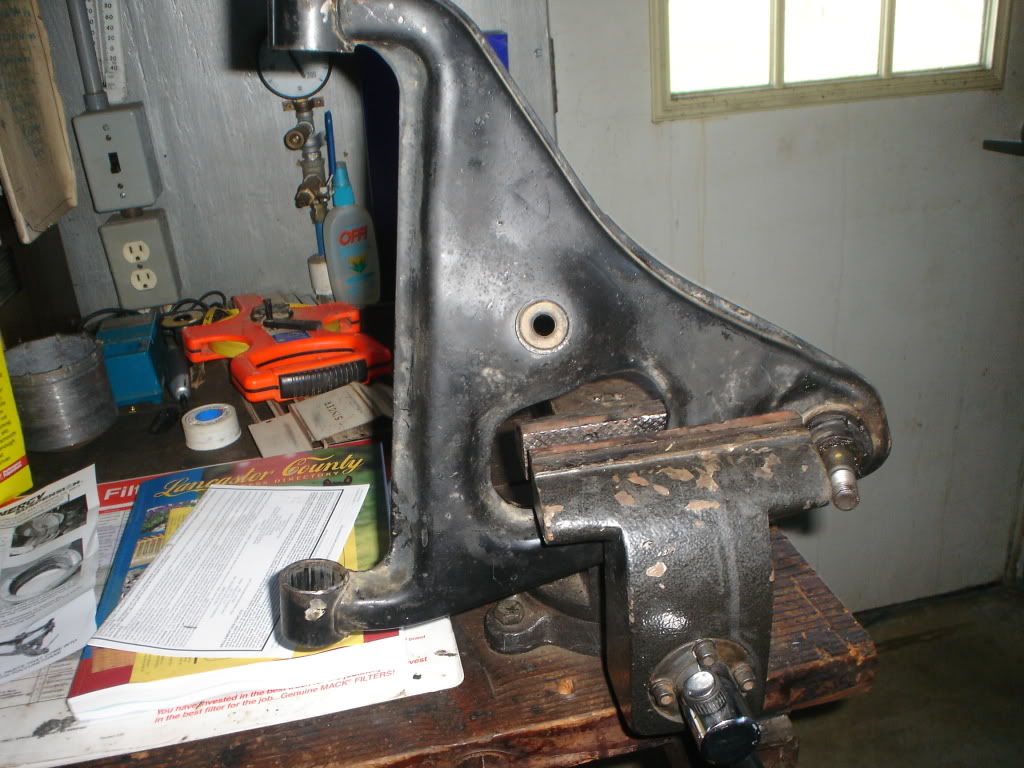
STEP 3- remove the ball joint from the rlca
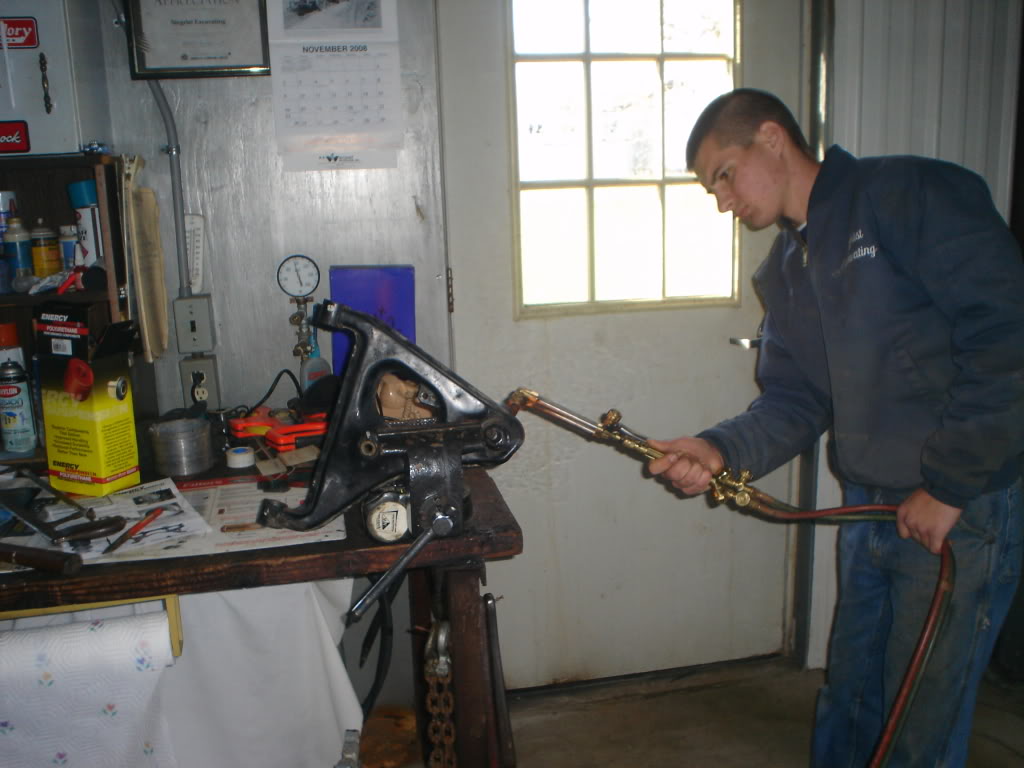
take the rlca with old ball joint and place it into a bench vice so that the ball joint can easily be hit with a hammer.
take the oxy acetylene torch and heatthe bottom of the ball joint and surrounding metal. this extreme heat will loosen it up for the hammer. it works best to have someone help by heating it while you hit the ball joint
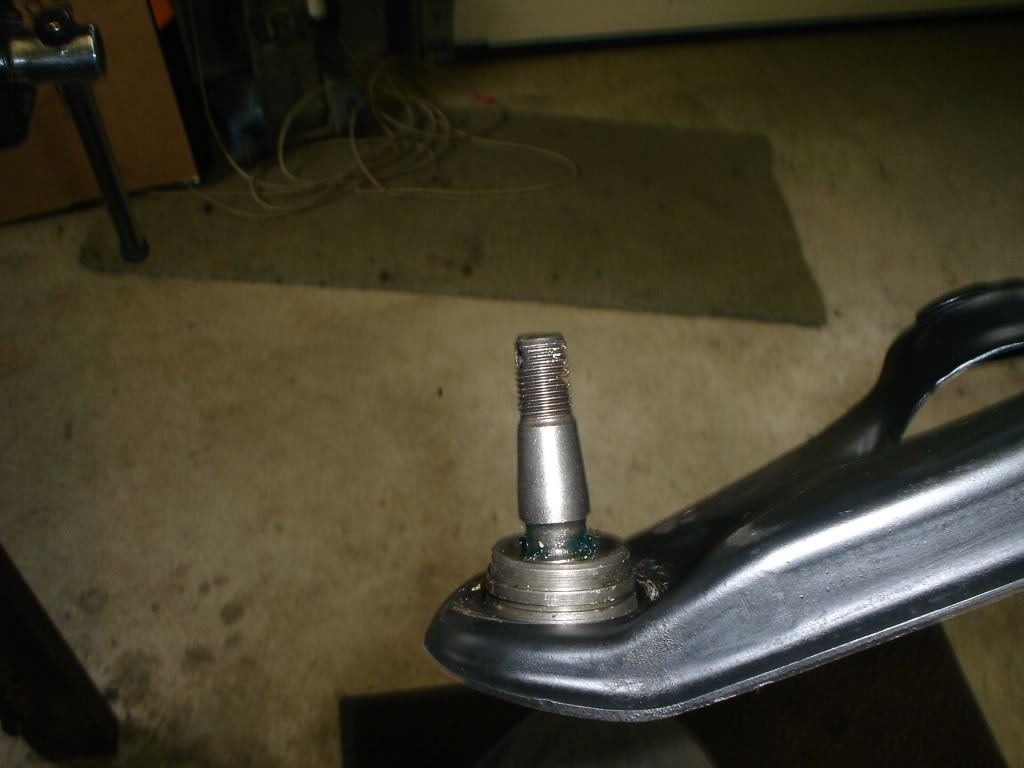
after a few hits the rlca should look like this
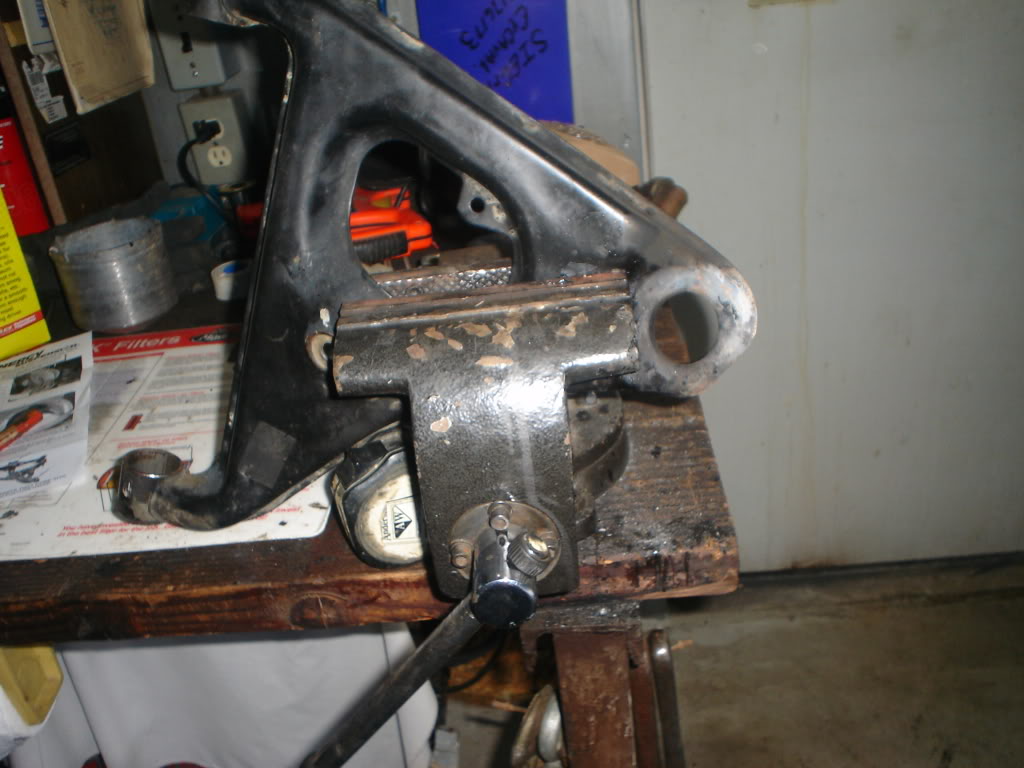
repeat until both are sans ball joint
STEP 4- install new ball joints
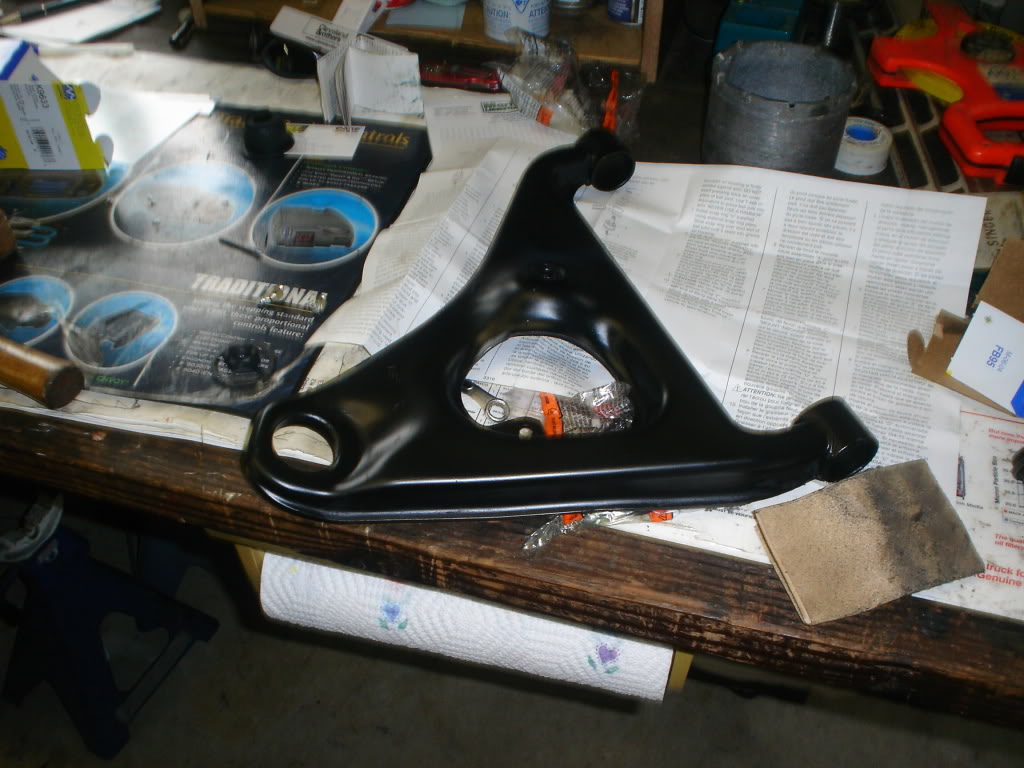
I cleaned up and repainted the rlca since the heat blistered the paint. also, make sure to clean out the opening of any burs that would prevent the ball joint to install smoothly.
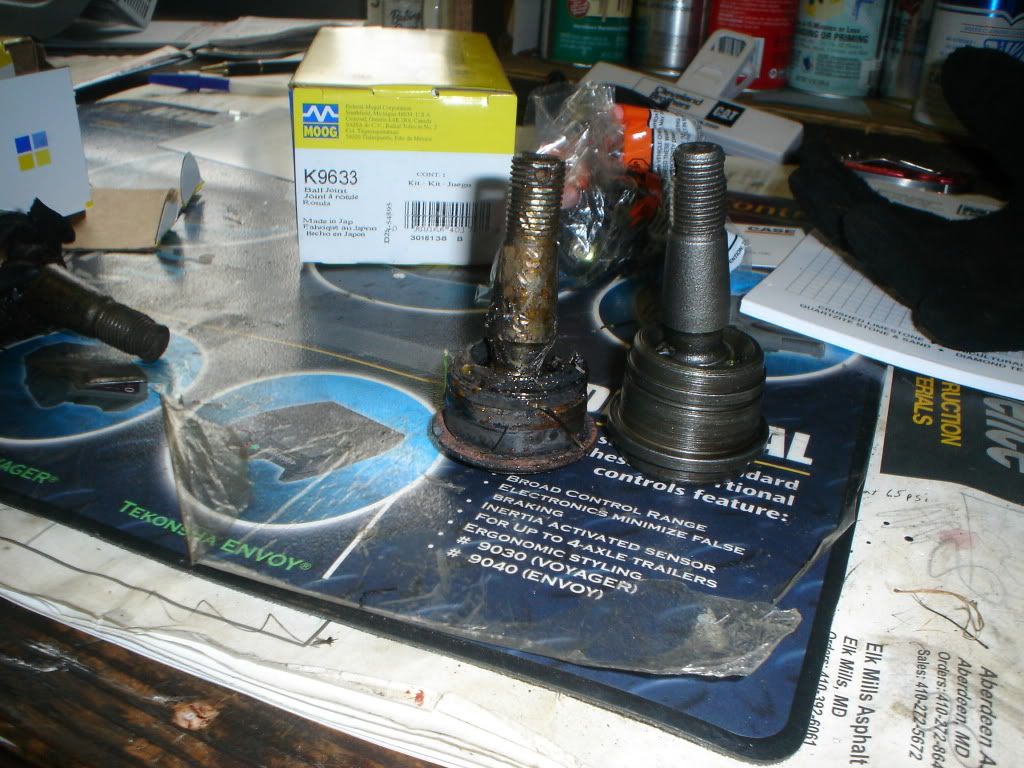
get out the new ball joints, its time to use em. i got mine from advanced auto for $26 a piece. old vs new pic:
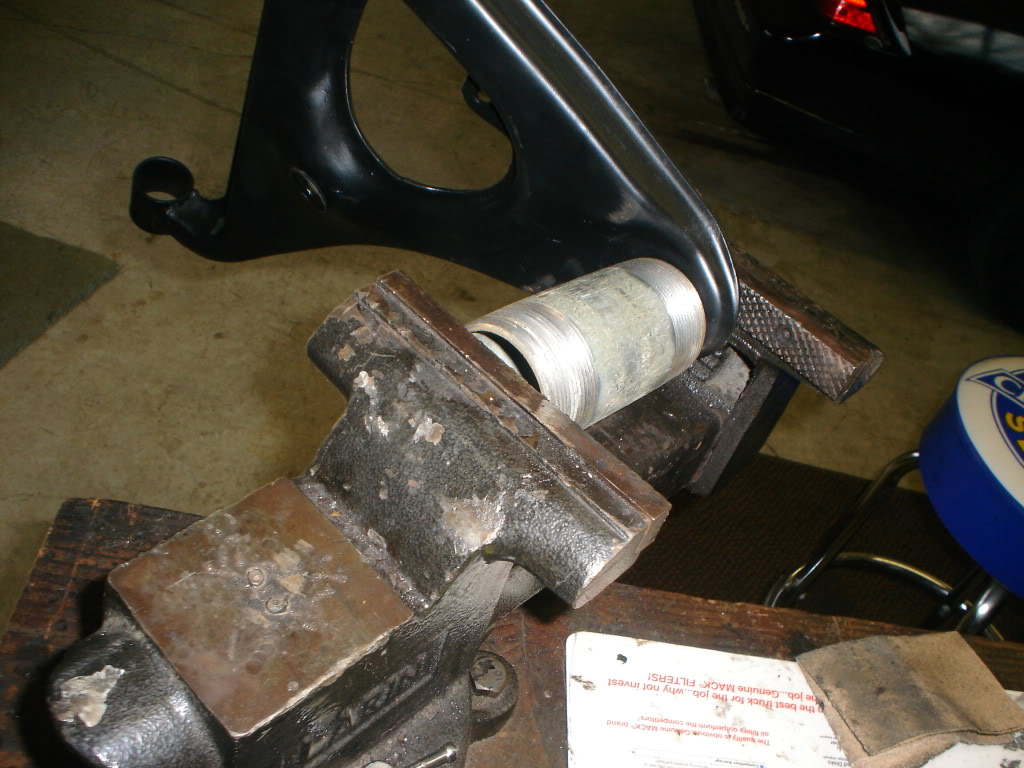
now your ready to bust out your homemade ball joint press. you can always rent one from a parts store, but this was easy and i had everything i needed laying around already. you'll need a piece of pipe big enough to fit over the the ball joint and rest against the rlca and long enough to easily clear the stud end
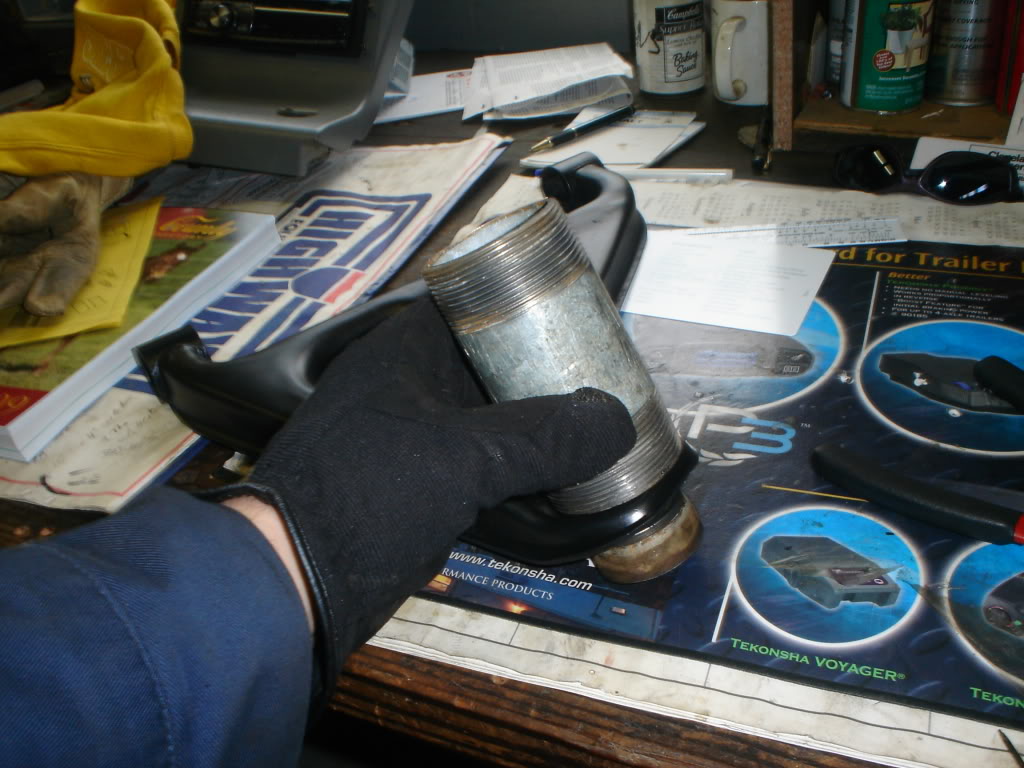
fit the ball joint in with your hands just so it'll stay in place
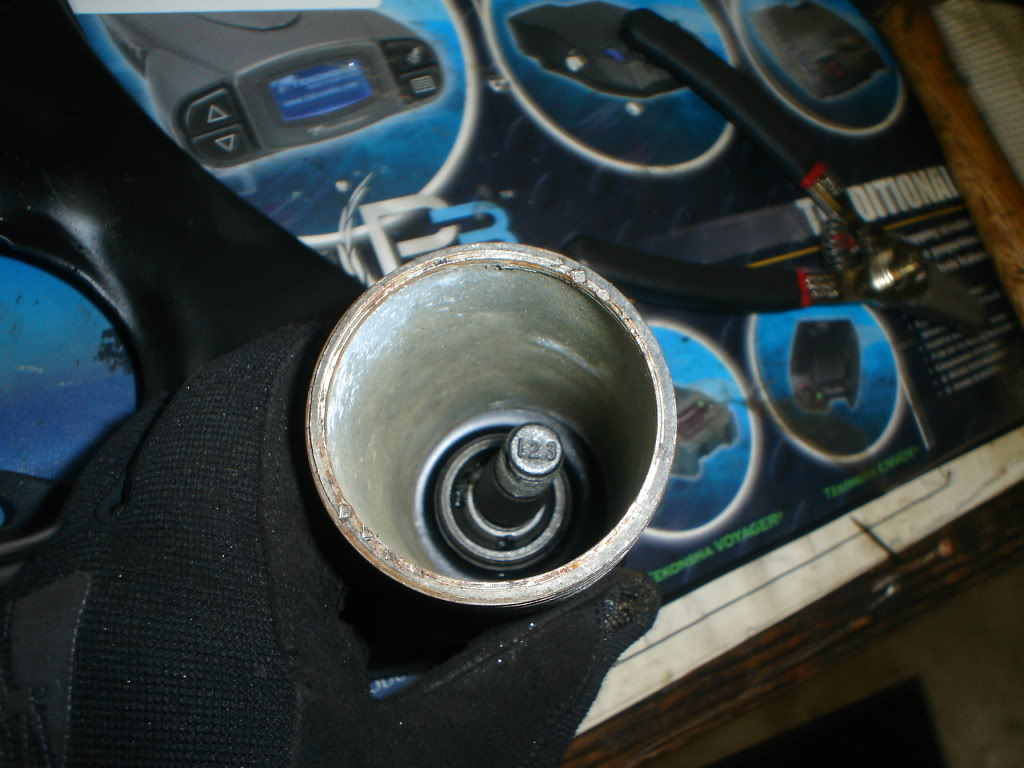
then its time for the other part of the homemade ball joint press, a short piece of 1.5 inch pipe. 1.5 inch is exactly what it'll take to rest nicely on the ball joint's lip
you only need a piece long enough to clear the bottom of the ball joint so it isn't damaged by the vice. if your pipe pieces are too long it might not fit in the vice.
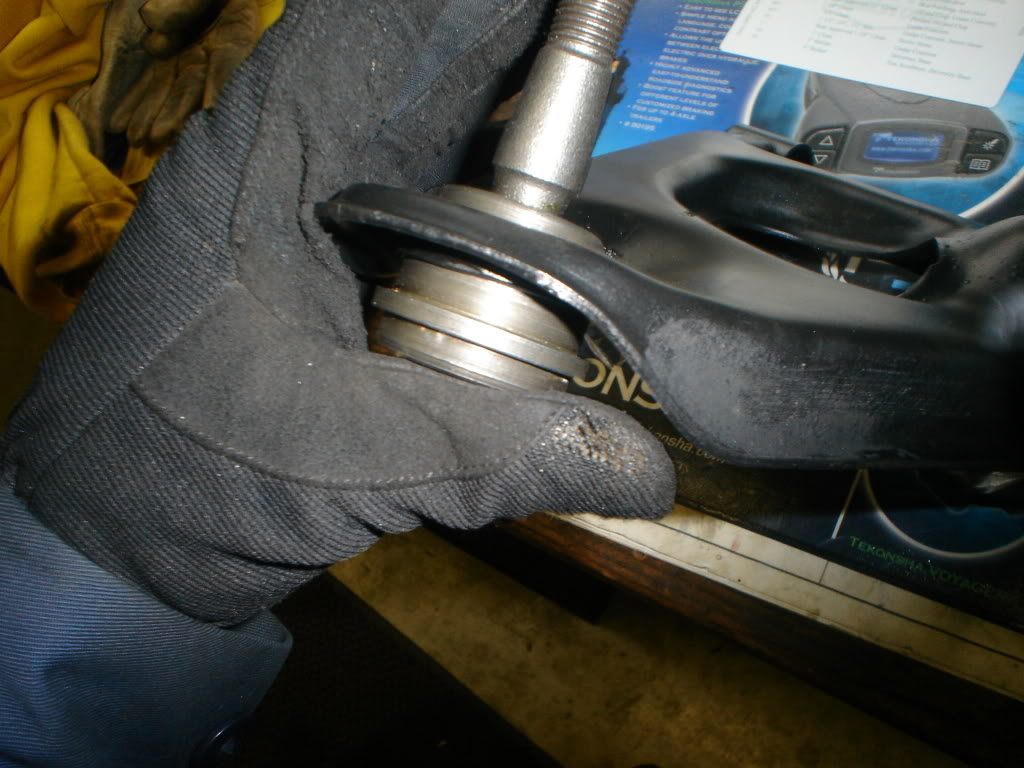
all together it should look like this
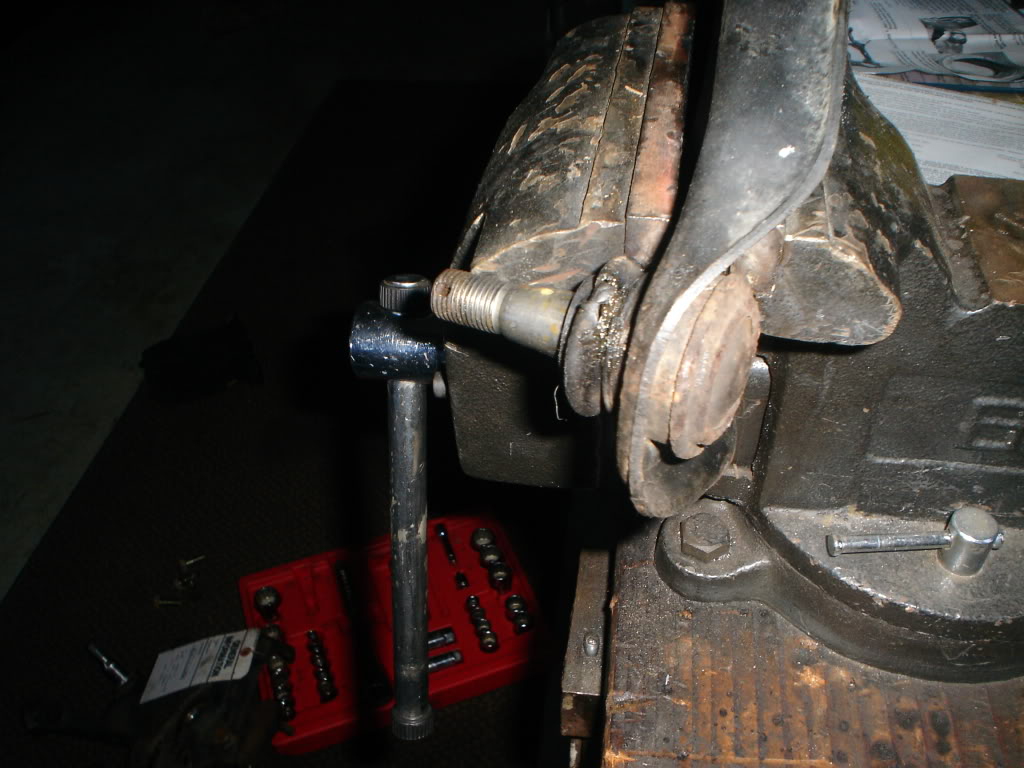
now stick it in the vice and get ready to crank on it
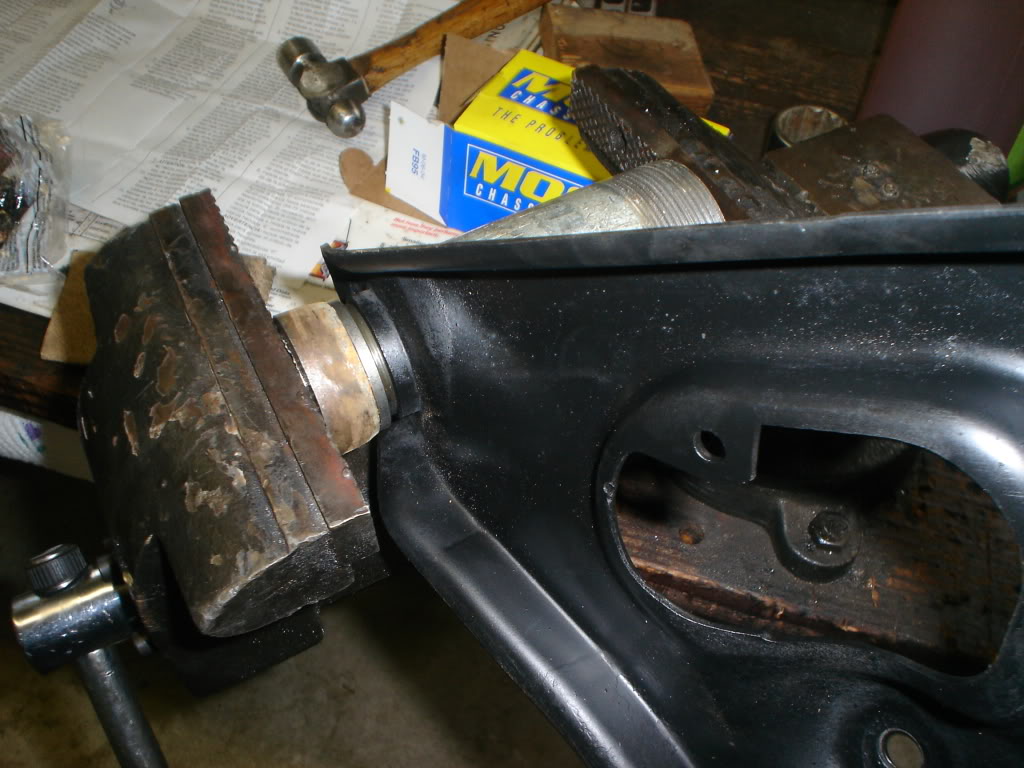
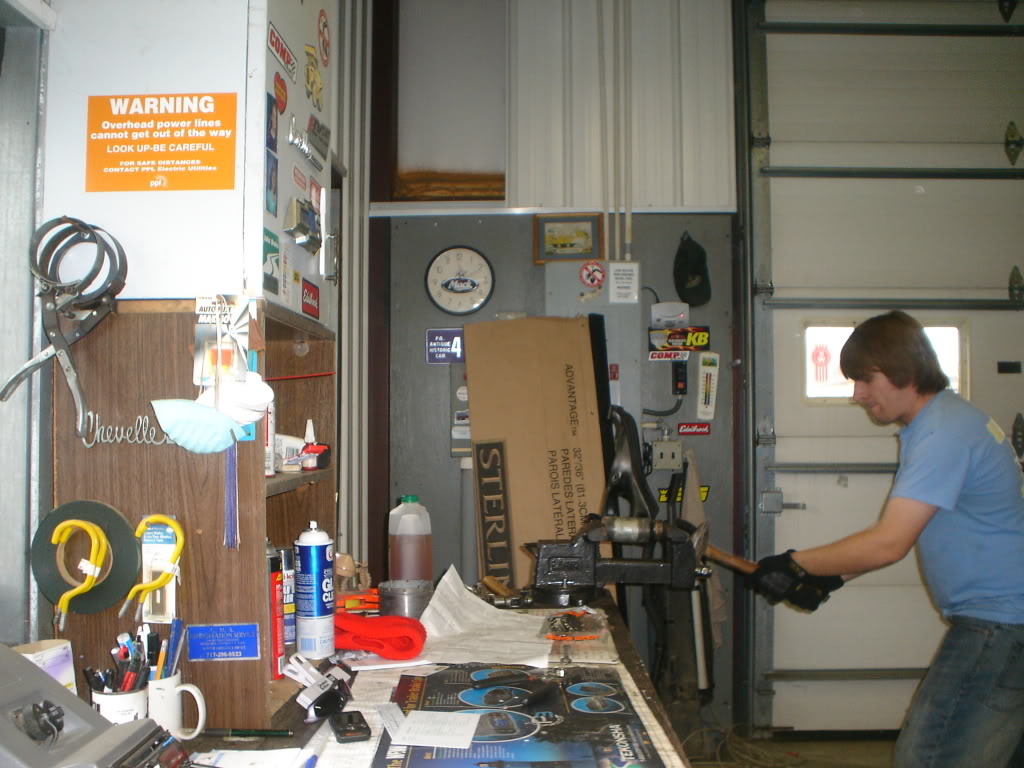
STEP 5- apply some muscle
all you need to do at this step is crank the vice as tight as you can and make sure its going in evenly. i wailed on the vice handle with a heavy hammer to squeeze it in the whole way
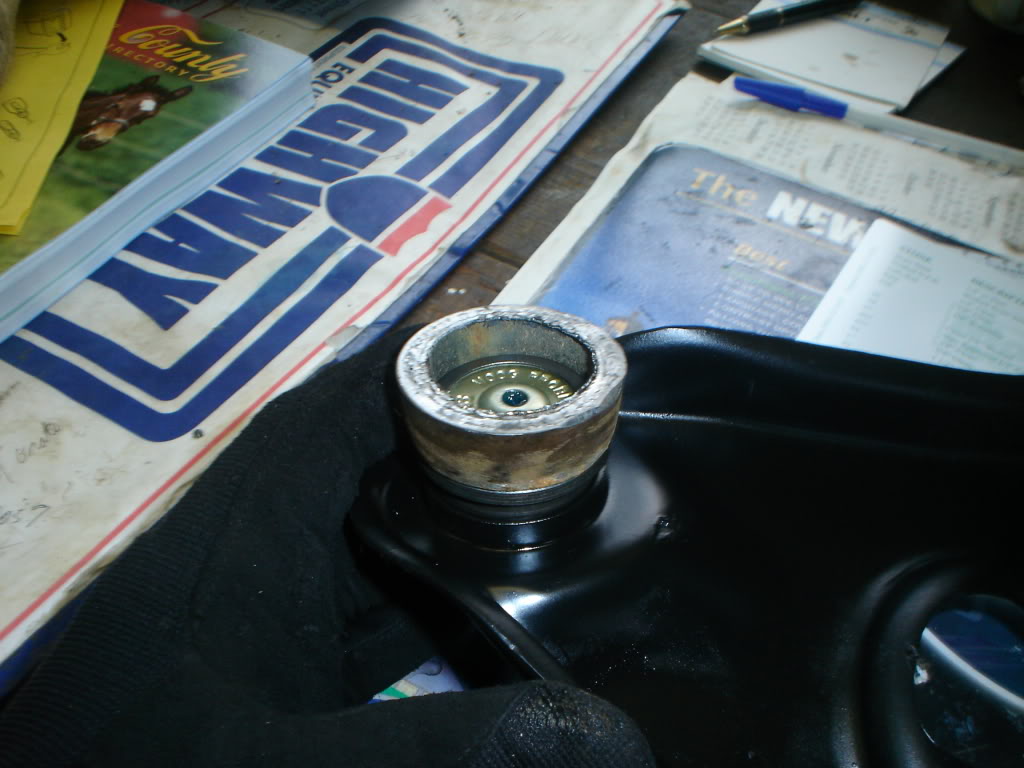
STEP 6- finishing touches
once its seated fully, it should look like this
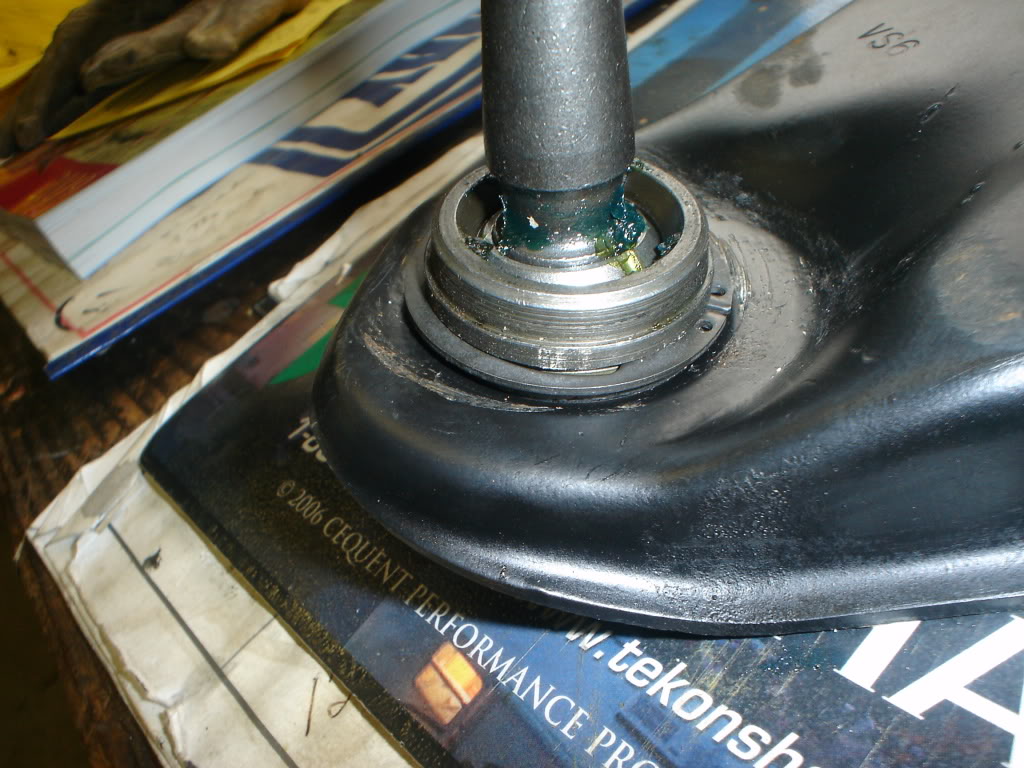

now just put on the snap ring and dust shield
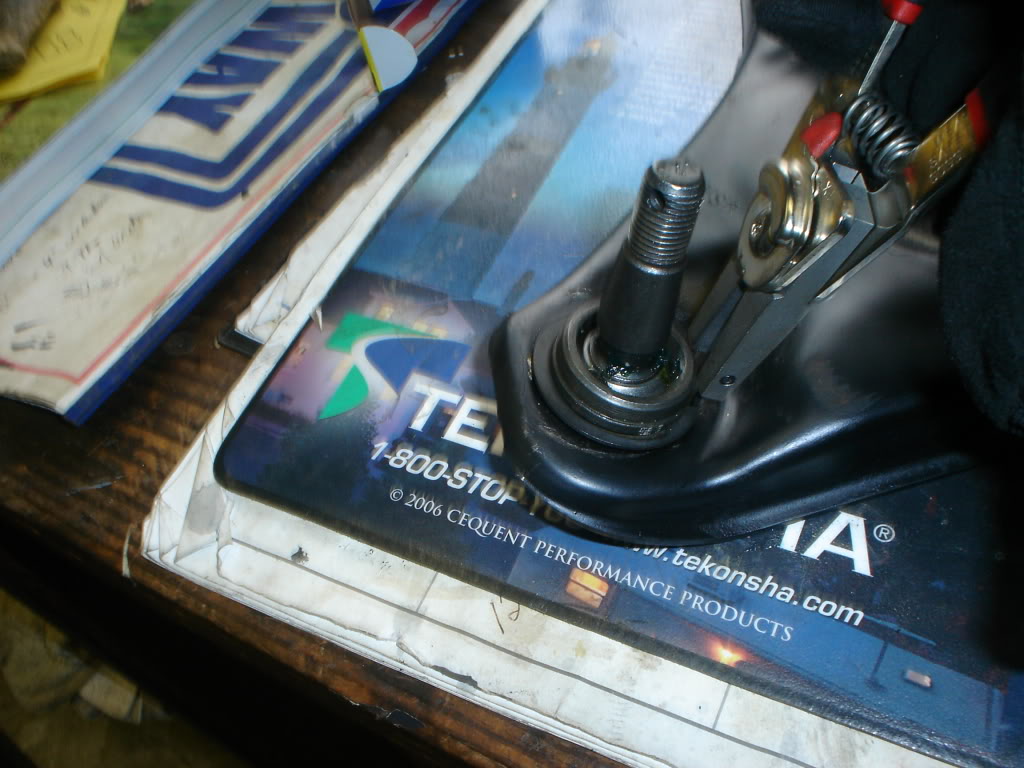
repeat for the other side and you're done. reinstall rlcas and uprights with the new ball joints, torquing the nut to 50 lb ft then installing the cotter pin.
reinstall all components doing the reverse of removal and torquing to factory spec. hope this was helpful, now go enjoy the new ball joints.
by White Comet