
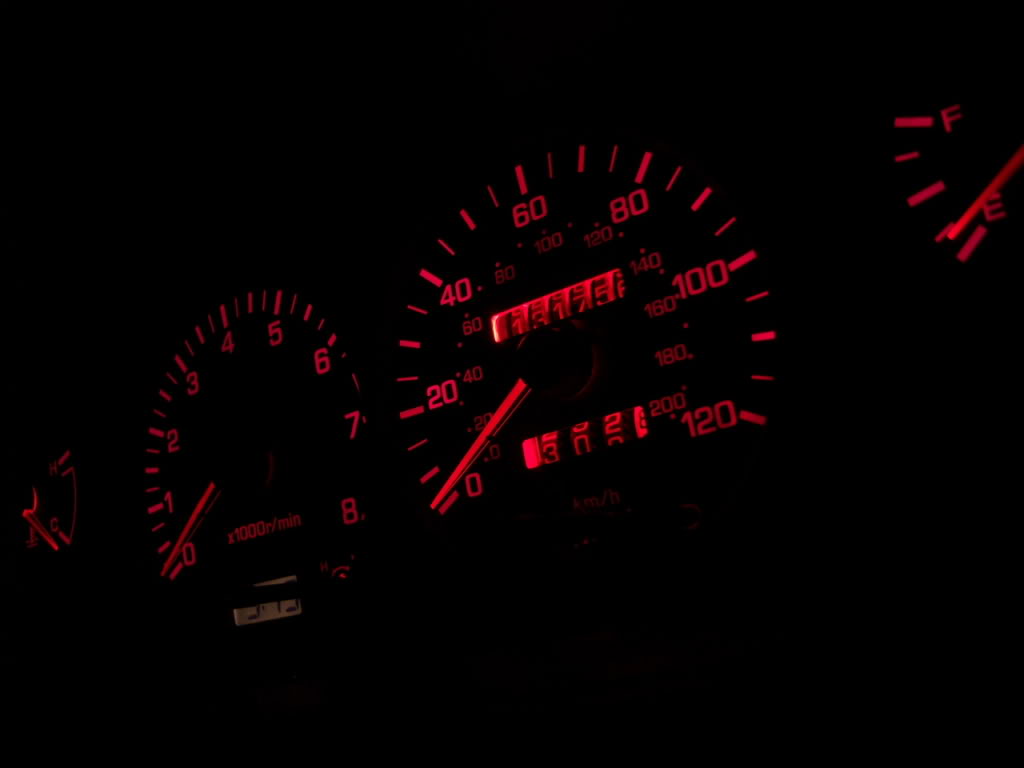
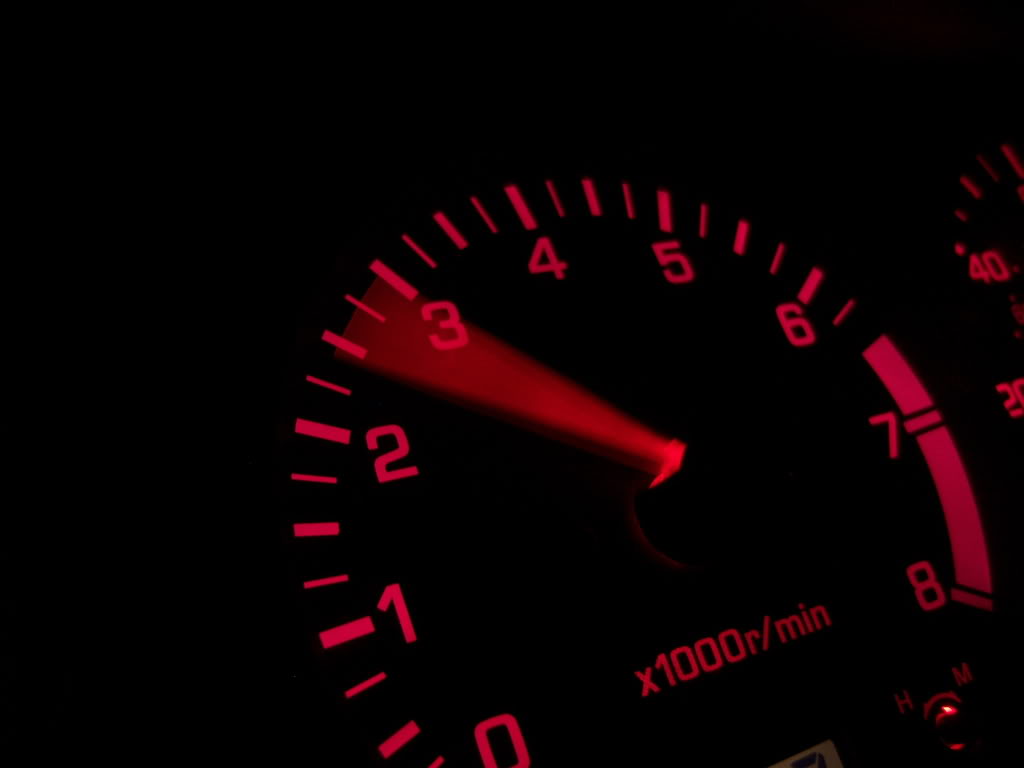
If you have a dark spot on your gauges or you're tired of staring at the dim greenish light and want to ruin your eyes with wacky colors, this article is for you.
Difficulty: **
Time: 30 miutes
Cost: ~$5
Materials:
- 3ea 194 wedge type bulbs
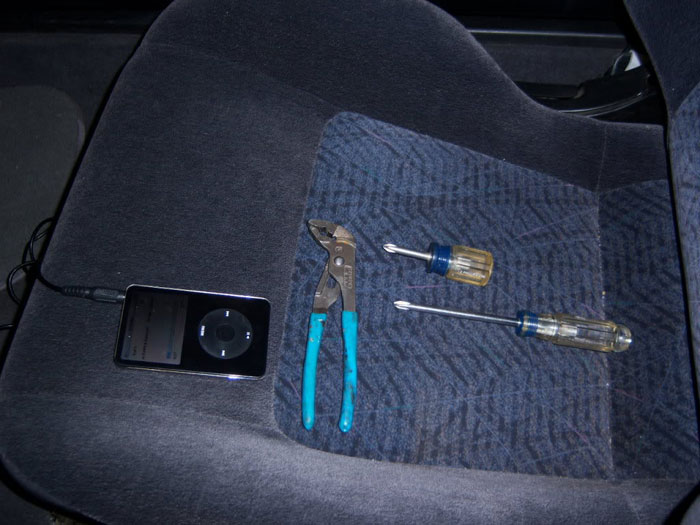
Tools:
- Phillips screwdrivers
- pliers
Procedure:
Please note that this job is not very complicated but it takes patience and diligence like every job dealing with plastic interior pieces and clips. You do not want to start breaking things
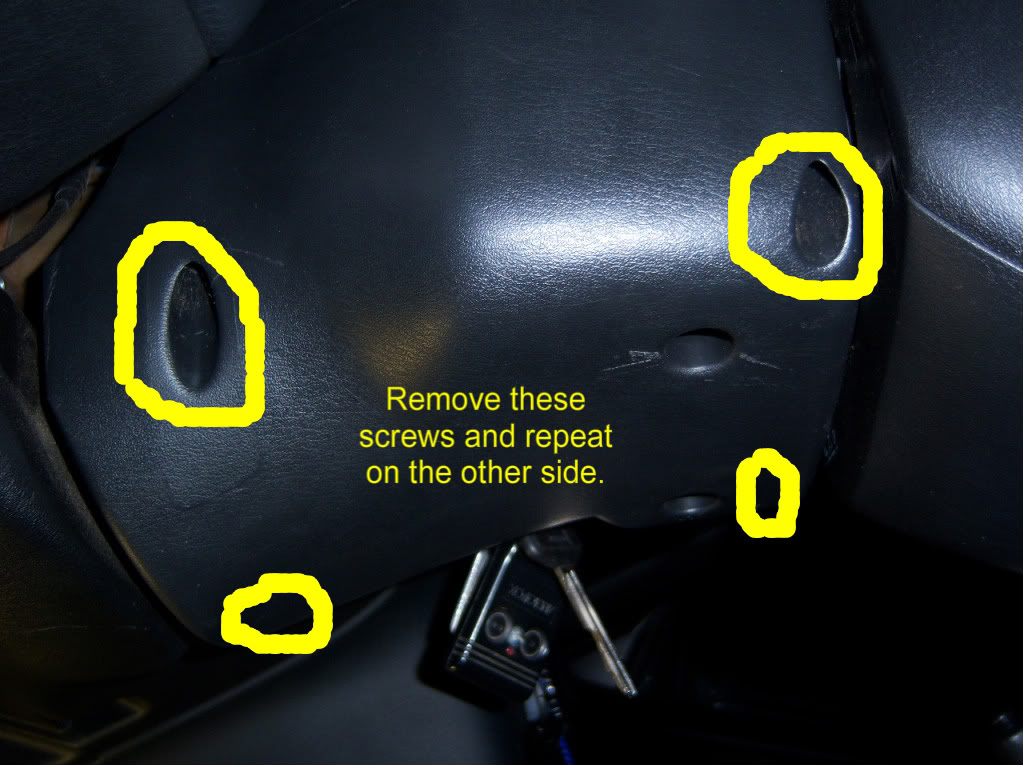
1) The first thing you want to do is to take off the top half of your steering column case. This is done by removing the four screws at each corner on the bottom half of the steering column case with the philips screwdriver.
Once all the screws are out, gently pry the top half off using two hands. The top should come apart and you can just set this aside.
2) Okay so you have the top half of the steering column case out, now you are going to want to remove the plastic trim around your instrument cluster. The first thing you are gonna do is remove the two screws at the top of this trim piece.
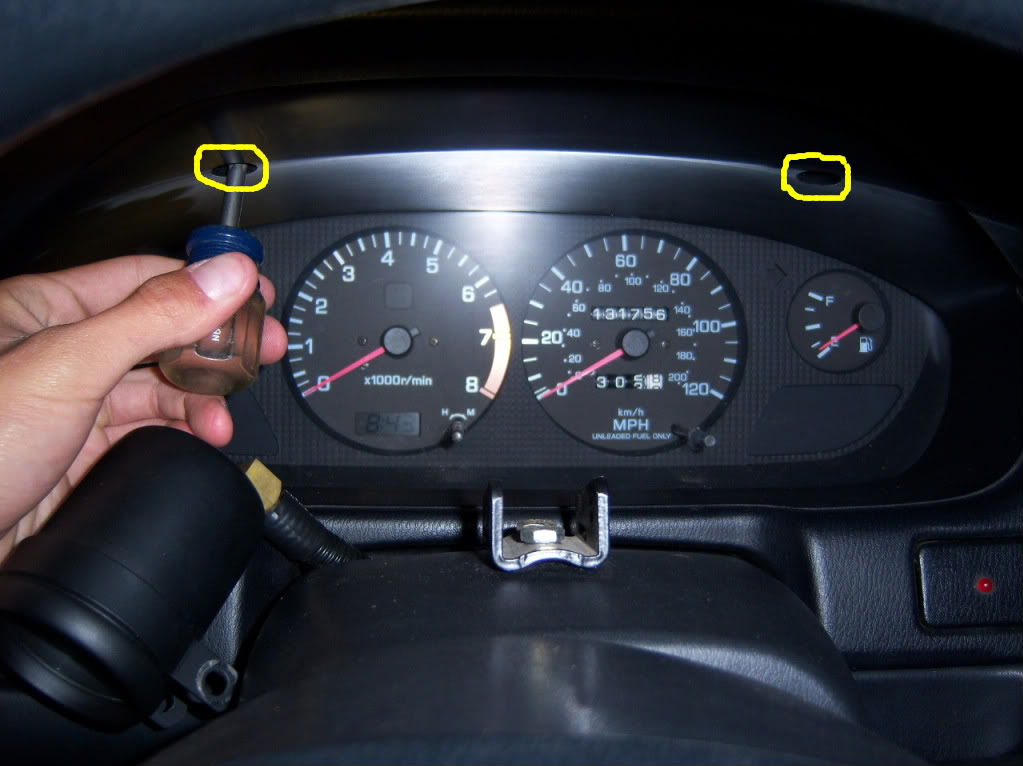
Now you will want to CAREFULLY pull this trim piece out with your hands. It should pop out of some clips.
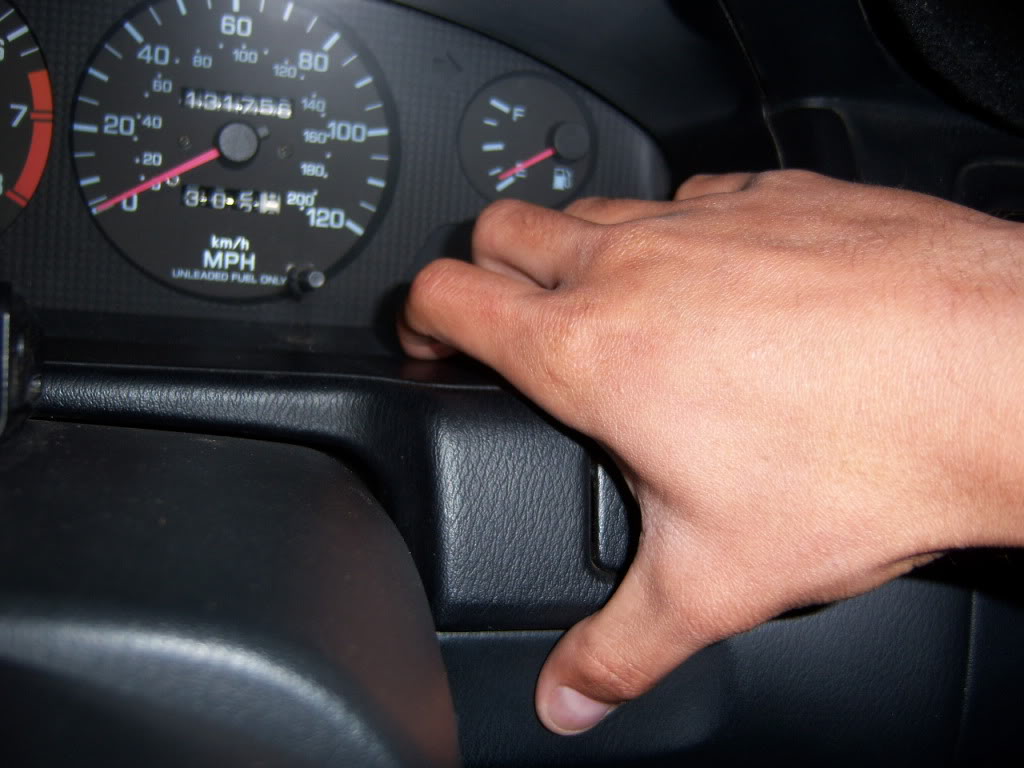
NOTE: If you can't remove it without hitting the steering column, you can use a 14mm socket wrench with extensions to lower the wheel enough to clear.
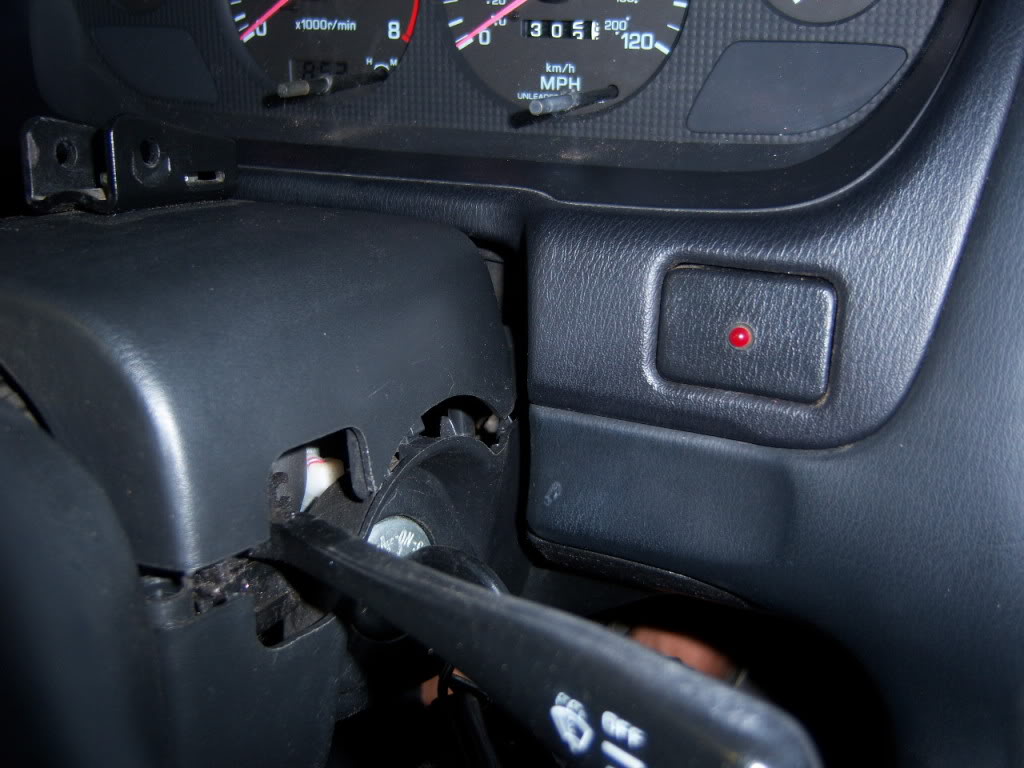
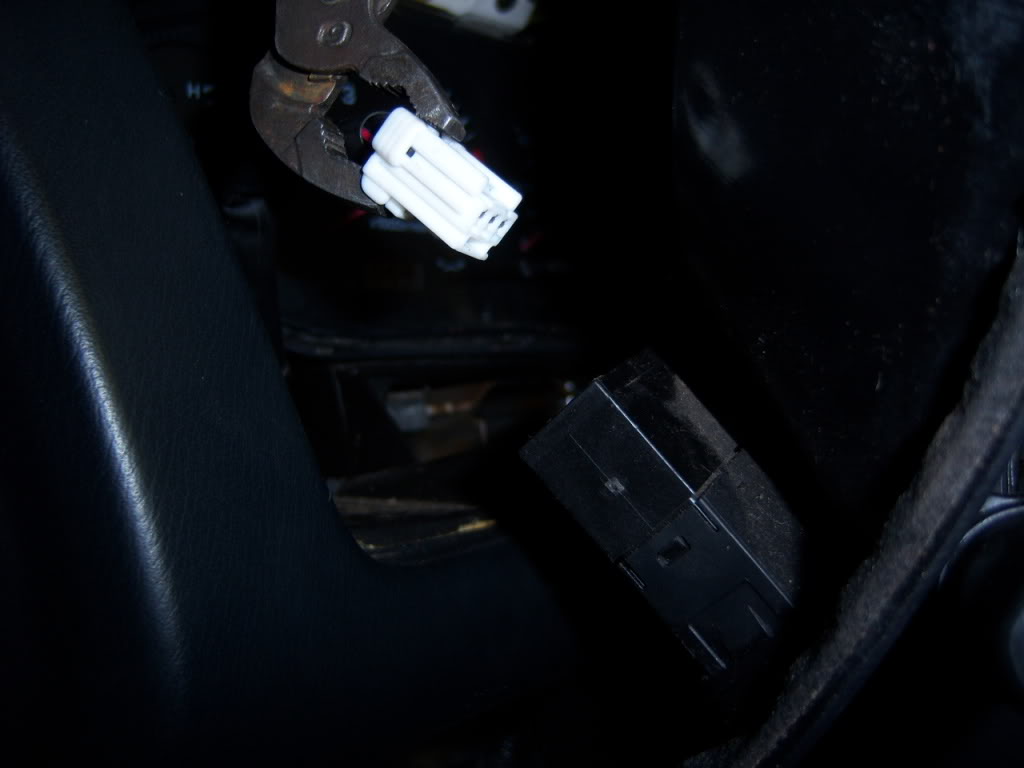
You will need to unplug the dimmer switch on the left side of the trim piece by pushing a small tab on the white plug.
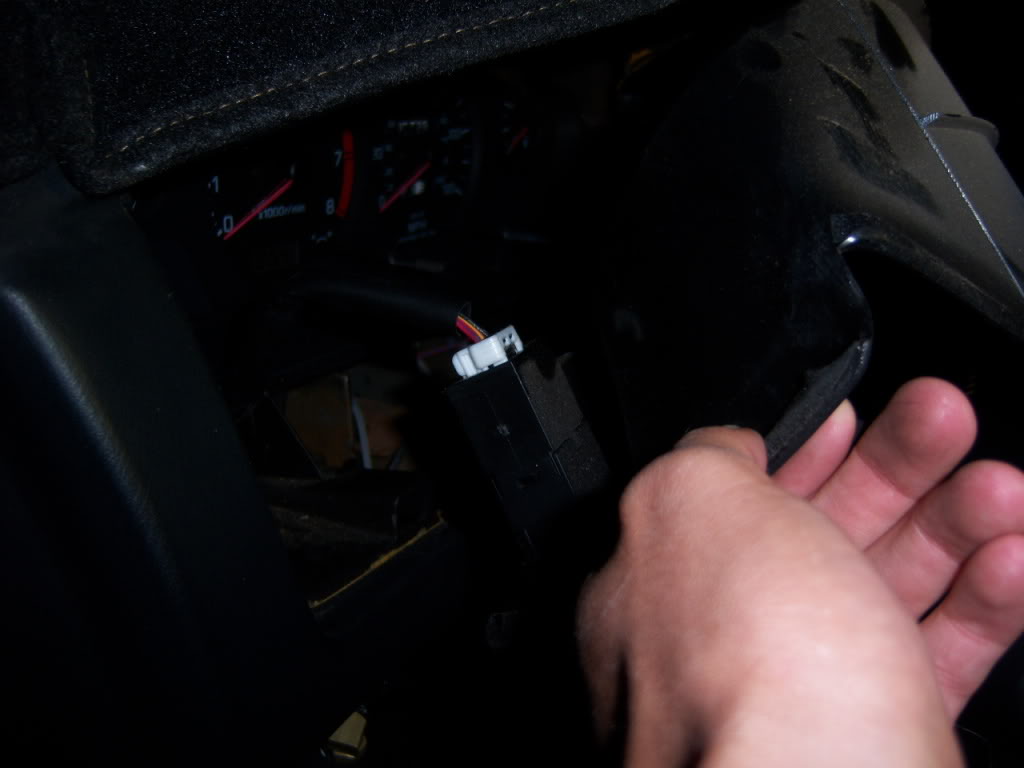
If you can unplug it with your bare hands, great. If you can't, then you can use a pair of channel locks and carefully push the tab and wiggle it out.
Just to save time, you will not need to unplug/remove the wires on the other side of the trim piece, you can simply rotate this trim piece clockwise towards the passenger side and rest it on the shifter/radio area.
3) Now we will remove the actual instrument cluster, which is done by removing 3 screws shown in the pictures.
*Repeat this for the other side
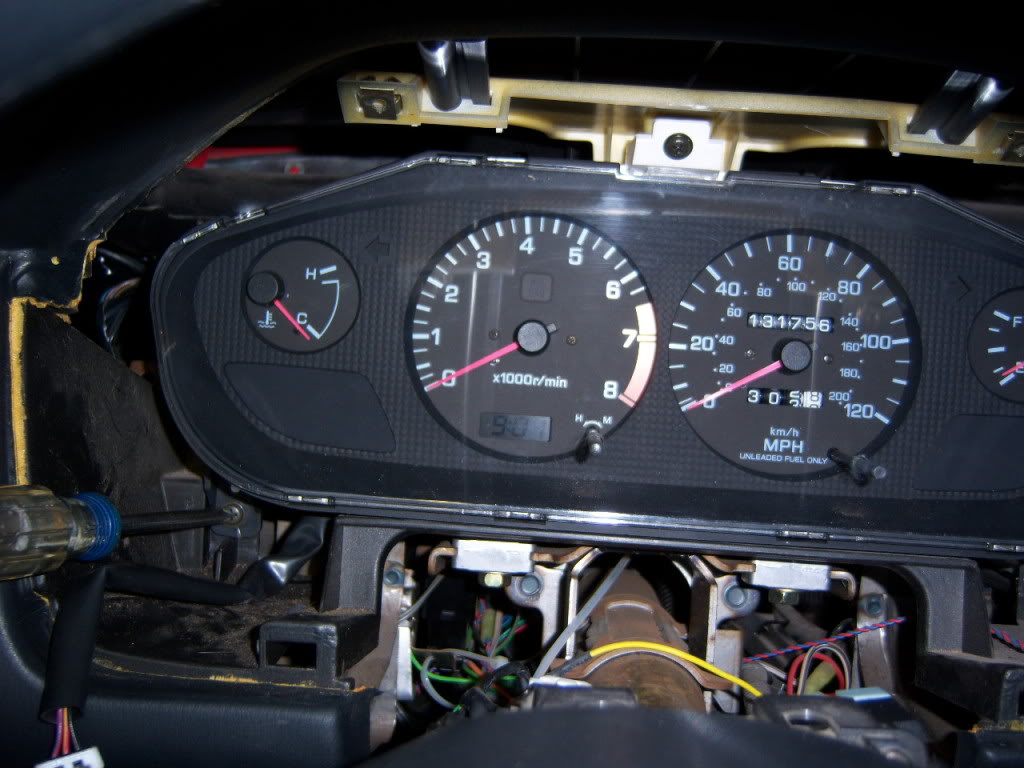
And then the top screw

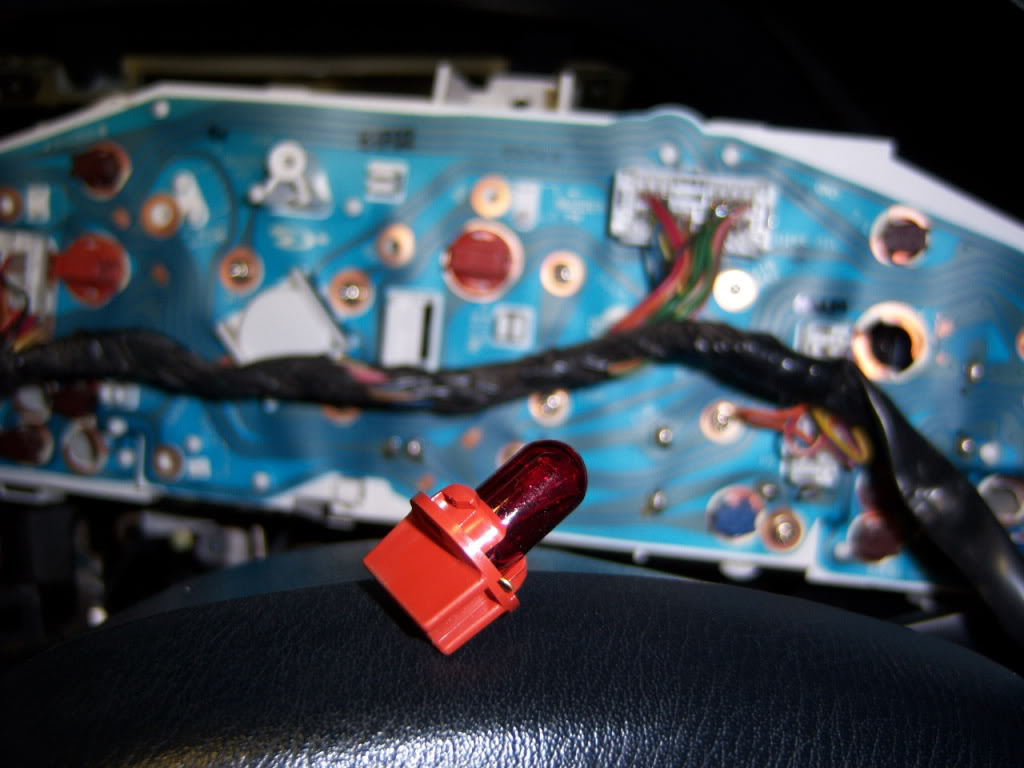
Ok now you will not need to unplug the instrument cluster, the wiring harness is long enough so you can flip it around.

These sockets twist off counter-clockwise, where you can go ahead and change the bulb to whatever color you want or LED's. I chose red just to trip on it, but generally any "wedge type" miniature bulb(#194, #161, #158, etc.) will fit in these sockets so there are many options as far as color goes.
Assembly is the reverse-process, remember not to over-tighten the screws-just a snug fit will do.
by spooled240