

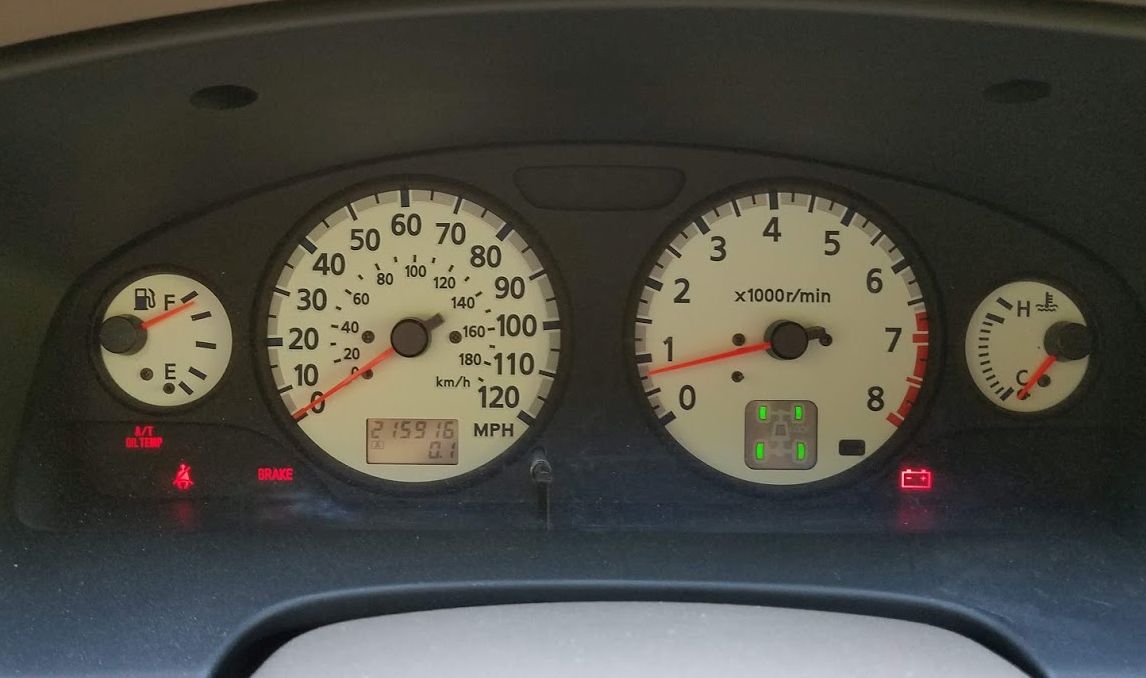
The telltale sign of a bad alternator are the dash lights below. In this state it is not charging so you will not be able to drive very far. In my case as the car warmed up the lights cleared and the truck worked fine. Until it didn't.
I bought the HITACHI ALR0012 from RockAuto.
10, 12, and 14mm wrenches and sockets are needed. Having a ratchet-end 10mm wrench could save a lot of time with the fasteners on the back of the alternator. I did the job without one though.
First I removed the battery, fan shroud, and fan, loosened the belt tension pulley and removed the belt. The fan shroud comes off in 2 pieces. Remove the lower section from under the truck by releasing the set of plastic clips on each side, then navigate it out from underneath. Having good lighting helps to locate the clips. The top of the shroud is held on by a couple 10mm bolts and is removed from the top. It may not be necessary to remove the fan, but it comes off easily by unfastening 4 10mm bolts.
I removed the radiator - not necessary but I did not want to damage it and wanted the extra working room. It is easy to remove, drain it from the plug underneath into a container and set aside. Remove and plug the transmission fluid hoses, remove the top and bottom coolant hoses, unbolt and remove.
The alternator is fastened to a bracket on the lower side and a long 14mm bolt at the top. This 14mm bolt is not tapped into the block, instead it is held by a nut welded to a small angle iron. Access to this nut is very limited, you might need to pry some of the wiring away to even see it. You can use a telescopic magnet tool to keep the nut from dropping and becoming lost when you remove the long bolt.
After unfastening the alternator, tilt it to get better access to the connections on back. Remove the power connection under the rubber boot and ground wire on the 10mm bolt. Then remove the 10mm bolt used to fasten the wiring harness to the alternator. Access to this bolt is very limited, this is where a ratcheting end 10mm wrench would help. Once the bolt is off, remove the alternator from the front.
Reverse the steps to install the new alternator. The only tricky parts are getting the 10mm bolt on the wiring harness threaded to the back of the alternator, and getting the 14mm angle-iron nut in place to thread the long bolt.