
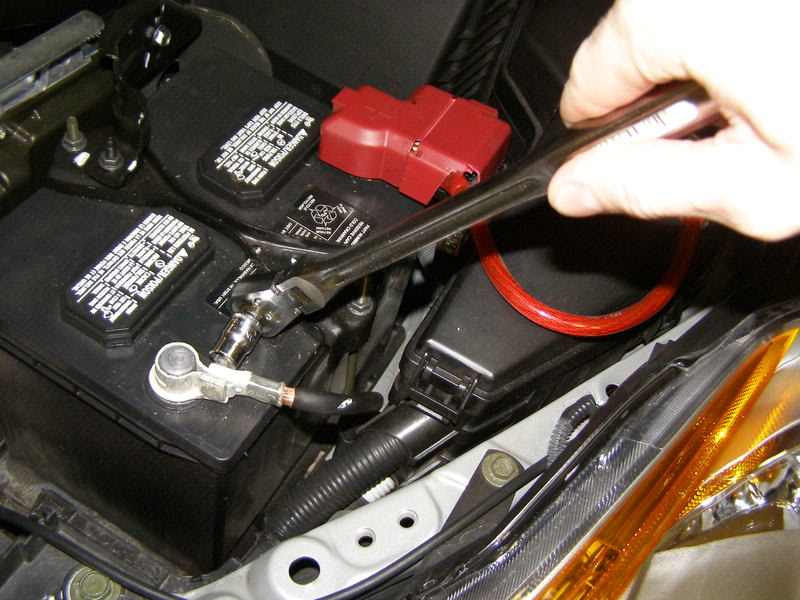
Start by opening the hood. Anytime we ever deal with power or airbags it is ABSOLUTELY vital we disconnect the negative battery terminal.
Use a 10mm socket to loosen the negative terminal and secure it away from the connection.
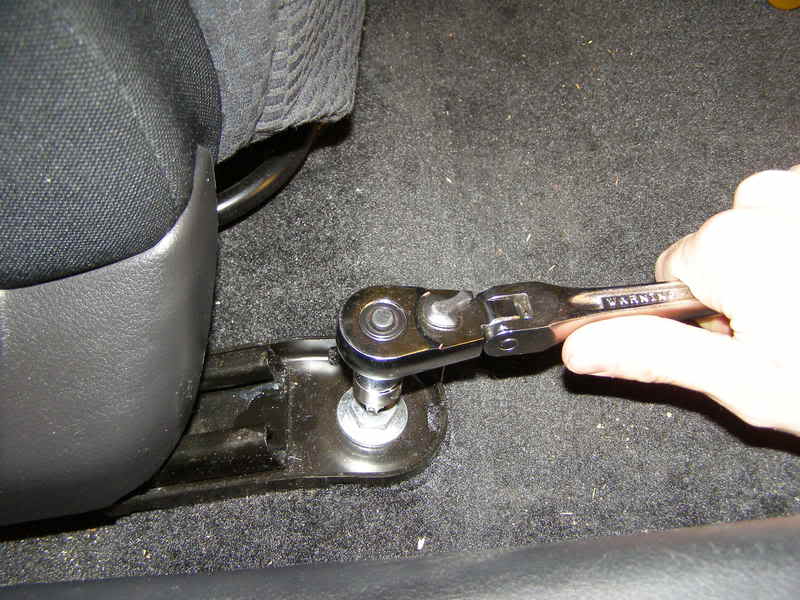
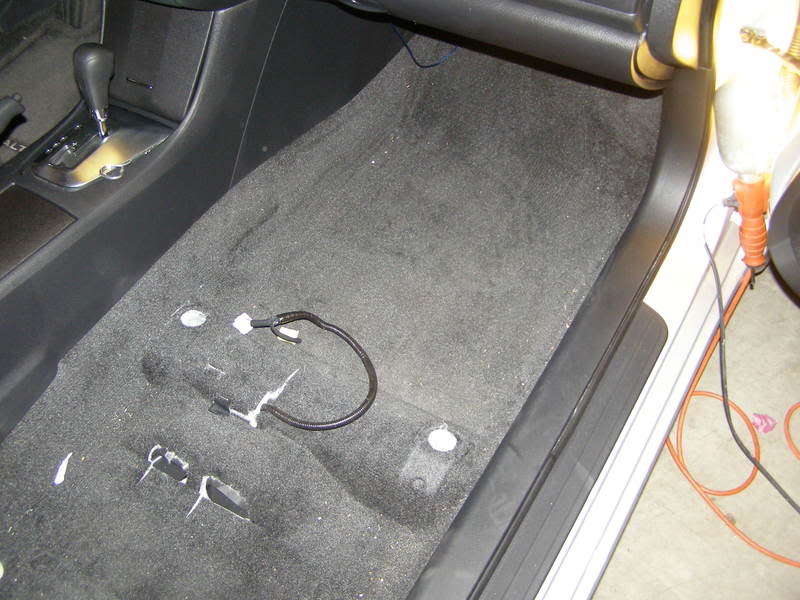
Next, inside the car (this is the same on driver and passenger sides) pop off the covers to get to the bolts securing the seats. Each seat has four total bolts securing it down.
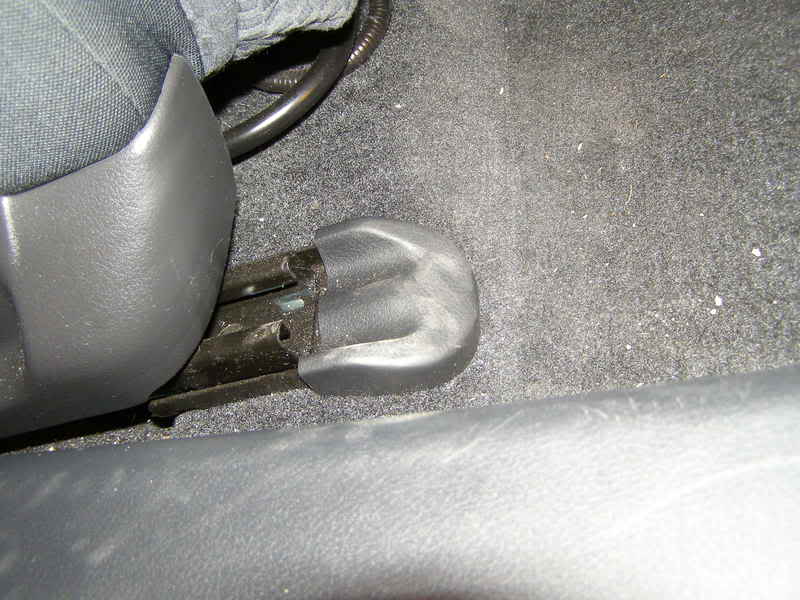
Use a large star bit to remove these bolts. If you're a skinny person, you may want to get someone with a bit of meat on their bones to help you here. They're in TIGHT.
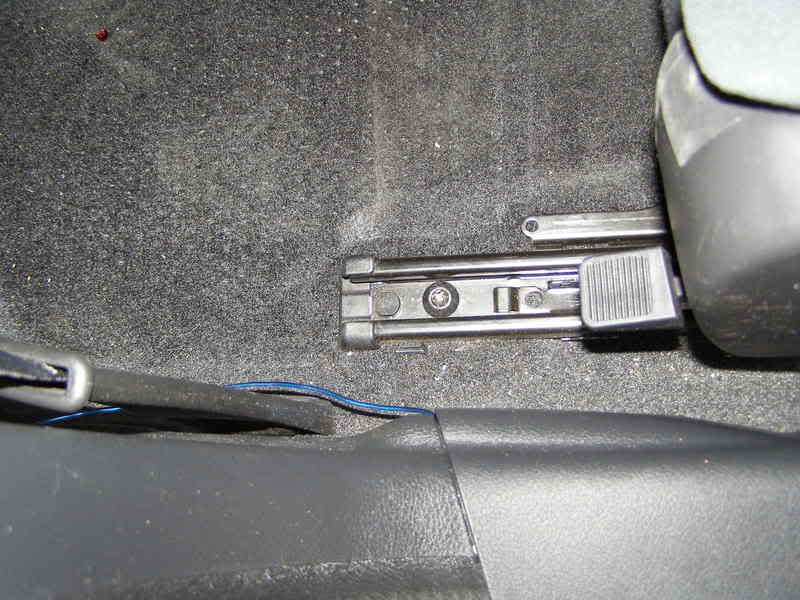
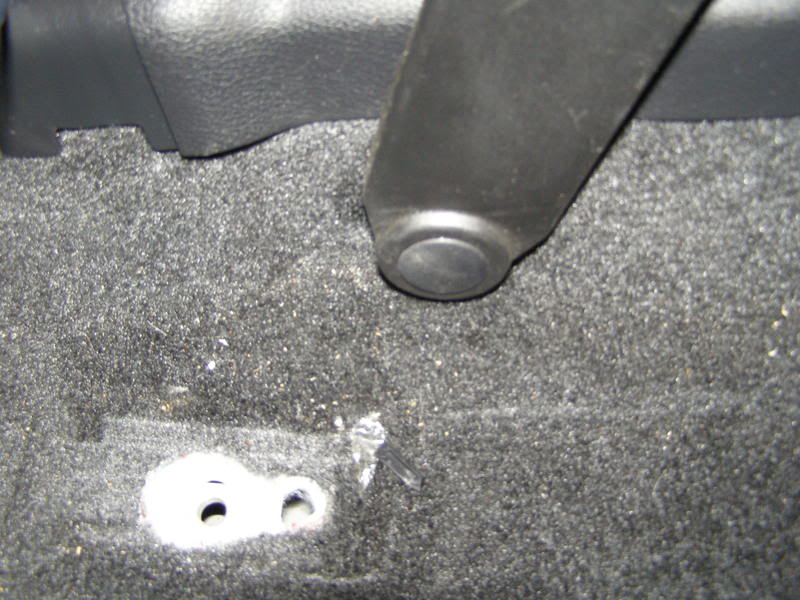
Remove the two behind the seat next.Now, there will be two connections underneath the seat for the airbags. once all four bolts are out, unplug these. The seat is now ready to remove (Careful it's heavy)
Next time anyone here runs the 1/4 mile, take your seat out now that you know how easy it is!
Next, remove the interior trim. Just pull, you won't break it. If you do, I literally costs less than three dollars to replace. I looked it up.
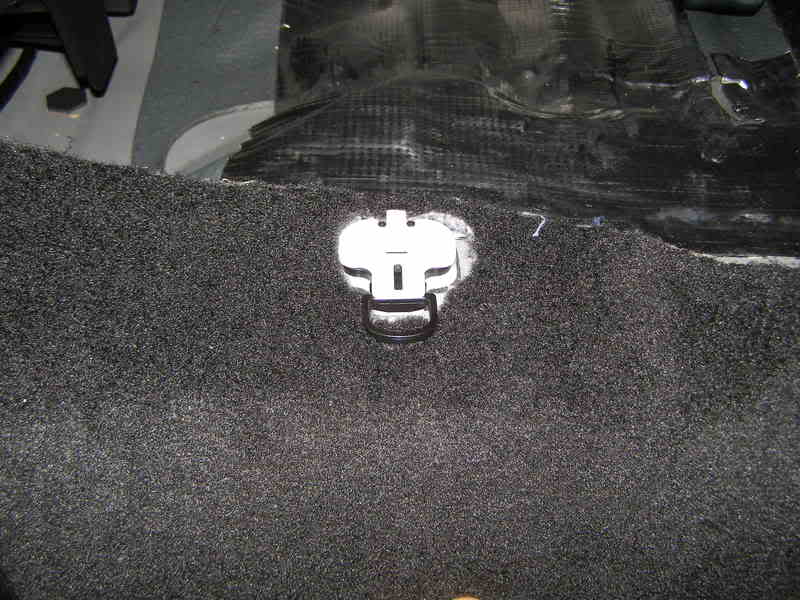
Now undo the bolt holding the belt. It's located under the cover in this pic.
Now, underneath the bench there are two clips to release the bench. Try using a flathead screwdriver and approach from above, then once the head is in the clip pull out.
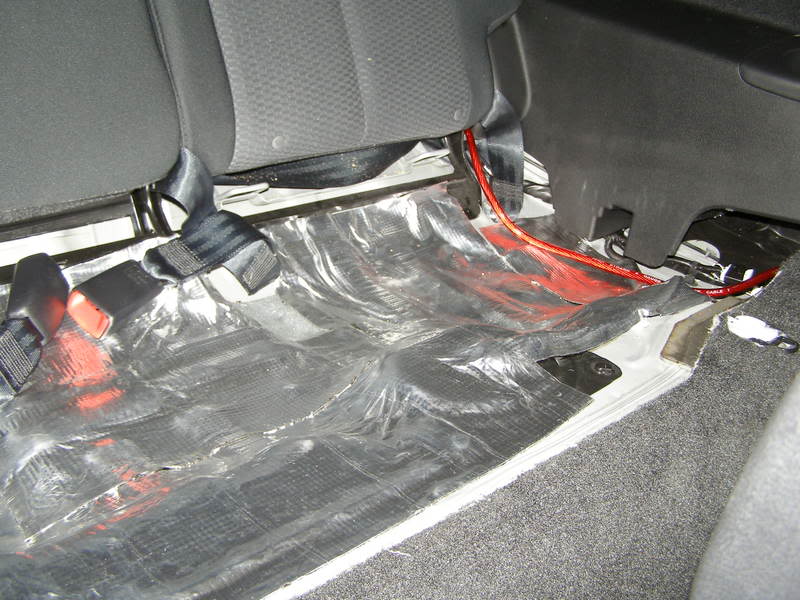
Once the seat is off apply material to the exposed surfaces.Next, pull off the lower plastic panels in the back, these are the big ones that go all the way from the door to the rear deck and have the cupholders in them. you will want to lower the seatback to get some of the clips out. this part is tricky, but there is an "aha!" moment when you realize that once the top clips are out you just pull and it all comes out.
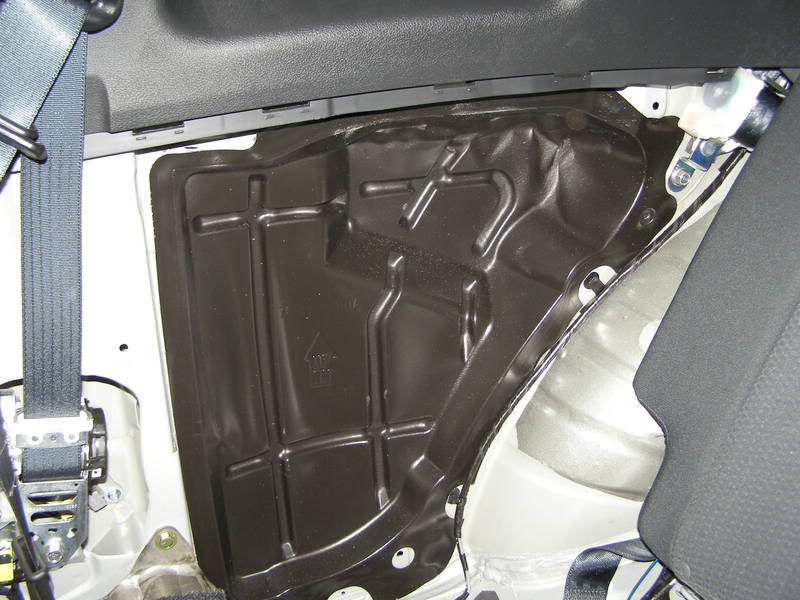
Once the panel is off, a rubber cover is exposed. Just peel it off. Also, try not to get it dirty or too bent, so we can just put it back later.
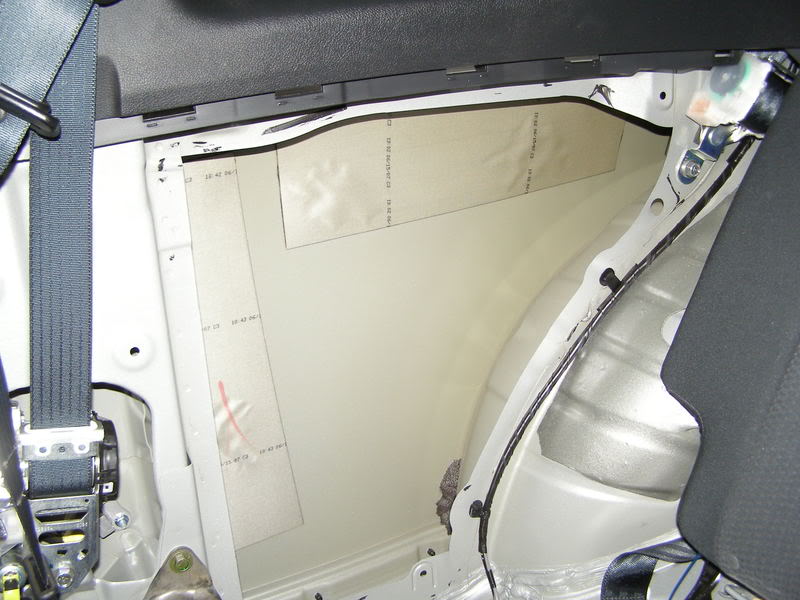
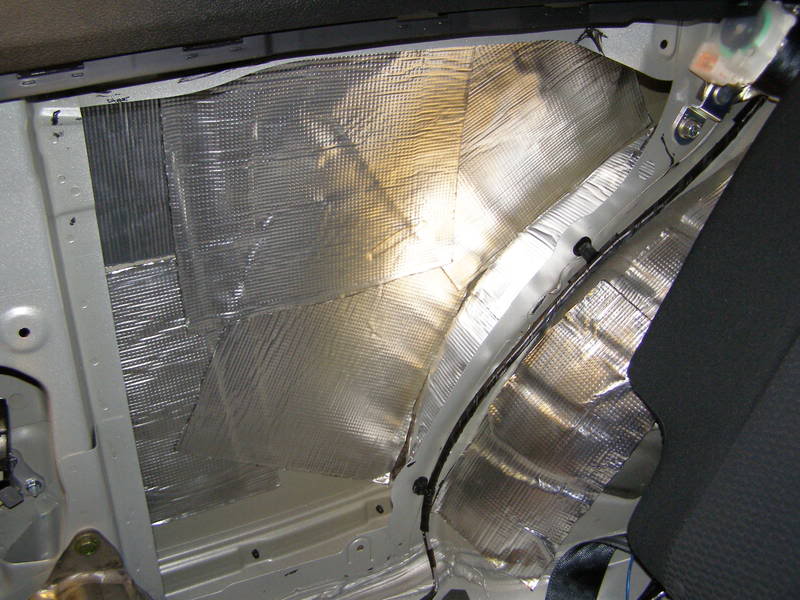
Now the exterior panel is exposed. By this time, the carpet is also loose and now its time to start applying all the material.
In progress...
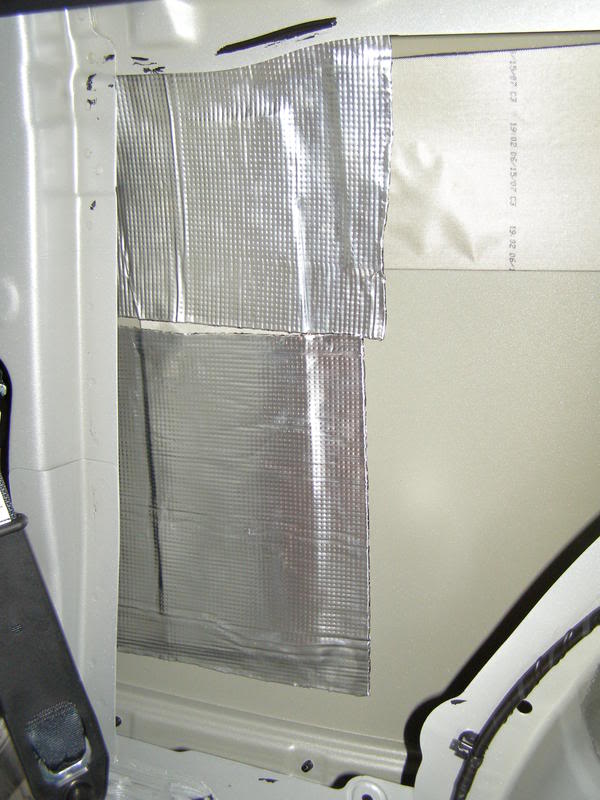
Done. Be sure to cover the wheel well. this is a large source of road noise. heres something cool: once the side wall is done, get outside and start tapping somewhere near the tail light. Work your way towards the door and notice the huge difference in sound when you get to the parts that are done.
Continue applying to the floor and exposed areas. Then drive the car and notice the huge difference in road noise. To reinstall just go backwards with these steps.
Congratulations!
Article by: vballer22