I used a 99-03 nissan quest 125 amp alternator (I got mine on ebay for $90)
13/32 drill bit
24mm socket (alternator nut)
grinder
drill
impact gun
dremel with a stone bit to enlarge one of the heim joints hole a little bit to get the waterpump bolt for the bracket
14mm socket
12mm socket
ratchet
extention
12mm wrench
14mm wrench
etc other tools that might be needed.
for the upper turnbuckle bracket i used the following parts from http://www.mcmaster.com
and you need one of each (this information was given to me by Gawdzilla)
94450A260 18-8 Stainless Steel Left-Hand Threaded Thin Hex Nut, 3/8"-24 Thread Size, 9/16" Width, 7/32" Height, Packs of 5
94805A217 Type 316 Stainless Steel Thin Hex Nut, 3/8"-24 Thread Size, 9/16" Width, 7/32" Height, Packs of 25
60645K141 High-Strength Ball Joint Rod End, 3/8"-24 Right-Hand Male Shank, 6323 lb Load Cap
60645K142 High-Strength Ball Joint Rod End, 3/8"-24 Left-Hand Male Shank, 6323 lb Load Cap
8419K13 Easy-Adjust Threaded Connecting Rod, 2" Overall Length, 3/8"-24 Threaded Female Ends
these items cost $36.92 + shipping
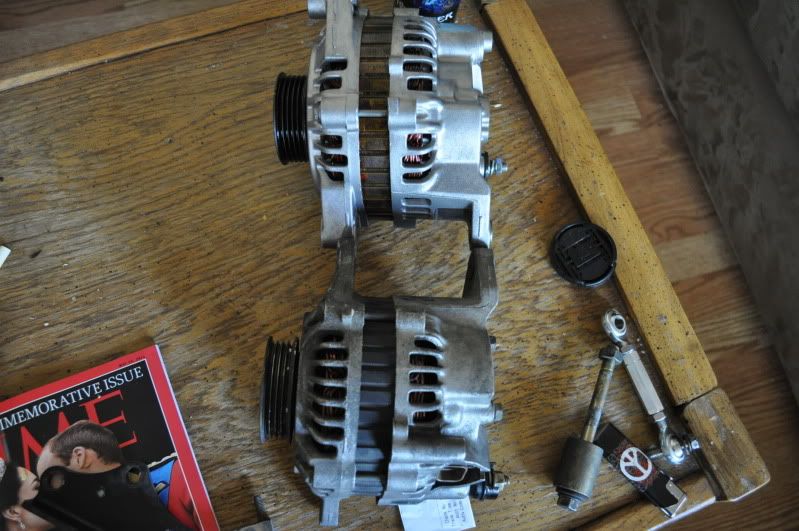
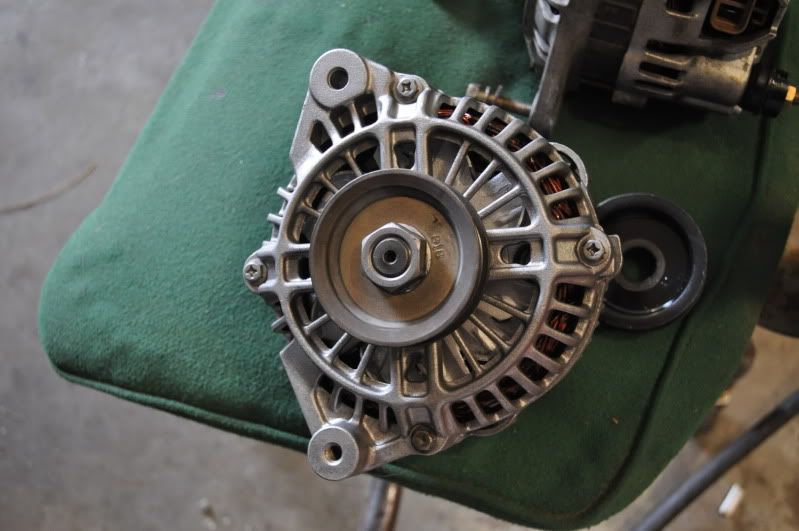
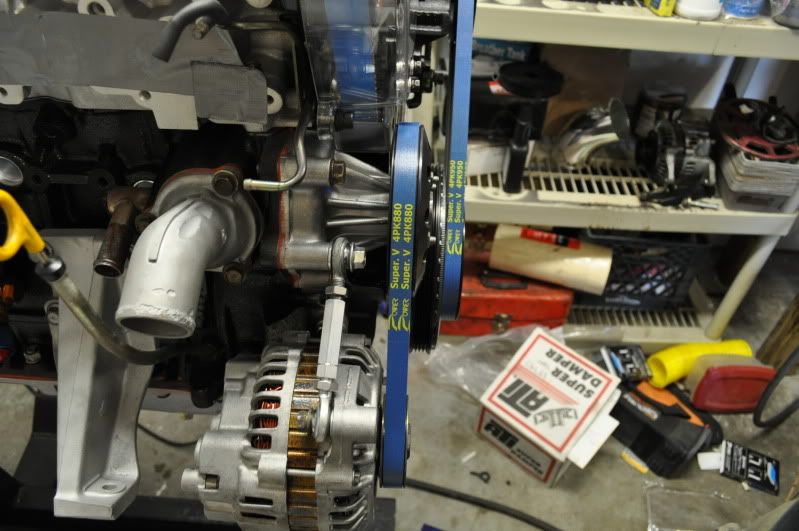
here are the comparison pictures between the rb alternator and the quest alternator
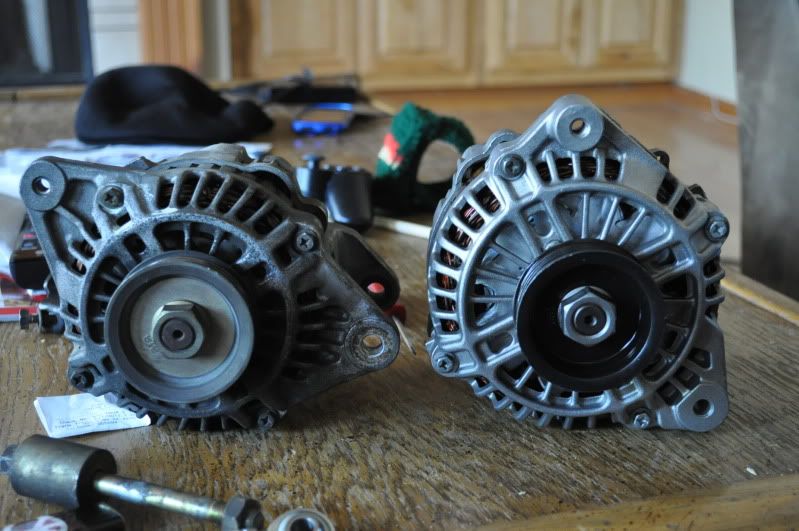
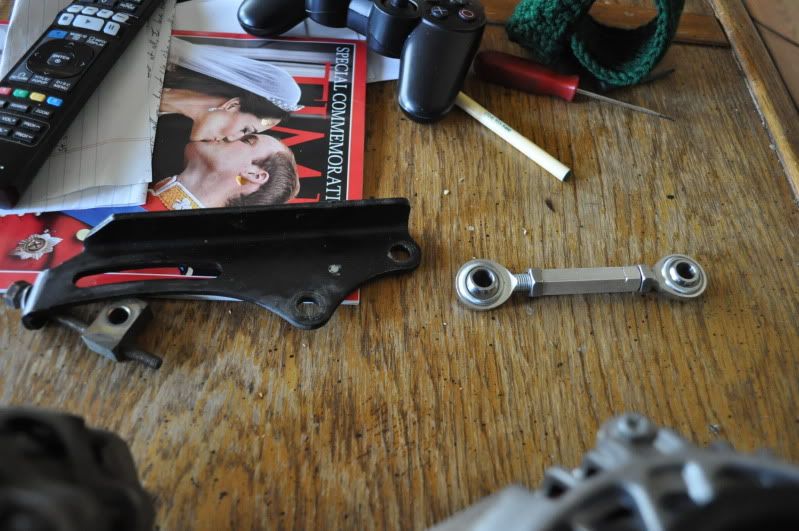
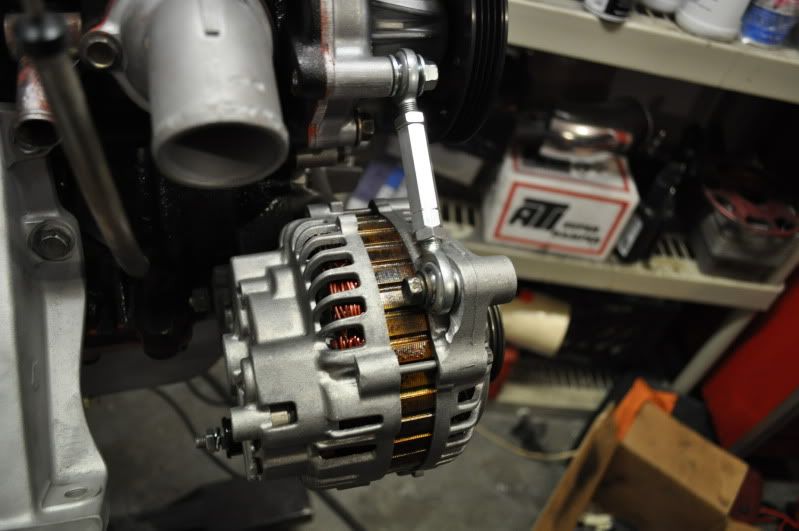
here is a pic comparison between the stock alternator bracket and the turnbuckle (assembled)
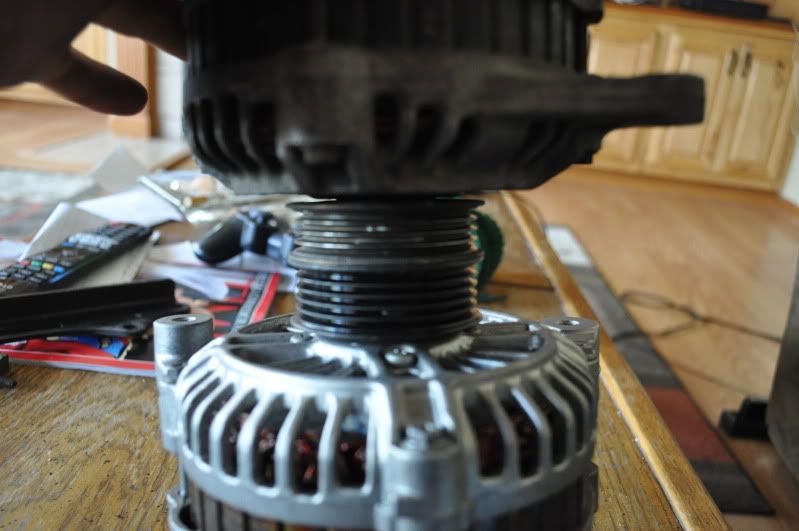
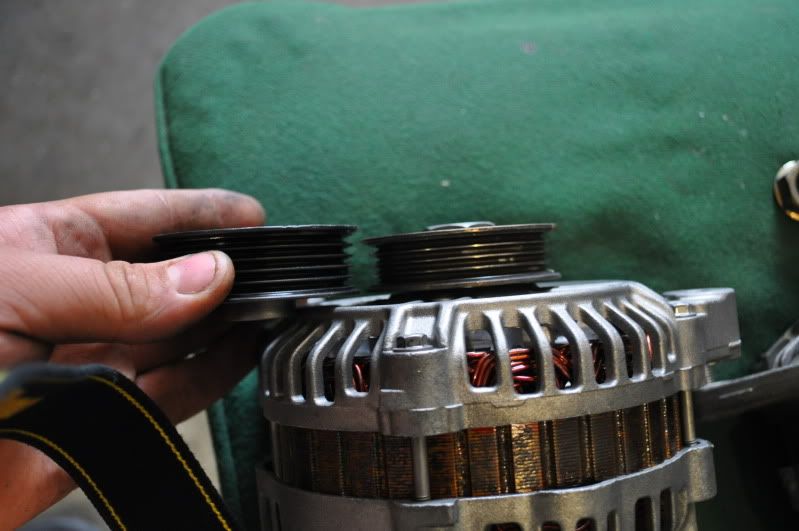
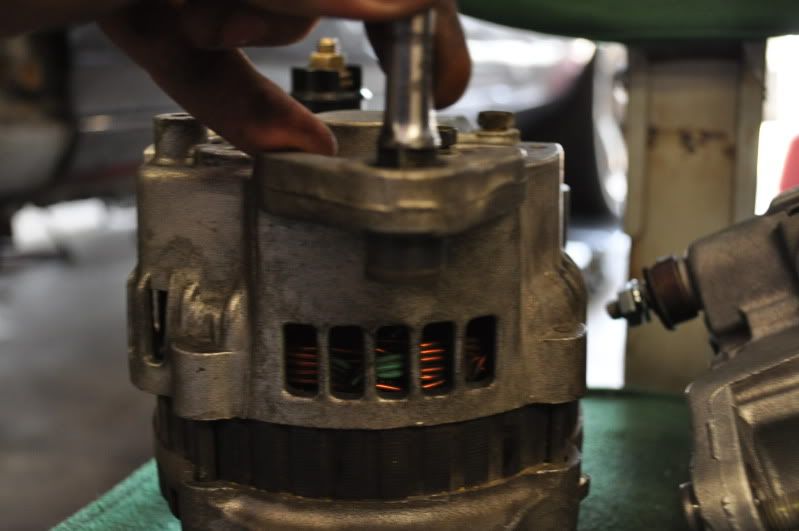
First you will need to change the pulley on the quest alternator and put the rb pulley on it since the quest pulley is uses a wider serpentine belt then the rb alternator.
here is a pic of the quest alternator with the rb alternator pulley installed
here is a pic of the comparison between the quest pulley (in my hand) and the rb pulley(installed already on the alternator)
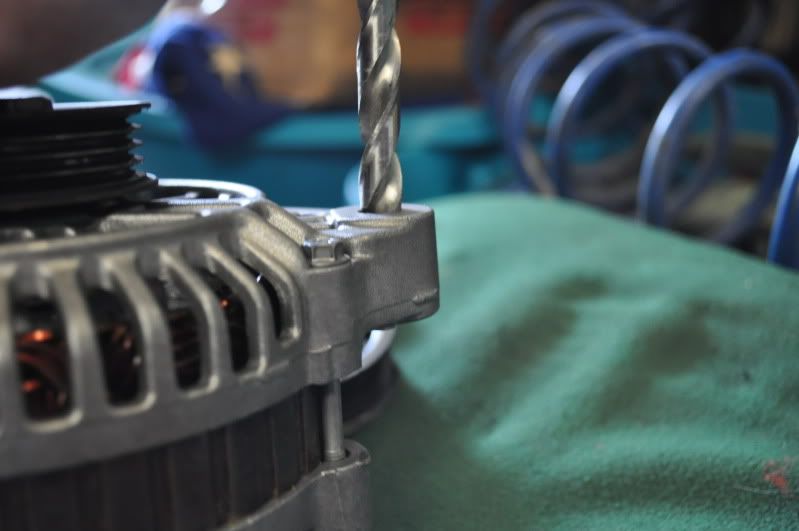
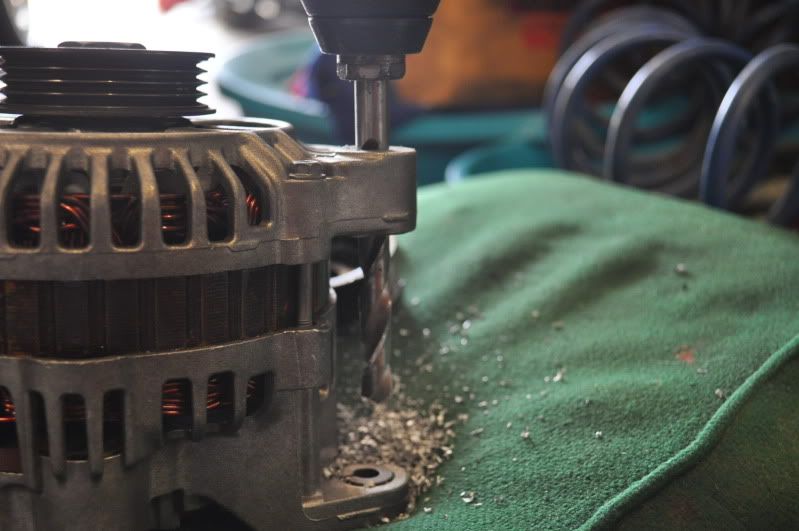
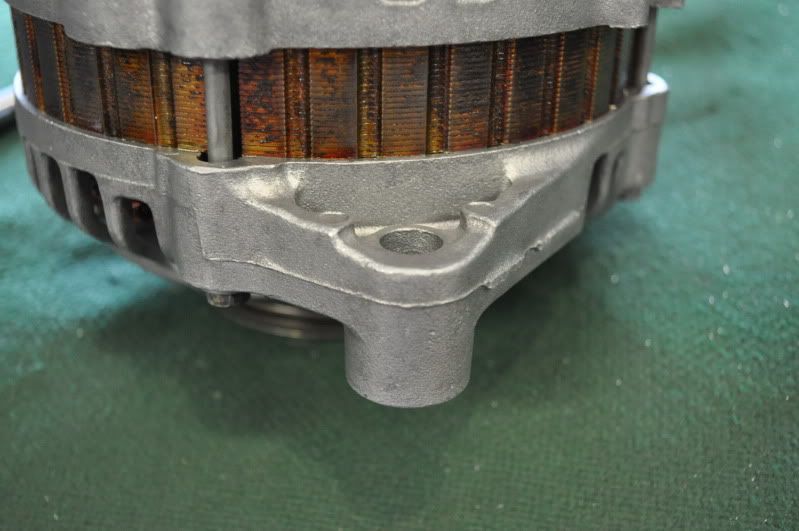
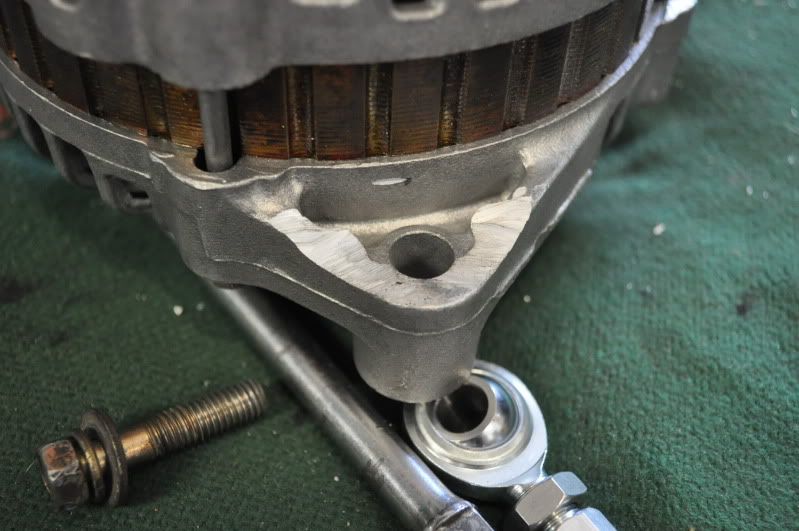
Second you will need to drill the hole on the botom bracket with your 13/32 drill bit and drill
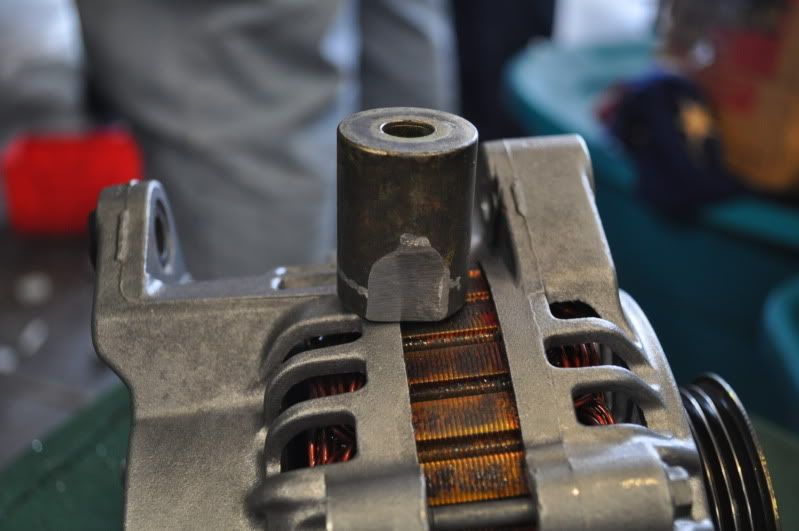
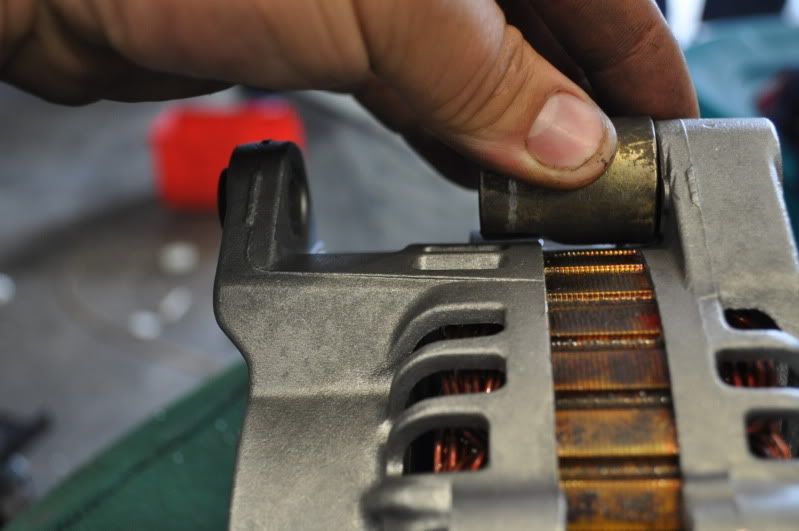
next you will have to use a socket or something equivalent and tap out the slide on your rb alternator and install it onto the quest alternator unless you can drill the quest one perfectly in the center.
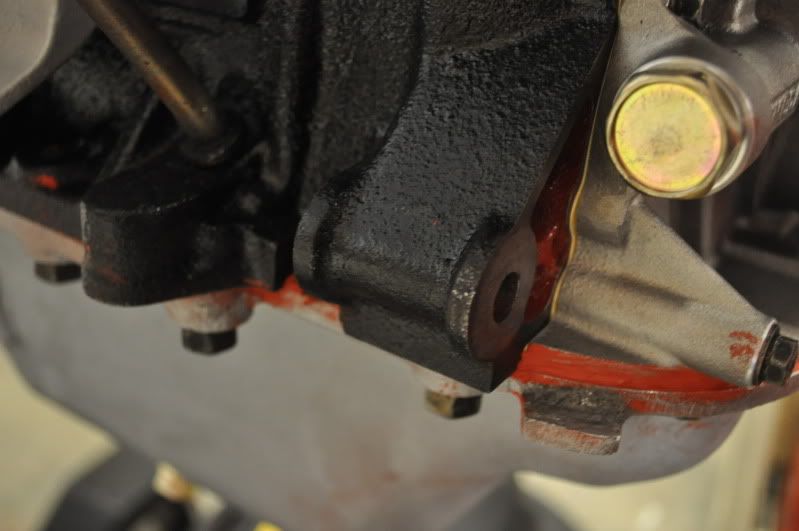
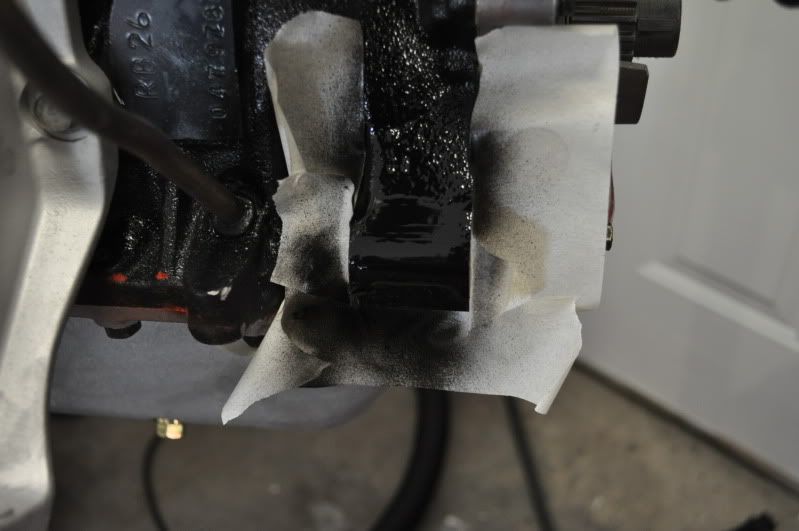
next you will need your grinder and you will have to grind down the webings on your block so the quest alternator can mount up to the rb.
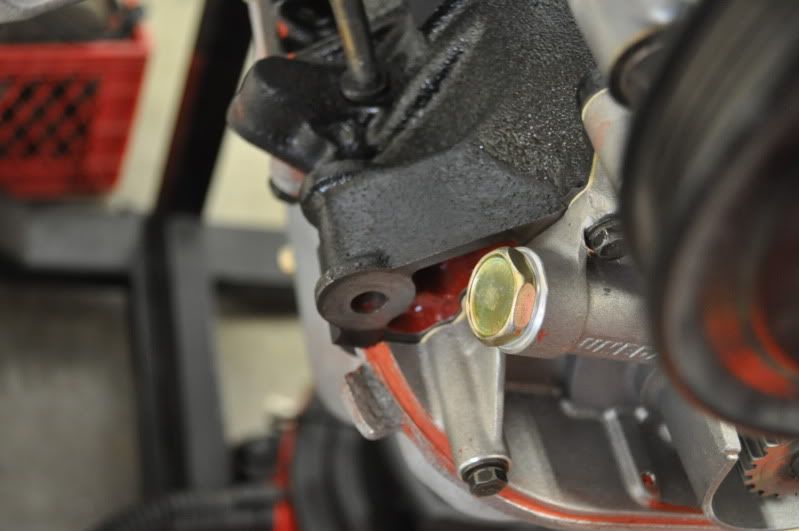
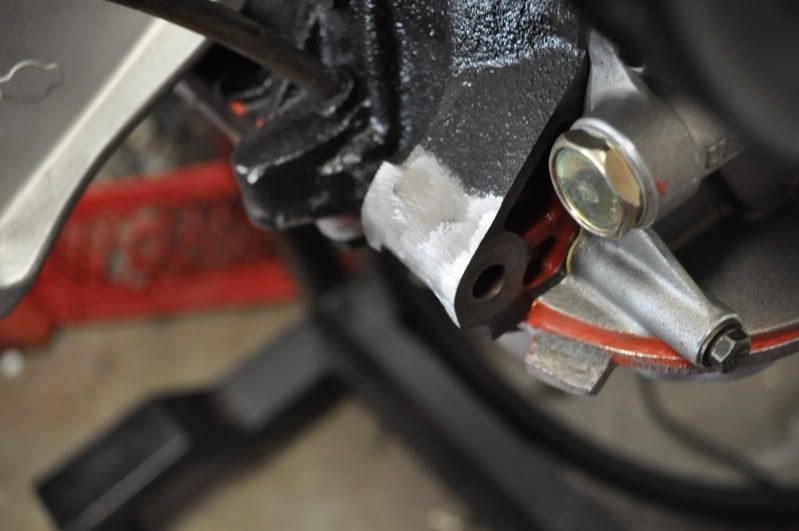
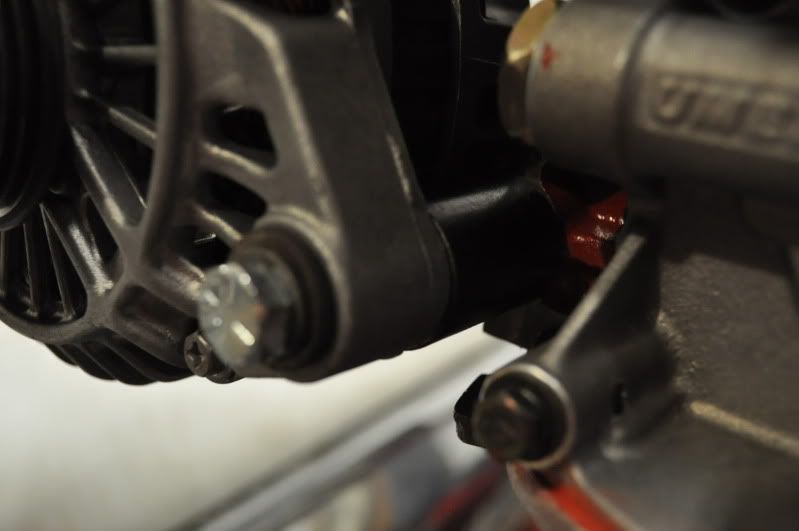
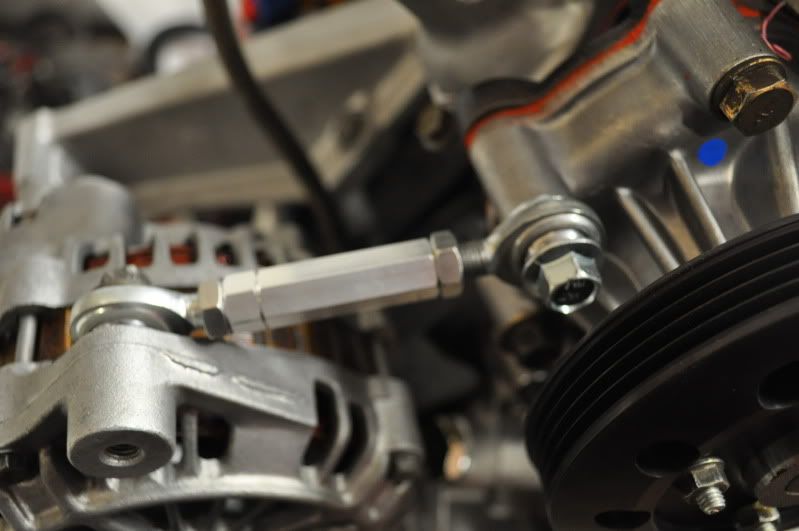
next you will have to grind the backside of the upper mounting point on the quest alternator so the turnbuckle bracket can mount up properly, you can reuse your stock upper bracket bolt just put a washer on each side of the heim joint on the turnbuckle.

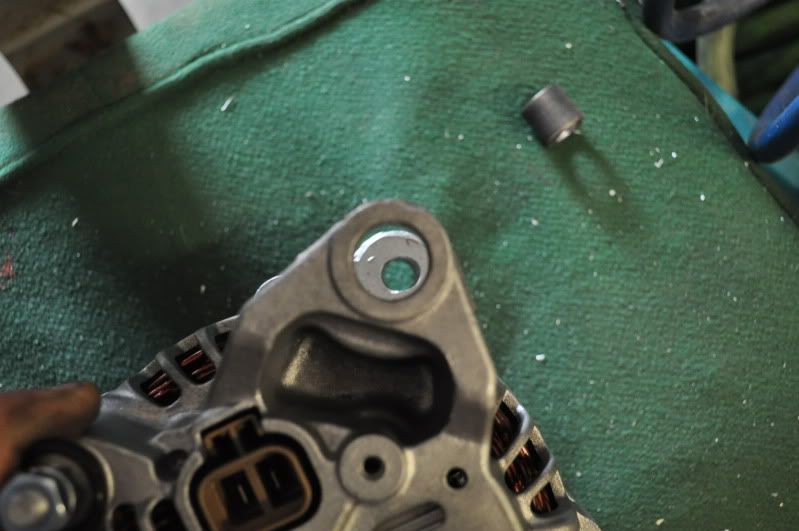
next you will have to modify the stock rb alternator spacer on the lower bracket so it will clear the quest alternator
i paid my polisher to enlarge the hole on the water pump side of the heim joint on the turnbuckle because the bolt is just a tad big, but you will have to use a dremel with a stone bit on it to enlarge the hole just enough so the mounting bolt can slide thru. A drill bit will NOT work.
Now your ready to mount the quest alternator onto the RB but you will need to go to the hardware store for a longer lower bolt(i had to use a standard size bolt on the bottom since i could not find any metric ones that were long enough, and you will need to get the upper bracket bolt on the water pump longer about 1/4-1/2" longer, i just added the thickness of the heim joint to the length of the bolt.)
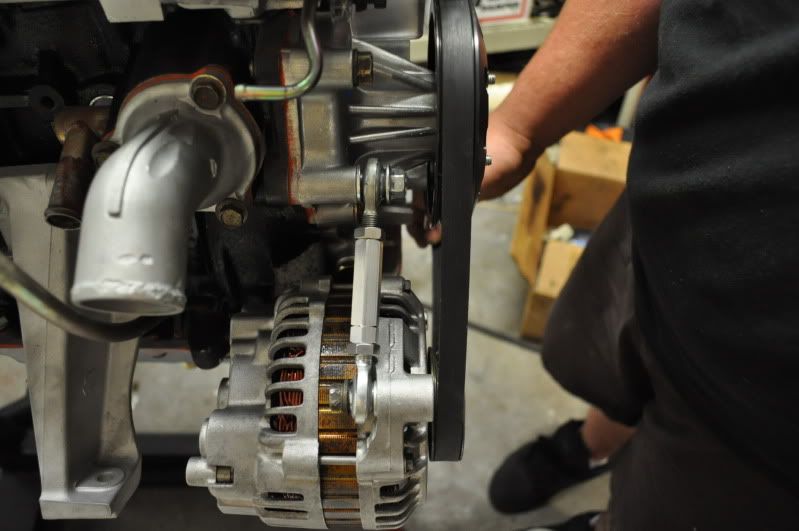
and everything is plug and play on the alternator harness.