a bit of backround on the car is it started as a 95 s14 automatic, converted with a Vh45 z32 tranny, 3.53:1 rear gear, energy suspension bushings all around, custom headers and stainless 2.5" exhaust. the only fabricated parts that i outsourced was the engine adapter plate, everything else i made by hand.
as a start, rubberized undercoated the framerailes to prevent rusting out as they love to do
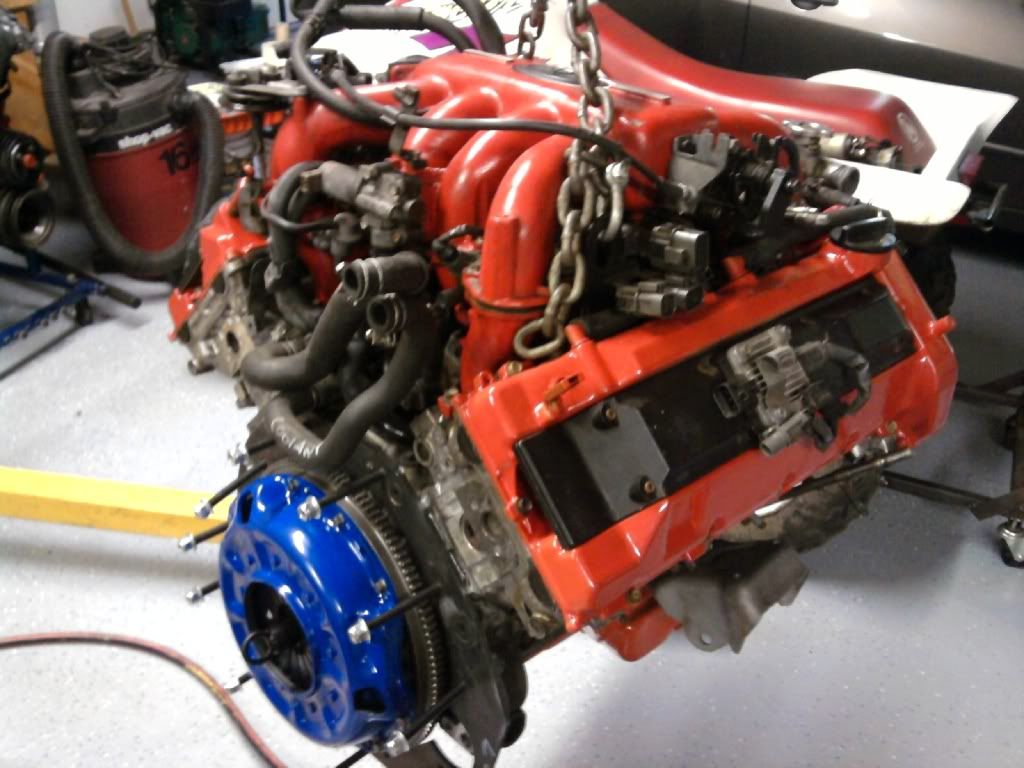
donor engine that ive had for ever and a day
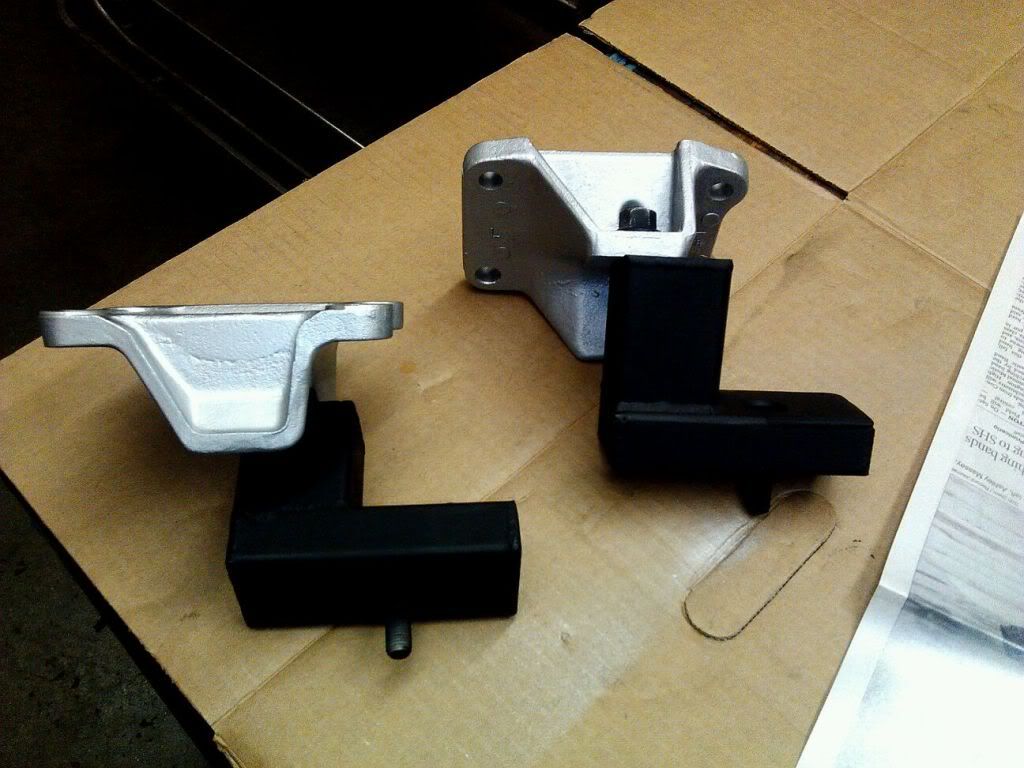
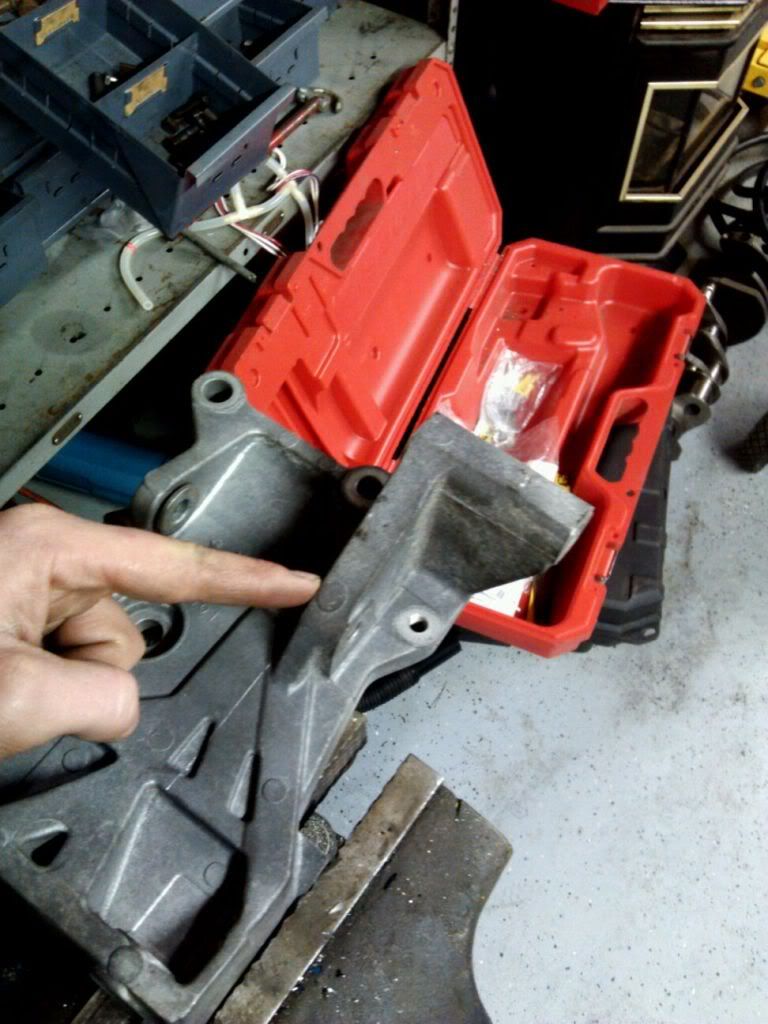
motor mounts i made of the original vh aluminum pieces and some bits of 2X2 and 1X2 square steel

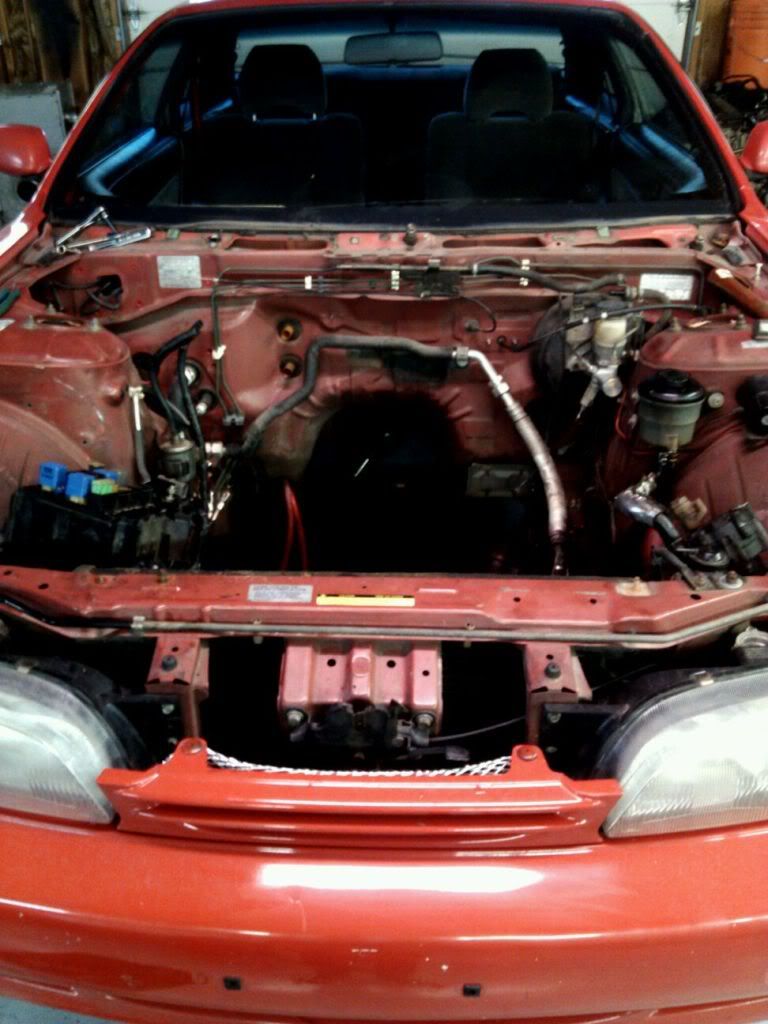
engine fitted into the car, i promptly yanked the F*** out of the pcv system and ran a catch can
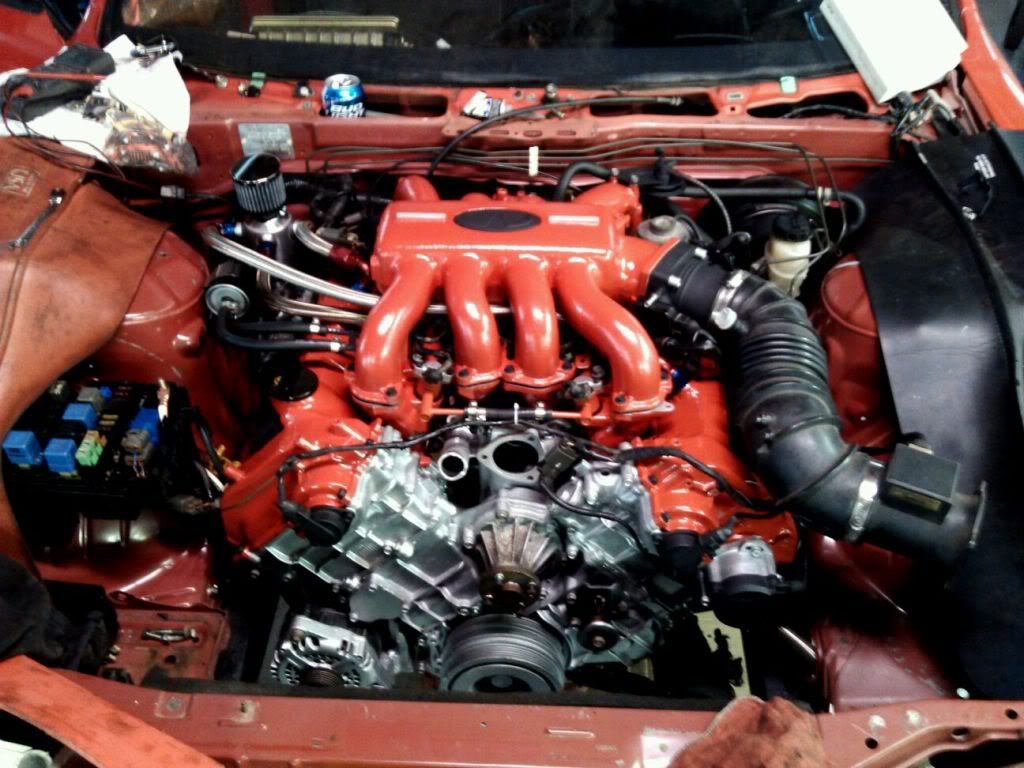
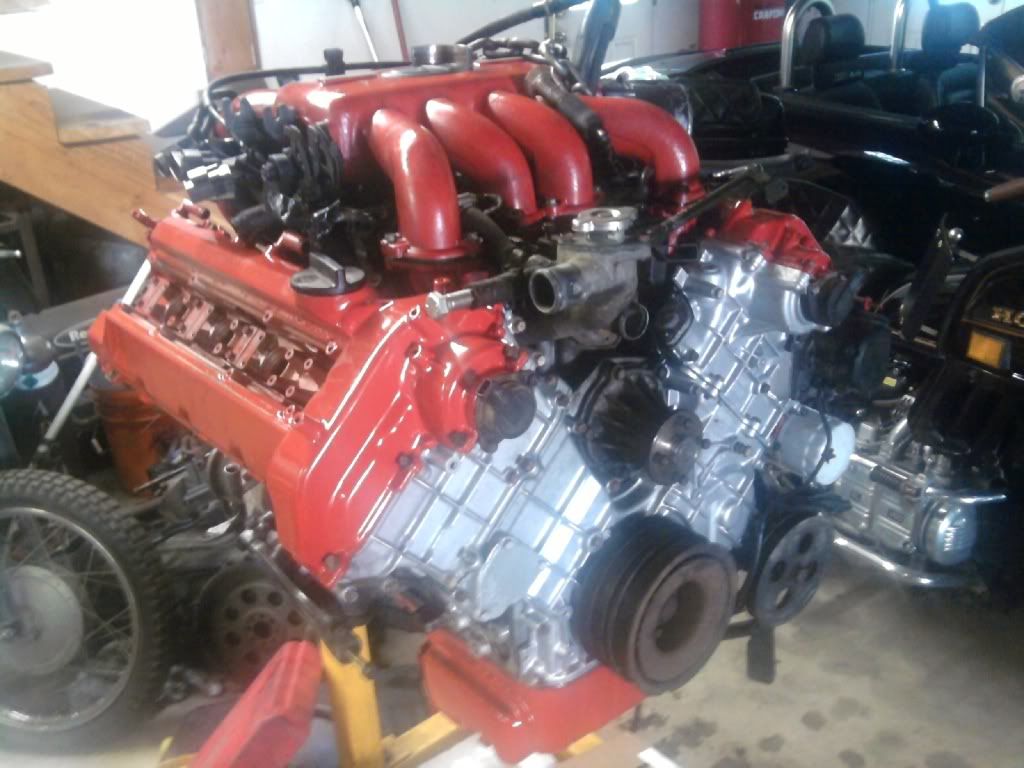
intake and all the bitties on
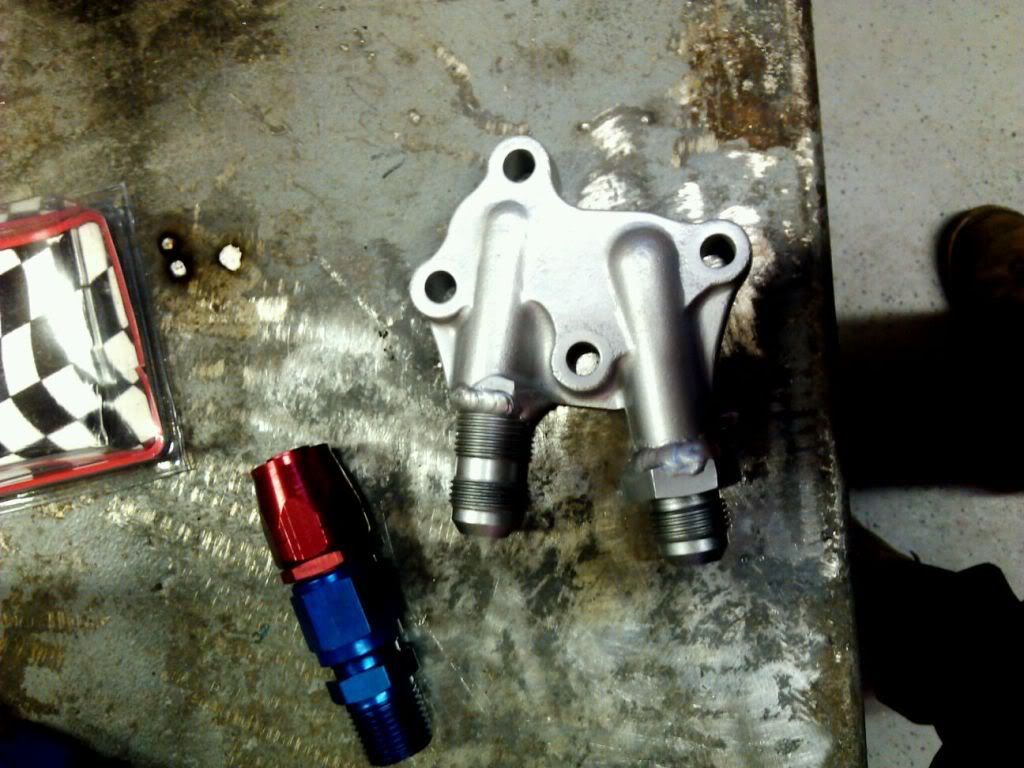
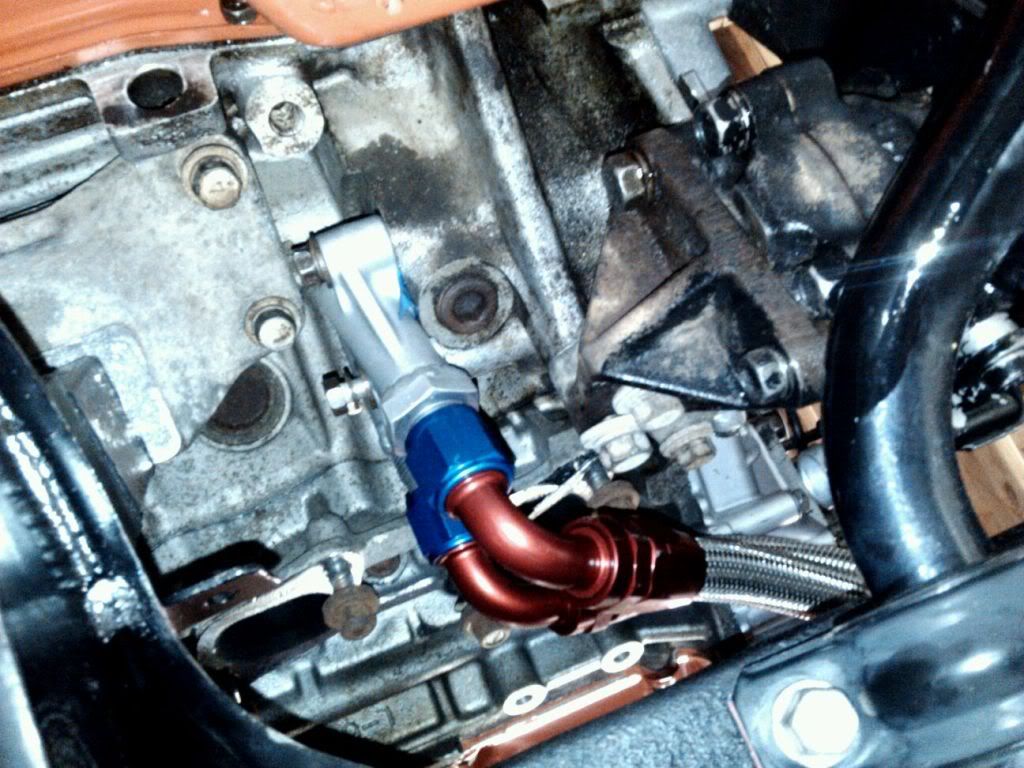
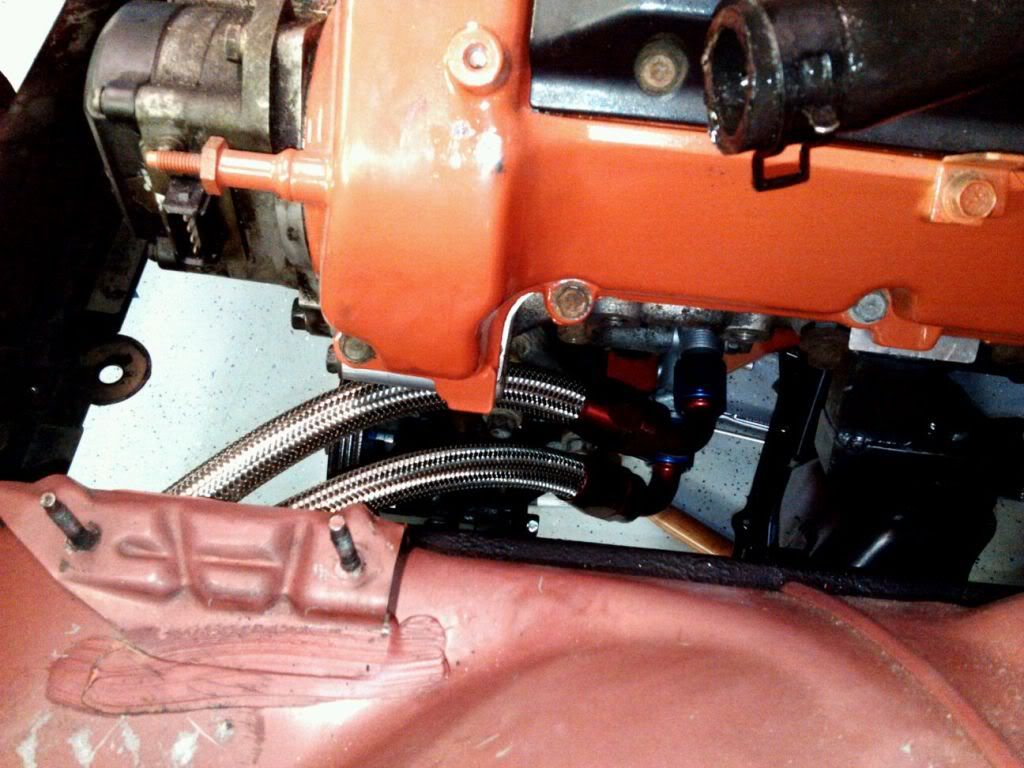
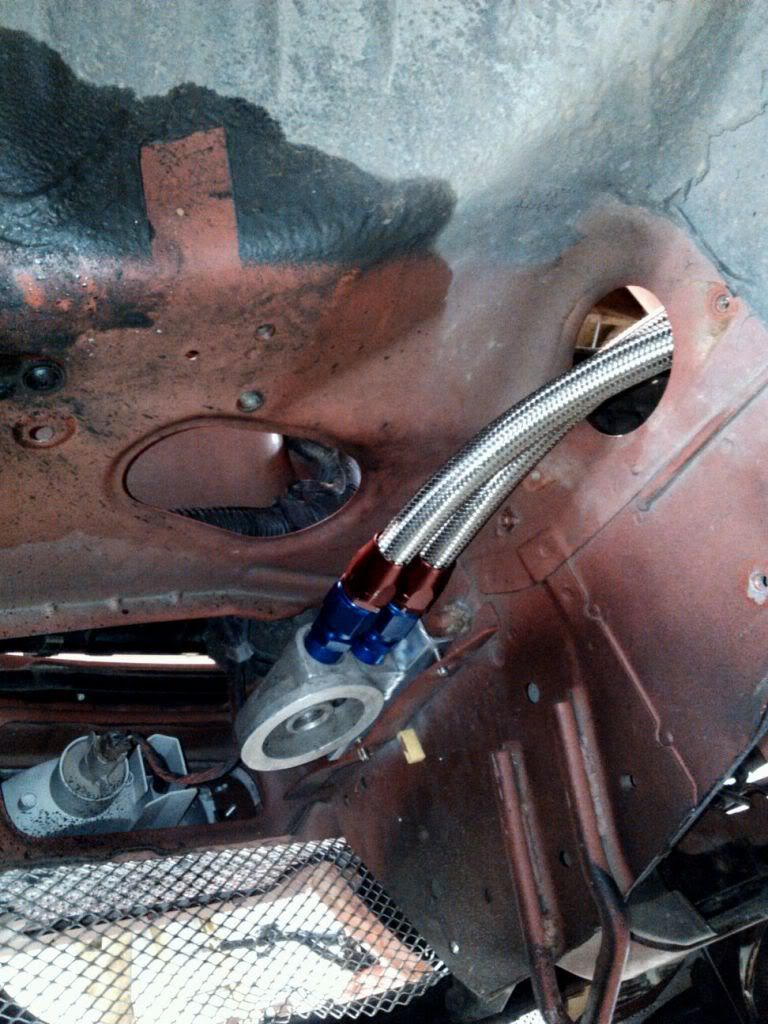
cut up the filter adapter and welded some fittins on
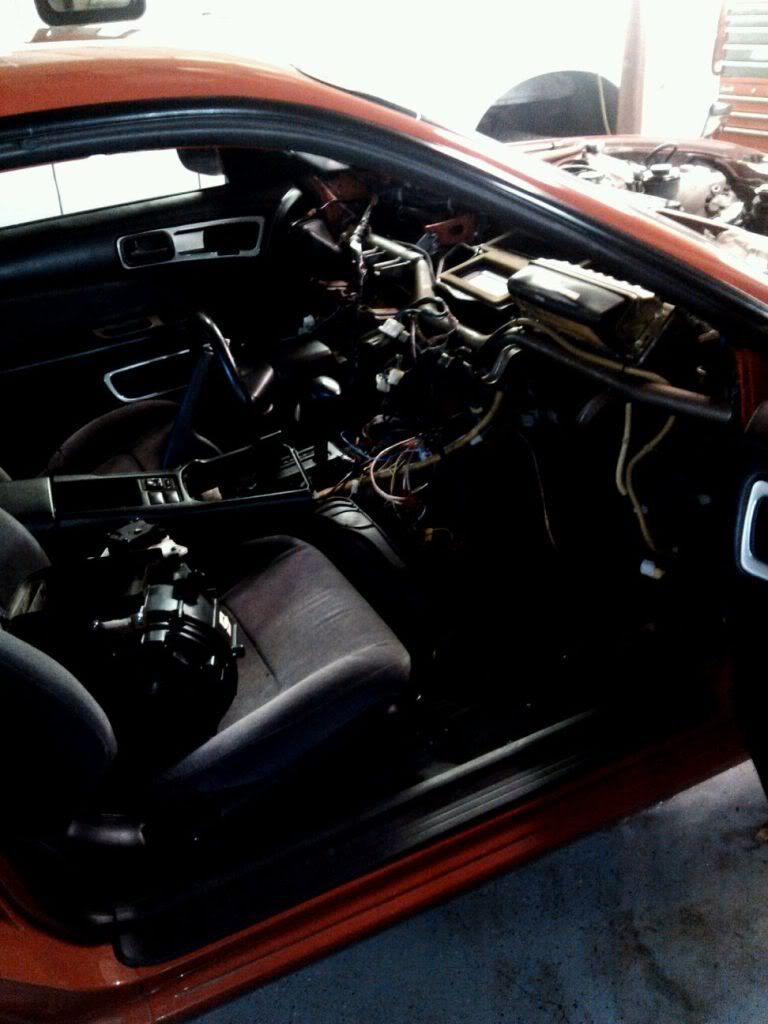
interior ripped apart. pulled all of the automatic tranny stuff out, installed the pedal assembly. built a wiring harness after going cross eyed looking at diagrams for a week
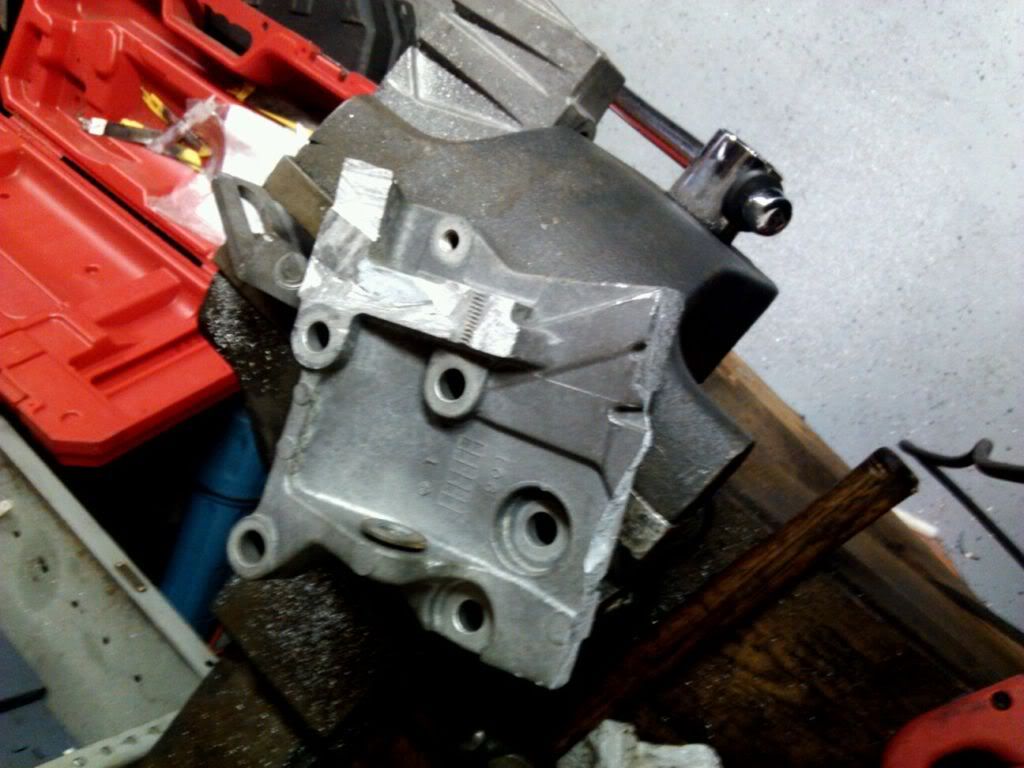
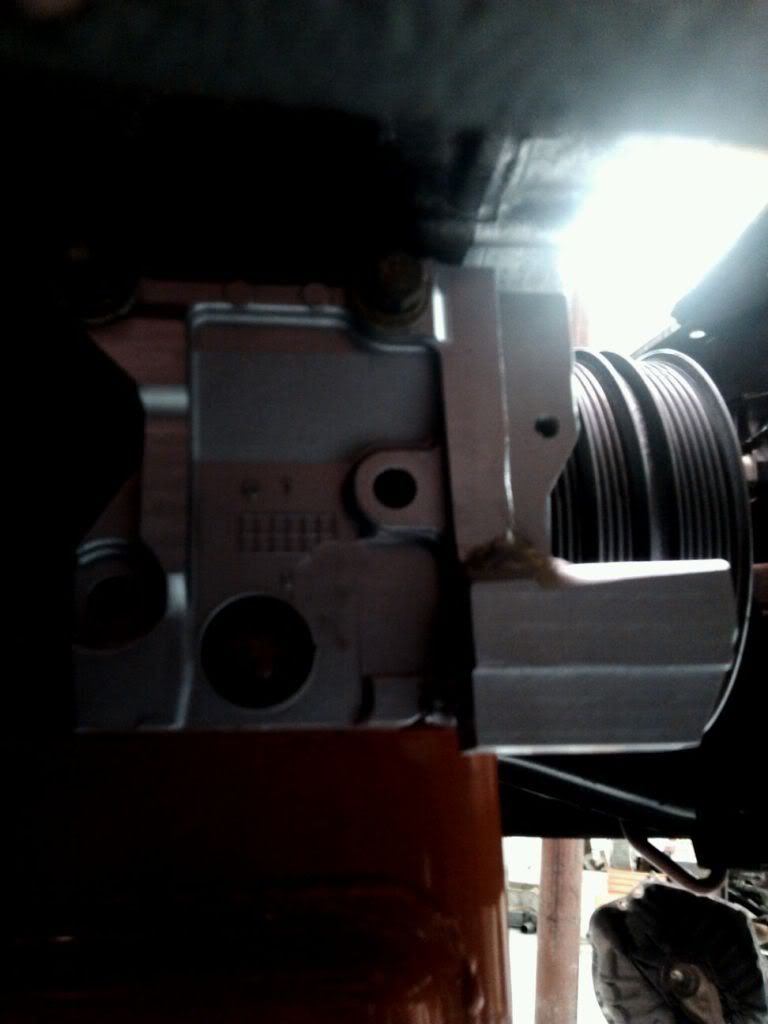
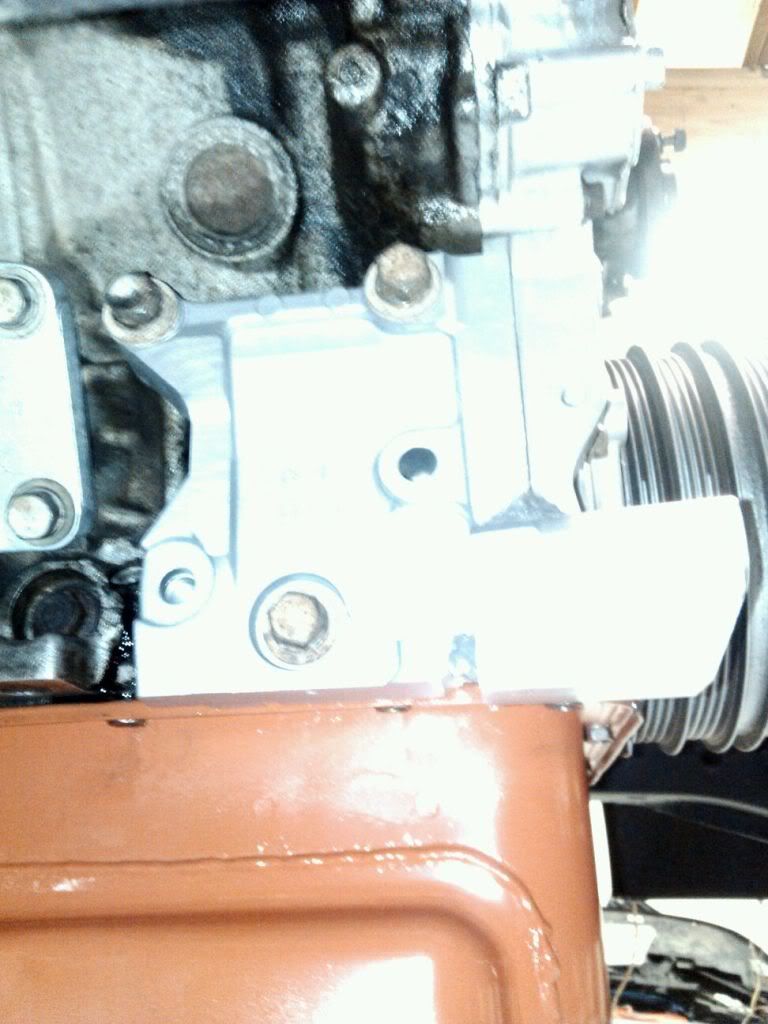
cut up the vh a/c pump braket to fit the altenator in the lower position, cut it right about where im pointing and re welded that ear down lower

built my own shorter shifter braket with spacing a piece of 1/8" sheetmetal up with a couple pieces of 1X2 square steel , simple solutions that save so much money
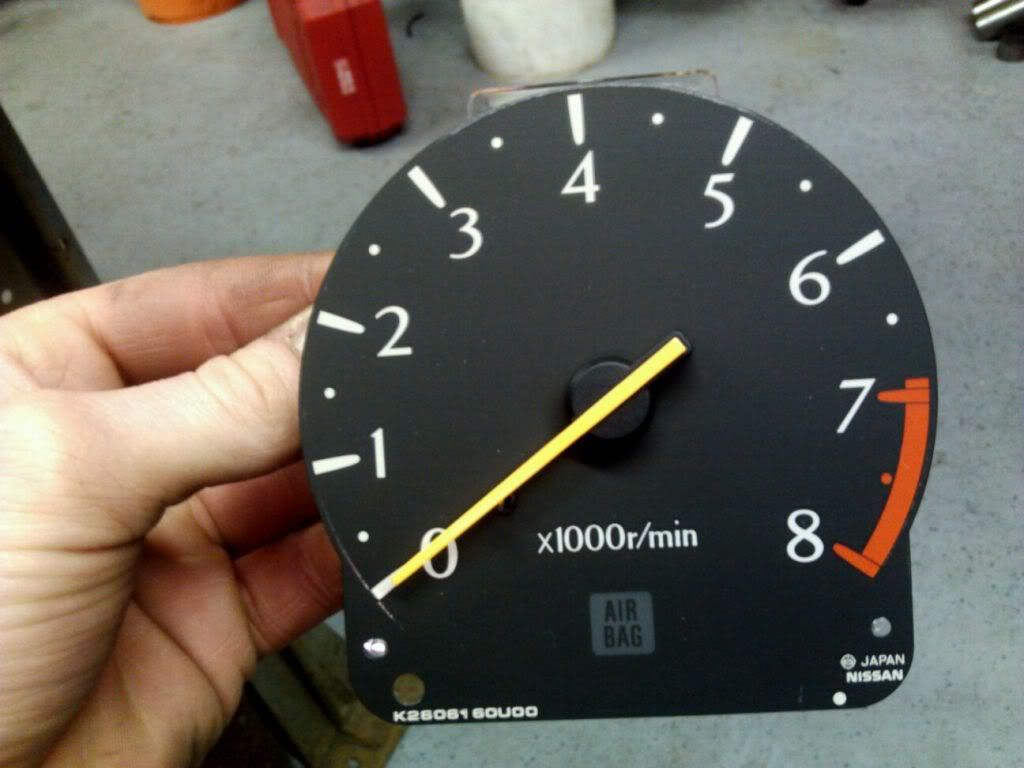
now for what im rather proud of, installing a WORKING tach into a s14, take the q45 tach out of the cluster
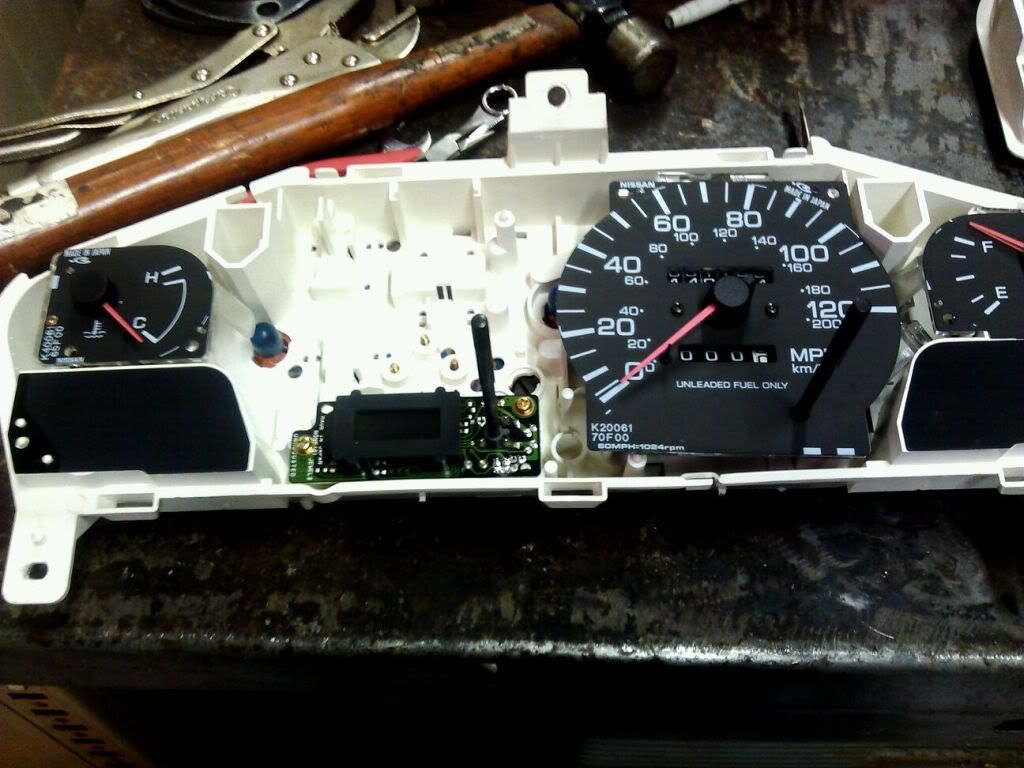
remove the original tach from the s14 and cut the crap out of everything in your way because the q tach has a circuit board that needs lots of clearance, you will need to remove all plastic postes and even some of the connector bosses all out of the way to fit the tach into place, no worries at this point because we will fix this, also drill a hole into the correct spot on the tach for the clock setting pin and cut out a slot so that your clock isnt covered up by the new tach
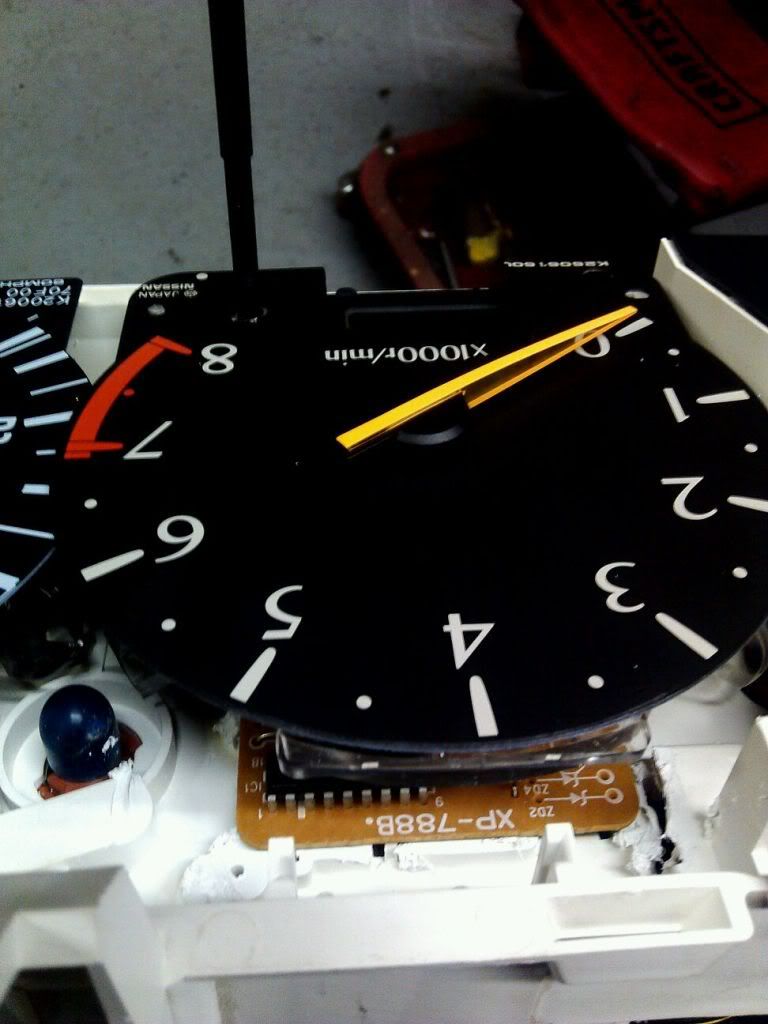
tach slides into place slightly overlapping the speedo. or under whichever you value more important
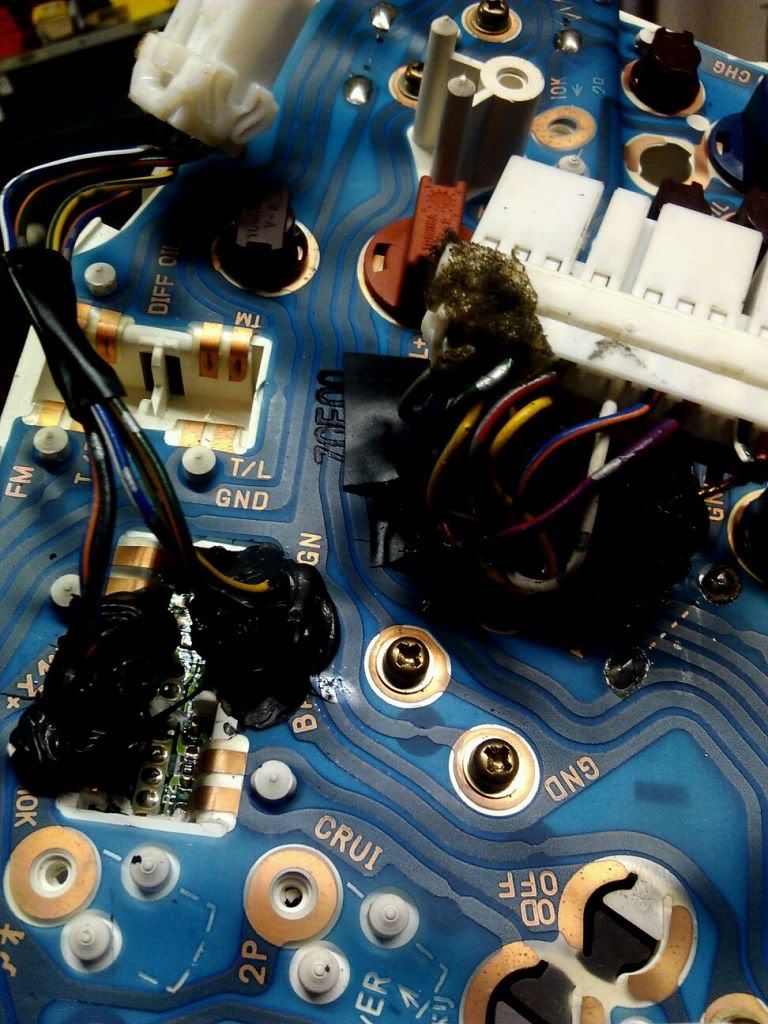
now this is the really tricky part, carefully, and i do mean carefully with all soldering skills being pulled out the closet. solder wires with connectors onto the mat of the circiut board in positions so that you can solder the other half of the connector into the vehicle harness. use a very thin wire a 20 gauge or thinner will do, no need for overkill. basicly make an extension cord out of where the connector used to go. fill in everything with an RTV or sillicone so that none of it vibrates loose, you may want to carefully check that everything works, dont be afraid of useing too much because you will really want to have the RTV or sillicone sticking to the mat and holding everything together.
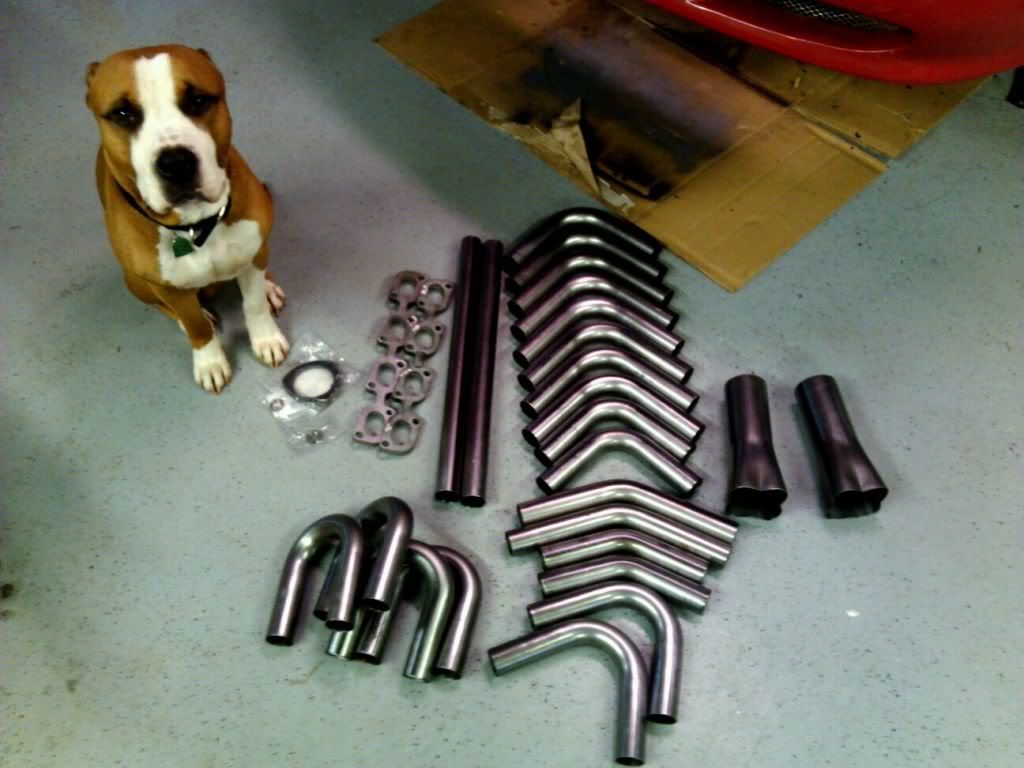
the start of a friday night with my dog and a header kit
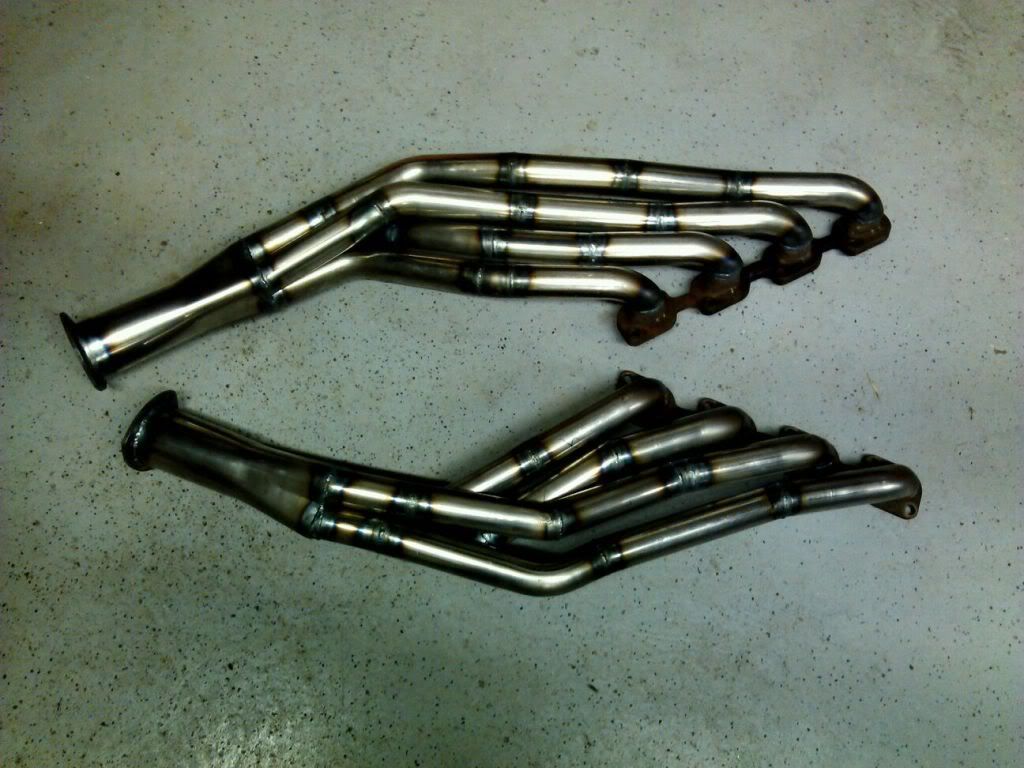
headers finished, after they where header wrapped
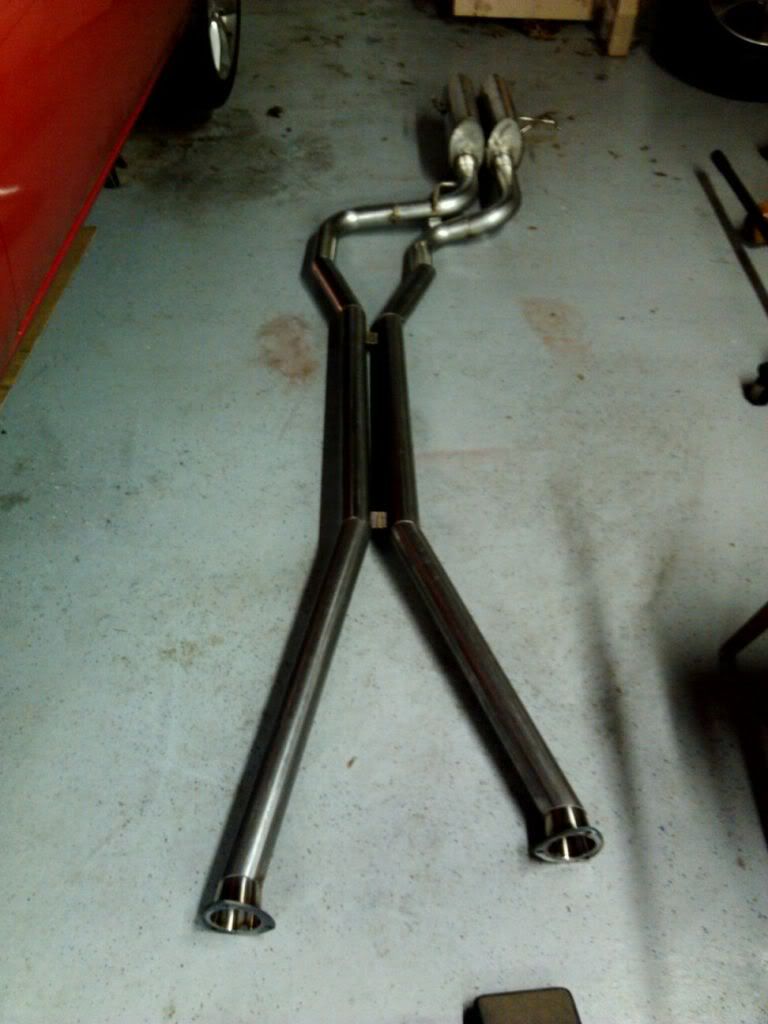
full stainless exhaust with borla mufflers
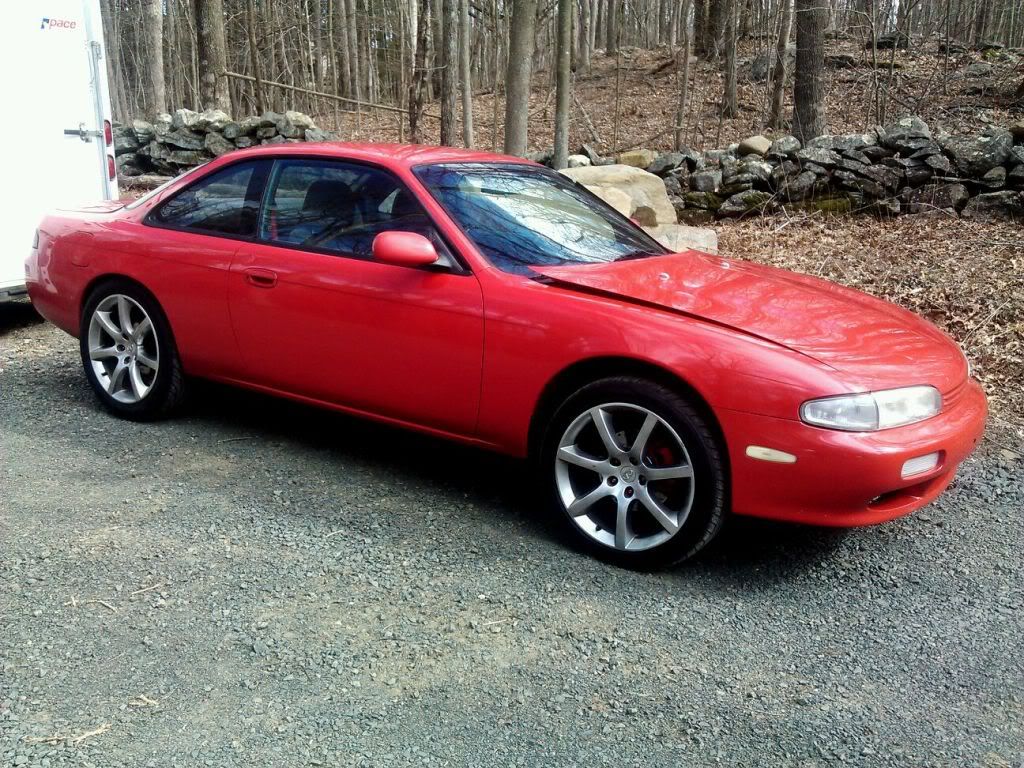
finished car, G35 rims, yes i had to space up my hood a bit, my oilpan sits 1/4" below the crossmember and i still need lots of spacing, in the future ide like to make a cowl hood but fiberglass isnt one of my favorit things to do so itll wait. if anyone is still wondering what NOKA is , it simply means No ka