B) Another angle of my tape protection, not pretty but it got the job done and I never looked down and noticed it really.

C) This is a close up of the tape which shows all the abrasions and nicks to the tape. Blurry I know, but you get the idea. That could have been my paint!

D) Here I am peeling the clear tape.

E) More tape peeling. As you can see it's like brand new under there except for the original damage before it was covered.

F) Last part of the tape. You can see the pits and little damage from earlier. Sucks that the Rogue was not designed better to prevent this.

G) Here we go folks!

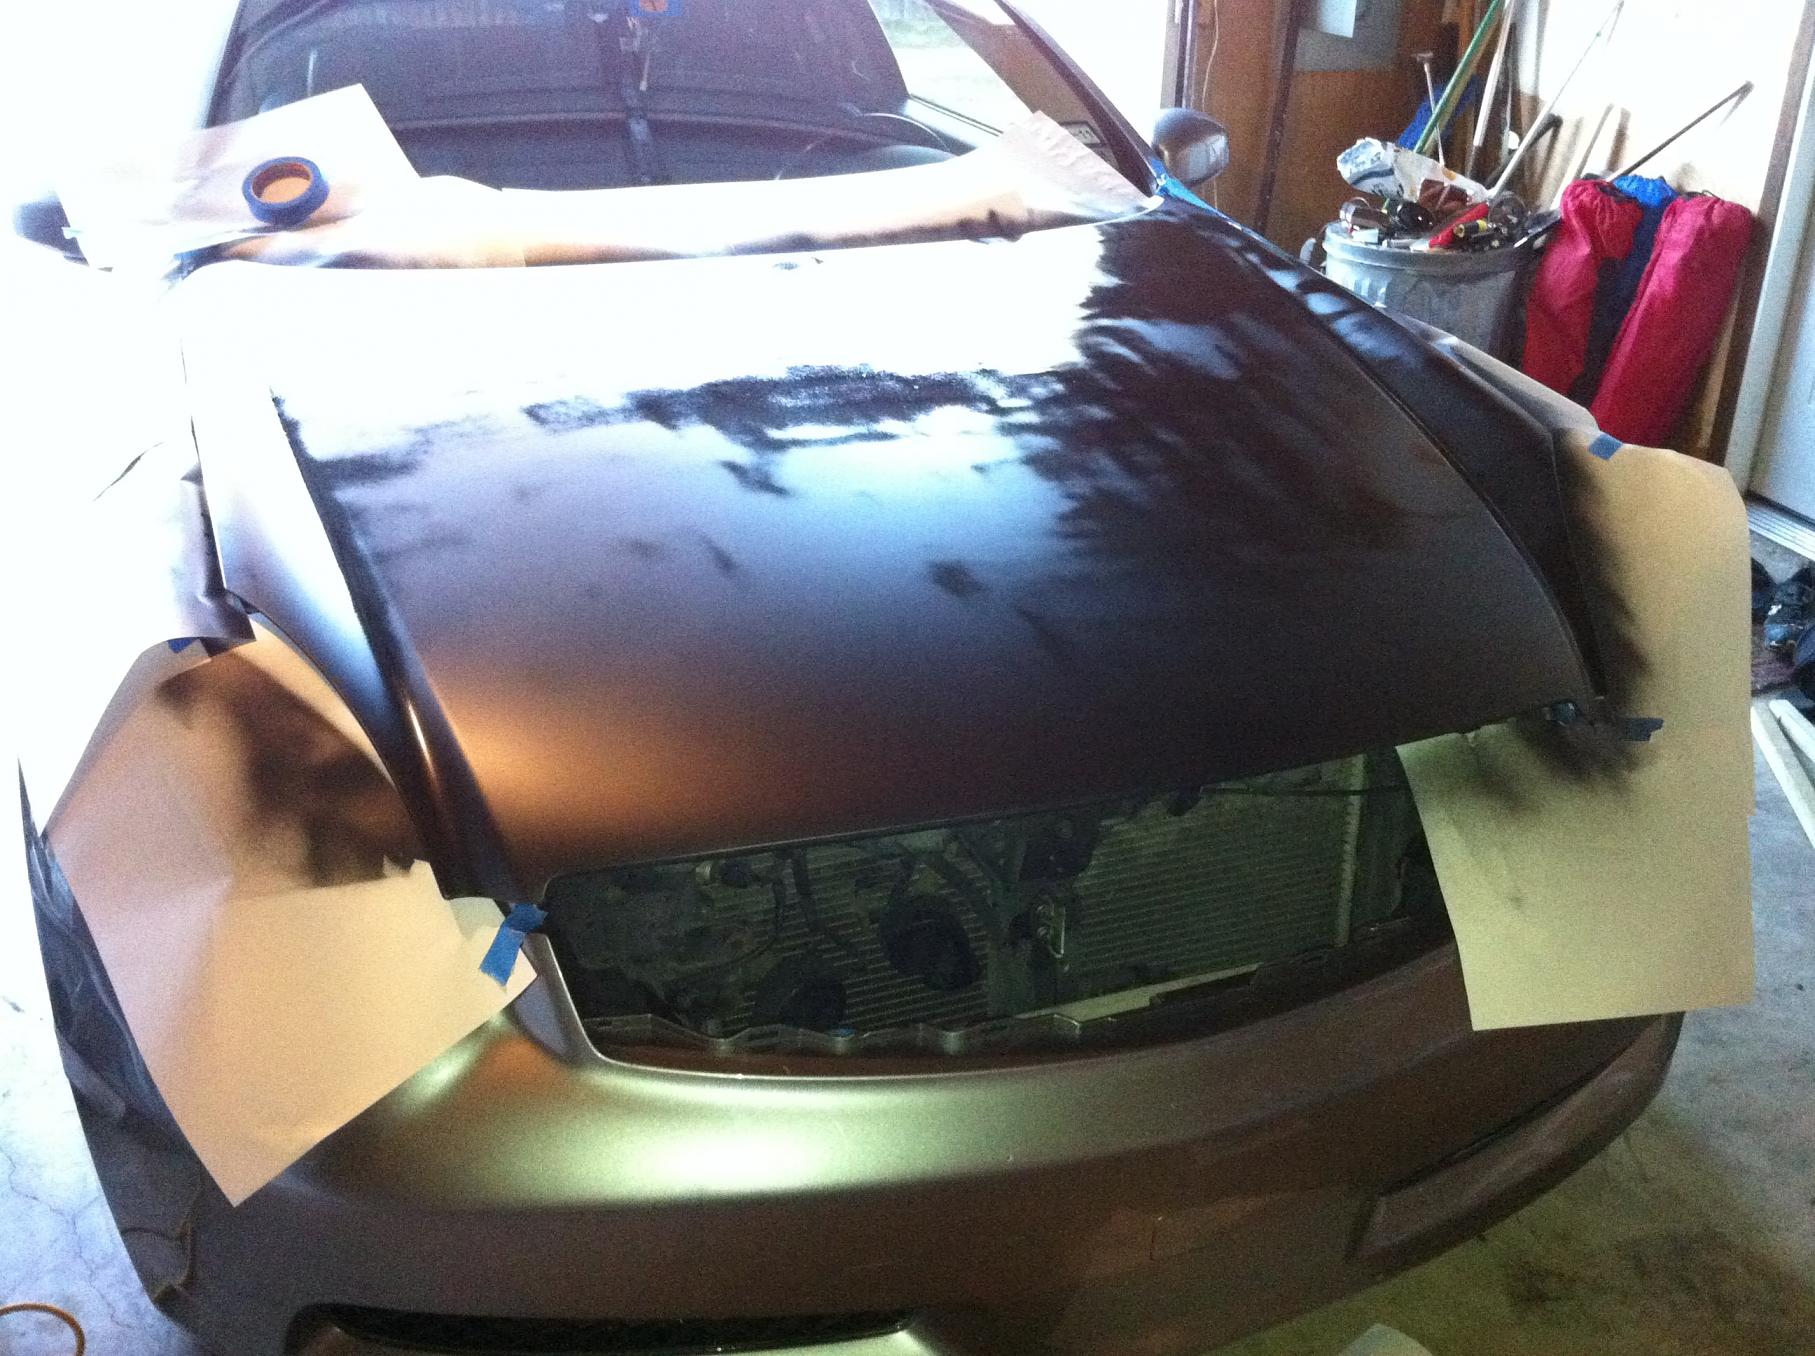
H) I placed the painters tape at the indentation line as a guide. It looked like a good place to start.

I) Cover the Rogue.

J) The first coat!

K) The great thing about this stuff is that you don't have to spray it perfect, it will even out all by itself!

L) Now a quick 2nd coat and third coat 5 min later!

M) So it's a little over 15 minutes and it's time to start removing the painter's tape.

N) The reason I am doing this all in just over 15 minutes is because I don't want the Plasti-dip to come off with the tape.

O) As you can tell by the time-stamp, all this fun in just over 15 min. while the temperature outside was around 78 degrees.

P) Close-up. Sorry it's blurry but it looks awesome up close!

Q) Still drying but still looking good folks.

R) Looks nice almost OEM quality in my opinion.

S) Another close-up. Looks good here too.

T) I kept my doors open for 1 hour and a half! Pretty warm outside so I was comfortable with that time.

U) Another view, remember it's still drying folks.

V) While waiting to dry, let's make sure all the grit and grime is removed from the rubber molding so not to mar up the un-cured Plasti-dip.

W) The final product! I already open and closed the door a few times and it's holding well so far! Time will only tell in the long run! Good luck if you wanna try it!