Oil Pressure Test - tips for success request

A Q45 forum / Cima forum for the President of Infiniti's lineup. Brought to you by Infiniti Parts USA, your OEM source for Q45 parts!
OwnerCS
Posts: 1771
Joined: Thu May 27, 2010 4:34 am

Post

Checking out the FSM on LC-4 running an oil pressure test looks easy enough. So this afternoon, I put Q on jack stands and crawl under to inspect the situation. I snapped a couple of pics below for reference. I realized for me to get my hand with wrench on the sender switch may be harder than it looks in the manual. I've seen posts where people report a sender switch change in 10 minutes..

Was it Mae West (or Mike Rowe) that said "a man's got to have the right tools to do the job"? Ha!

Obviously I don't have the tools you need for this one.. :lolling:

Any advice from members who have performed this operation will be greatly appreciated.

Image

Here's a view from the rear.


Image


maxnix
Posts: 22628
Joined: Mon Jul 22, 2002 8:11 pm
Car: 1995 Infiniti Q45
1995 Infiniti Q45t
2000 Infiniti Q45

Post

Better check the old posts, because I think that is a Whitworth fine thread. Very unusual.

qship96
Posts: 6624
Joined: Sun Nov 24, 2002 11:31 am
Car: 1996 Q45

Post

if your pressure sender is original, purchase a brand new OEM one before removing the old one- common spot for oil leaks as the sensor ages, and it is only a $10-15 part !!! Mine made it to about 250K before showing signs of seepage, but most dont. I believe texasoil posted years ago his sensor gushed oil when it went, almost destroying his engine. My tech reached it from below, and only needed 5-10 minutes to R & R.

User avatar
goody90q45
Posts: 3679
Joined: Wed Aug 17, 2005 2:07 pm
Car: 1992 Q45 (sold)
Location: Orangevale, CA

Post

What seems impossible to get at while laying on your back under the car often gets much easier when it's on a lift. Ergonomics I suppose.

OwnerCS
Posts: 1771
Joined: Thu May 27, 2010 4:34 am

Post

Thanks for the tips guys. I ordered a new sender switch today. I could see that old crumbling as soon as I tried to remove it.

Brian I found this old thread about Whitworth. From what I can tell, everything in this thread is true and then some..

post1582388.html?hilit=Whitworth#p1582388

Having it on a lift can make a huge difference no doubt. I do have it up on jack stands.. I need to study this one more before I jump in. I'm beginning to wonder if this one is up there with an alternator change on the pain scale. I'm beginning to wonder if I need to have my head examined.. LOL

masoQist
Posts: 43
Joined: Sat Jun 13, 2009 8:18 pm
Car: 1990 Q45
Location: SoCal

Post

Whitworth is more of a general category. The oil pressure switch threads are better referred to by the common name BSPT. It's basically the ISO version of (American) NPT. Both are tapered pipe threads, but the thread angles and pitches are different. Luckily, the fittings are NOT an unusual or hard-to-find. For example, any large industrial supply house should sell BSPT to NPT adapter fittings.

The switch is easily loosened from the top side using a deep socket, universal joint and extension. I prefer to reassemble using petroleum-compatible thread sealant, such as Loctite 561. Remember it's just a little 1/8" fitting, so careful not to over tighten!

OwnerCS
Posts: 1771
Joined: Thu May 27, 2010 4:34 am

Post

Thank you all for the information. As it turns out, my pressure testing kit includes a 1/8 -28 BSPT adapter. There is a review posted about the test kit from a Toyota owner that makes for some interesting reading.

http://www.harborfreight.com/engine-oil ... 98949.html

OwnerCS
Posts: 1771
Joined: Thu May 27, 2010 4:34 am

Post

The new sender switch arrived late last week. Tonight on the way home from work, I picked up a deep socked made for oil pressure sender switches at Advance Auto.. So I think I have needed replacement switch and tools.

I've been working 7 days a week most of this year, so it has slowed my Q progress. I hope to get some garage time this weekend. If I can pull this one off, I'll have some picture-- so stay tuned for further developments.

User avatar
Q451990
Moderator
Posts: 11514
Joined: Tue Jul 23, 2002 8:21 am
Car: 1990 Q45 - 118K, 2022 Toyota 4 Runner, 2004 Frontier M/T - 108K, 2012 Xterra (Mom's), 2023 Rogue (Inlaws)
Location: Columbia, SC
Contact:

Post

I'm looking forward to hearing the results!

Heath

OwnerCS
Posts: 1771
Joined: Thu May 27, 2010 4:34 am

Post

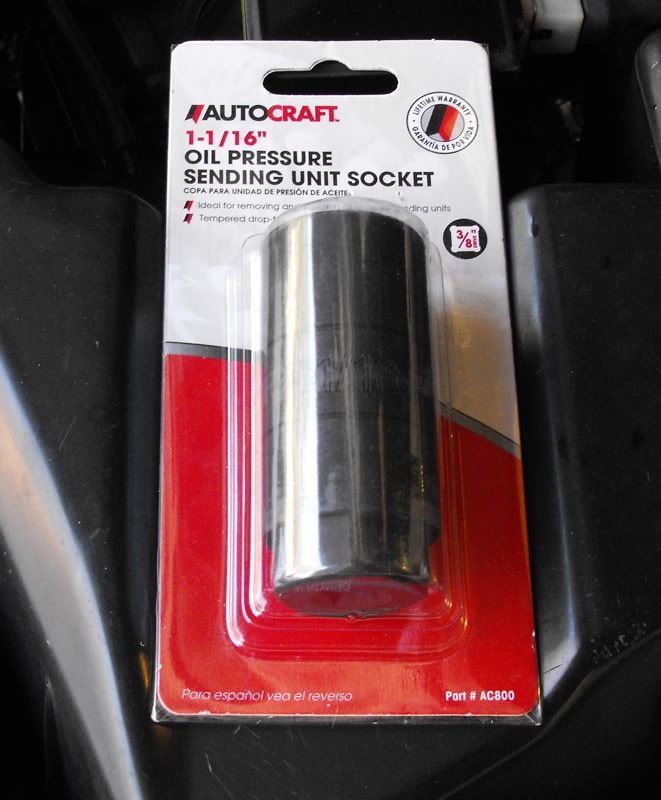
The new sender switch arrived, I now have the tools needed to change the switch and run the test. I wanted to get tool pictures up a soon as possible as I've had some questions questions from members about the tools.

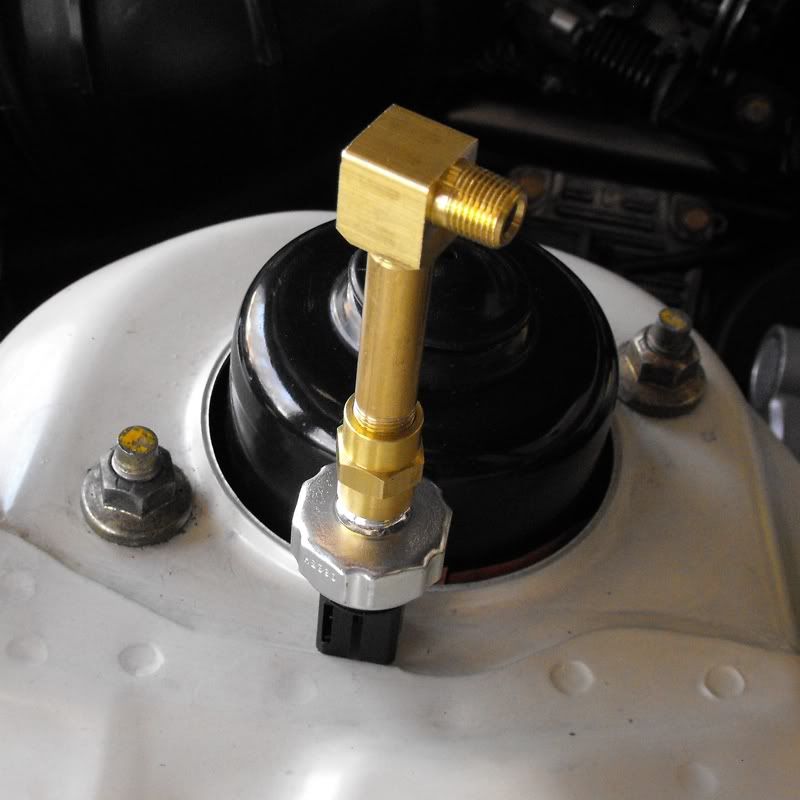
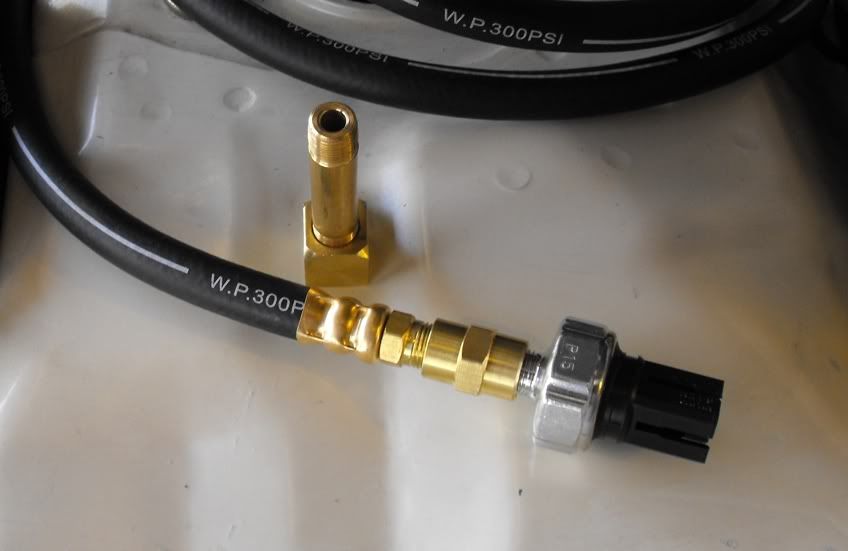
The good news about the Harbor Freight pressure testing kit is it has several fittings that match the threads on the OEM switch. So the kit provides several options for elbow, extension, union, and the hose fitting appears to use the same thread type.

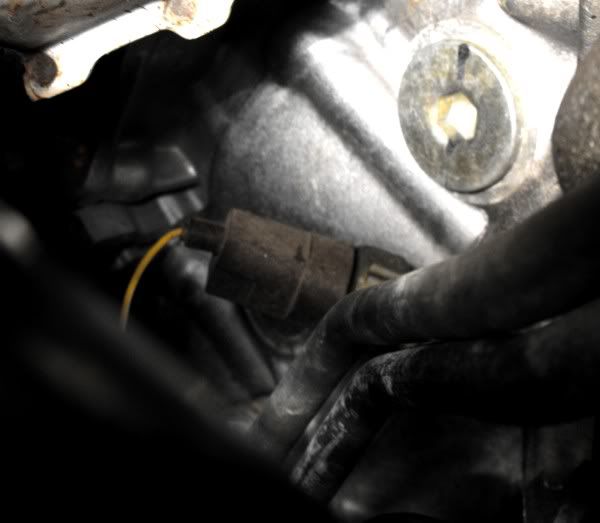
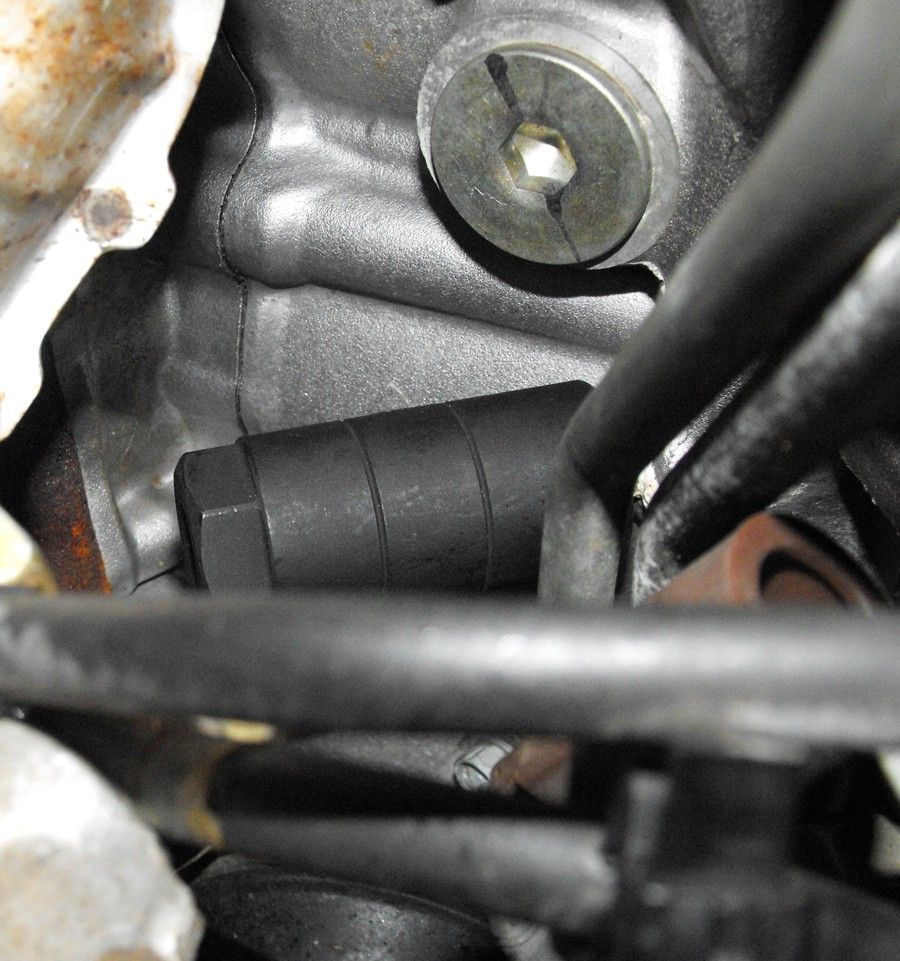
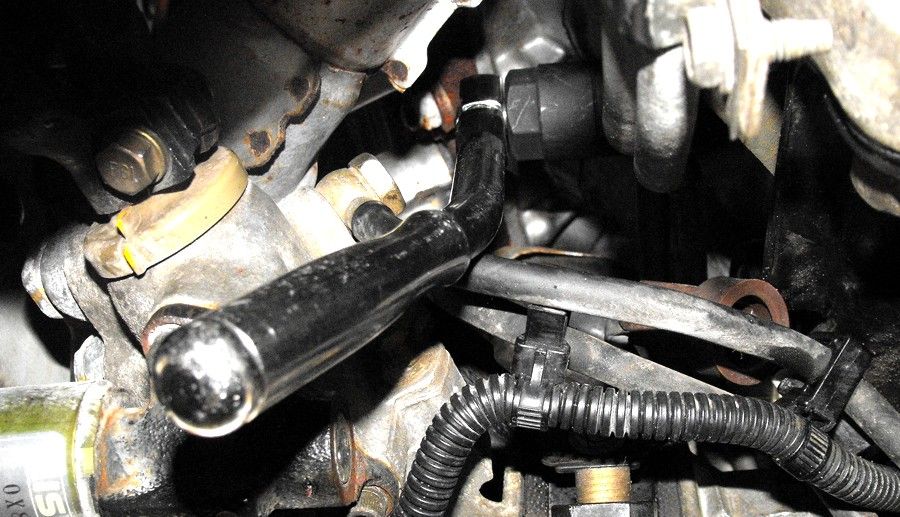
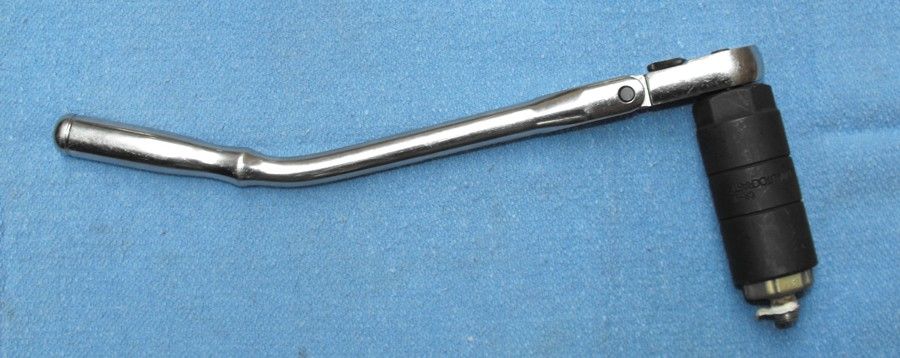
The pictures below show tools and the new switch where I tested the thread pattern.

Two things I have already planned that will make this operation easier are:

1) Remove the Power Rack to install the Energy Suspension bushings and replace the bellows.

2) Replace the stock 29mm anti-sway bar with a 28mm from a Q45a.

Combining the switch replacement (and oil pressure test) with the other activities, should make the operation much easier. If I could get the car up another 10 to 12 inches or to a fully extended jack stand position, all three operations will be a lot easier.

Image

Image

Image

Image

User avatar
Infinitiguy19
Posts: 7787
Joined: Sat Dec 22, 2007 4:58 pm
Car: 1993 Infiniti Q45 188580 Miles
1994 Infiniti Q45a 240000 Miles

Post

Hey Craig,

What sealant did you use for oil pressure switch?

OwnerCS
Posts: 1771
Joined: Thu May 27, 2010 4:34 am

Post

My first choice is below.

Image

OEM specified. Locks and seals threaded fittings. Resists leakage, vibration loosening, moisture, hydraulic fluids and diesel fuels. Lubricates threads for easy assembly and disassembly.Won’t shred or wear like Teflon® tape. Parts may be repositioned up to 4 hours after application. Temperature range -65°F to 400°F (-54°C to 204°C). Contains PTFE. Permatex® Thread Sealants seal and secure metal pipes and fittings. By filling the space between threaded metal parts, Thread Sealants cure to a pliable seal to prevent leakage caused by vibration loosening, tape shredding, solvent evaporation, damaged threads, and temperature cycling. Designed for low and high pressure applications, Thread Sealants seal instantly for on-line low pressure testing. When fully cured, they seal to the burst strength of most piping systems. The high lubricating properties of Permatex® Thread Sealants ease assembly and prevent galling of the threads. For system repairs, parts may be disassembled with basic hand tools.

http://www.permatex.com/products/produc ... ant-detail

Some swear by yellow (heavier for gas lines) teflon tape for wrapping the outer 1/2 of the thread area so it will not be deep enough to interfere with thread starting, electrical grounding, or to leave behind any shredded teflon material if the switch needs to be removed at some future date. So it depends on one's comfort level with either product. If tape is used wrap it on counter clockwise if your looking from the back of the sensor, clockwise if your looking into the sensor.

User avatar
Infinitiguy19
Posts: 7787
Joined: Sat Dec 22, 2007 4:58 pm
Car: 1993 Infiniti Q45 188580 Miles
1994 Infiniti Q45a 240000 Miles

Post

Thanks Craig!

Unfortunately your post came a little late. I ended up using some grey RTV (the same stuff some have used on their valve cover reseal jobs).

So far no leaks. I let the car sit for 24 hours before starting so I should not have to reseal that oil switch for a while. After starting i let the car warm up to operating temp and checked for leaks. Then when the engine warmed up I ran it up to 3K RPM's.

Craig how did you remove the connector without breaking it? Even on a lift it was hard to reseal the oil switch.

I think (have only seen two Q45 oil switches) the factory uses teflon tape on the threads.

An interesting test would be to check at which pressure the switch grounds out? (with air pressure which is easier.)

OwnerCS
Posts: 1771
Joined: Thu May 27, 2010 4:34 am

Post

I don't remember connection removal as being a problem. I think I saw clips on the new switch to let me know how to remove the oid. Additional pictures are below.

Image

Image

Image


Return to “Q45 Forum / Cima Forum”