
wiring...
I made a pretty close guide to wire color > gauge function at this link to show how i did it..
https://spreadsheets.google.com/ccc?key ... tWWc&hl=en
(per nurvcom on Zilvia, i found this to be pretty close, but depending on the year/options/tranny of your s13, and which NX cluster year/options/tranny )
::::Cluster requirements::::
Stock S13 gauge cluster wiring
NX gauge cluster
NX pigtails off of gauge cluster
NX speed sensor (S13 sensor will read double speed)
(stock fuel sending unit is fine)
(stock temp sending unit is fine)
(stock tach distributor works perfectly)
Wiring
S13 dohc harness and nx pig tails
Far Left White plug
s13 ~~~~ nx
Red/blk ~ green/White 2wire white plug
yellow/purple? ~ yellow/blk yellow plug
yellow/white ~ yellow/green white plug
yellow/green ~ yellow white plug
white/red ~ yellow/red yellow plug
green ~ blue and yellow wire from blk plug and yellow plug
red/white ~ red/white yellow plug
blk ~ blk blk plug
blue/blk ~ yellow/green blk plug
center white plug s13
s13 ~ nx
green/yellow ~ green/yellow yellow plug
red/green ~ blk white plug
green/blk ~ green/blk white plug
blk ~ blk yellow plug
white/ blk ~ red/blk white plug
yellow/red ~ blue/blk blk plug
blue ~ red/yellow blk plug
yellow/blk ~ red blk plug
black s13 plug right side
s13 ~ NX
red ~ orng/blk white plug
yellow/blue ~ green blk plug
red/blk ~ red/blk white plug
yellow/green ~ yellow/green blk plug
red/yellow ~ red/blue go into blk and yellow plug
green/ blue ~ green/blue blk plug
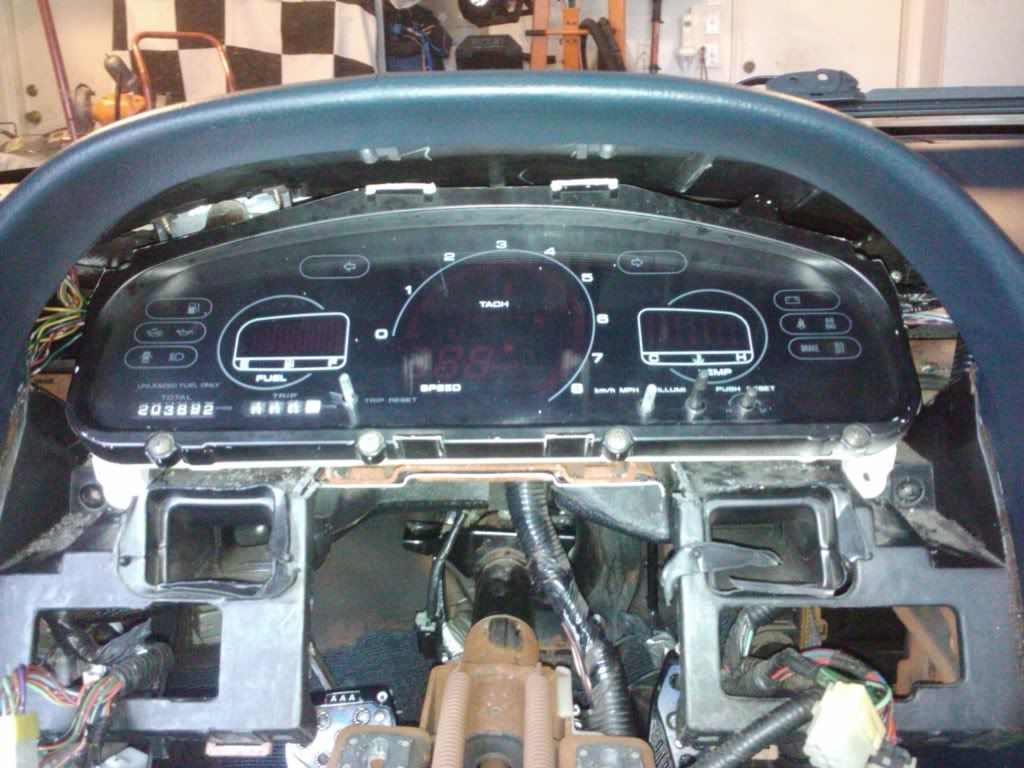
mounting of the gauge cluster requires trimming of the gauge surrounds. get that dremmel warmed up
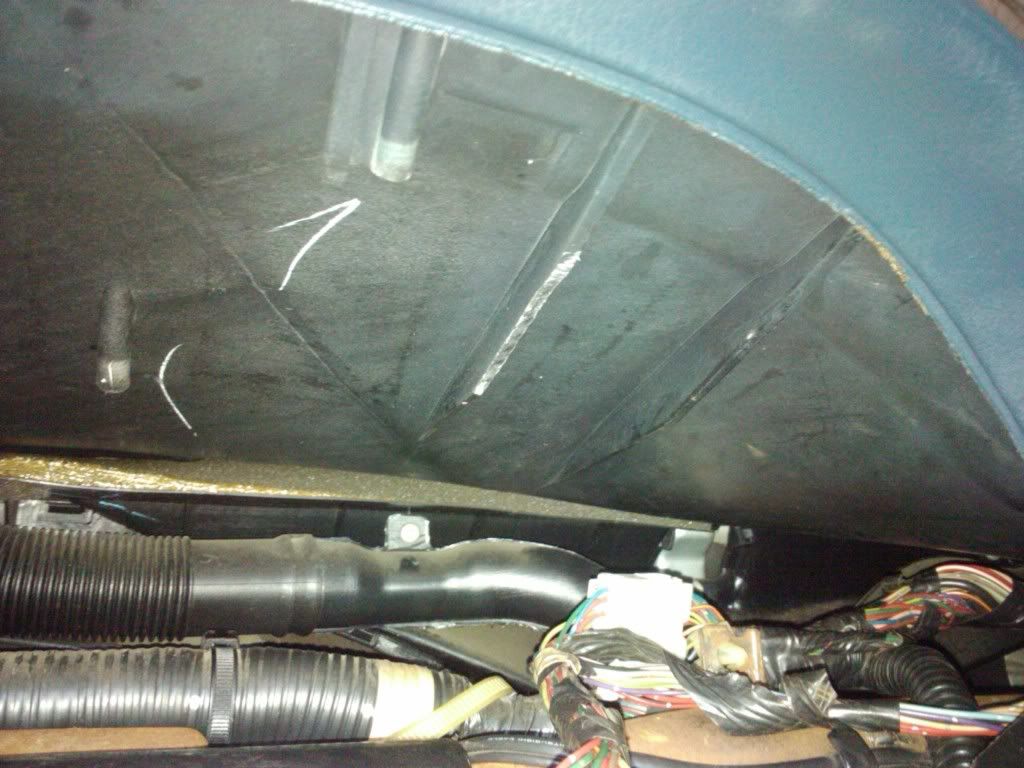
-you must remove the entire upper portion of the OEM gauge mounting hardware.. there are 3 screws (must be unscrewed from behind, and then the first right OEM gauge support must be trimmed off.

and as seen in the picture below, the bottom center area must be trimmed to clear the gauge.

the original gauge trim (where the headlight retract / emergency signal buttons go) needs to have the back top portion trimmed back about an inch or so. once all of this is done, you can place the gauge cluster in the hole, and it almost reaches the origional mounting holes, i placed a couple long screws to reach the original mounting, and it held in tightly.the slide in the modified cluster trim, and your good to go!
thanks to HellsDrifter 666 for pics, and nurvcom for info.


