
difficulty: ***
time: 2-3 hours
cost: ~$240
Materials:
- NAMS Gacchiri Support (or fender brace)
Tools:
- Assorted metric socket wrenches and ratchet w/ extensions
- air wrench (optional)
- power drill with appropriate bits
- breaker bar (optional)
Procedure:
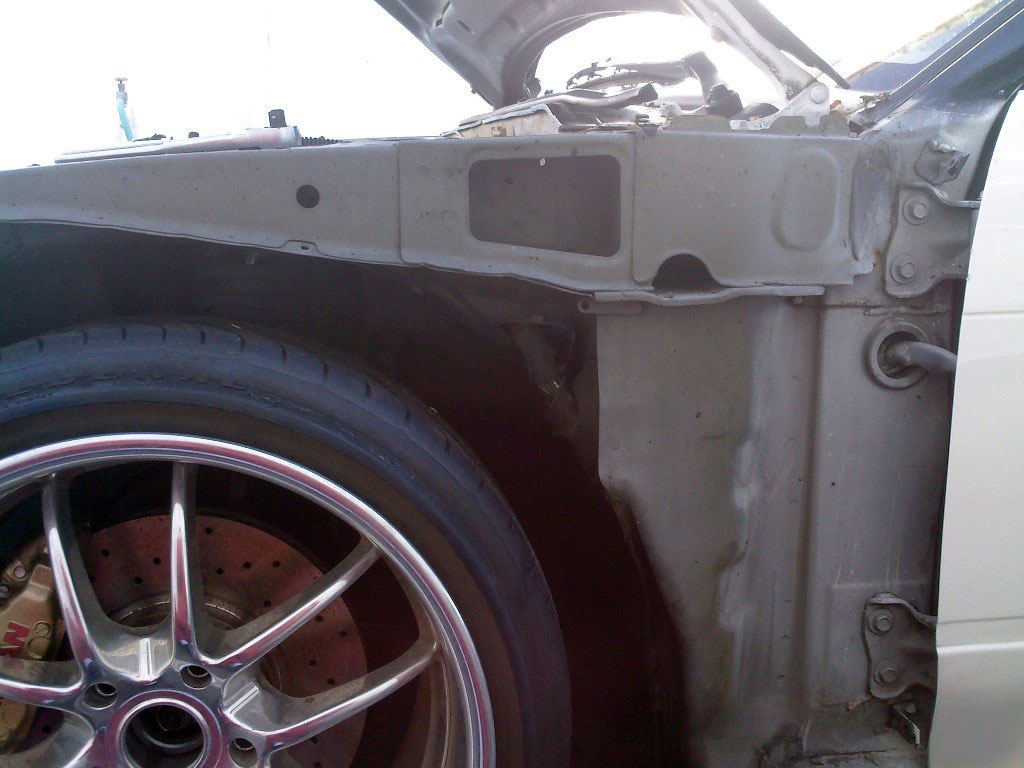
First off, take off your bumper and fender. In my opinion, there are WAY too many bolts and nuts for this, but eventually you will get everything off.This is what your car will look like without a fender on. cool.
Next, please notice that you can take this piece off the NAMS part. This will go inside the fender rail thing. I have no idea what it is called.
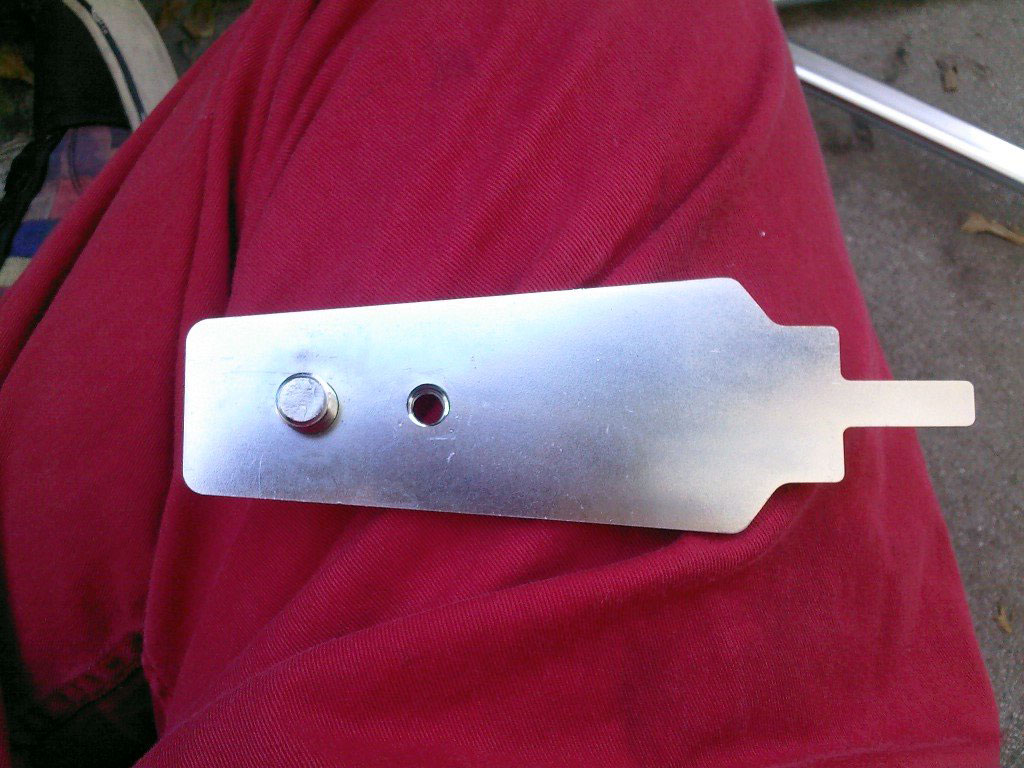
See, put it in there. You will notice that the stud goes though that hole, but you will have to drill your own hole for the other bolt to go into. Oh my!

So, you keep that in mind. ok? good.
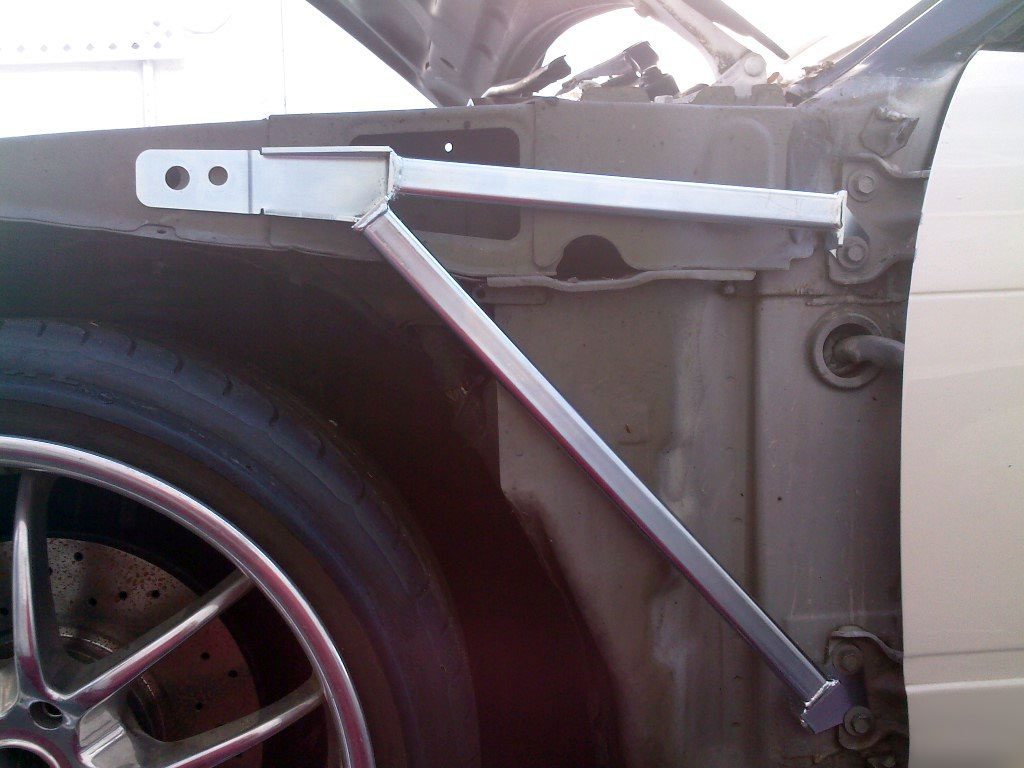
Now, take your awesome 12mm socket and wrench and take off the lowest 3 bolts that hold the door on. (please keep the door SHUT, this will make things much easier.) Put the GACCHIRI support on and put the bolts back in.
Okay, uh oh. What is THIS? Those holes don't seem to line up very well. Use a swear word now if you please. So what now? Drill it out. Drill it like it is hot.
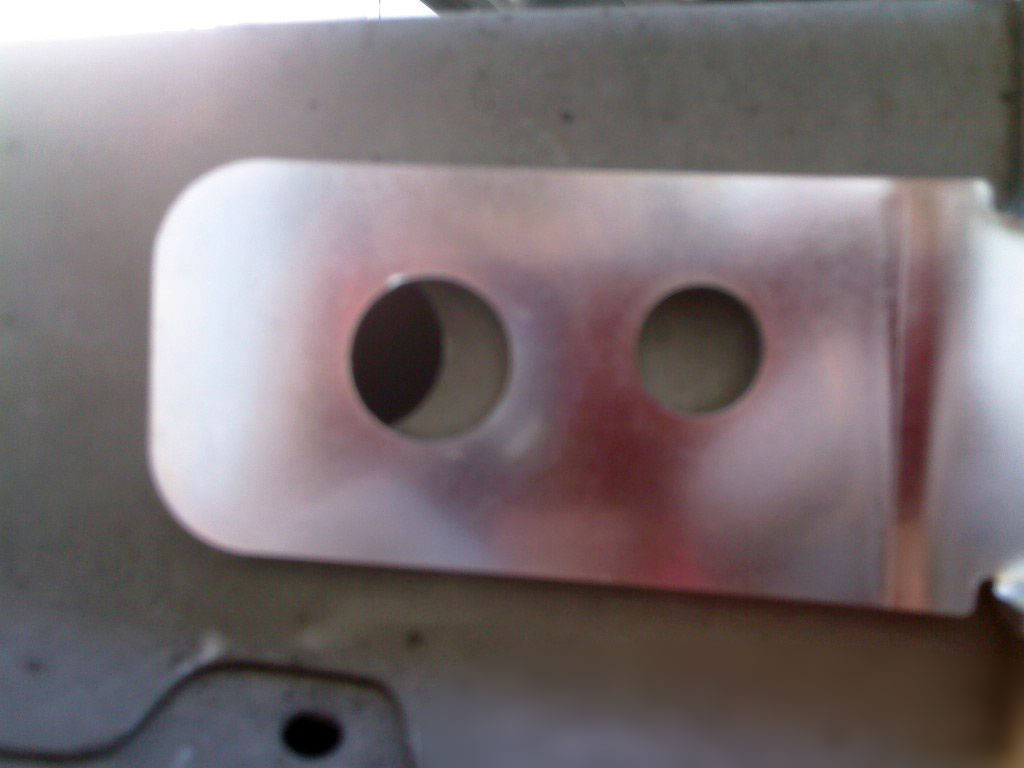
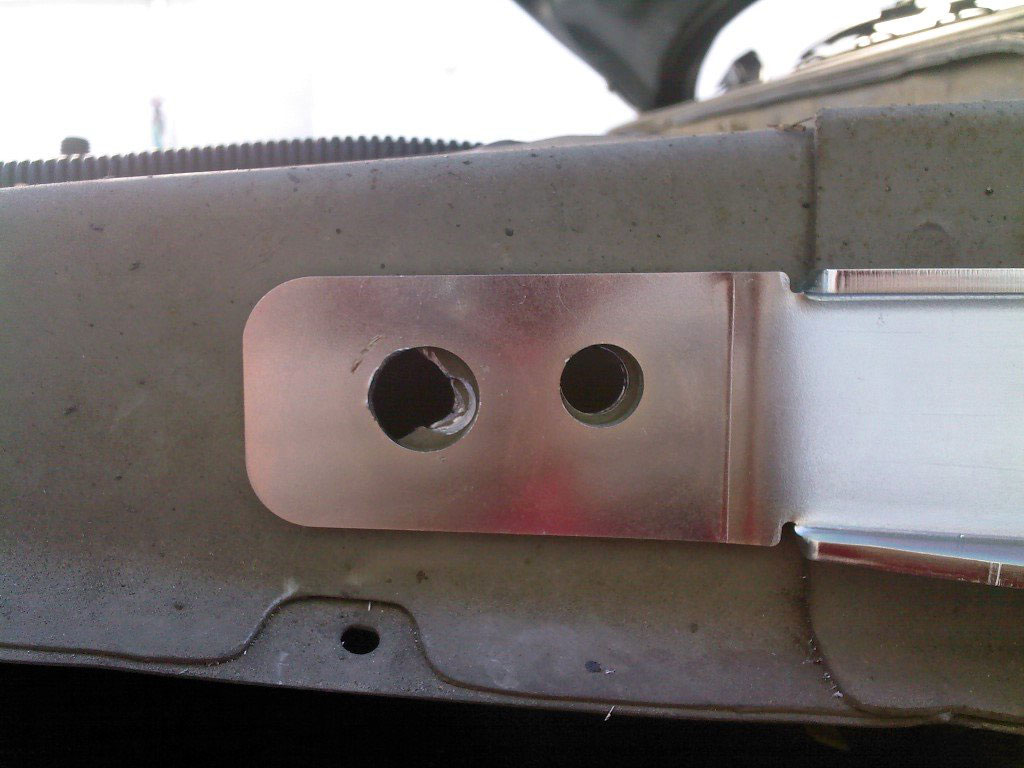
Yeah I know, it looks really crappy, but figure it out. Please drill out the OTHER hole too. That one looks much better.
You are almost done with this side! How excited are you?
Now, remember that separate piece? good. If you threw it away, you are stupid. So now, wiggle it around inside the fender and please thread on the nut onto the stud, then thread in the bolt to the other hole. COOL.Tighten everything up. I think they nut is a 19mm. Tighten all that up and tighten up the everything with the door bolts too
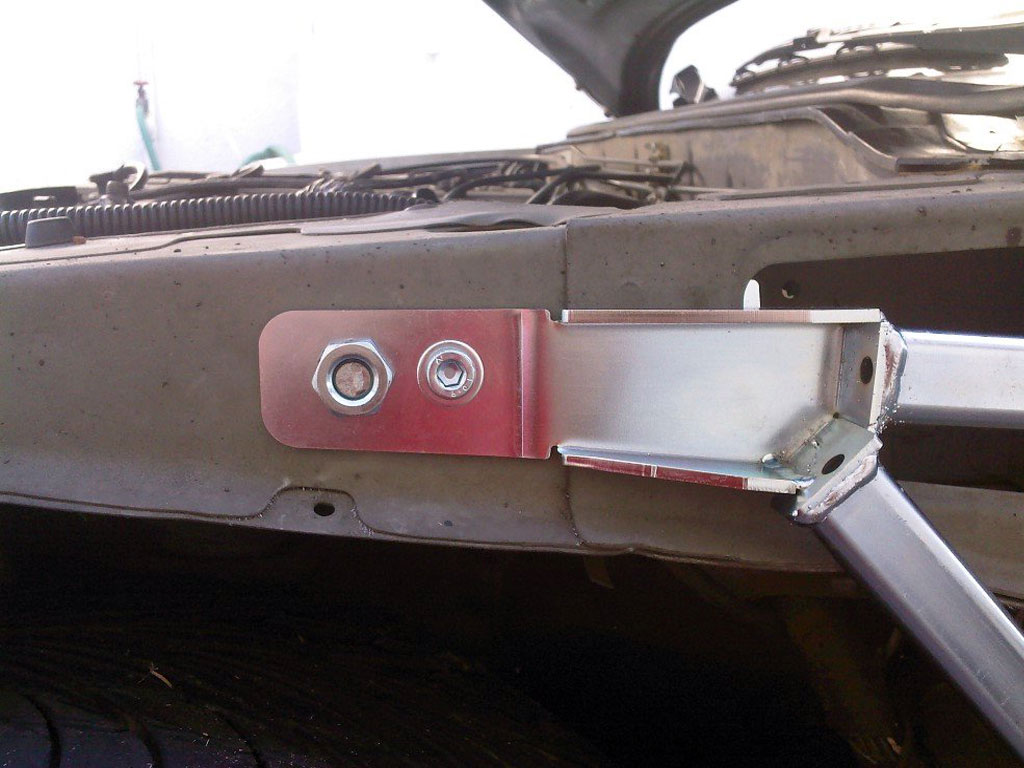
WAY TO GO!

Bro, you did it!
Now, repeat for the other side.
Feel the power of my biceps!!!!!
by BrianHarte