The lights are real bright, night and day compared to the oem fogs...but I guess that's to be expected. The white is pure no hint of blue at all, and match each other perfectly, very nice. The ballasts seem well constructed. I've never seen any other ballasts so I don't have anything specific to compare to, but I have no worries of them breaking down. Even though I did the wrong thing and just swapped out the lights instead of retrofitting the housing, the difference and light is still remarkable...at least better...in what I can see now. I plan to retrofit the reflectors to projectors when I get a chance for a better beam like the low beams.
Everything is plug and play with the connectors. A clear click sound when the connectors are locked securely.
The only thing the kit lacked was a nut and bolt for the harness. It came with everything needed to mount for the ballasts though, nothing to stress as long as you have tie wraps. The other thing that was a little bothersome to me was the end where the wire goes into the connectors are pretty much open, seemingly begging for corrosion. I'm going to seal them up with silicone when I drop the car in two weeks.
If you are like most people, and me, and aren't afraid of doing things your own way the way you might believe is easier, you may decide to forego using the wire harness and connect the ballasts directly to the feed from the car. Don't. I did it that way, and although the light comes on, it will flicker a few times on start up. Once I did it with the harness, it sometimes flickers once and then on, which I think is normal....let me know if not.
I grabbed the body panel removal pics from: hid-upgrade-to-6k-low-beam-fog-t471788.html#p5332897
In case his photobucket account disappears. Credit to him for them.
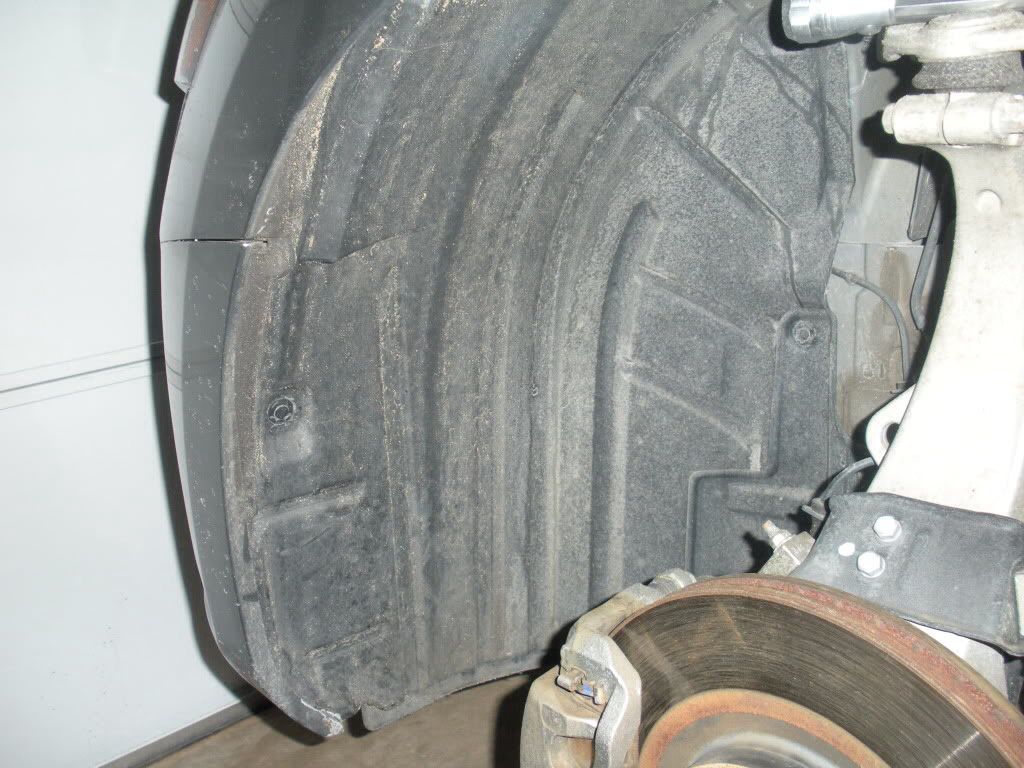
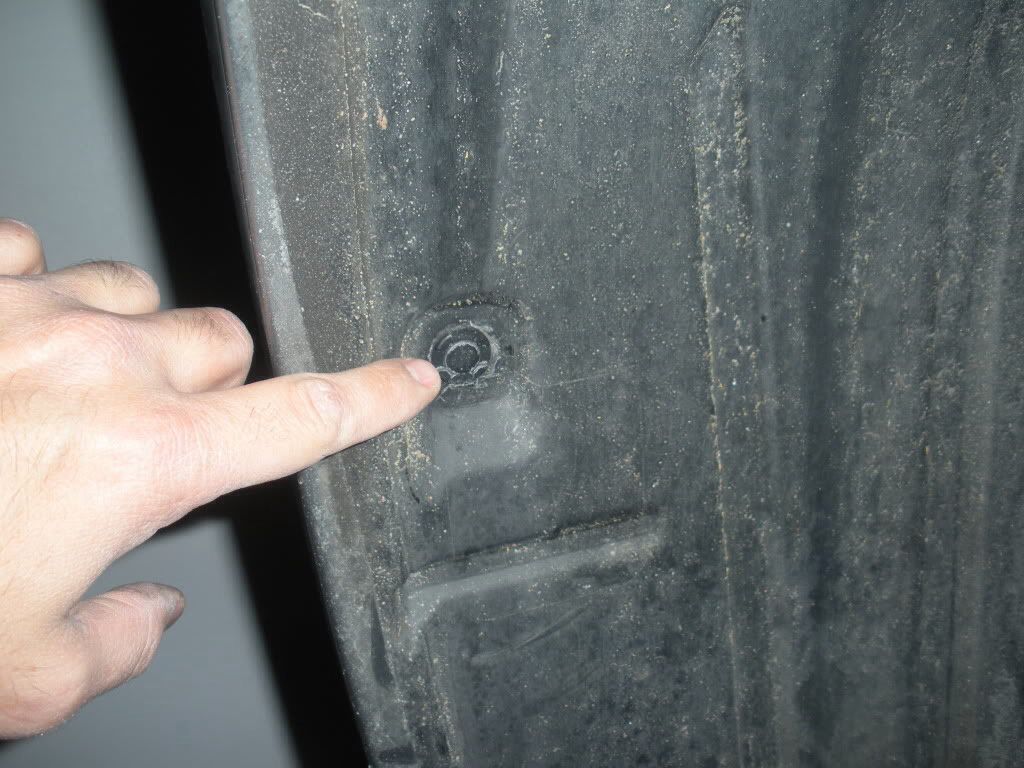
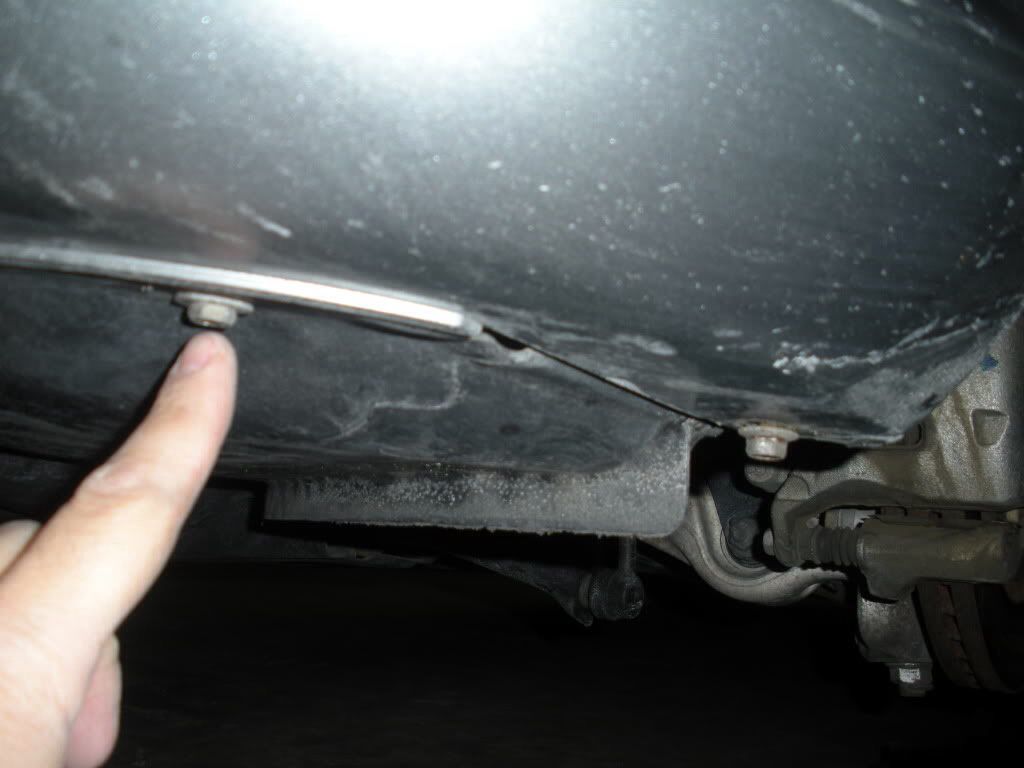
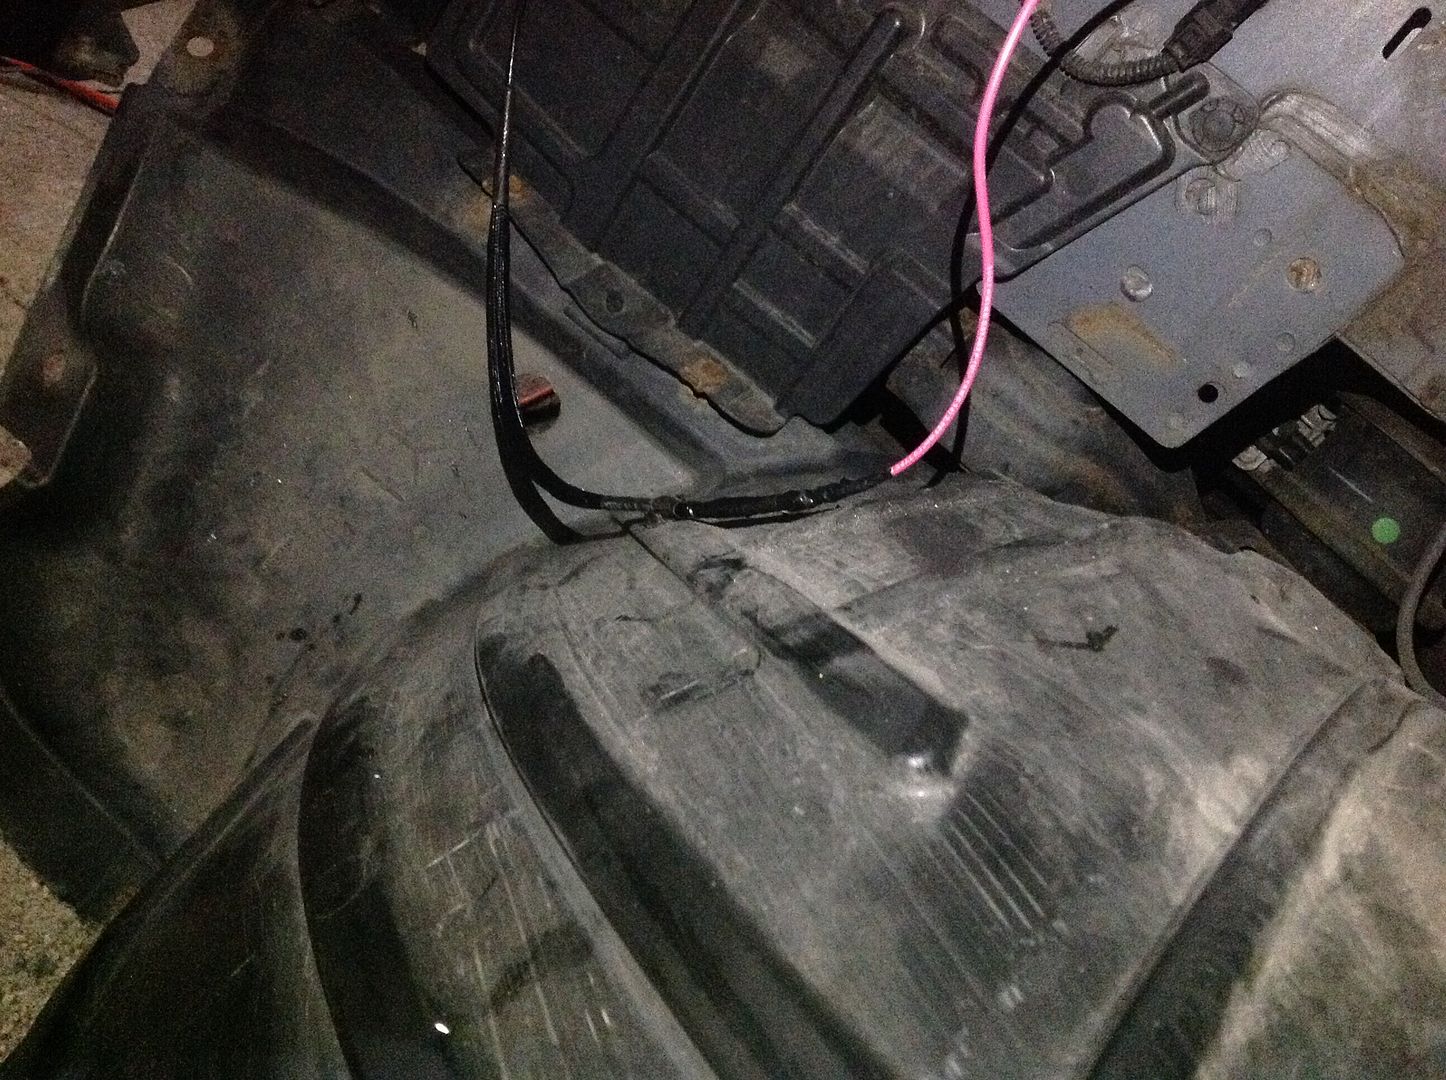
Plastic clips are in the wheel well, and screws are under the front portion of the fender. Remove them all to remove the front portion of the wheel well protector for access.
First I extended the ground wire by about two feet (I think 1.5ft is long enough). The existing wire is 16 gauge, I extended it with a 14 gauge. Cut the ring off the existing ground wire, peel back the sheath and solder the extension to it. Once cooled, wrap electric tape around it, then pull the sheath over everything and wrap the end of the sheath. The existing wire is really too short for this car...personally I think for any car.
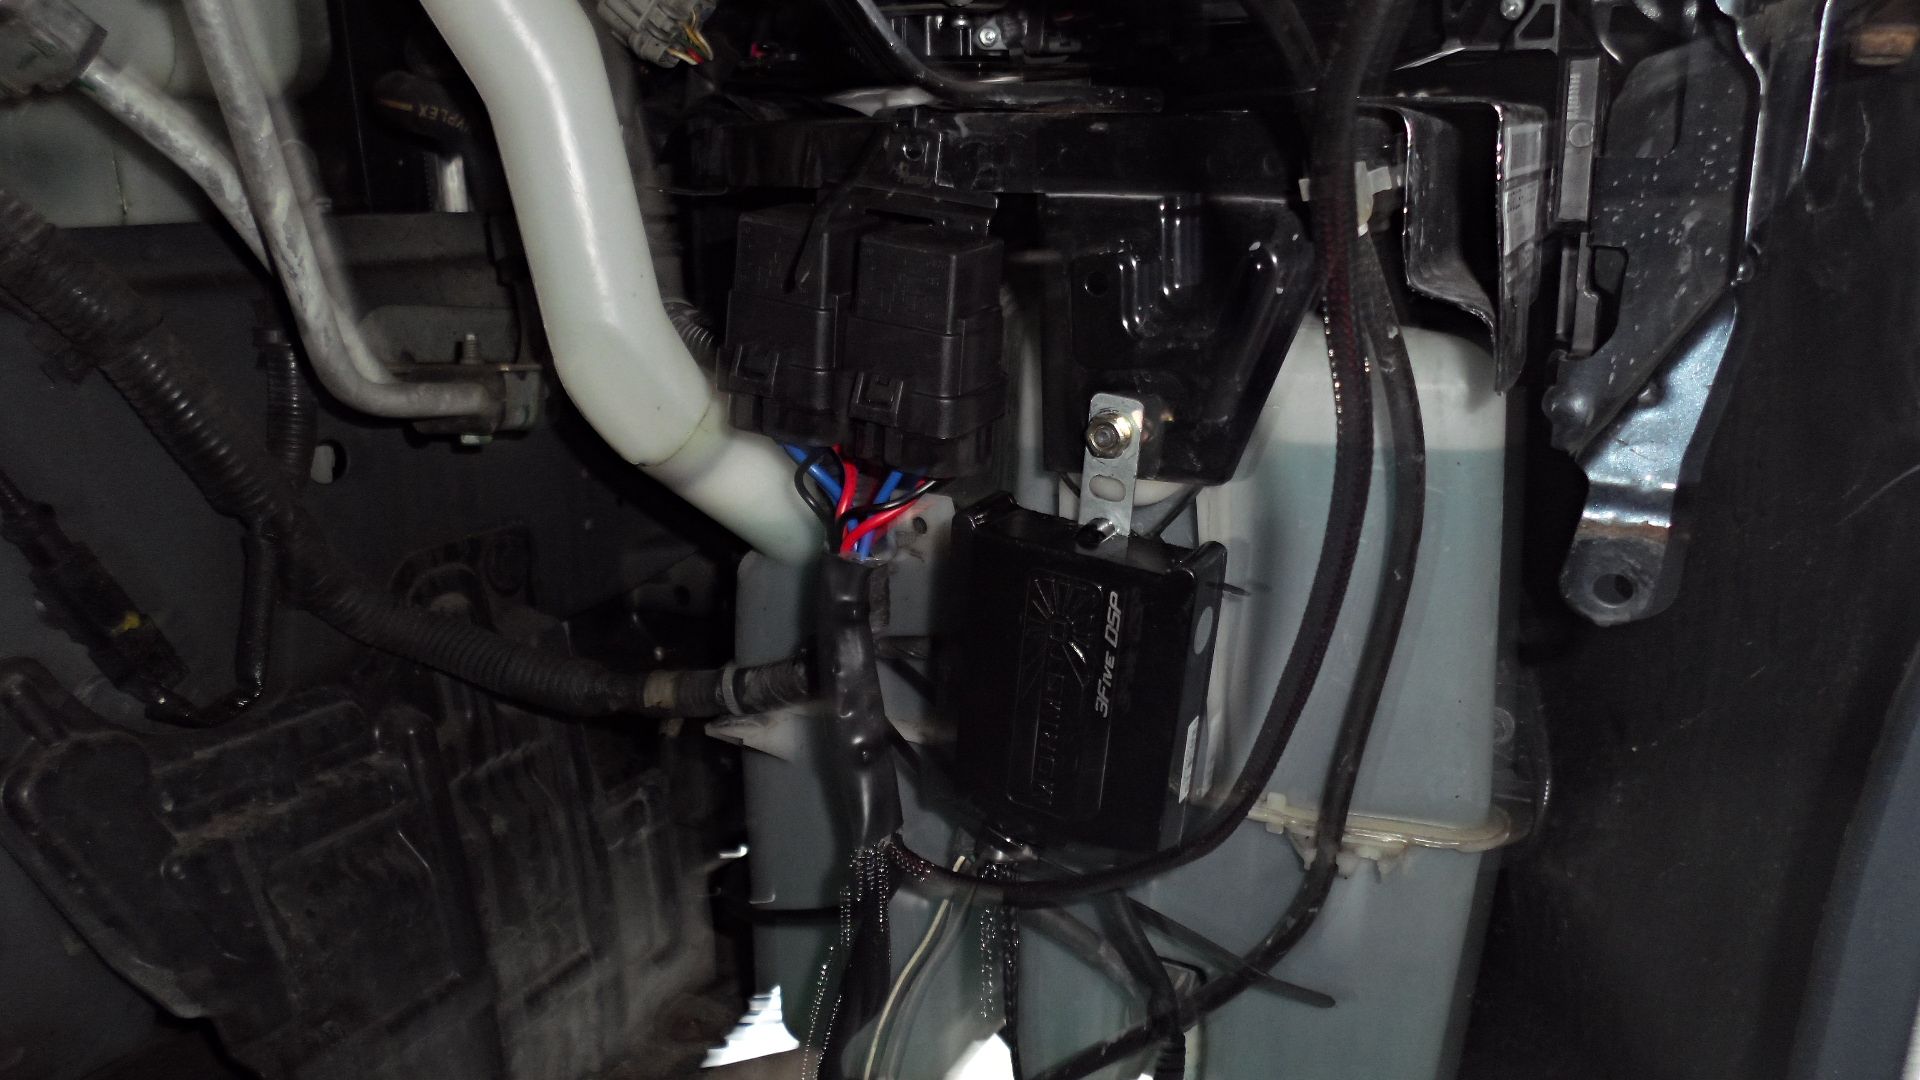
Mounting everything was pretty easy, especially on the passengers side. Access is easy on the drivers side, a little difficult on the passengers because of the washer fluid jug. If you have Sasquatch hands you may need to remove the washer fluid jug.
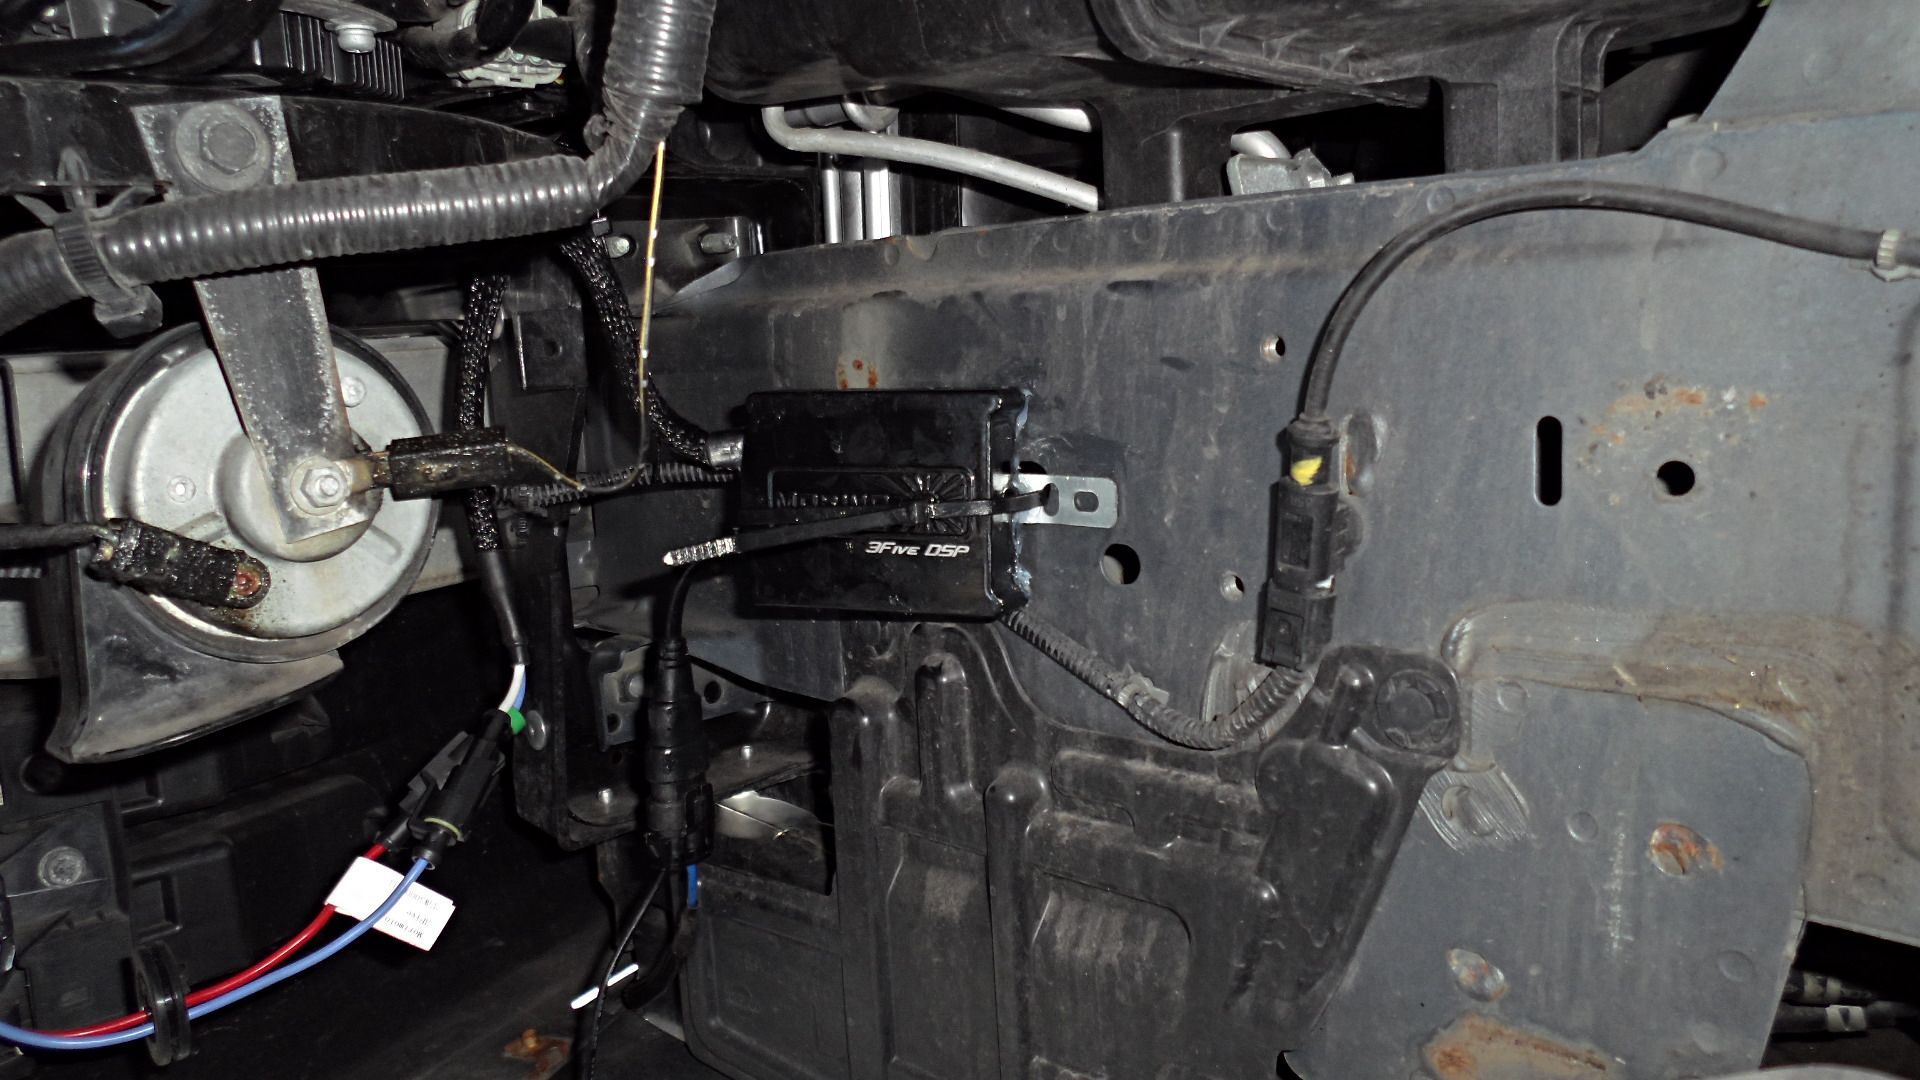
On the passengers side, the ballast can be mounted directly on the wiper fluid screw, and the included nut from morimoto fits right on. A perfect spot. Then I tie wrapped the relay right beside it on an existing hole. Wires on the relay need to point down to protect it. I connected the wire feed from the car that was going to the fog to the harness.
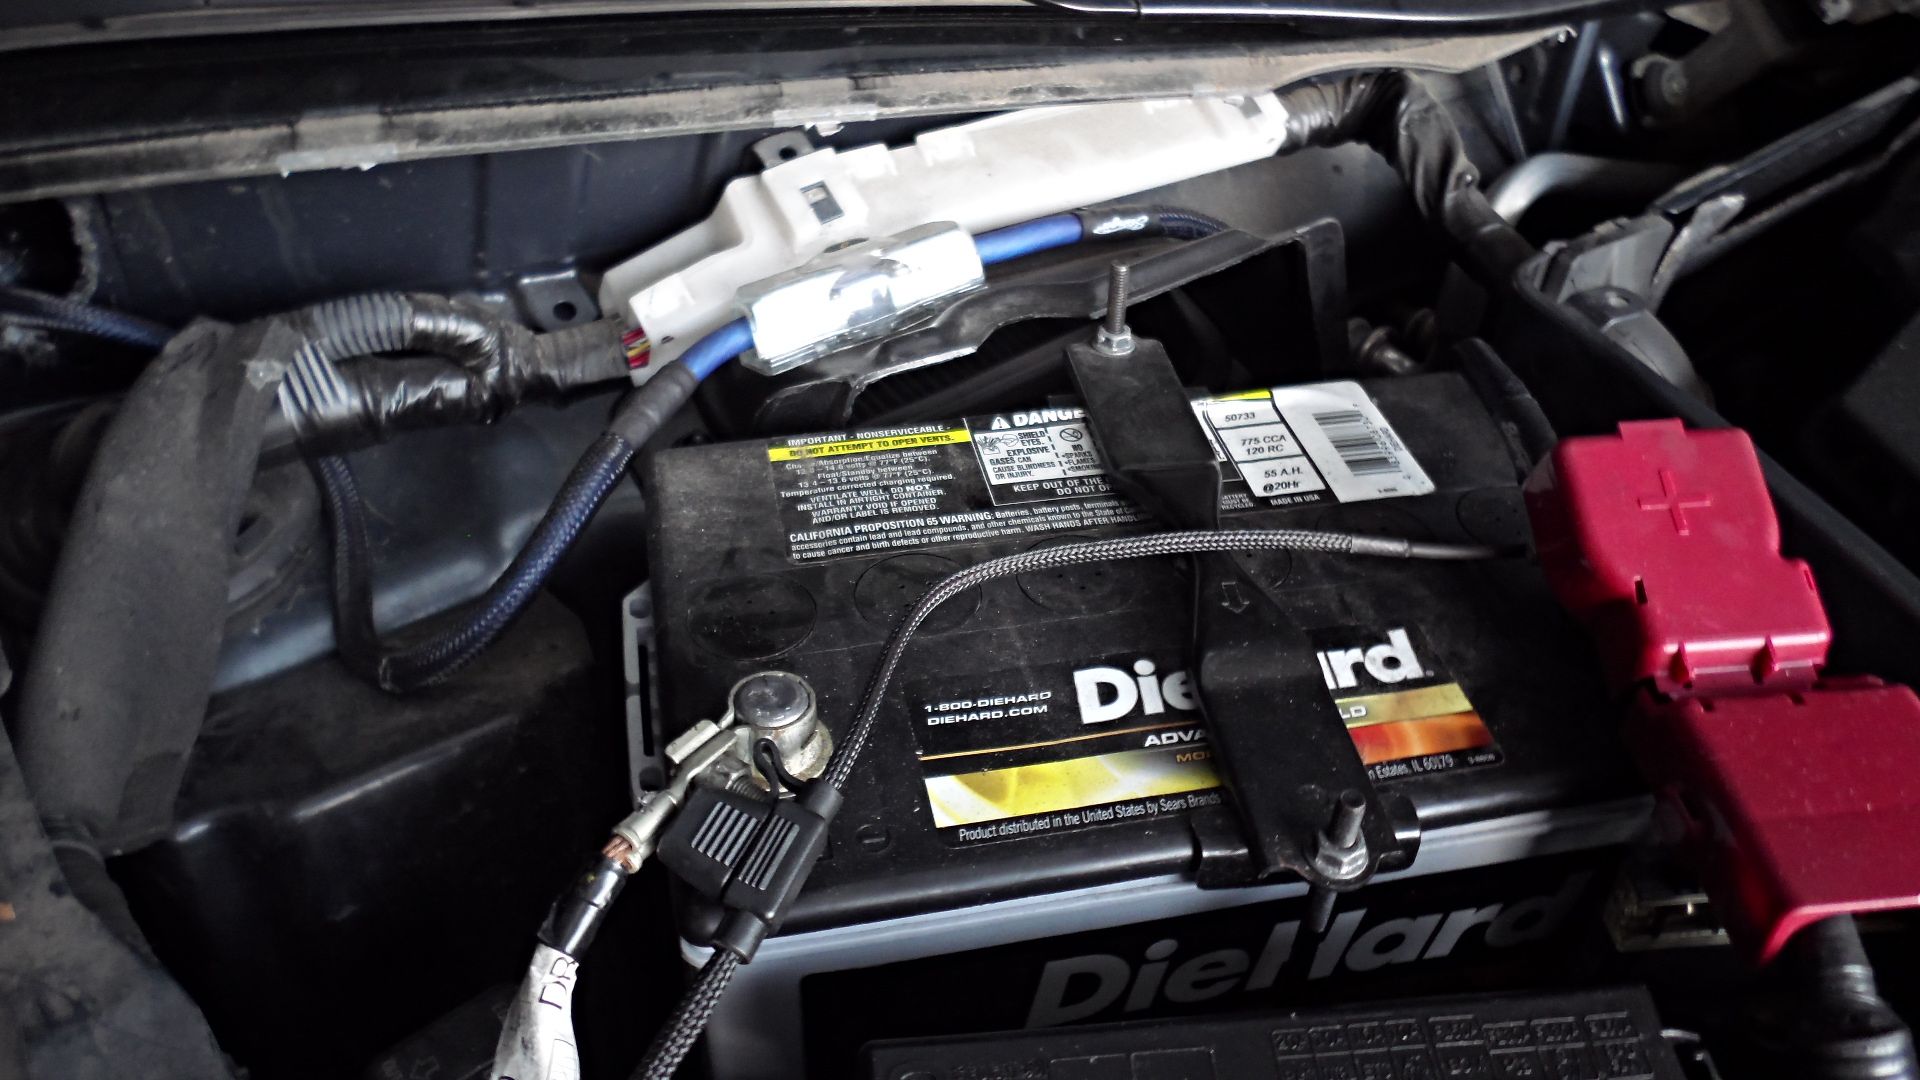
I ran the power and ground wire from the harness up to the top of the chassis right above the wheel well. To me there was no suitable place to ground down there unless you wanted to take a chance and drill something and use a self tapping screw. I don't like messing with the engine compartment and prefer a nut and bolt so I opted not to do that. There is a small lip beside the wheel well that I could see both sides that I was going to drill and use a nut and bolt, but my drill died at that point, so I used an existing grounding point which I really didn't want to do because I don't like piling ground wires on top of each other.
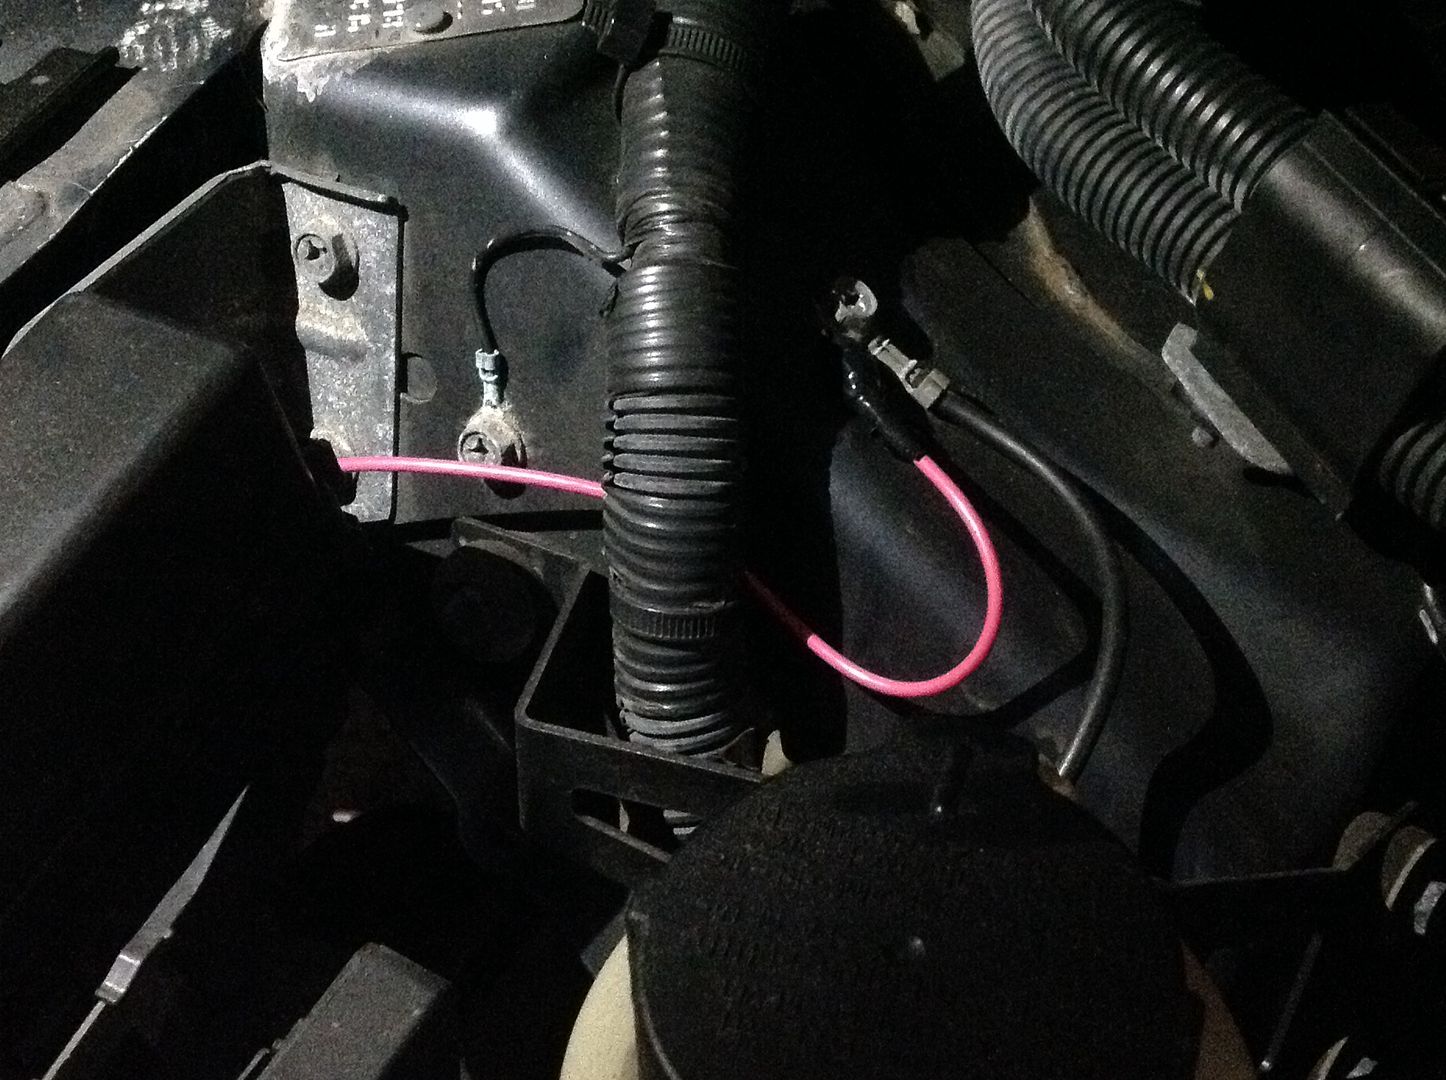
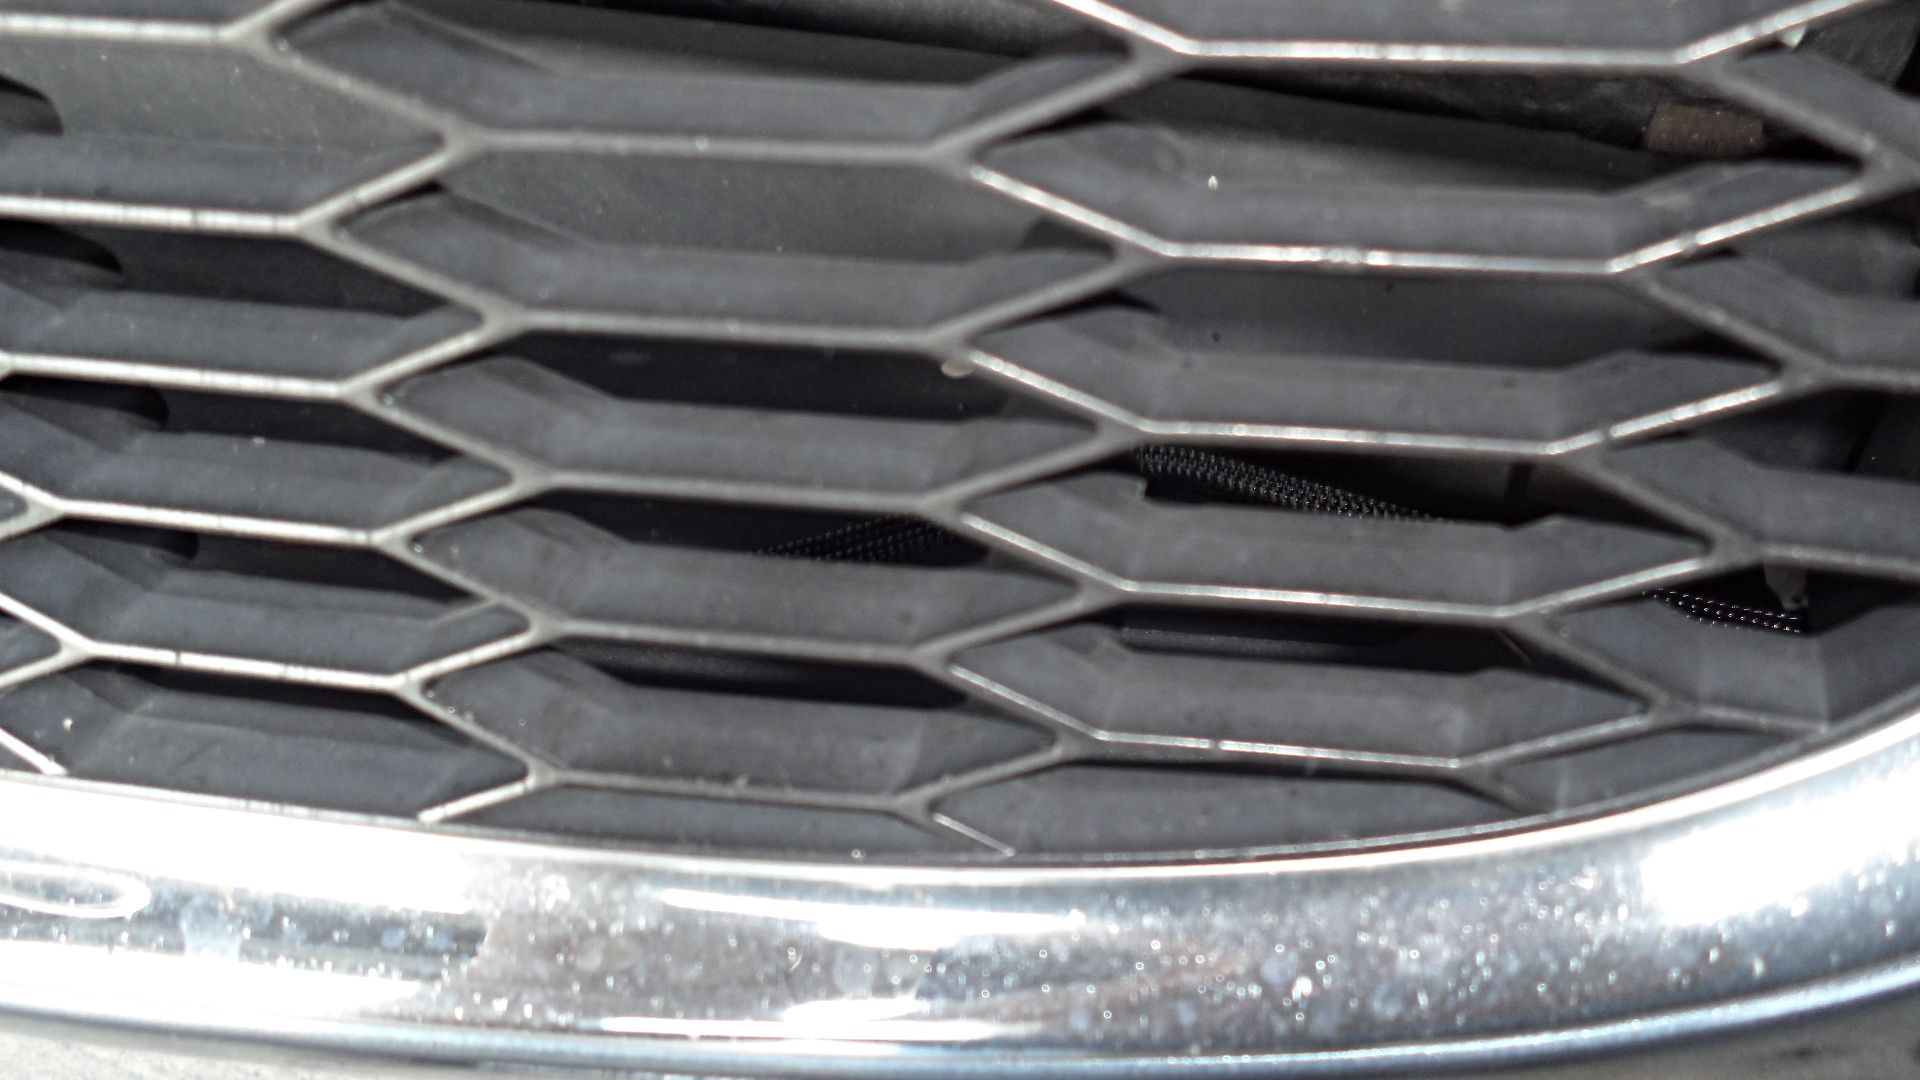
I ran the harness wire to the drivers side across the portion you remove to change the oil right behind the grill. Just remove all the screws on the front right below the bumper and string it along. (Look closely and you can see the wire harness behind the grill)
The drivers side, I tie wrapped the ballast to the inside of the well. Pretty simple. No great place to mount over here. Extended the ground the same way. Since I wasn't using the wire from the car, I wrapped it up in electric tape and tie wrapped it pointing down.
Be careful if you use the same grounding point that I used, I broke the head off the screw while tightening it and nearly screwed myself. Luckily there was a point right beside it that I could drill through into the wheel well instead of a cavity. I made a temporary grounding point with two 14 gauge wires, and sanded down the area.
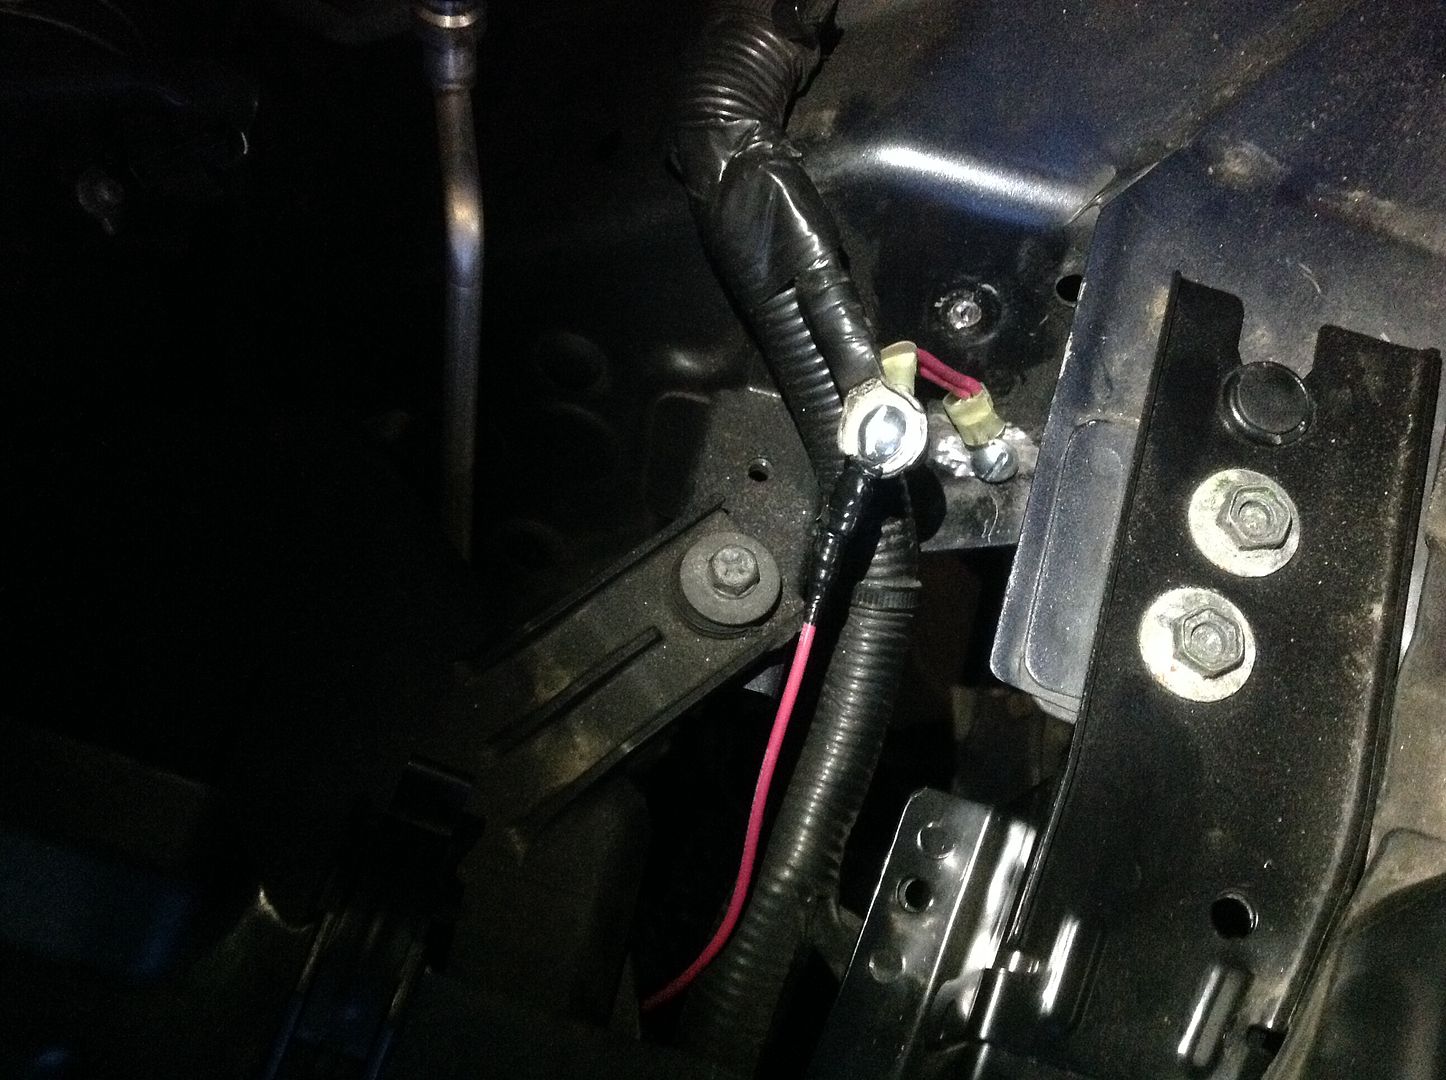
I'll make it a 10 gauge when I get a chance.
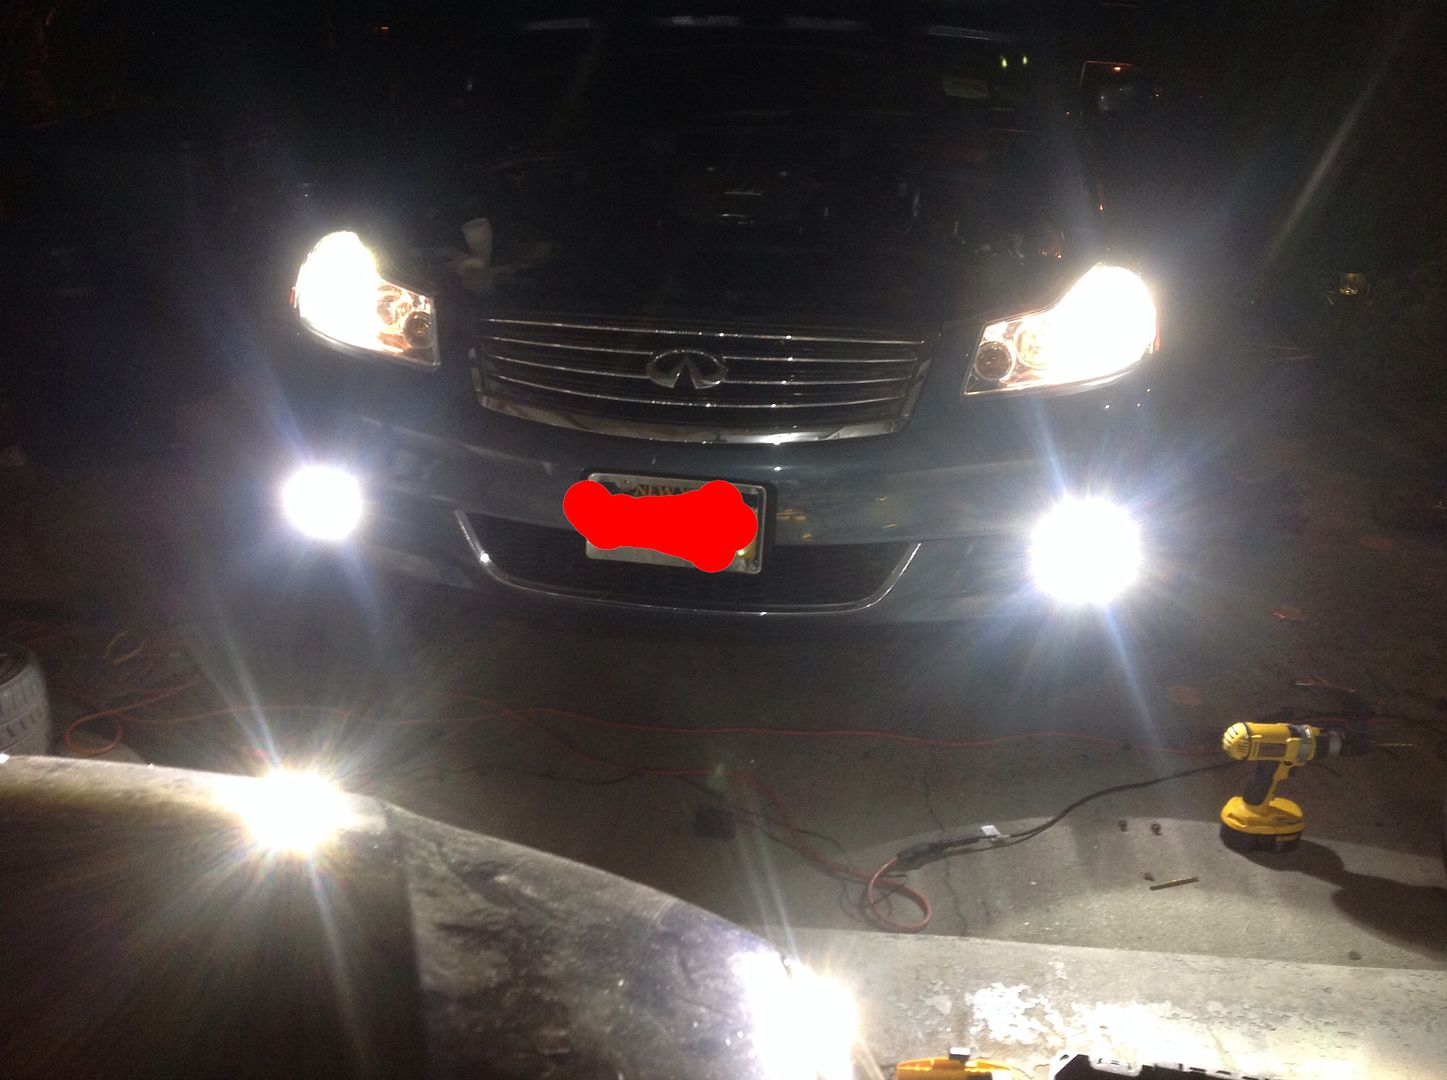
And this is the result.