**If anyone buys this setup, and has any questions or comments on the install, feel free to post in this thread and I'll try my best to answer them**
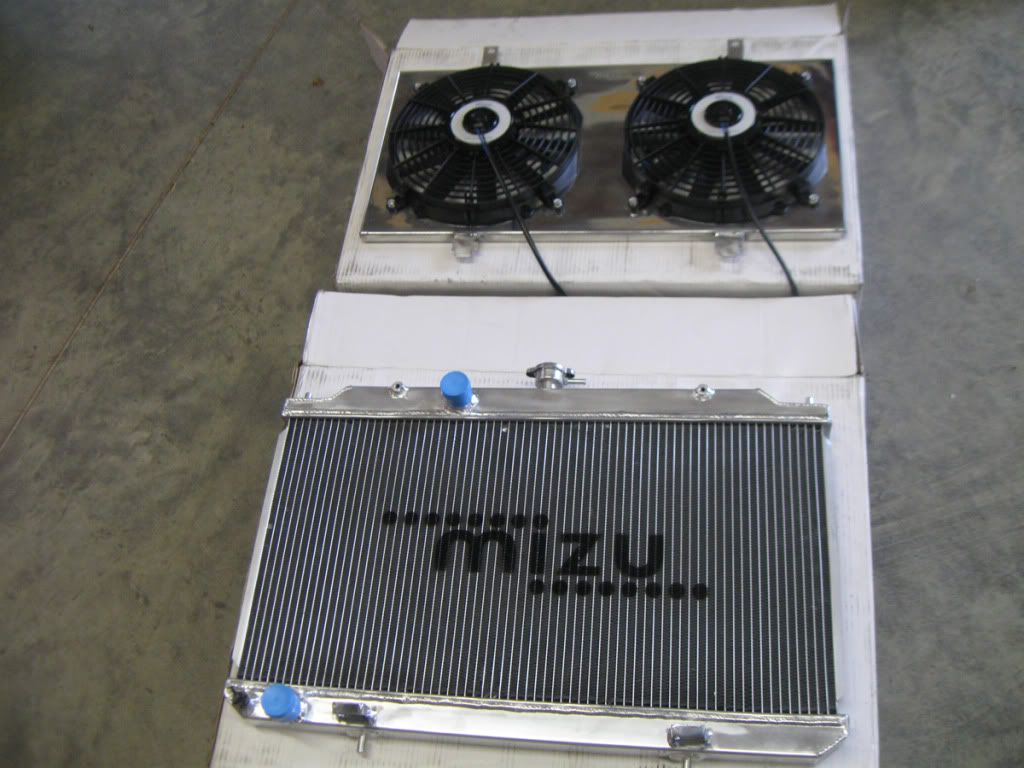
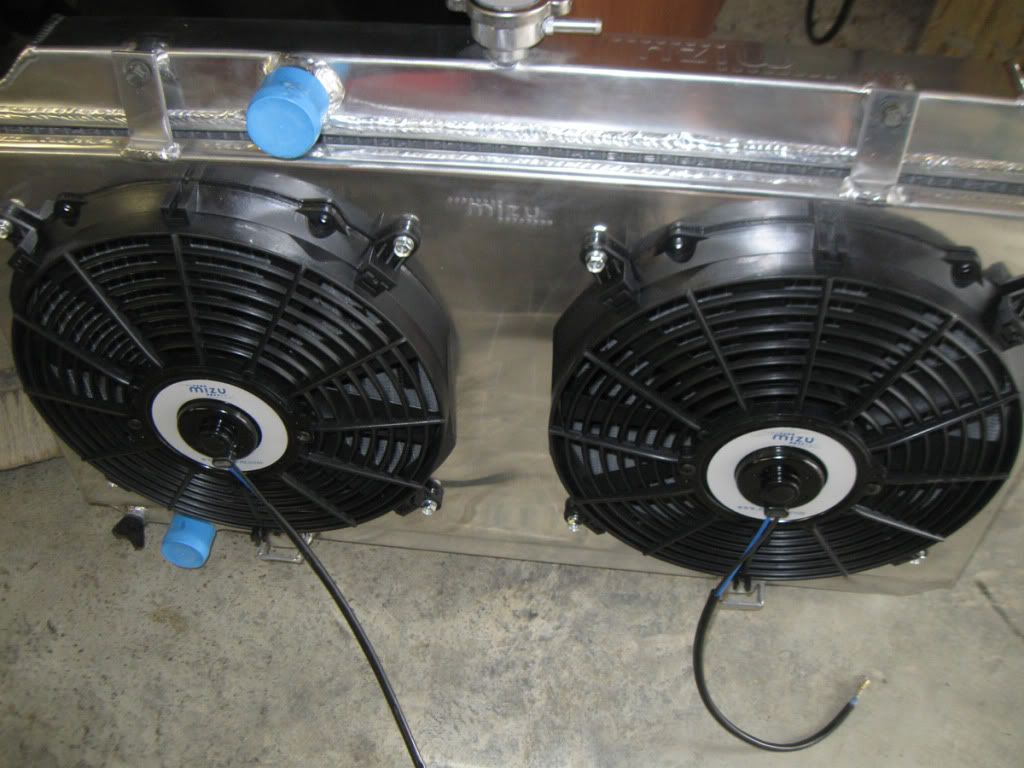
Pros: Very high quality, beautiful welds, good fitment, excellent performance, whole assembly has a quality feel to it. Very nice addition to any build, for both looks and performance.
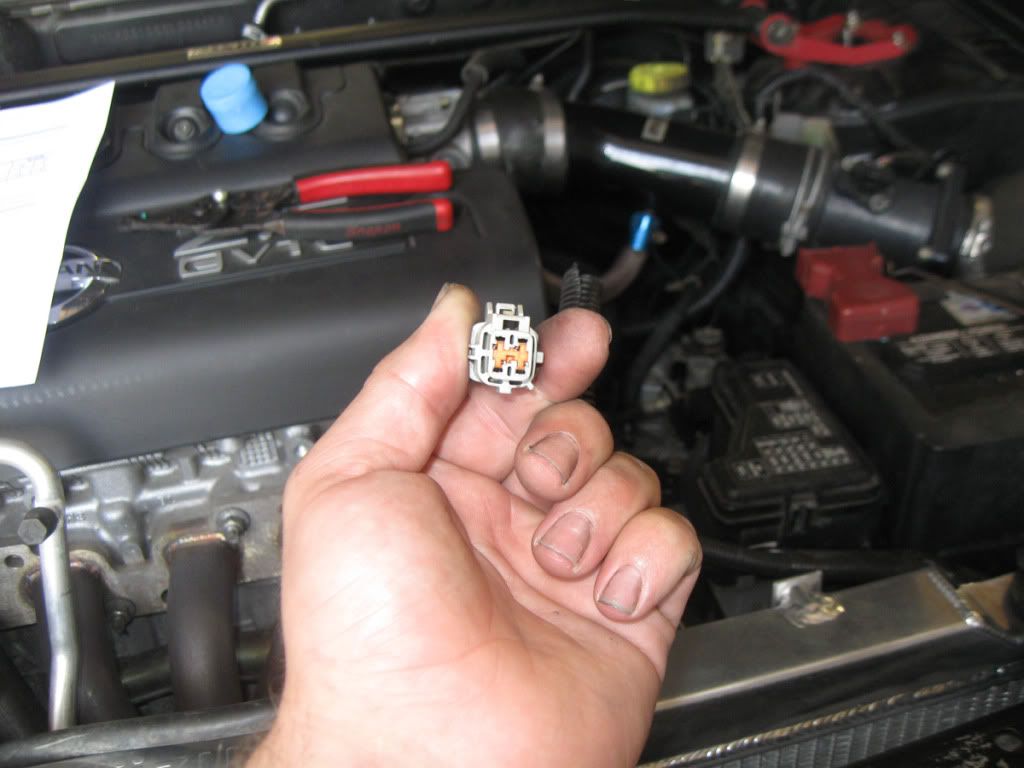
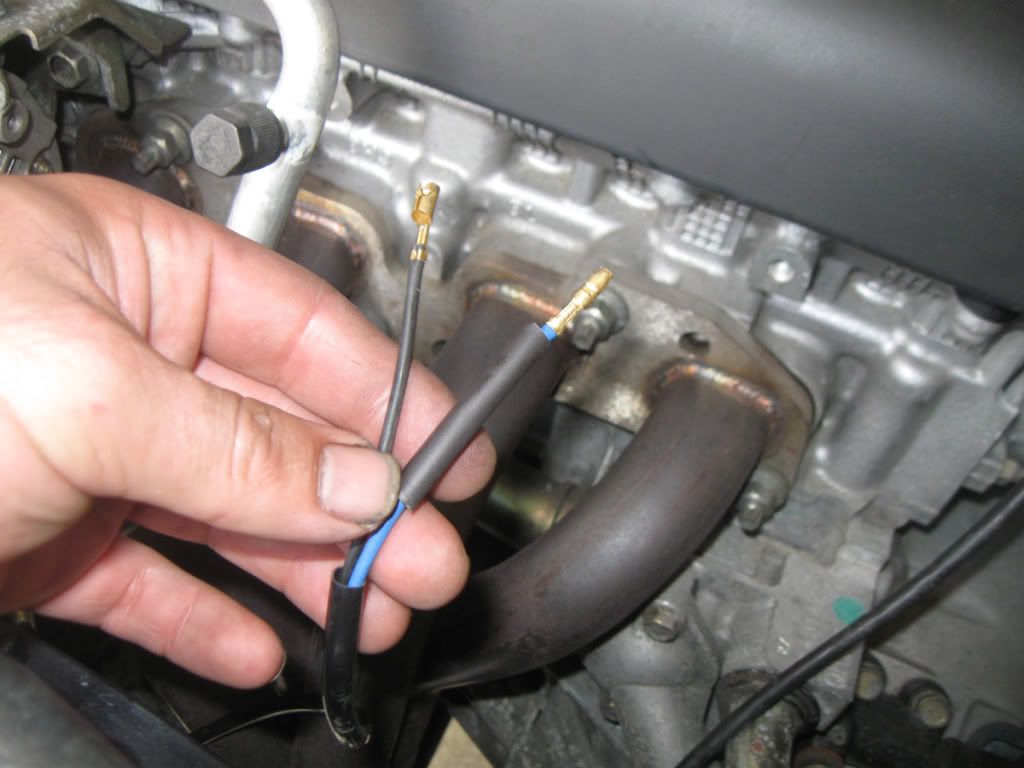
Cons: Very few, the only thing I didn't like was how tight the drain plug has to be, but it could have just been a grommet out of place. Needs 2 bolts that are not included with the kit, stock ones are not usable in that area (I touch on this on the install.) Wiring connections to the fans need to be modified, but that is addressed here, and is easy to figure out even without these instructions.
I have a wiring diagram on the way, and had one made up, but I completely reversed my colors, so look for an update this weekend.
I've noticed since the install, the fans come on less often, indicating that the radiator is more efficient than stock. I have my before printouts from the Consult II, just need to get my "after" readings for exact numbers. The radiator and fan assembly fit very well, and make no noise over bumps.
Install:
Tools Needed:
10mm Socket
Wire Cutters
Screwdriver or Clip Remover
Hose Clamp Pliers
Funnel
2 10x6Mx20 bolts, a little shorter is fine.
1 gallon of coolant, buy concentrate, no need to pay for water.
1 Bucket or drain pan with capacity to catch your entire cooling system contents.
Removing your stock radiator and fan assembly:
1. Make sure your car is cool, and slowly remove your factory radiator cap.
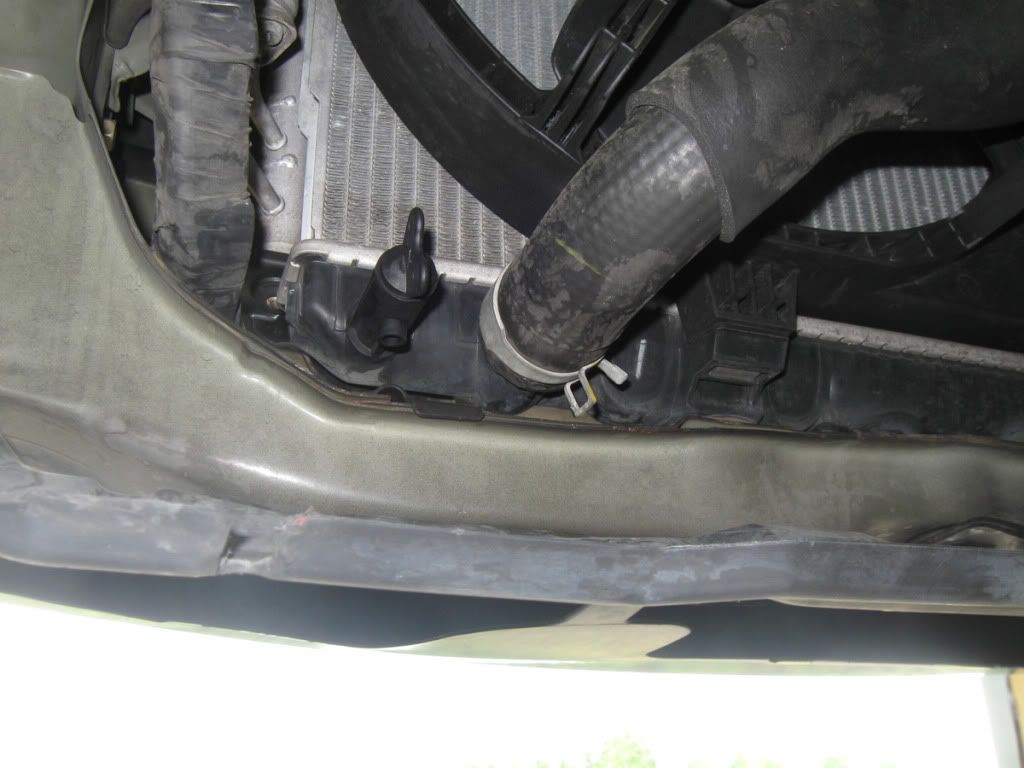
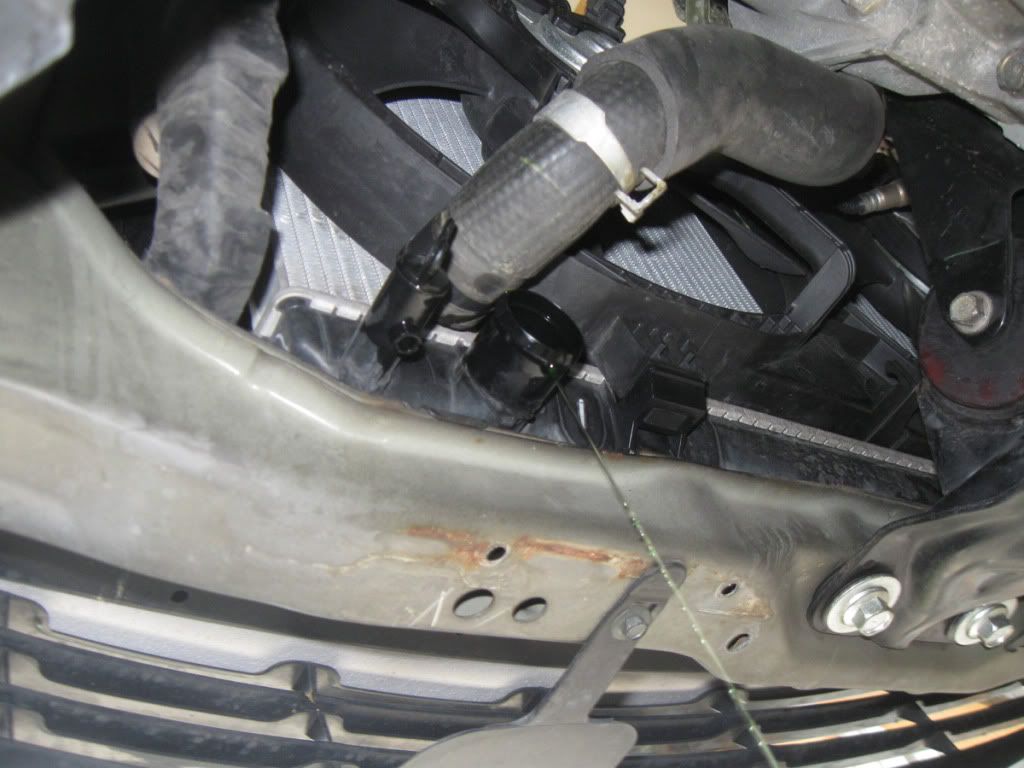
2. Drain coolant using the drain at the bottom drivers side of the radiator. (Remove the plastic trim piece under it, it will save some coolant cleanup)
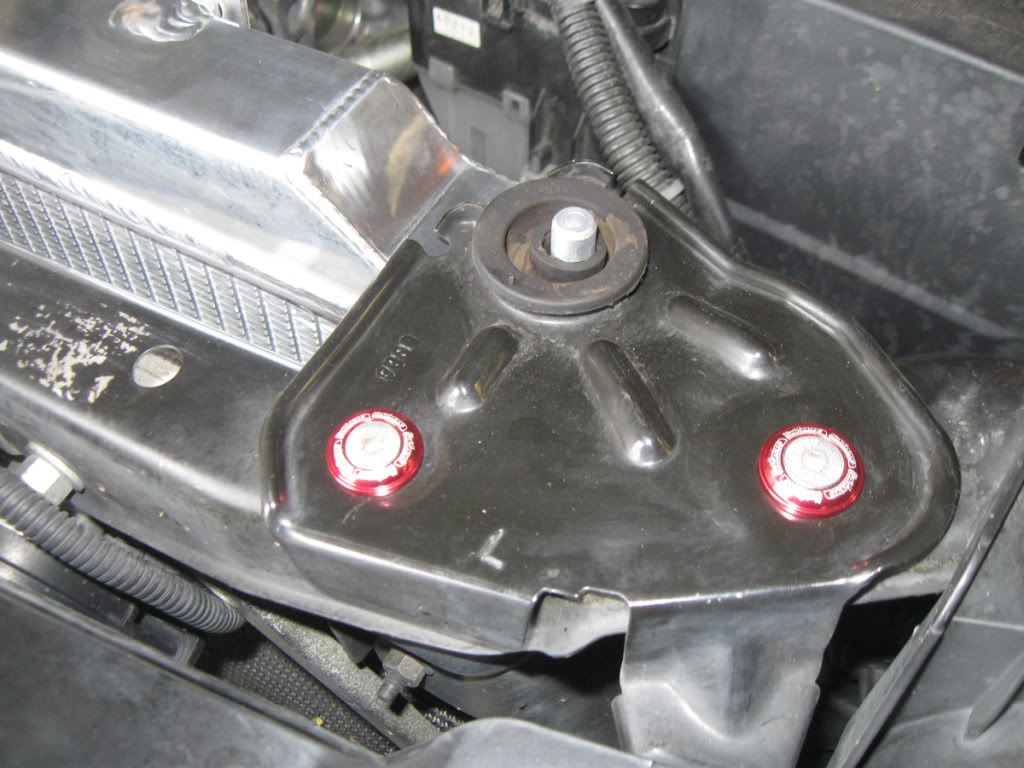
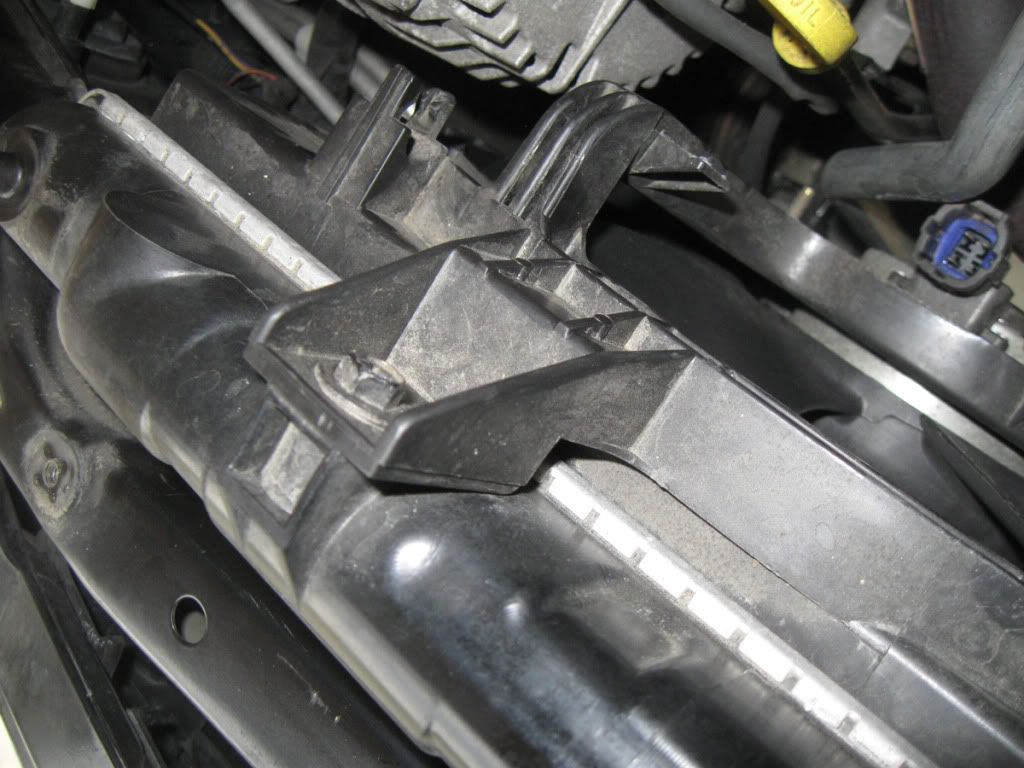
3. While coolant is draining, remove the 2 radiator mounting brackets at the top. Be careful, the coolant overflow bottle is attached to the passenger side radiator mount, un-clip the overflow hose.
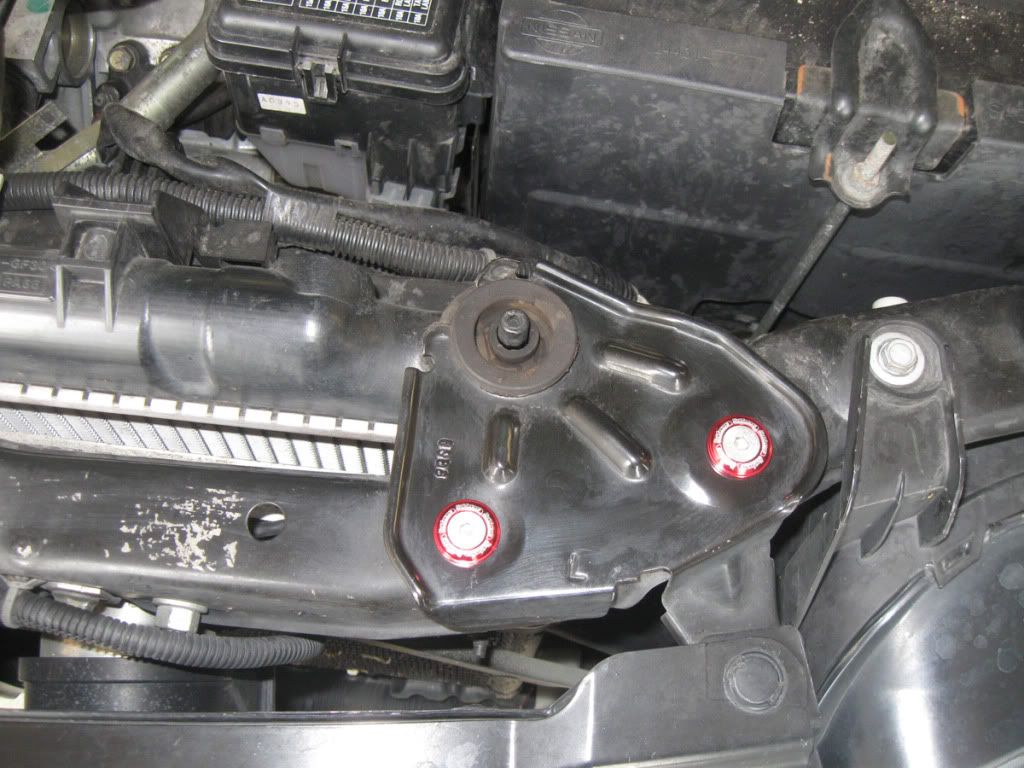
4. Now is a good time to check out your upper radiator bushings for cracks and wear. If you see that the bushings are worn, you should go ahead and replace them, they're a few bucks from your Nissan Dealer. You can continue with your install even if the bushings are bad, they can be replaced later. If you're reading this ahead of time, order the lower radiator bushings as well, they just pop in.
5. Remove your coolant overflow bottle (1 10mm bolt) and tilt it up to fully drain it (this will prevent a mess later, and also ensures your system will be filled with new coolant)

6. Remove over flow hose from where it connects to the radiator fill neck (next to where the cap goes) and set it aside.
7. Using hose clamp pliers, remove the upper radiator hose clamp, then remove the upper radiator hose and tuck it back out of the way. Again, this is a good time to check your radiator hose for cracks and dry rotting. If you see anything suspicious, replace the hose, it's only going to cause problems later. It's also a good idea to replace your clamps.
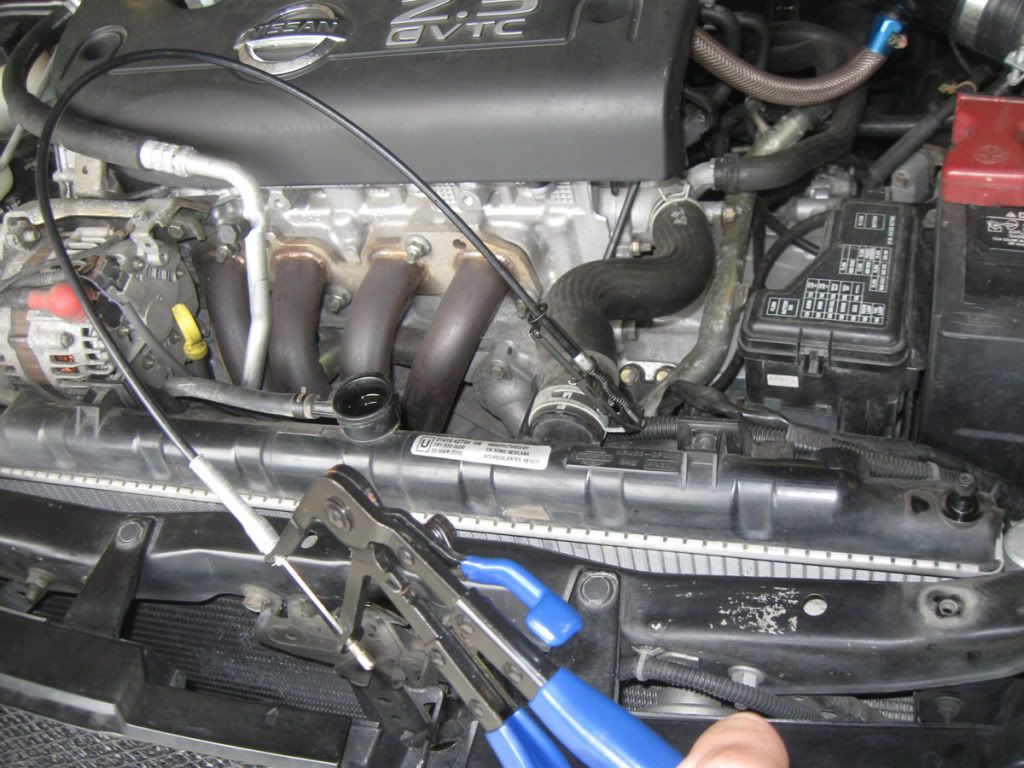
8. Repeat process for lower radiator hose. There may still be a little bit of coolant in the bottom of the radiator, even with the drain open, so be careful when pulling the lower hose.
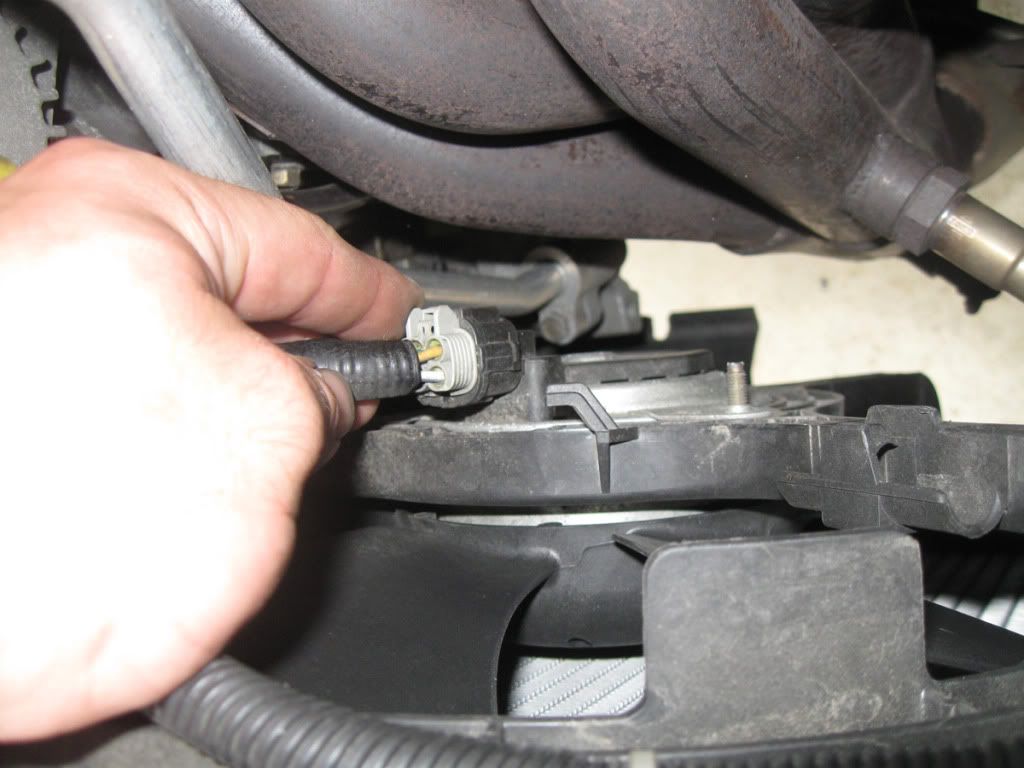
9. Remove all electrical connectors (2) from your fan assembly. Also make sure you remove their retaining clips which hold the fan power wires to the fan itself, there will be a few, make sure you get them all or your fans will not come out.
10. Remove the 2 10mm bolts holding your fan assembly to your radiator. (Set these aside, they will NOT be re-used)
Your fan and radiator should now be completely free from your car.
11. Carefully remove the fan assembly, don't try to remove the radiator and fan as one piece, you risk damaging your air conditioning system. (Tip: Slightly lift the passenger side of the fan higher than the drivers side, that's the way it needs to come out, the underhood fuse box is in the way on the drivers side). Make sure your lower radiator bushings are still in the car where the bottom of the radiator was, not stuck to the bottom of your old radiator.
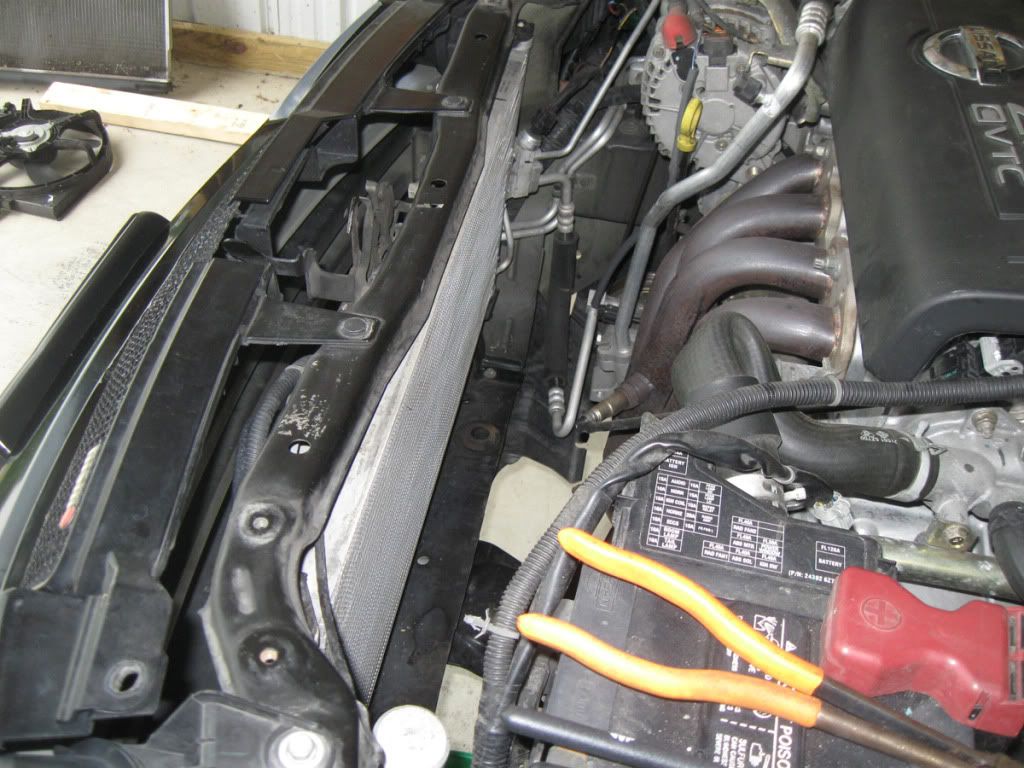
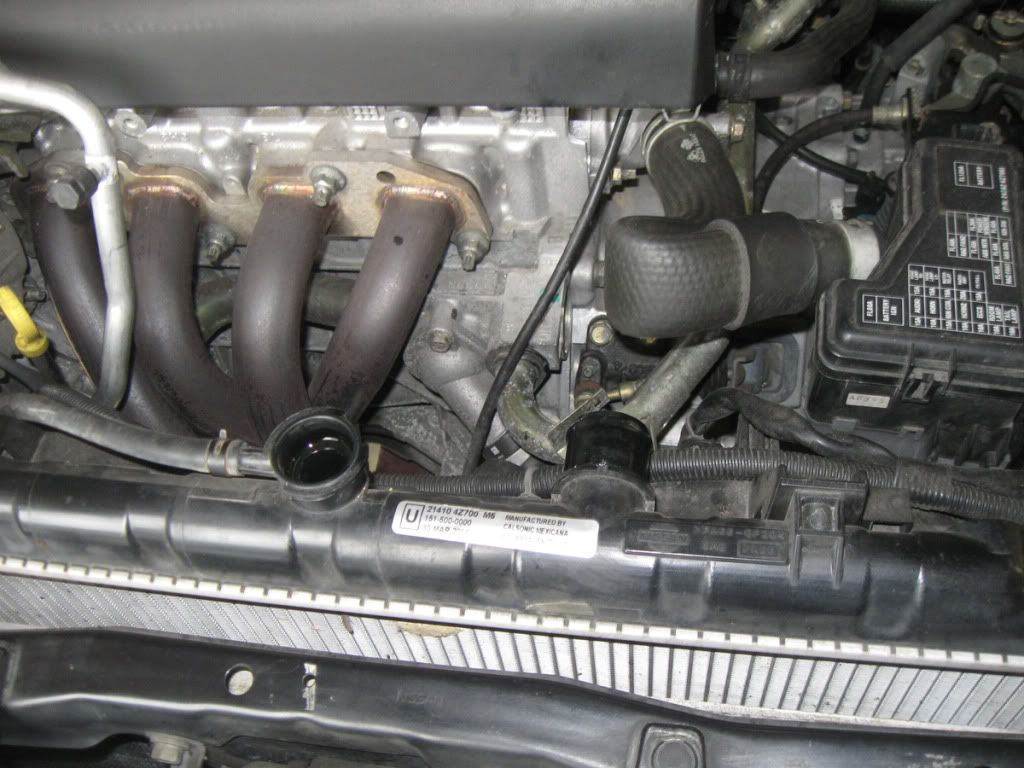
12. Remove your radiator, this is how it should look: