
Difficulty: **
Time: 2-4 hours
Cost: check with importers
Materials:
- JDM Power Folding Mirrors- wire splices
Tools:
- Phillips head screwdriver
- Flathead screwdriver
- Socket wrenches
- Wire cutters
Procedure:
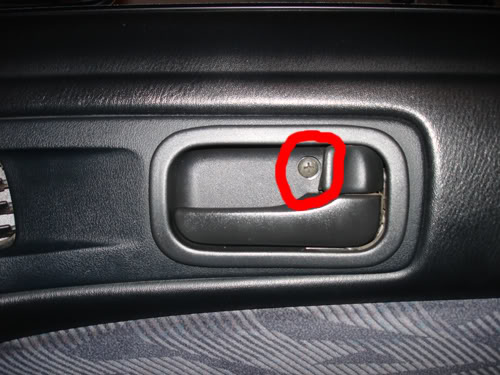
Part 01: Remove the screw that is circled below:
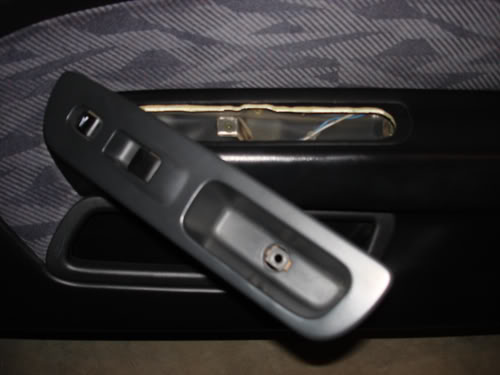
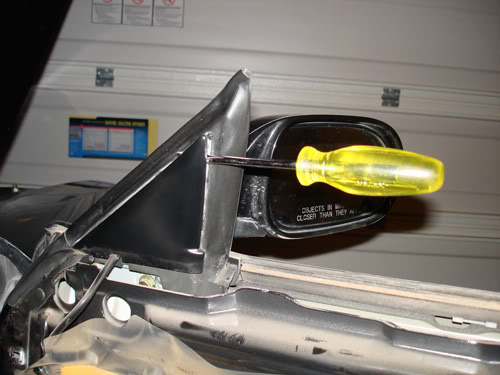
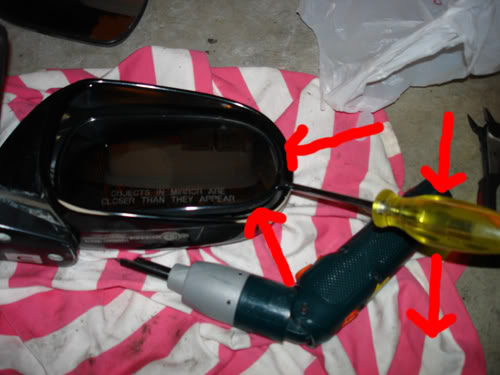
Part 02: Now just use a flathead screwdriver and pry it open.
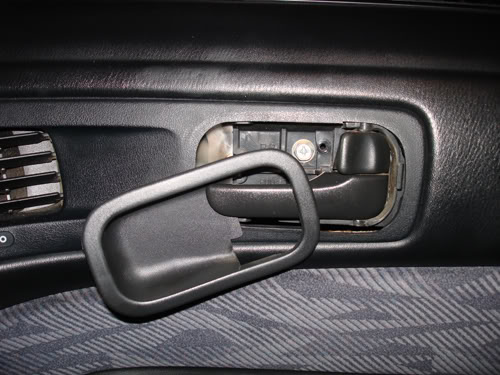
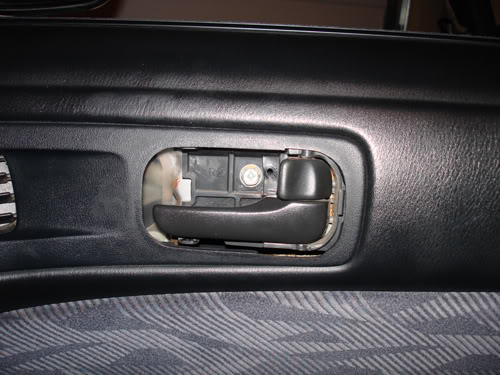
Part 03: This is what it looks like once you have removed it:
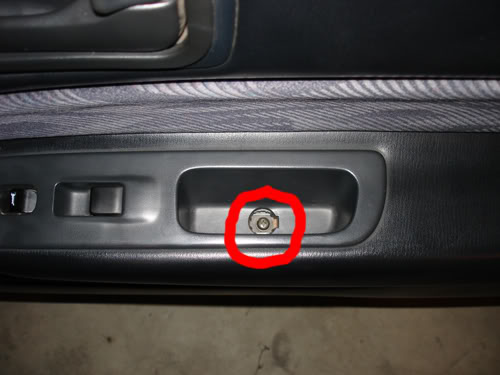
Part 04: Remove the screw that is circled below:
Part 05: Now just pull it out.
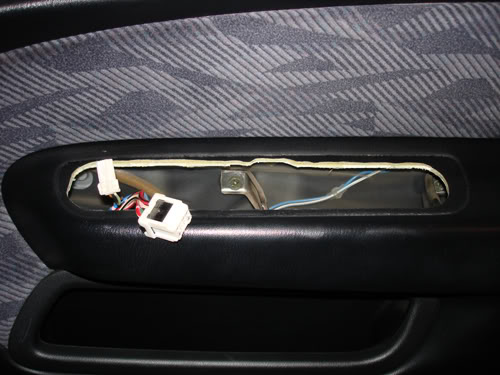
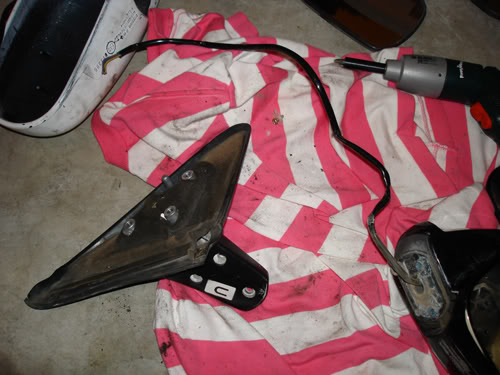
Part 06: This is what it looks like once you have removed it:
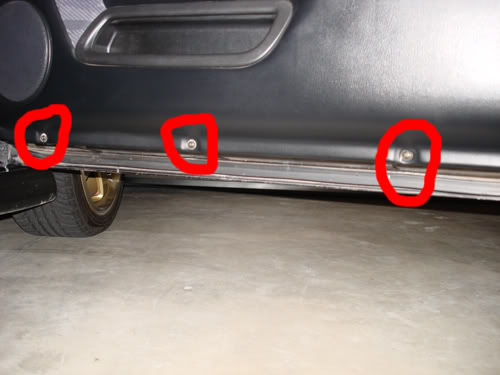
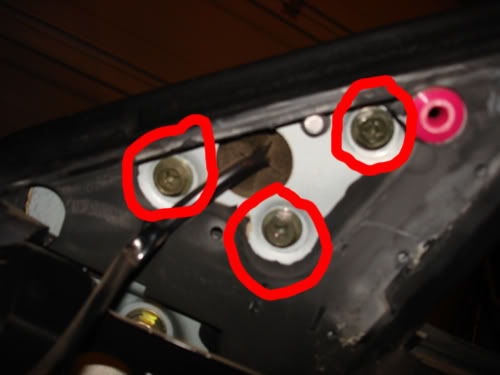
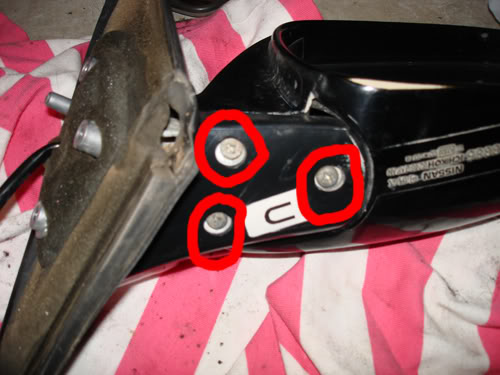
Part 07: Remove the following 3 screws that are circled below:
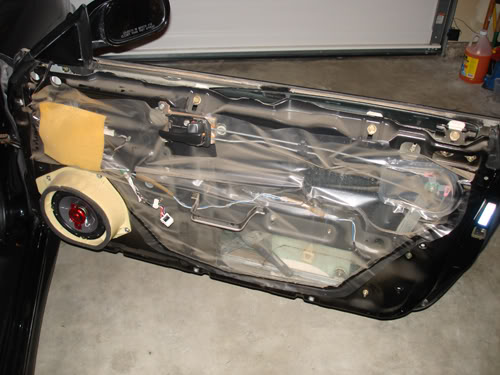
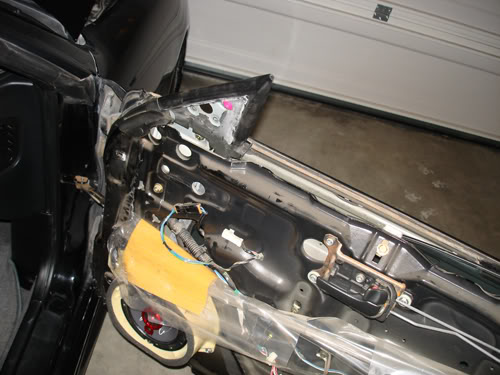
Part 08: Now pull the door panel off.
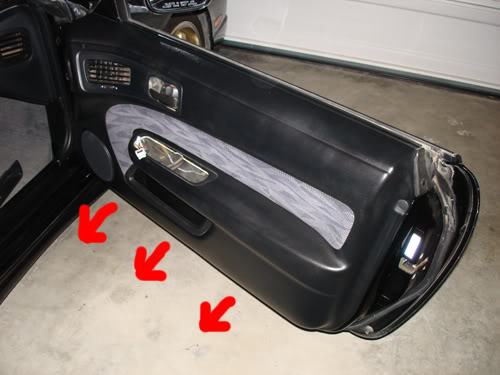
Part 09: This is what it looks like once you have removed it:
Part 10: Now just use a flathead screwdriver and pry it open.
Part 11: Remove the following 3 screws that are circled below:
Part 12: Now disconnect the following:
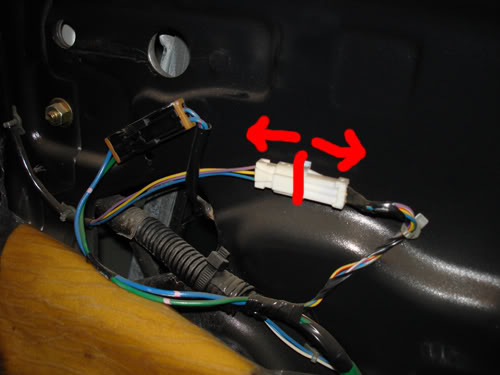
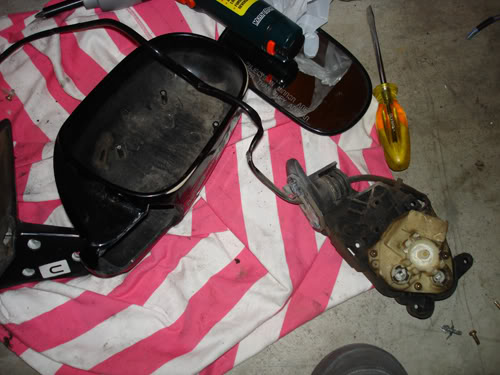
Part 13: This is what it looks like once you have removed it:
Part 14: This is what it looks like once you have removed it:
Part 15: Remove the following 3 screws that are circled below:
Part 16: Now just use a flathead screwdriver and pry it open.
Part 17: Remove the screw that is circled below:
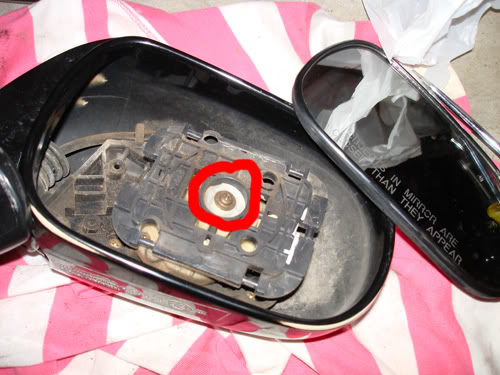
Part 18: Now remove the following 4 screws that are circled below:
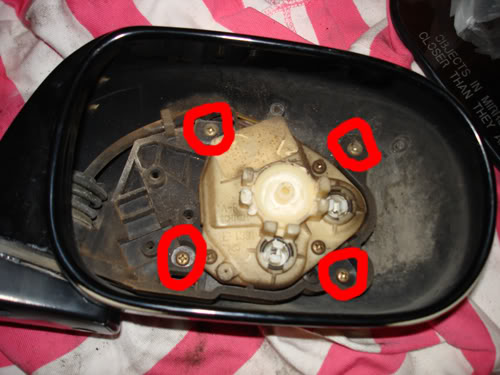
Part 19: Remove the screw that is circled below:
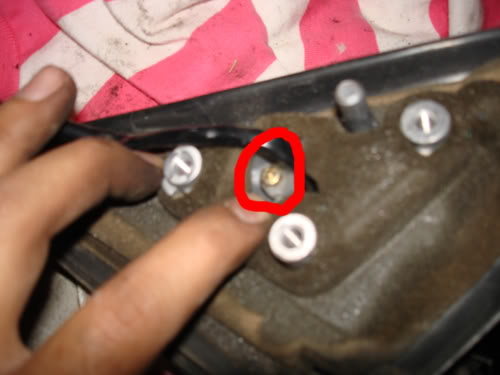
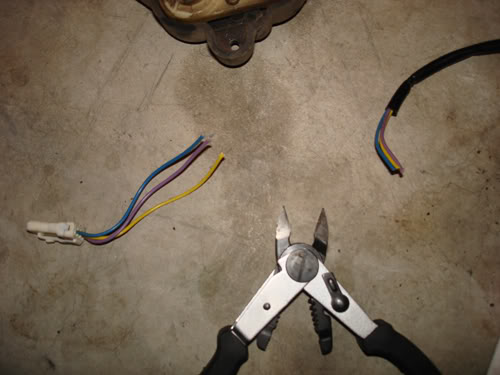
Part 20: Now take a wire cutter and cut the following 3 wires:
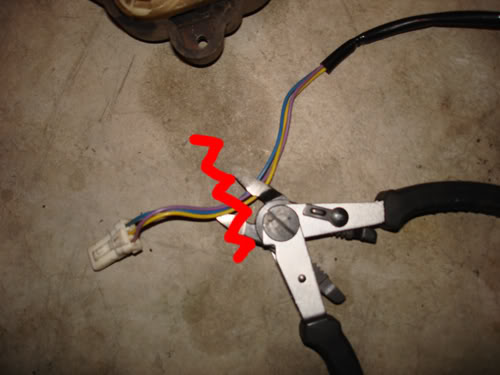
Part 21: This is what it looks like once you have cut it:
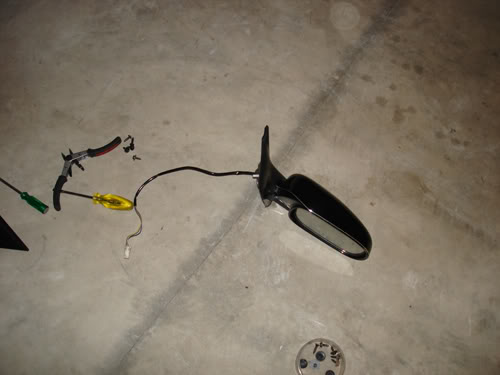
Part 22: Now just pull on the wire until it comes out.
Part 23: This is what it looks like once you have removed it:
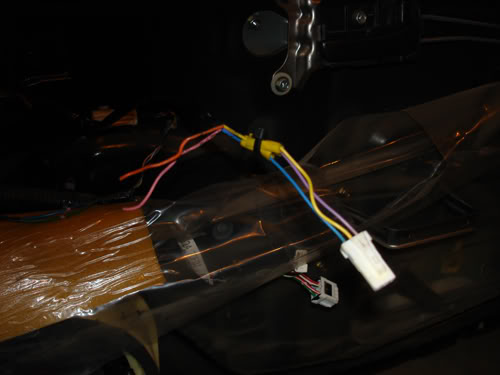
Part 24: Now just connect the following wires:
Part 25: This is what it looks like when you have connected the wires:
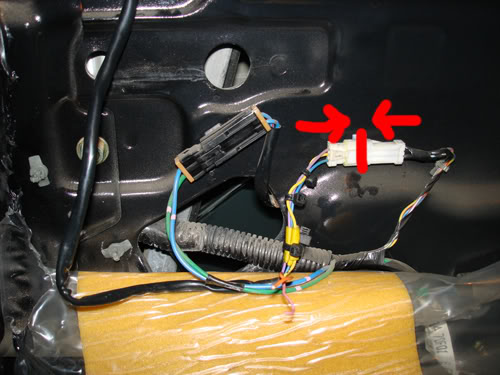
Part 26: Now connect the following:
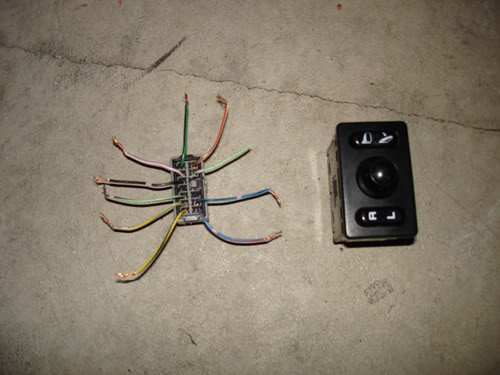
Part 27: The following is the JDM switch and adapter:
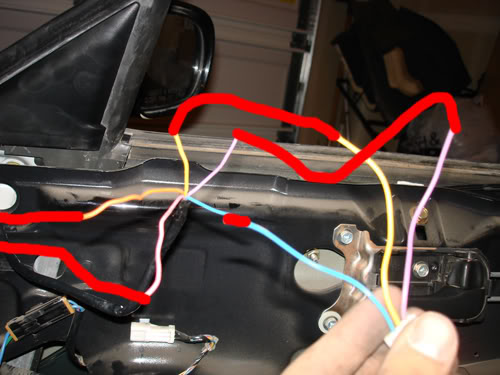
Part 28, Step 01: Connect the wires from the mirrors to this using the wiring diagram below:
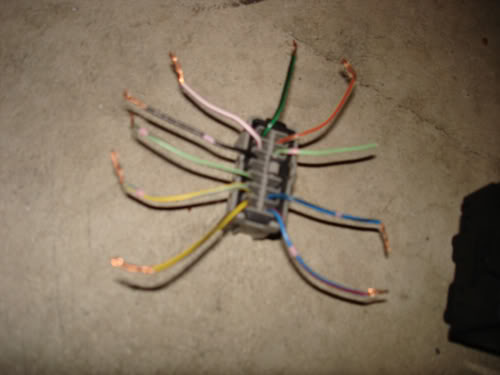
Part 28, Step 02: The following is the wiring diagram:
Purple/White to Purple/White
Blue/White to Blue/Black
Black to Black
Blue/Red to Blue/Red
Yellow/Black to Yellow/Red
Orange to Orange/Silver
Yellow/Green to Yellow/Green
Part 29: Just for reference:
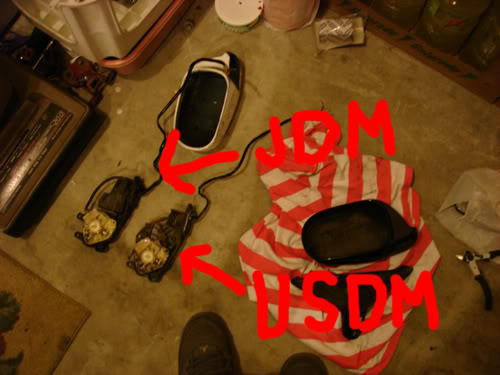
Part 30: Just for reference:

by asmar