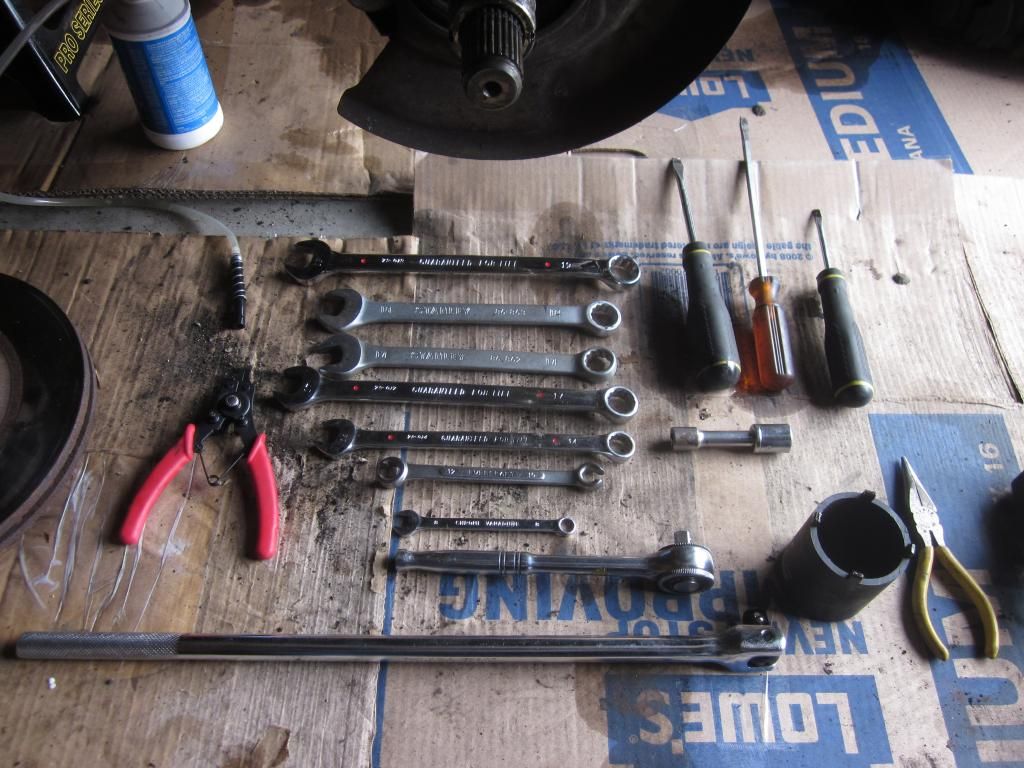
What you'll need:
14mm and 19mm wrenches
14mm socket
6mm Hex Tool
At least an 18” Breaker Bar
Strong thick screwdriver
Your favorite penetrating oil (I used PB Blaster)
Flat head Screwdriver
Lock Ring Pliers
Hammer
Small pry bar
High Temp Wheel Bearing Grease
Lots of paper towels/shop rags
Clean work space!!
Depending on where you live at, you may need to use heat to help loosen the bolts. If you live in a salty bowl during the winter, I would highly recommend some heat so you don’t risk breaking the nut.
Step 1) Before you do anything, the day before you do anything, give all the bolts a good shot of penetrating oil. Do the two 14mm bolts, two 19mm bolts, and the rotor while you are at it. This will make your life much easier when it comes time to get to work.
Step 2) Jack up the front of your truck and get it on jack stands. If you don’t have any, head to your local Walmart and grab those 3 ton stands for $30 bucks. It is a cheap investment than having a truck come down on top of you while you are under it.
Step 3) Take the wheels off and set them aside. Do not take off the calipers at this time!
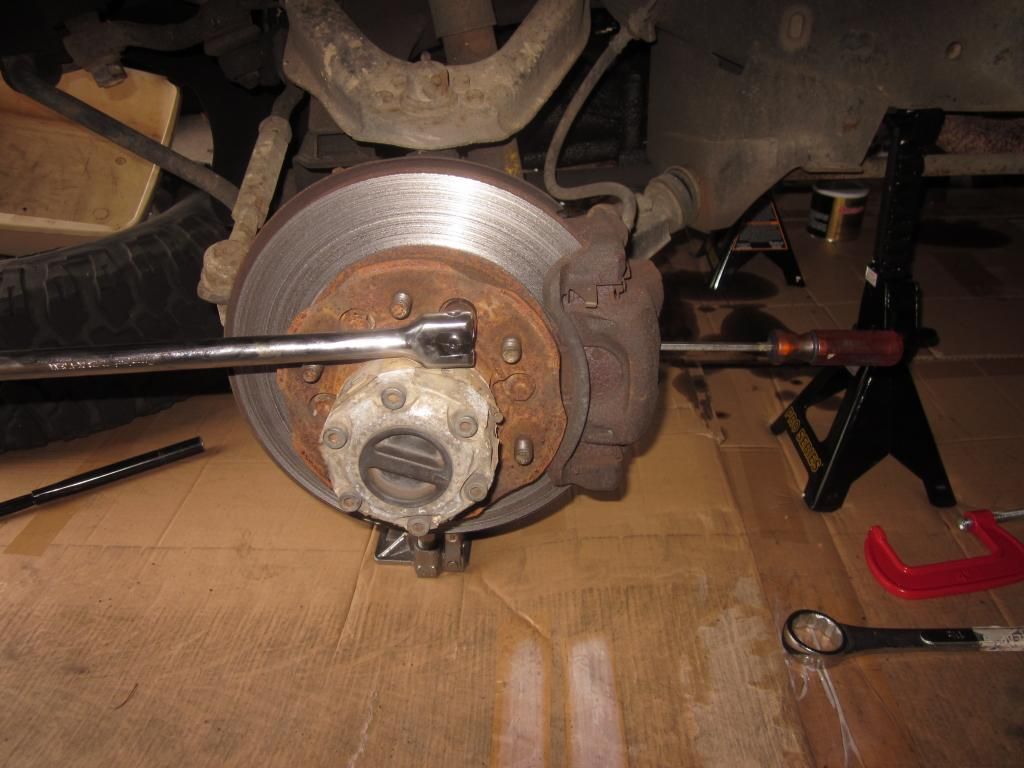
Step 4) This can be approached in several ways. I used a big a** screw driver so the rotor doesn’t turn while taking the loosening the bolts. Pretty easy if you are doing this solo. You can also start the truck and have a buddy press the brake pedal while you are breaking the bolts loose. Once they are loose, you can proceed to Step 5!
Step 5) Remove the 14mm and 19mm bolts and hang the caliper up or leave it setting on the upper control arm. Be careful not to damage the brake hose, unless again, you are planning on replacing the hoses.
Take a break at this point and get a clean work area set aside and switch gloves/wash hands. You do not want to risk any dirt contamination in the hub.
The next few steps, you will want to put things in order to make assembly easier when it comes time to put it all back together. This is also a good time to do your ball joints if you have them.
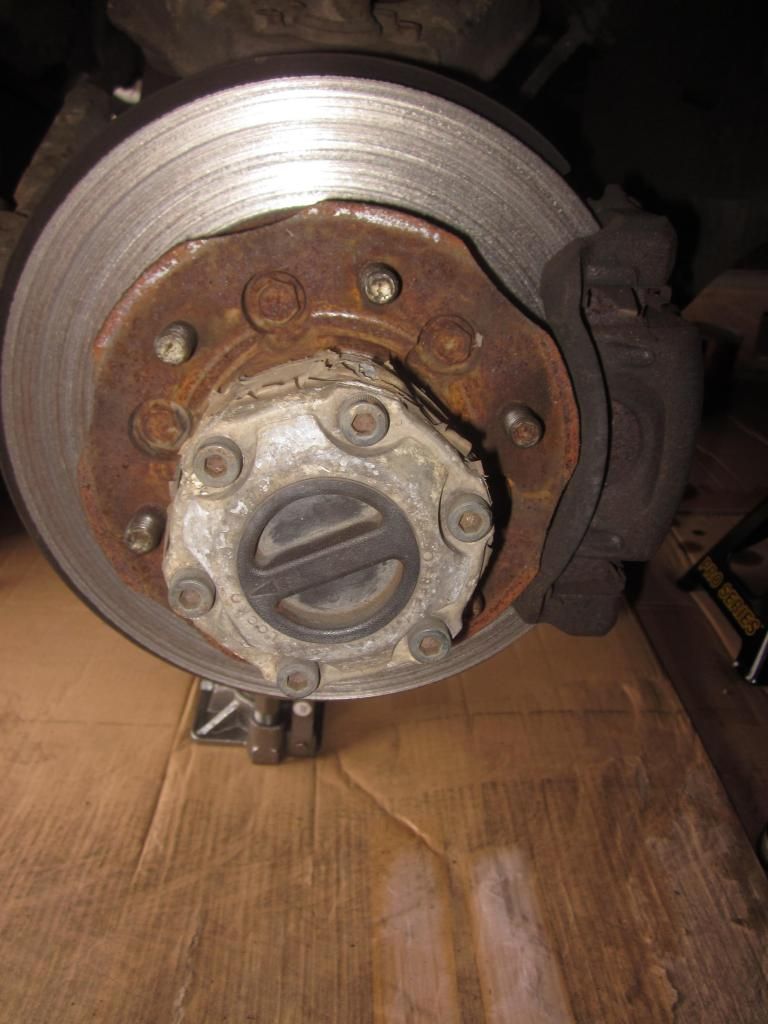
Step 6) Remove the 5 hub bolts using the 6mm hex key. Set it aside away from where you will be and not under the truck, where dirt will rain down on it.
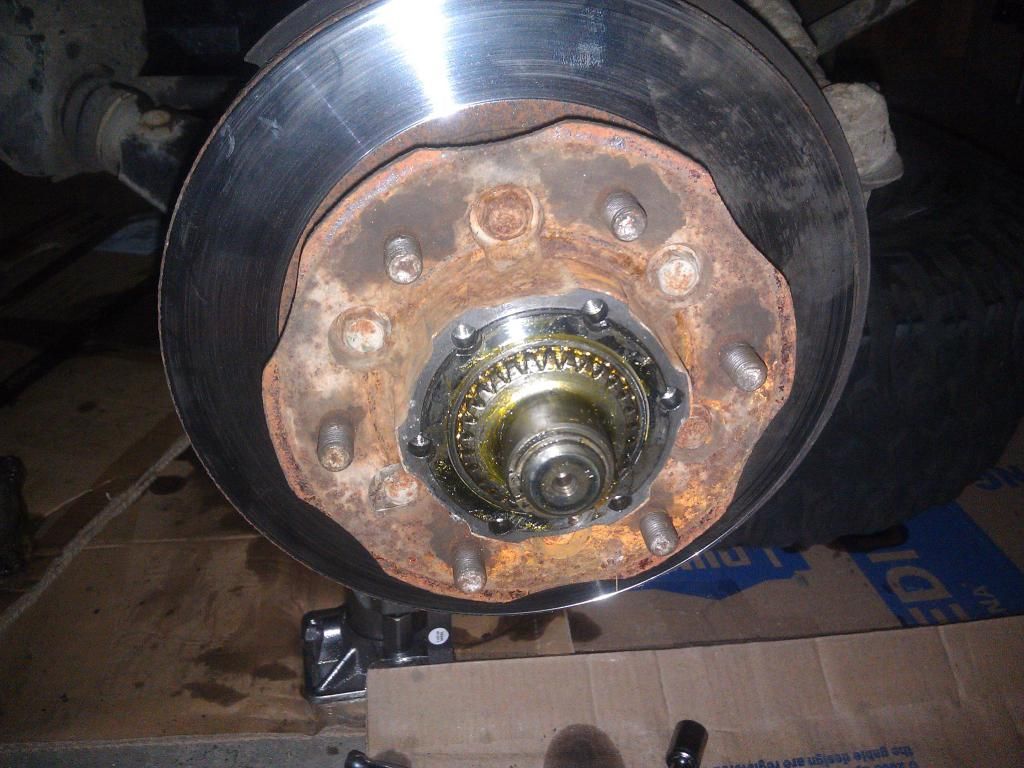
Step 7) Remove the snap ring with your locking ring pliers, set it aside, followed by the drive clutch. The clutch will just slide right off.
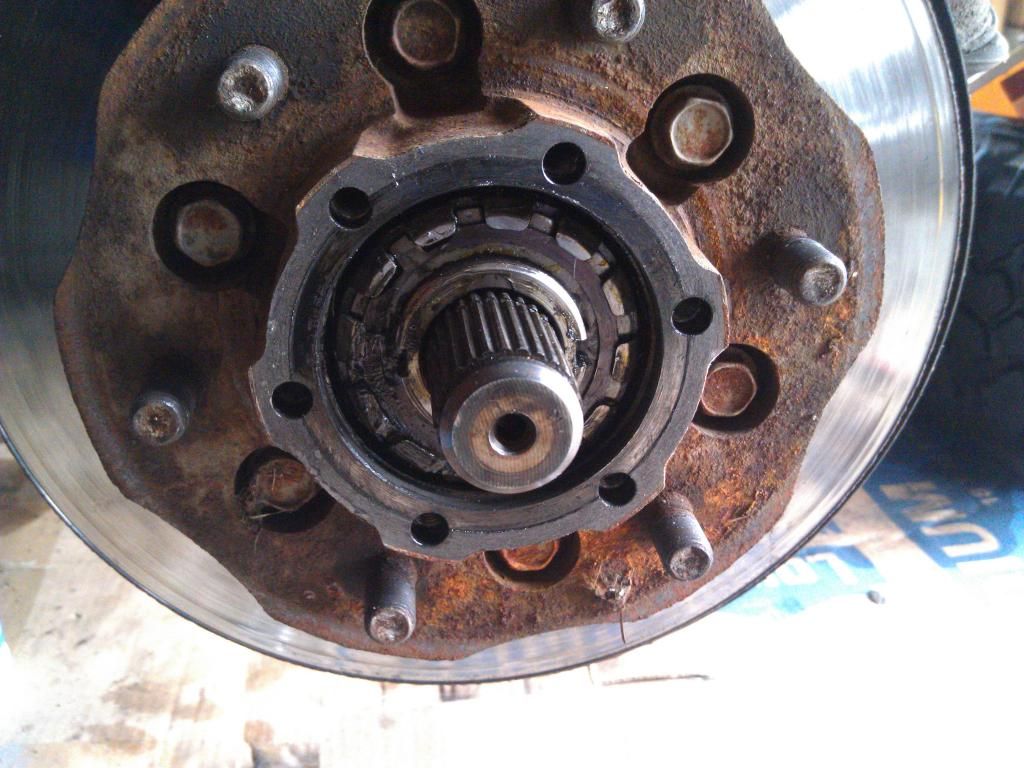
Step 8) Next, using a small, but sturdy flathead screwdriver, take off the next snap ring, the locking ring washer, and the locking ring. Set this aside. You should now be able to side the hub and rotor off.
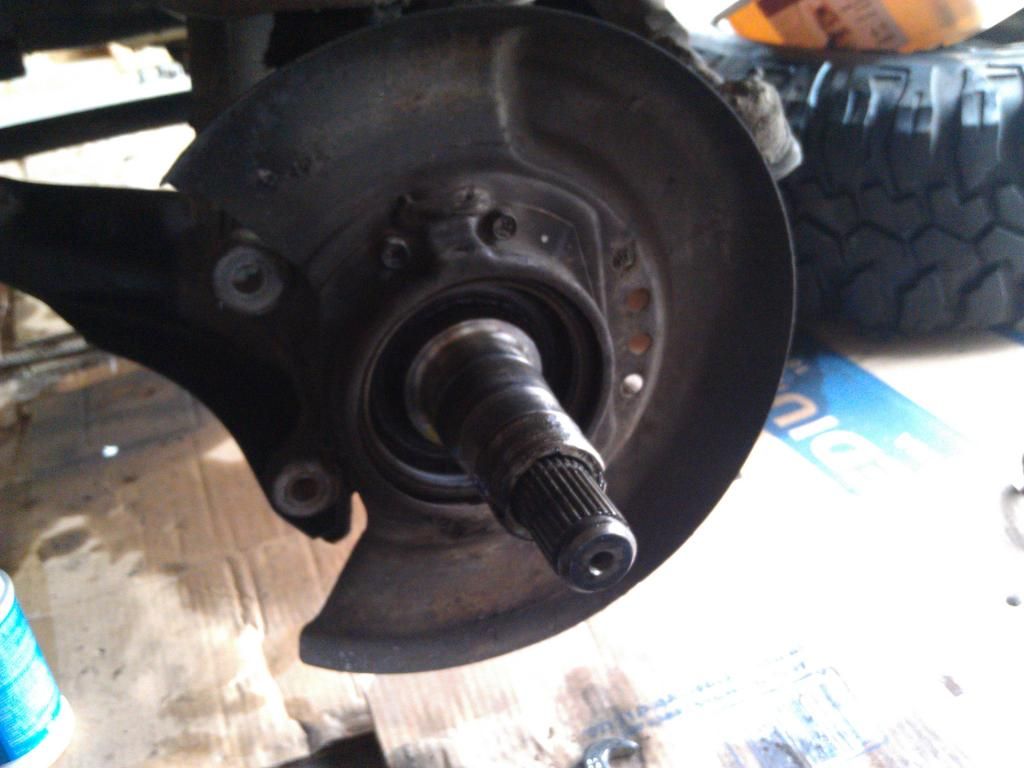
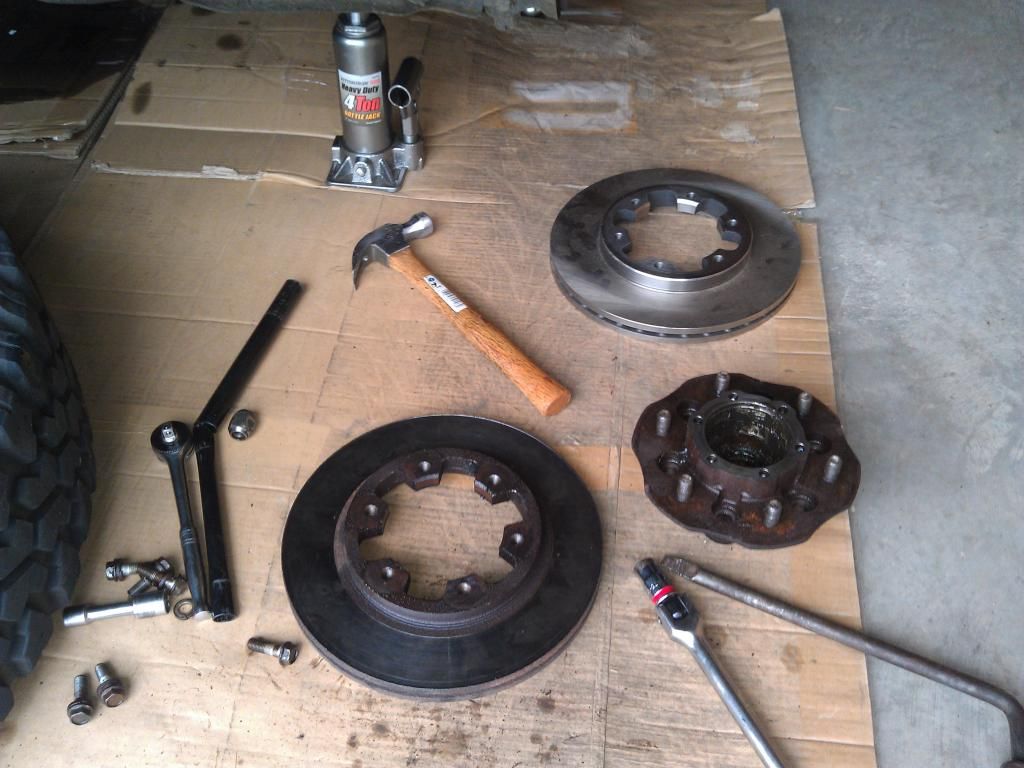
Step 9) Remove the bolts holding the rotor on. You may need to use a screwdriver or a BFH to get this off. I had to use a hammer and a small pry bar to get them to separate.
Step 10) For those that venture over to the 720 forum on the Nissan Infiniti Car Owners forum (NicoClub), there is a great tutorial on servicing the wheel bearings which is what I used.
Step 11) Take a break and enjoy a tasty beverage of your choice. If you had to battle removing the hub/rotor, you most likely will need to.
Step 12) After you have finished servicing the bearings, you can start reassembling the hub with your new or resurfaced rotor! Follow the steps in reverse order and you’ll be all set to go.
Total time: 45 minutes to 2 hours a side, depending on how rusty your hub is.
My own 2 cents: If you have a wire wheel, clean up the bolts and use a tap and die set to ensure easy reassembly. I used blue Loctite to make sure things don’t come loose and I’ll re-torque everything down again after 500 miles, just to be sure. I also cleaned up the hub as best as I could and used some high temp black paint on the hub since it was covered with surface rust. It isn’t pretty, but it adds some extra protection now that Washington joins the ranks with using salt on the roads.
While you are also going through this project, check all of your parts! This is the perfect time to replace the ball joints, shocks, tie rod ends, etc. Clean up the control arms and do a thorough inspection to make sure there are not any cracks.
Once everything checks out, go enjoy another 100k miles!
Good luck and have fun!