By: biggie
Friend's locally wanted a write up, just did a quick one. I'll just put up the pics and small descriptions, let me know if you need anything explained.
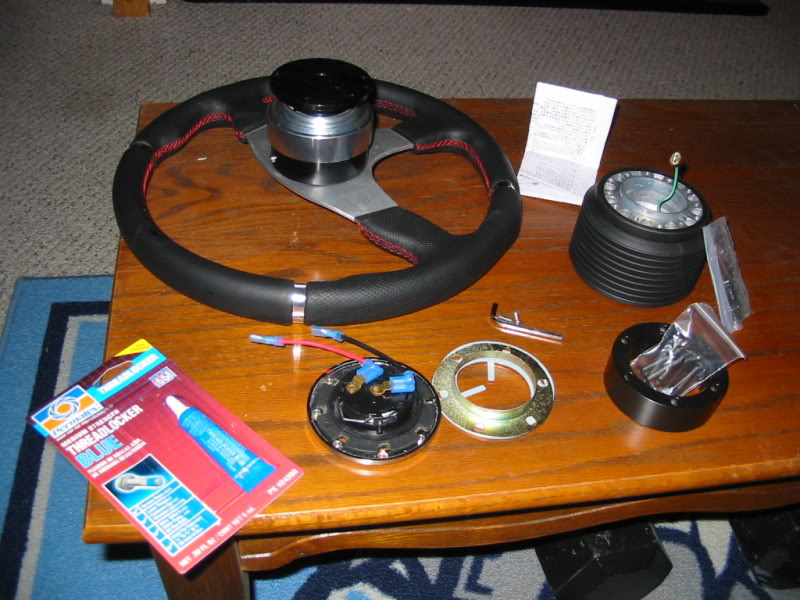
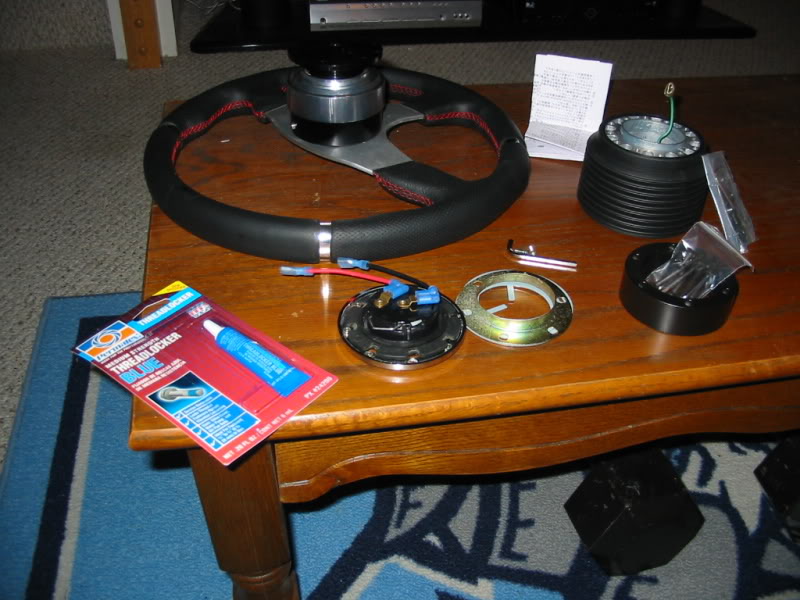
Parts:
SPW 350mm Wheel
D2 Quick Release (ball bearing)
LTBmotorsports 25mm spacer
Momo S13 hub (started with HKB but didn't work)
Tools/etc:
Locktite
19mm socket wrench/extension
Alan wrenches and bolts (included with parts)
Before starting, make sure the wheel is locked and in a position you'll remember (like straight) so that you can match the aftermarket wheel angle. Though you can't be perfect usually.
Parts:
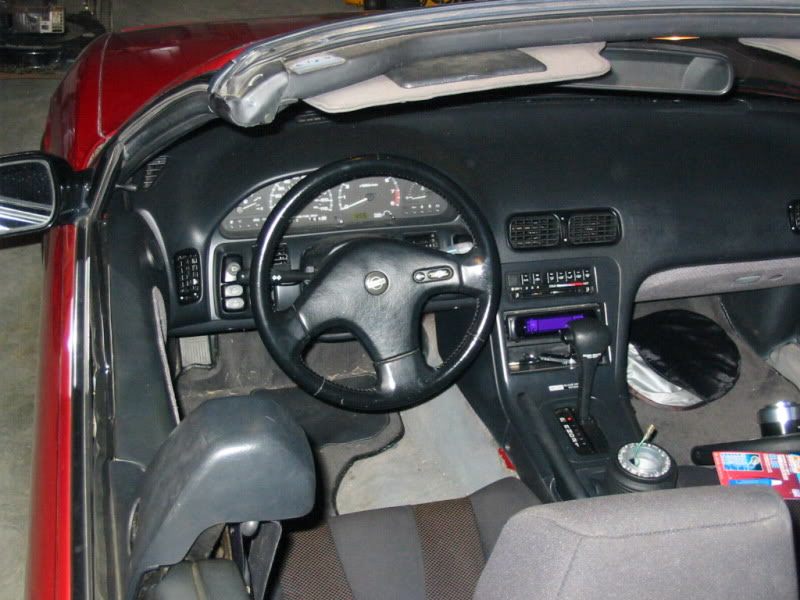
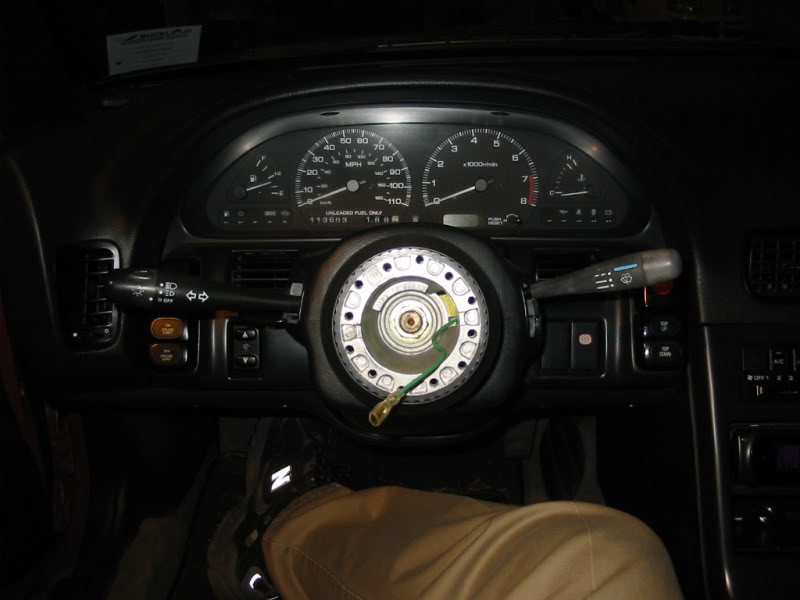
Stock setup:
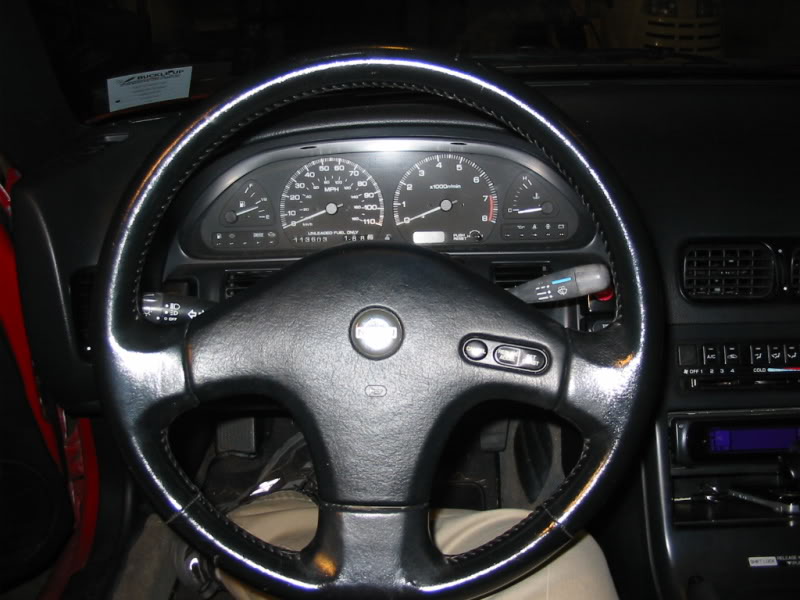
Remove the cover, pull straight out, is only held on by the metal tabs shown. Give the age of these cars if you aren't carefull to pull straight they will break (doesn't matter if you don't want to keep it/reuse).
Wiring going into the Cruise Control Switches:
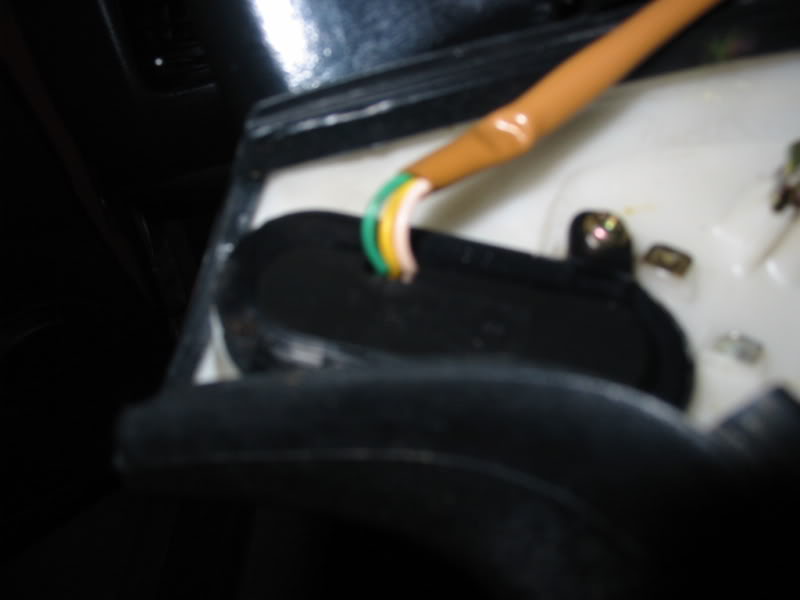
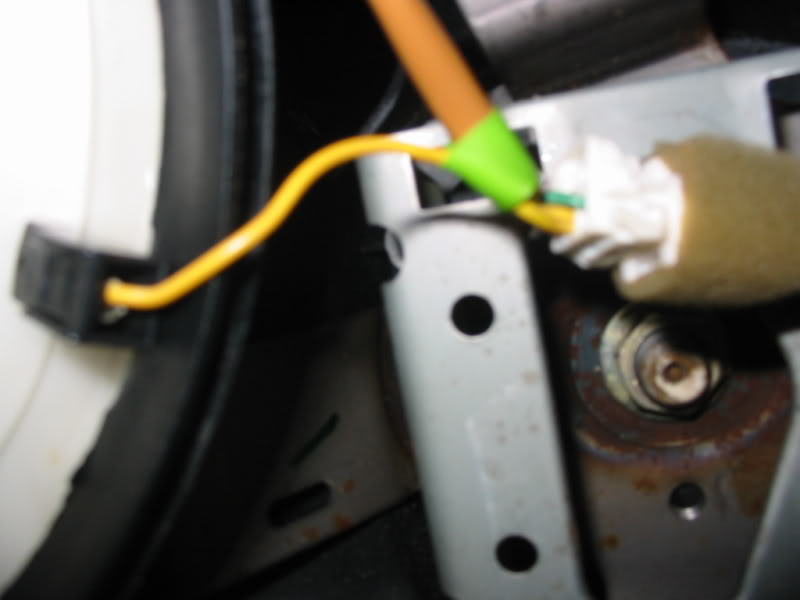
Disconnect this connector, also shows the yellow wire going to the horn:
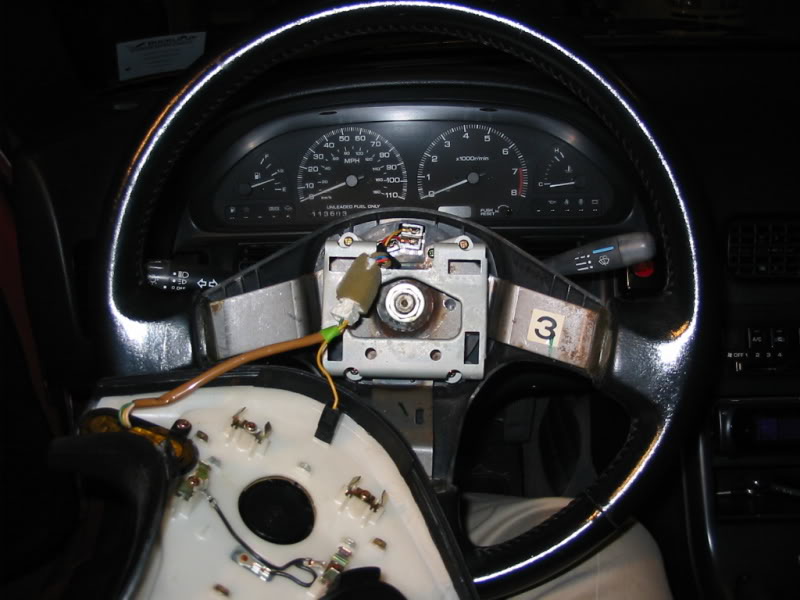
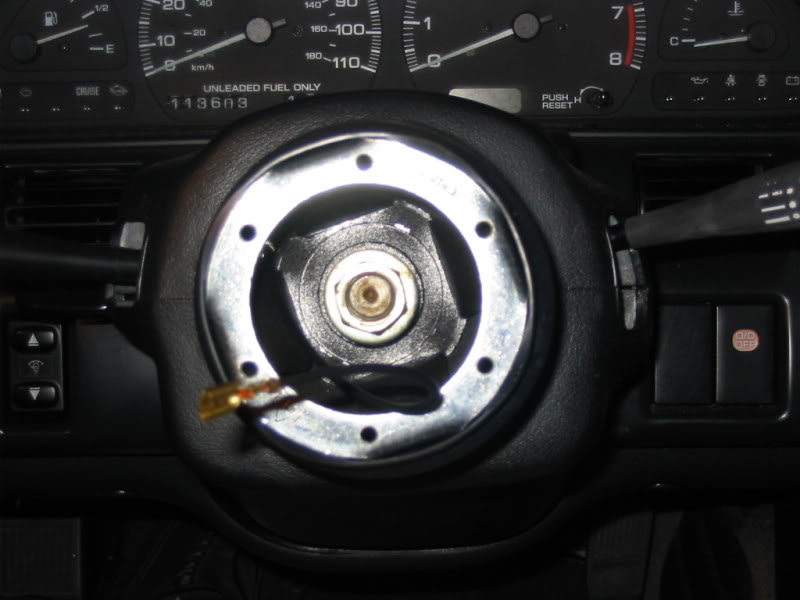
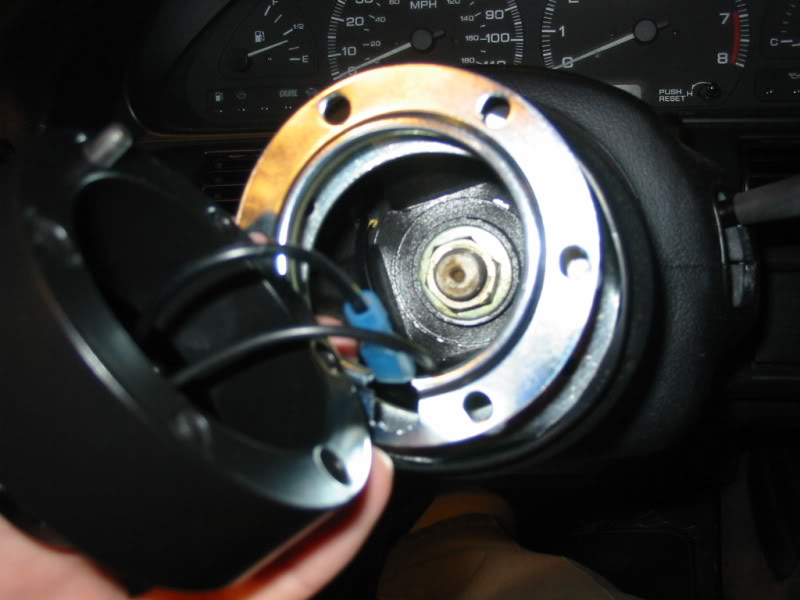
Cover off. 19mm bolt holds the OEM wheel on. Takes a good bit of force to loosen. After loose, leave it on about half way and pull off the steering wheel (this is mostly useful for new cars, like S14, that you don't want to pull too hard and break the Airbag cable).For removing the steering wheel I just try to flex it by pushing/pulling on the outer edges until it loosens around the spindle. Through a wheel puller could be rented.
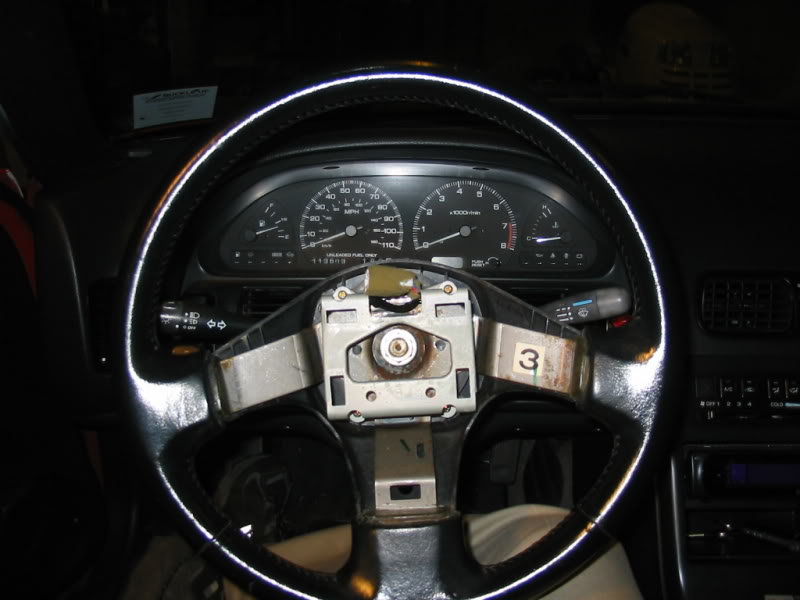
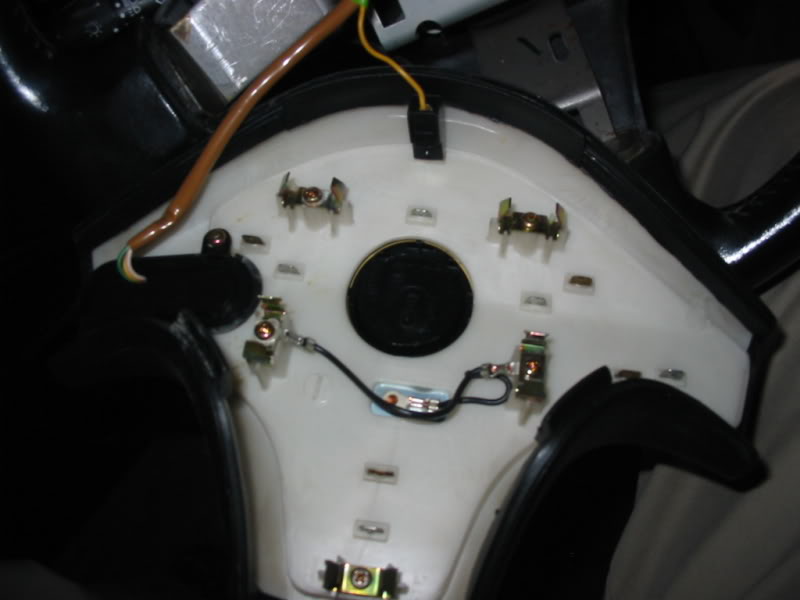
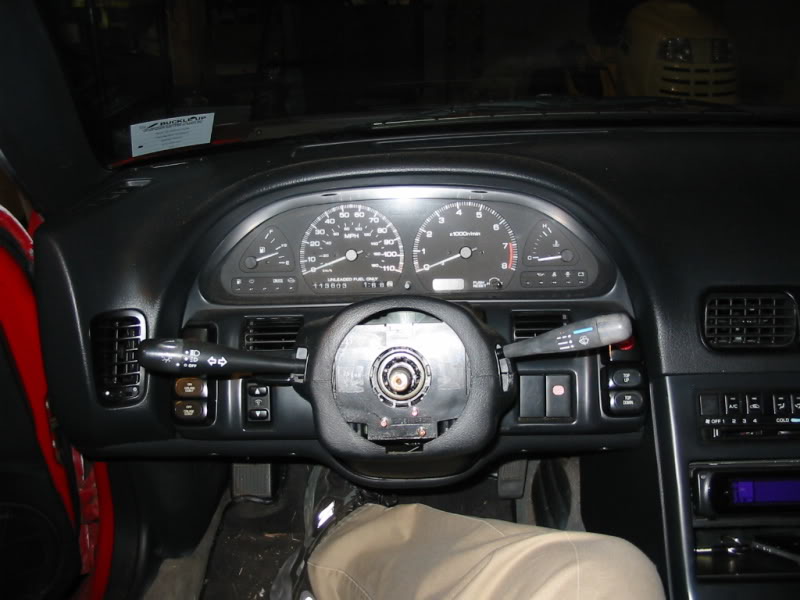
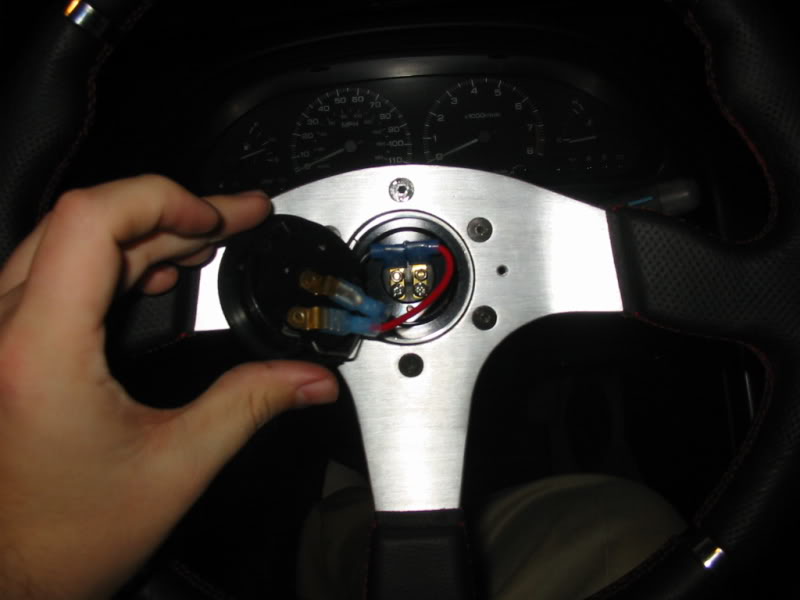
OEM Wheel removed. After testing the far bottom left contact is the power/horn point.
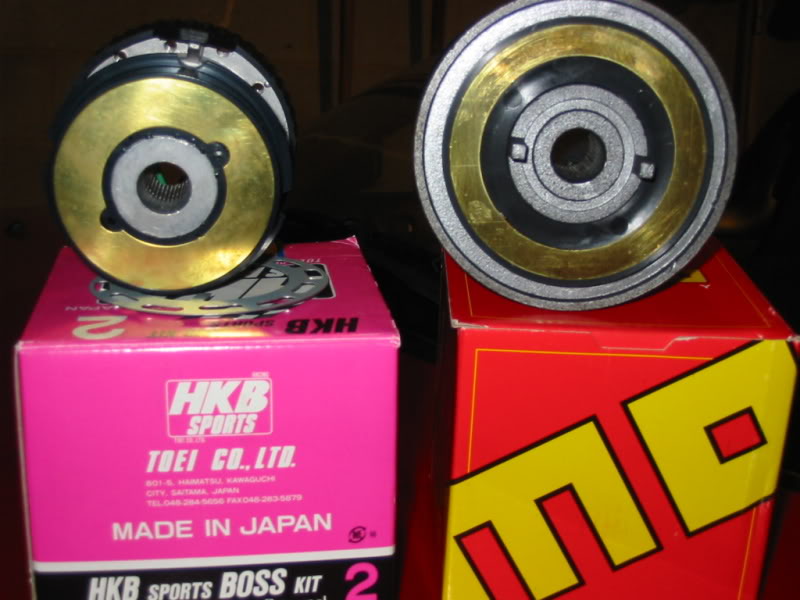
Hub slid on the spindle. This was the one that didn't end up working.
Comparison of the 2 hubs, on on left didn't work because the metal contact area was too small in diameter. The other Momo is fine.
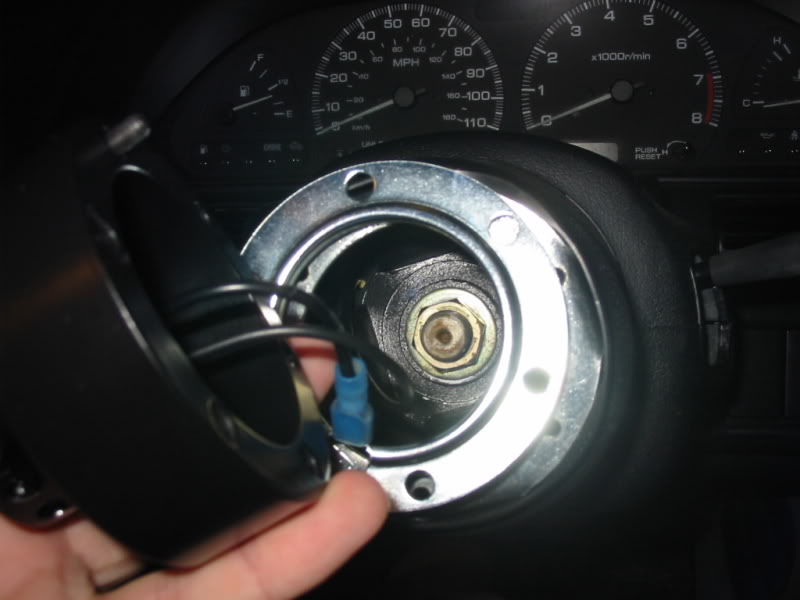
Hub with nut put back on the spindle:
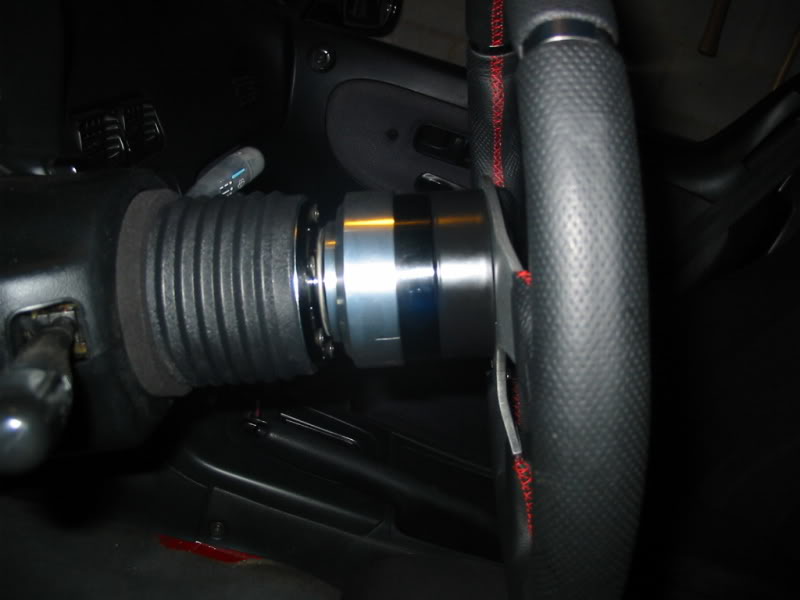
Wire coming from the hub is the positive. Metal ring provided gives hook up for ground. Both wires go into the back of the QR. Here I added the spacer between the hub and QR, later had to put spacer between QR and Wheel to clear horn button.
Back of the QR, wired:

QR bolted on:
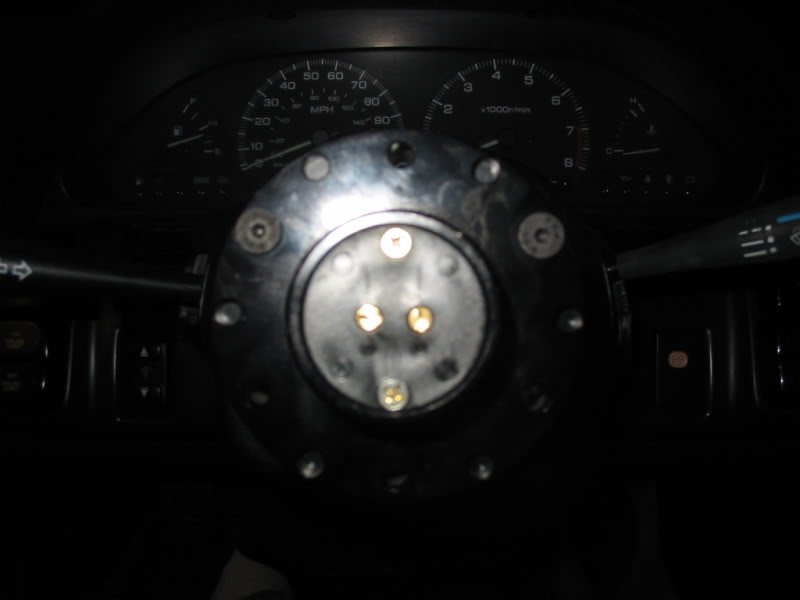
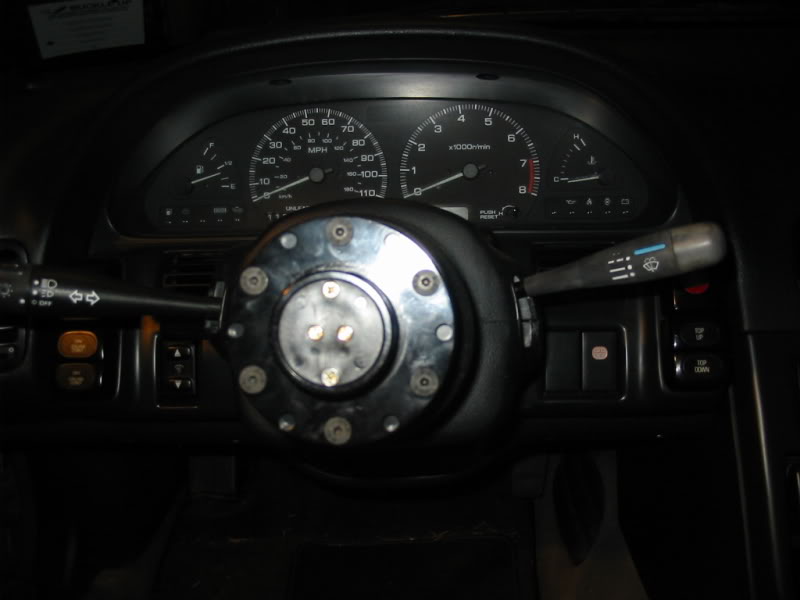
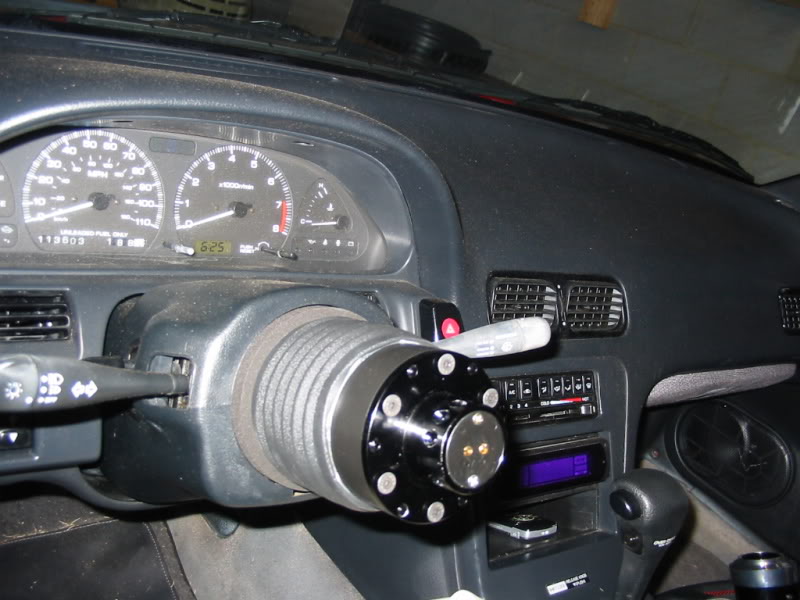
Bolt the top of the QR to the wheel and connect the two pieces of QR.
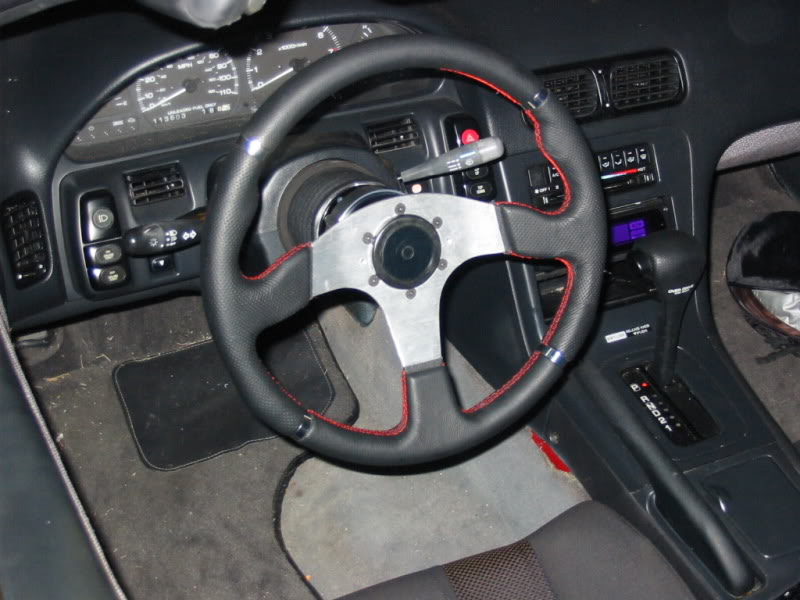
Run the wires from QR to the horn button:
Enjoy the feel and leg room: