
Difficulty out of 5: ***
time: 1 - 1.5 hours.
Materials:
Torch + pocket lighter
6 - 8 Clamps
scrap wood.
Foam and a Hot wire cutter.
This did not damage my paint, but I am planning a repaint anyway.
I was in my college's industrial design building late at night, so all of this was available to me for free. the torch I got from advanced auto parts (20$ or so).
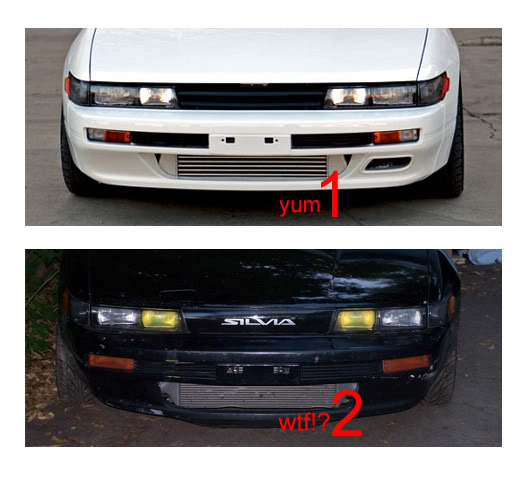
This is the donor Silvia turbo bumper thats about to get the business.
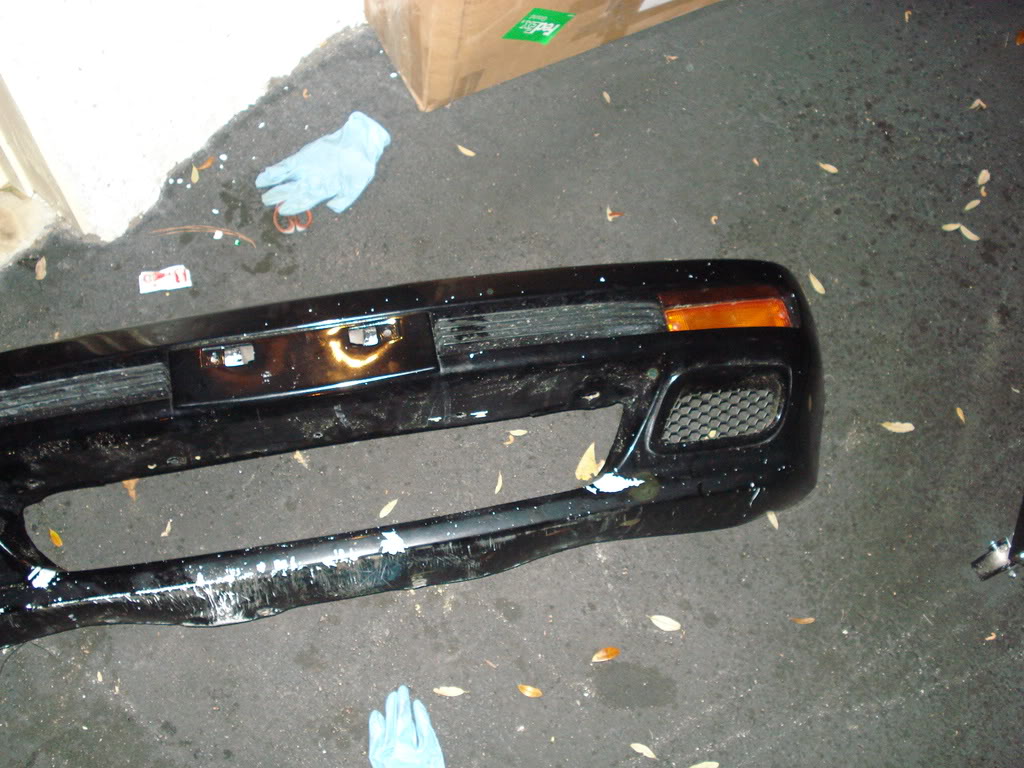
- Notice the jaggedness and lumps from the arrows.
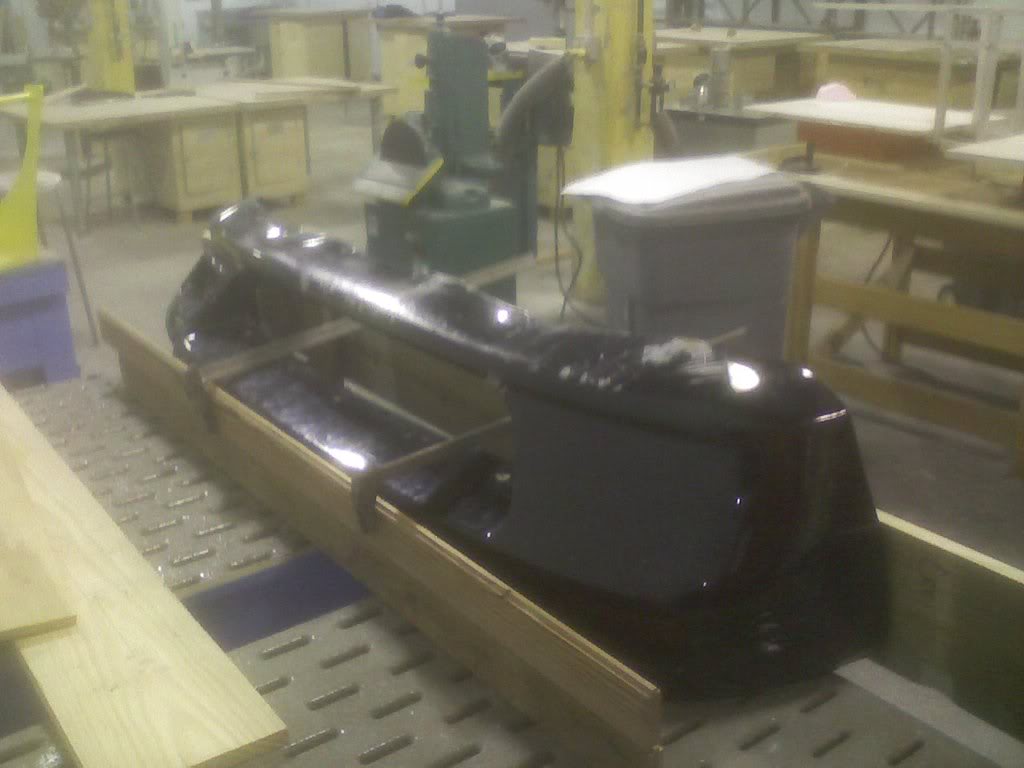
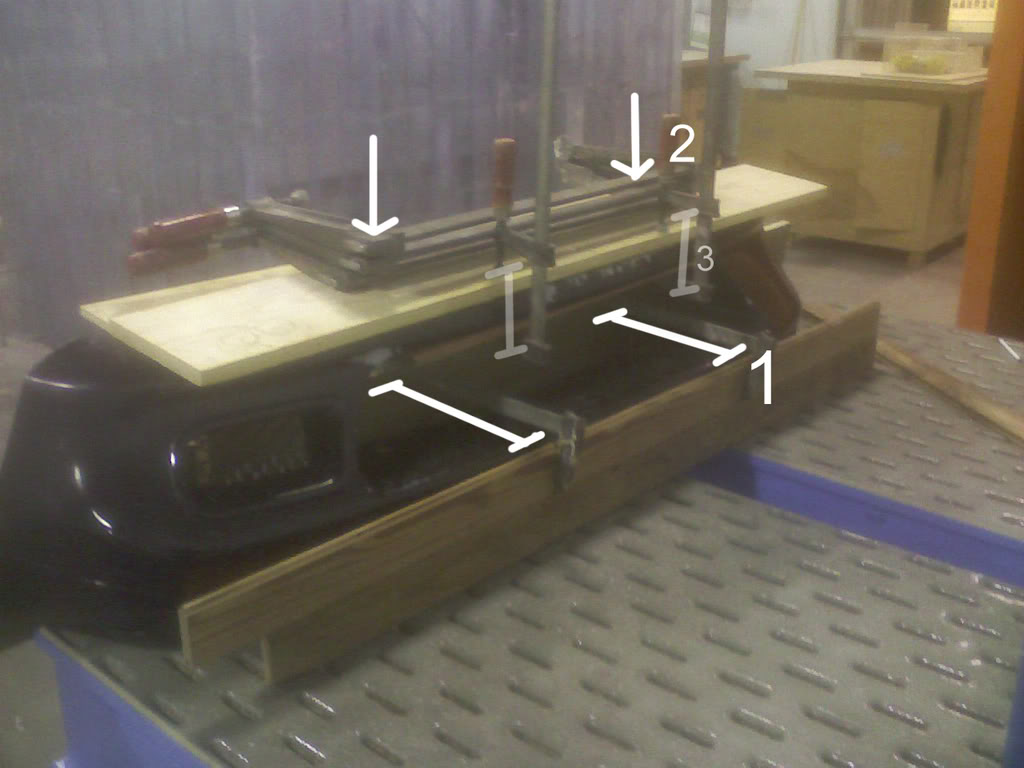
- I clamped the bumper front to back so it wouldn't slide when i put weight on it. these are clamps 1.
- Later on 4 is where my curved brace ( 5 ) will rest. the 4's are held in by a vice.
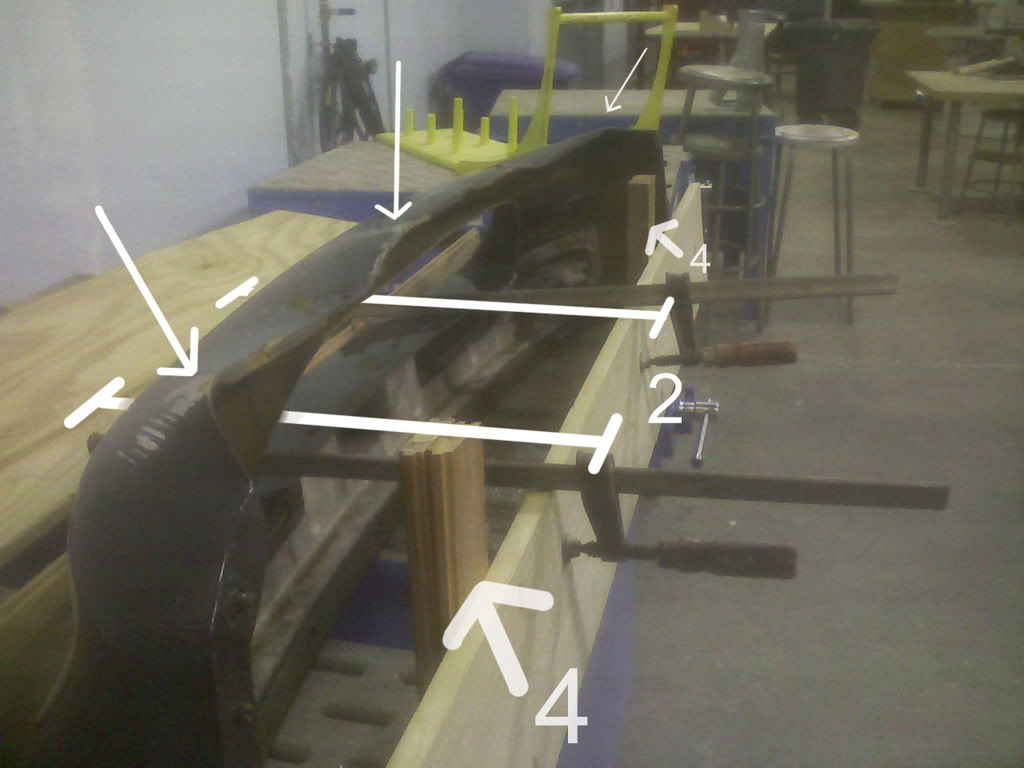
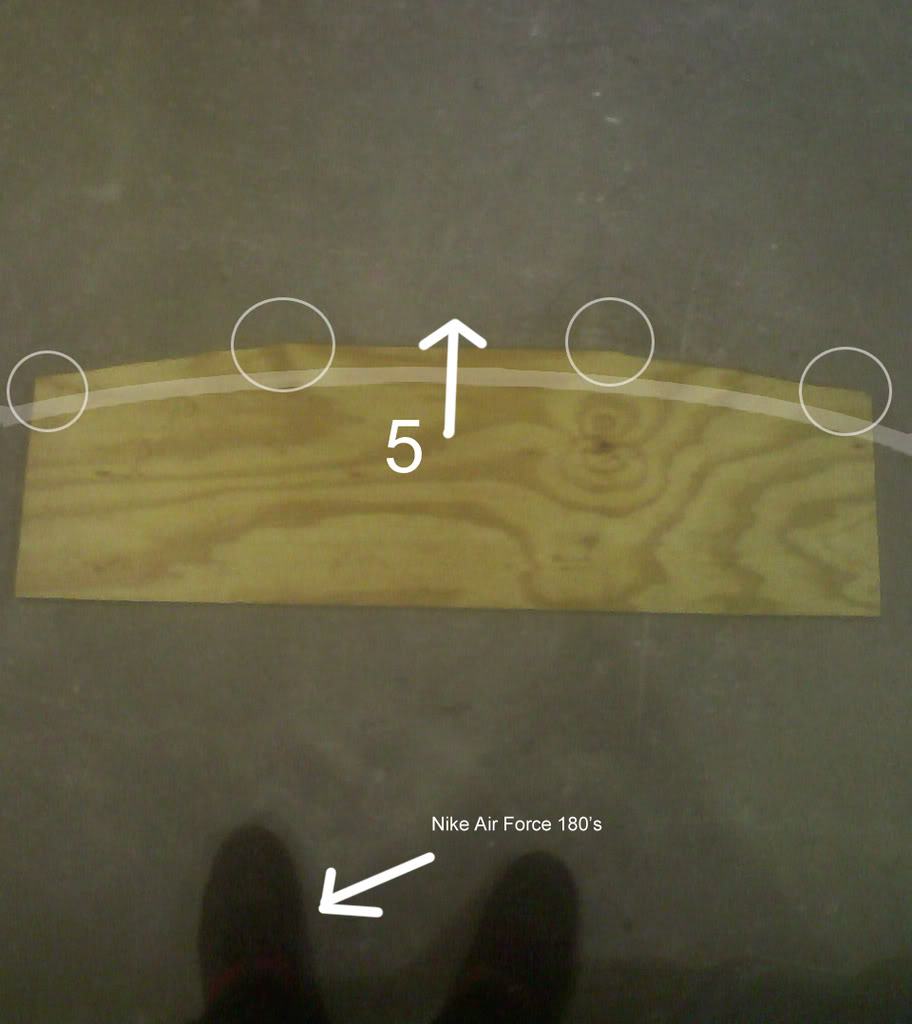
I found this wood sitting around, I cut it with 4 cuts ( the circles ) so that the edge would fit into the curved lip. It will rest unto the 4's - both supports
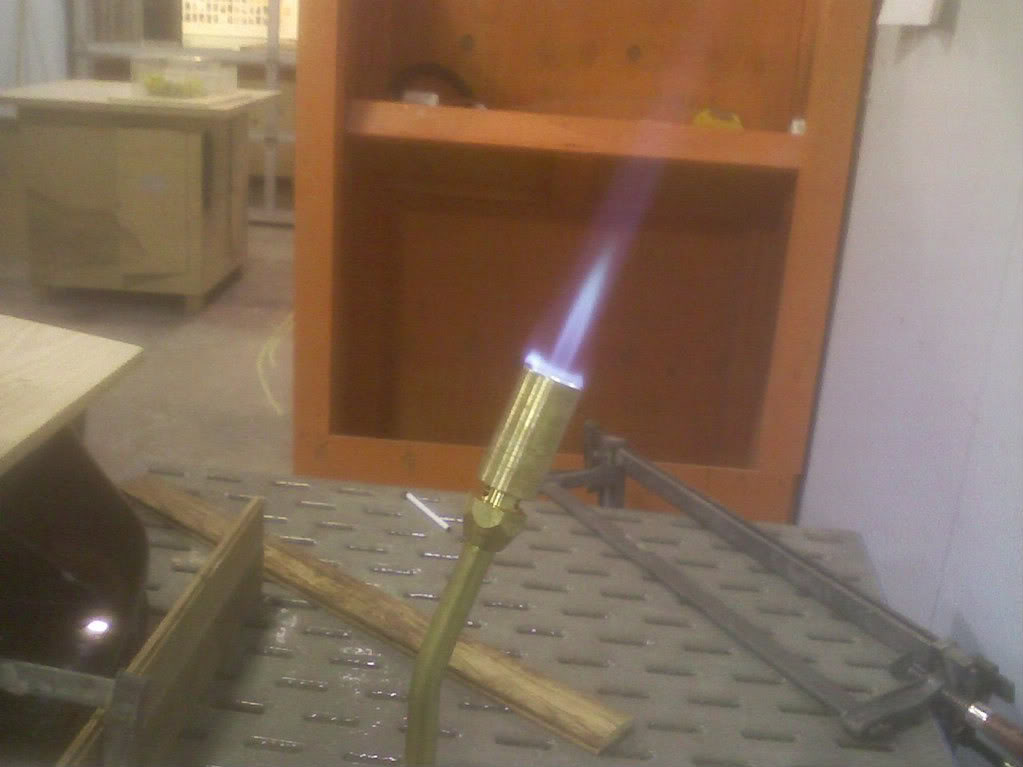
Now I heat up the lip for 3 - 5minutes, not to aggressively, but enough to see it sagging a bit. The paint is fine so far, but either way, I don't care.
Push 5 into the lip and notice how it straightens its shape.
heat it - compress it - and add weight.

- 1 is the clamping force front to back
- 2 are weights
- 3 are new clamps I added just for the lip.
- 4 is holding up 5, and its clamped to the table, it also resists the weight.
- 5 is wedged into the lip and is being compressed by 3.
- At this point, the bumper is firmly secured to the table and I keep applying heat.

- I walked away for 30mins or so. Thats all it need to cool and be warm to the touch.
- I cut a long piece of foam, using a hot wire. I held it up to the lip and then marked the foam. you can do this with a metal strip drilled with holes, or otherwise, but foam is light, strong, and easy to remove.
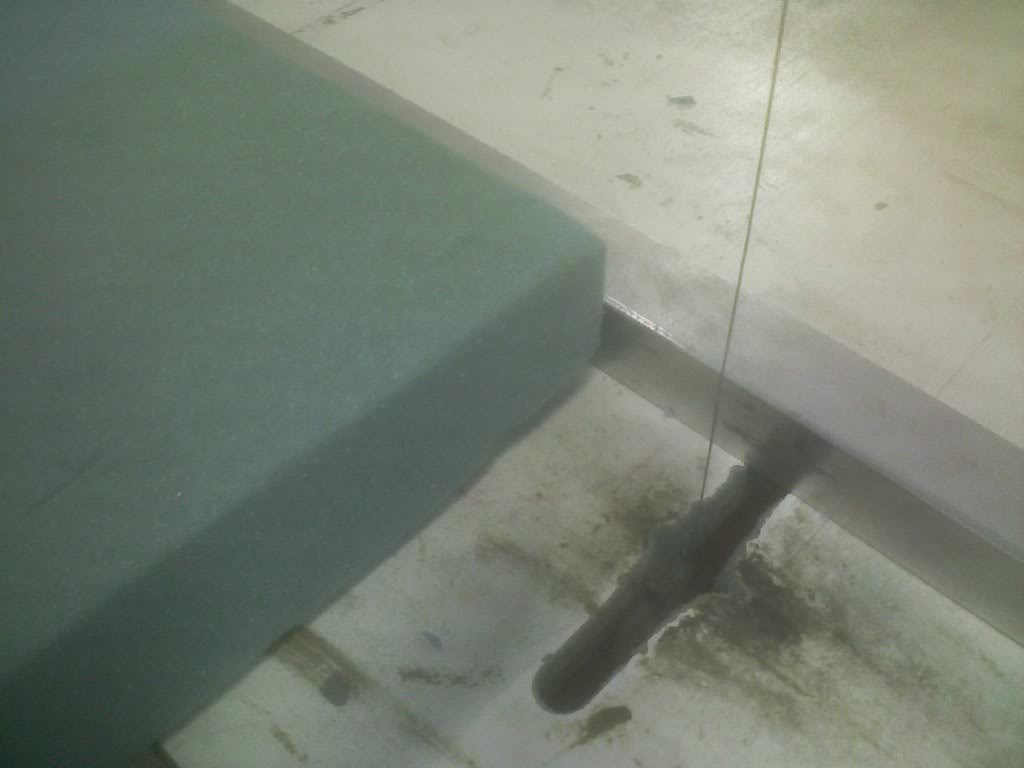
I sliced it, and pushed the foam into the lip

Take it apart, put away the scrap wood and clamps, and its done. Notice the straightness of the lip. Its all about heat and ample clamping force.
The bottom and misc. jaggies - can be bondoed , sanded, and painted.Ill be painting my whole car soon enough though.
Enjoy you new straigtened bumper!
Article by: Kalypso123