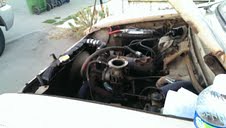
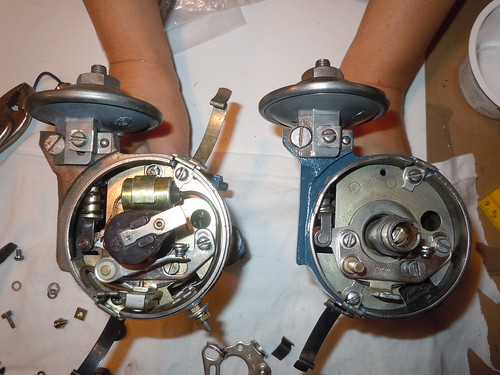
Chances are your 320 or other Datsun with an E1 and Hitachi D406 Distributor looks or looked like this at one time. No problem, we can fix it!
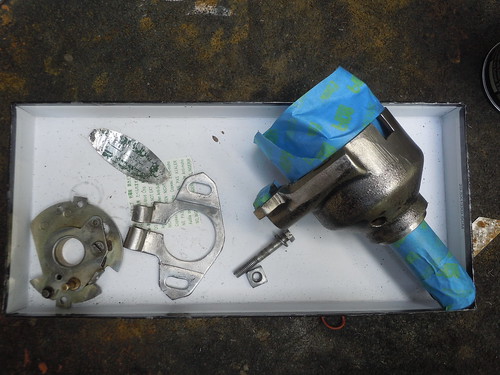
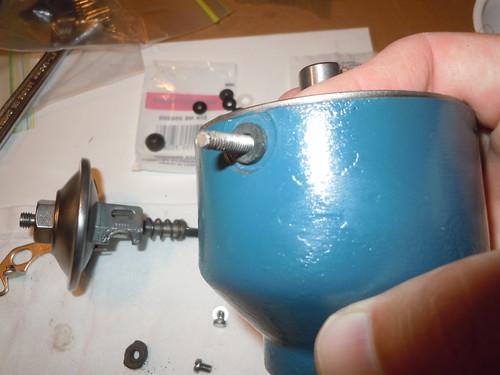
So here's what I received in the mail -

Pretty dirty to say the least. Note the seized vacuum adjust screw -
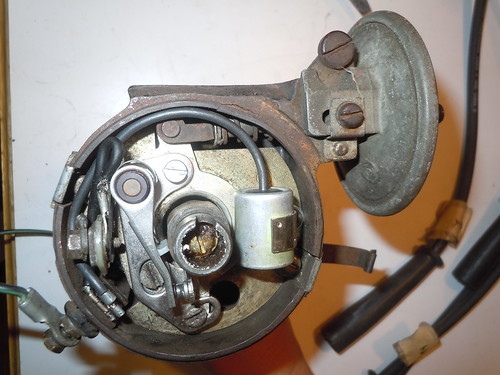
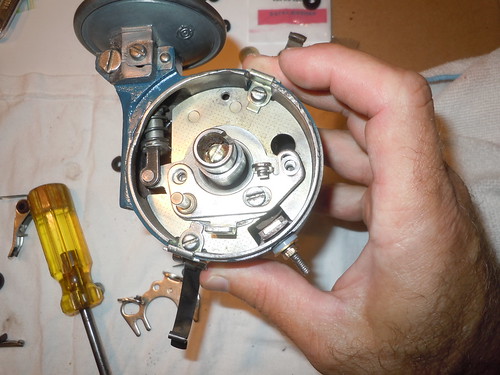
Hard to tell but the wire lead from the condenser, contact point arm and wire lead from the breaker plate tab to the coil lead are not secure, they are improperly grounded, and the plastic insulators are in need of replacement.
One last issue I did not notice until later was that the Weight-governor and the Cam Assembly were rusted together and I wasn't until after a good cleaning with solvent and carb cleaner did these two parts move freely.
All these the faults equal two big problems - An in-op Datsun that will not fire and run and a frustrated Datsun enthusiast.
So let's get started! Time to disassemble everything and clean everything up.
With everything cleaned up and painted to look nice, pretty, and factory new it's time to re-assemble everything.

DO NOT TOUCH ANYTHING! Oh, and make sure your monster pets are at least fed and entertained while you work.
I have found it is easiest to start with the coil terminal or terminal B per the parts manual. Had to improvise a little and from this pic you can see the rubber O-ring grommet we use to insure proper insulation on the terminal lead to the coil -
The bakelite insulator was still in good shape so we could re-use this piece. However, the outside bakelite insulator was broken in two so I used a nylon washer to insure proper insulation -
A new brass washer and nut round out this bit of the rebuild.
Next it's time to install the breaker plate, vacuum, distributor cap clips, and contact point base. Pretty easy to assemble as it really only goes back together one way.
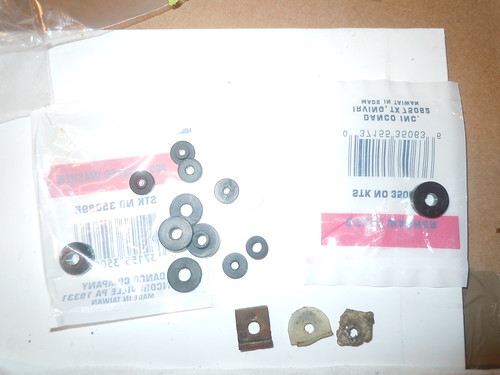
Note the washer on the far right of the contact points. This is the locking screw you tighten up once you have set your point gap. Insure the washer is big enough so that it does not slip into the adjusting oval and do not use a lock washer without the flat washer as it will bind in the oval and throw off your point gap.
As I mentioned before, I had to make a trip to the hardware store to source some rubber grommets and O-rings for the rebuild. So besides the nut and bolt aisle, you might need to check out the yellow Serv-Lit boxes in the plumbing section and the lamp repair section at your hardware store.
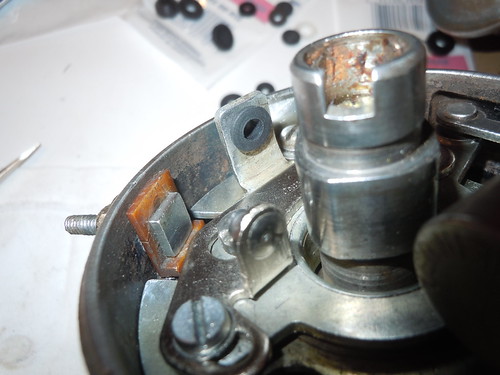
As you can see in the above photo it's time to replace some of the insulators. So here again we have a rubber grommet for an insulator on the breaker plate contact arm tab that we found in the the lamp repair aisle at the hardware store.
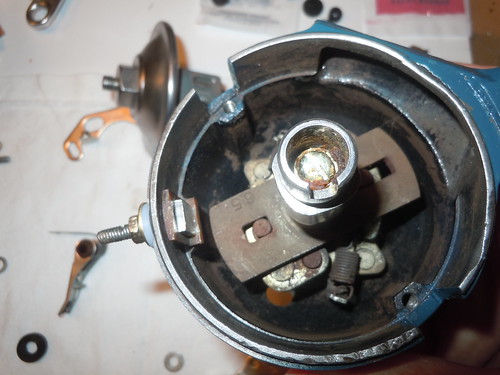
So to make sure I get the sequence of how the condenser lead, contact point arm and the wire lead that runs from the breaker plate (terminal A) to the coil lead (terminal B), I pulled the working distributor from my '64.
And here is everything put back together -
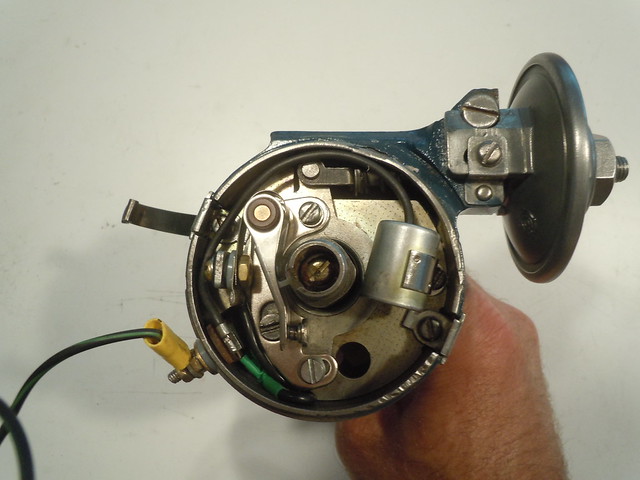
As you can see from the above picture the contact point arm, condenser lead, and wire lead from terminal A (breaker plate) to terminal B (lead/terminal to coil) are completely insulated from the distributor body and the breaker plate.
The next morning we stuck this distributor in the '64 and it fired right up! After a few revs, and a quick wipe down, it was boxed up and sent out in the mail.
Let me know if you have any questions -
cheers,
Li'l Truckie
Up next - fuel pump disaster...ugh....