They are not too bad for $33 each. The fittings are loose, but aerobic sealant fixes that up. I wouldn't dare use Teflon tape.
Some reviewers say that they fail a leak down test, but our vacuum is not static. My car runs fine.
Reviewers also complain about the hose. I also needed more than 6 feet, so I bought some Gates 3/8" hose and a bit more from Autozone.
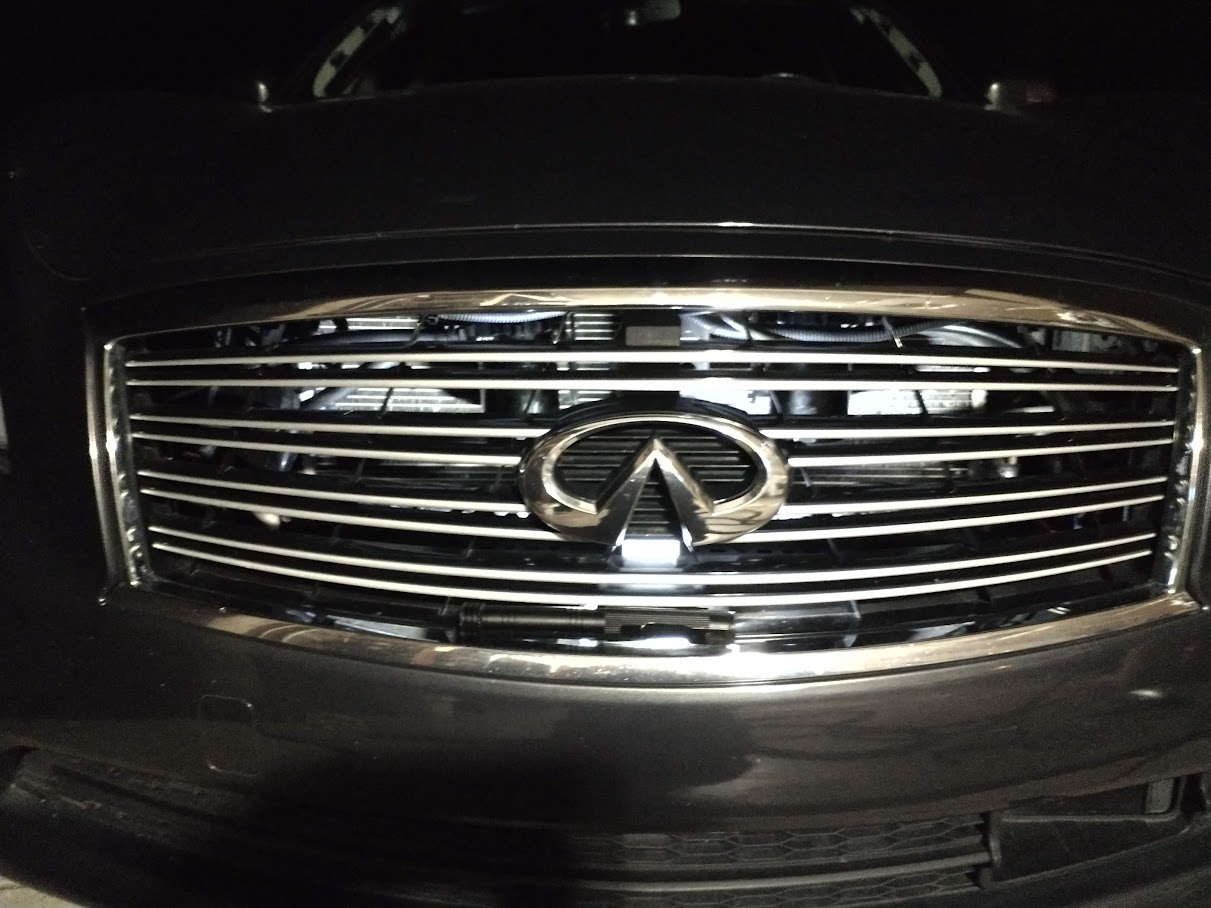
Anyway, the only reasonable space I could find is behind the grill. By luck this will also cool down the cans and help condense the oil vapors.
I also like to make my mods reversible. In this case I was able to reuse the OEM hoses. If something happens I could go back to stock with just a pair of pliers.
I tried my hardest but I had to drill some holes. She's not pure anymore.
The project cost me around $120 in parts and I was able to use some spare nuts and bolts and salvage some spring clamps from the Pull a Part.
I can make a parts list if you want.
I apologize on the size of the photos, I could not figure out the HMTL to make them smaller.
First find the right location. I drilled out the spot weld on the hood latch and another on the opposite side.
In this pic you can see the center punch on the spot weld.
I wanted to use rivnuts to reduce the amount of lost nuts. I also wanted to mount underneath the hood latch to conceal the brackets. So I counterbored the bracket. I don't have a bit this size so I went ghetto and used a 1/2" spade bit.
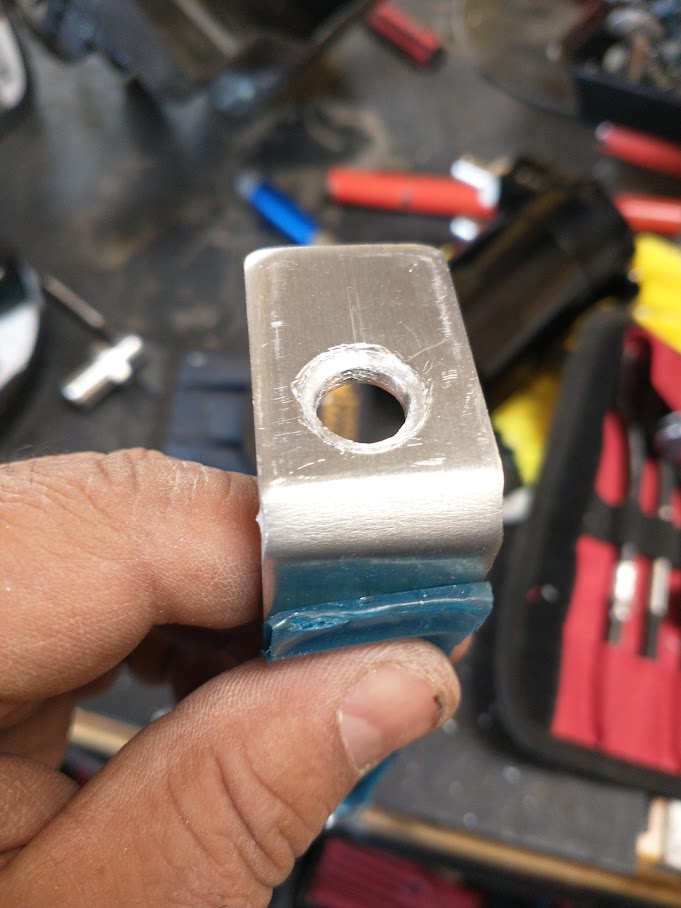
Here is a M6 rivnut installed.


Test fit. The latch release cables had to be moved out of the way, but will go back. Sadly, my little plastic retainers broke.
Brackets trimmed, powder coated and installed with Loctite on every bolt.
I did not use the original holes in the bracket. They cleared the air deflector but I wanted more room.

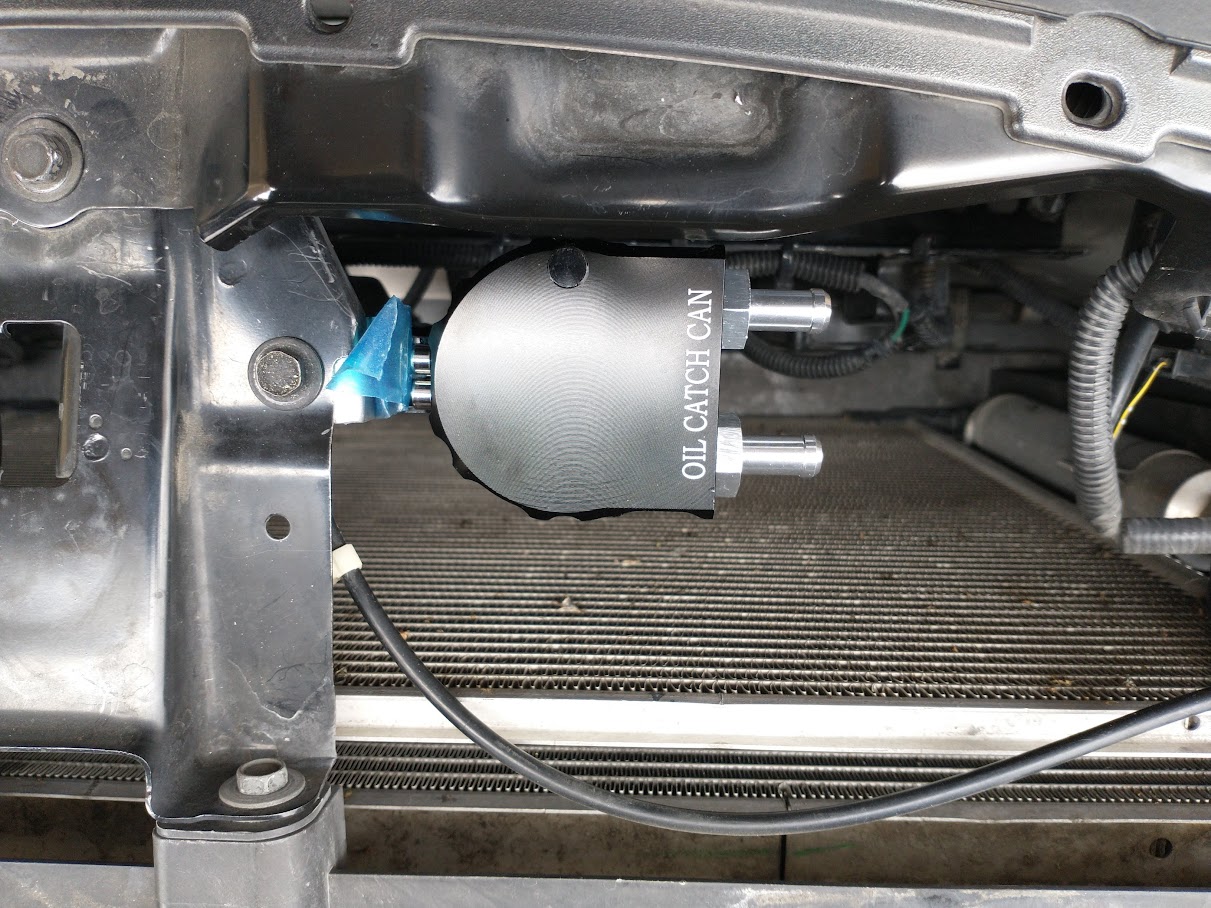
Cans fully mounted. Here you can see the extra hole I drilled on the driver side for a M6 bolt.
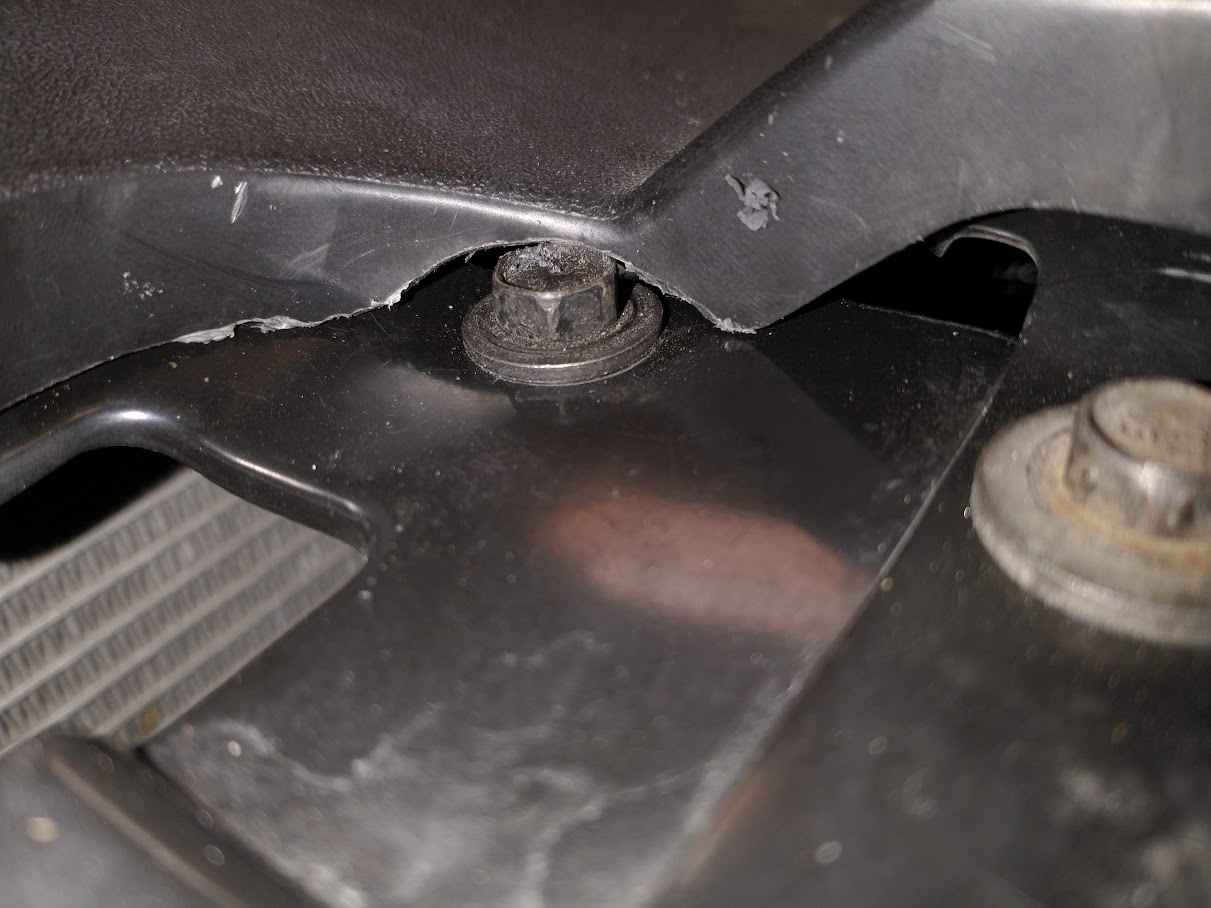
I also added an extra nut/bolt to the hood latch support (to the left of driver catch can). Oddly its held with only one and is flimsy with the catch can on it.

Passenger side. I used a Dorman 46022 PCV elbow and the OEM hose. Joined using a 3/8 brass coupler.
I eventually got a spring clamp on the elbow to PCV.


Here you can see both hoses routed. There is a hole in the radiator support to run through.
Used another 3/8" brass coupler to join OEM hose to Gates hose.

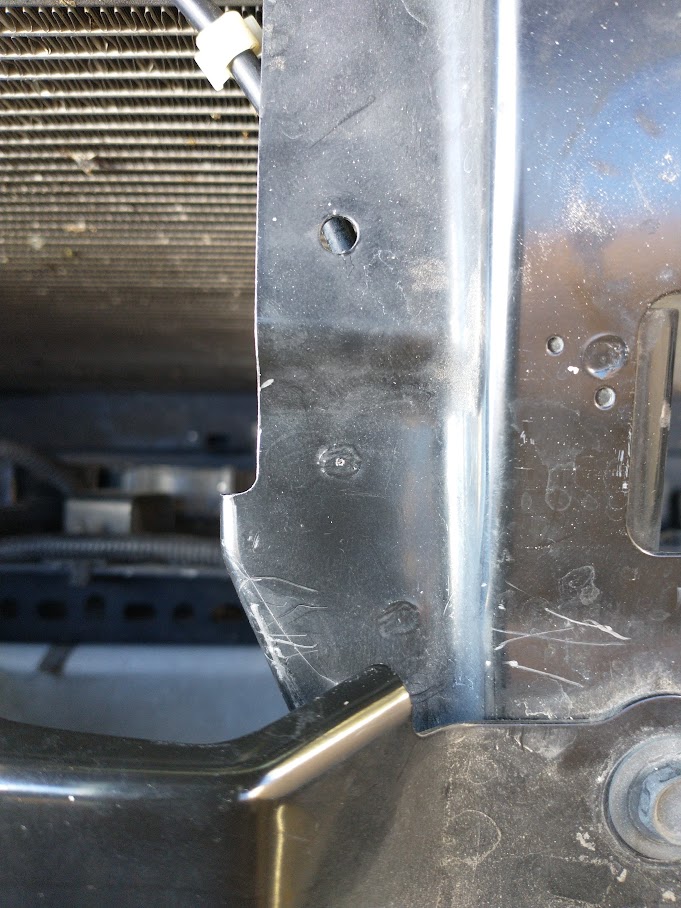
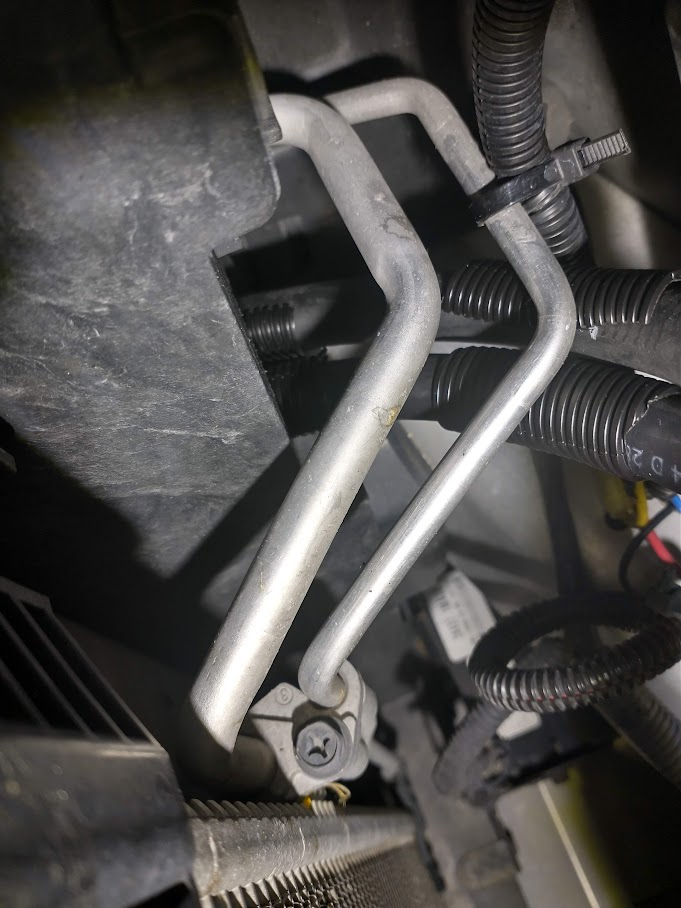
Driver side did not have a hole in the radiator support. It had this.
Note big nub on AC line for a later reference.

After some creative methods I now have a hole big enough for 2 hoses.

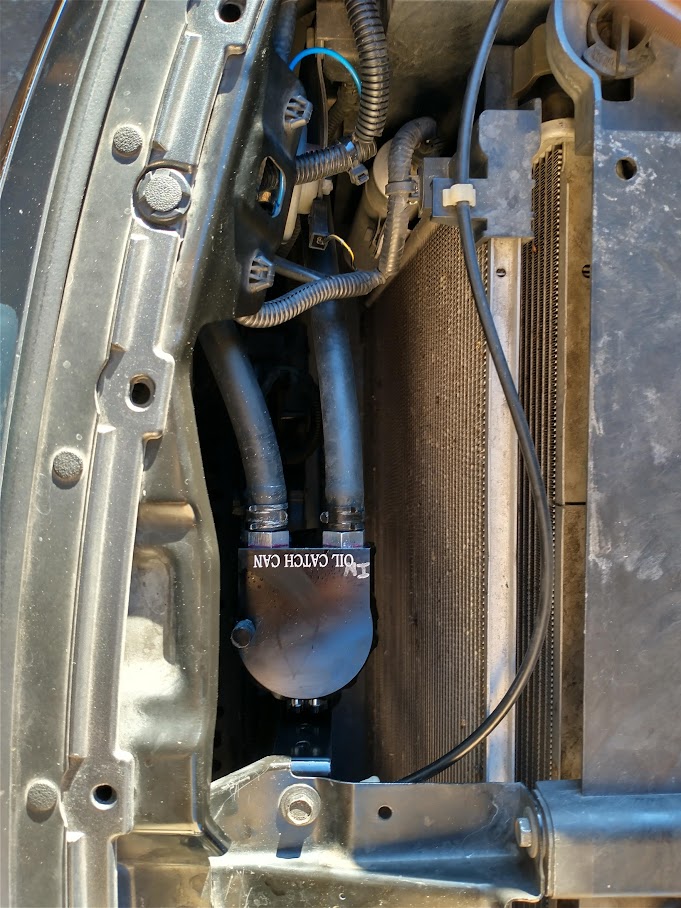
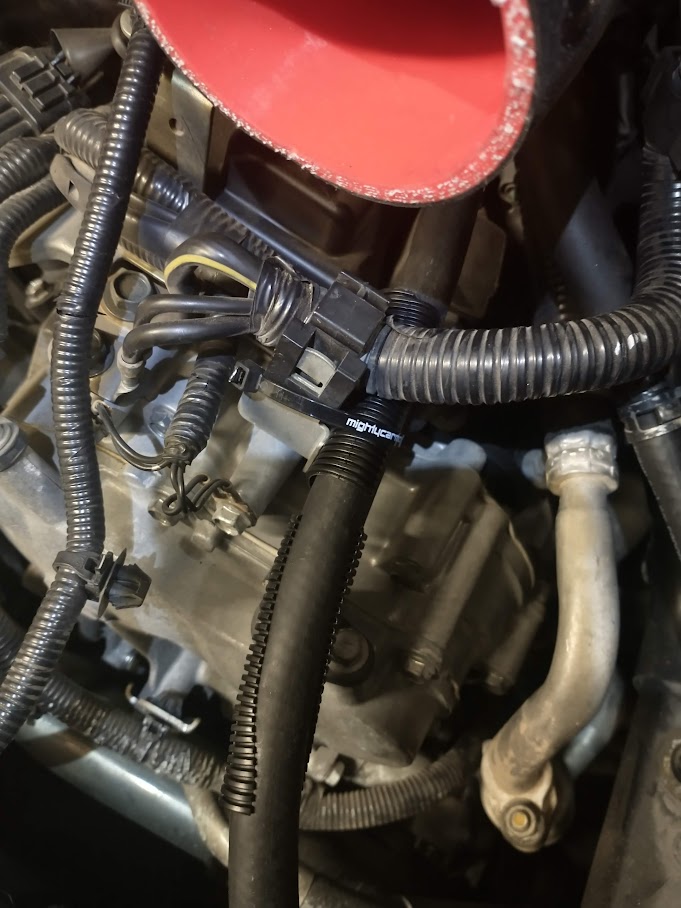
Here is the driver side. OEM hose did not need an elbow. In this pic I used a crappy silicone hose joined with another3/8" brass coupler. I later replaced the hose in a later photo.

Driver side, ghetto chafe guard and zip tied to a bracket.
This keeps the hose off a AC line that gets hot. It's the big nub near the radiator support, seen in an earlier pic.
More driver side chafe guards. Probably not required.

Chafe guard on hoses going through radiator support.

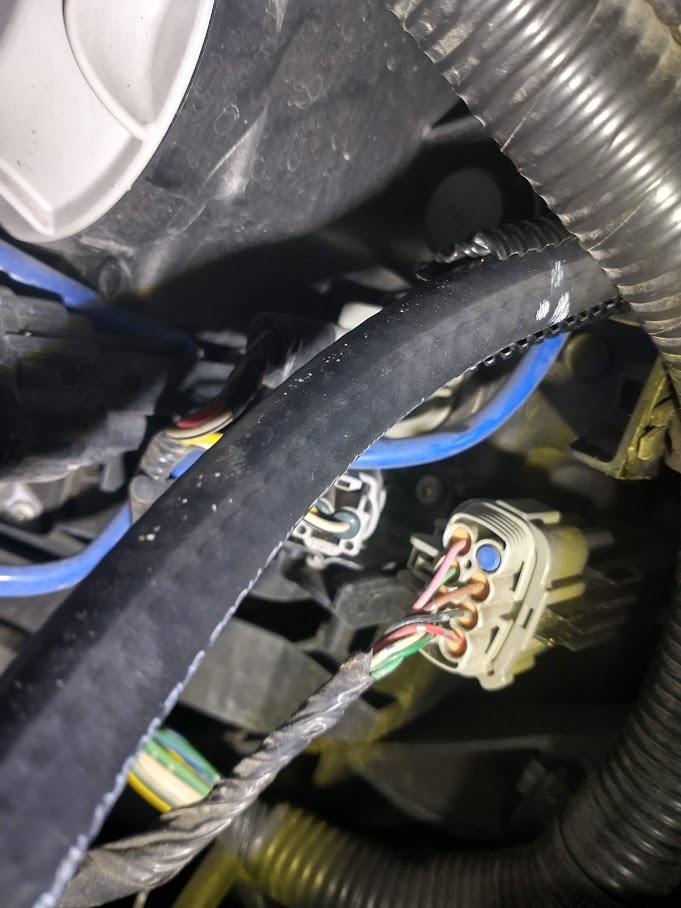
Chafe guard where hose routes above the headlamp.
Chafe guards behind the grill. The one with a zip tie is a harness to my horns. Ignore that one.
Hoses installed. Forgot clamps before taking a pic. My fat arms barely fit to unscrew the cans. I have to remove one hose to do so.
I might eventually add drains to go to the latch on my TBW skid plate.

Intakes and air cleaners installed.

From the front. Its backlit so you see everything. It is messy but hard to see without the light.
The extra bolt/nut on the hood latch interfered with the air deflector so I had to trim.
I checked my PCV valves and they worked as they should. At 20 miles the cans were dry, but smelled like Satan's burps. I checked again 120 miles and got this. So these cans work.
The oil is so clean It looks new. I changed the oil about 1200 miles ago with Kirkland synthetic.

Here is a link to my Google photos of the install.
https://photos.app.goo.gl/LQ5t7uPoW678oHaE9
