
It is a very easy procedure and requires the following:
Difficulty: EasyTools: Jack & stand, 19mm wrench (not socket/ratchet)Time: Roughly 20 minutes per rotor
Front:
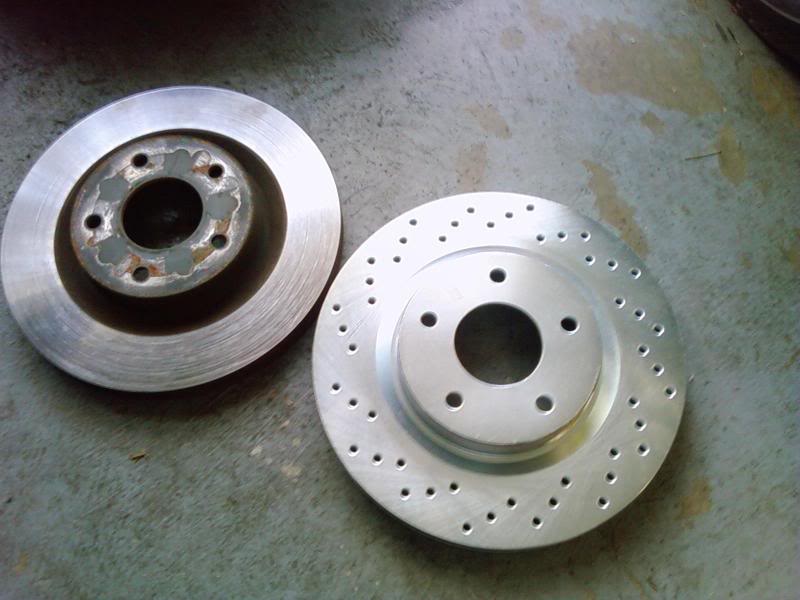
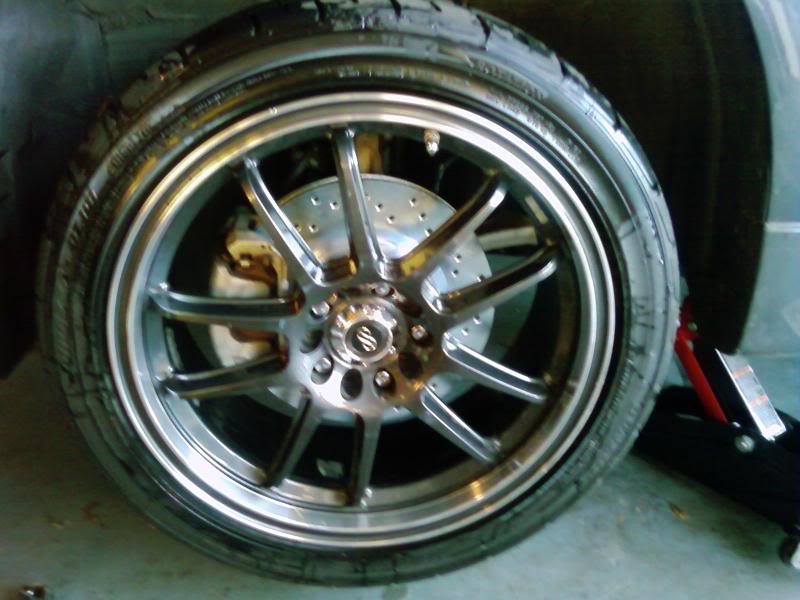
Comparison
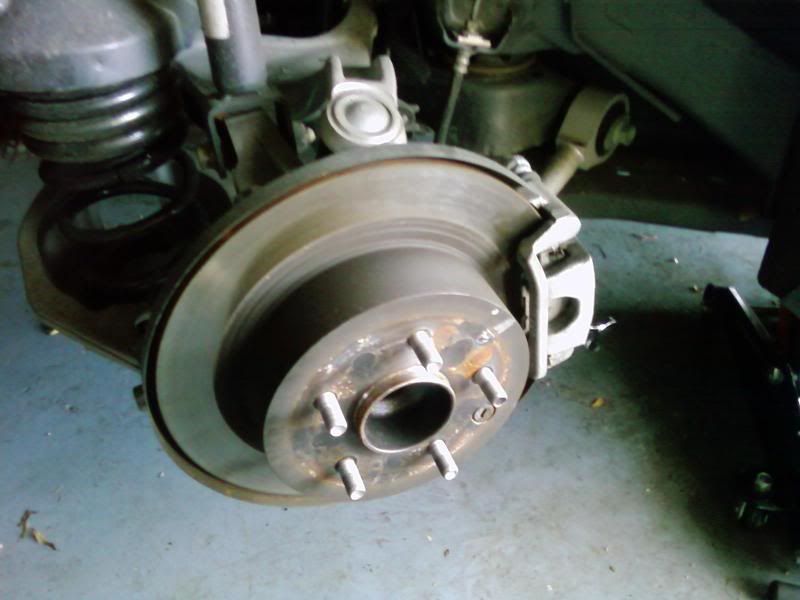
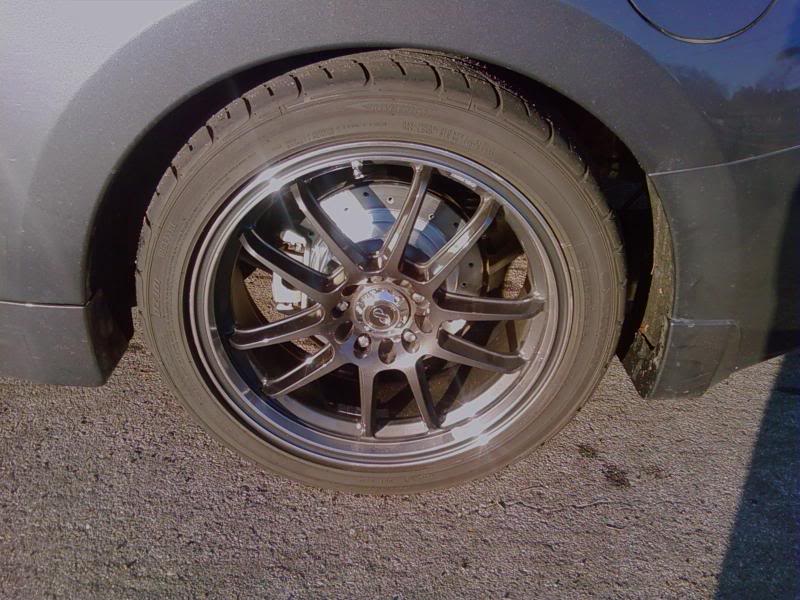
Step 1: Starting at the front, remove the wheel to reveal the dirty assembly.
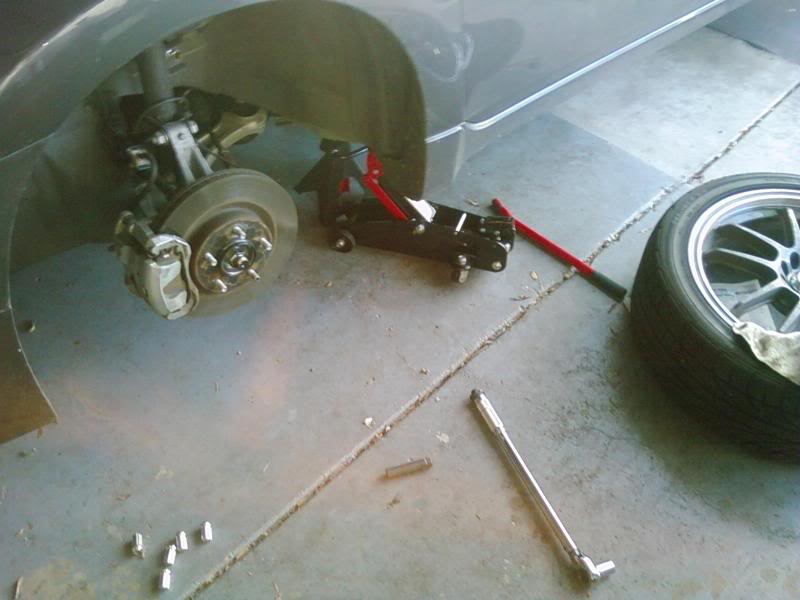
Ew.
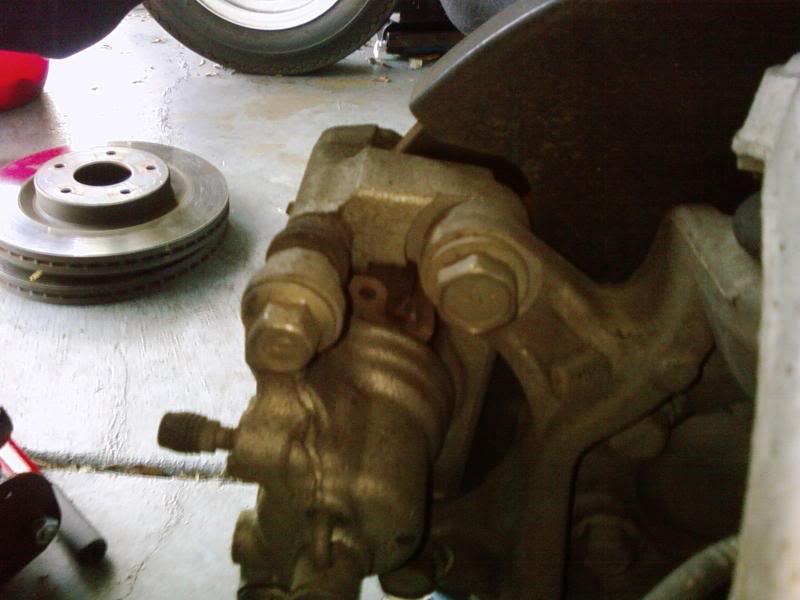
These are the bolts that will need to be undone. They are a pain to get to. Only one is seen in this pic, there is another bellow, out of the frame.
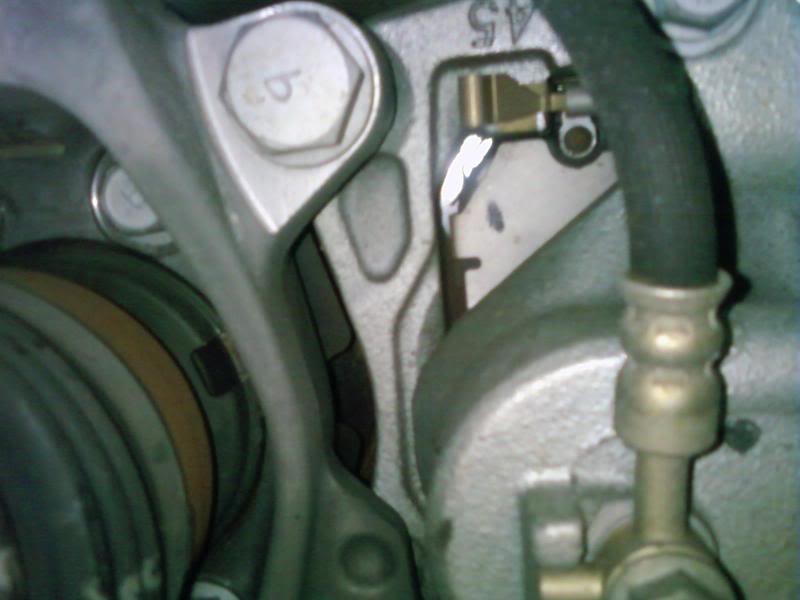
Step 2: Once the wheel is off the only thing holding the rotor is the caliper. To remove it, there are two 19mm bolts located behind the assembly, like in the pic above. These are a pain to get to, and are on there very tightly.
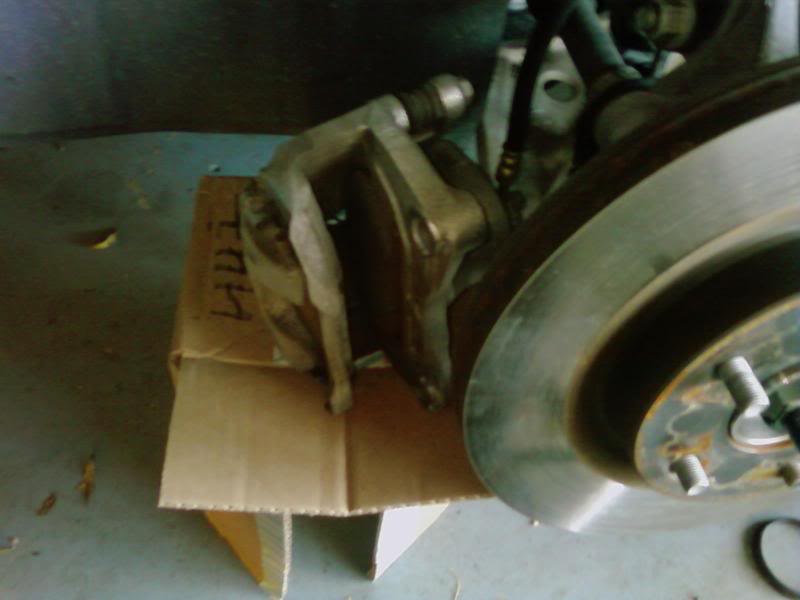
Once the caliper is off, don't let it hang by the brake line. I used a box to prop it up.
Step 3: With the caliper off the stock rotor comes off easily. Pop the new rotor on there, slide the caliper back on, tighten it up, and get the wheel back on as well.
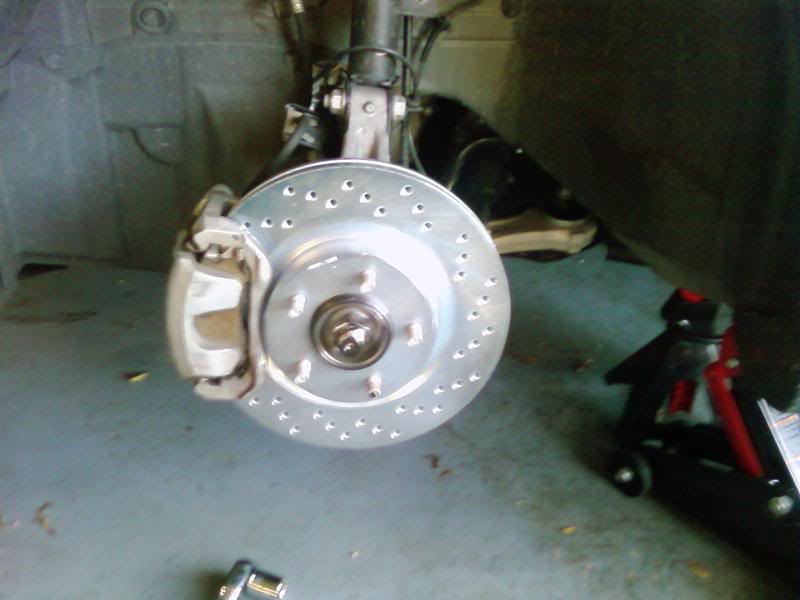
Nice! Repeat for the other side, of course.
Rear:
Step 1: Same deal; jack the car up and remove the wheel.
Step 2: Get the caliper off, same 19mm bolts.
This bolt was giving me a very hard time. There is very little room for anything, much less any kind of leverage. Had to hammer on the wrench to get it loose.
Step 3: Remember to disengage the E-brake! The rear rotor will not budge with the E-brake on. Swap rotors and tighten everything back up.
Shiny! Wonder how long it will last?
I also got new brake pads; they came with the rotors during a Stillen sale. I will stick those on once my current ones wear out, I guess.
Originally posted by Shift_Pig