
I just got the plastic pieces off today. I took a few pictures for those who havent done it yet but are planning on it. The key to all of this is patience.
Removing the Inserts
Take a screw driver and put it between the chrome piece and the grill at the far side. Gently twist the screwdriver to separate the chrome piece (you will here popping sounds. That's ok). Keep doing that all the way down the chrome piece, so that when you get to the bottom, there will be a good 1/3 - 1/2 of an inch between the chrome piece and the grill itself.
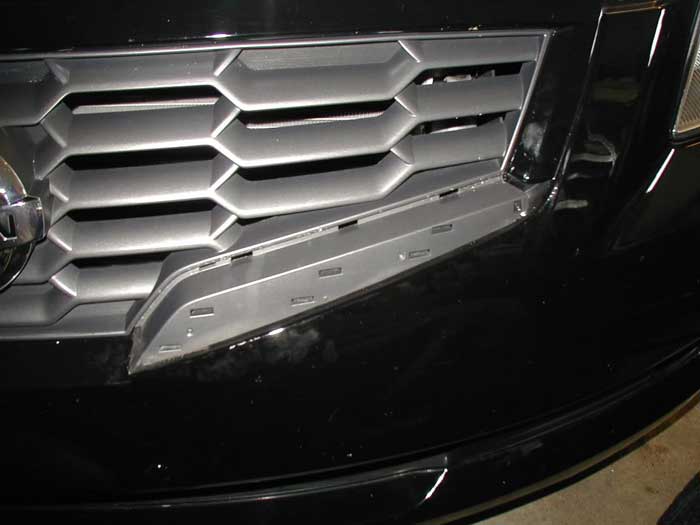
The important thing to know, which I didn't when I took the first one off, is that there are actual clips on the inside of the chrome piece (see picture).
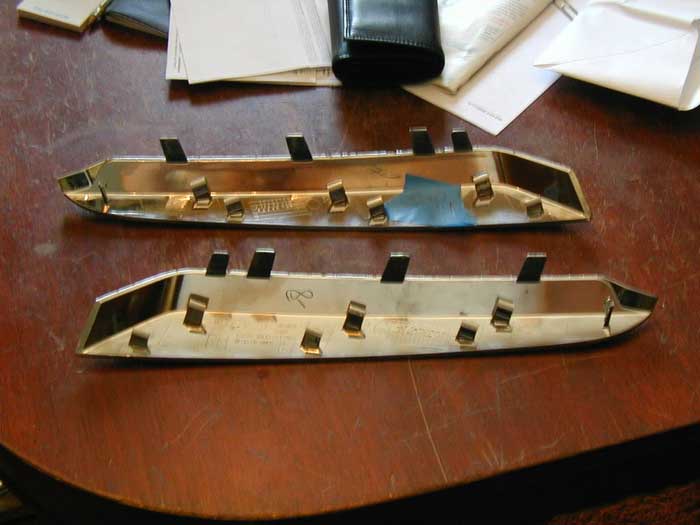
As I said before, when you turn the screwdriver, you will hear a popping sound. I'm guessing the popping sounds is from the 7 clips inside the piece that you can't see unclasping themselves (once it is out a bit, it is easy to see the 4 clips on the top).
Overall not too bad. Patience is the key.
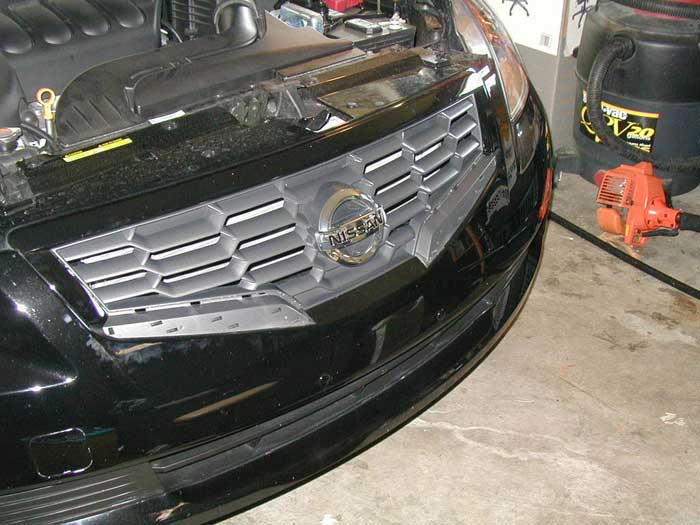
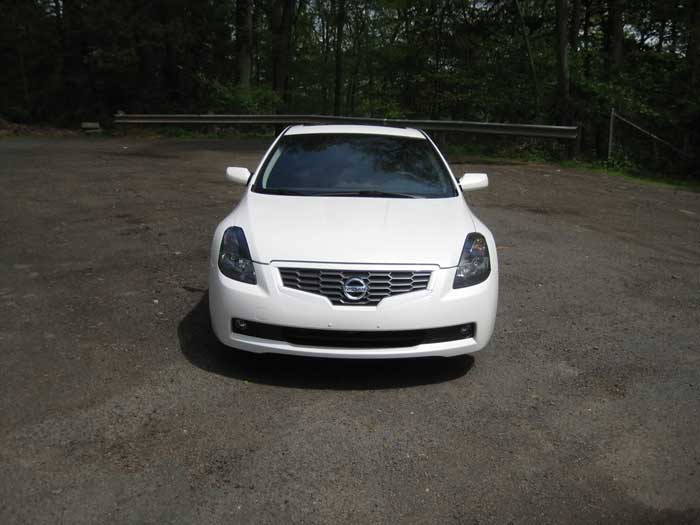
Painted and Installed
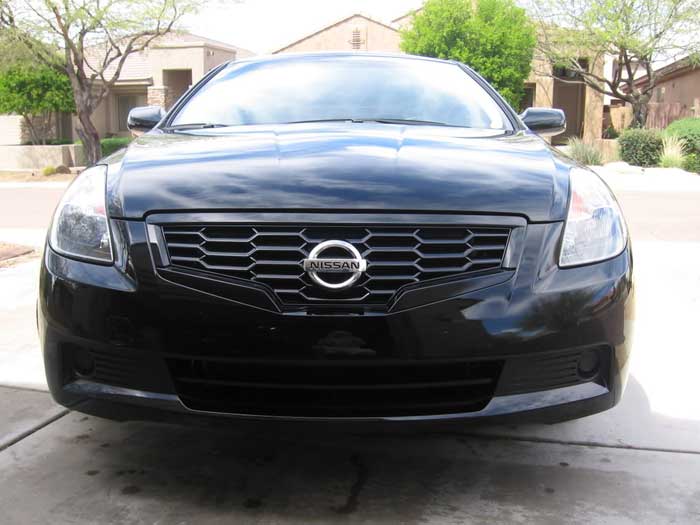
I finished painting the chrome inserts on my Altima coupe, and put it back on my car. The finish didn't come out exactly as planned, but it's better than the chrome for now.
I used Krylon Fusion and then a Krylon clear coat. Unfortunately nothing I did could get the glossy look that would match the car.
Here are some pictures:
stsxcrle's inserts:
Written by: Rmuth25