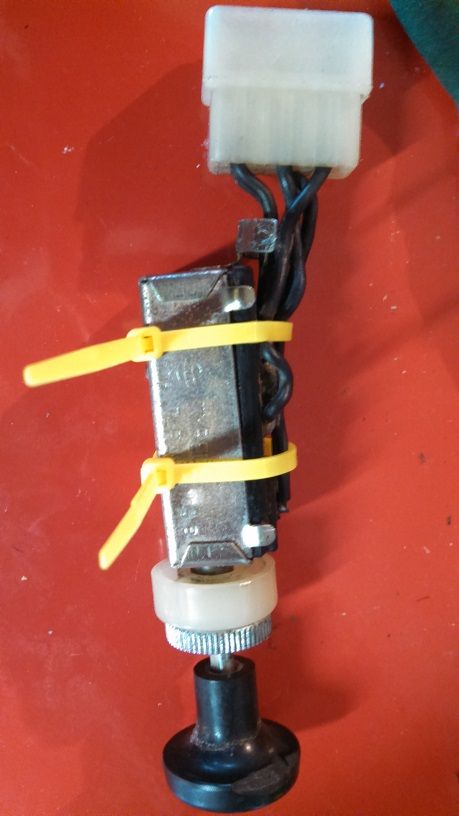
I rebuild everything I can (starters, alternators etc...). When I'm doing interior electrical, I also rebuild and fix up the switches. Often, when a switch doesn't work well it is just oxidation or crud on the contacts. When I work on it, I disassemble carefully to make sure I know where the contacts & springs go. Then after cleaning up the contacts, I zap strap it together to test it in the car. That way if I need to do more, I just cut the zap strap. I don't bend the metal tabs back until I am satisfied to avoid weakening the tabs and potentially breaking one.
Here's a couple of pics on it. This is the light switch out of the 70, running lights won't light up, head lights work. If I short the solder points, the running lights come on. So I know the contacts are just gunked or oxidized.
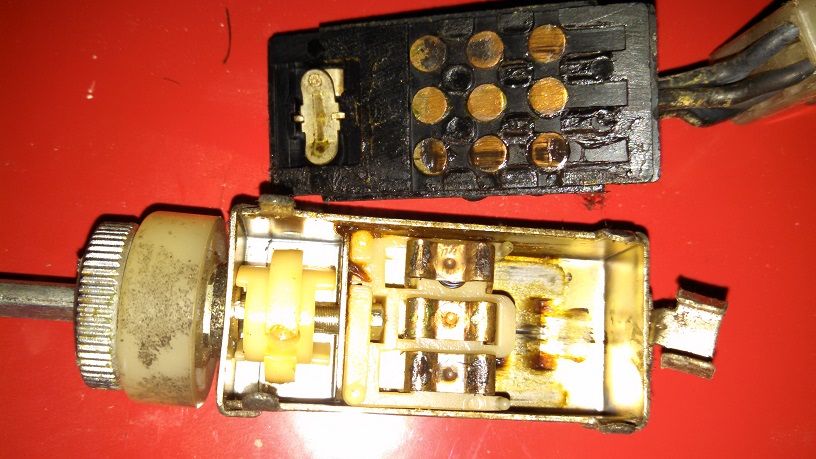
You can see the crud on the contacts, so I clean that up.
Now I have it reassembled with zap strap and test in car. I had to redo this 3 times. I had to stretch the springs a bit etc... Had I pressed the tabs back, and reopenned the tabs, I may have broken one. So I only press them back when I'm happy with it.