The black coating or paint on my OEM roof bar/racks(?) is flaking/drying out due to old age, and I was wondering how difficult it would be to remove them, and reinstall them back on? I was thinking of taking them off and repainting them. I’m a total noob to car repairs, and don’t really want to accidentally snap anything lol.
I inherited this car, and I’m pretty much trying to somewhat aesthetically restore it back to looking new, and daily it.
If you guys know of any video tutorials, and have any easy guides. That would help!
Thanks!
2004 Pathfinder Roof-Rack Bar’s
-
mdmellott
- Posts: 1269
- Joined: Mon Sep 02, 2019 3:32 pm
- Car: '13 Kia Soul+ 2.0L AT
'02 Pathfinder SE 3.5L AT P/4WD - Location: SF Bay Area, CA
Re: 2004 Pathfinder Roof-Rack Bar’s
You would have an easier go at it if you were to simply mask off the entire roof rack, drape a drop cloth over the entire vehicle, and then paint the roof rack in place. The rack is bolted to the roof from inside the vehicle. See illustration on page BT-42 >>> https://www.nicoclub.com/service-manual ... 4%2Fbt.pdf
To access the nuts fastening the rook rack in place, the headliner must be removed. To remove the headliner, page BT-36, you practically have to strip the entire interior of your vehicle. The crossbars can be removed and painted separately.
To access the nuts fastening the rook rack in place, the headliner must be removed. To remove the headliner, page BT-36, you practically have to strip the entire interior of your vehicle. The crossbars can be removed and painted separately.
Re: 2004 Pathfinder Roof-Rack Bar’s
Thanks for the tip! That sounds like a way easier solution!
-
Hawairish
- Posts: 463
- Joined: Sat Nov 08, 2014 1:43 pm
- Car: 2004 Nissan Pathfinder SE 4WD
- Location: Surprise, AZ
Re: 2004 Pathfinder Roof-Rack Bar’s
This isn't accurate. There is hardware that is hidden by the headliner, but these mounts do not need to be disturbed (and shouldn't, as the nuts on them will drop onto the headliner). The roof rails are mounted to these mounts, and the rails are entirely accessible from the exterior of the vehicle (no interior work required whatsoever).mdmellott wrote: ↑Sun Jul 25, 2021 11:20 pmYou would have an easier go at it if you were to simply mask off the entire roof rack, drape a drop cloth over the entire vehicle, and then paint the roof rack in place. The rack is bolted to the roof from inside the vehicle. See illustration on page BT-42 >>> https://www.nicoclub.com/service-manual ... 4%2Fbt.pdf
To access the nuts fastening the rook rack in place, the headliner must be removed. To remove the headliner, page BT-36, you practically have to strip the entire interior of your vehicle. The crossbars can be removed and painted separately.
Hungry01, your other post said you have a 2004. I presume you have the "SE" rack, which is the one with an upper rail, "PATHFINDER" decals on the upper rails, huge obnoxious oval cross bars, and a wind deflector. If not, the instructions are pretty similar, just less parts (only lower rails and crossbars). Removing either is pretty trivial...once you get the caps off.
Start by removing the caps at the rear of the truck. The caps are awkwardly shaped covers with hidden friction clips inside at the top. Lift the caps straight up, carefully (you may need a pry tool to get started). They can be brittle, and they are getting hard to find. Once removed, it'll expose a pair of torx head screws (T25, IIRC) with rather large heads. For the non-SE rack, there will just be smaller caps that has an exposed torx screw. Remove those caps.
If you have the cross bars still attached, they can only be removed once the plastic "uprights" are removed. The uprights support the upper rail and connect to the roof with two Torx bolts, and a smaller screw that attaches the upper rail to the plastic upright. Remove those 3 screws ONLY, then remove the upright from the vehicle; repeat on other side. The cross bars can be slid to the rear and off the vehicle. To remove the upper rail, you just need to remove another small screw that connects it to the front upright. The upper rails are aluminum extrusions; a wire cup brush cleans them off pretty well.
If that's all you want to remove for painting, then stop there. If you also want to remove the lower rails (those mounted directly to the roof), then you need to remove the front cap (same lift-up fragile plastic as the rear), and then remove the two torx screws (also large heads) holding the wind deflector. Do not remove any other screws.
At this point, you'll have removed 8 torx bolts; 4 per rail (1 long, 3 short), 2 per end. Near the middle of the rail in the channel, there are two more exposed torx heads. If you want to remove the lower rail from the roof, remove those two screws. The rail will feel stuck to the roof, but that's because of the weatherstipping that's been sandwiched forever. Gently pry up the rail.
After everything is removed, you'll see 6 remaining cleats on the roof, each with two torx heads. Don't touch these at all, except if you want to check that they are tight. If you loosen the torx screws on them, the nuts that secure them to the roof will fall onto the headliner. These are the mounts mcdermott was warning about.
When it comes time to reassemble, just reverse steps. Note that the bottom rails have a minor arc to them, so when placed back on the roof, there'll be a little gap. You may need to apply some downward pressure on them in the center when installing the two screws so that they catch into the threaded cleat. The screws are pretty short, but they'll grab.
-
The Grand Pooh-Bah

- Posts: 49
- Joined: Fri Nov 22, 2019 6:41 pm
- Car: 2001.5 Infiniti QX4
- Location: Idaho
- Contact:
Re: 2004 Pathfinder Roof-Rack Bar’s
Will this method work on a 2001 QX4?
-
Hawairish
- Posts: 463
- Joined: Sat Nov 08, 2014 1:43 pm
- Car: 2004 Nissan Pathfinder SE 4WD
- Location: Surprise, AZ
Re: 2004 Pathfinder Roof-Rack Bar’s
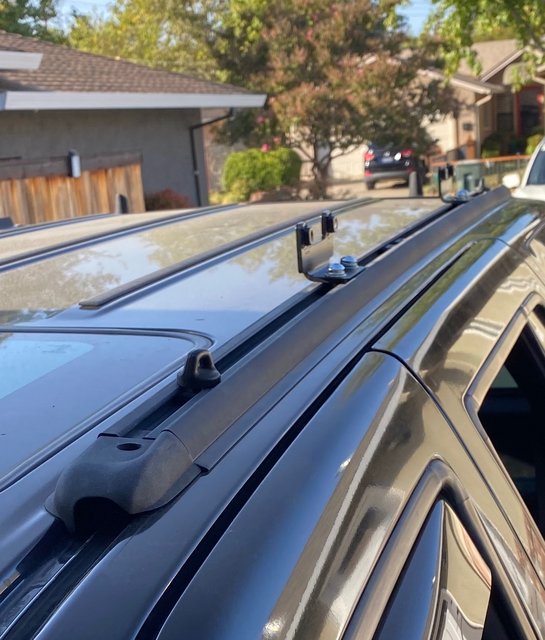
Yes. It's identical to the non-SE process. The end caps has a recessed hole for a screw, and there's another in the rail channel. Same logic applies here: only remove those two exposed screws, and not the two on the cleats mounted to the roof (one will be hidden by the rail).
This is a 2002 QX4 cap:
And FYI, all the lower rails are identical (well they are left/right, but same across all vehicles originally equipped with roof racks). An SE rack can be installed on a non-SE roof, provided you have all the parts, of course...and it's bolt-on.
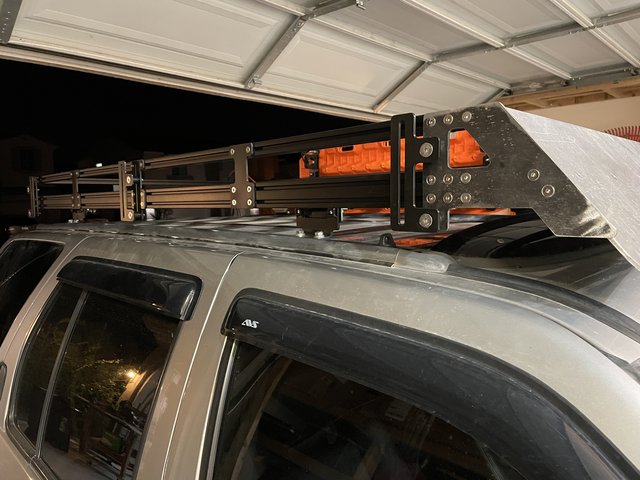
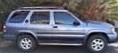
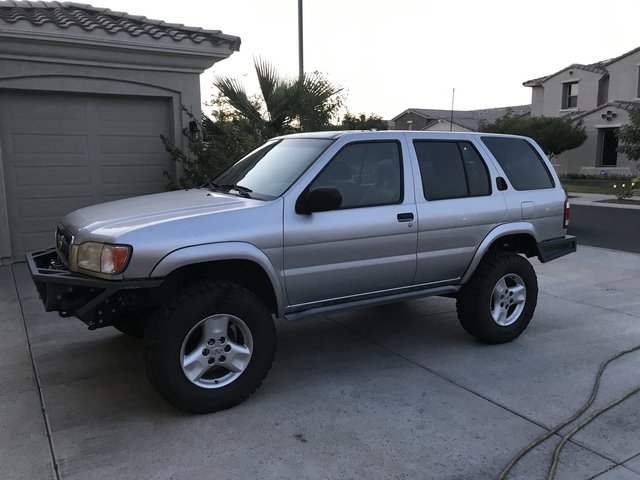
Also, the info I've provided is first-hand. Over the past year, I've designed and built a few extrusion-based roof racks for all of the previously-discussed roof rails, including my own. I pulled mine and repainted it all a few months ago. In case you're wondering, an SE truck (mine) without a roof rack looks strange:
These are the racks I've done for myself (04 SE) and two buddies (02 QX4, 03 LE), for show-and-tell:
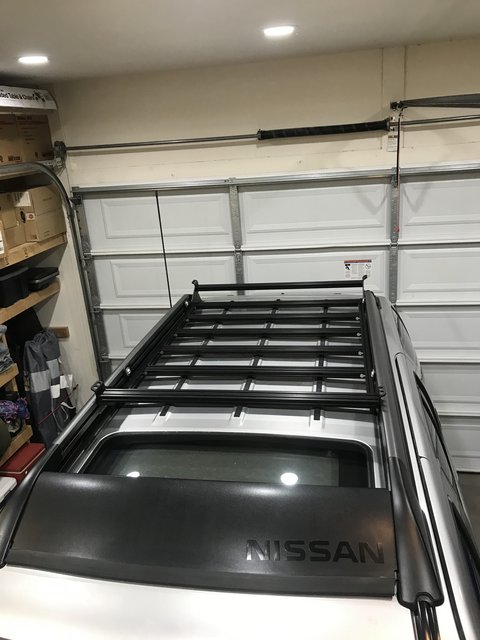

The long arm is for awning support. We eventually modified the rack to full length to add a few more square feet of rack space.