I will be showing you two different kinds of tie rod spacers.
The bolt on type (only one needed):

And the slip on type (1-2 needed depending on installation)

The slip ons are usually 6-7mm in thickness. Any thicker, and you run the risk of not having enough threads screwed into the rack.
Now, when installing spacer, it would be best to overhaul every component while you're in there, since you'll have to take everything off to install them.
My recommendations:
New inners, new outers, new boots, new hardware.
One note about the inners: when running these spacers, I highly recommend running Z33 inner tie rods ends. I explain why and show comparison shots between Z32 and Z33 inners in this thread: z32-vs-z33-tie-rod-comparison-t540340.html
Now, onto the install.
Bolt On Spacer (passenger side only)
If you have the thicker bolt on spacer, that one will go on the passenger side. Now, you're probably wondering why not run two thick spacers, one per side, for maximum angle. Well, the reason is, the driver side runs out of travel before the passenger side does. So the rack will bottom out before the spacer can be used effectively. Therefore, only a slip on spacer will work best on the driver side. So save your money, and the headache of not being able to align your car because you spaced your tie rods out too much, lol.
Let's begin:
Your rack should look like this at this point:

Everything off, even the tie rod end locker, that square looking thing that was wrapped around the square end of the inner tie rod end. You will no longer be able to use that. Instead, we will be using blue thread lock to secure the tie rods/ spacer to the rack.
Before anyone says this is unsafe, I ran with that set up for 2 years, with monthly track events, and lots of daily driving without issues. IMO, it's a non-issue.
Back on track. You want to put some blue thread lock on the threads of the bolt on spacer like so:

Then just screw it in to the rack. Make sure it is snug against it when you tighten it all the way down.

Next, you want to place some threadlock on the threads of your inner tie rod end, just like you did on the spacer.
Then screw it into the spacer. Again, when you tighten it down, make sure it seats all the way against the spacer, like so...

Slip the boots over the assembly, tie it down with the metal wire, install the outer tie rod end, and bolt it down to the spindle, and you're done.
Slip On Spacer
Now, this section will work for driver side and passenger side if you only have slip on spacers at your disposal.
This is what it should look like, already installed on the tie rod end.

Much like with the bolt on spacer, you will not be able to use the tie rod end locking clip. So threadlock will be used again
Again, apply some threadlock to the threads, and screw it into the rack. Make sure the spacer seats fully against the rack as shown here


Slip the boots over the assembly, tie it down with the metal wire, install the outer tie rod end, and bolt it down to the spindle, and you're done.
Centering the rack
If you're using one bolt on spacer, and one slip on spacer, you will need to recenter the rack. If you're using two slip on spacers, one per side, disregard this section.
Since you're using two different sized spacer, you will have more steering to one side, than the other. Since the thicker spacer is on the passenger side, you will be able to turn the wheel more to the right than to the left.
In order to fix this, you have to recenter the rack. It is a pretty easy process.
You will want to turn the wheel all the way to the right until it stops.
Mark the steering wheel at the 12:00 position.
From here, turn the wheel all the way to the left, and count how many turns you get. For me, I got 3 1/8 turns.
Now, divide the number of turns you got by two, and turn the wheel that many times back. So in my case, divide 3 1/8 by 2, and I get a little over 1.5 turns. So I turn the wheel back just a wee bit past 1.5 turns.
From here, you will need to remove your steering wheel. If you have a 90 Z32, this is easy. If you have an airbag, look up steering wheel removal, as I know there are specific tools needed to remove the steering wheel.
While removing the steering wheel, take care to not move the wheel, as you will uncenter the rack.
Once the wheel is off, you can reinstall the wheel with it being straight.
And you have now recentered your steering rack.
Keep in mind, that since you have spaced out the tie rods, you alignment will be toed in. So be sure to compensate for that by toeing the car out up front. This is only to get your car to an alignment shop, as you will be in need of an alignment.
The Results
Here are 3 pictures showing the differences in steering.
This is stock, full lock (pretty pathetic)
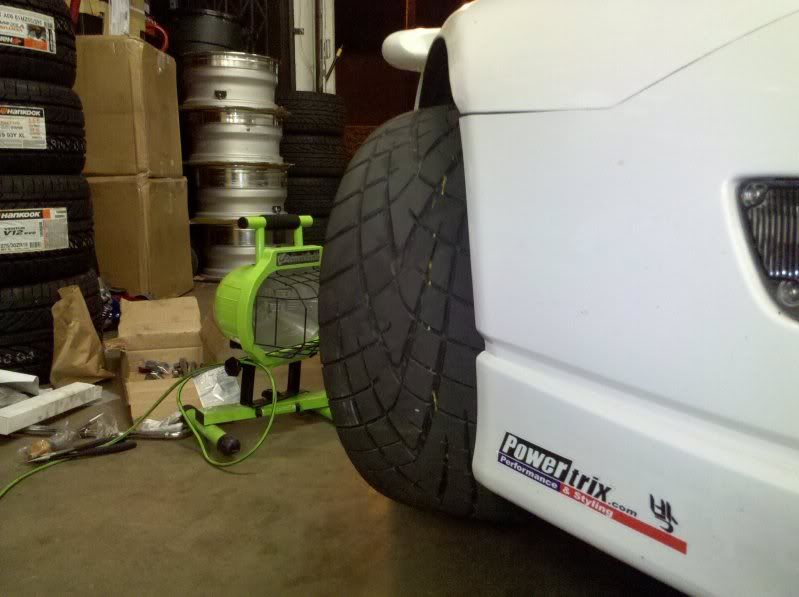
This is with (1) slip on spacer per side:
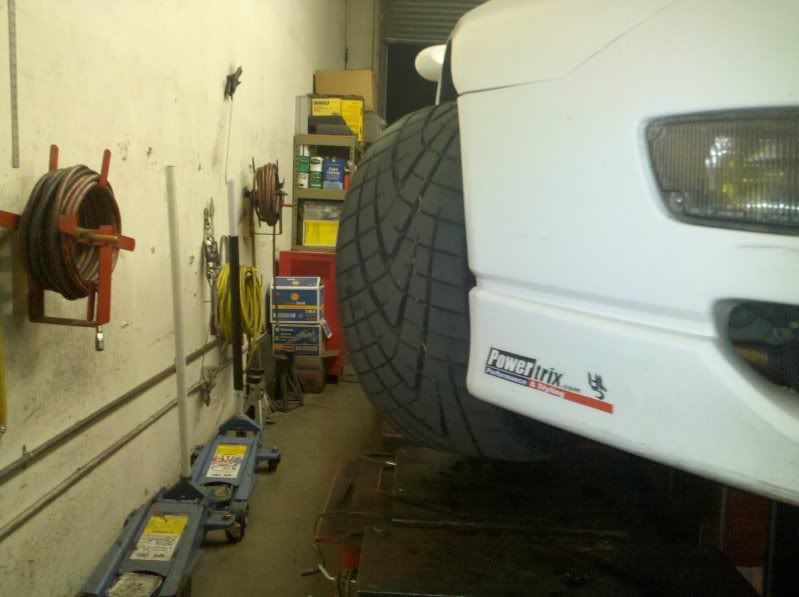
And with (1) slip on spacer and (1) bolt on spacer


If you have any questions, just post up and ask