
I knew my speedo head was bad and bought a used cluster with a working speedo but the cluster was a bit rough condition wise. So I decided to just change out the speedo head.
NOTE: If your speedo is acting funny in any way, but your odometer is working fine, then it's most likely a bad speedo head and not the trans sensor. I found this out the hard way.
Begin first by disconnecting your battery, I know it seems irrelevant, but only takes 30 seconds and could save something from getting fried.
Start by moving your seat all the way back, and clearing out your floor, you'll need some room. Also have a couple of cups or cans that can hold the bolts you will be taking out, very easy to lose them if you place them on the floor.

Remove the fuse access kick panel (not shown, just 3 screws) then remove the 7 lower bolts/screws (you can use a screw driver or a 10mm socket) from the lower valance panel. There are 5 under the steering wheel and two deeper under the steering wheel. You also need to remove the 2 screws that hold the hood release handle that is connected to the valance. All really easy to get to.
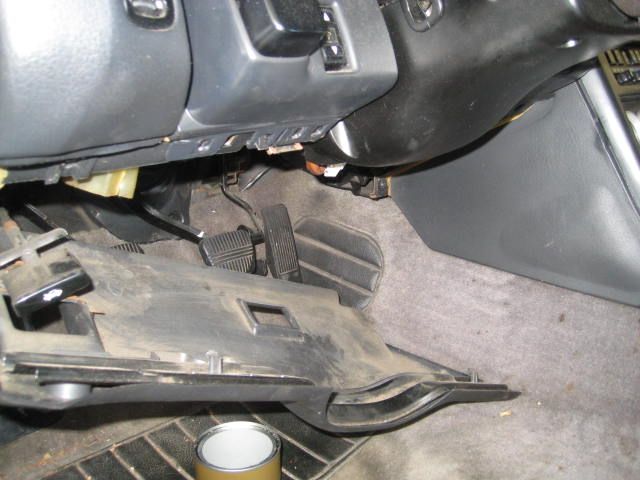
Drop the valance out of the way and remove it.
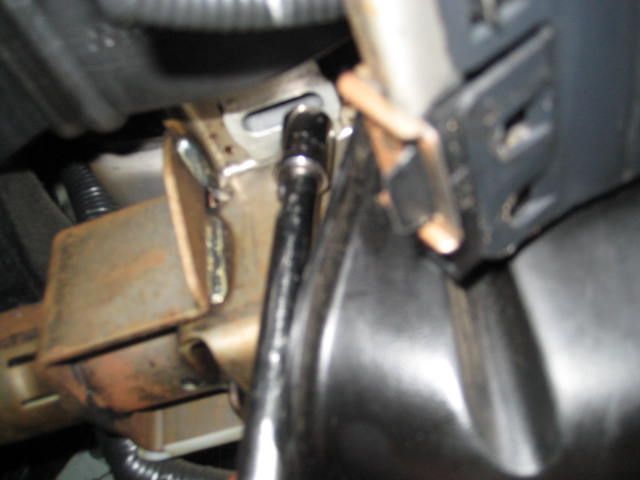
Remove the 2 12mm steering wheel column bolts.
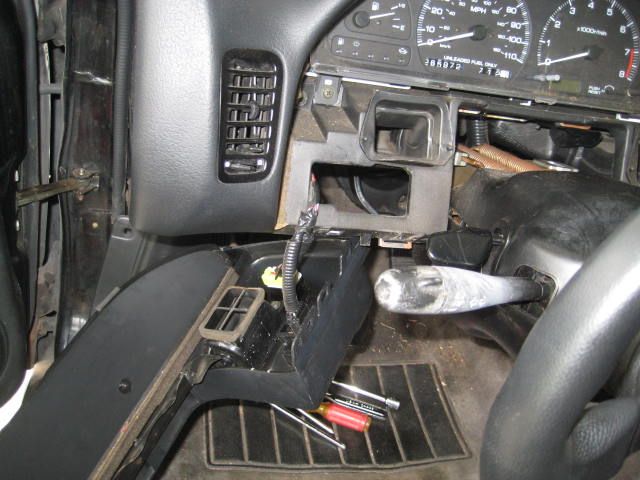
Drop the column down, don't worry you wont break anything. Just don't except the column to drop to the floor, it will drop about 4 to 6 inches.
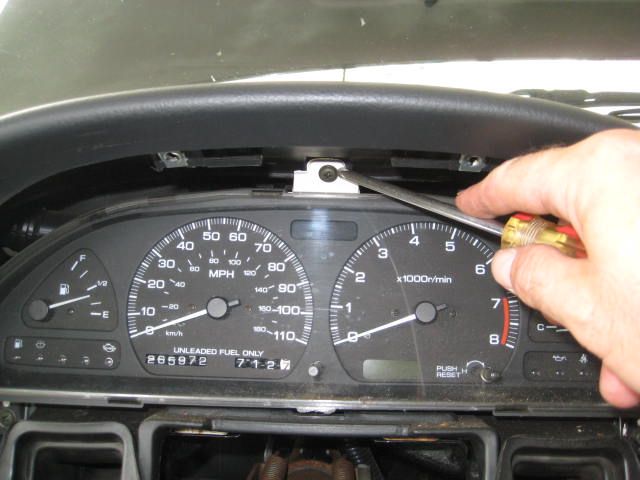
Remove the two screws above the gauge cluster using a stubby screw driver. Be careful not to scratch the bezel, using a long screw driver could do this, and might not give to the angle to need to get the screws loosened.

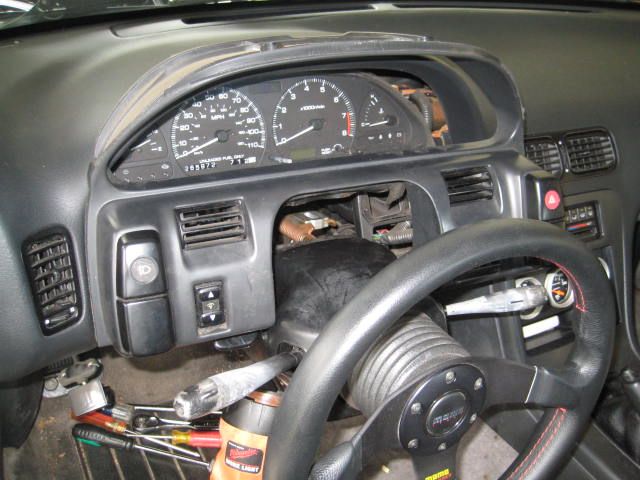
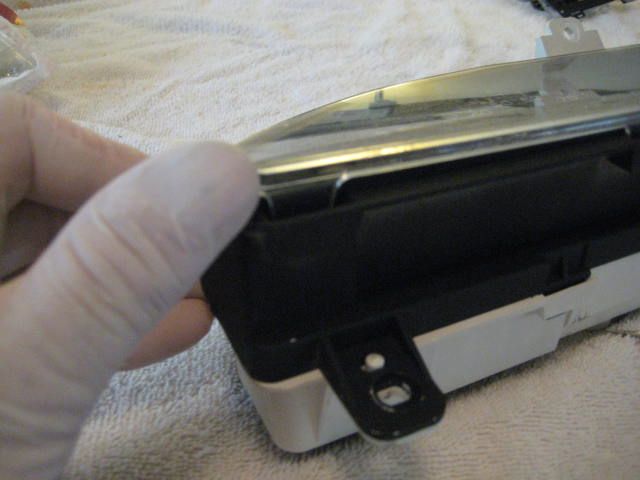
When you go to remove the gauge bezel, pull it out from the right side and swing it left. Be very careful, the plastic is easy to break, and you might have a couple wiring clusters that go to the hazard light switch that can hang up on you. Once it's free, disconnect the hazard light switch and the rear window defog switch on the right side and push down on the steering wheel while to swing it to your left. I found my dash around the cluster was holding it in and had to carefully push up on the dash to get it free. It can be a little bit of a pain, but take your time, it will come out.
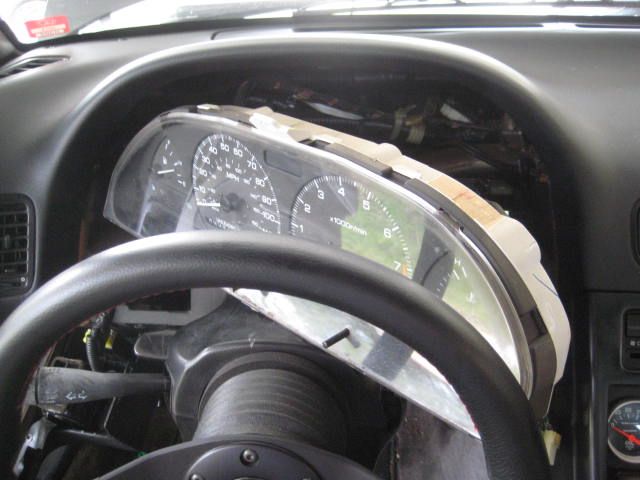
This is the bezel hanging out of the way, if you want you can disconnect the headlight pop up switch and the dash light dimmer and remove the whole thing, but I found it wasn't necessary.
Remove the 3 screws that hold the gauge cluster in place, very easy.
Once the gauge cluster is loose, carefully pull it straight out a couple inches, then, VERY IMPORTANT, swing the cluster from the right side while keeping the left side close to the dash.

This way you can easily disconnect the 3 plugs from the back of the cluster. Then remove it from the car.
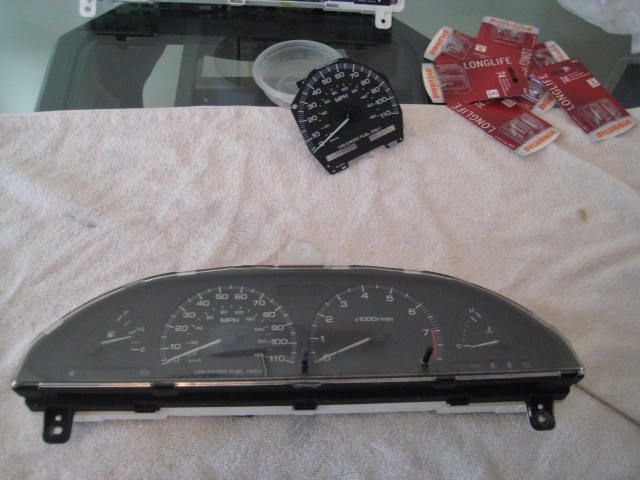
Okay, this is where I get a bit picky about how to do things,( must come from 25 plus years as a ASE mechanic ), so pick and choose how you want to do things. As you can see I placed the cluster on a towel to work on, this keeps any small parts from running away and it protects the clear plastic cluster cover from scratches.
Since you have gone to all the work to remove and repair your gauge cluster, spend the extra time and money and replace all your dash light bulbs. If you buy them from a parts store expect to pay $20 -$30 to replace them all. If you have time buy them on line for less than $10 shipped. BTW the bulb numbers are 194 and 74, might not be the number Nissan calls for but they work.
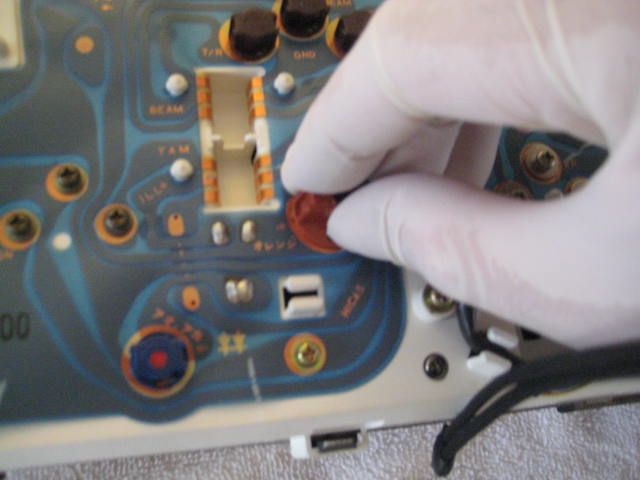
I like to wear gloves while working on plastic dash parts, it serves two purposes. One it keeps finger prints and dirt off your clean gauges, and the next I'll explain later. Remove on bulb holder one at a time, and make sure you keep the old bulbs separate from the new ones, because they're very easy to get mixed up.
There are 5 #194 bulbs, 3 are for the dash gauges, and 1 is for the low fuel light and one is for the battery light, (don't ask me why).
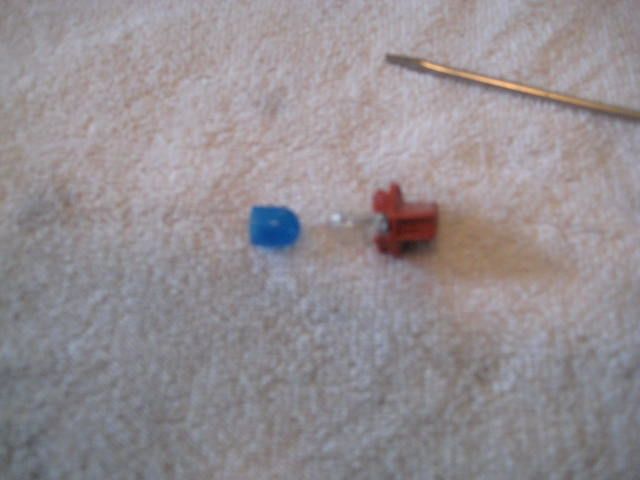
The 3 dash light bulbs are covered with a blue rubber like cover. You can change the color if you want, but don't just put straight white bulbs in the dash. It will be so annoying at night you probably couldn't stand it. Just carefully roll off the blue cover turning it inside out, then roll it back on the new bulb. Takes a couple minutes but it's pretty easy.
Make sure you wear gloves when you replace all your bulbs because the oils from your skin will make the bulb hotter and shorten it's life. If you don't believe me just look on the back of any automotive bulb package.
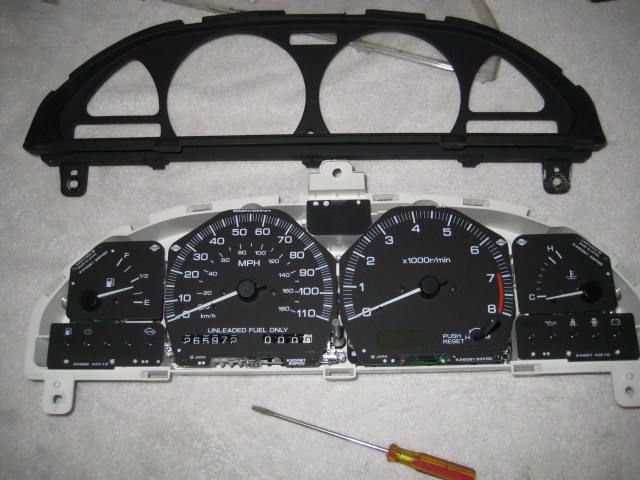
Now on to the speedo head replacement. Carefully push in and pry up on the clear tabs holding the clear plastic cover over the gauge cluster. You might need a small flat head screw driver to hold the cover up while you do this to get started. Once you get started it goes pretty quick. Be careful not to knock the other gauge needles once the cover is off, especially the fuel gauge. Could cause a calibration problem.

Now pry up on the black tabs the same way you did the clear cover and remove the black cluster bezel.
Now that you have the black gauge bezel removed, you can pretty much change out any gauge you need to. All of the gauges are connected on the back of the cluster with a few screws. My example is changing the speedo head, but they all follow the same principal.
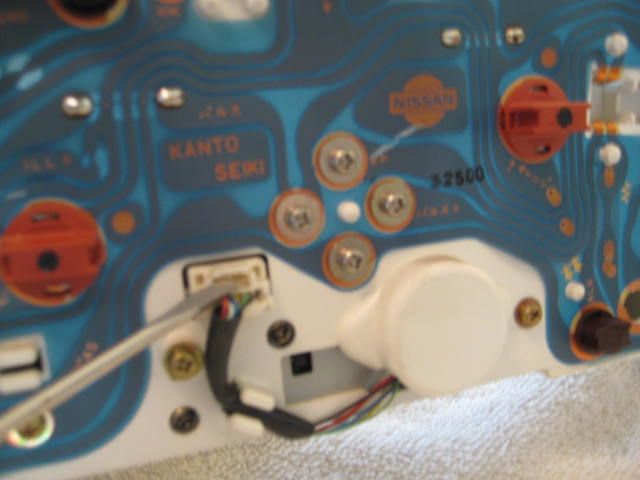
With the speedo, disconnect the odometer plug, and remove the four screws holding the speedo head in place. IMPORTANT ! Those 4 screws make the connection for the speedo head to the flexible circuit connector so don't lose them, and don't over tighten them !
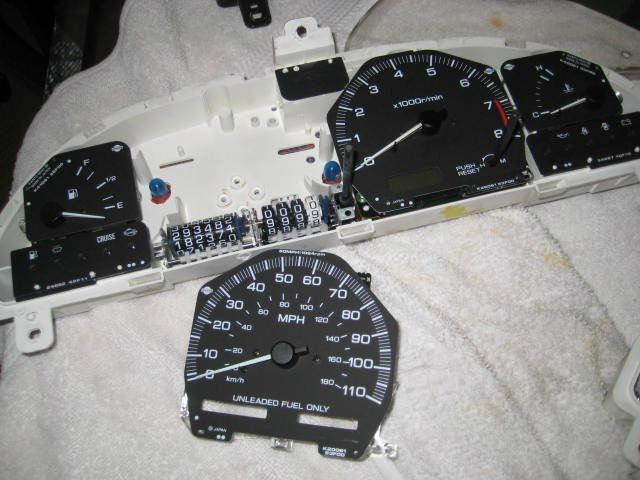
Remove the old speedo head and replace with your new one. Just repeat the steps backwards and you're done.