How To: affixing license plates
affixing license plates
Our Rogue was delivered today (yay!) and my first fun project was attaching the plates. I note some observations here for benefit of the forum, especially if anyone else is putting their own plates on in lieu of the dealer:
1. first, my front bracket was already affixed. so reading all those directions on page 9-11 of the manual was useless. the only one i needed was step 8
2. front plates just require two 6mm x 12 or 14mm (no longer or you'll hit the body) bolts. i prefer the screw in type. these were like a buck at home depot although they were out of the stainless steel ones so we'll go back when those are in stock
3. the back takes different ones ... screws this time
4. i bought some "fits most american cars" screws at the local advance auto parts and they were too wide and too long for the plastic inset that you screw them into. i only realized this after putting them on tightly and realizing that they would not come off and the plate was still loose. took forever to get them off and much plate scratching and screw stripping. i finally noticed there is a plate on the back of the door you can pop off to get to the plastic things that are too small for these "standard" screws. holding them still with one hand allowed me to remove screws in the usual manner
5. #10 x 3/4" screws fit perfectly on the back. got the fat head ones that look like a bolt that can be tightened w/ screwdriver
- Eikon
- Posts: 11036
- Joined: Sat Apr 24, 2004 3:20 am
- Car: 71 240z, 93 Supra TT
- Location: Lake Orion, MI
- Contact:
Re: affixing license plates (vox)
Well done vox!
You've just created the Rogue forum's very first "How To" article.
While your subject is not a complicated one, it still serves to create a fantastic example for the forum. This is a "How To" article. It's a tutorial on how to complete a do-it-yourself project for the Rogue to help other owner's work on their cars on their own.
For a more complicated project I would strongly encourage pictures to be posted for various stages of the "How To".
To encourage more people to share their work with the Forum, we offer a small reward for your work. The reward is a custom title under your forum name. For example, my title is "moderator".. Your title can be anything you choose... "Keeper of the Rogue", "Rogue's Rule", "sly like a vox"... be creative.. just no swearing or offensive material.
Think of a title you would like, and I will put it in for you.
Anyone else have an idea for a "how-to" article? Go for it!!! We'd like to have a broad array of subjects... Keep in mind that not everyone has the same mechanical aptitude. Some have never done their own oil change and would love to try it. Others may have pulled and replaced engines and are looking for tips on how to install piston rings or replace valves..
- Beagle_Hauler
- Posts: 52
- Joined: Sat Aug 18, 2007 3:46 pm
- Car: 1996 Suzuki X-90 & 1944 Ford GPW
Re: affixing license plates (Eikon)
Oh I'd love to do an oil change article if no else will. I have about 450 miles on her now, and I plan on doing an oil change after the 1200 mile break in. I'll snap pix with my digital and note the tools involved. I don't trust the oil change places, it's either dealer, or me. Every other oil change I'll do, and the others from the dealer (that way if they screw it up...) but more importantly, they can check for recalls and technical bullitens, etc. ~Beagle Hauler
Re: affixing license plates (Eikon)
Cool - thanks, Eikon. "Boston driver" works :-)
Re: affixing license plates (Beagle_Hauler)
yes -- oil change how to would be fantastic! please do
- Beagle_Hauler
- Posts: 52
- Joined: Sat Aug 18, 2007 3:46 pm
- Car: 1996 Suzuki X-90 & 1944 Ford GPW
Re: affixing license plates (vox)
It'll be my pleasure. I should hit 1200 miles or so by next weekend (11/24) but if I don't, I will do it the weekend after that. ~mark
-
albertwang16
- Posts: 91
- Joined: Sat Nov 03, 2007 4:32 am
Re: affixing license plates (Beagle_Hauler)
you need to do an oil change at 1200 miles? is there a schedule in the book? any other things need attention when hitting 1200 miles besides oil change?
- Beagle_Hauler
- Posts: 52
- Joined: Sat Aug 18, 2007 3:46 pm
- Car: 1996 Suzuki X-90 & 1944 Ford GPW
Re: affixing license plates (albertwang16)
No, I believe the first oil change is around 3000 miles. Probably 3750 or the like. I always change my oil after the break in period. I consulted our manual and the break in is at 1,200. You don't have to change your oil at 1,200 but I'm just saying that I prefer to. It's that old adage of: Small leftover shavings in the engine from assembly. It's probably not true these days and I happen to know that Porsche tests all their engines several times around the track and then changes the oil. For me, if it's considered "broken in" at 1,200, then I like the change the oil and start fresh at that point. I have no proof that it helps, or hurts, but at least I can bond with my car and learn how to do it before the first proper change at the dealer (3000+). Does anyone here plan on using synthetic?
~Mark
~Mark
Re: How To: affixing license plates
In my province front licence plate is mandatory, so the dealer delivered the car with the front licence plate already attached onto the bracket. If I am going to drive on gravel roads or drive longer than two hours, I install the nose mask for my Rogue. I can't keep the mask on the bumper because I learned that it damages the paint, so I have to remove it when I return back to home. Yes painful, but I will do my best to protect my bumper and it is worth the hassle.
Every time I decided to use the mask, I have to remove the licence plate bracket, install the mask and then attach the bracket onto the mask.
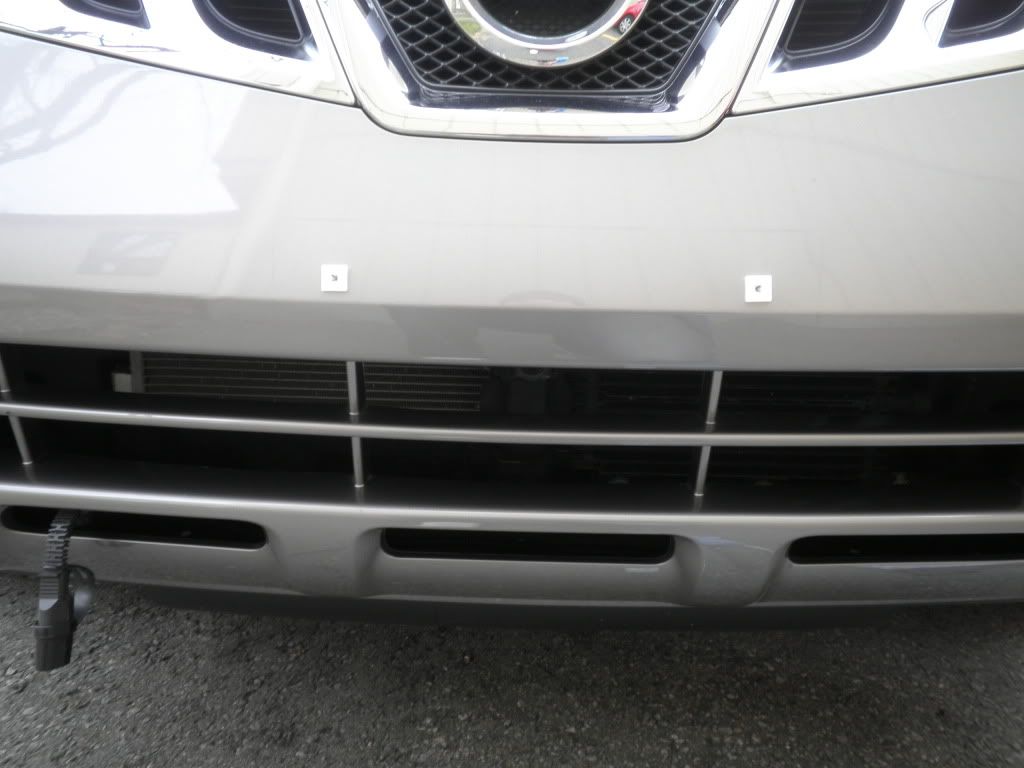
The idiots in the dealer installed the bracket by just screwing the screw to the bumper!!! Of course a metal screw and a soft plastic bumper fascia are not a good match. After my 10th or 11th installation of the nose mask, there were no "threads" left on the bumper. I looked at the FSM and owners manual and realize that there should be a "screew grommet" inside the bag that comes with the plate bracket, J nuts and screws. But since these idiots are so stupid and lazy, they preferred not to use a grommet.
I went to the dealer today and they said they have to order a new licence plate set (bracket, screws, grommet and J nut). After a short fight, I said "this grommet came with the bag from Japan and you didn't use and did a wrong installation. Now fix it". The manager came with a solution: He gave me two drywall plugs and screws and ask me use them as grommets . I am not kidding. It was an authorized Nissan dealer
  (that is why I started to do my brake service. They are totally stupid). Of course I didn't use this silly idea because the circular drywall plug will start turning over the plastic bumper when I try to turn the screw.
Anyway, here is my solution:
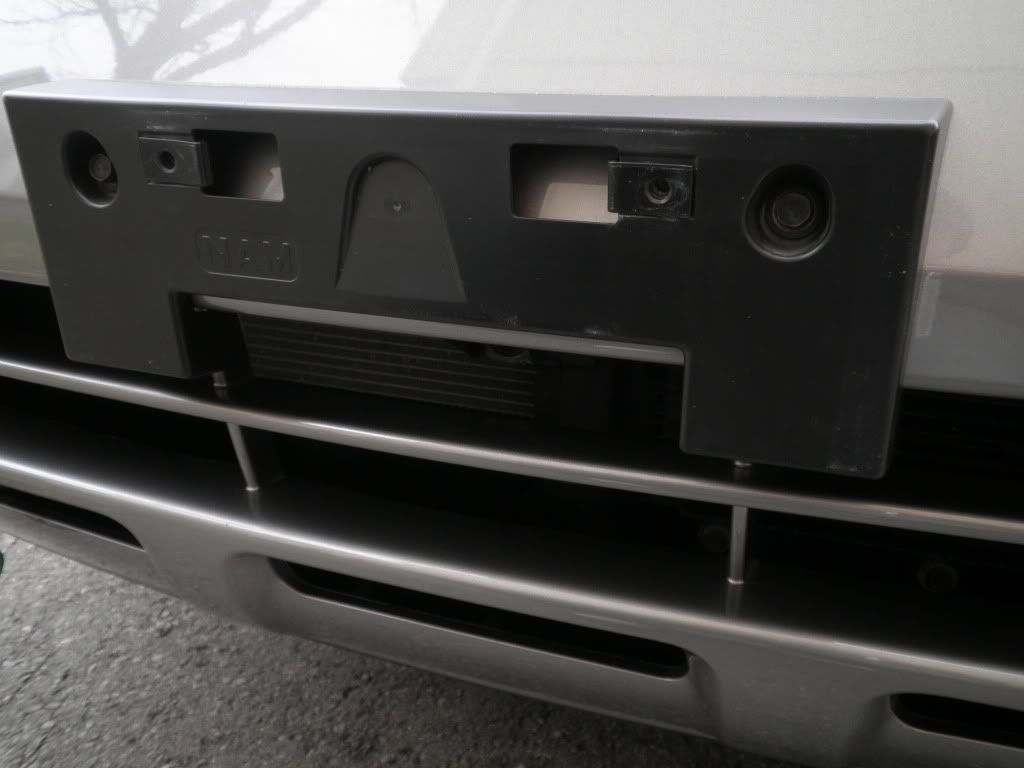
1. This is the bracket and two screws that they inserted to the bumper:
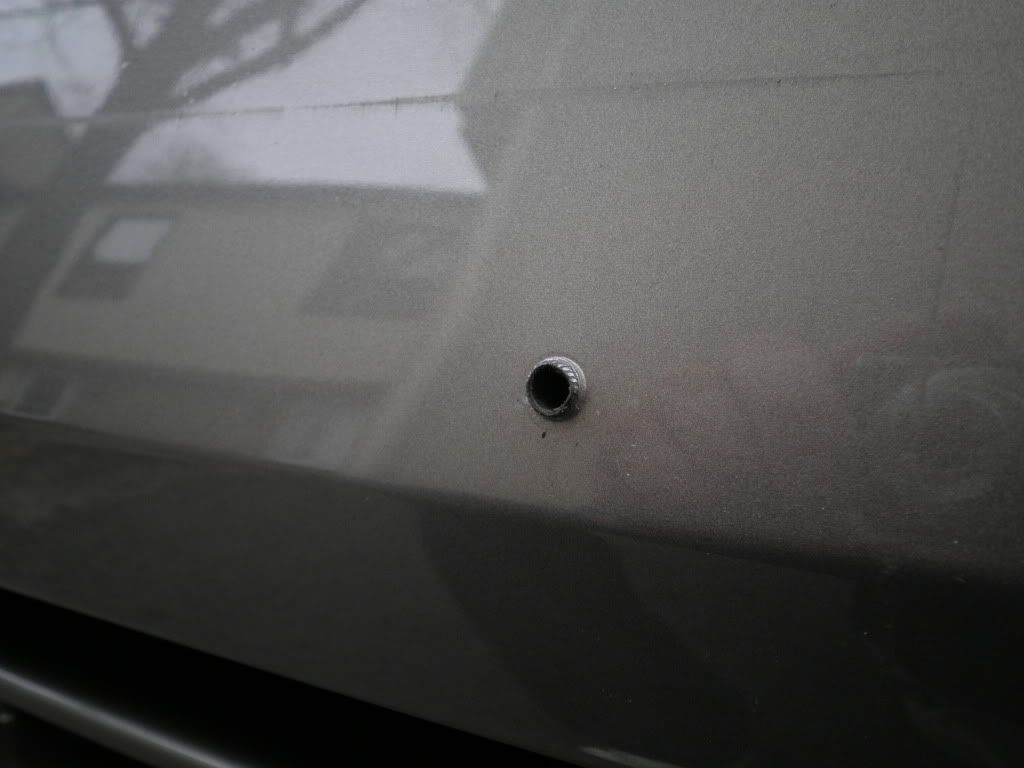
2. This is how it looks like when a brainless grease monkey installs a licence plate bracket to a bumper without using proper grommets:
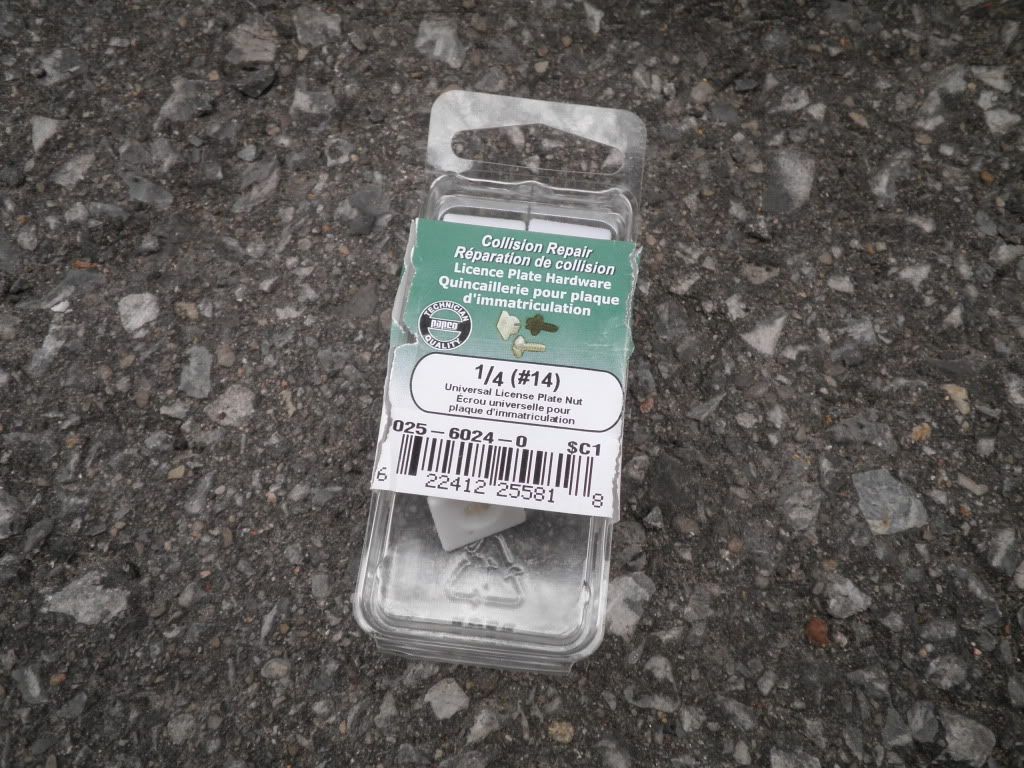
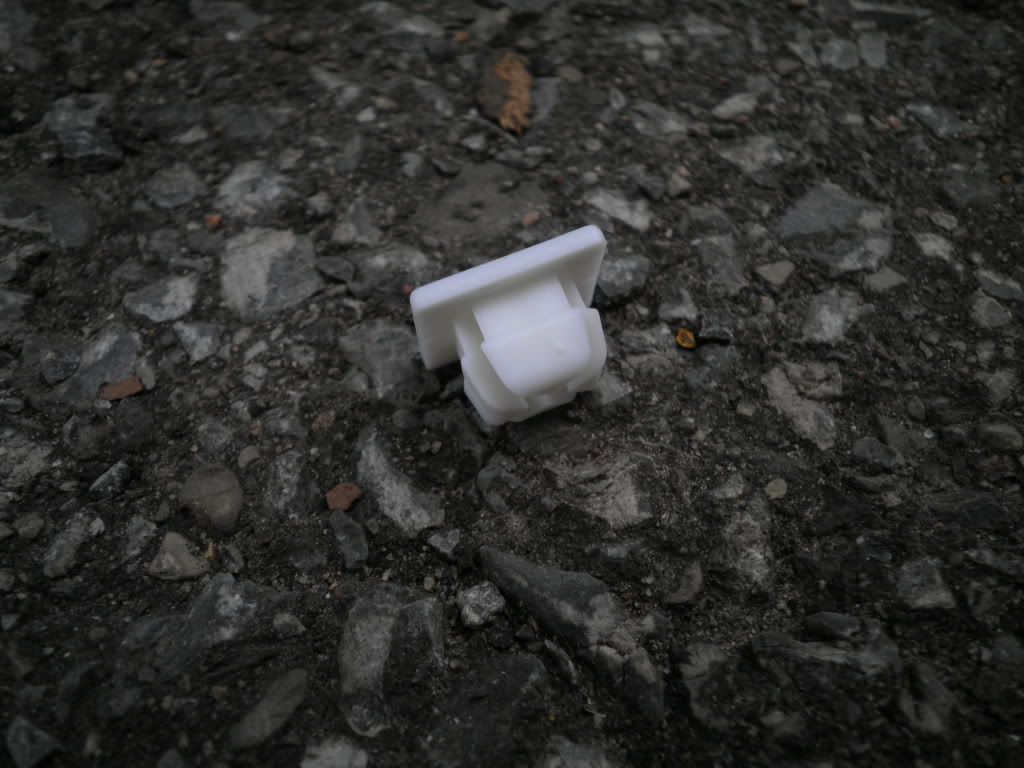
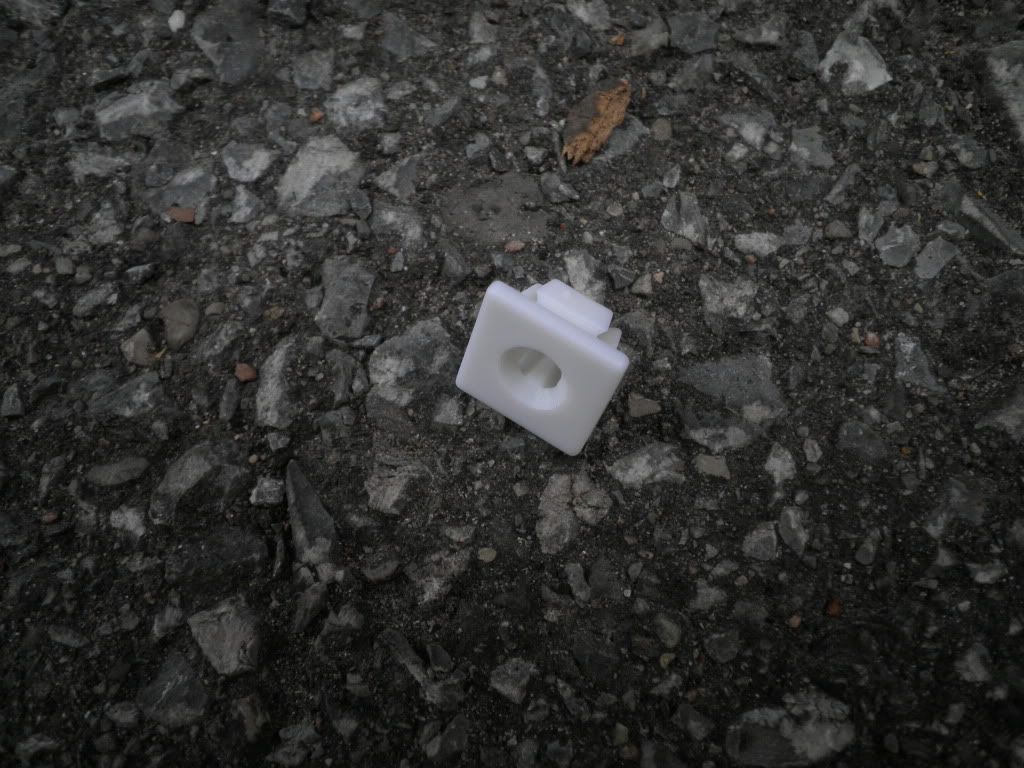
3. I went to an auto parts store and purchased this plastic grommet:
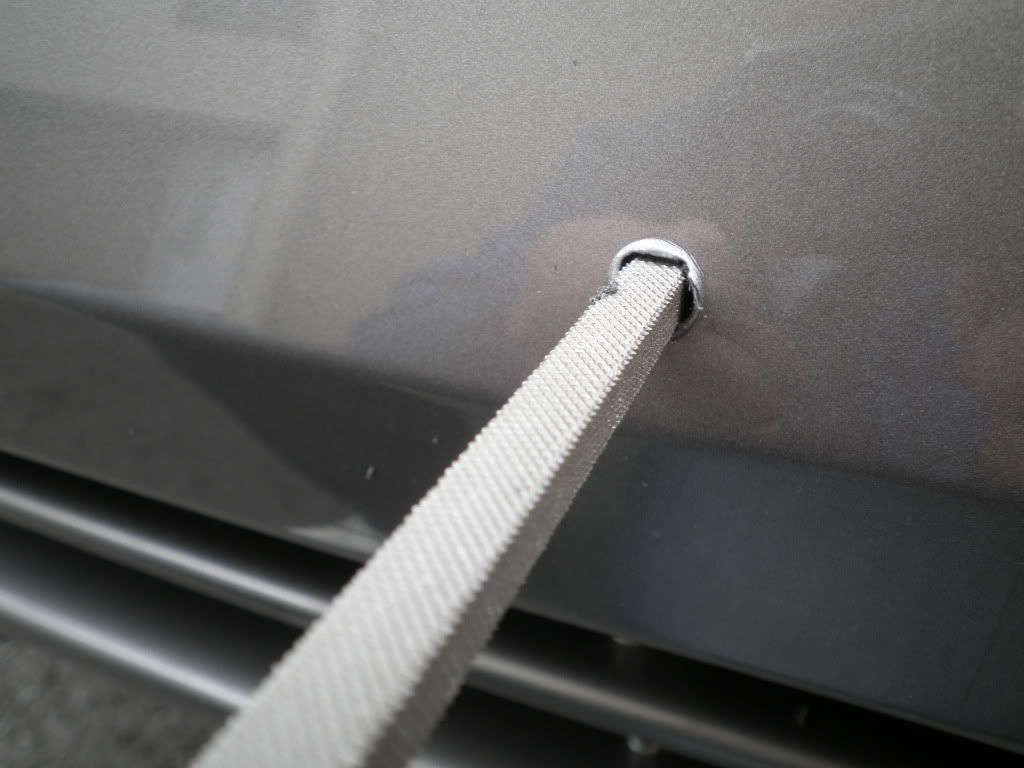
4. First I used a round file to enlarge the existing hole, cut the excess plastic around it and then by using a square file I prepared the hole for the grommet:
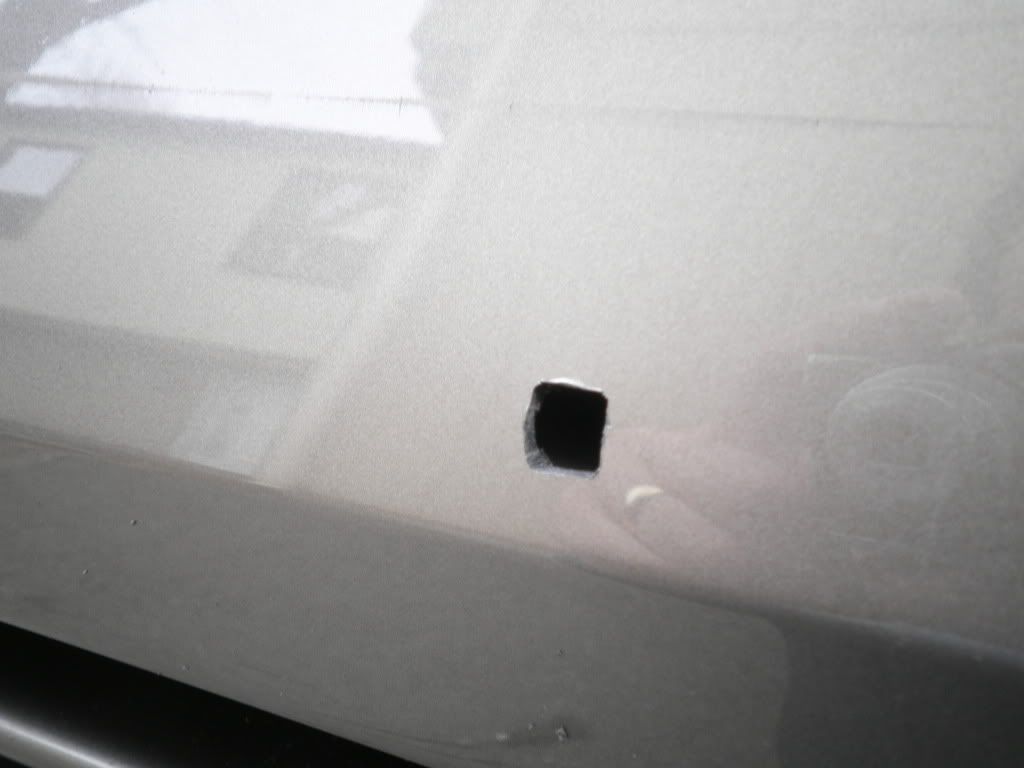
5. The hole wasn't perfectly square, but good enough:
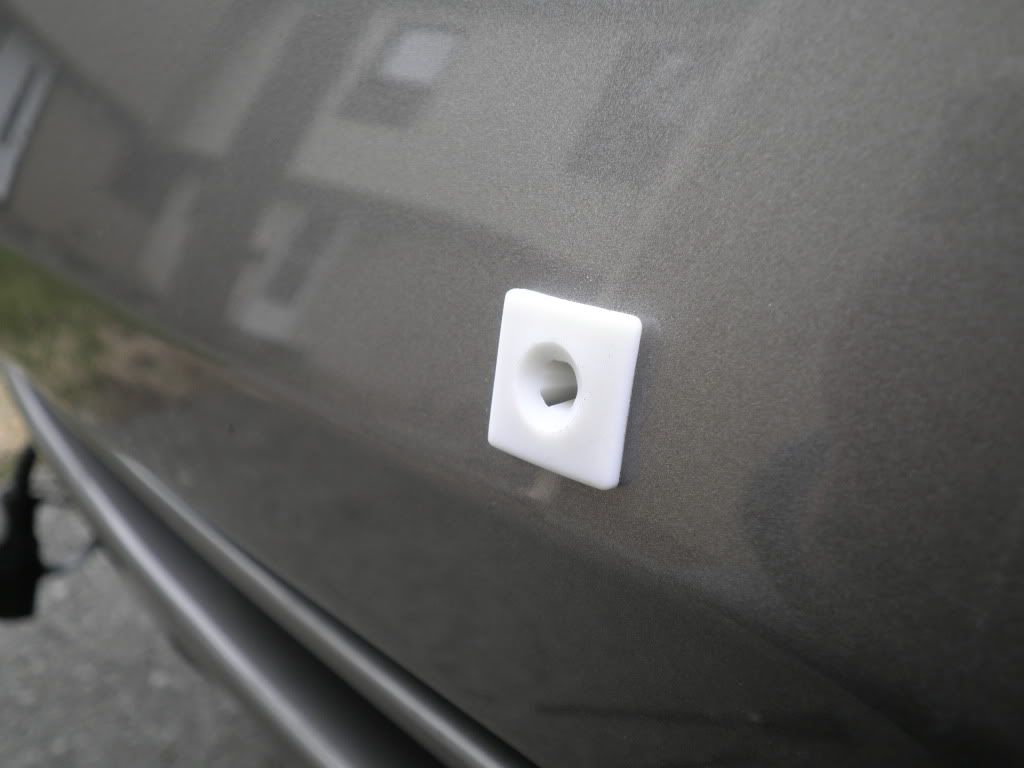
6. I pushed the grommets and they are in! Now I can use a metal screw and the hard plastic will have threads to catch the screw.
Every time I decided to use the mask, I have to remove the licence plate bracket, install the mask and then attach the bracket onto the mask.
The idiots in the dealer installed the bracket by just screwing the screw to the bumper!!!
I went to the dealer today and they said they have to order a new licence plate set (bracket, screws, grommet and J nut). After a short fight, I said "this grommet came with the bag from Japan and you didn't use and did a wrong installation. Now fix it". The manager came with a solution: He gave me two drywall plugs and screws and ask me use them as grommets
Anyway, here is my solution:
1. This is the bracket and two screws that they inserted to the bumper:

2. This is how it looks like when a brainless grease monkey installs a licence plate bracket to a bumper without using proper grommets:

3. I went to an auto parts store and purchased this plastic grommet:


4. First I used a round file to enlarge the existing hole, cut the excess plastic around it and then by using a square file I prepared the hole for the grommet:

5. The hole wasn't perfectly square, but good enough:

6. I pushed the grommets and they are in! Now I can use a metal screw and the hard plastic will have threads to catch the screw.


