Some photos:
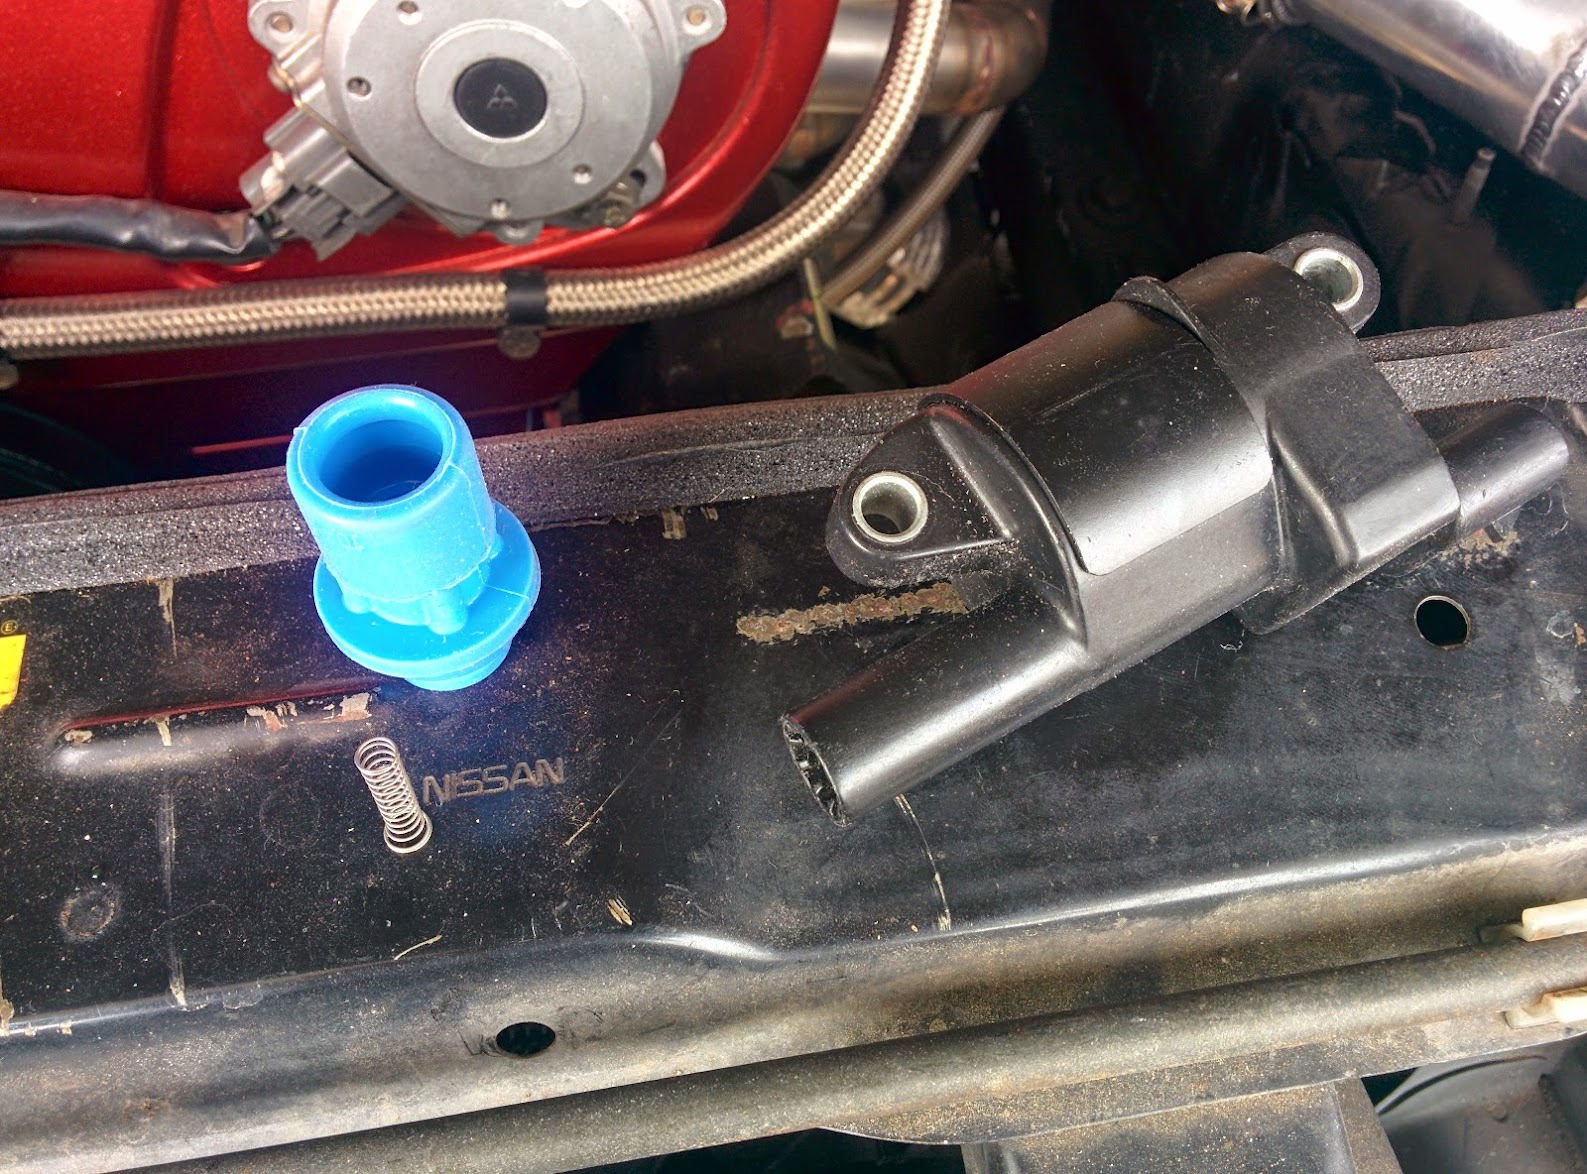
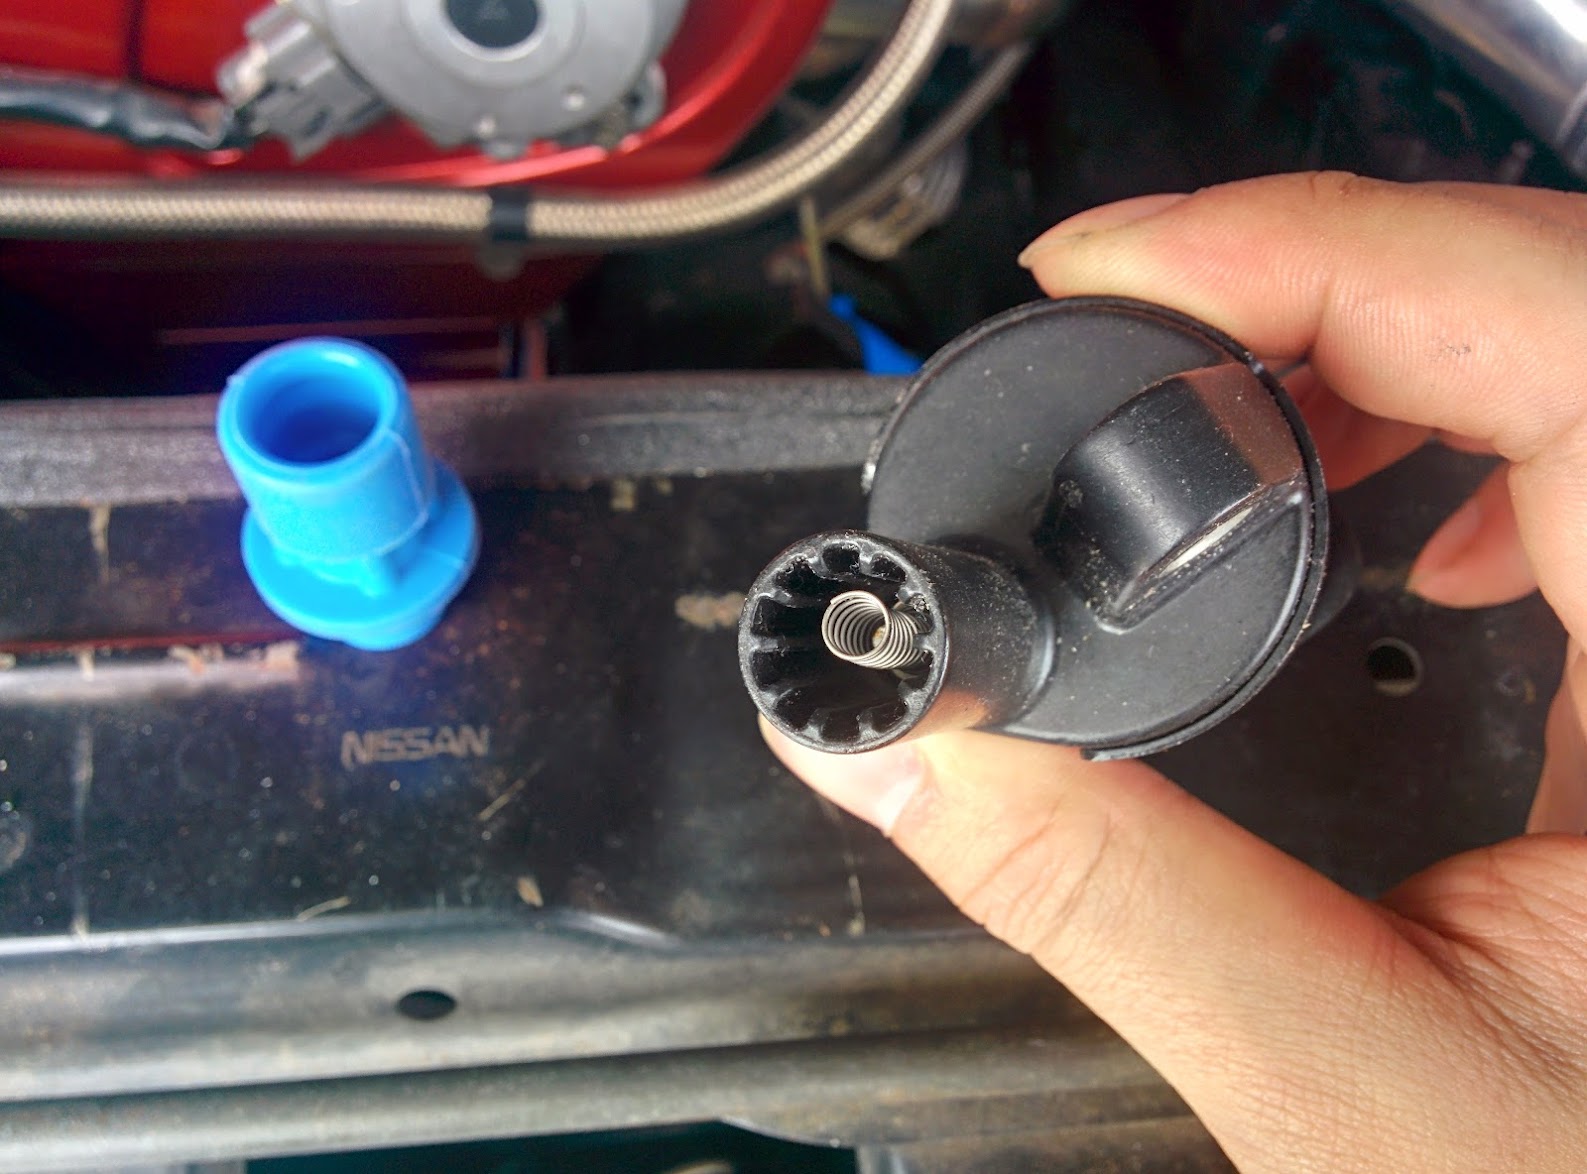

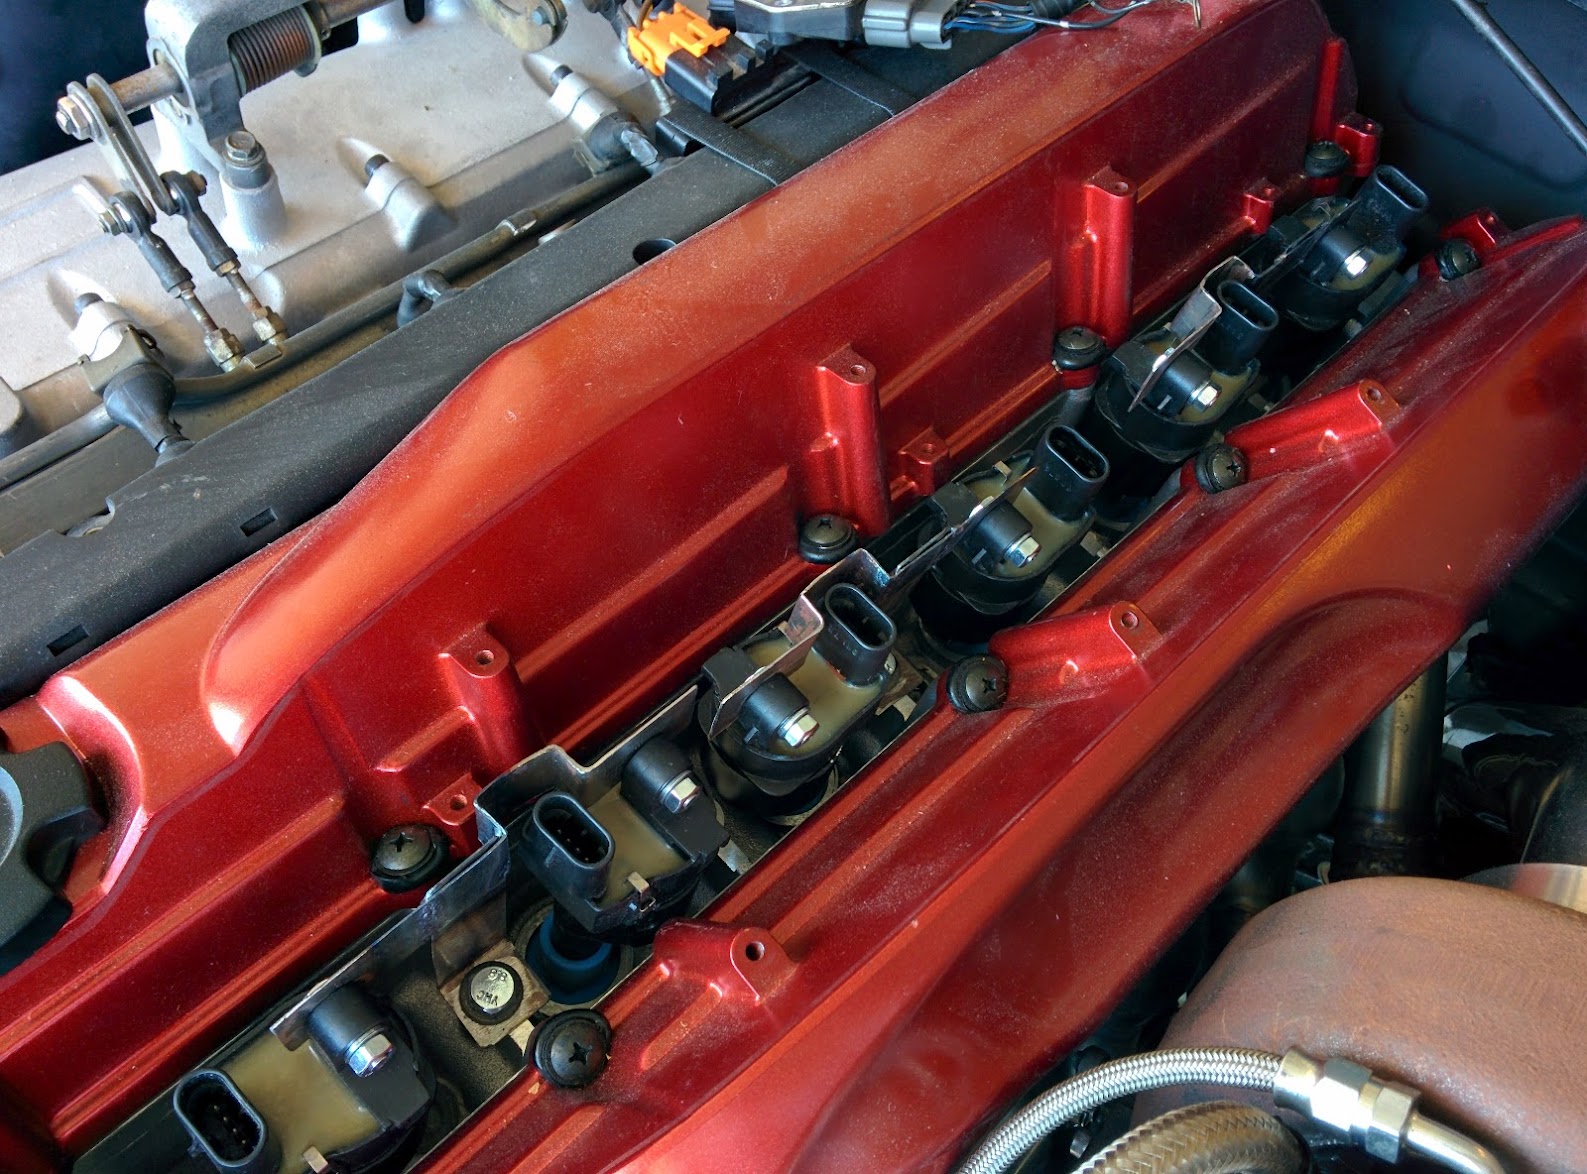

ItzGenX wrote:I finally got back to working on my project yesterday, and I decided to tackle the coils. I decided to mount mine directly on the spark plugs. All you need are coil boots from a Toyota Supra, and they should come with coil contact springs as well. Push the springs into the LS coil, then the boots (mine are LS7 vette coils). They push down pretty snug on top of the plugs and stand upright by themselves. A bracket to prevent them from popping up will be required. I made a simple set of brackets out of sheet metal to keep them down. Next on the to-do list is wiring.
Some photos:
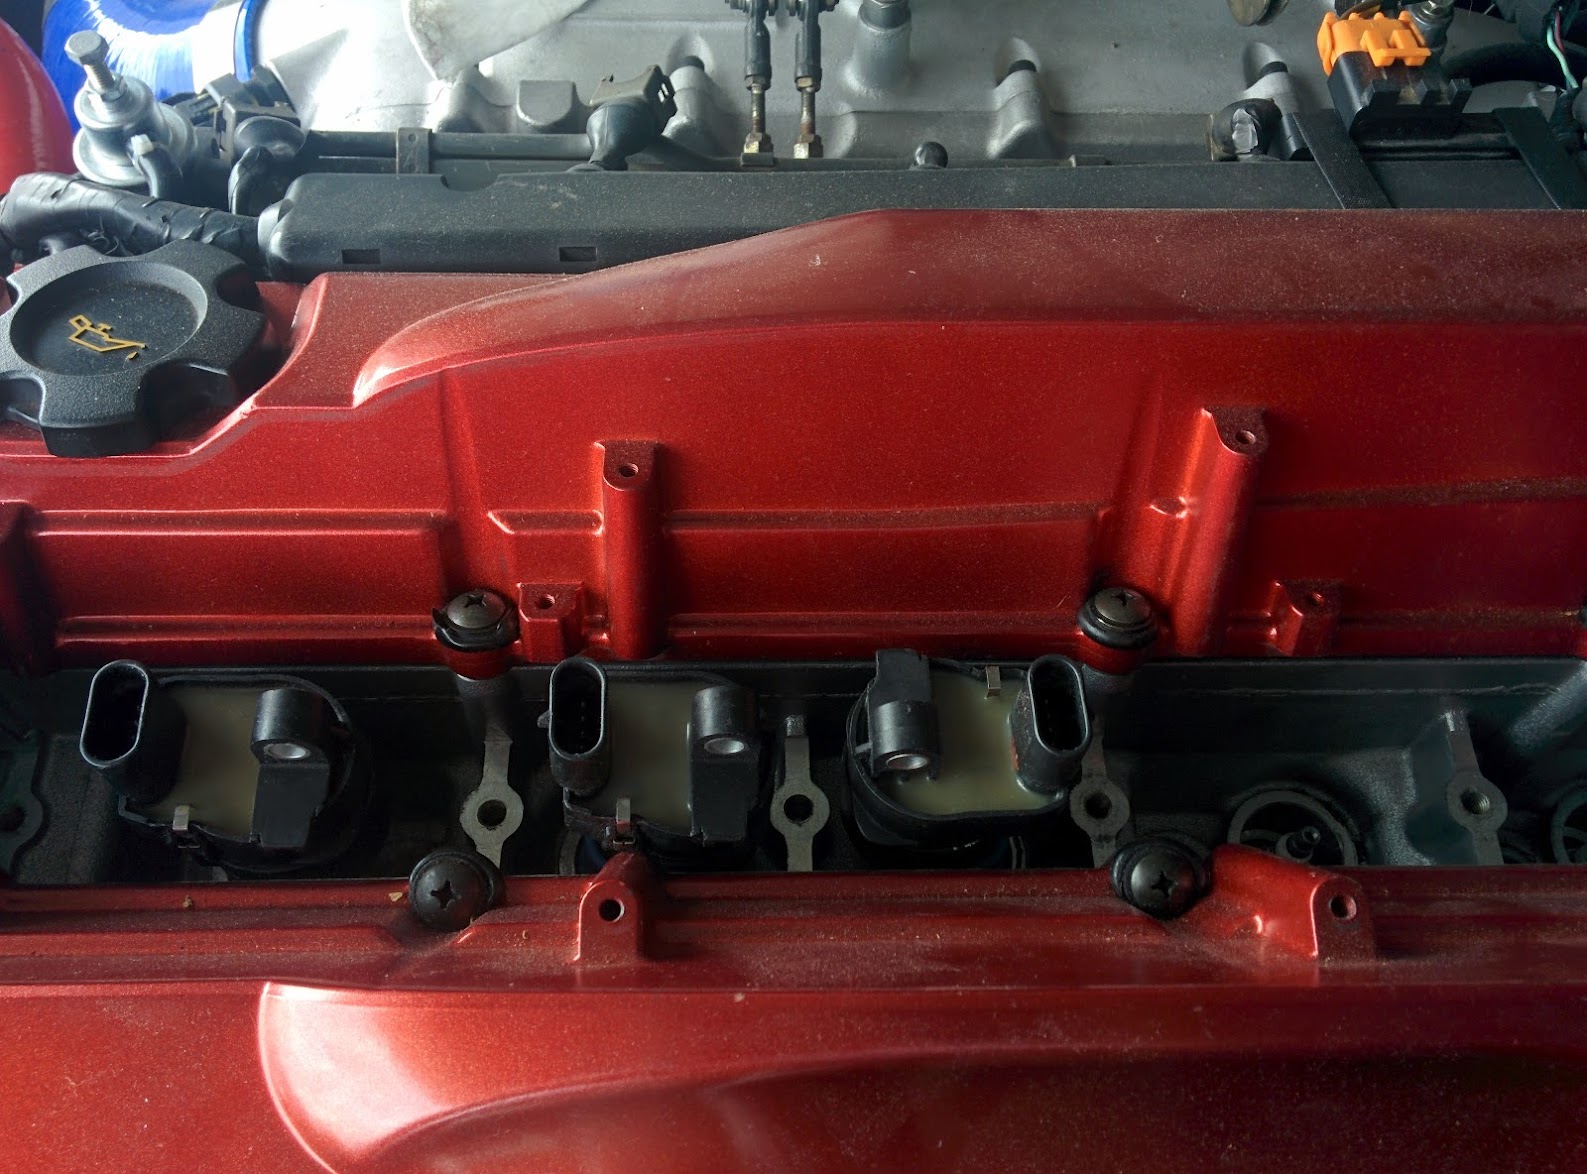
outlaw7 wrote:^I did the same swap using the ls2 LQ9 coils bolts in like factory. I used Mojo performance brackets. They clear the rb26 coil cover but im not so sure about other rb covers.
I had to cut out a small section of the rear ignitor indention to clear the #6 coil harness plug. It still looks fine to me since wires and crap pop out there regardless of the cutout, and the wires passing through seem to cover up the hole nicely.omnigear wrote:does it clear the cover with the wires hooked up?ItzGenX wrote:I finally got back to working on my project yesterday, and I decided to tackle the coils. I decided to mount mine directly on the spark plugs. All you need are coil boots from a Toyota Supra, and they should come with coil contact springs as well. Push the springs into the LS coil, then the boots (mine are LS7 vette coils). They push down pretty snug on top of the plugs and stand upright by themselves. A bracket to prevent them from popping up will be required. I made a simple set of brackets out of sheet metal to keep them down. Next on the to-do list is wiring.
Some photos:
ItzGenX wrote:I finally got back to working on my project yesterday, and I decided to tackle the coils. I decided to mount mine directly on the spark plugs. All you need are coil boots from a Toyota Supra, and they should come with coil contact springs as well. Push the springs into the LS coil, then the boots (mine are LS7 vette coils). They push down pretty snug on top of the plugs and stand upright by themselves. A bracket to prevent them from popping up will be required. I made a simple set of brackets out of sheet metal to keep them down. Next on the to-do list is wiring.
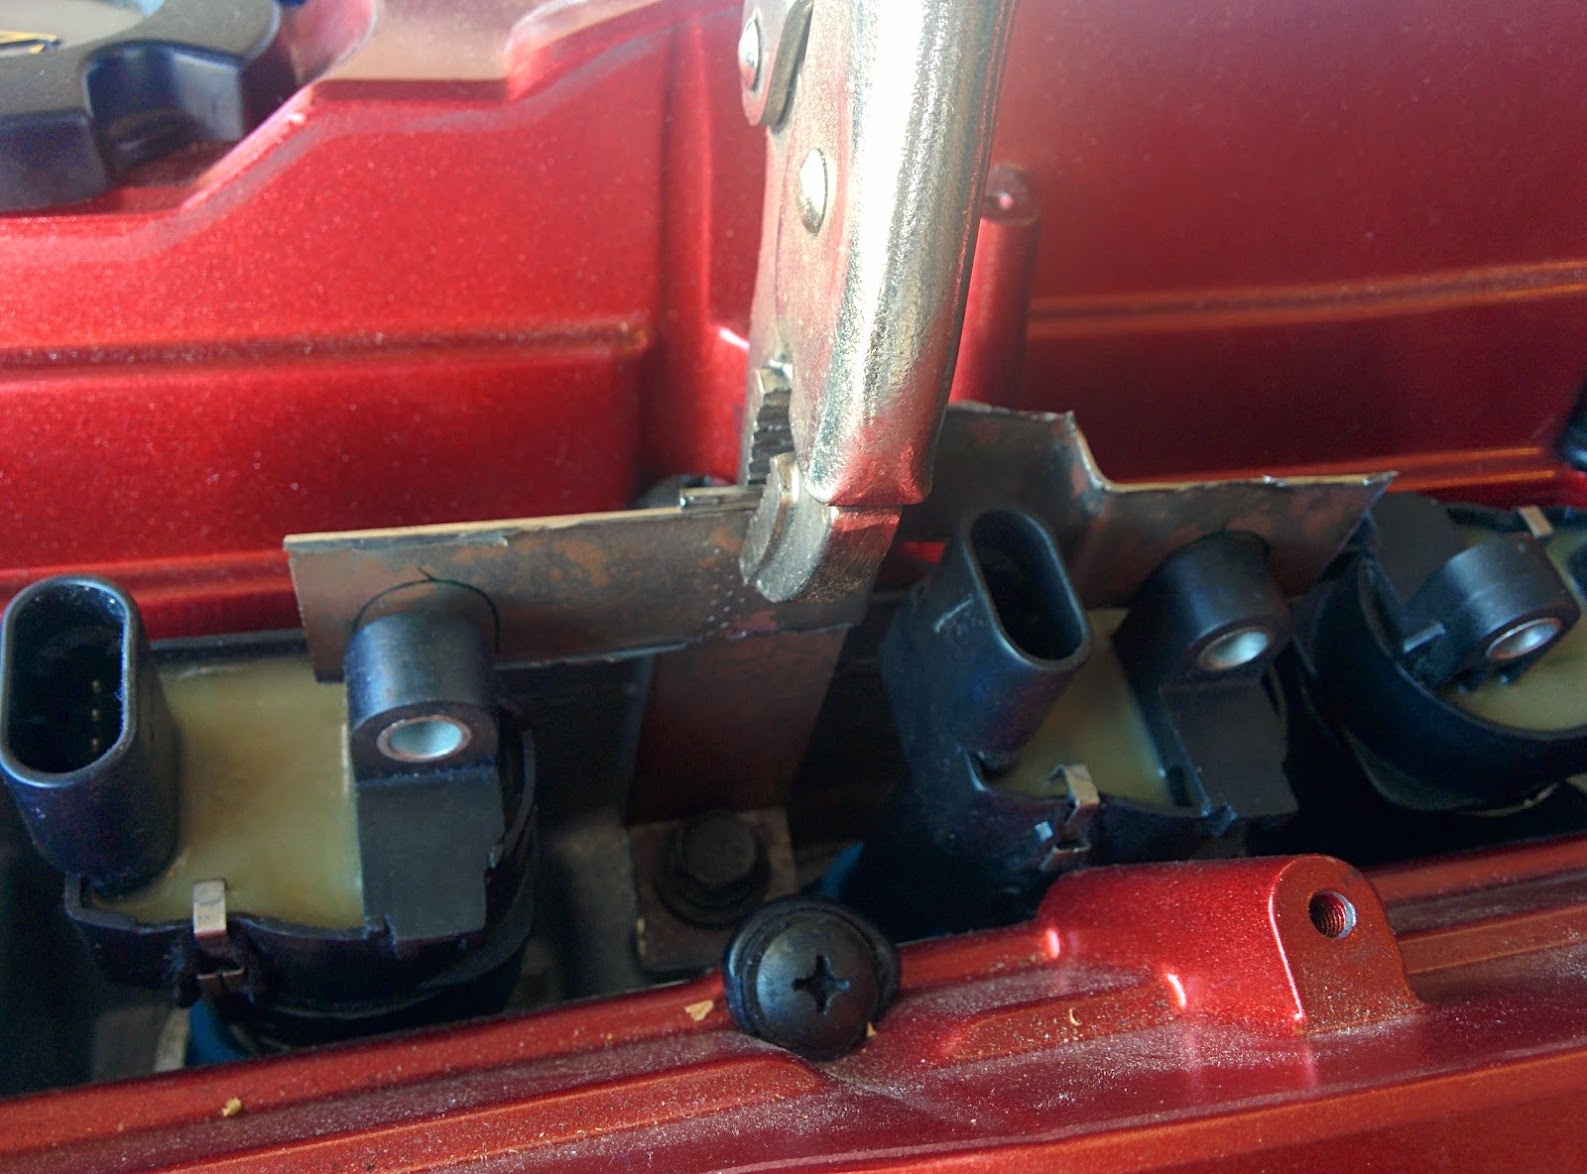
I had to cut out a small section of the rear ignitor indention to clear the #6 coil harness plug. It still looks fine to me since wires and crap pop out there regardless of the cutout, and the wires passing through seem to cover up the hole nicely.
My timing is checked by using a spare coil (these things are sold in packs of 8). The spare coil has a 6" spark plug wire and boot on it that I made. All I do is unbolt #1 coil from the bracket and pull it out, insert the spark plug wire from the spare coil, and plug in the harness connector to it. I hook the timing light to the small section of spark plug wire. Once the timing is set, I just toss the spare coil back into my toolbox. You can see me zeroing my ignition timing before tidying all the wires etc up in the video below.
PS. I love these coils. No misses while running a huge gap for better low end response. They were also super cheap to boot.
https://youtu.be/51jvdCM89kg
ItzGenX wrote:I made my own harness from the igniter harness all the way to the coils since the igniter gets ditched anyway. I basically bought a 8 pin delphi weatherpak connector for the igniter side of things and ran all new wires for each coil to the new coil connectors. It is made as a small sub-harness and works nicely for quickly disconnecting for whatever reasons such as when pulling the motor. The dated stock connectors were cracked and probably not very sealed anymore anyway.


