TOOLS NEEDED: Phillips screwdriver, flathead screwdriver, ratchet and 10mm deep socket.
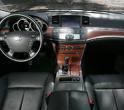
Trim pieces on CD changer/radio, and shifter/ashtray:
NOTE: Engage parking brake and shift trans to "N" or "D" for easier removal of the CD changer/Radio trim piece.
1. Take the cup holder plastic liner out of the cup holder.
2. With both hands, firmly pull up the plastic holder to expose 4 screws holding the seat climate control knobs and the trim around the shifter/ashtray.
3. Remove the 4 screws and move the control unit out of the way.
4. Hold the chrome piece at the end of the leather boot and pull down firmly, this will expose a metal pin holding the shifter cover to the lever.
5. Slide the pin out, now you can easily remove the shifter cover up off the shifter lever.
6. Pull the shifter/ashtray trim up firmly and towards the back of the car, it’s only held by plastic tabs on the side of the shift lever and the cd changer/radio trim. This will expose 2 connectors, 1 to the ashtray and one to the shifter bezel light. Disconnect them and pull out the trim. You will expose 2 screws holding the face of the radio trim.
7. Remove the 2 screws at the bottom of the cd changer/radio trim and slowly pull it out, this will expose 1 radio connector to the buttons on the face of the trim and 1 connector to the analog clock, disconnect these 2 connectors and you’re free to remove the trim.
Trim pieces on the dash:
1. Pry the 2 small pieces of trim on the left and right of the steering wheel with a flat head screw driver (or your tool of choice), do it from the bottom of the trim pieces, they’re held by plastic tabs and once you pry enough to get ahold of the trim with your hand you can easily slide them out with your hand.
2. Open up the glove box and look inside of it towards the top. You will see 5 phillips screws, unscrew them, and you’ll be able to remove the large trim on the passenger side with minimal force with by hand.
Trim pieces on the doors (same procedure for every door):
NOTE: Have your windows lowered.
1. Inside the door OPENING handle there’s a plastic trim covering a 10mm bolt, pry it off and with a 10mm socket and ratchet unscrew it.
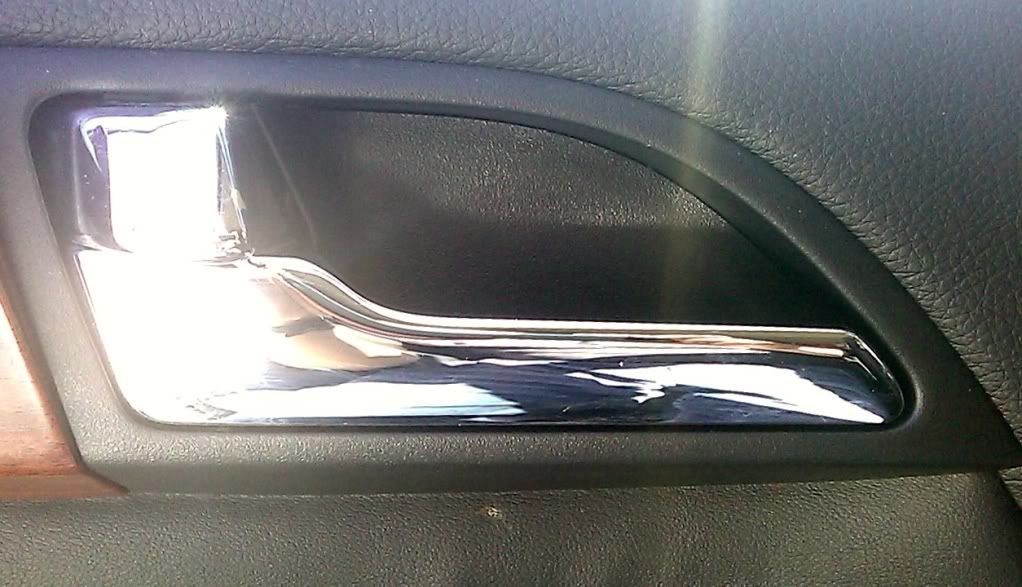
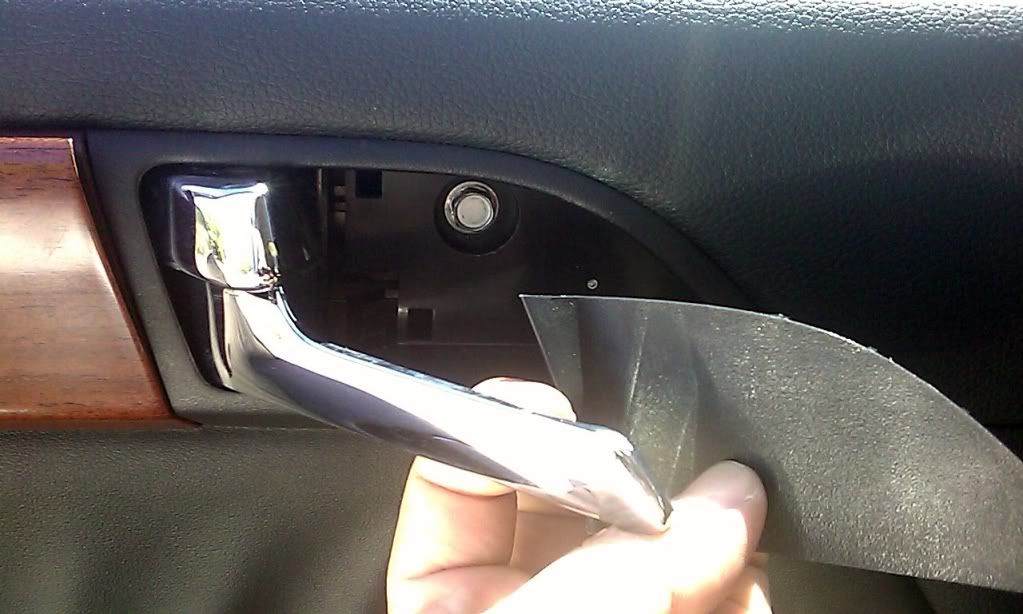
2. Right below the door PULLING/HOLDING handle, there’s a plastic tab with a slot for a flat head screw driver (or your tool of choice) to pry open. Once you pry it open you will expose 2 phillips screws, remove the 2 screws.
3. With both hands, firmly start pulling the trim off the door from side to side, once all the plastic screws are out of the metal part of the door, grab the door panel by the handle and pull up, this will expose 2 cables, from the lock and the opening handle.
4. Slide the cables from the lock and opening handles out of their slots (no tools required) and look inside the door panel directly behind the trim. You will see 5 screws holding the trim in place, remove them and the trim will easily come off the door by hand.
NOTE TO STEP 4: There may be some insulation looking liner hiding the screws, simply move it to the side so you can remove the screws.