Seat base frame assy. replacement
If you've got a cracked/stripped/broken track gear, you can replace it/them.
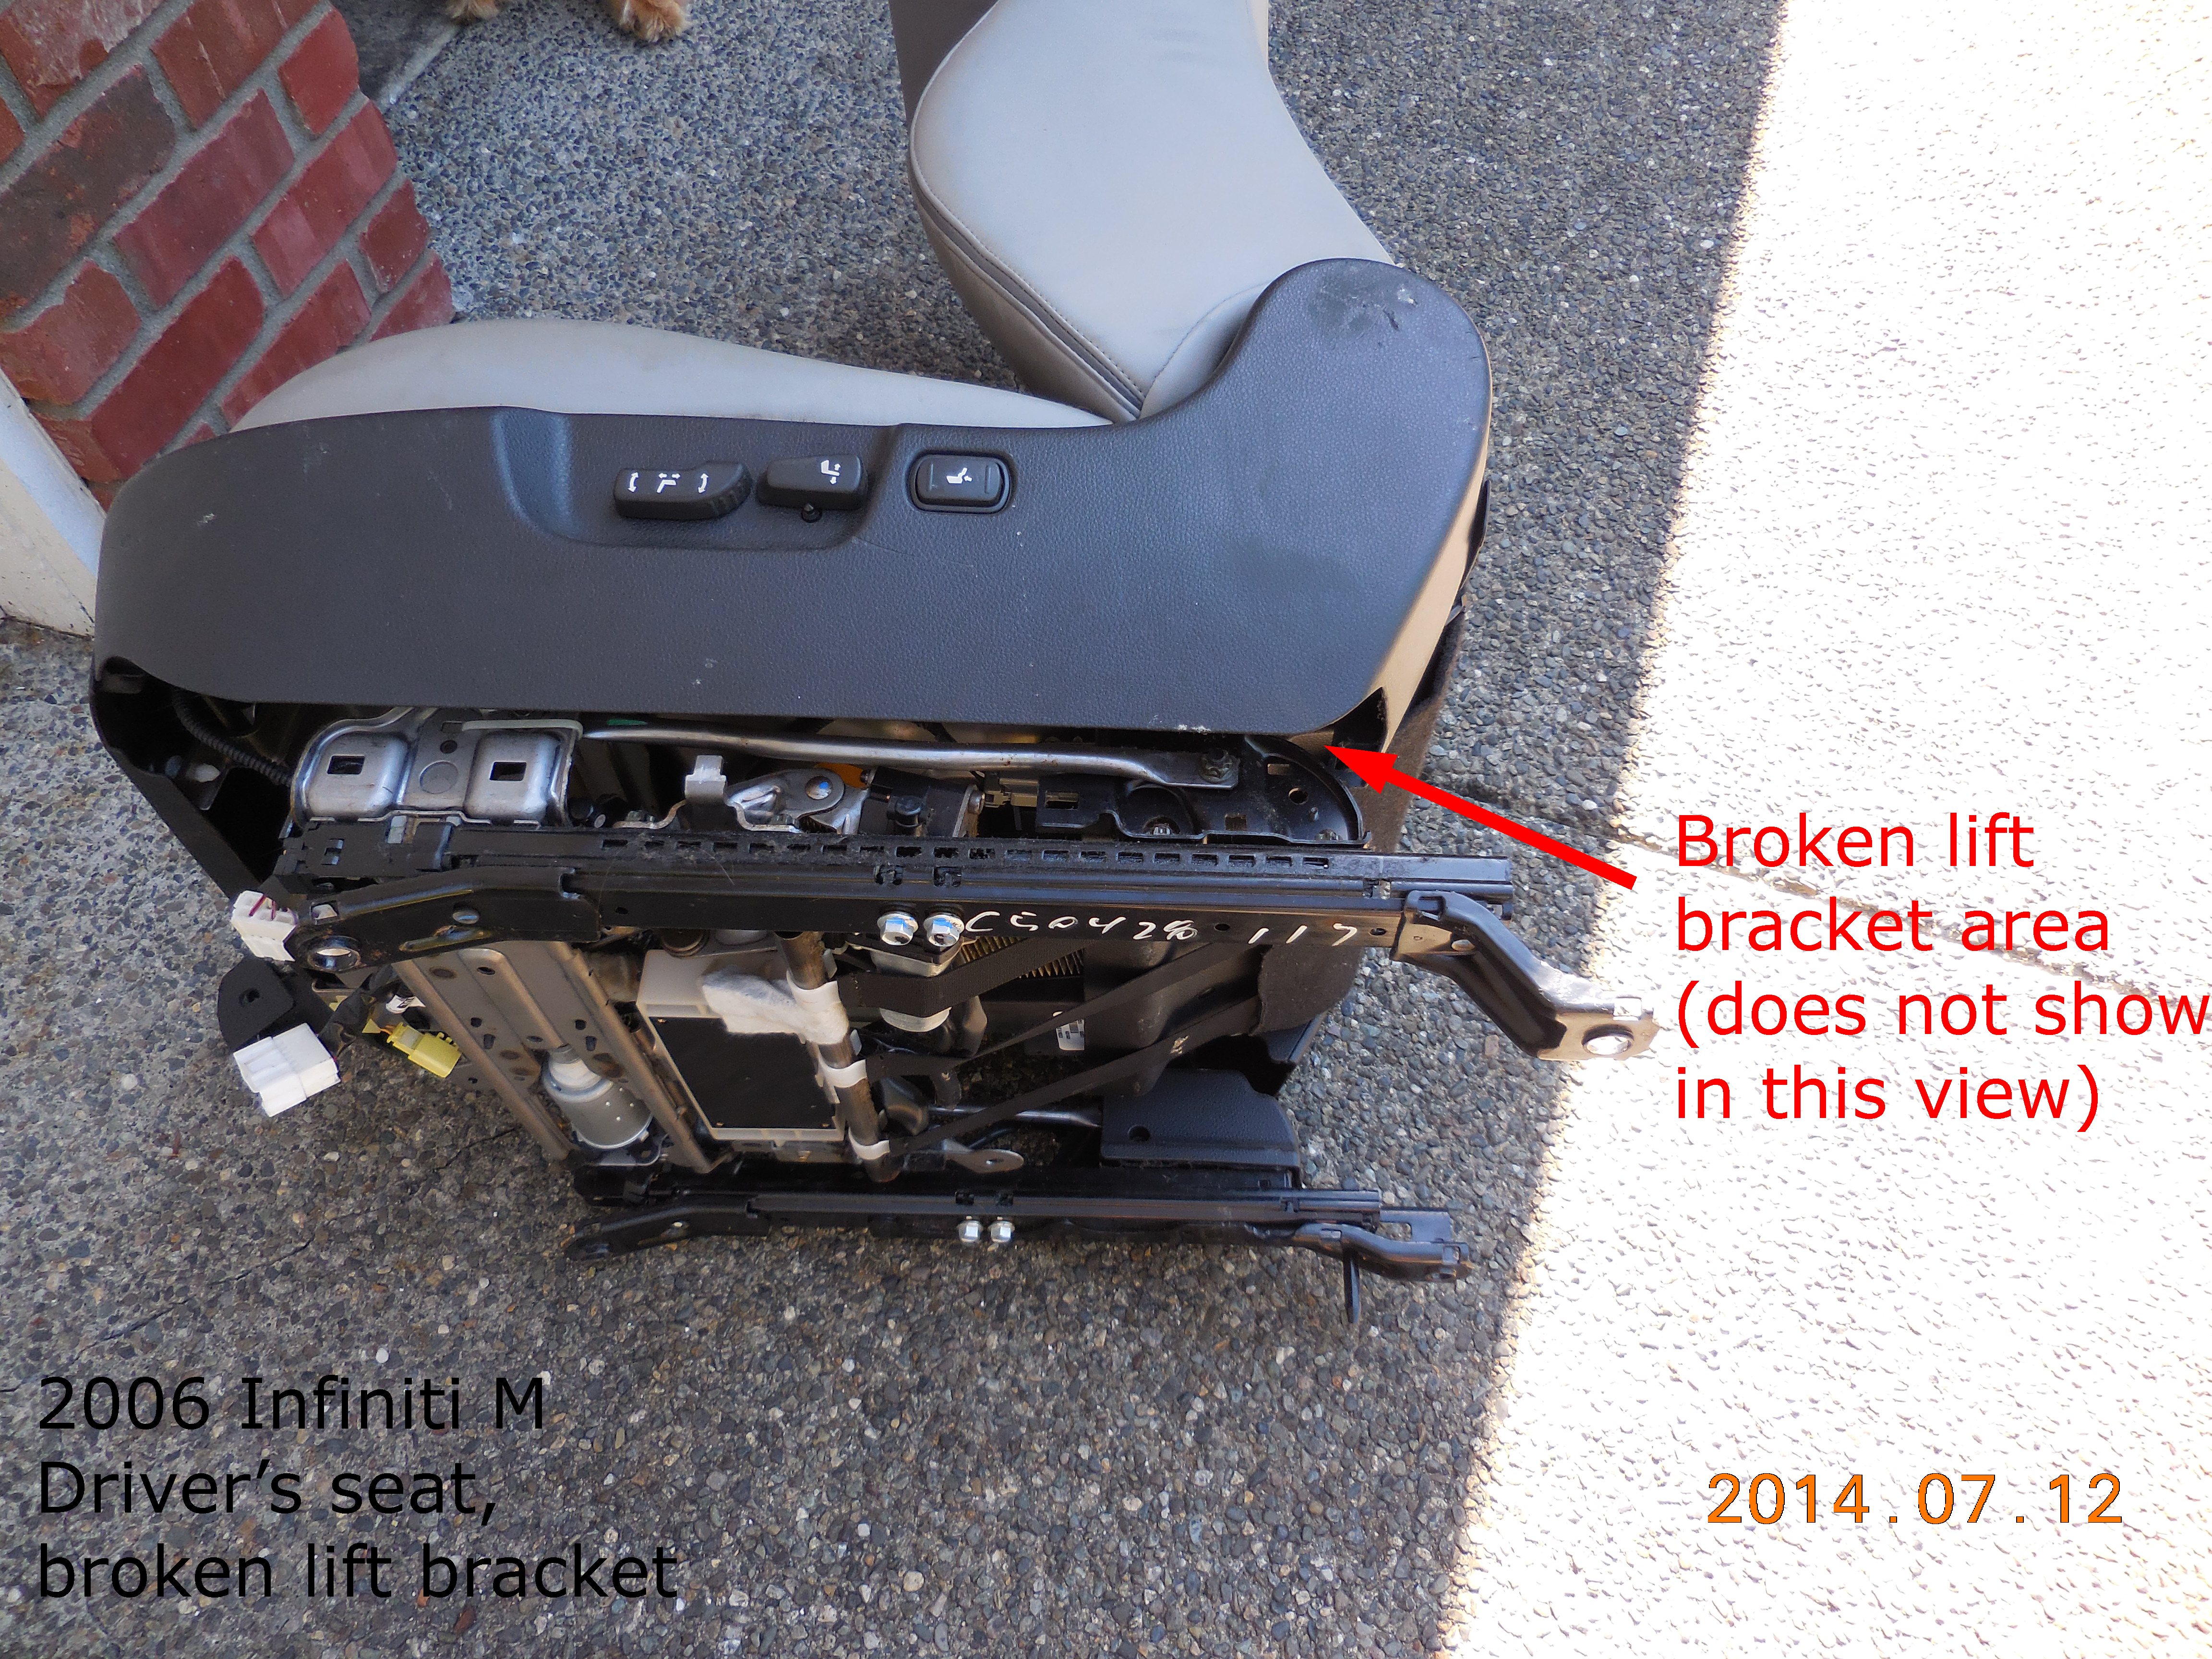
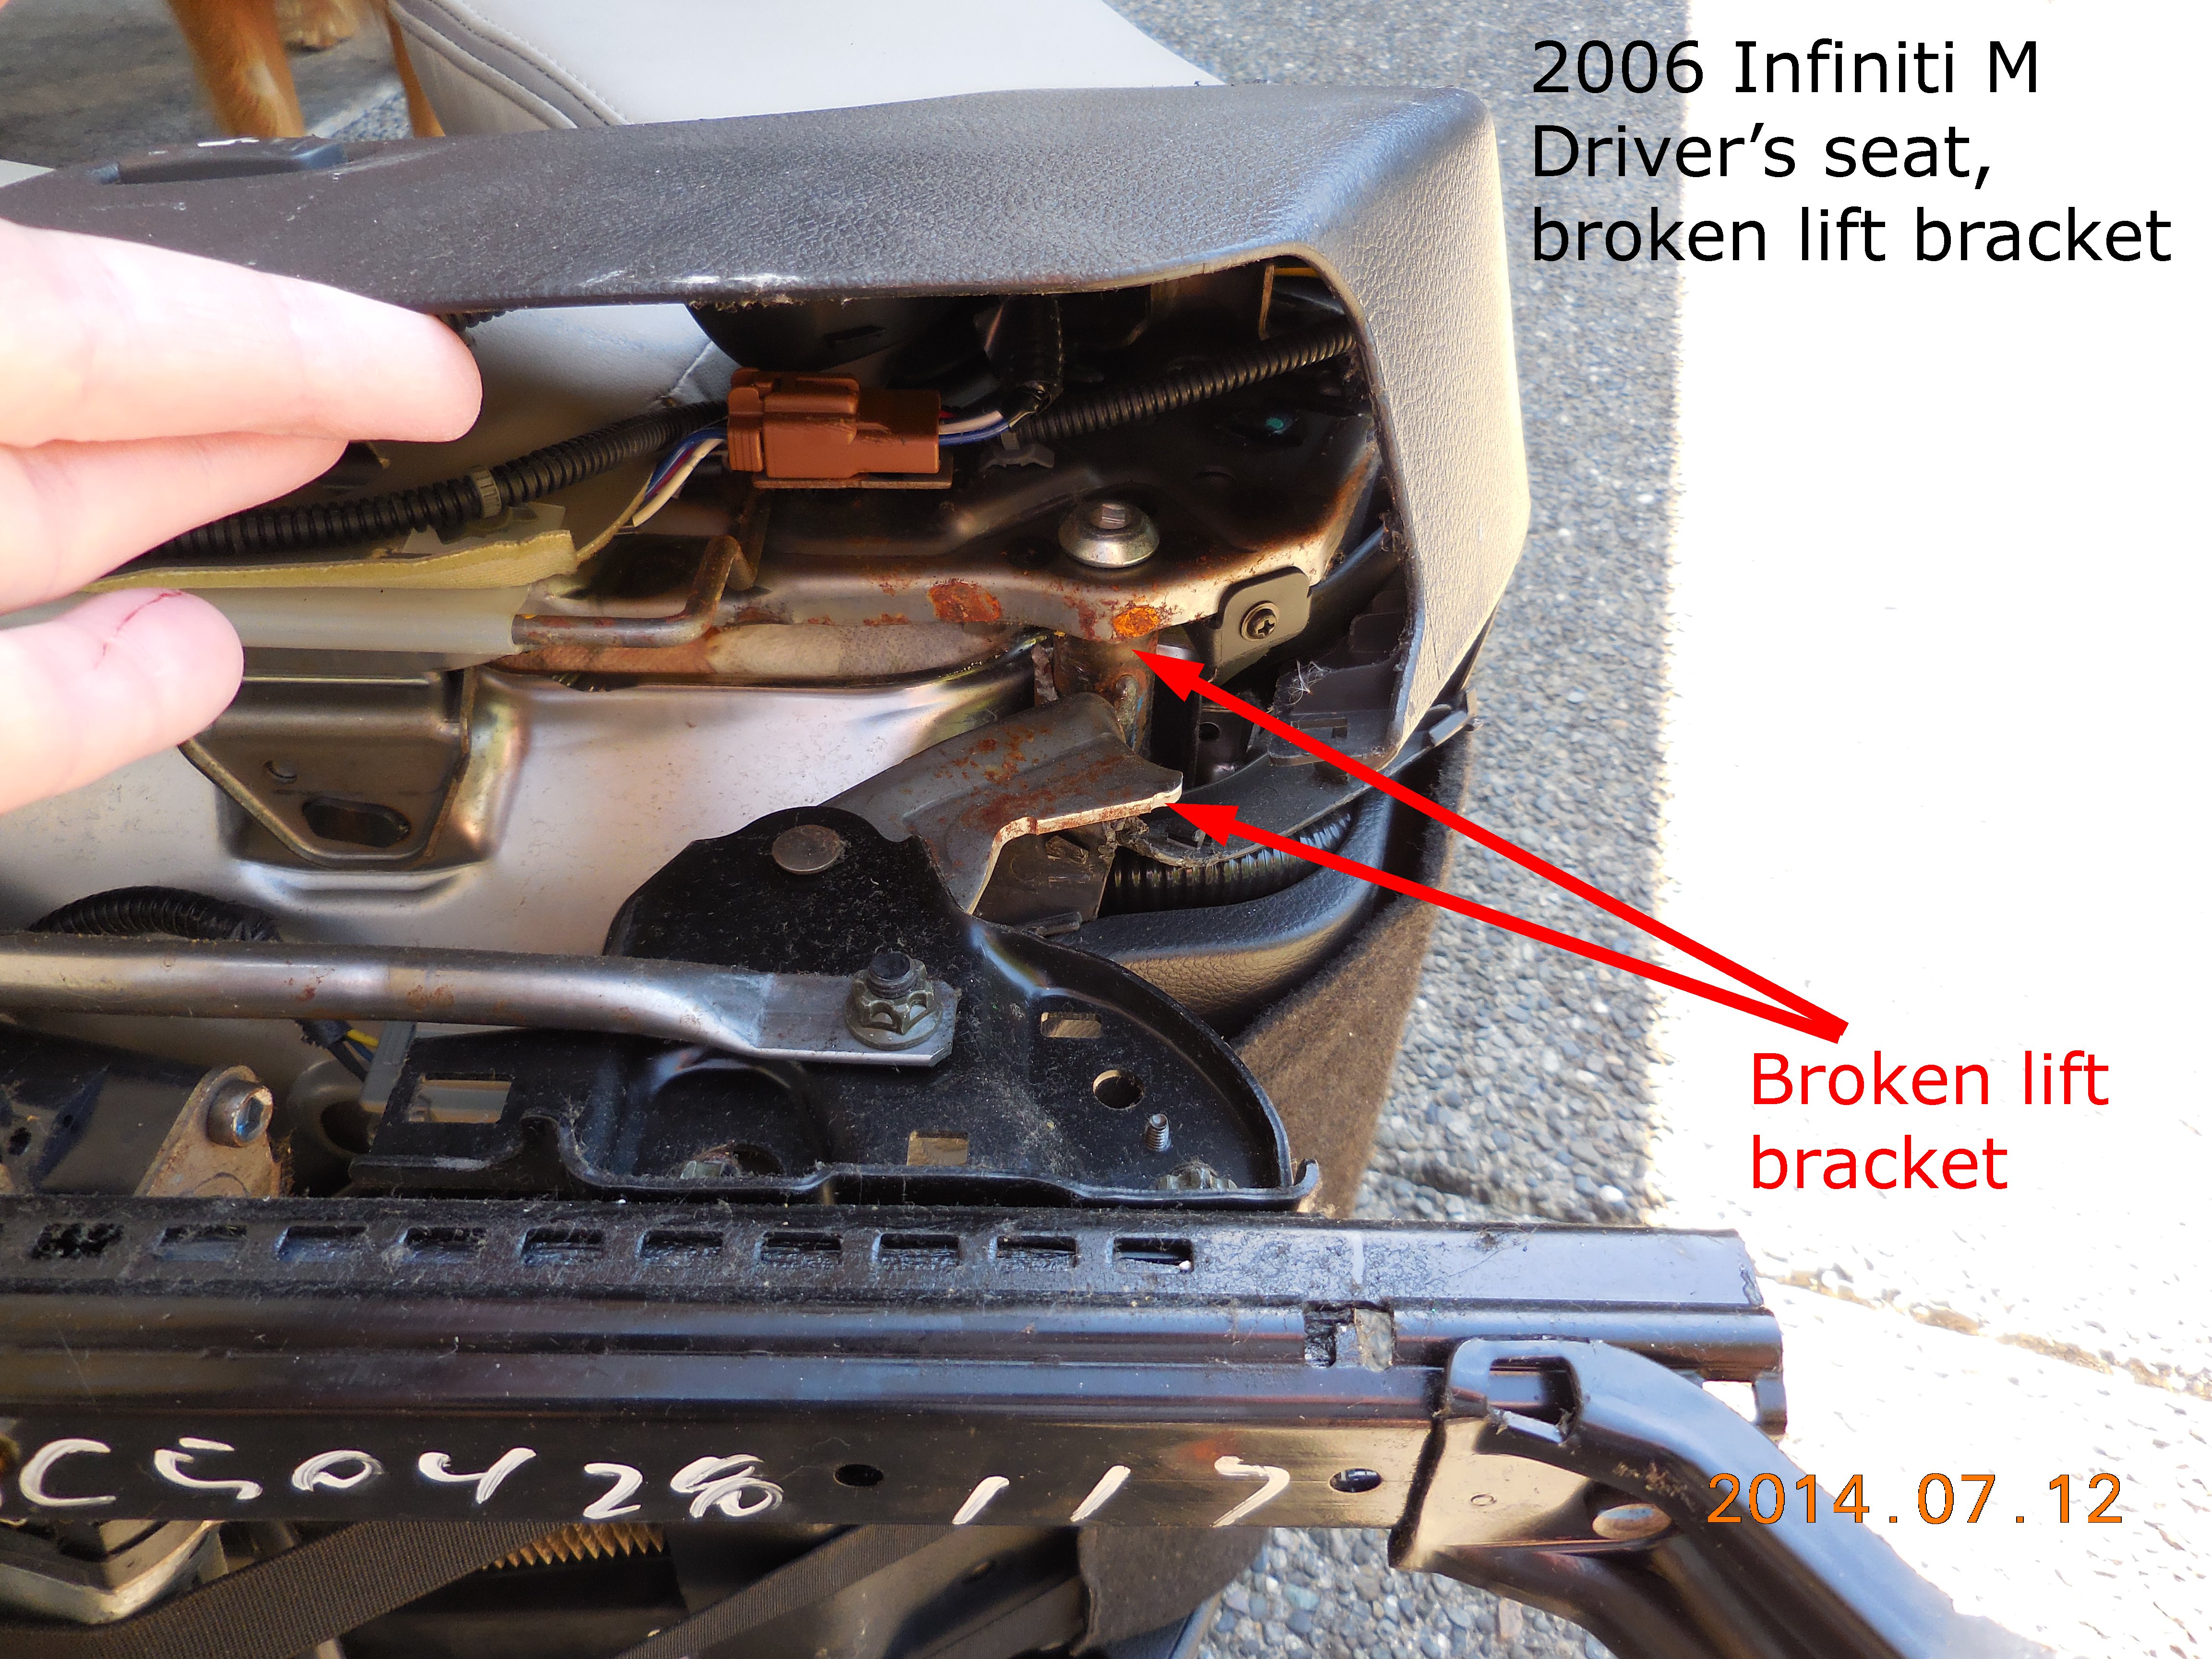
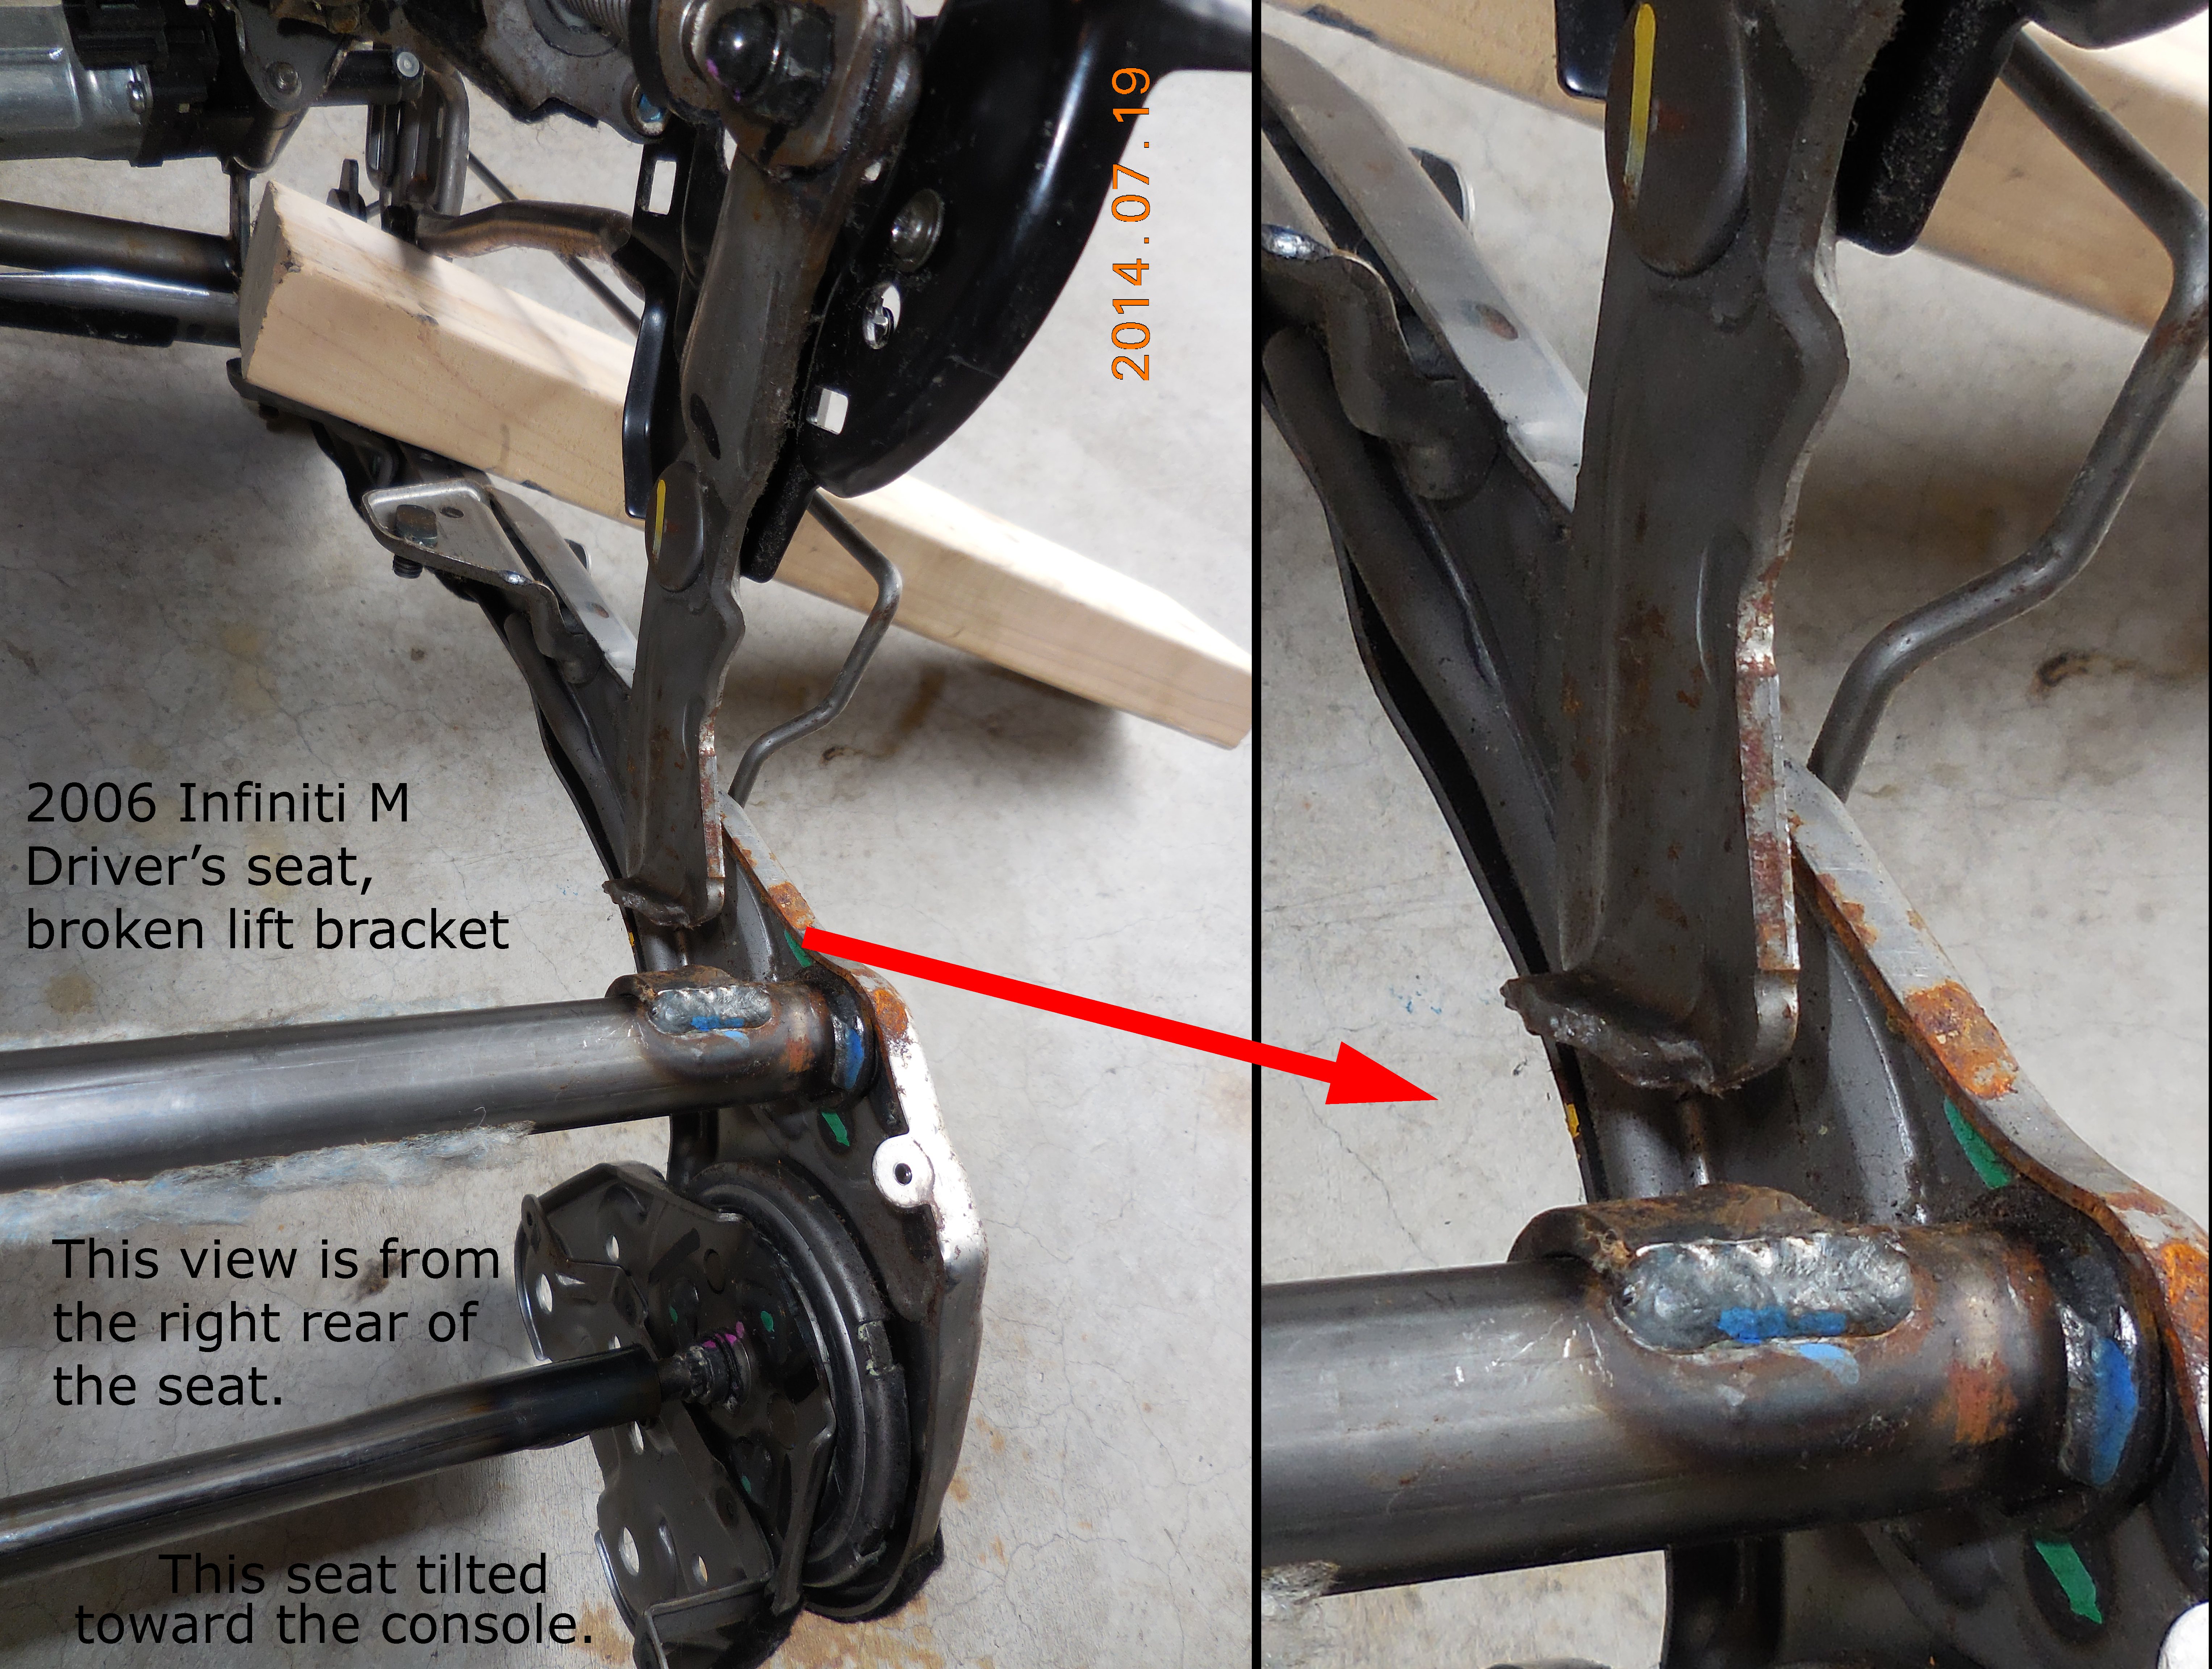
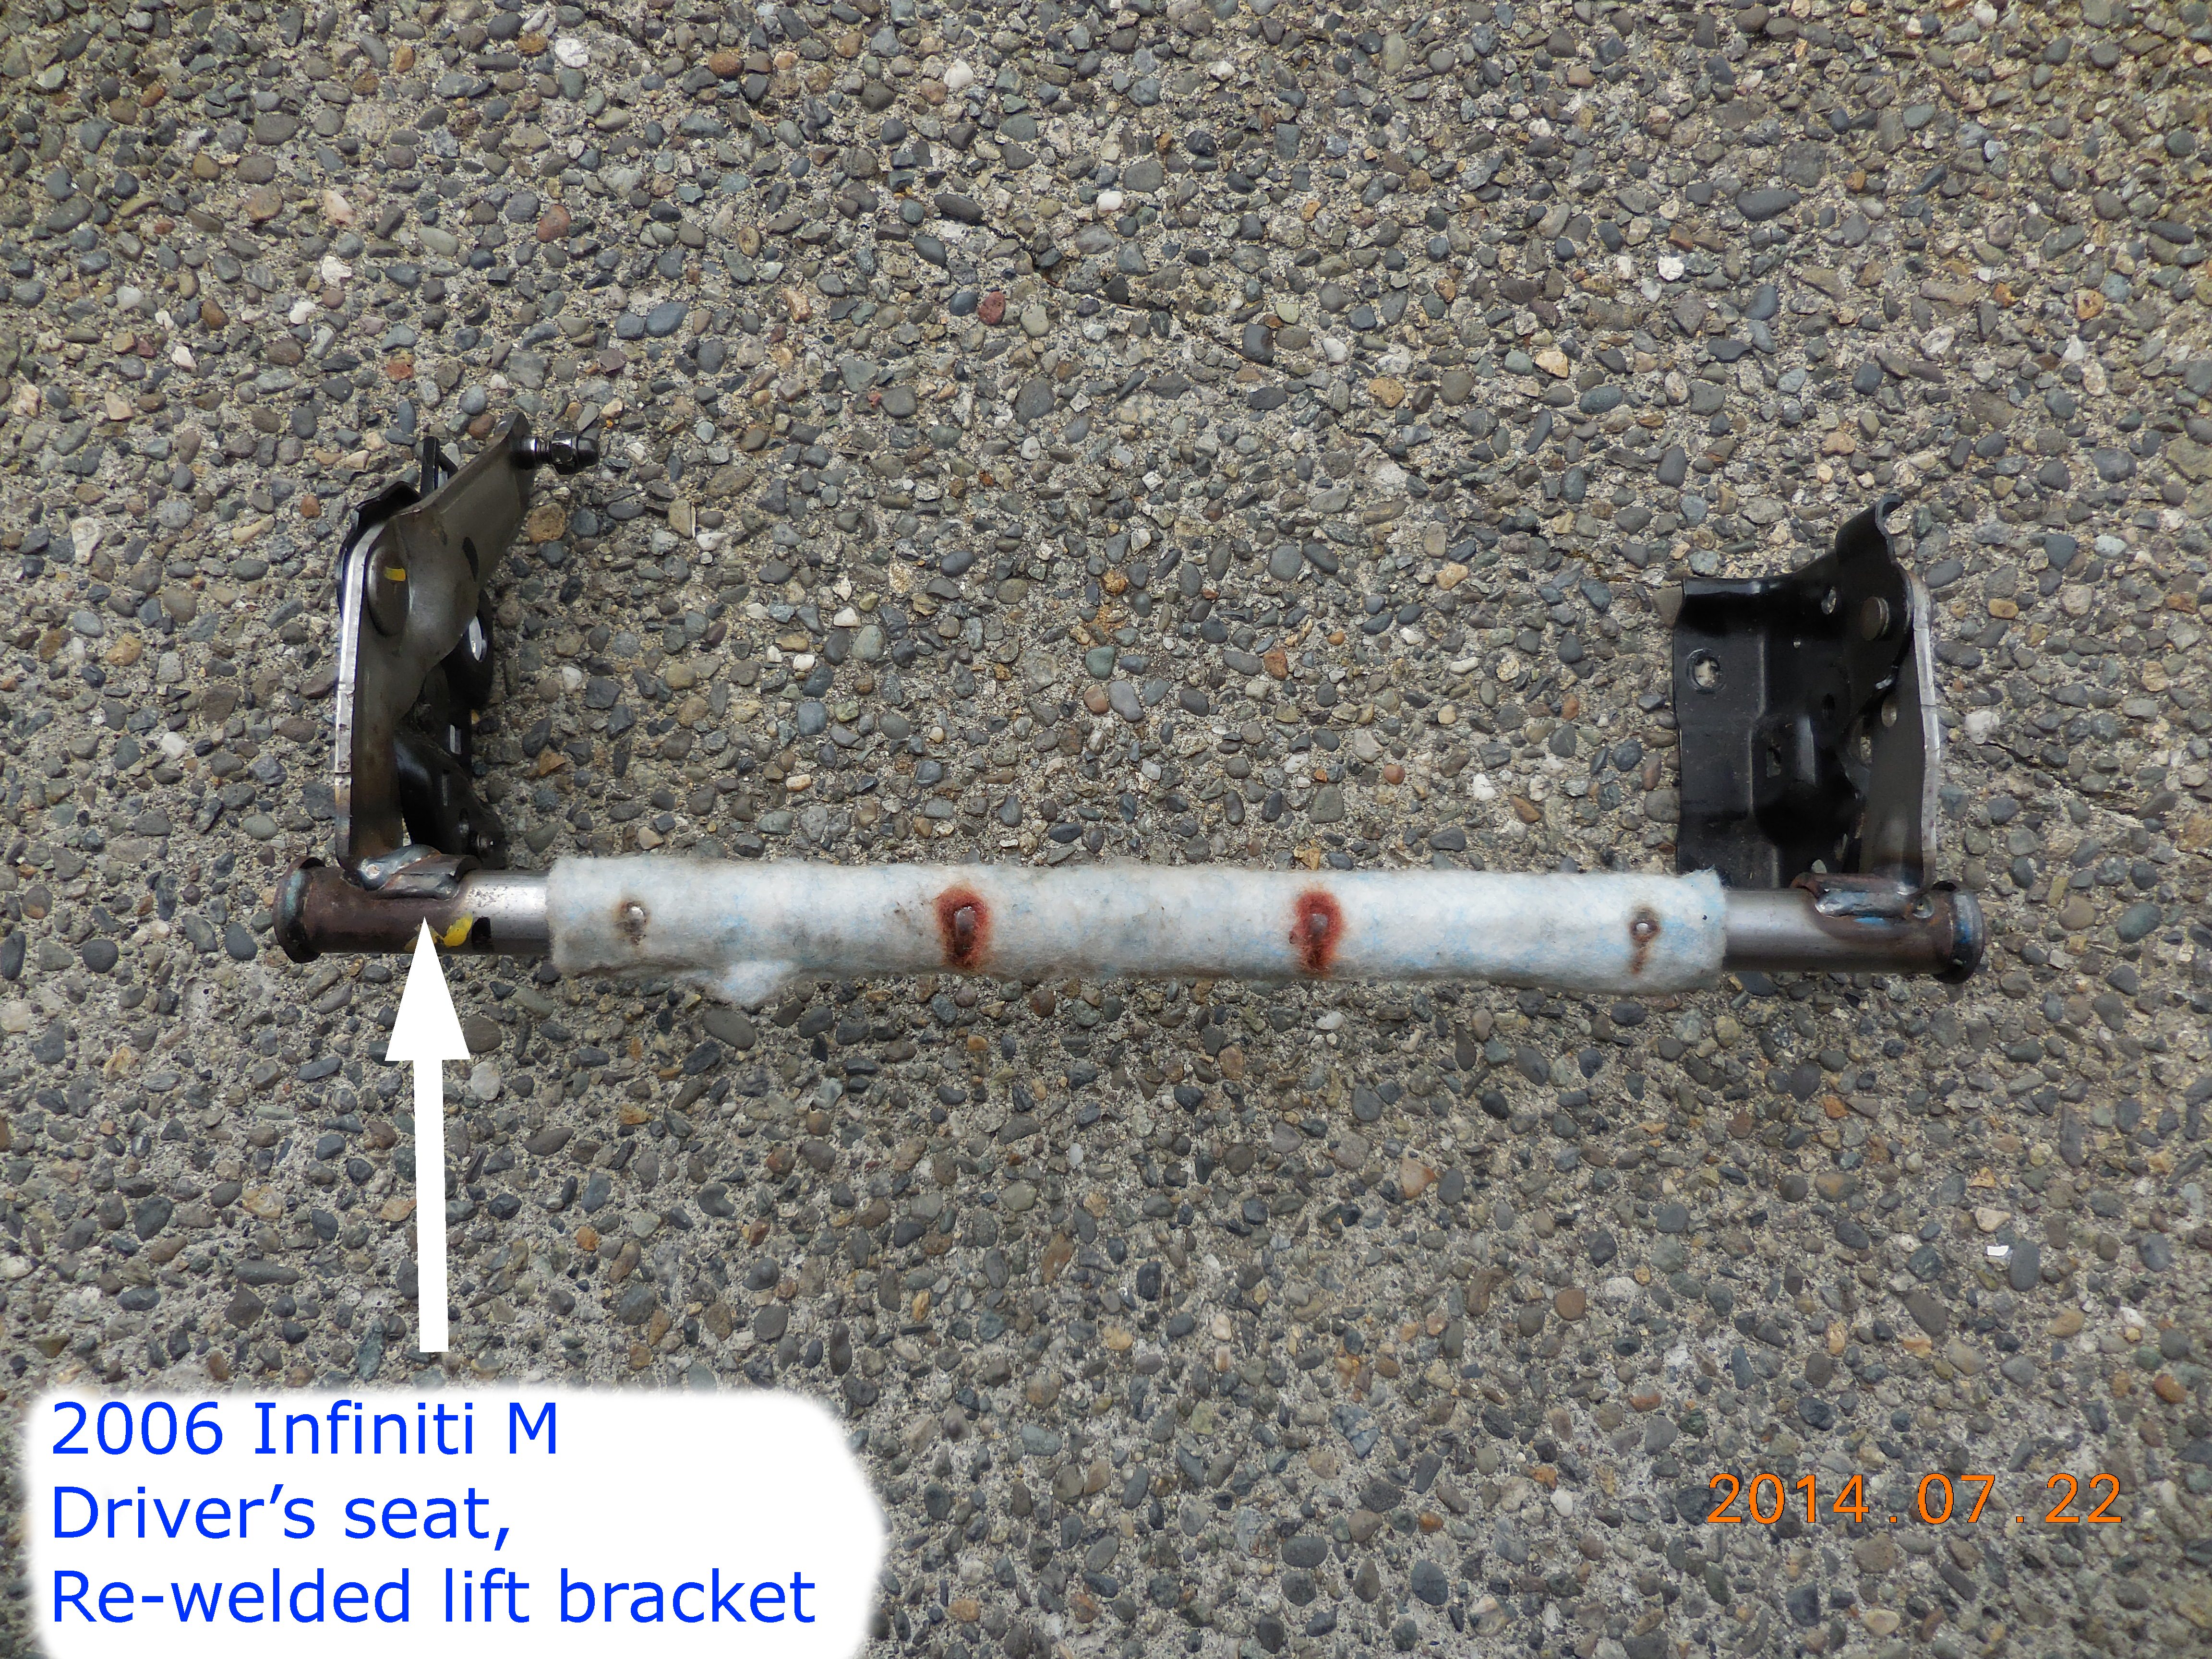
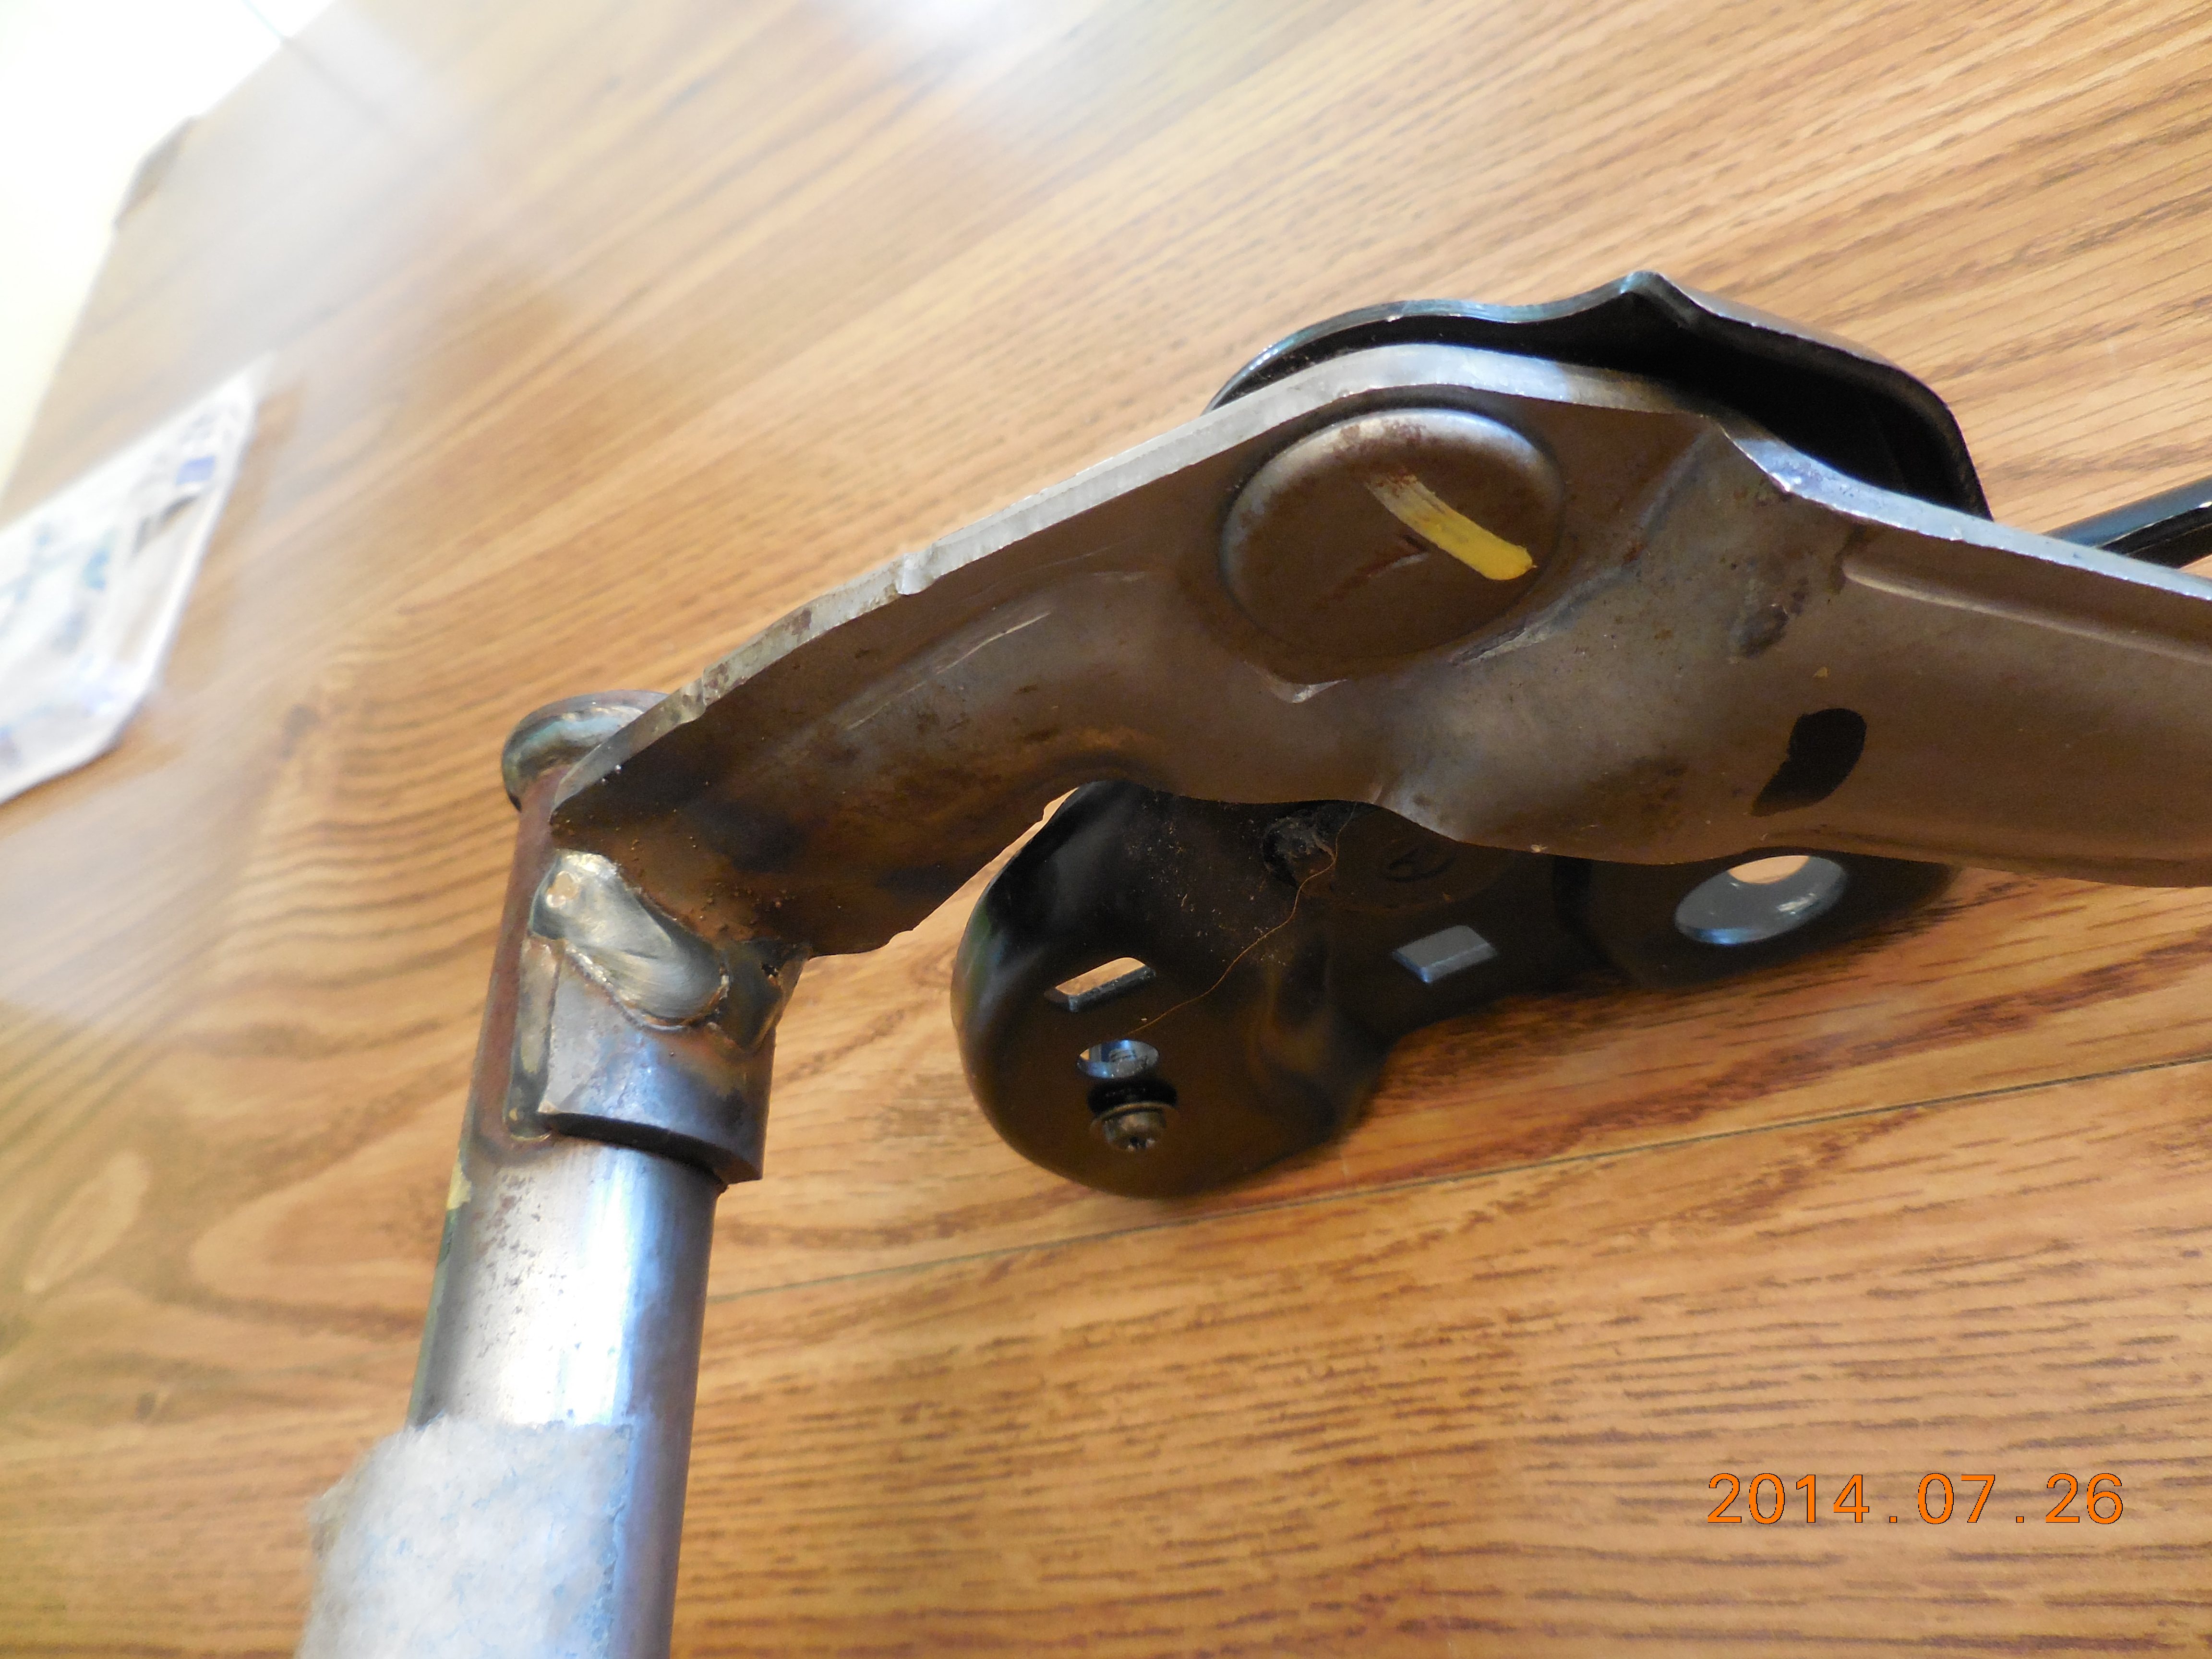
If you've got a broken lift bracket, it can be welded.
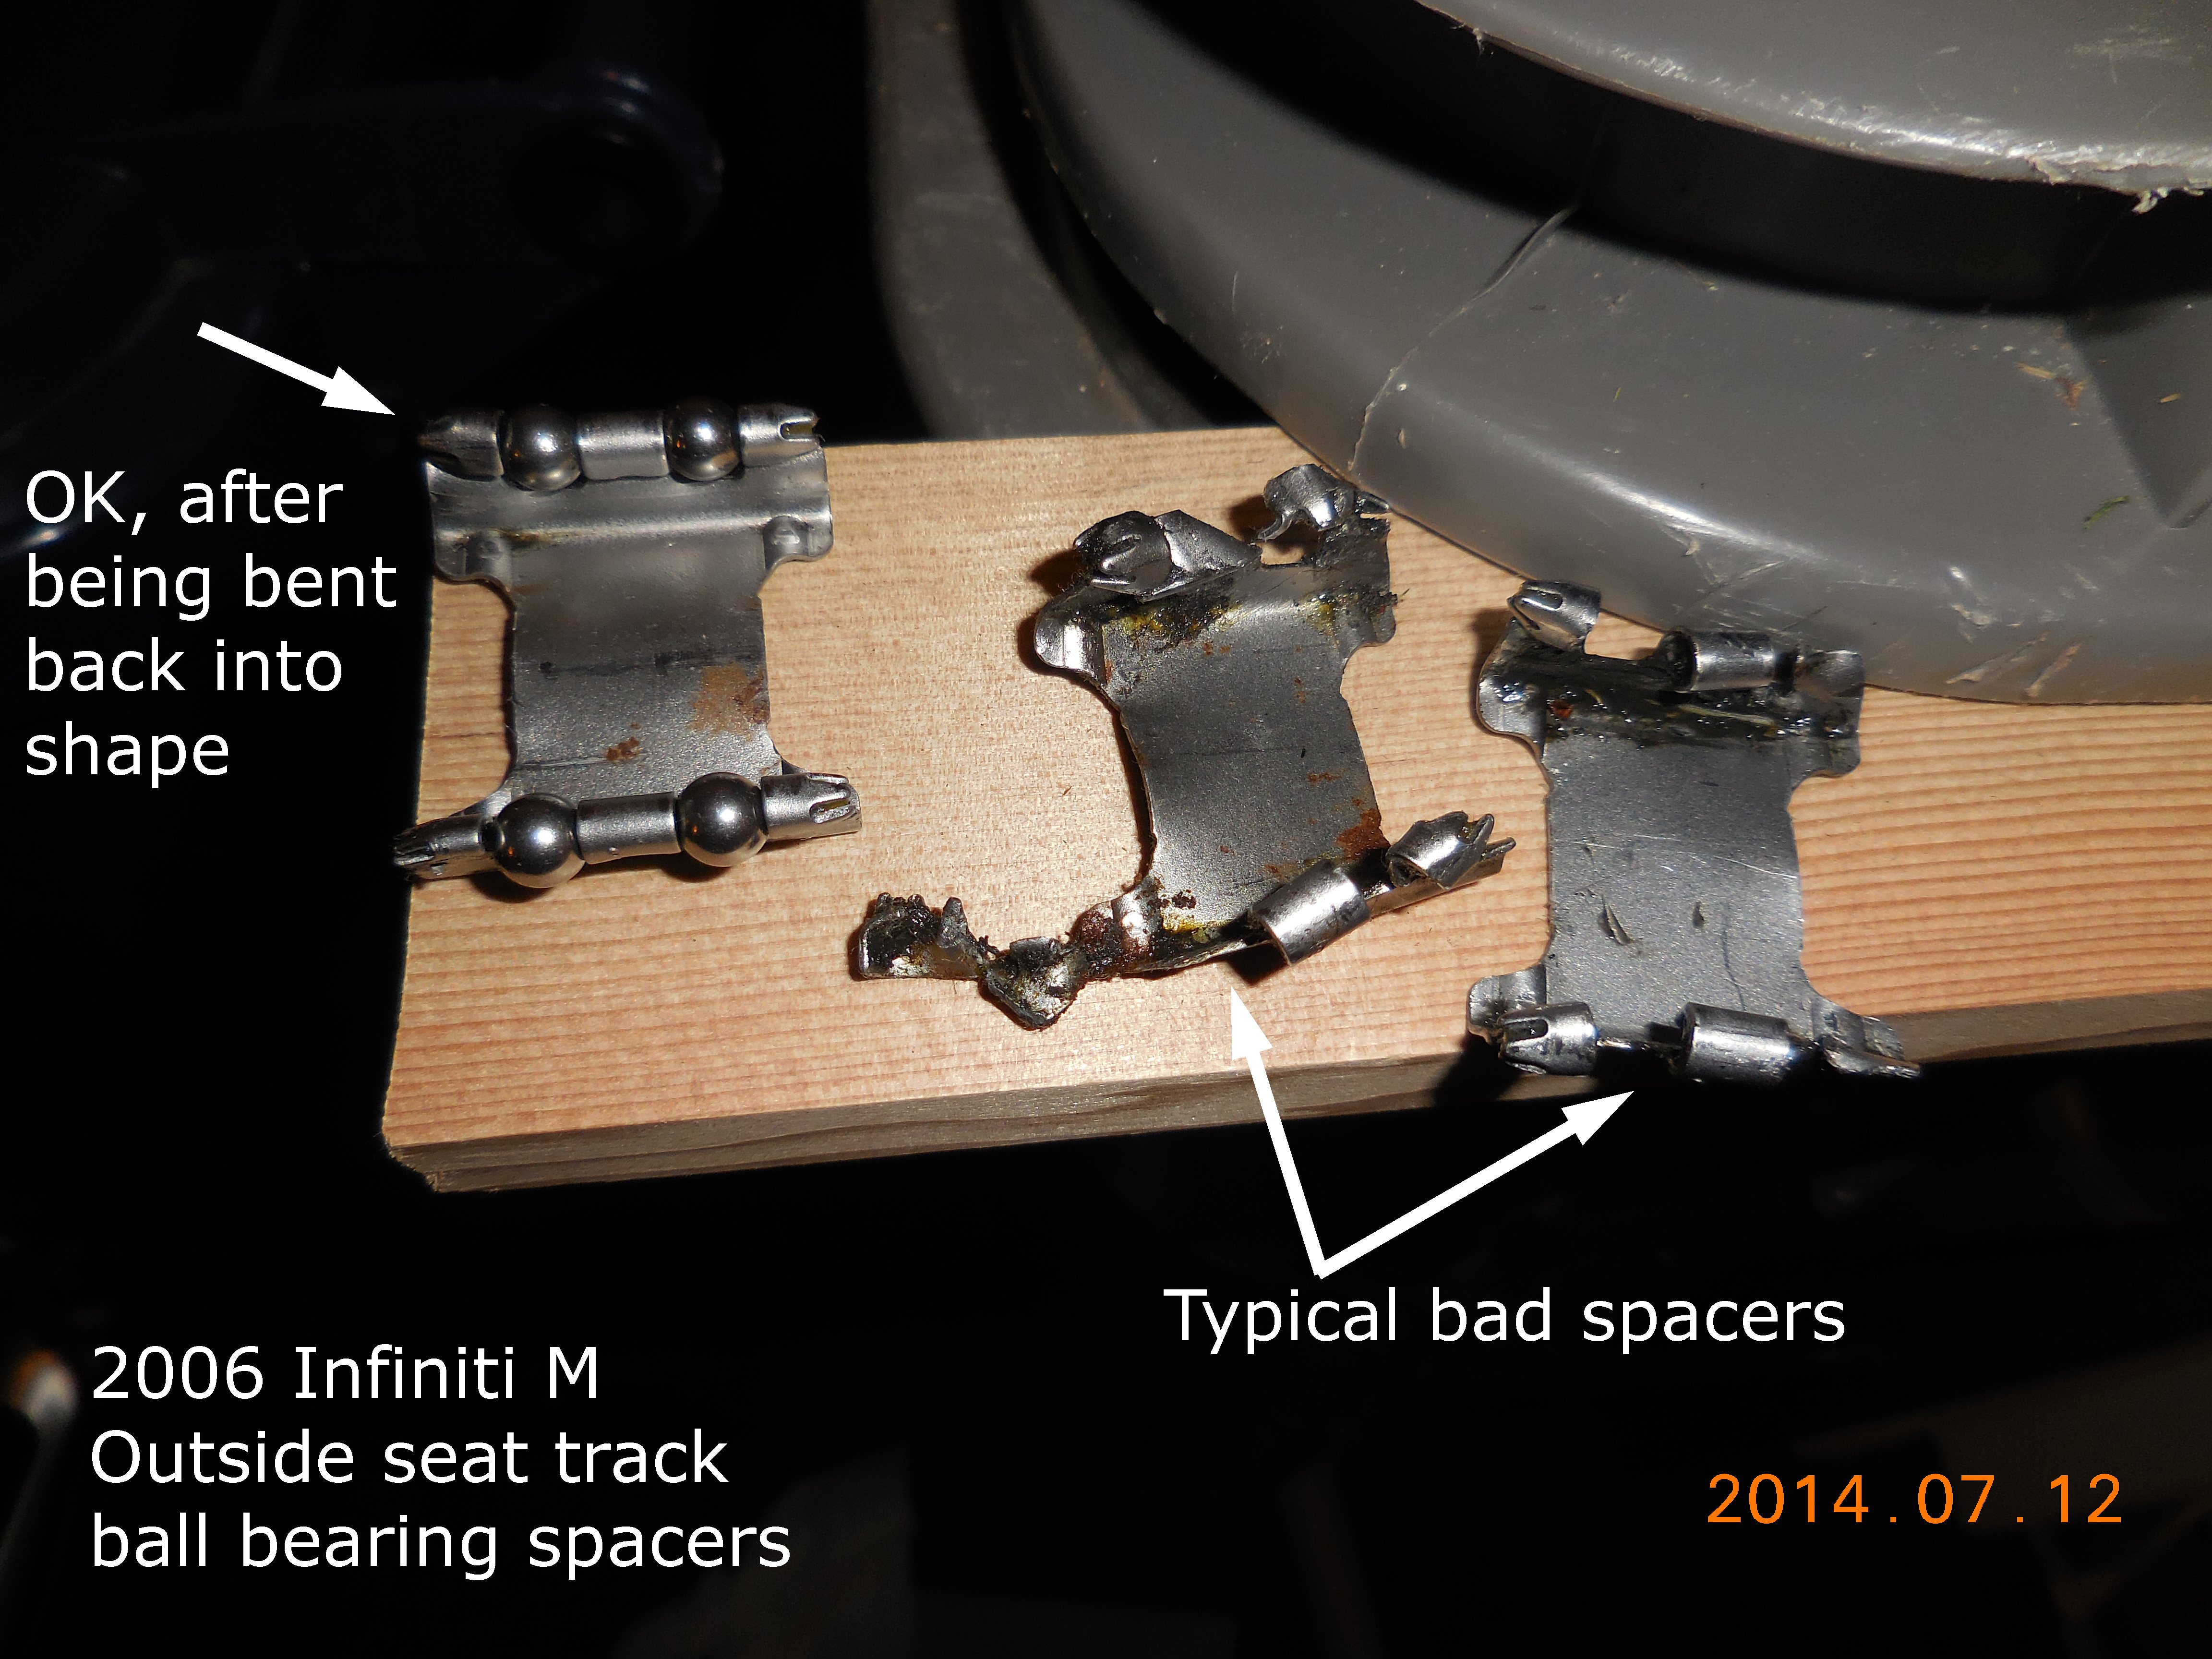
However, if your track ball bearings spacer is crumpled, as far as I can see you can only replace the entire seat base frame. The track parts are not sold separately, nor have I found a viable way to reassemble a track once disassembled. If you're willing to use used parts, it's possible that, perhaps, the seat tracks from a passenger side seat might be swapped in. I chose to cut my (time) losses & buy a new base frame. I elected to purchase it from
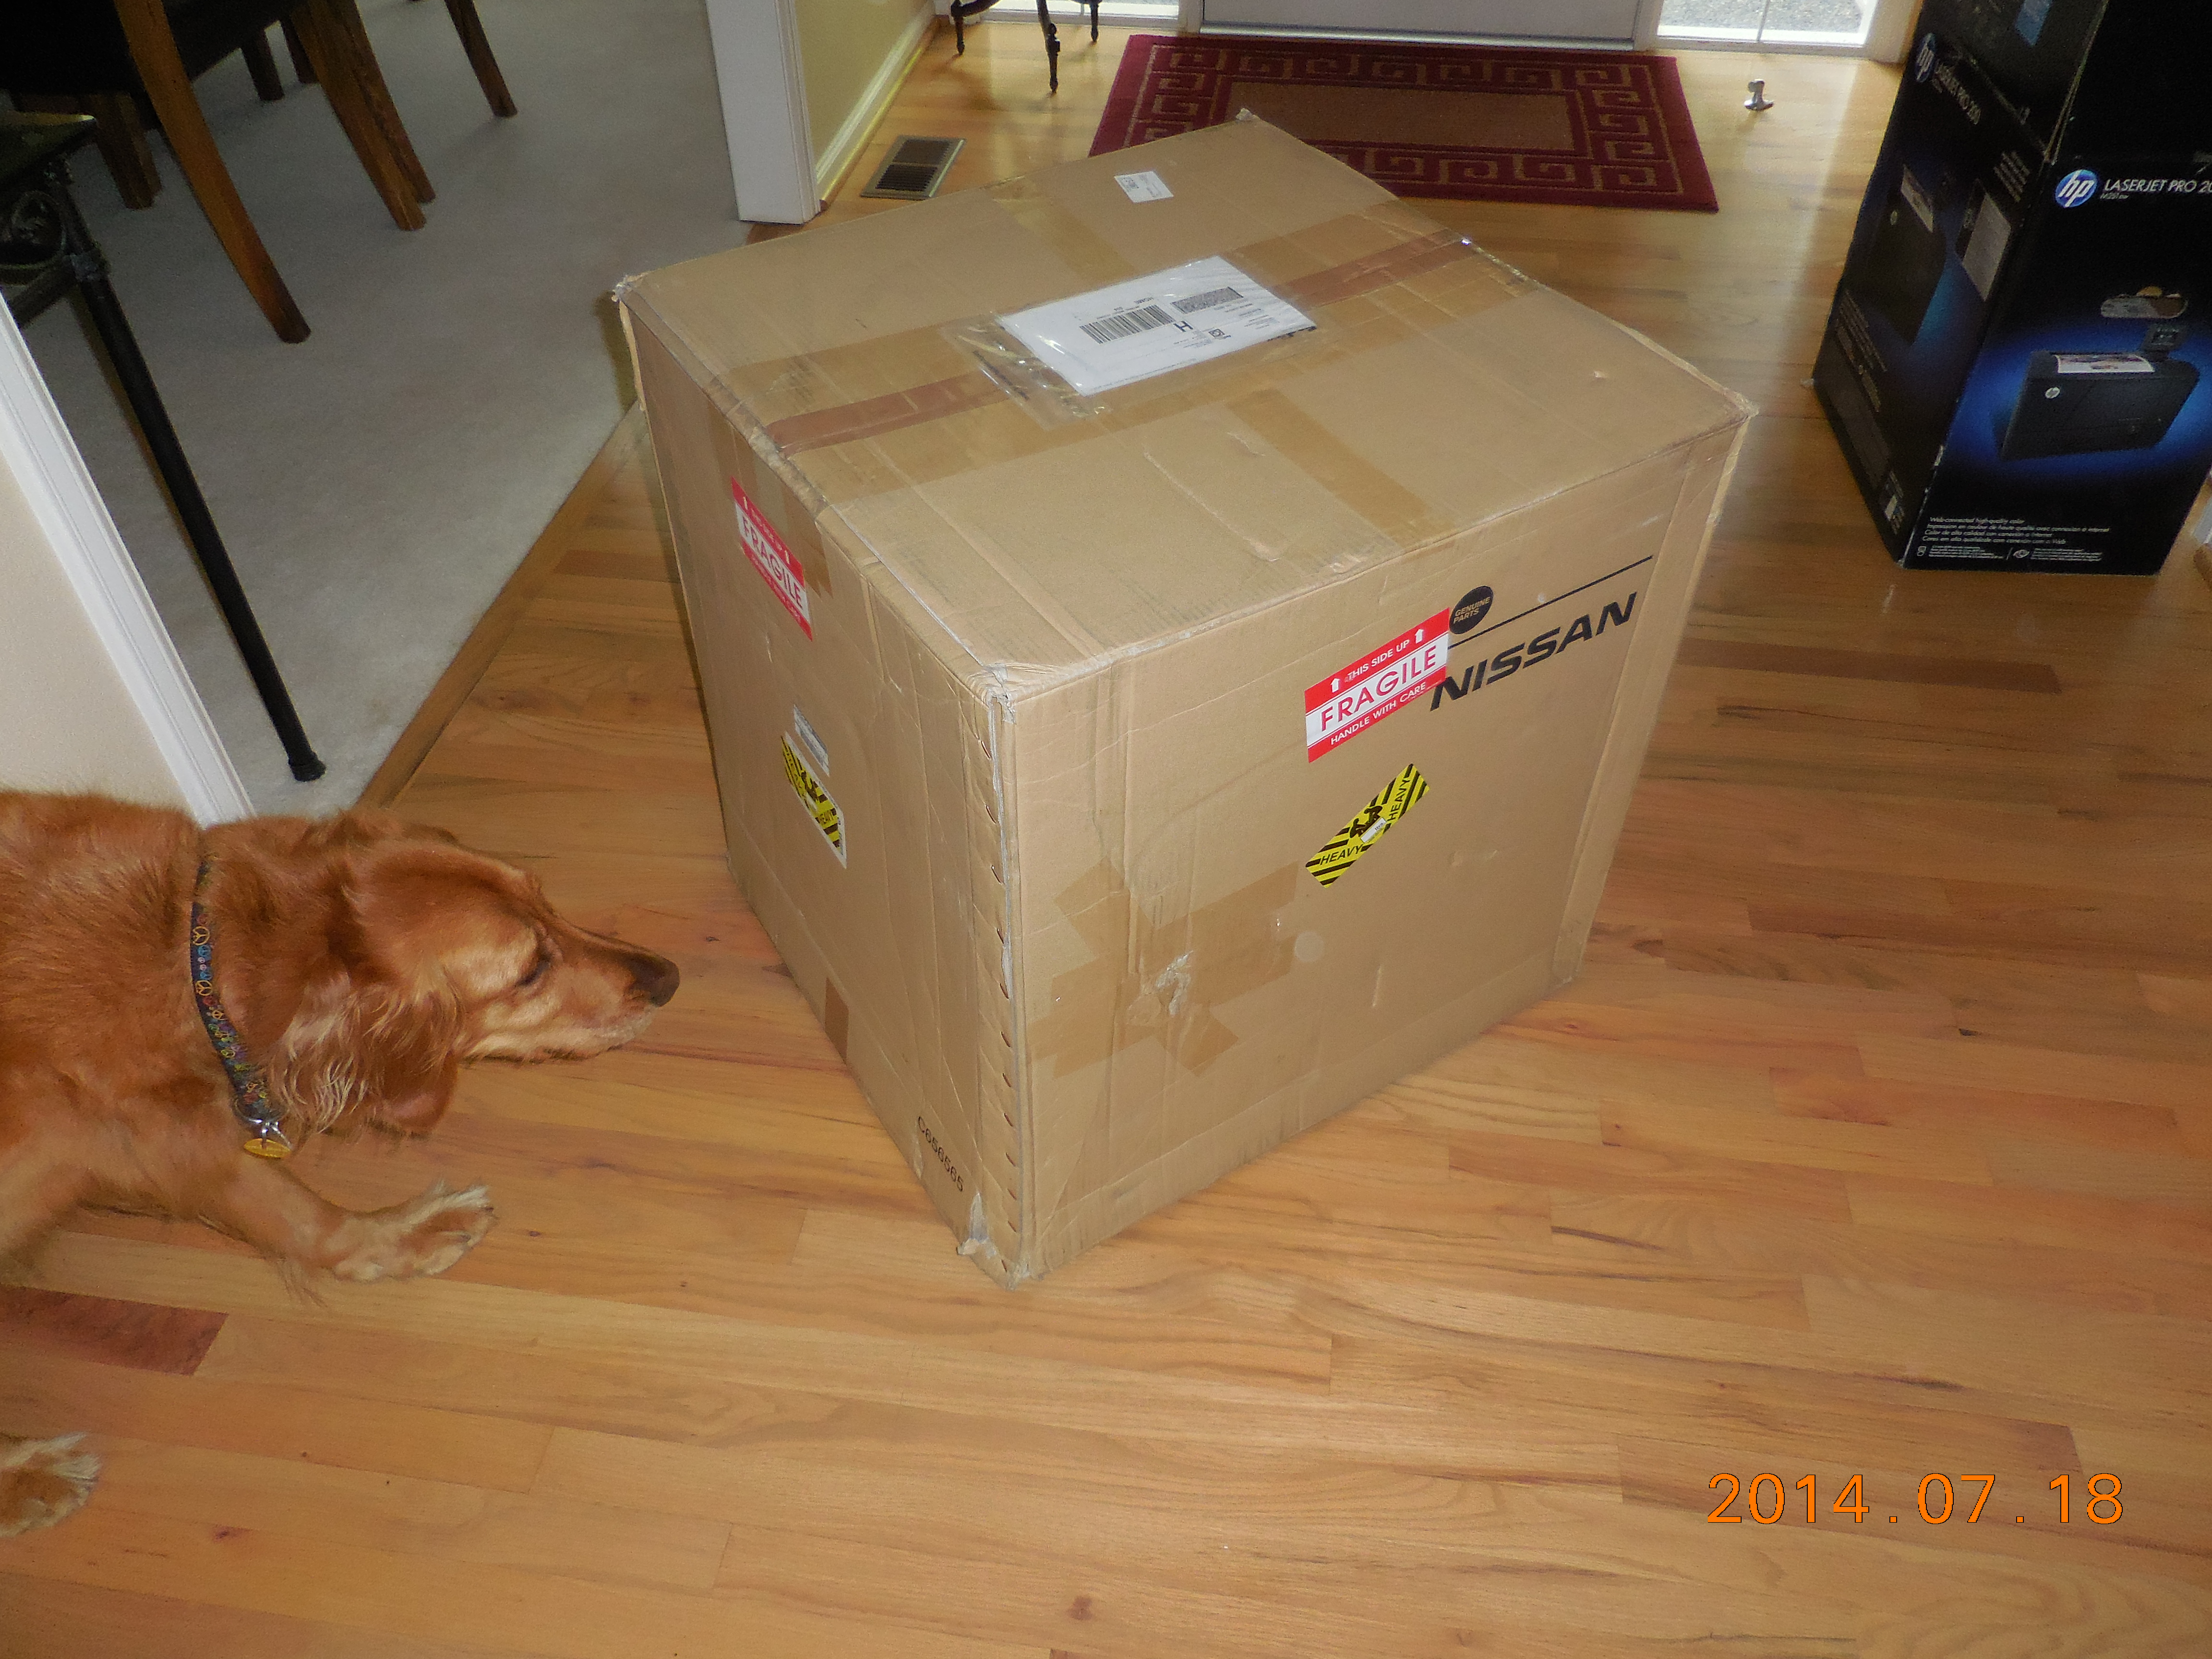
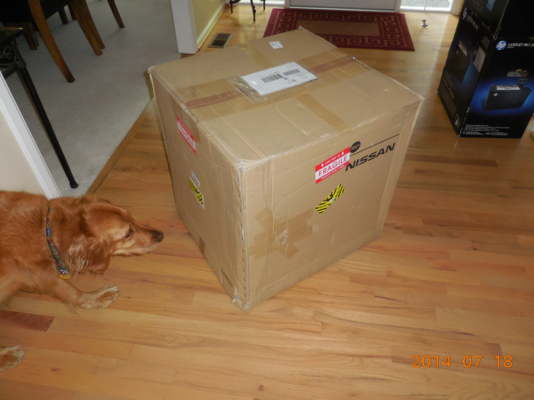
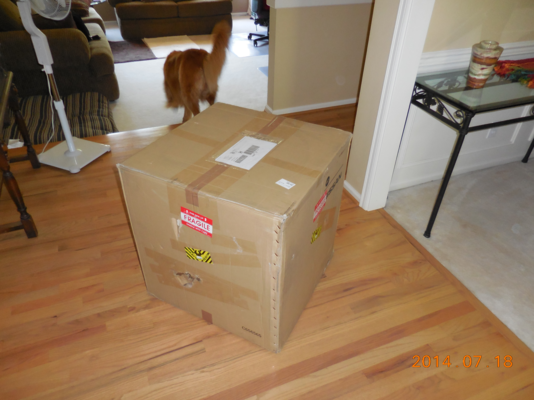
Infiniti Parts USA.com, part number 87450EH00A-1431823-88648 for $679 + $40 shipping. It went from Phoenix to my doorstep in rural east Seattle in three days.
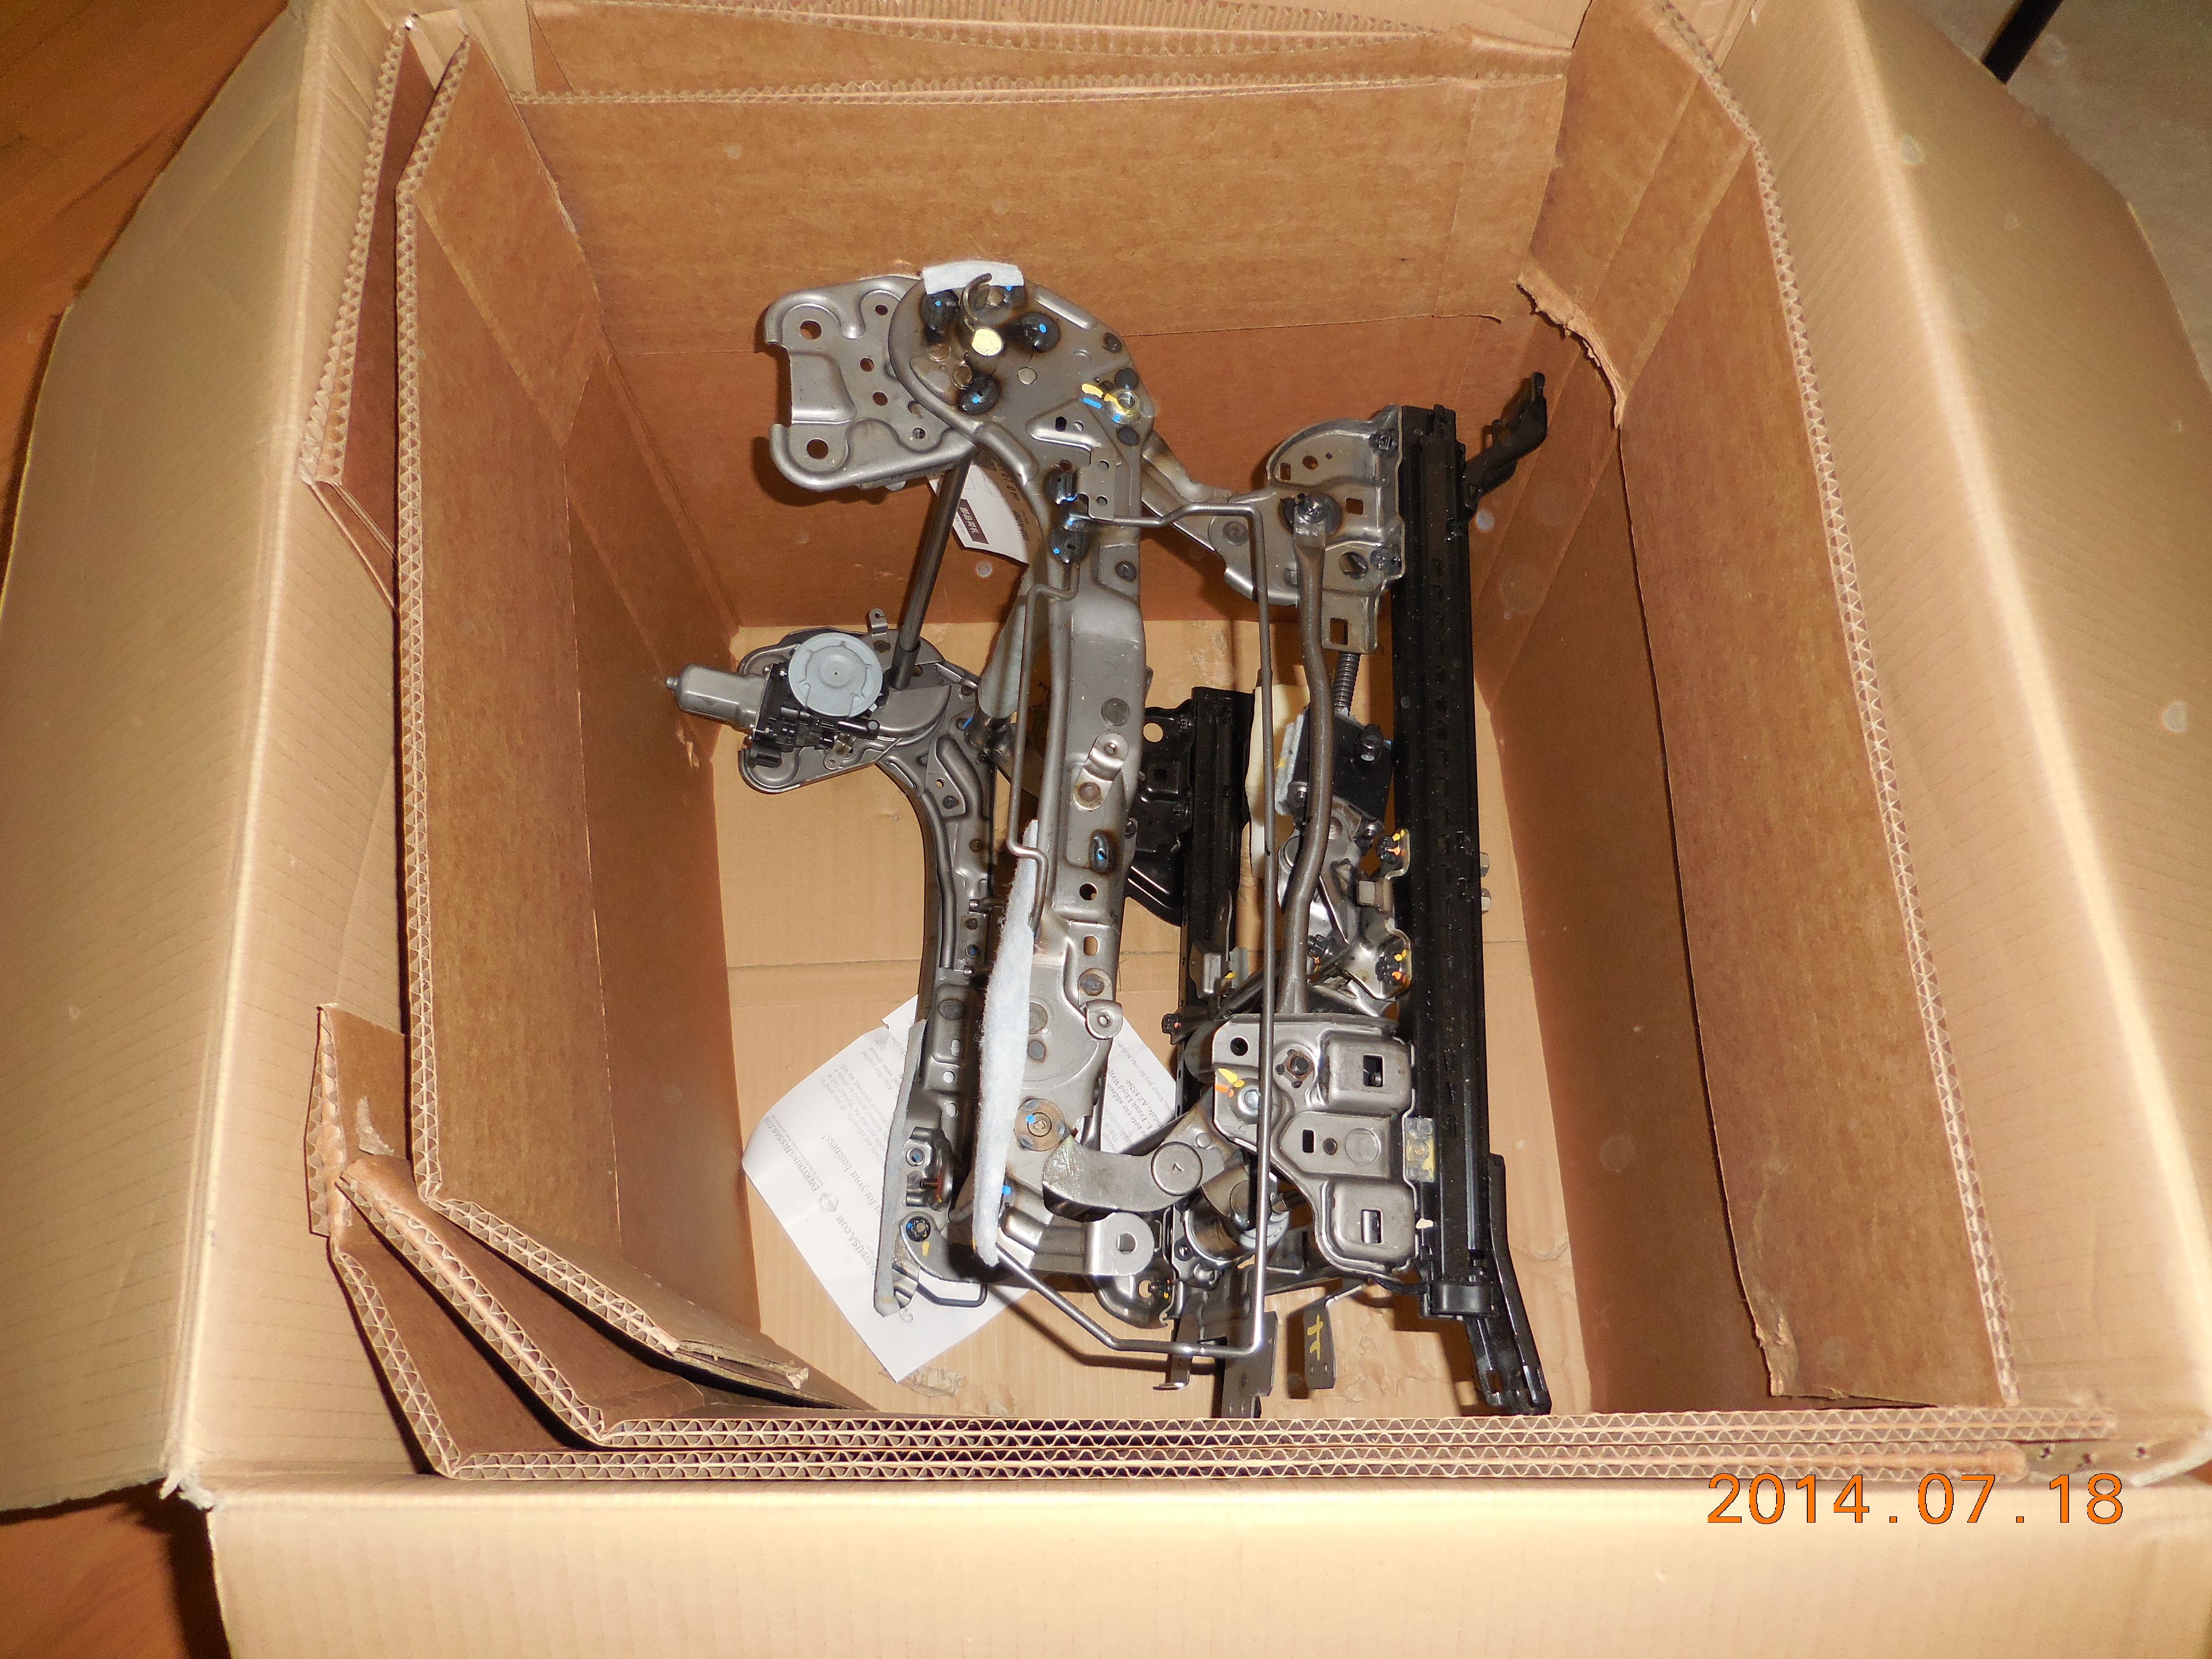
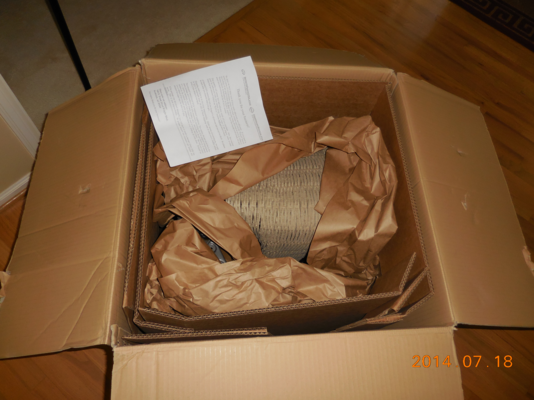
It's a big box, but mostly air inside.
Click HERE for larger
 Click HERE for larger
 Click HERE for larger
 Click HERE for larger

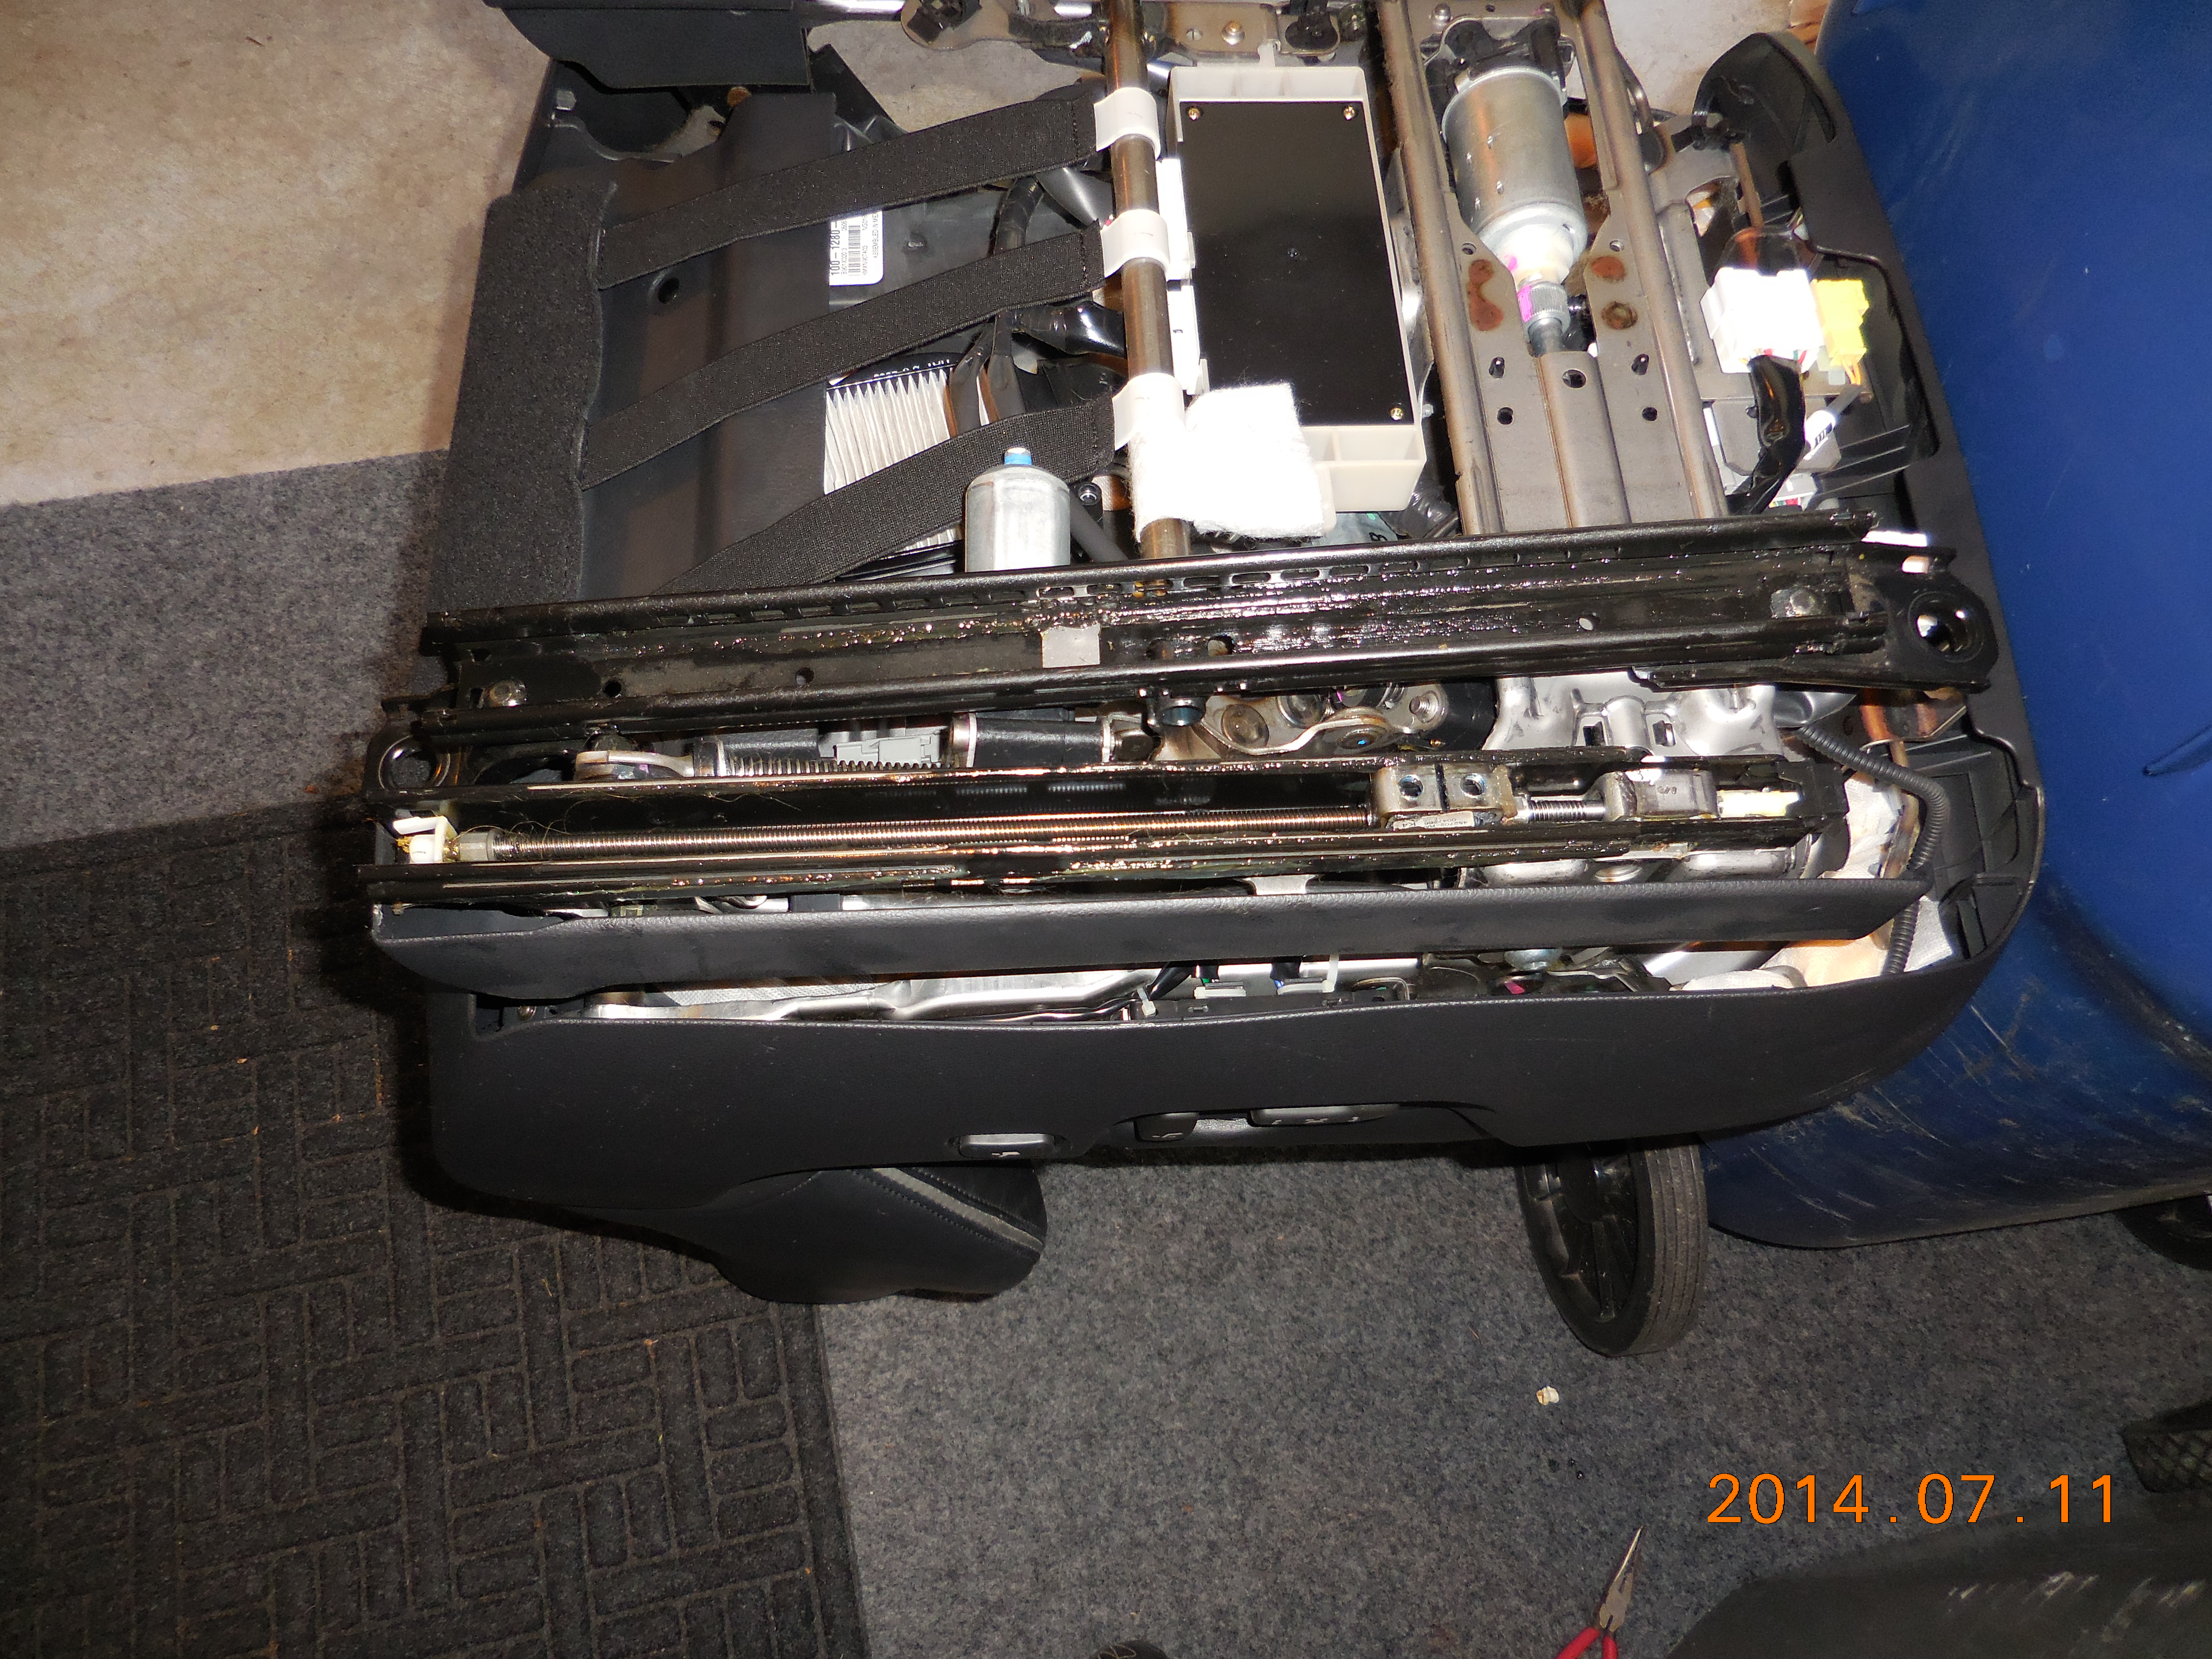
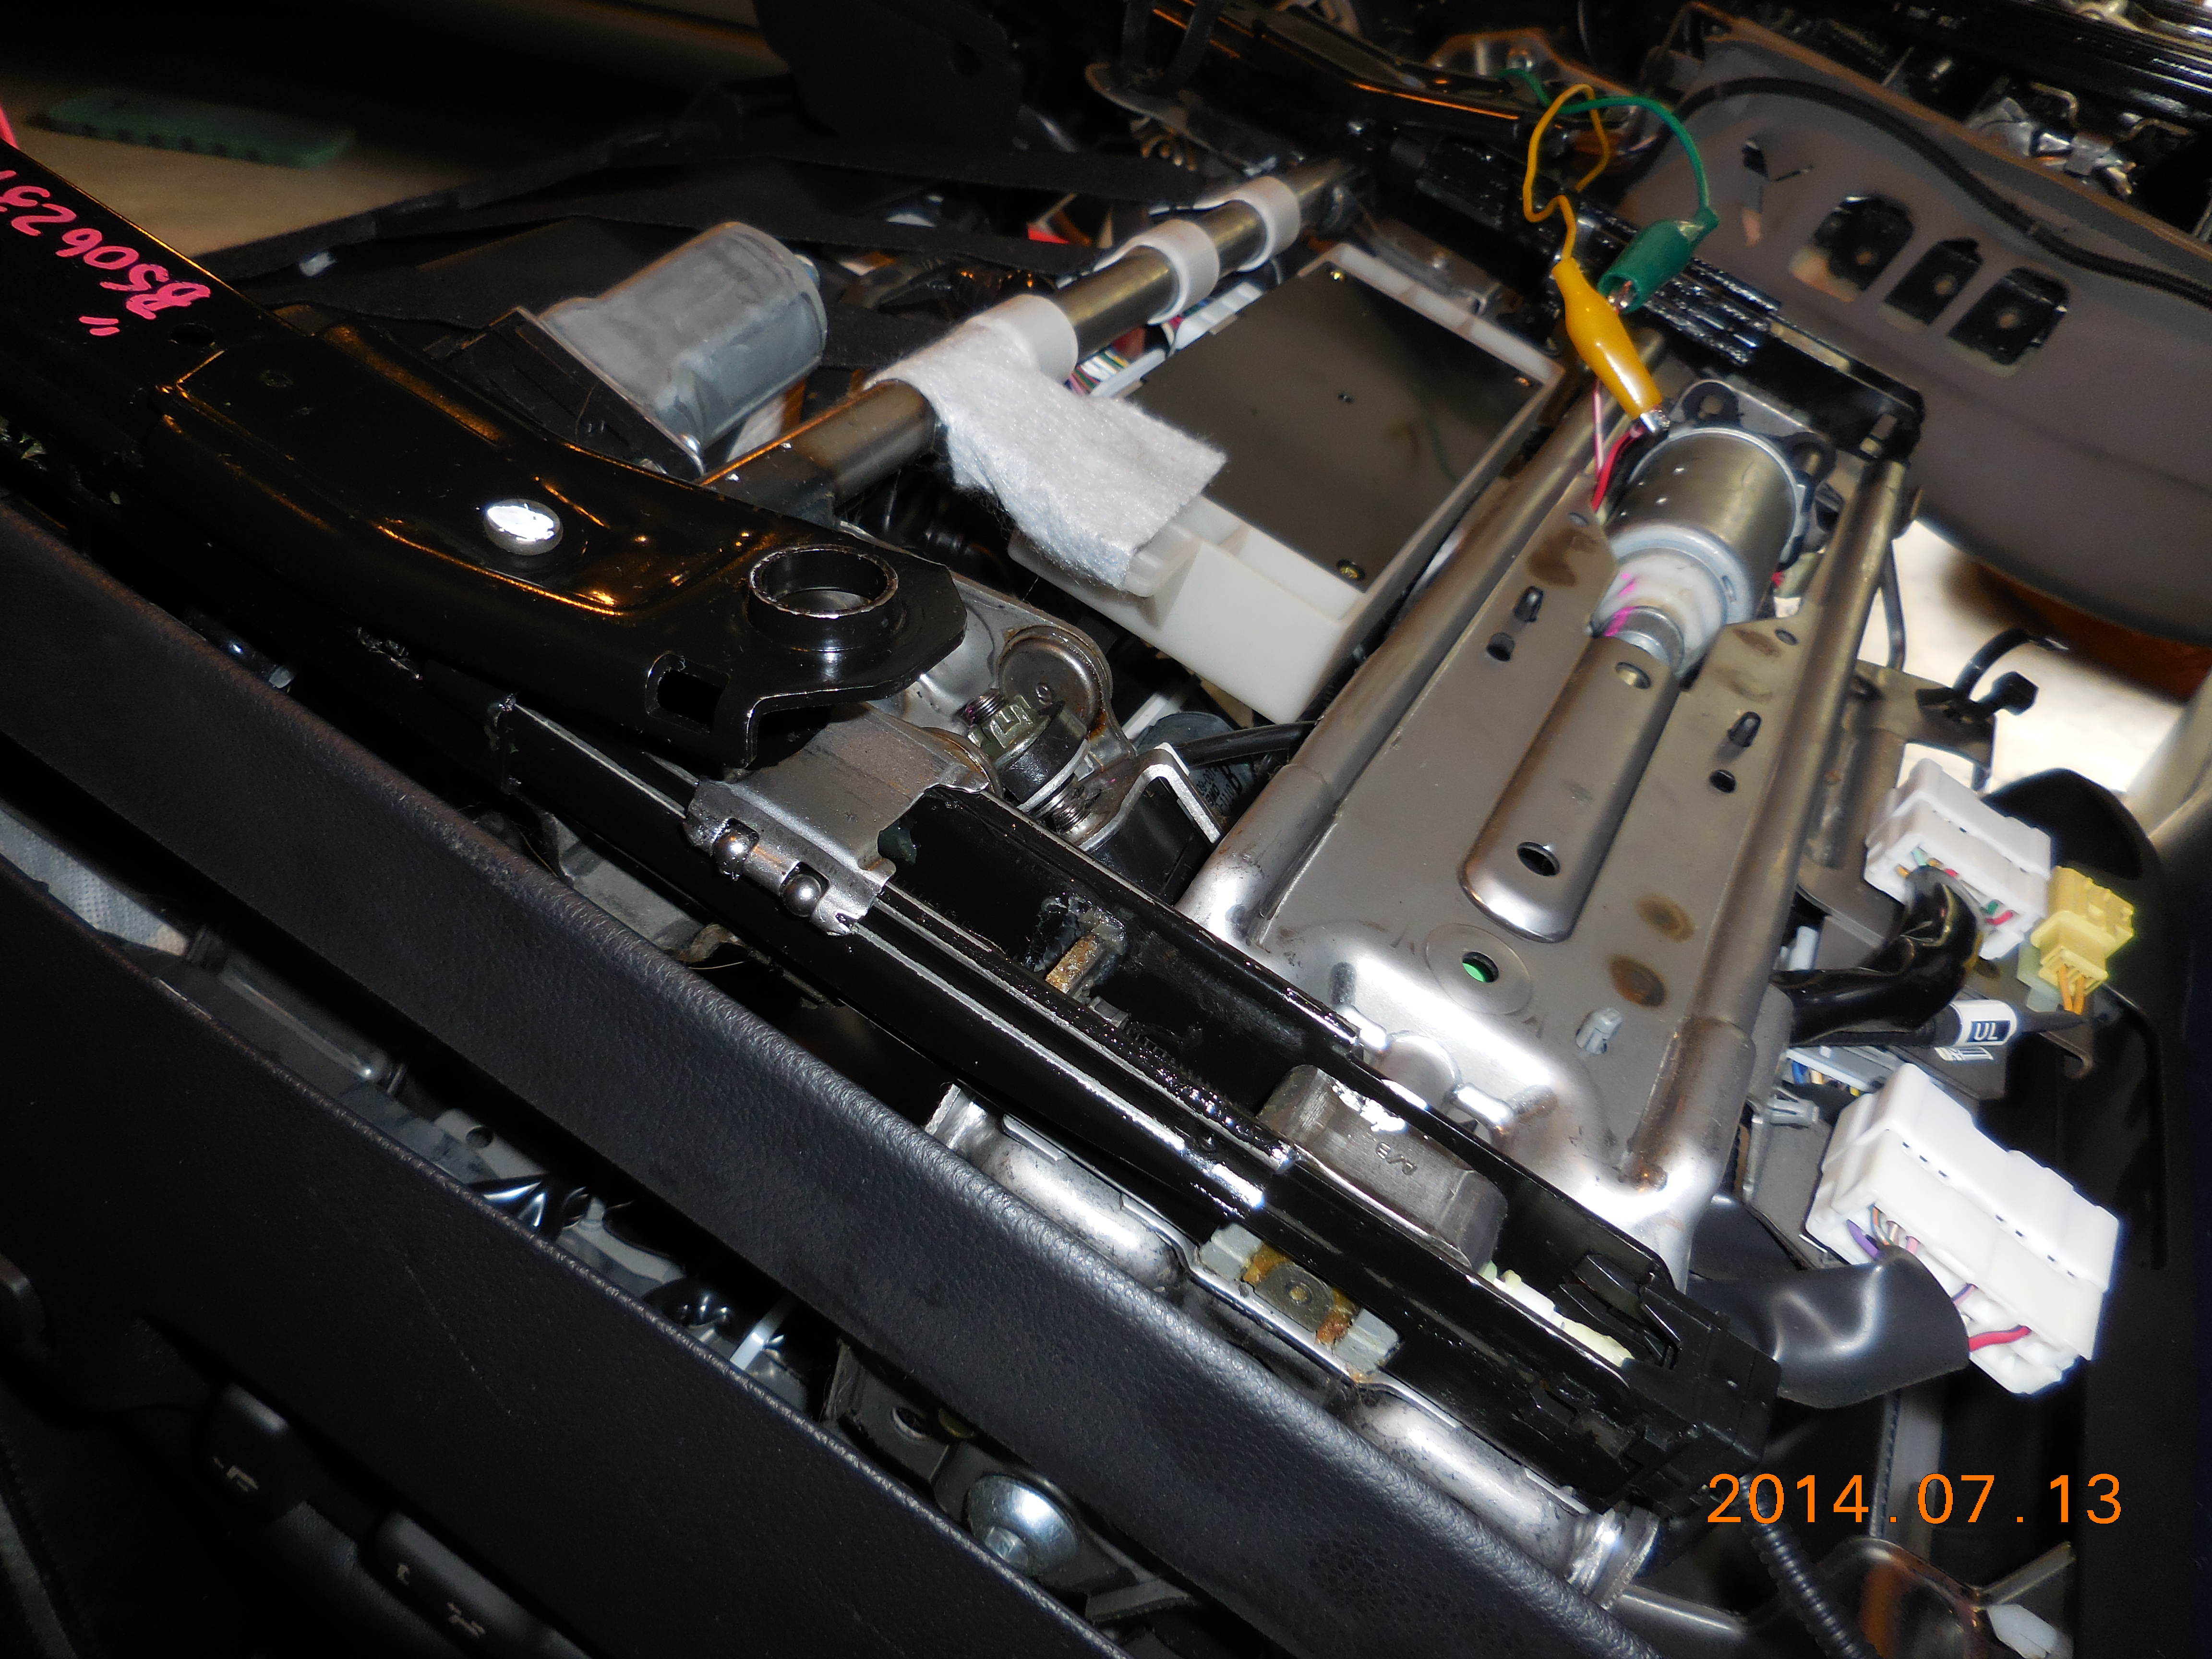
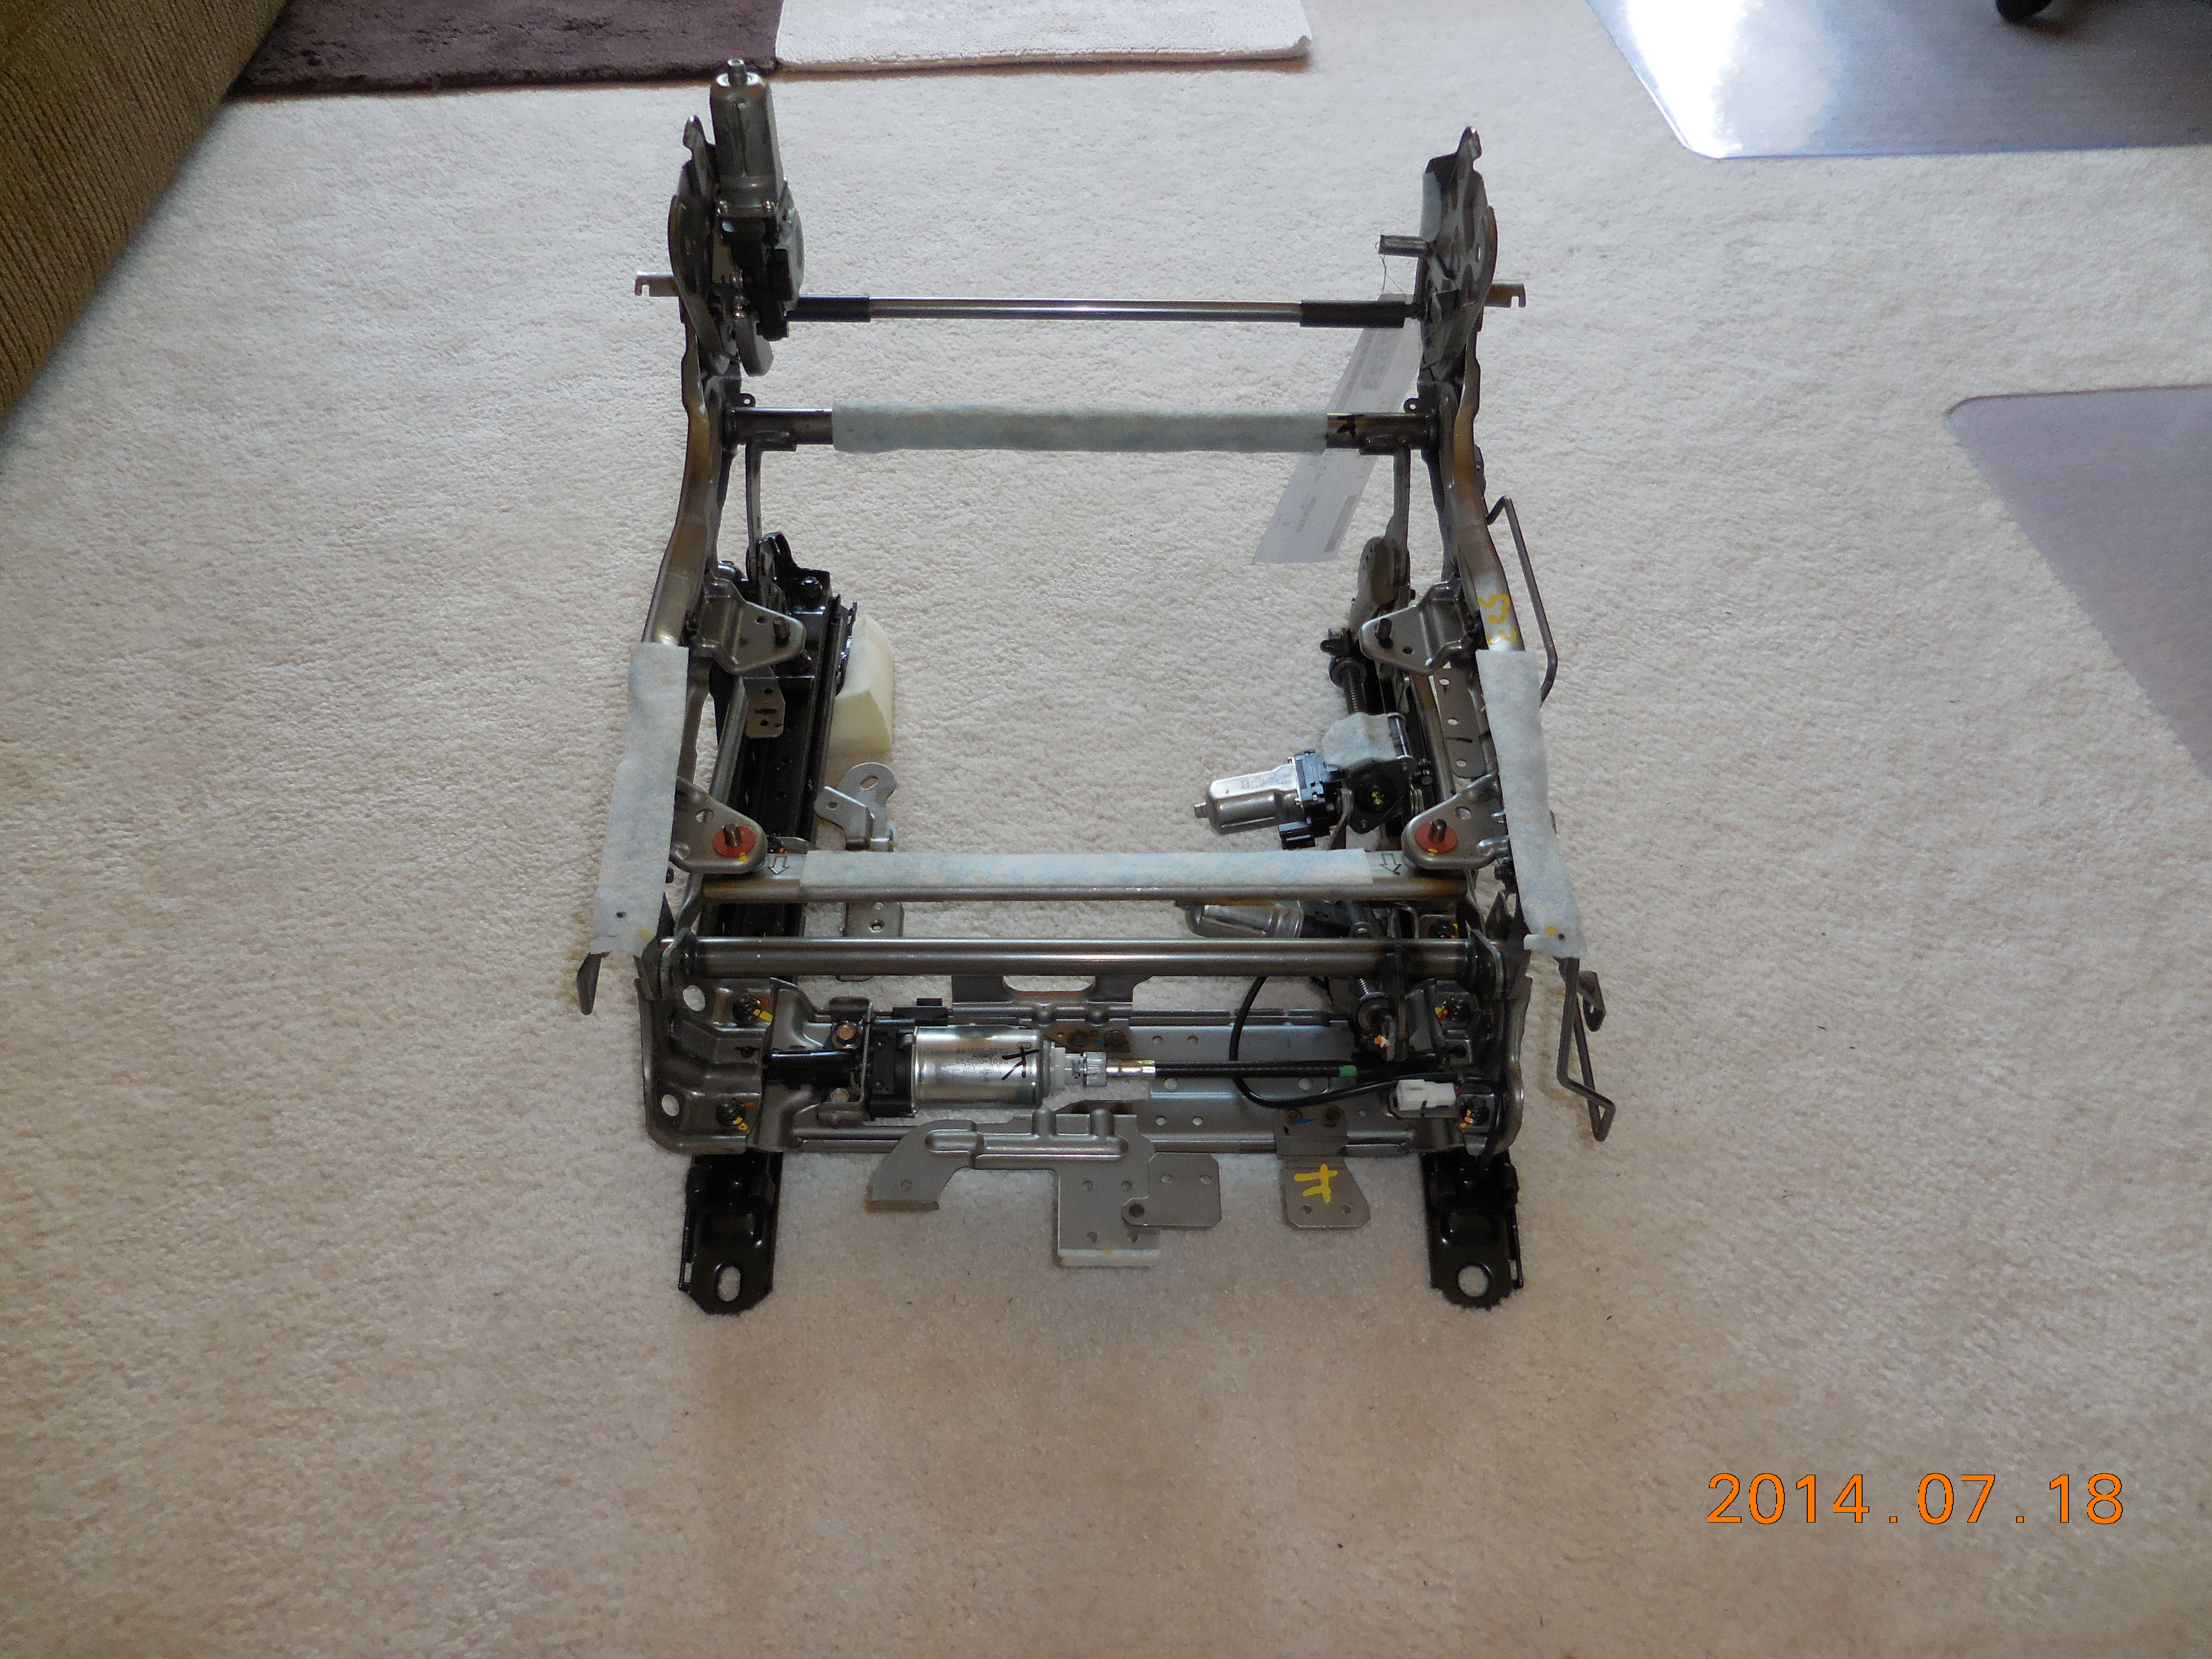
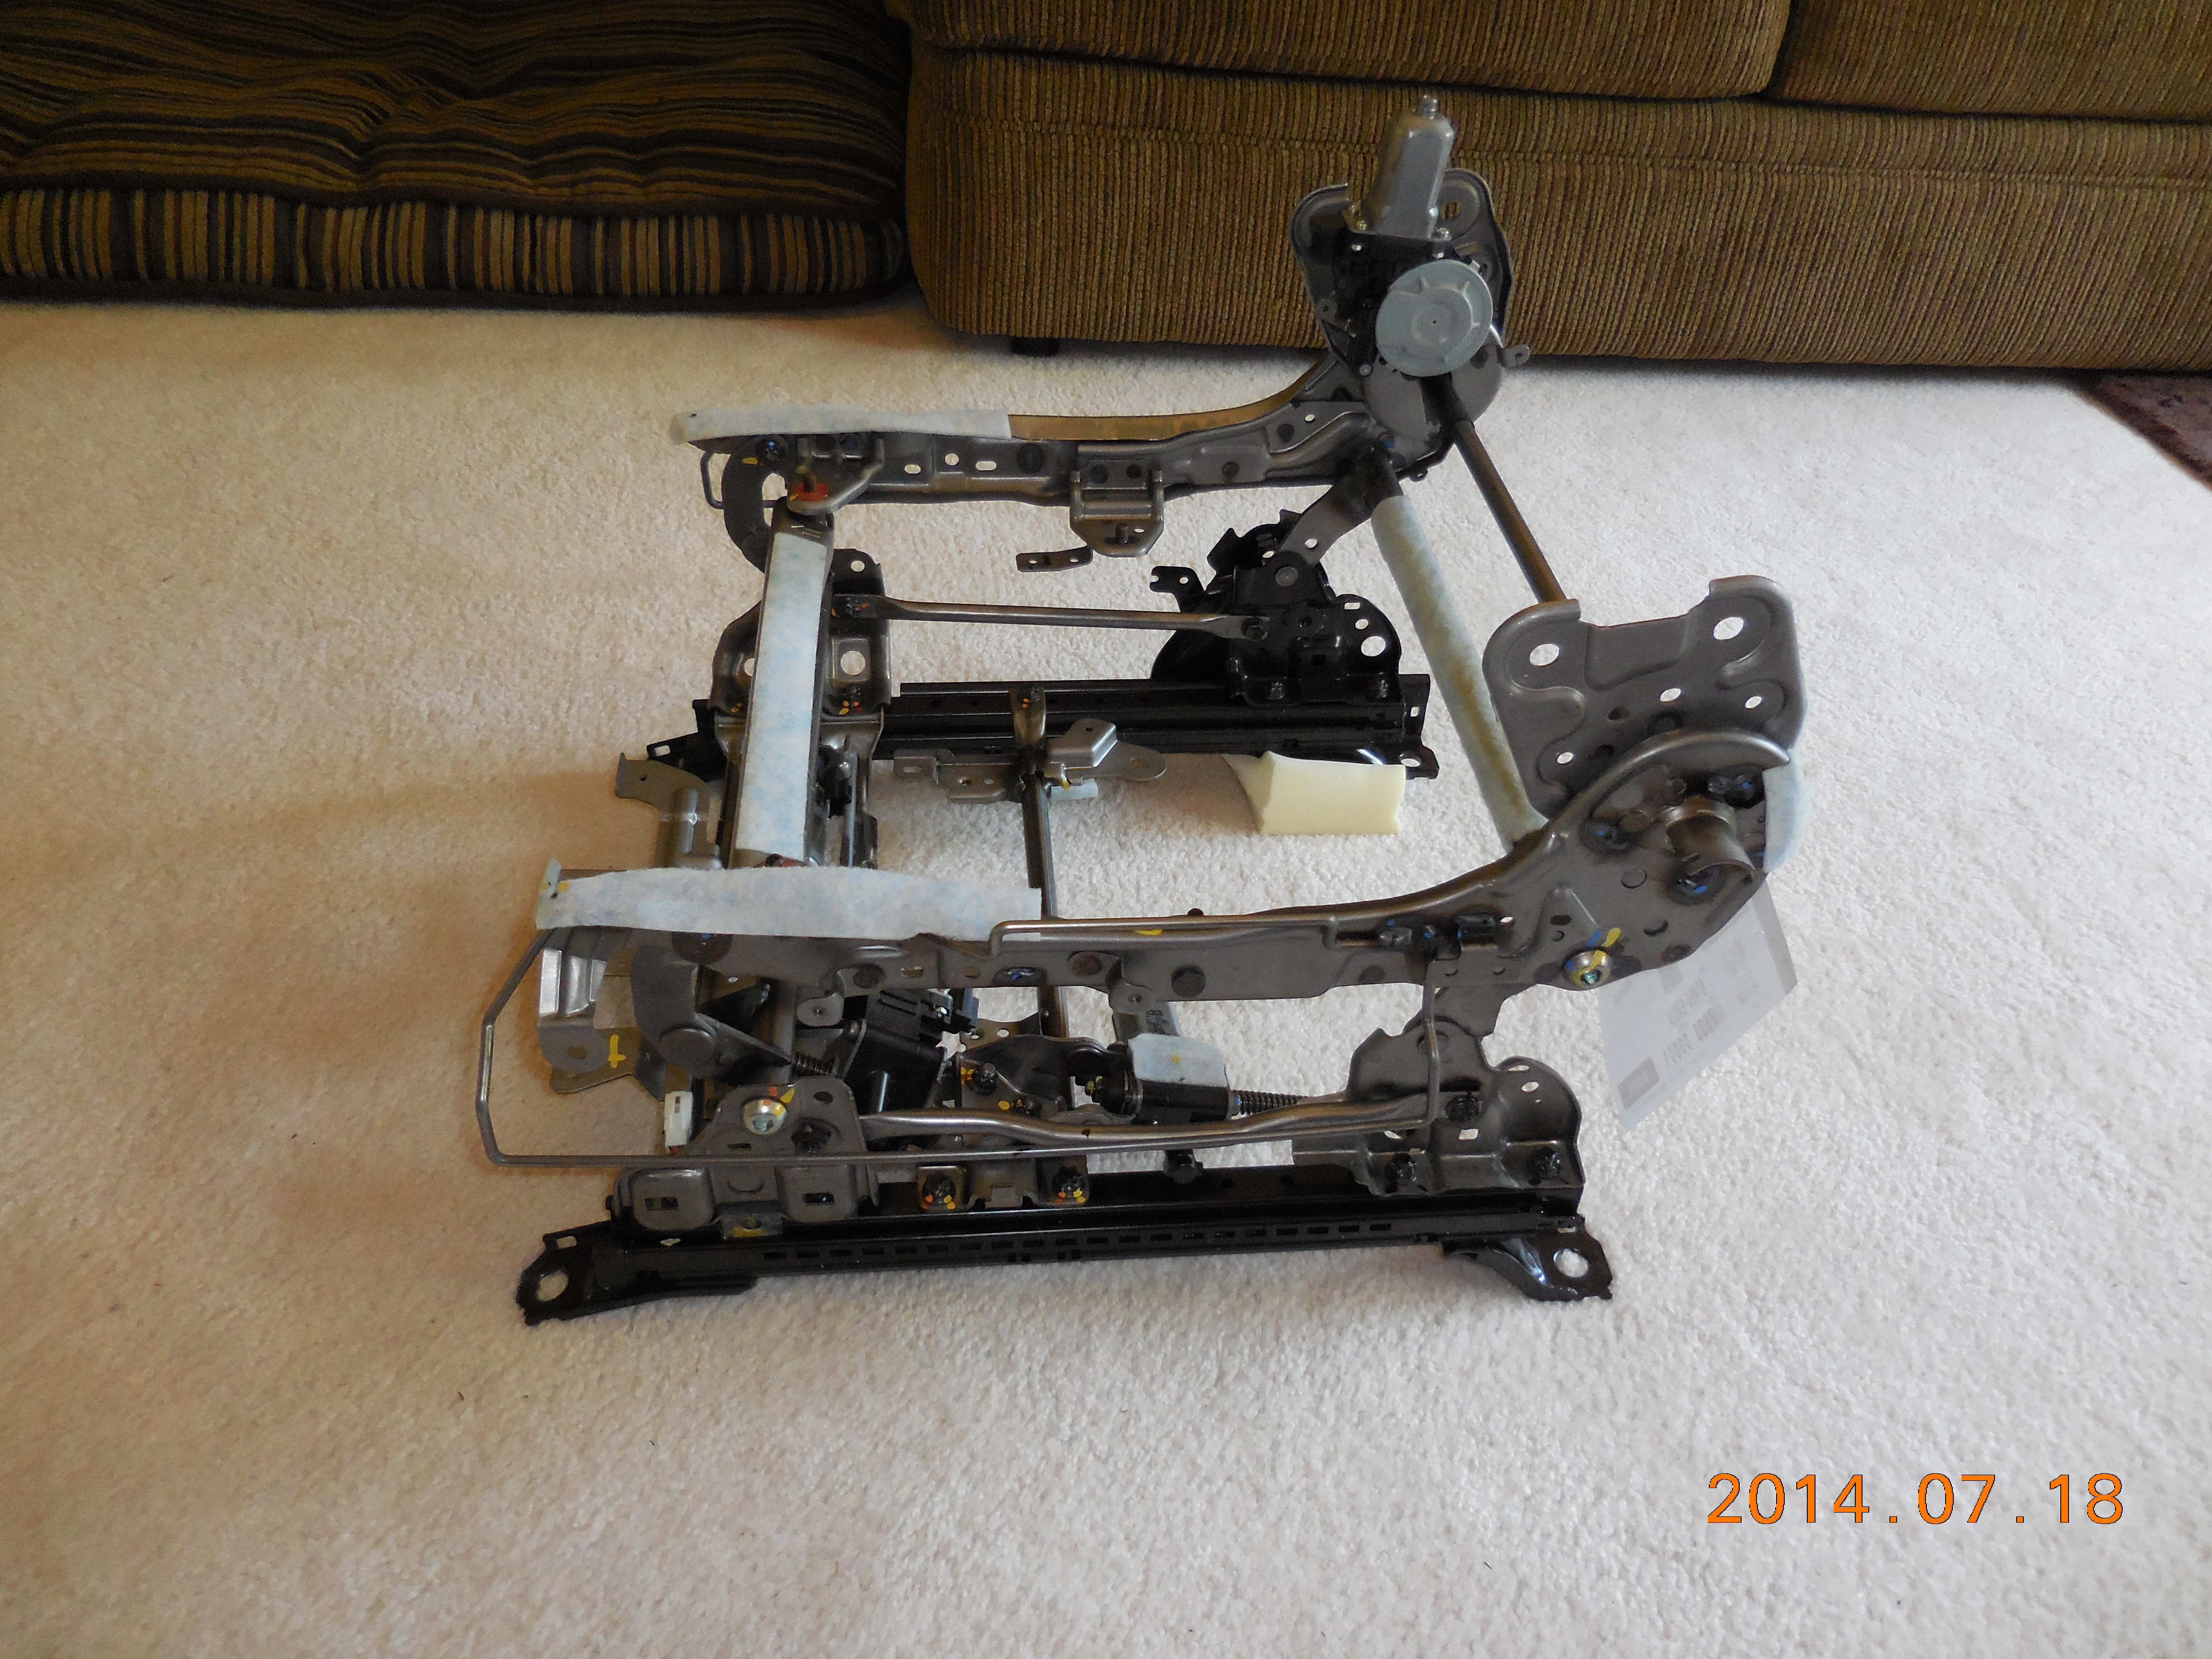
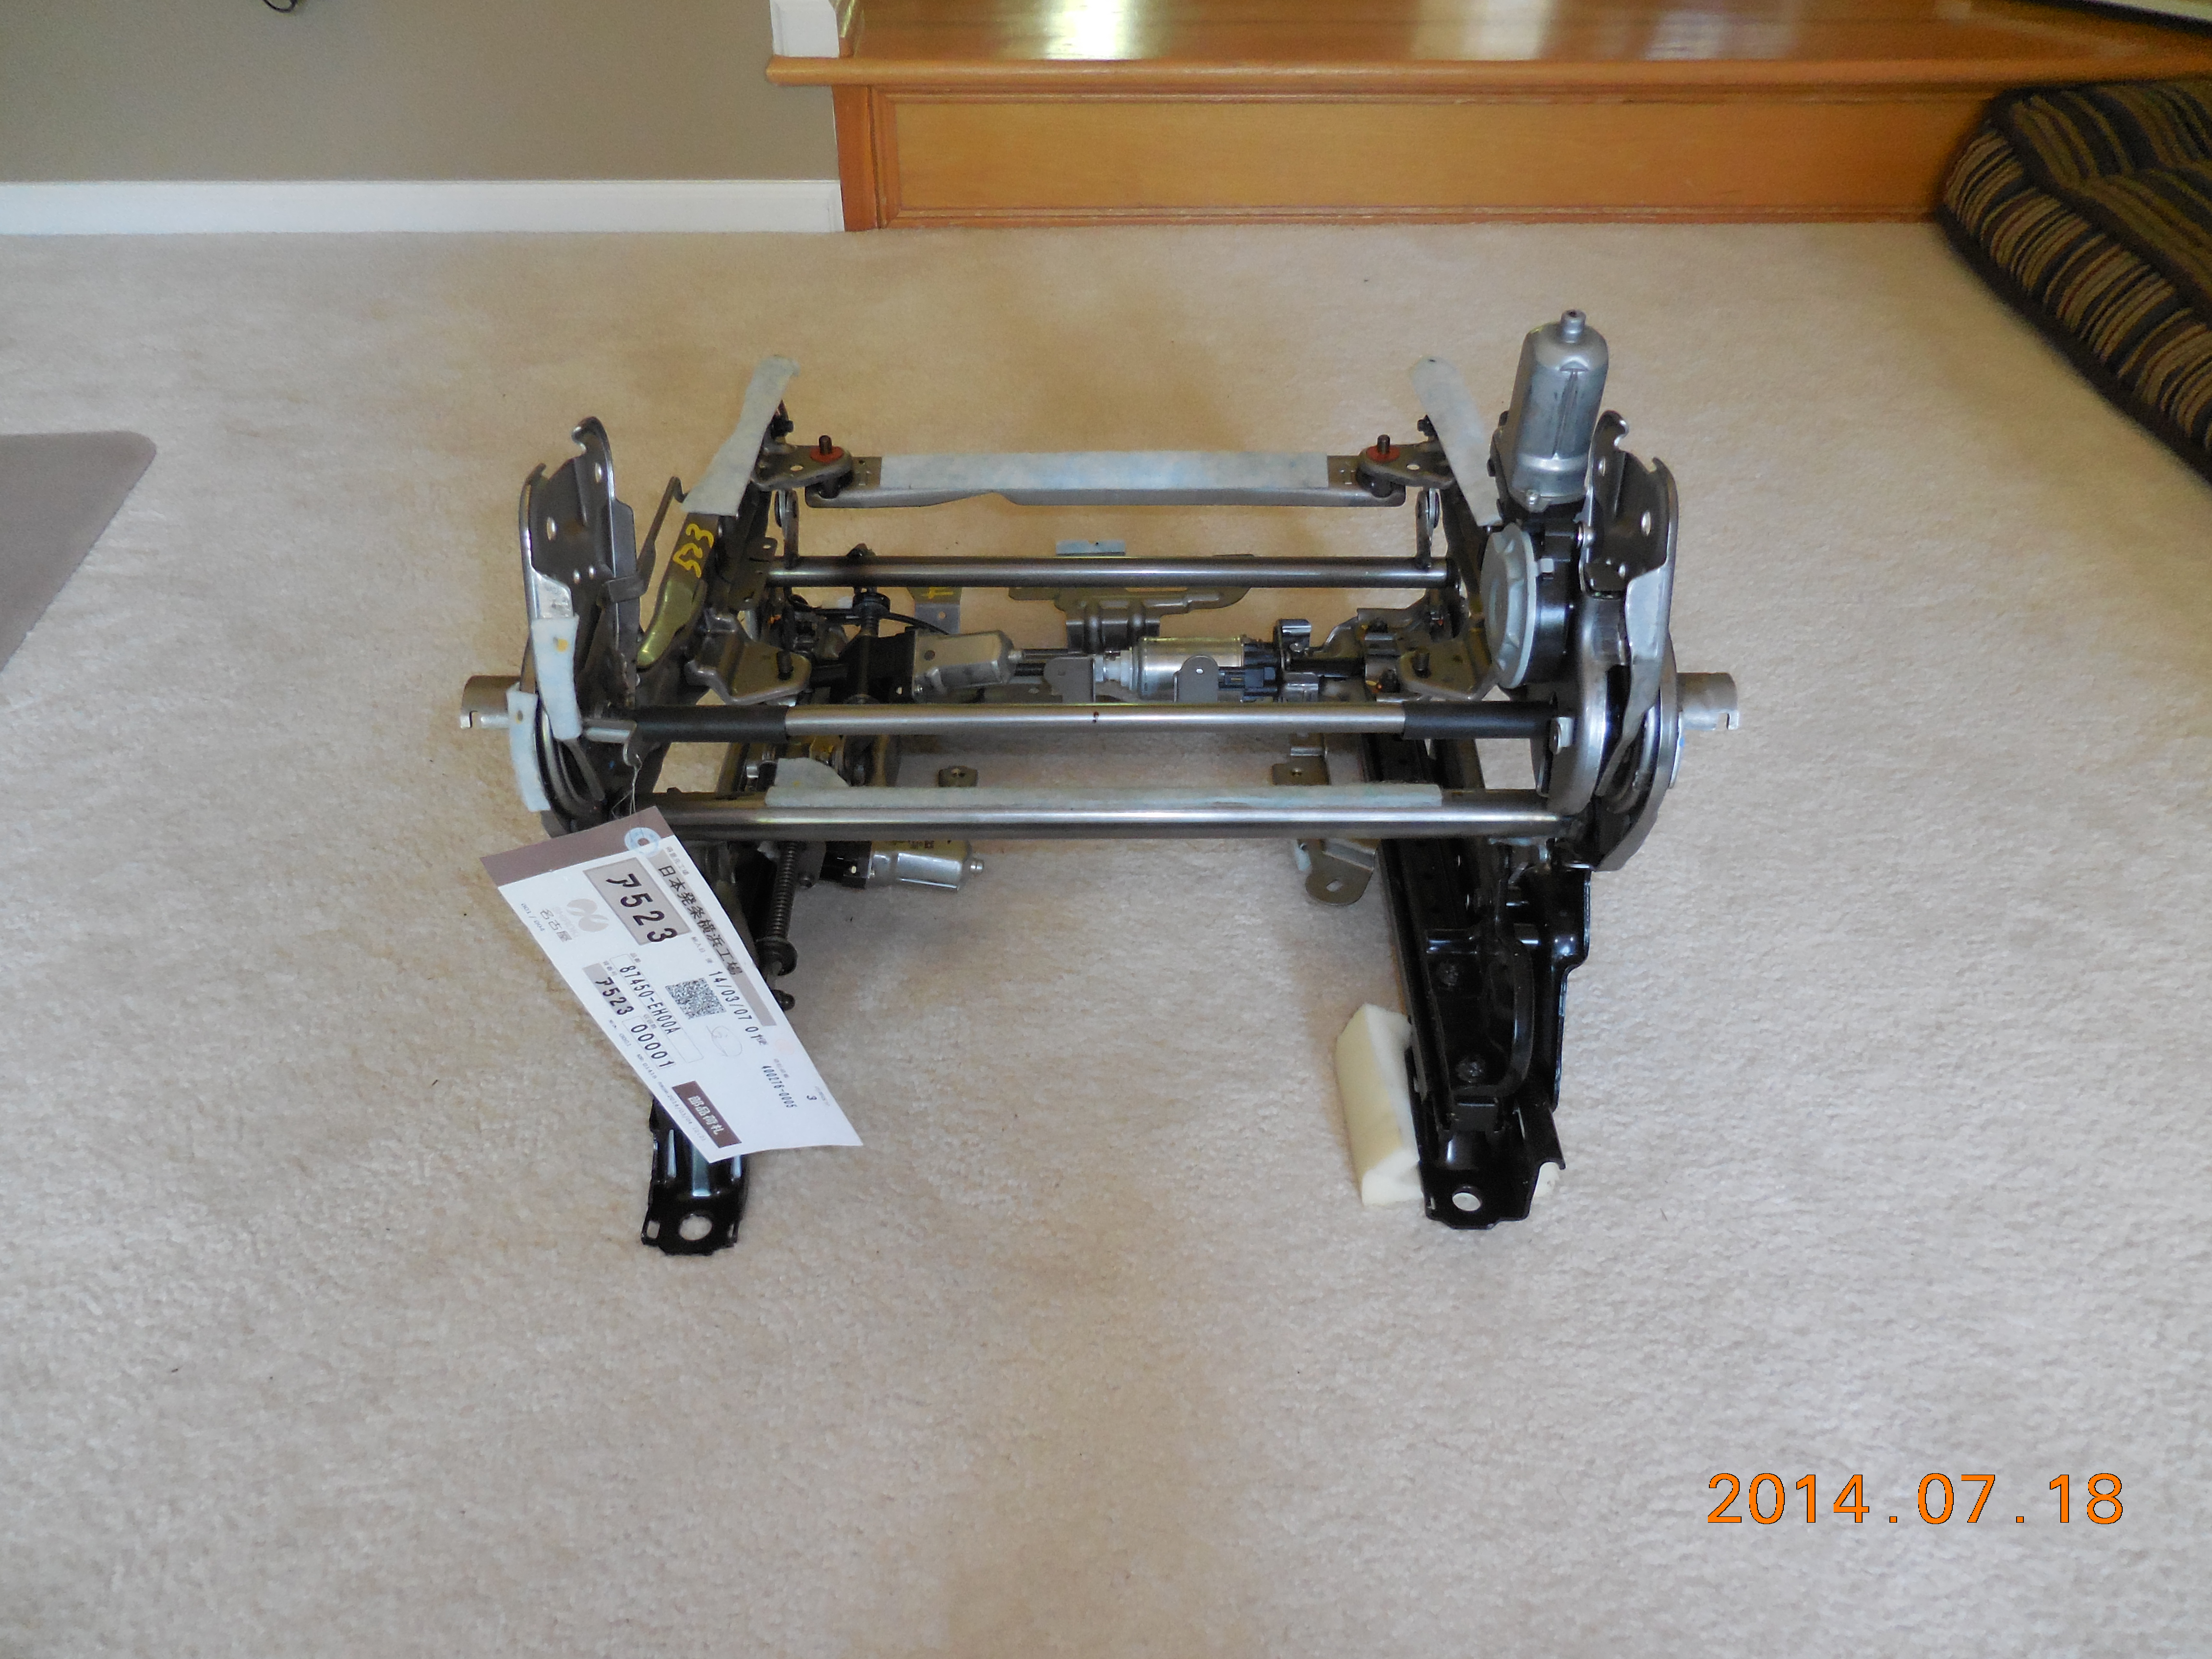
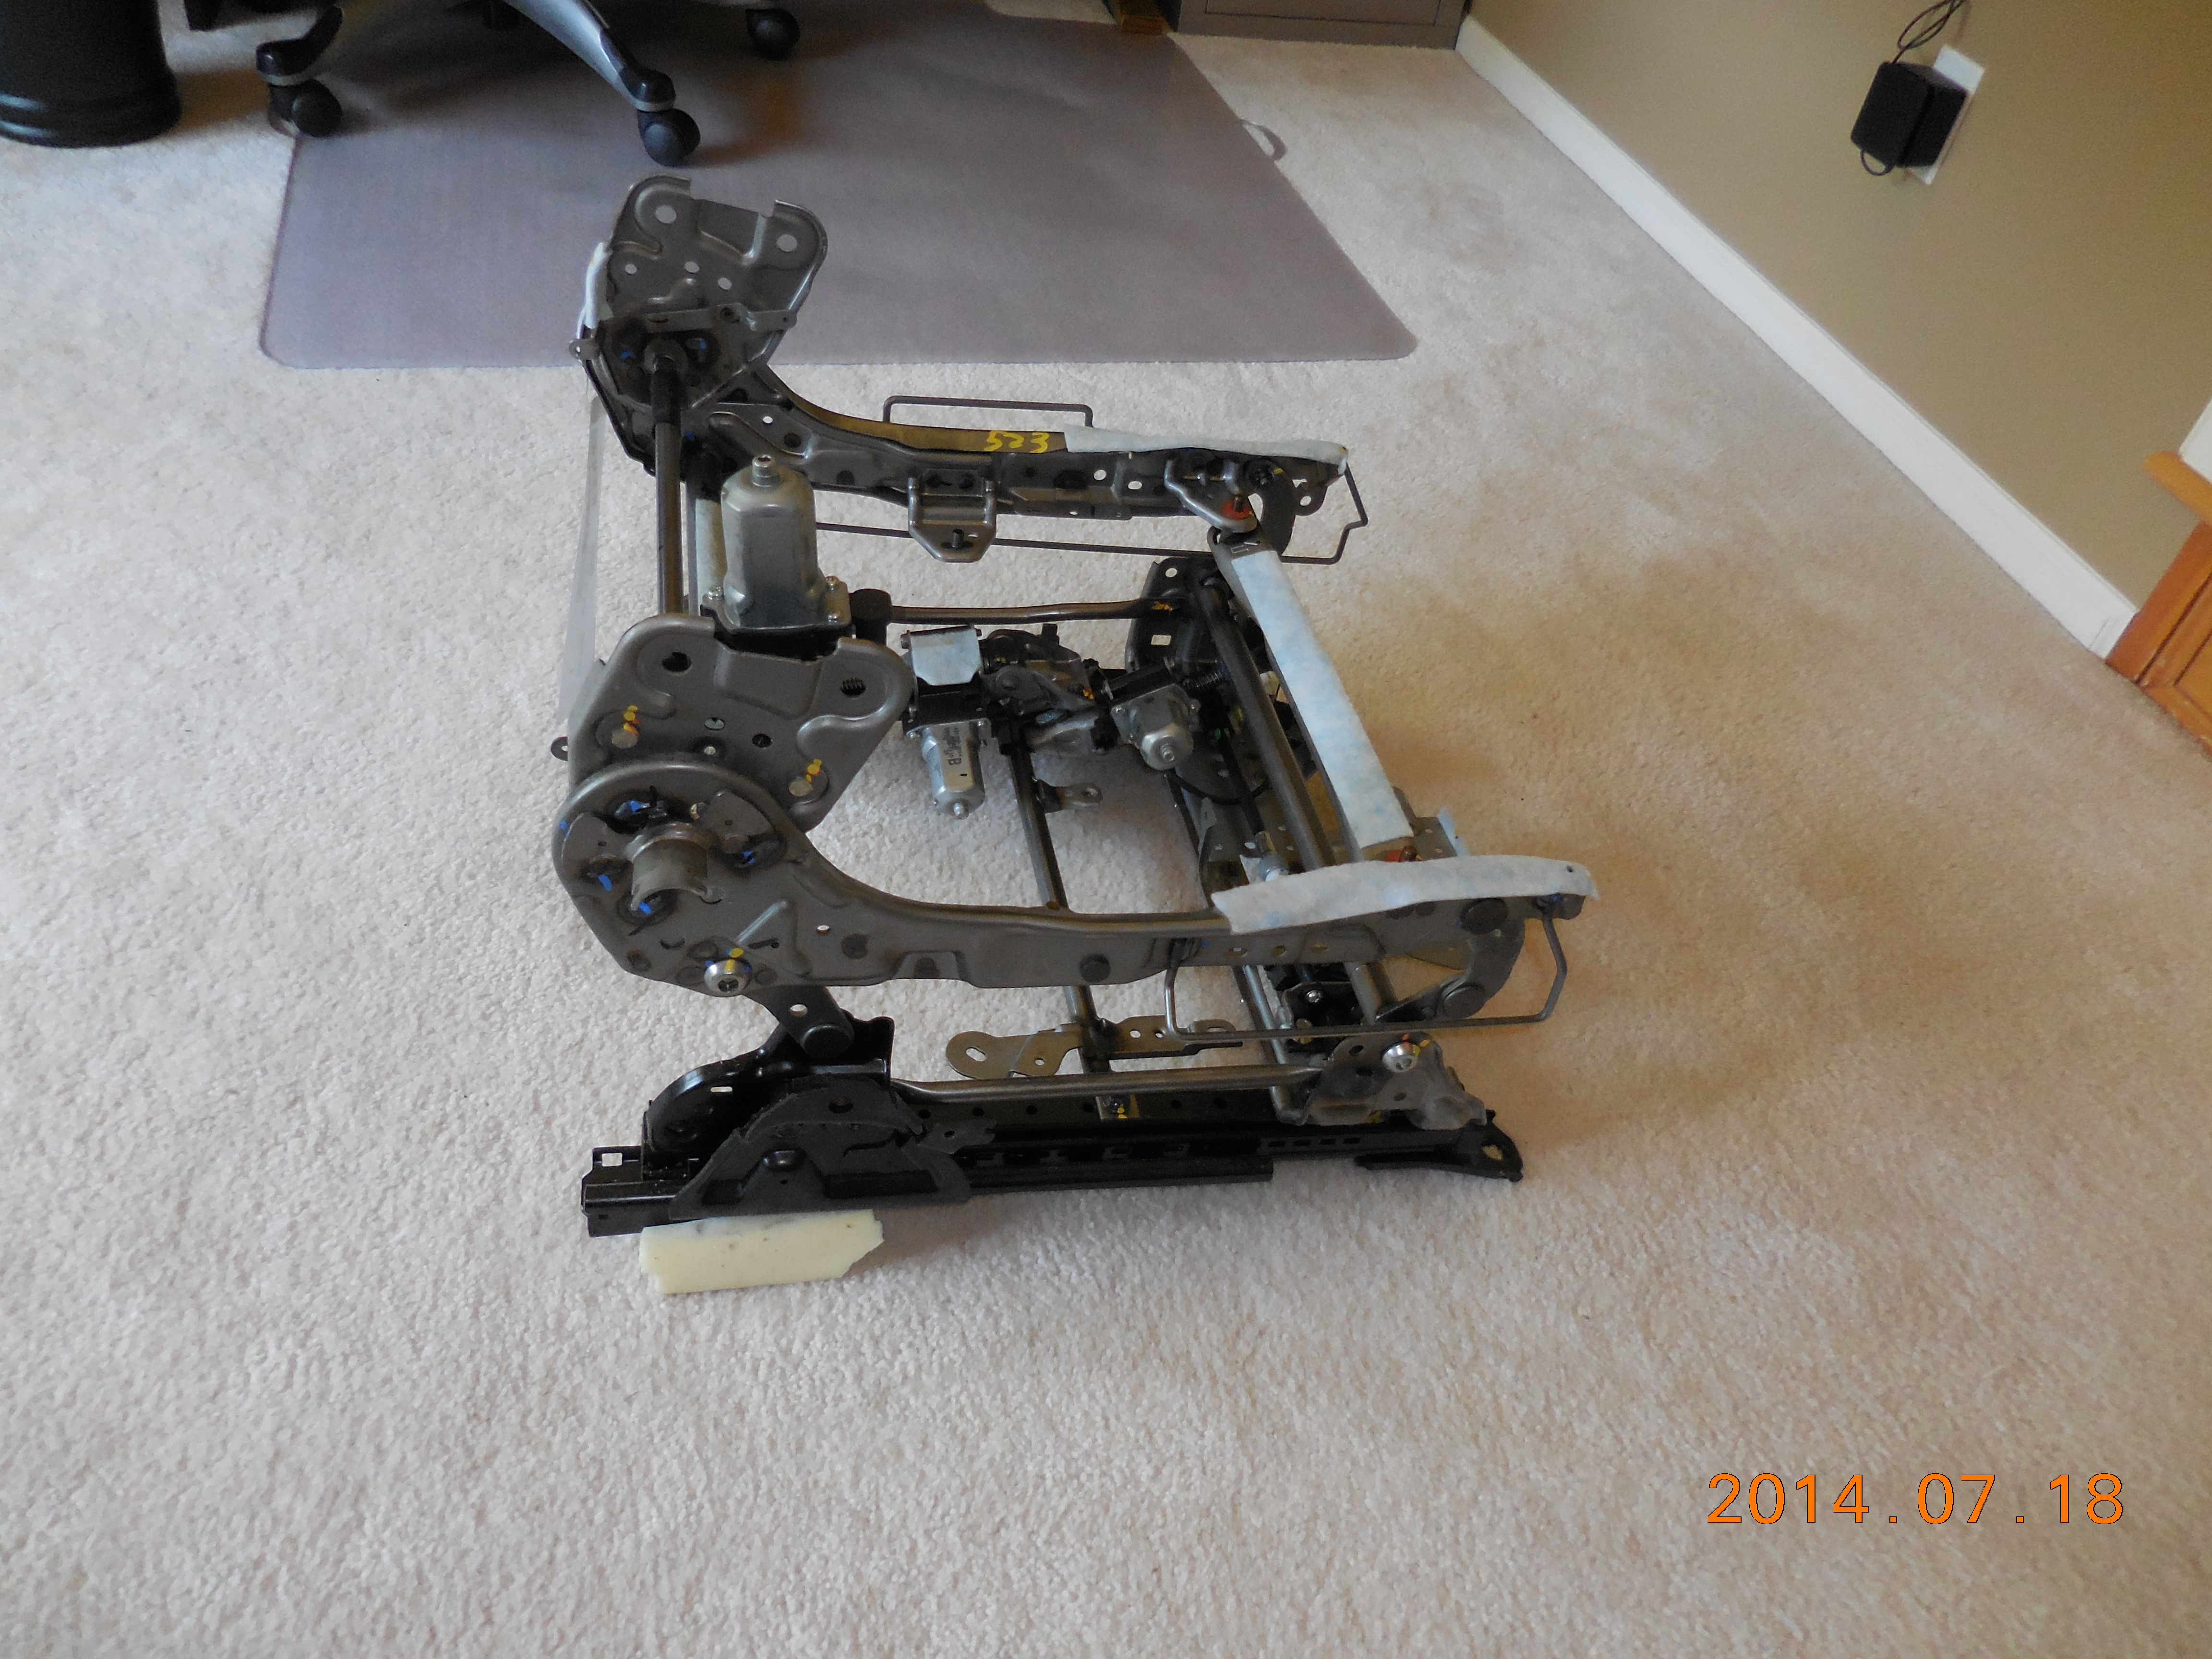
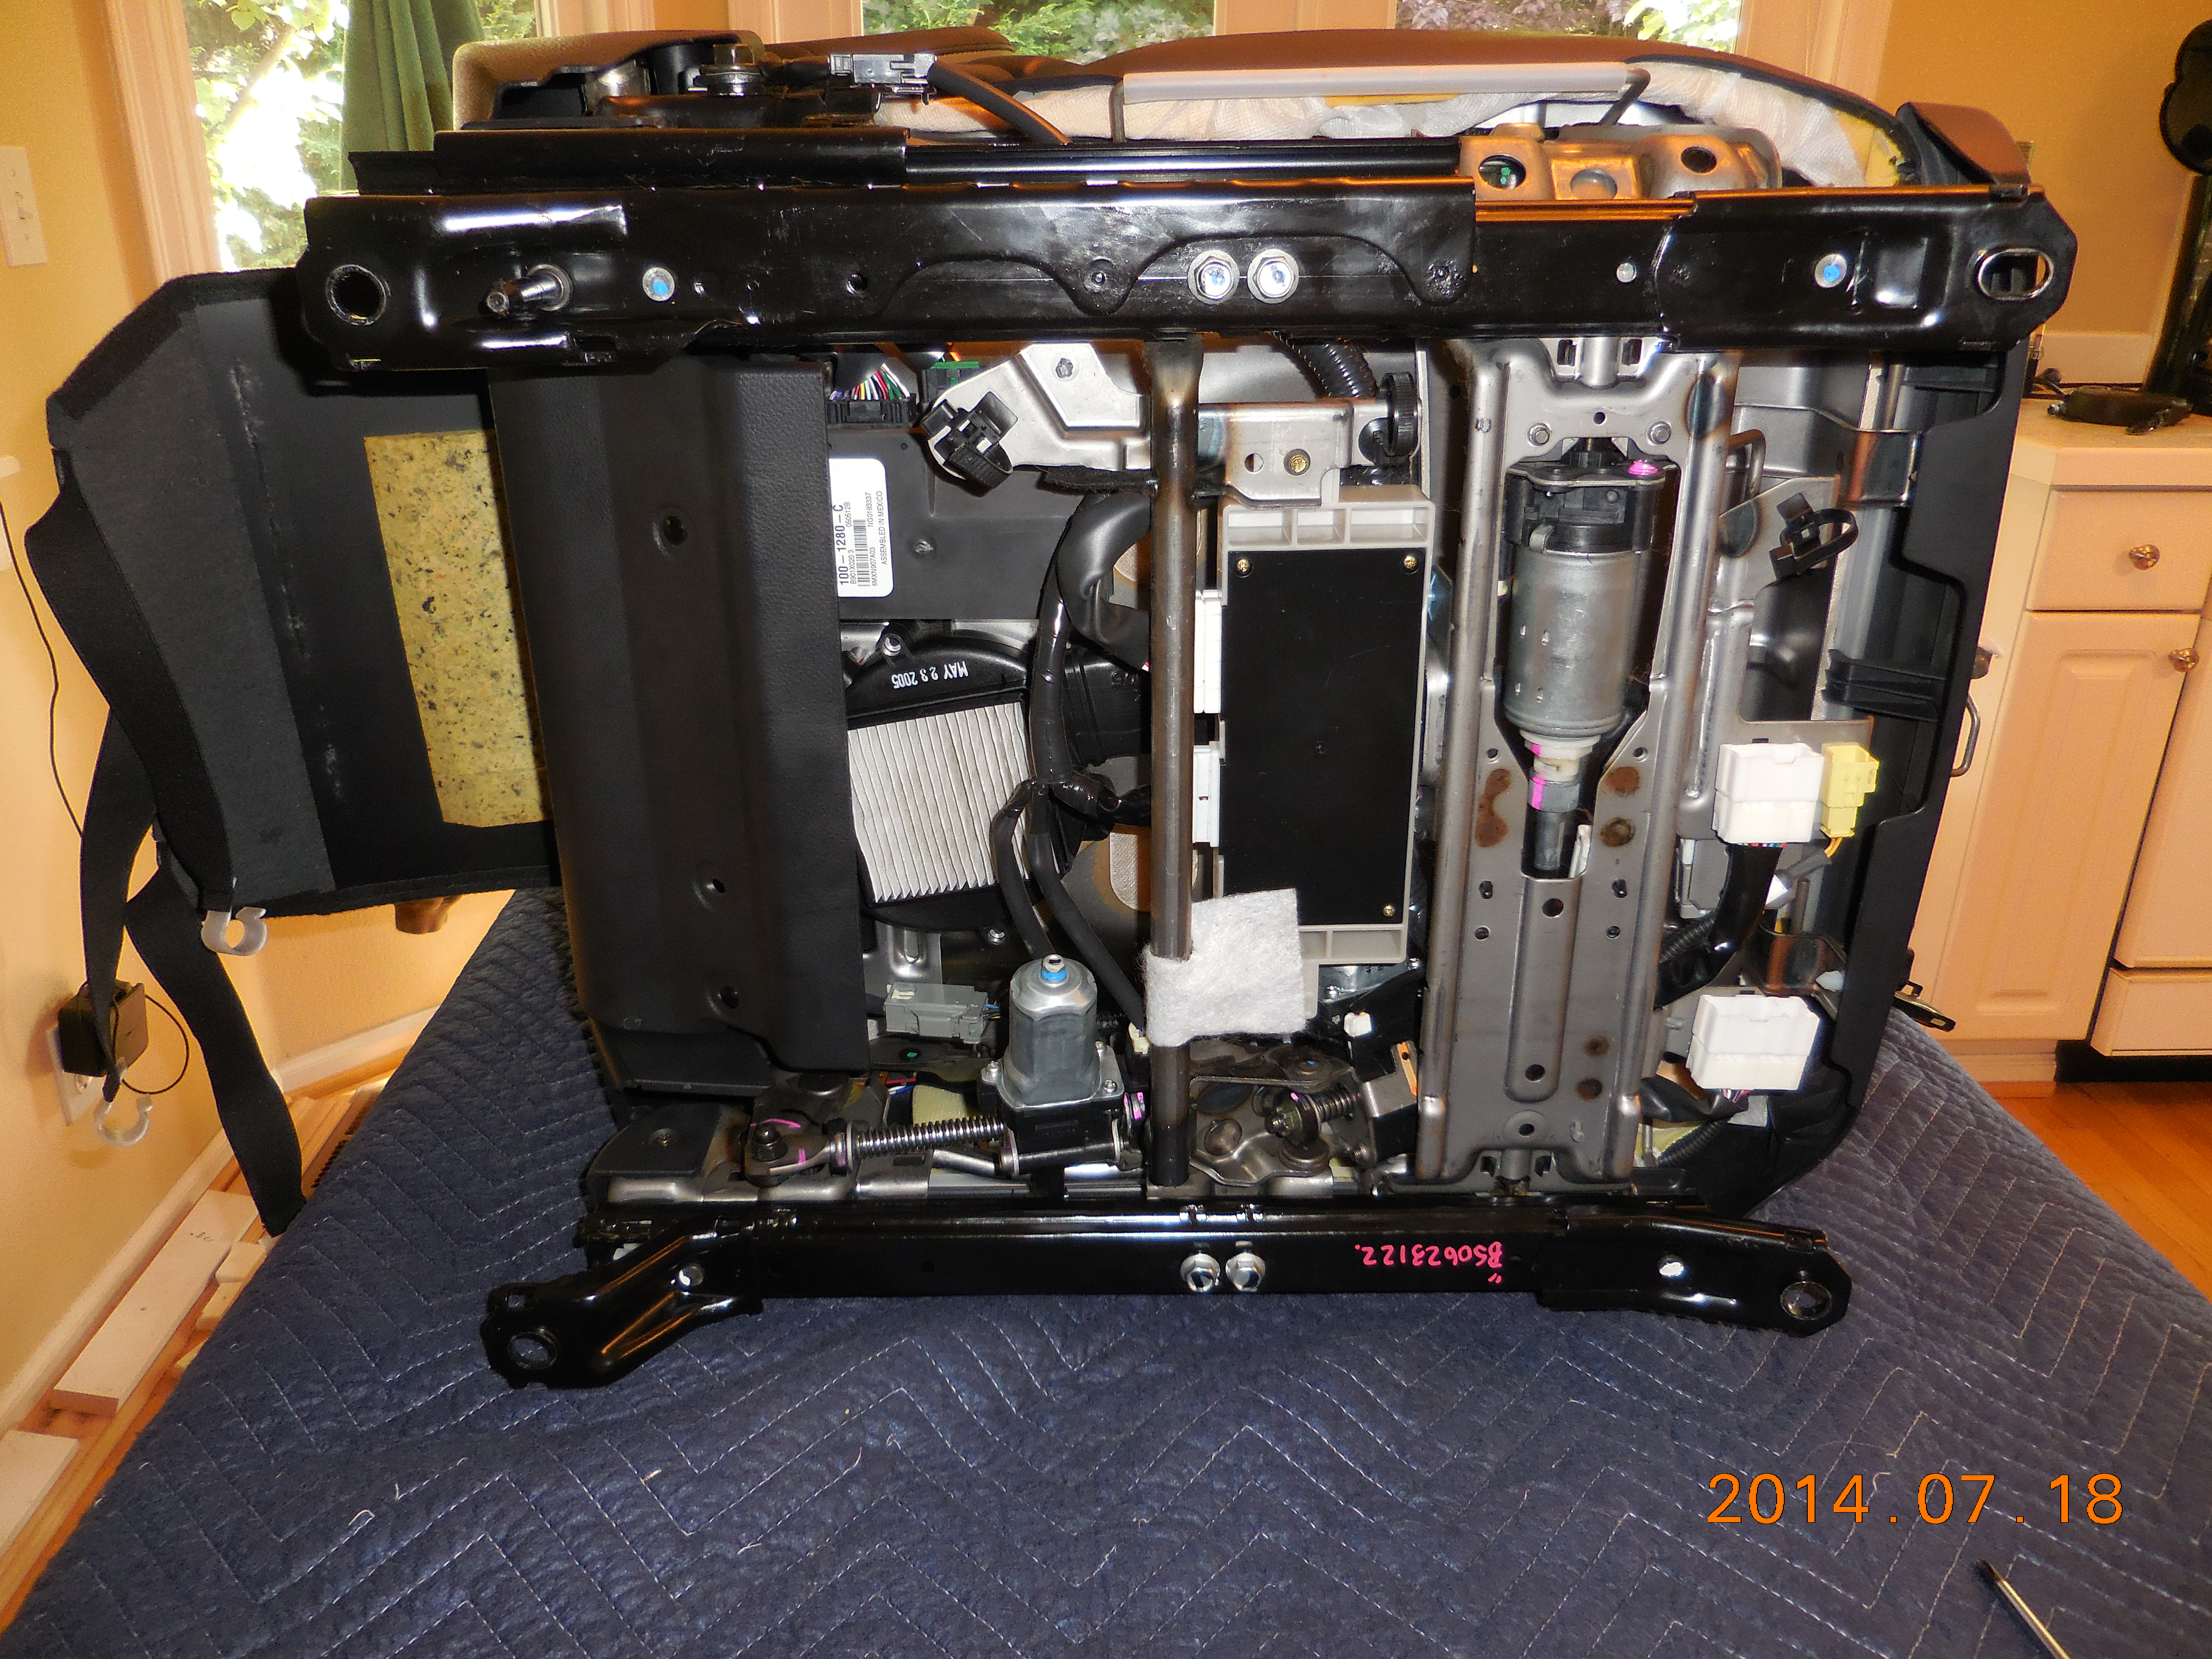
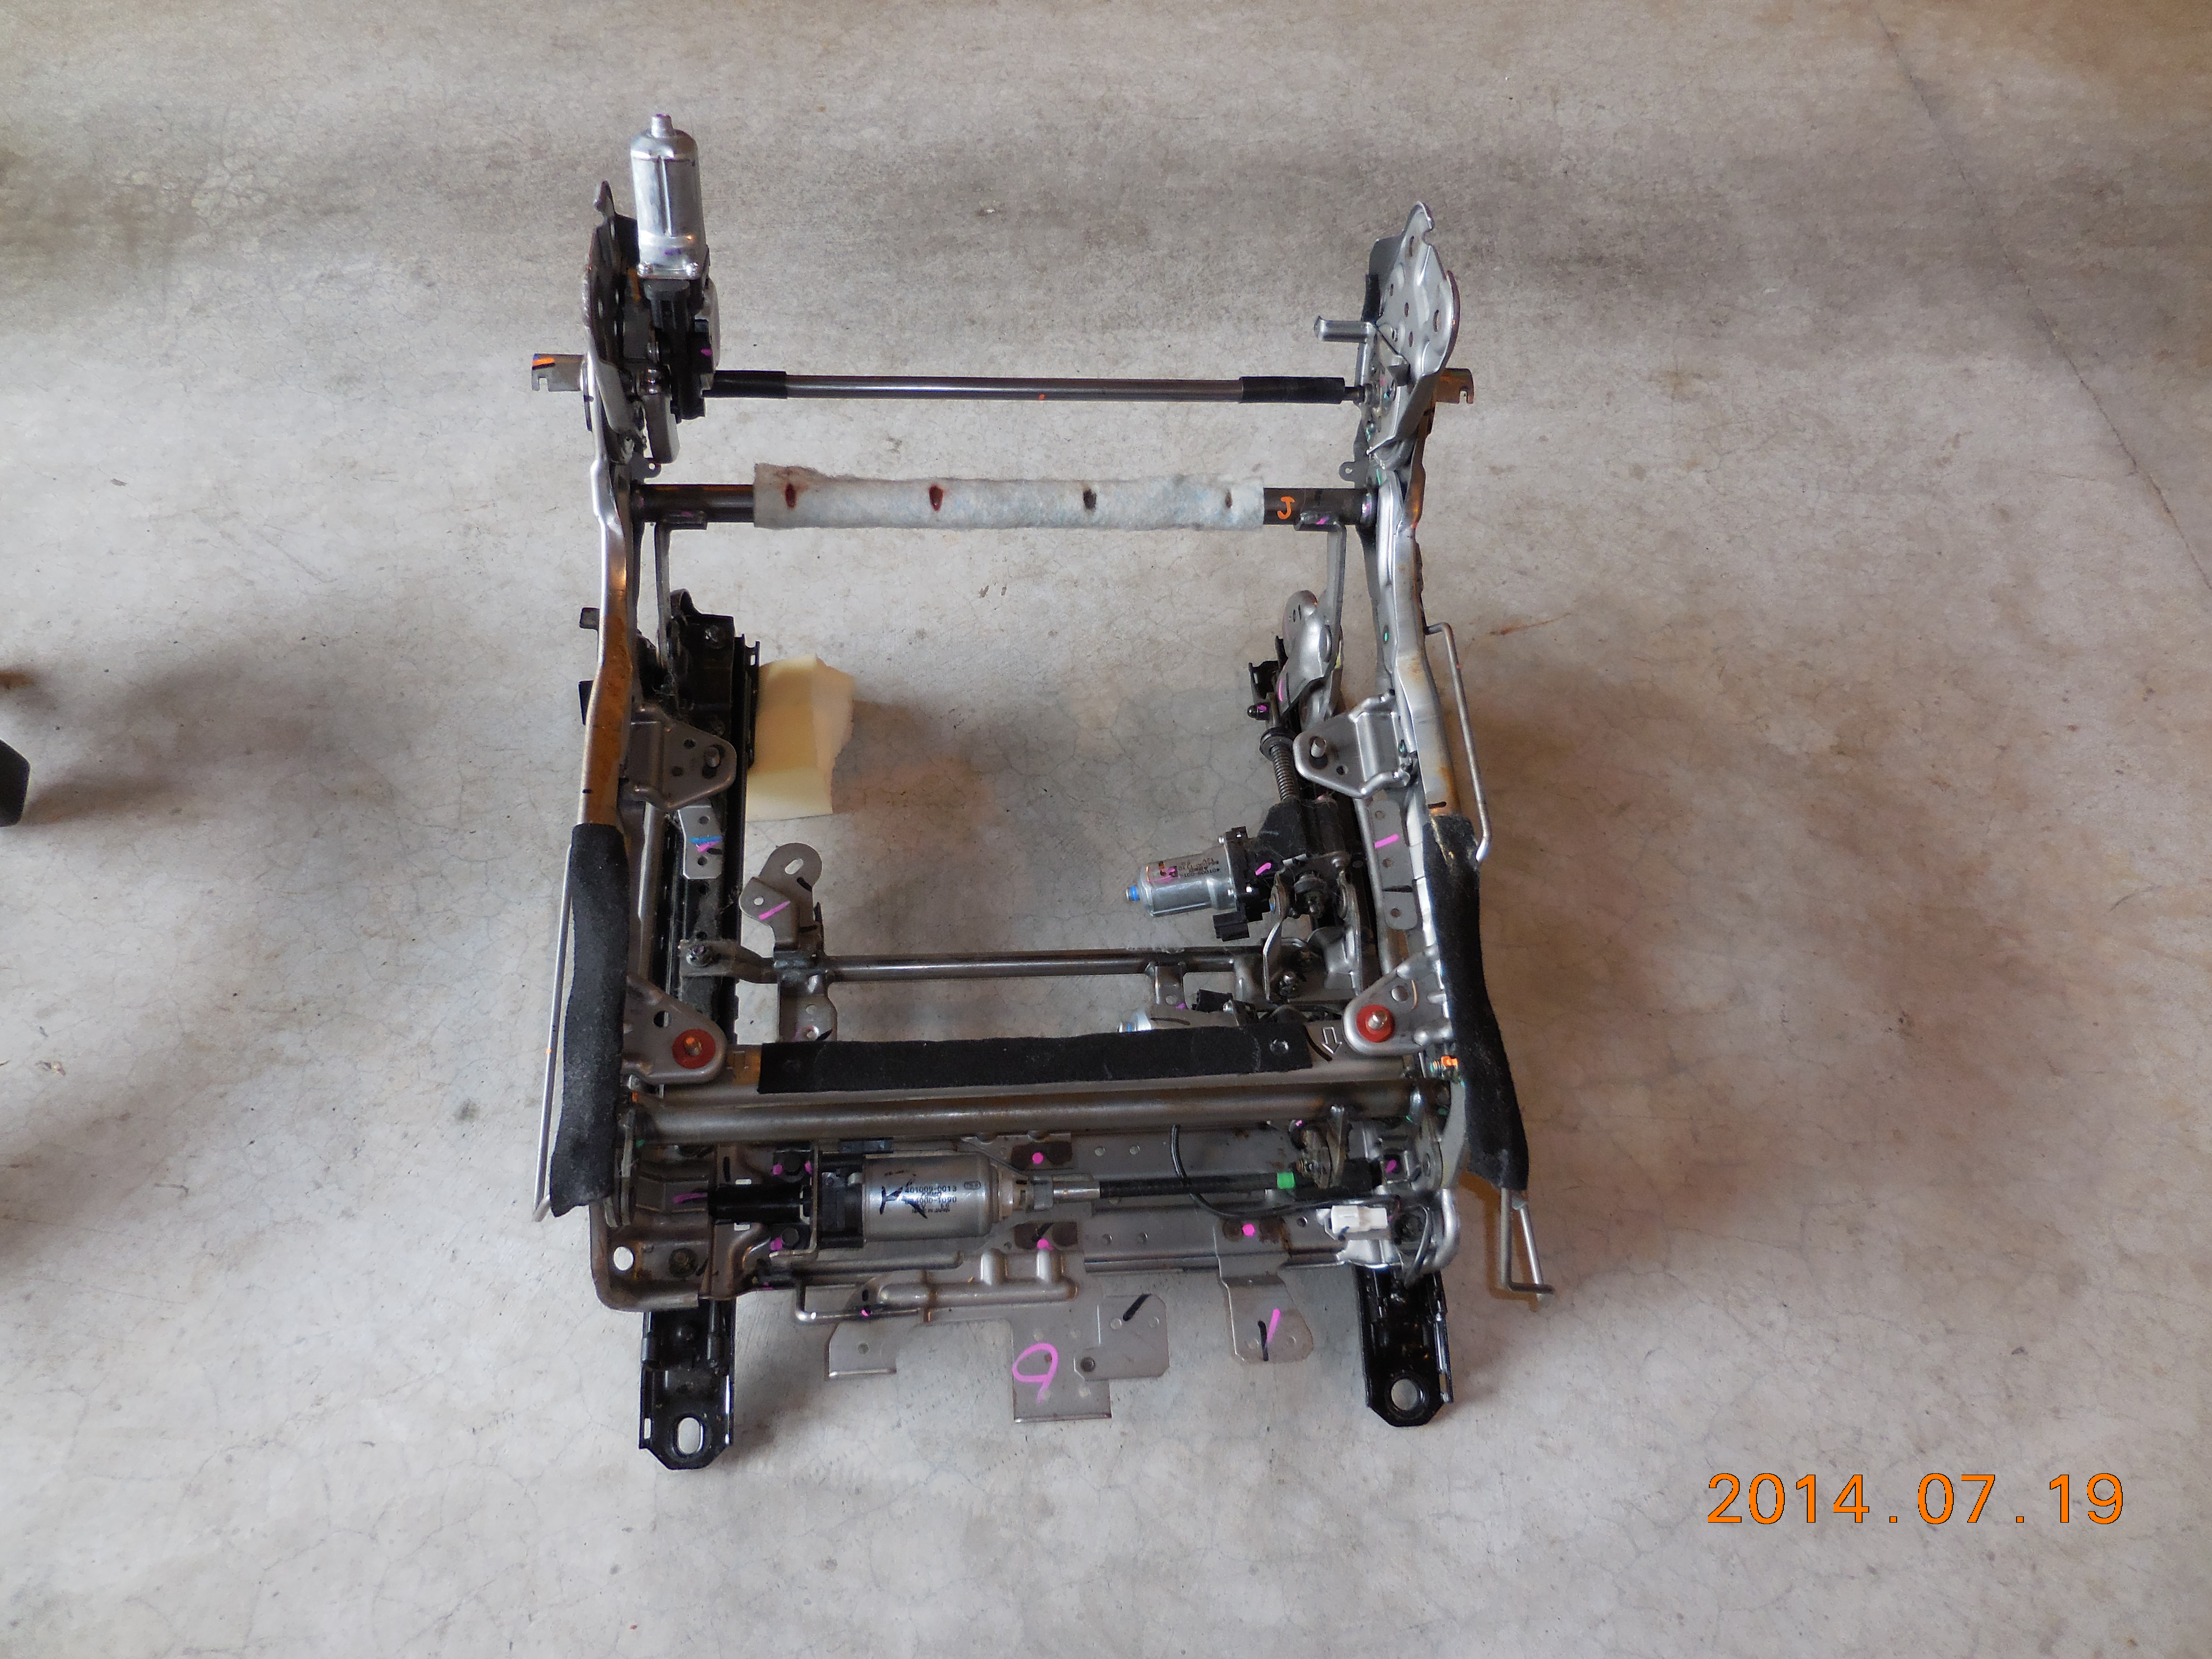
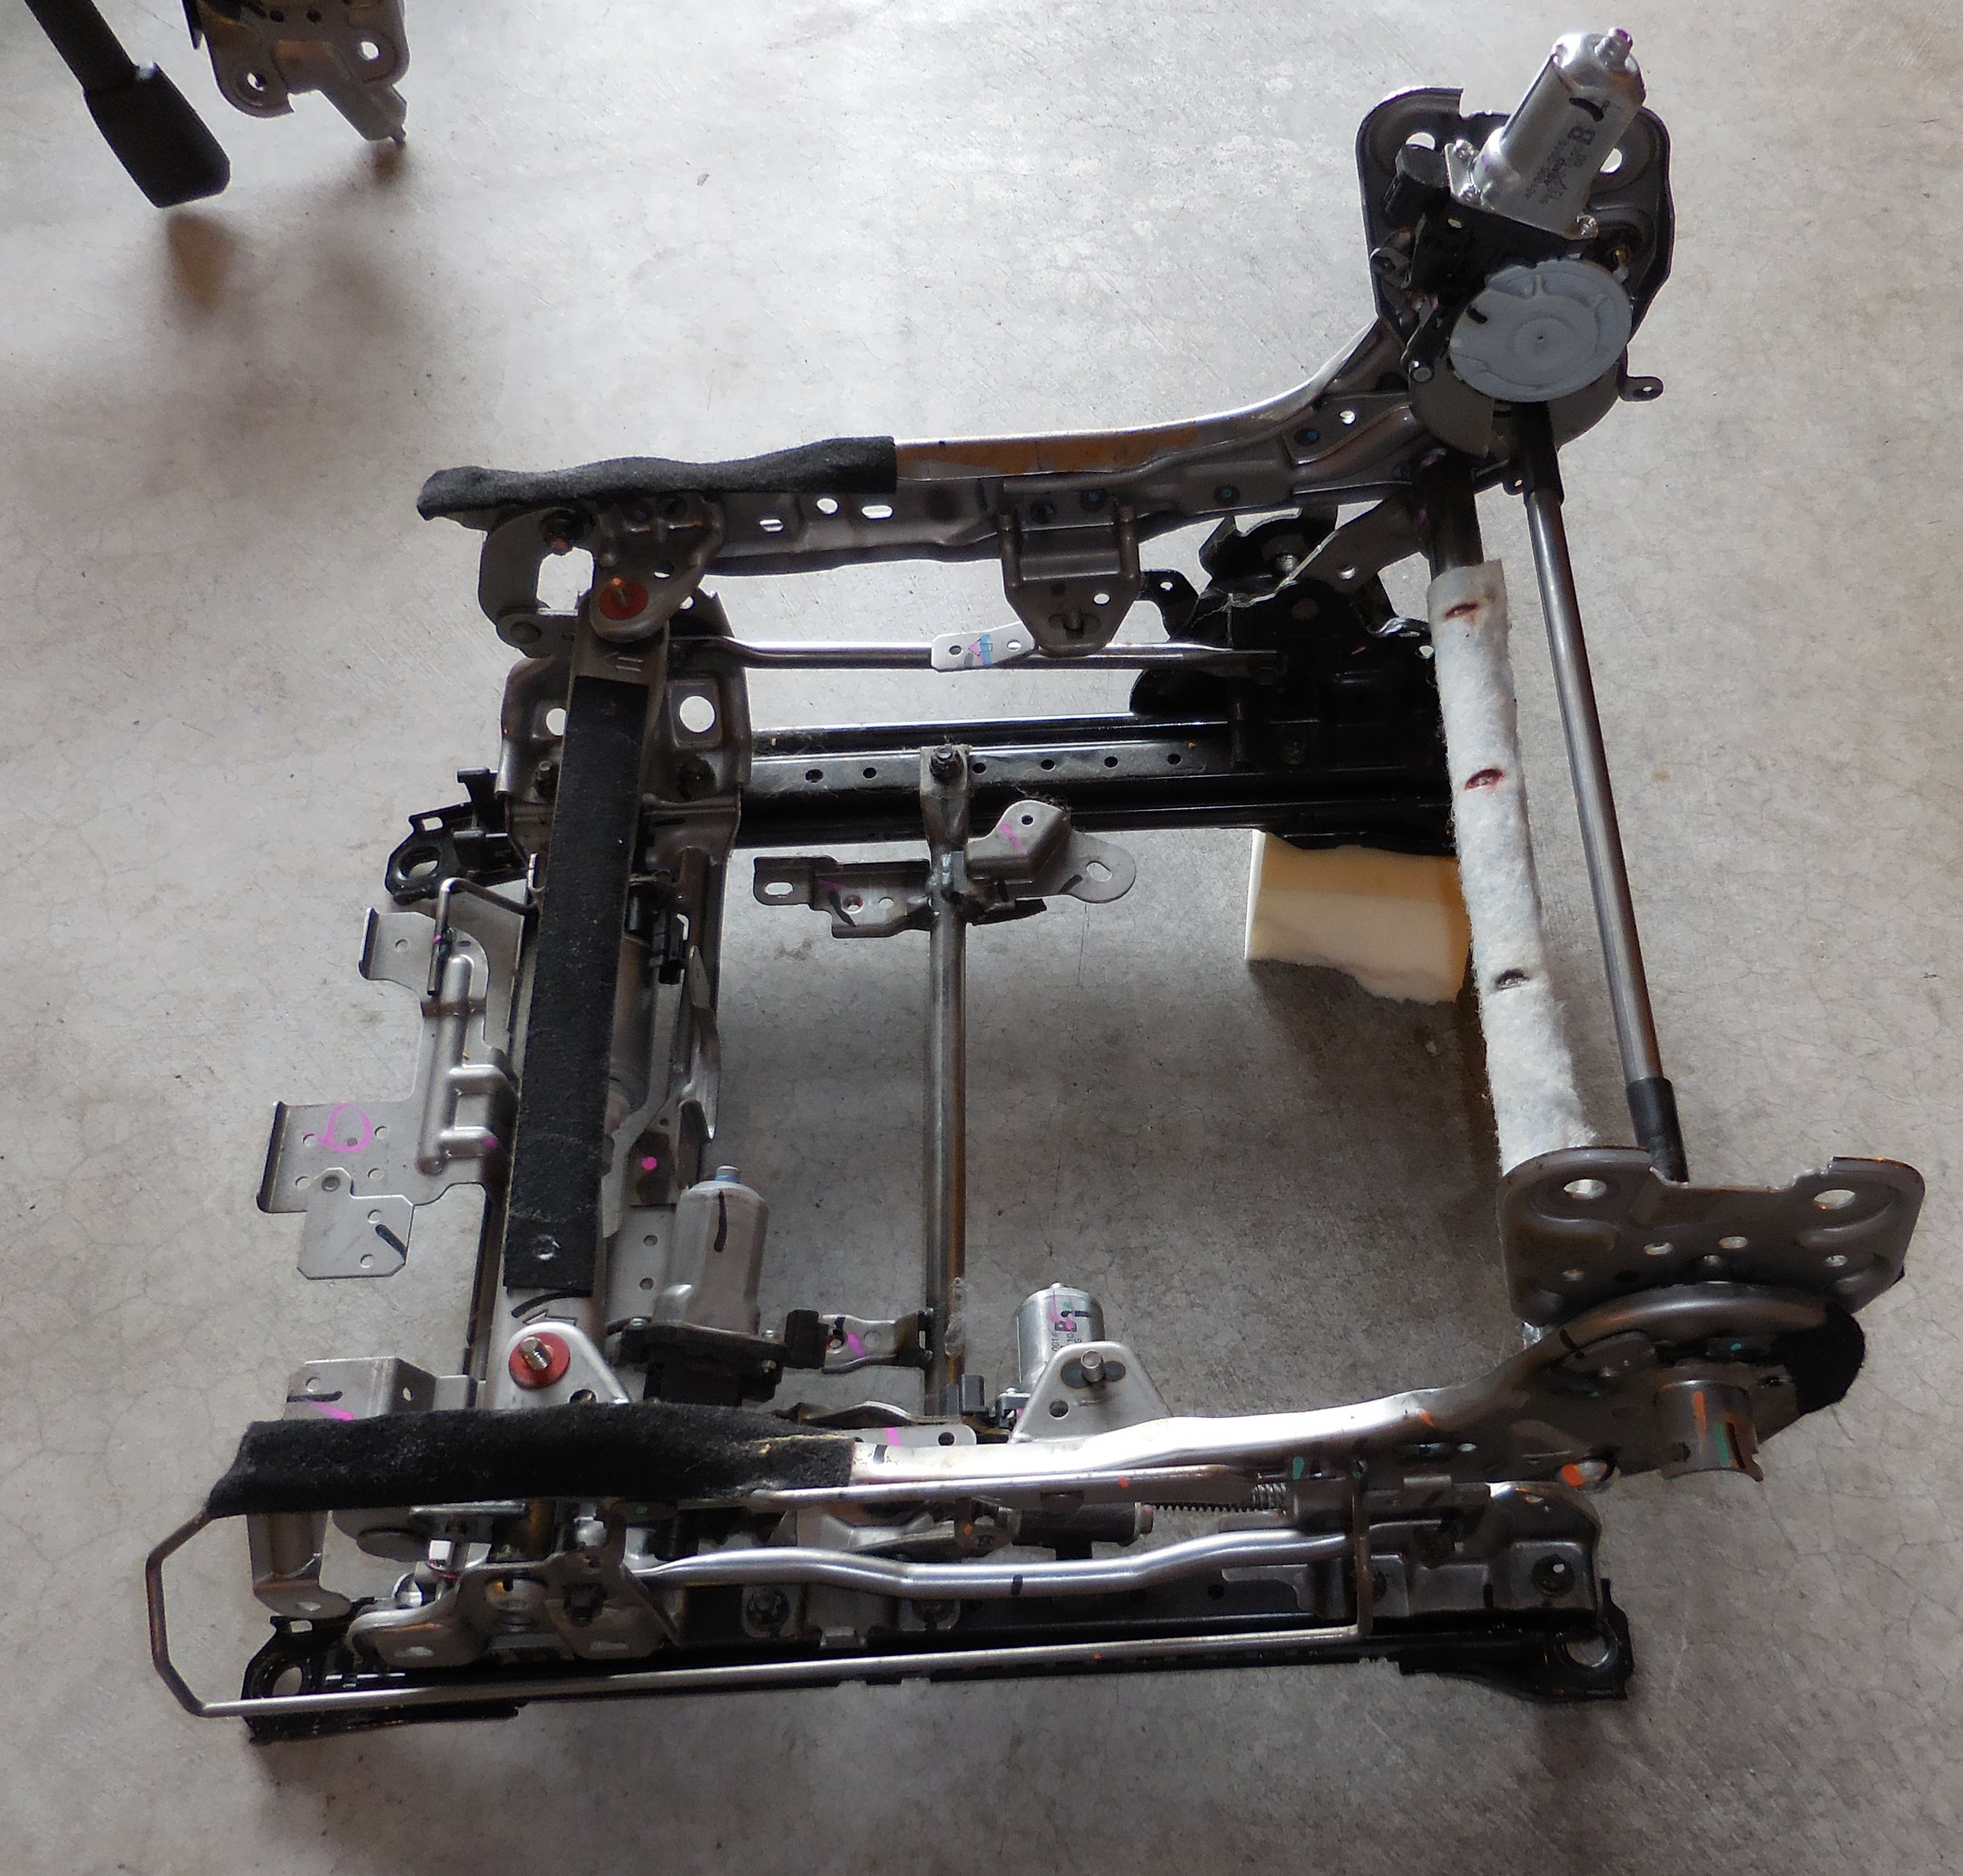
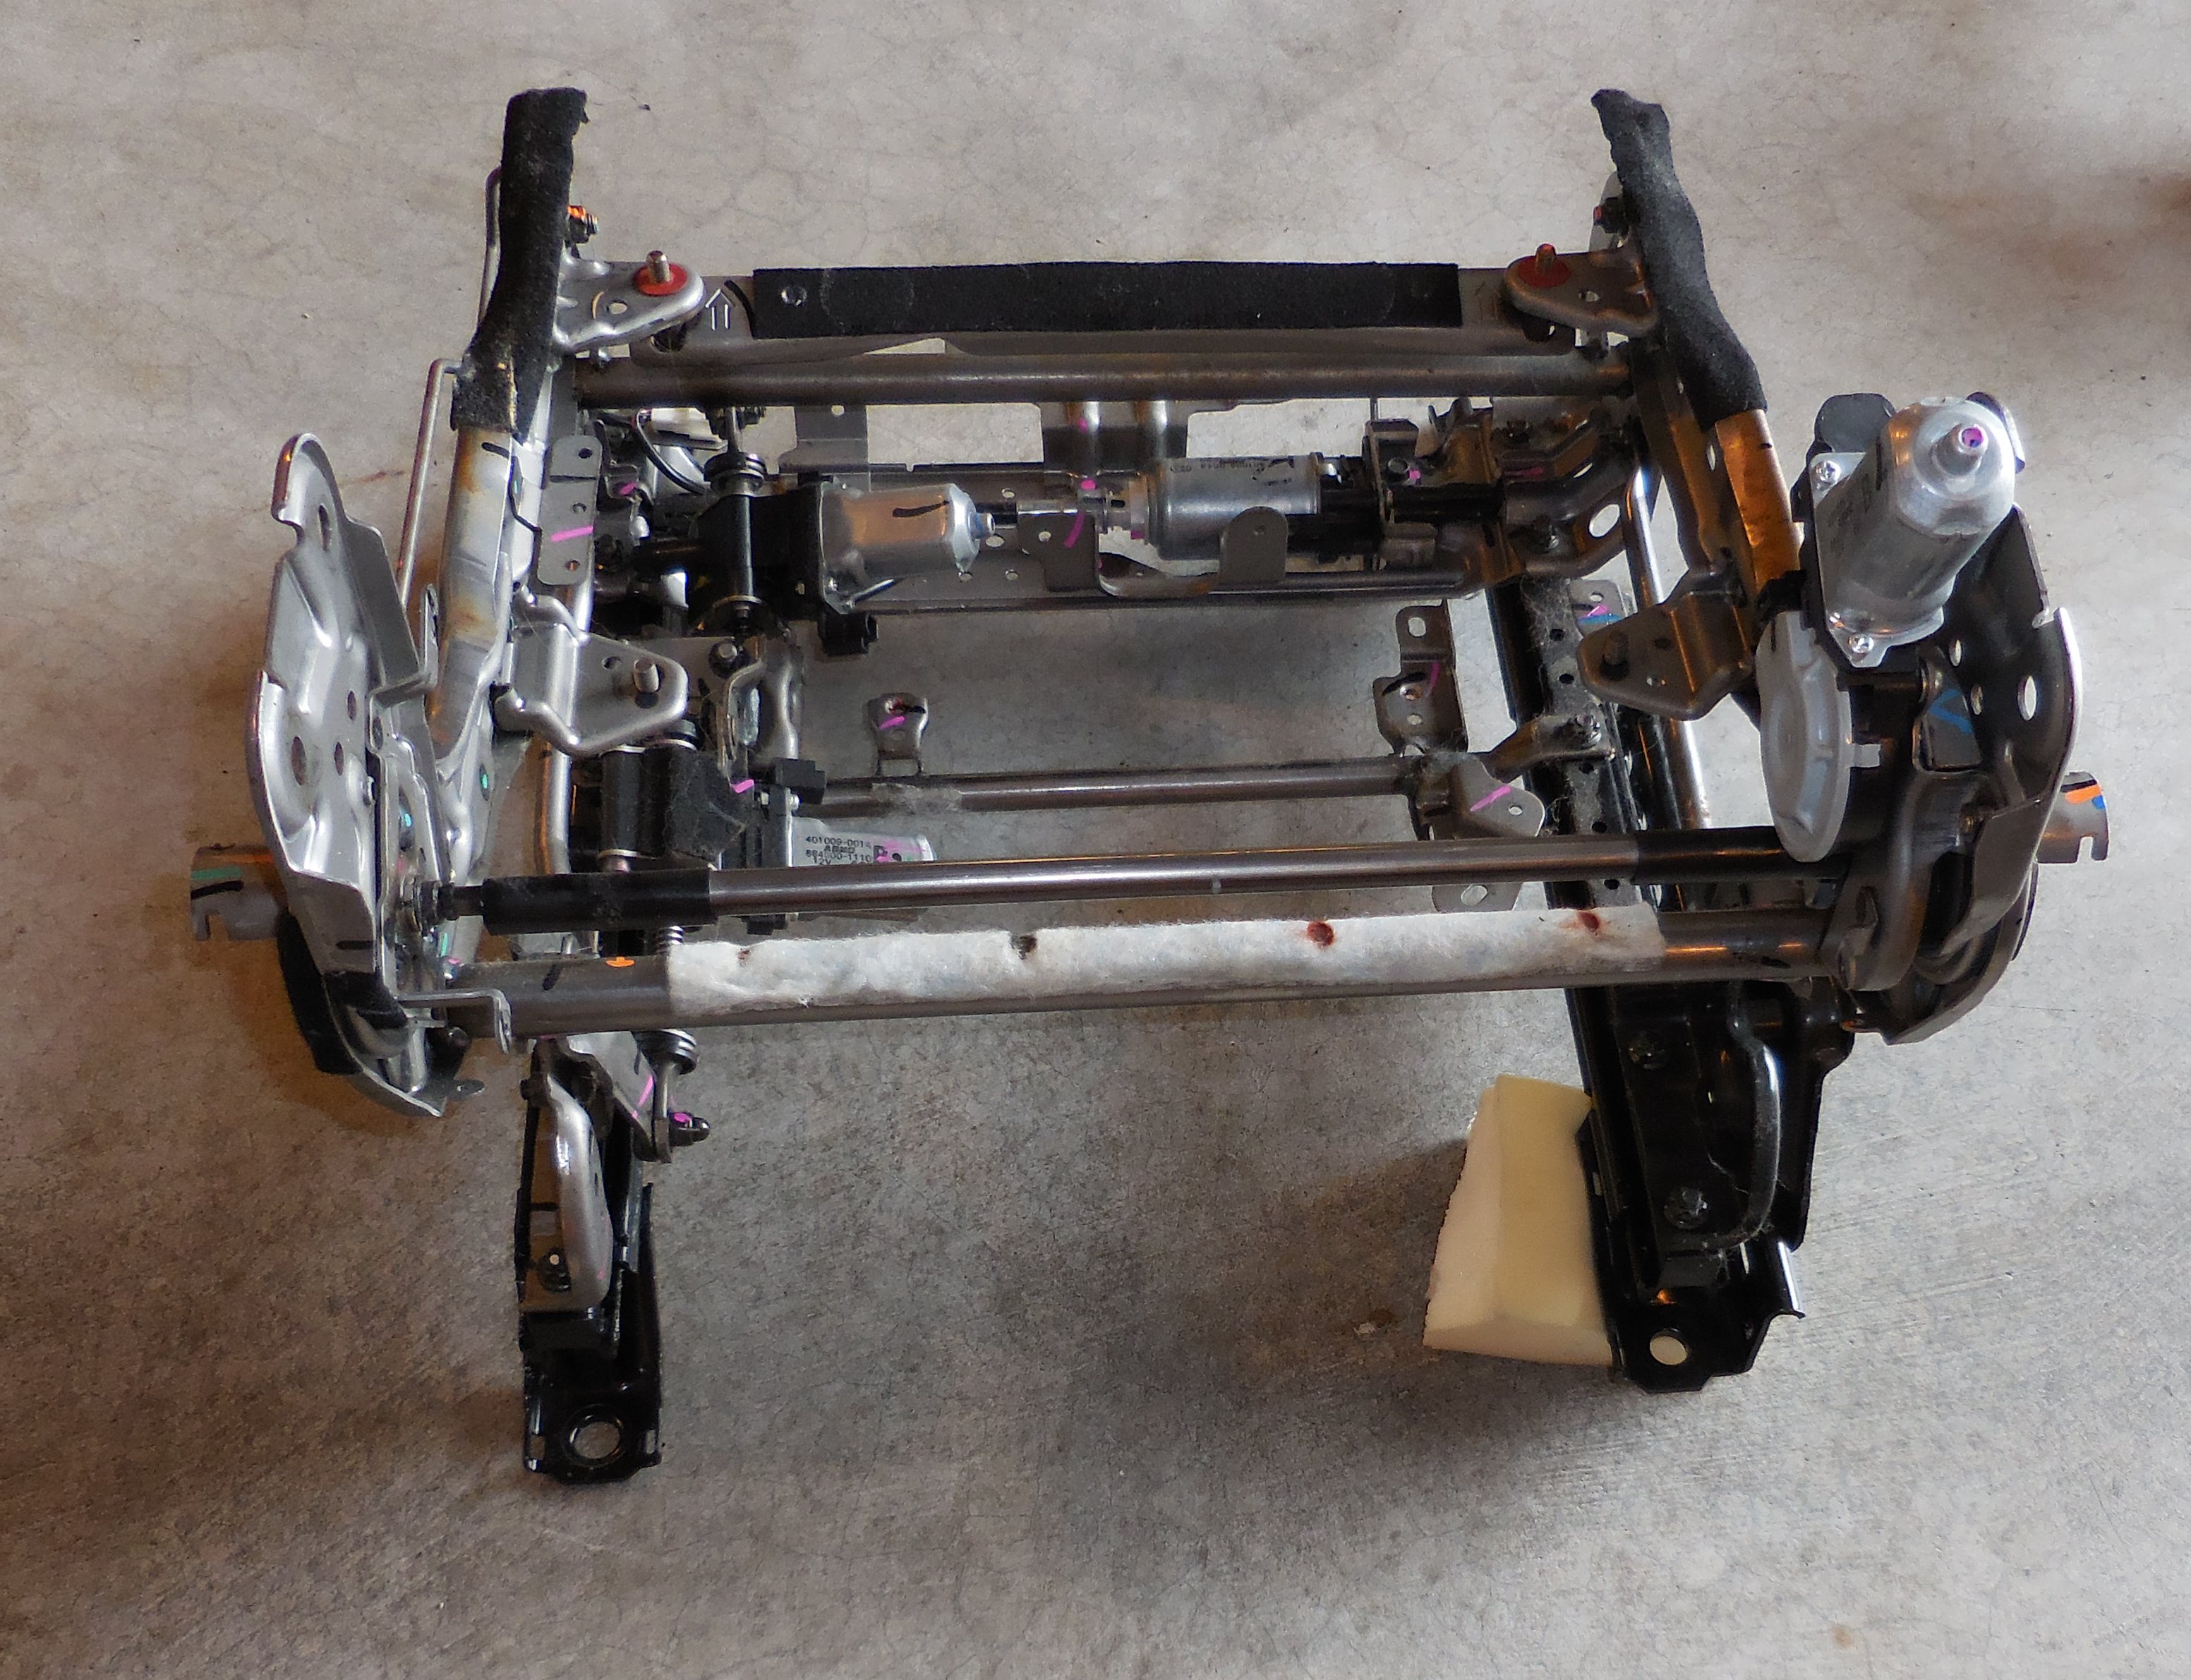
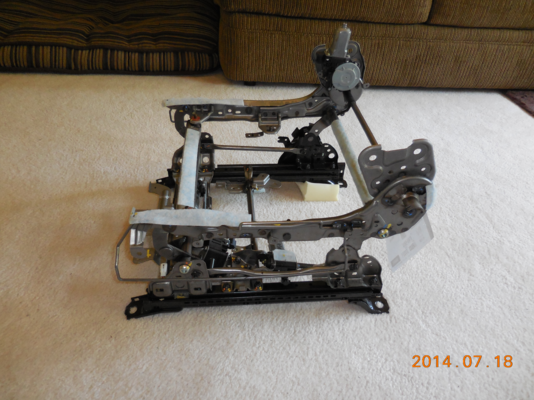
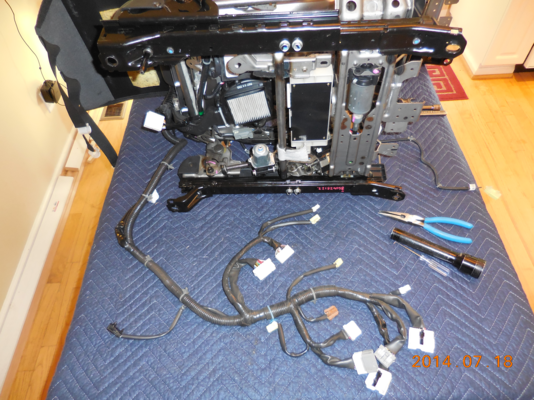
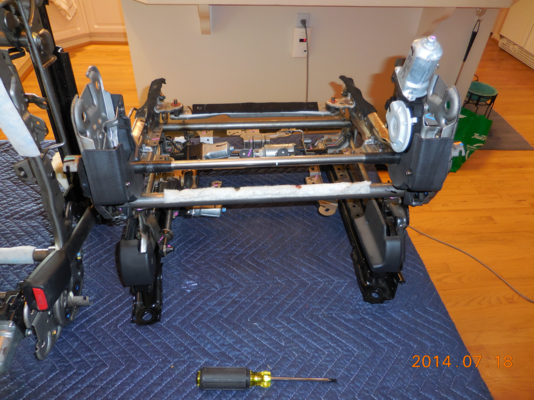
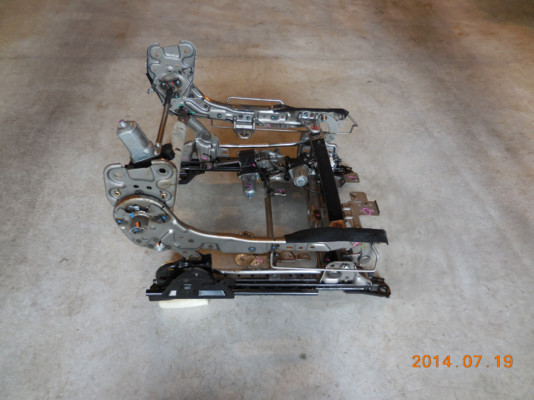
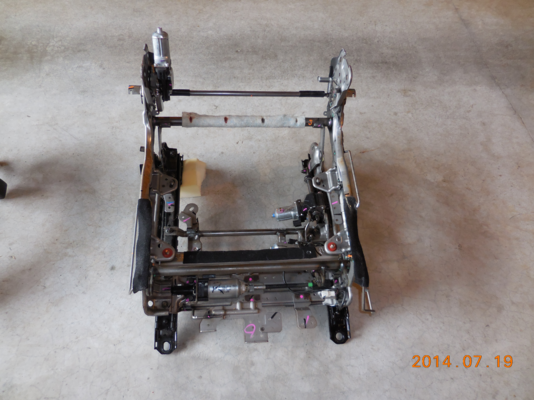
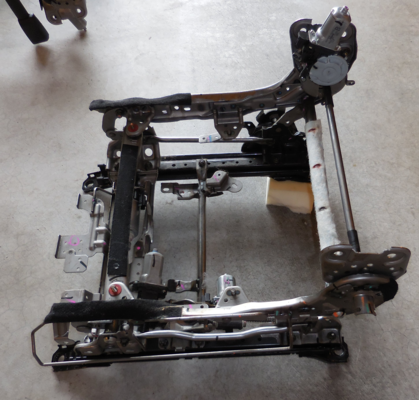
The base frame assy. comes with the four electric motors and their drives all assembled, but with NO wiring and NO electronic modules or switchgear.
Click HERE for larger
 Click HERE for larger
 Click HERE for larger
 Click HERE for larger

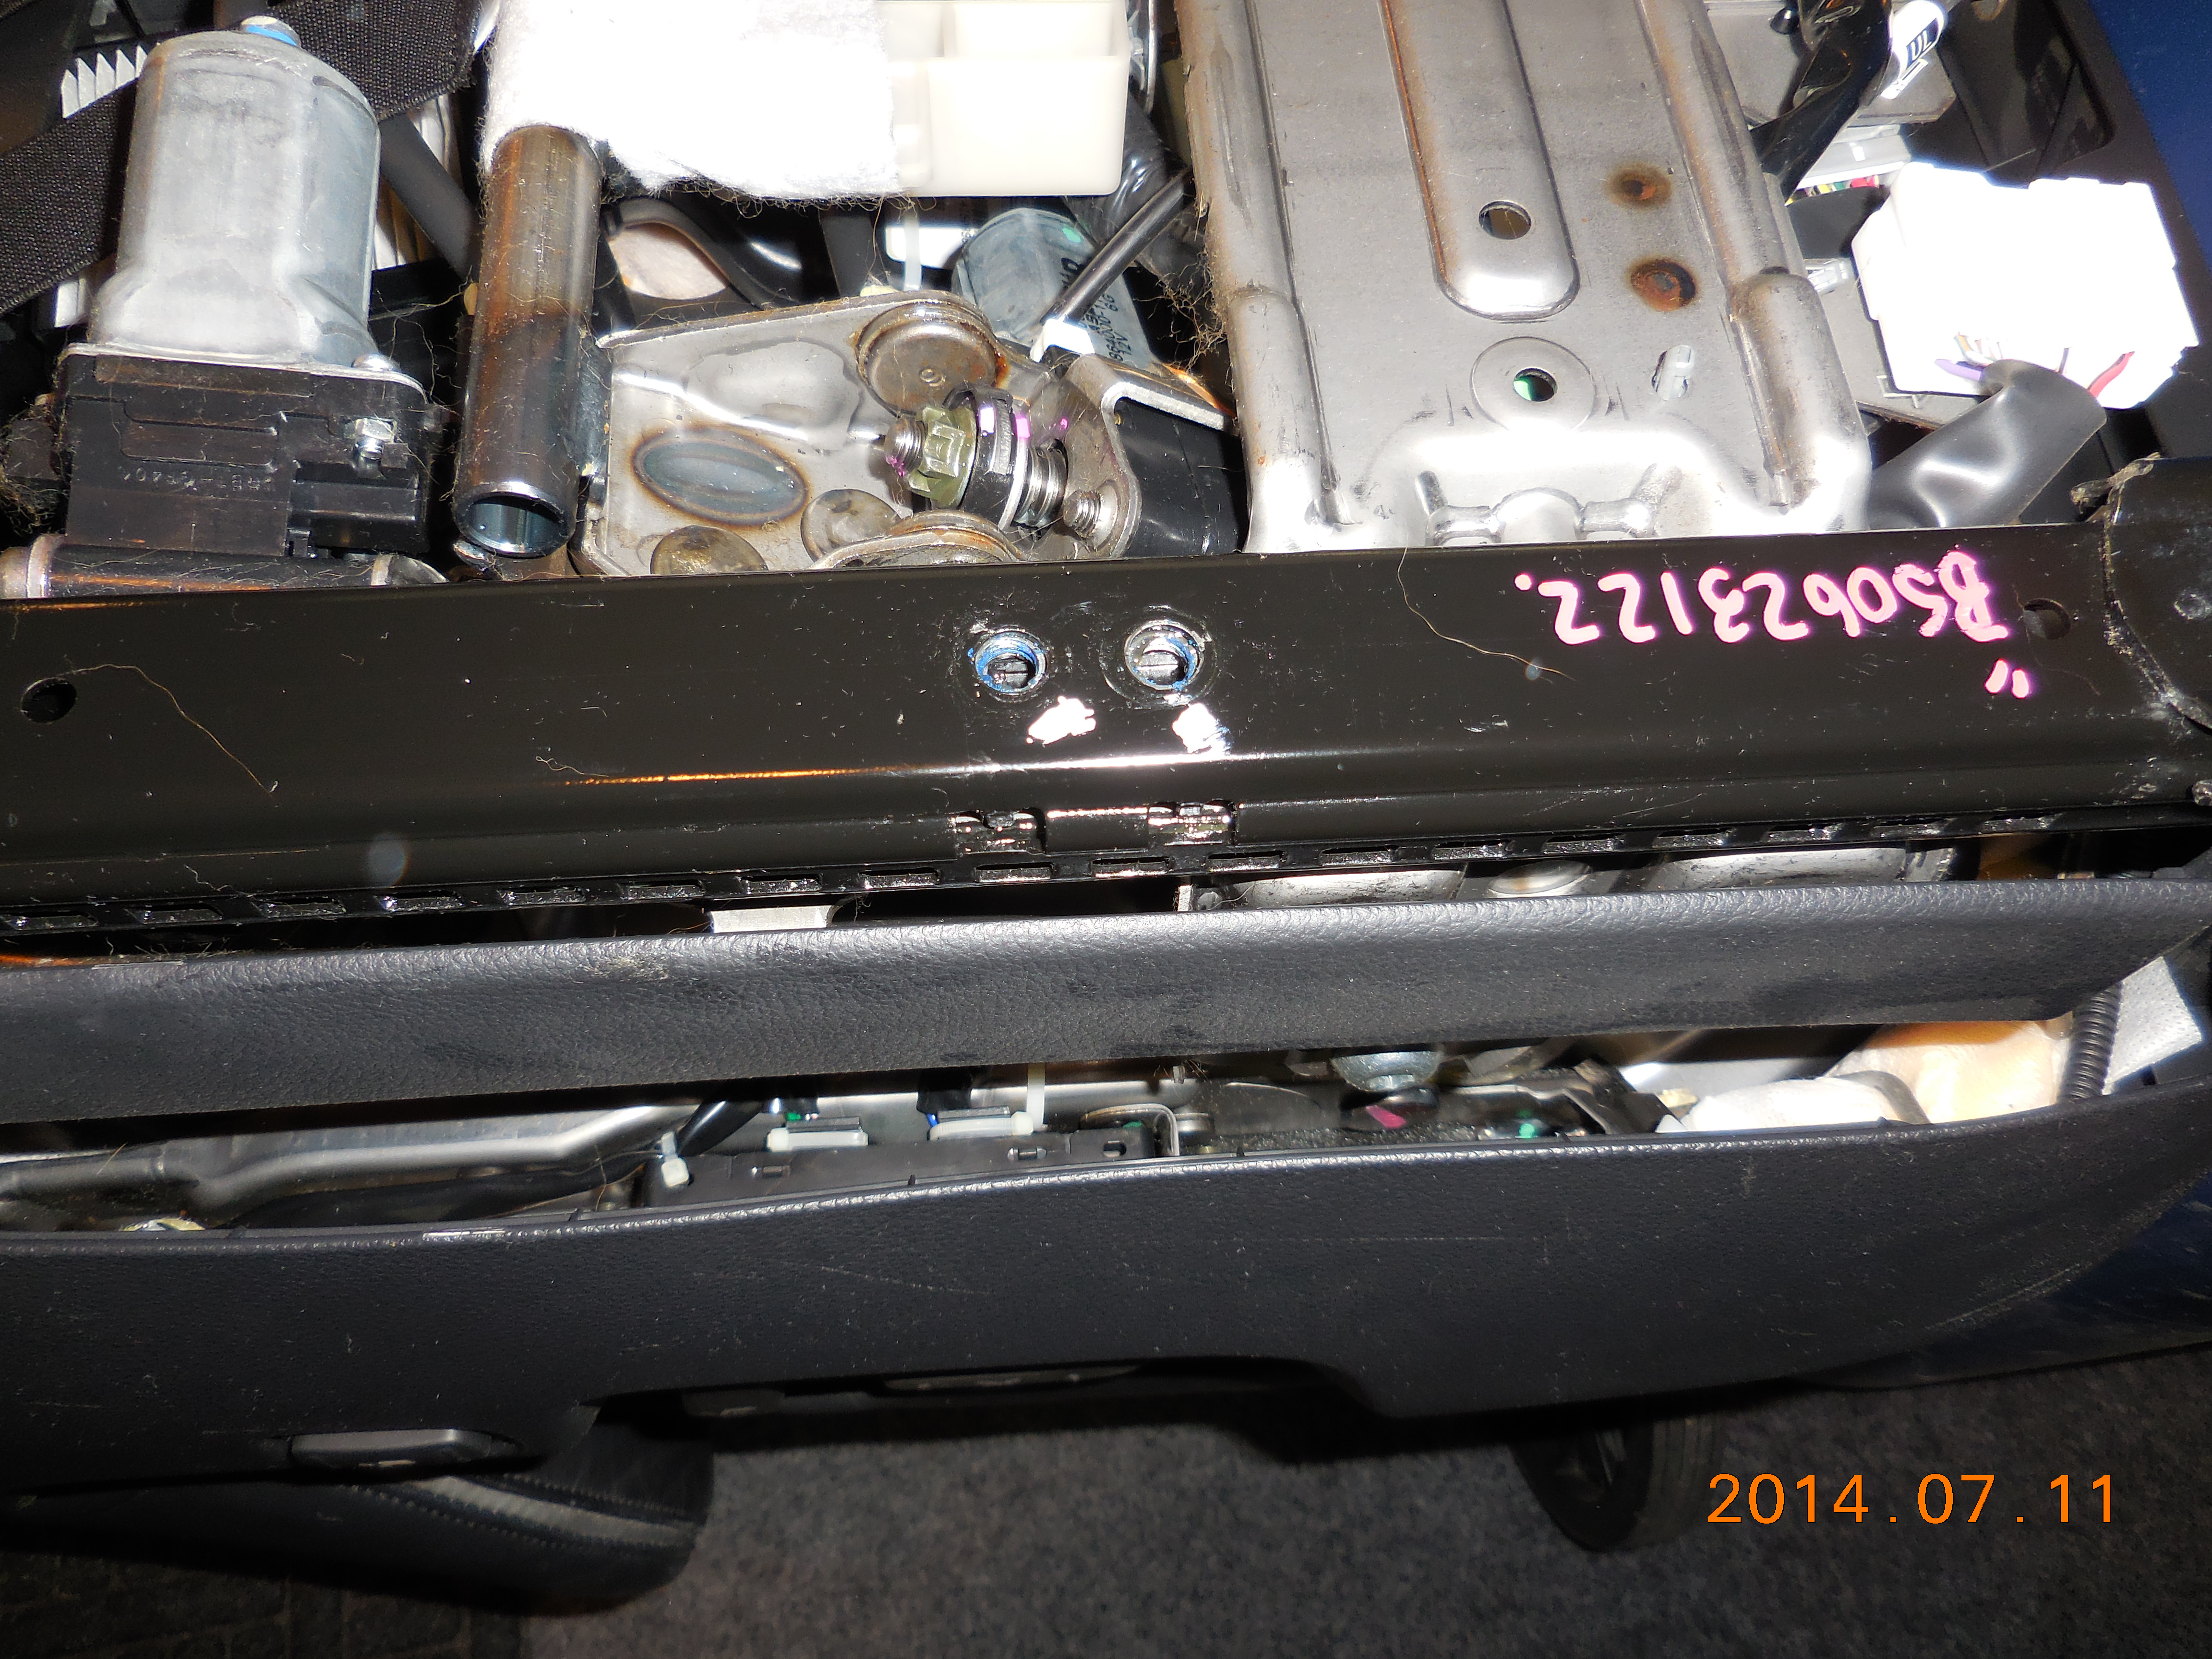
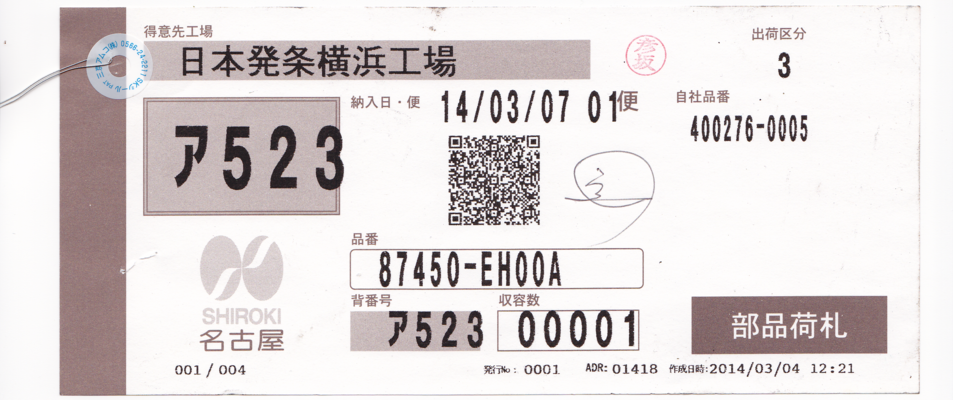
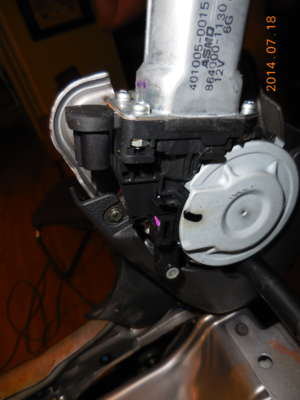
The tag attached implies it was mfgr'd in Mar2014.
Click HERE for larger
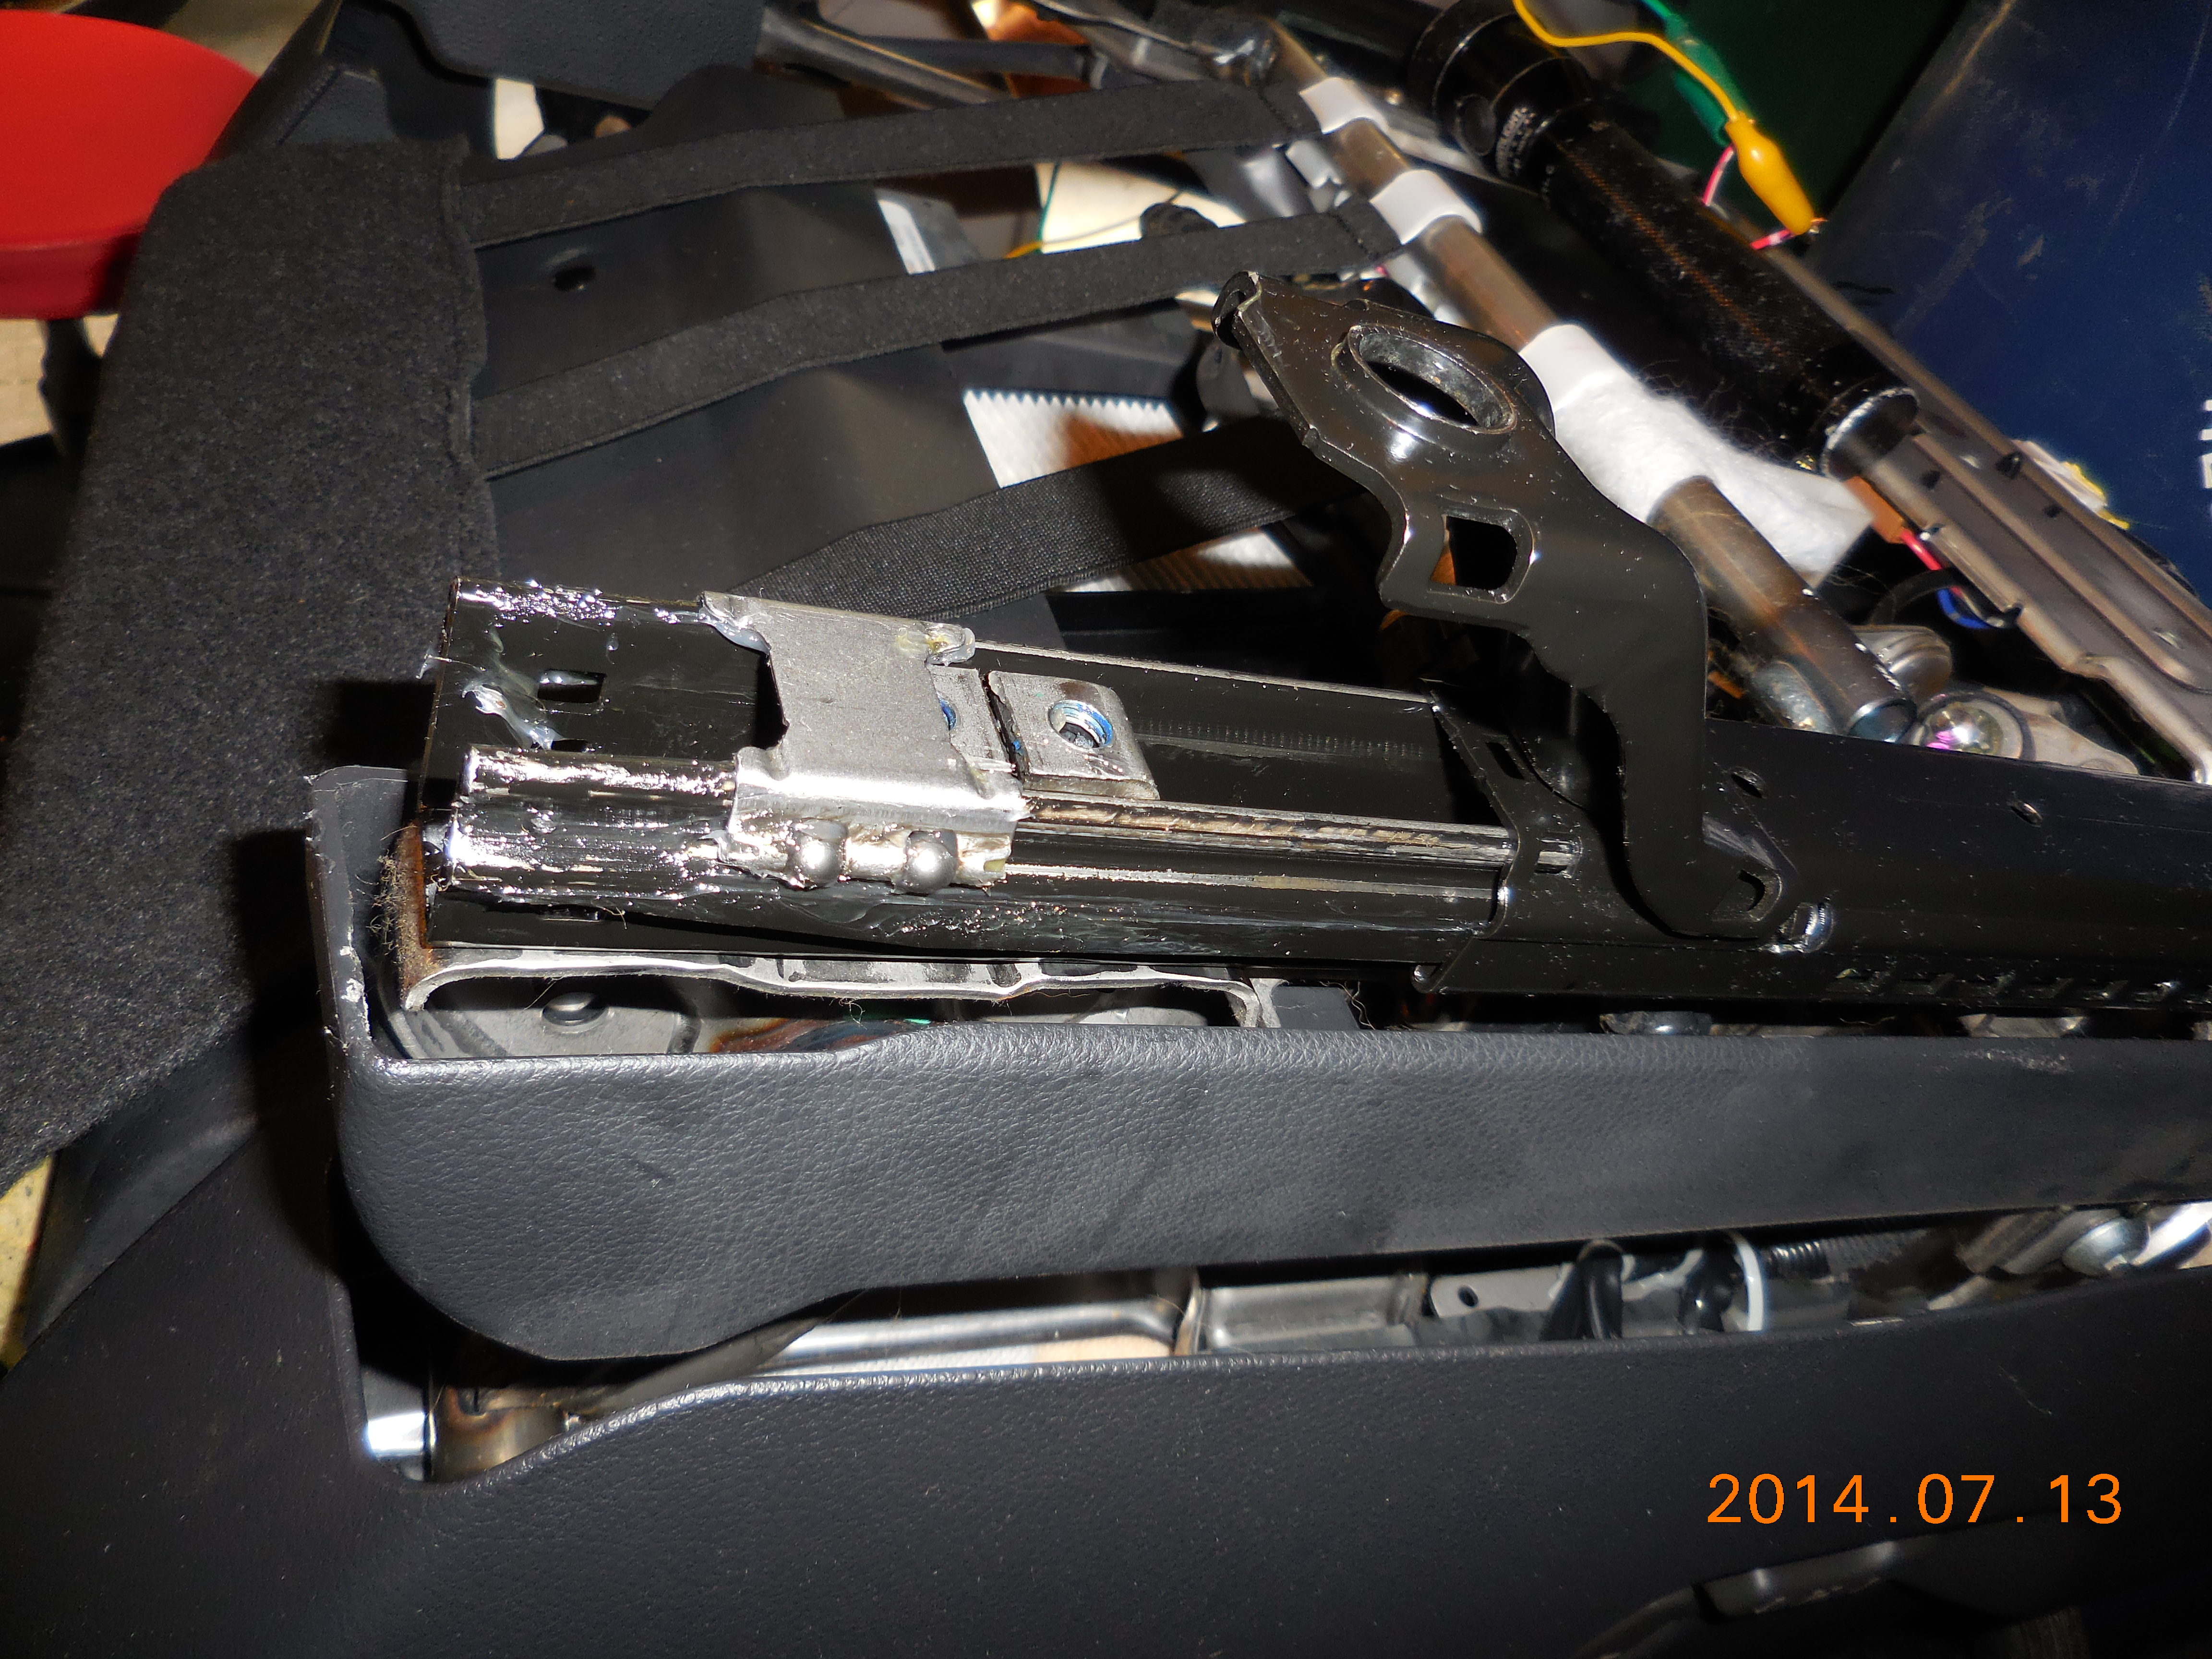
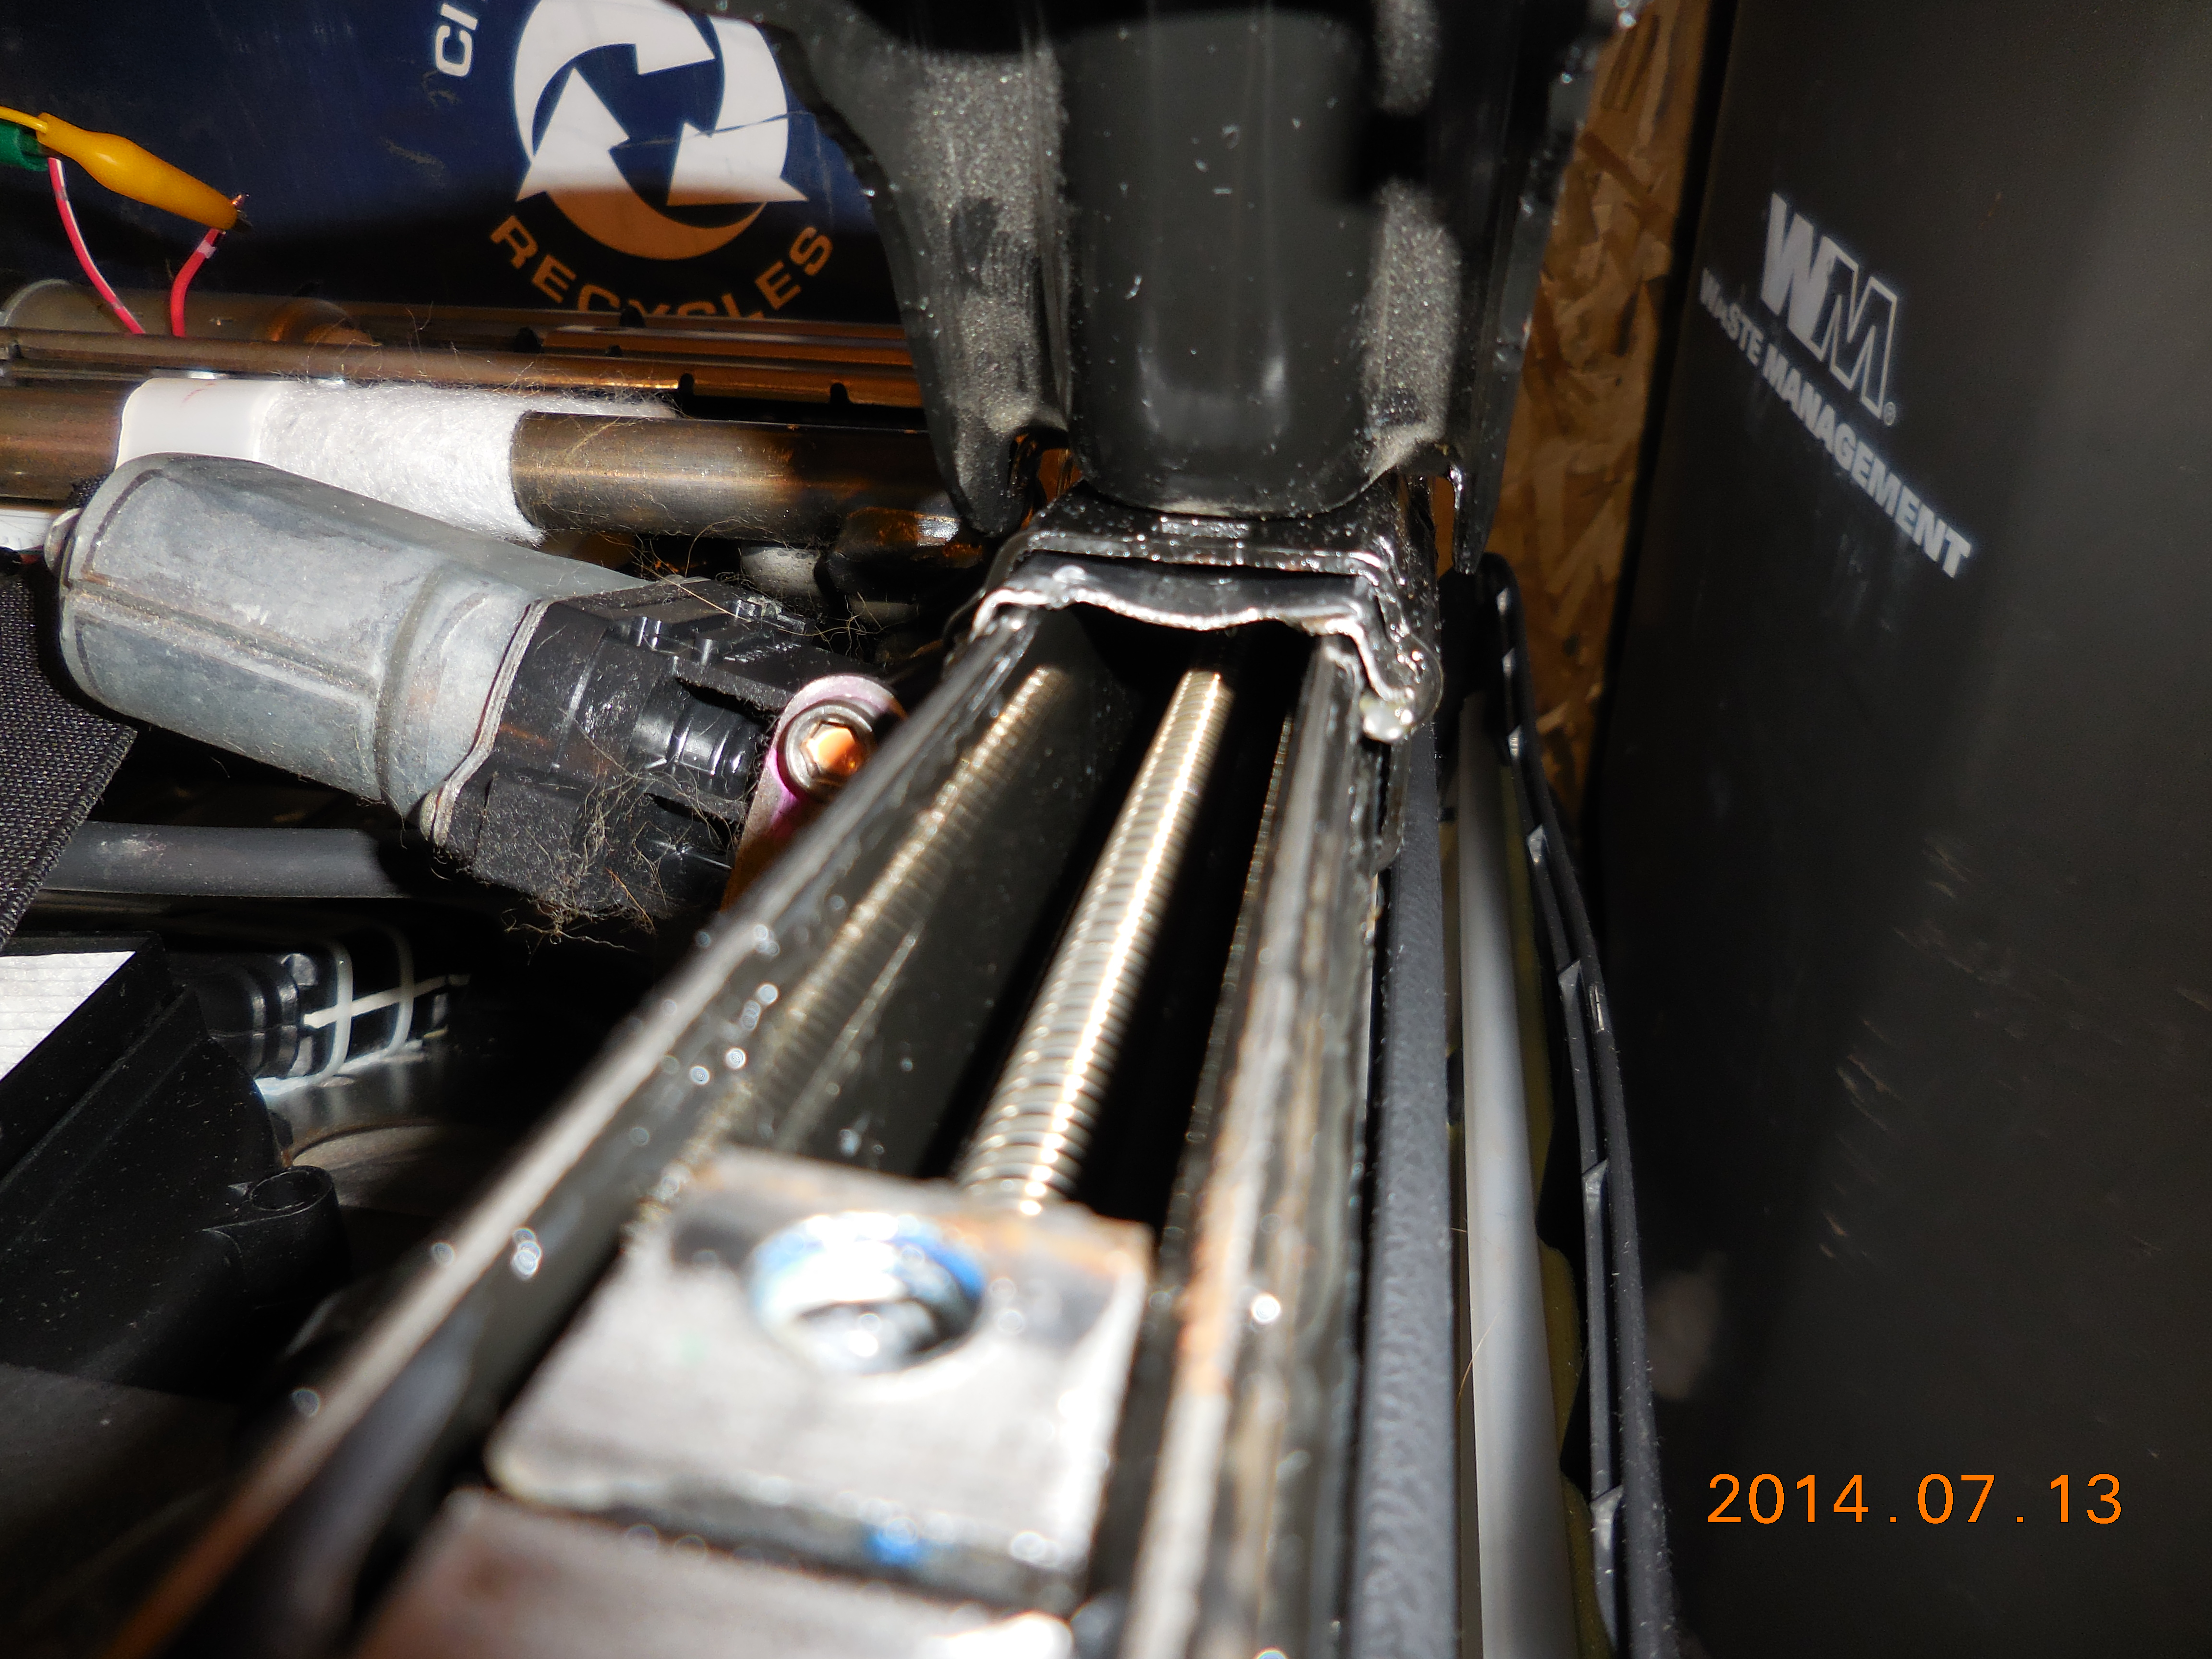
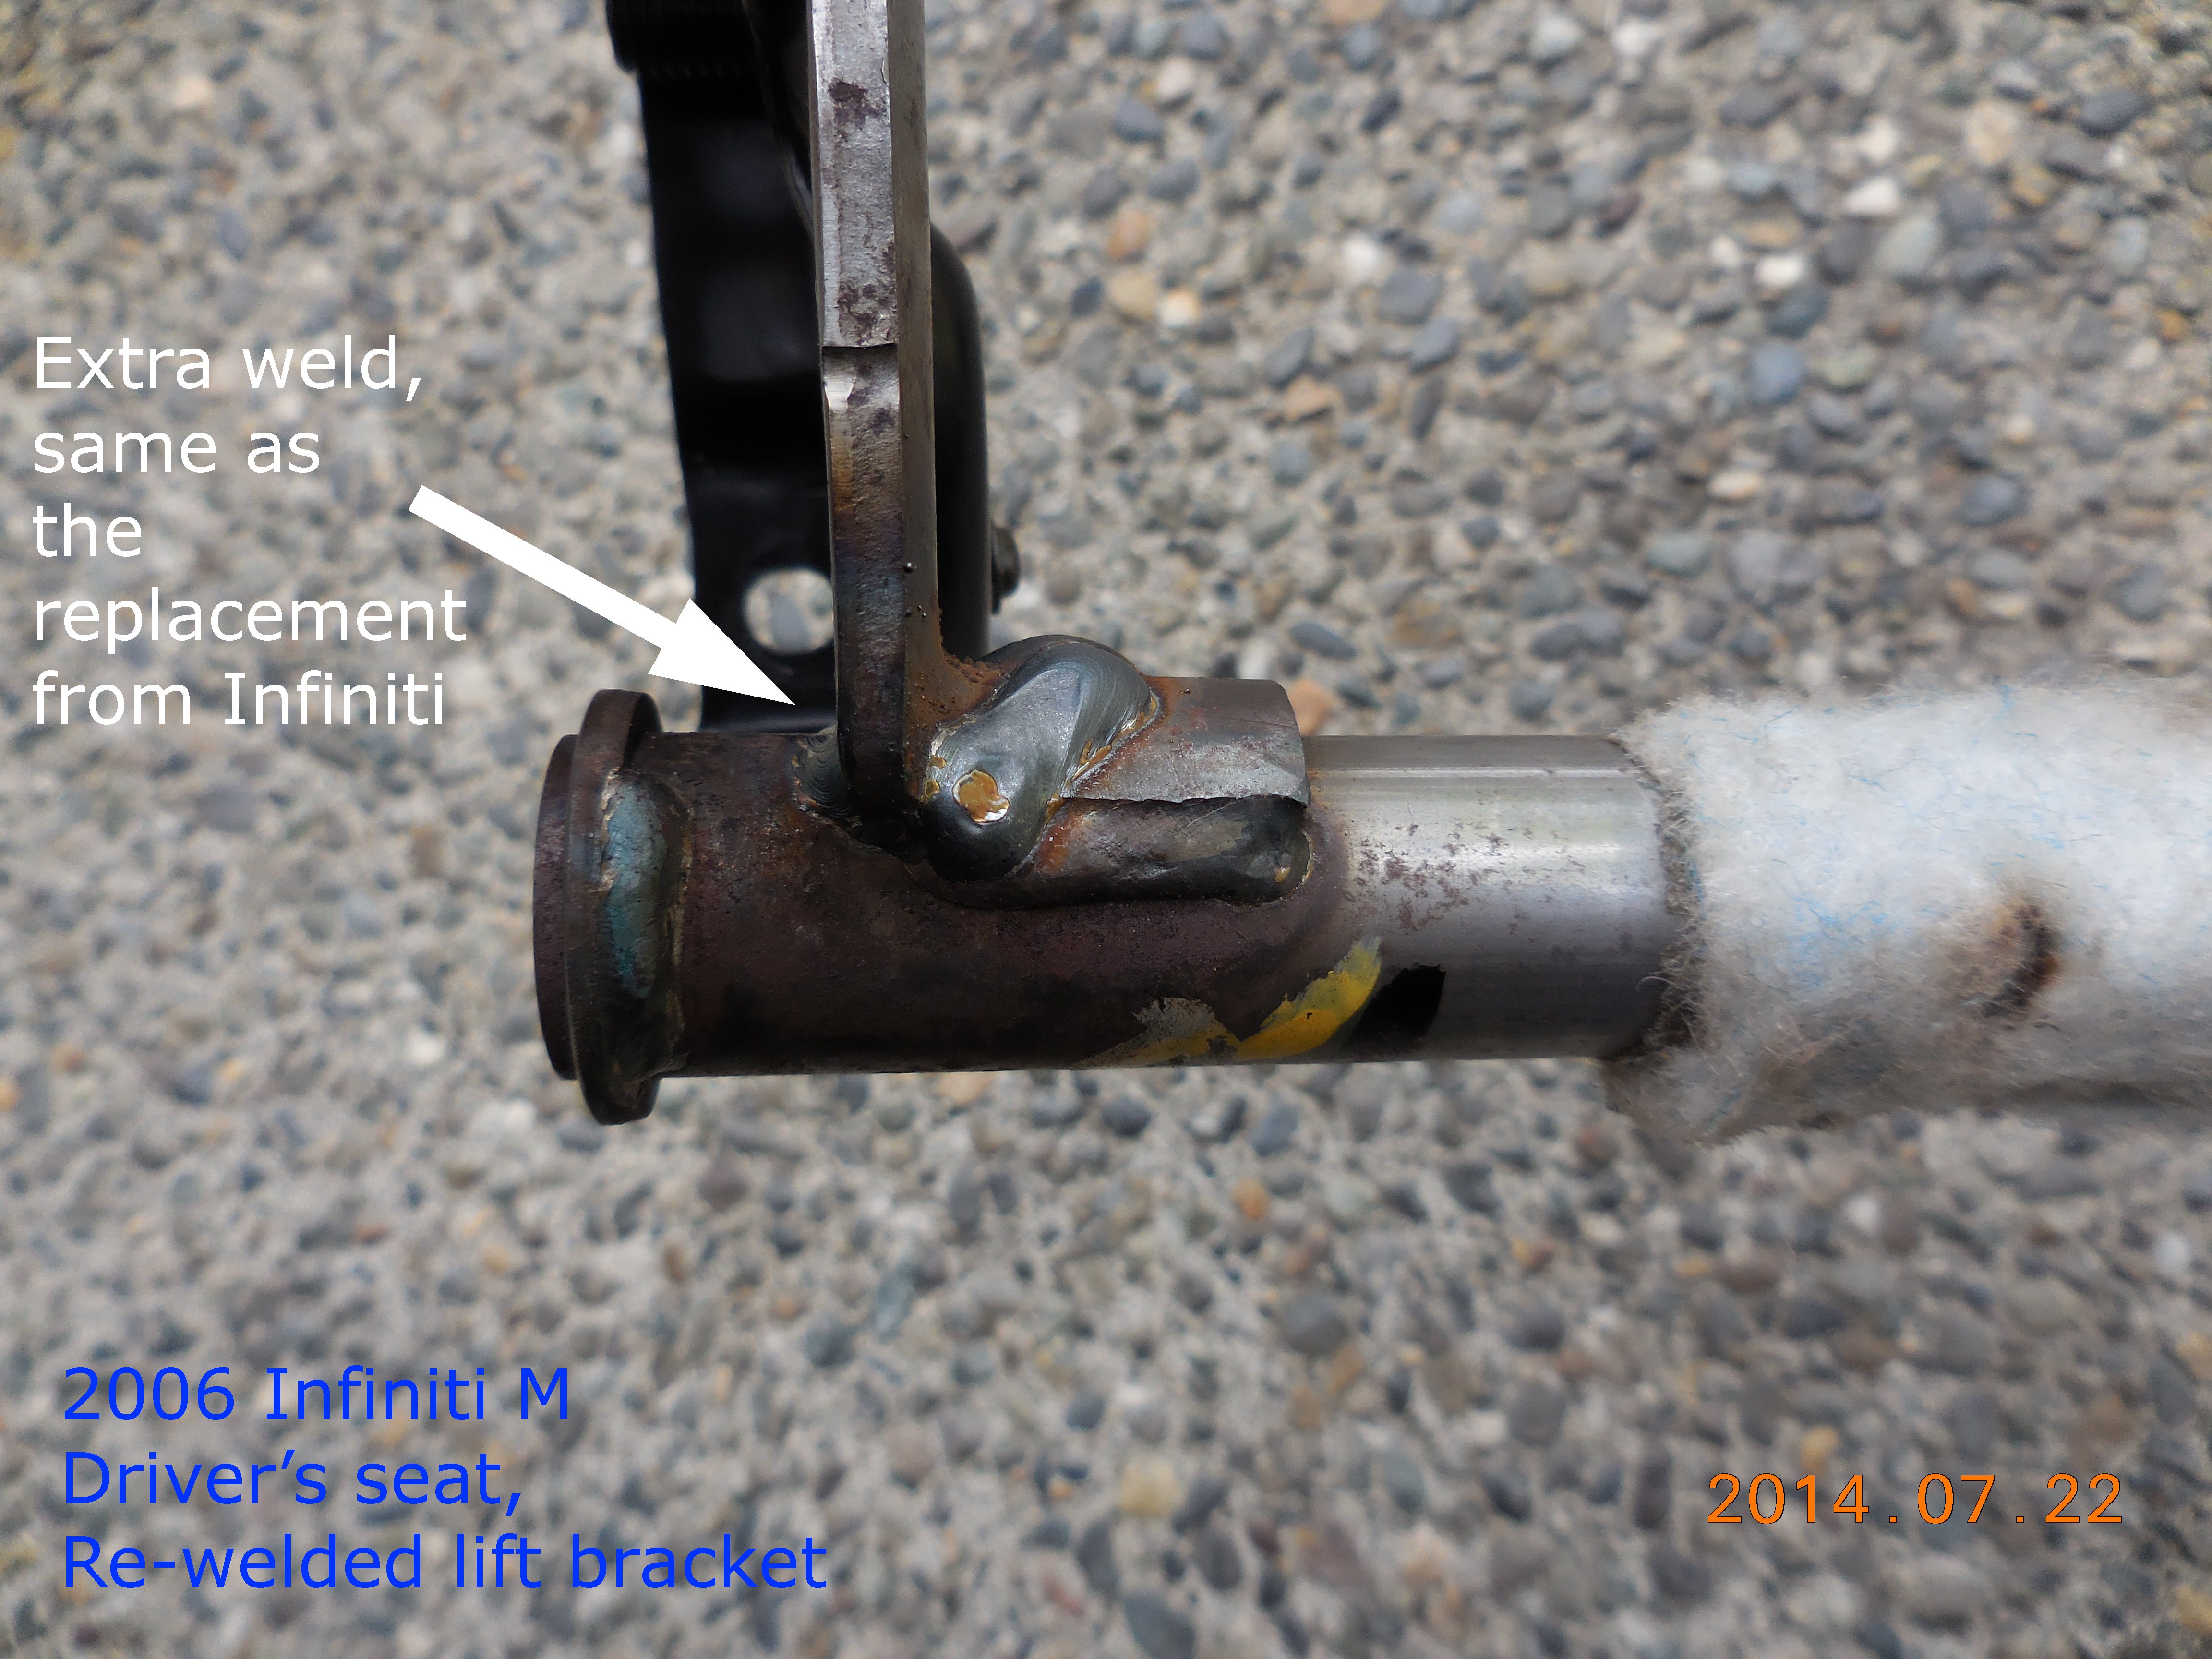
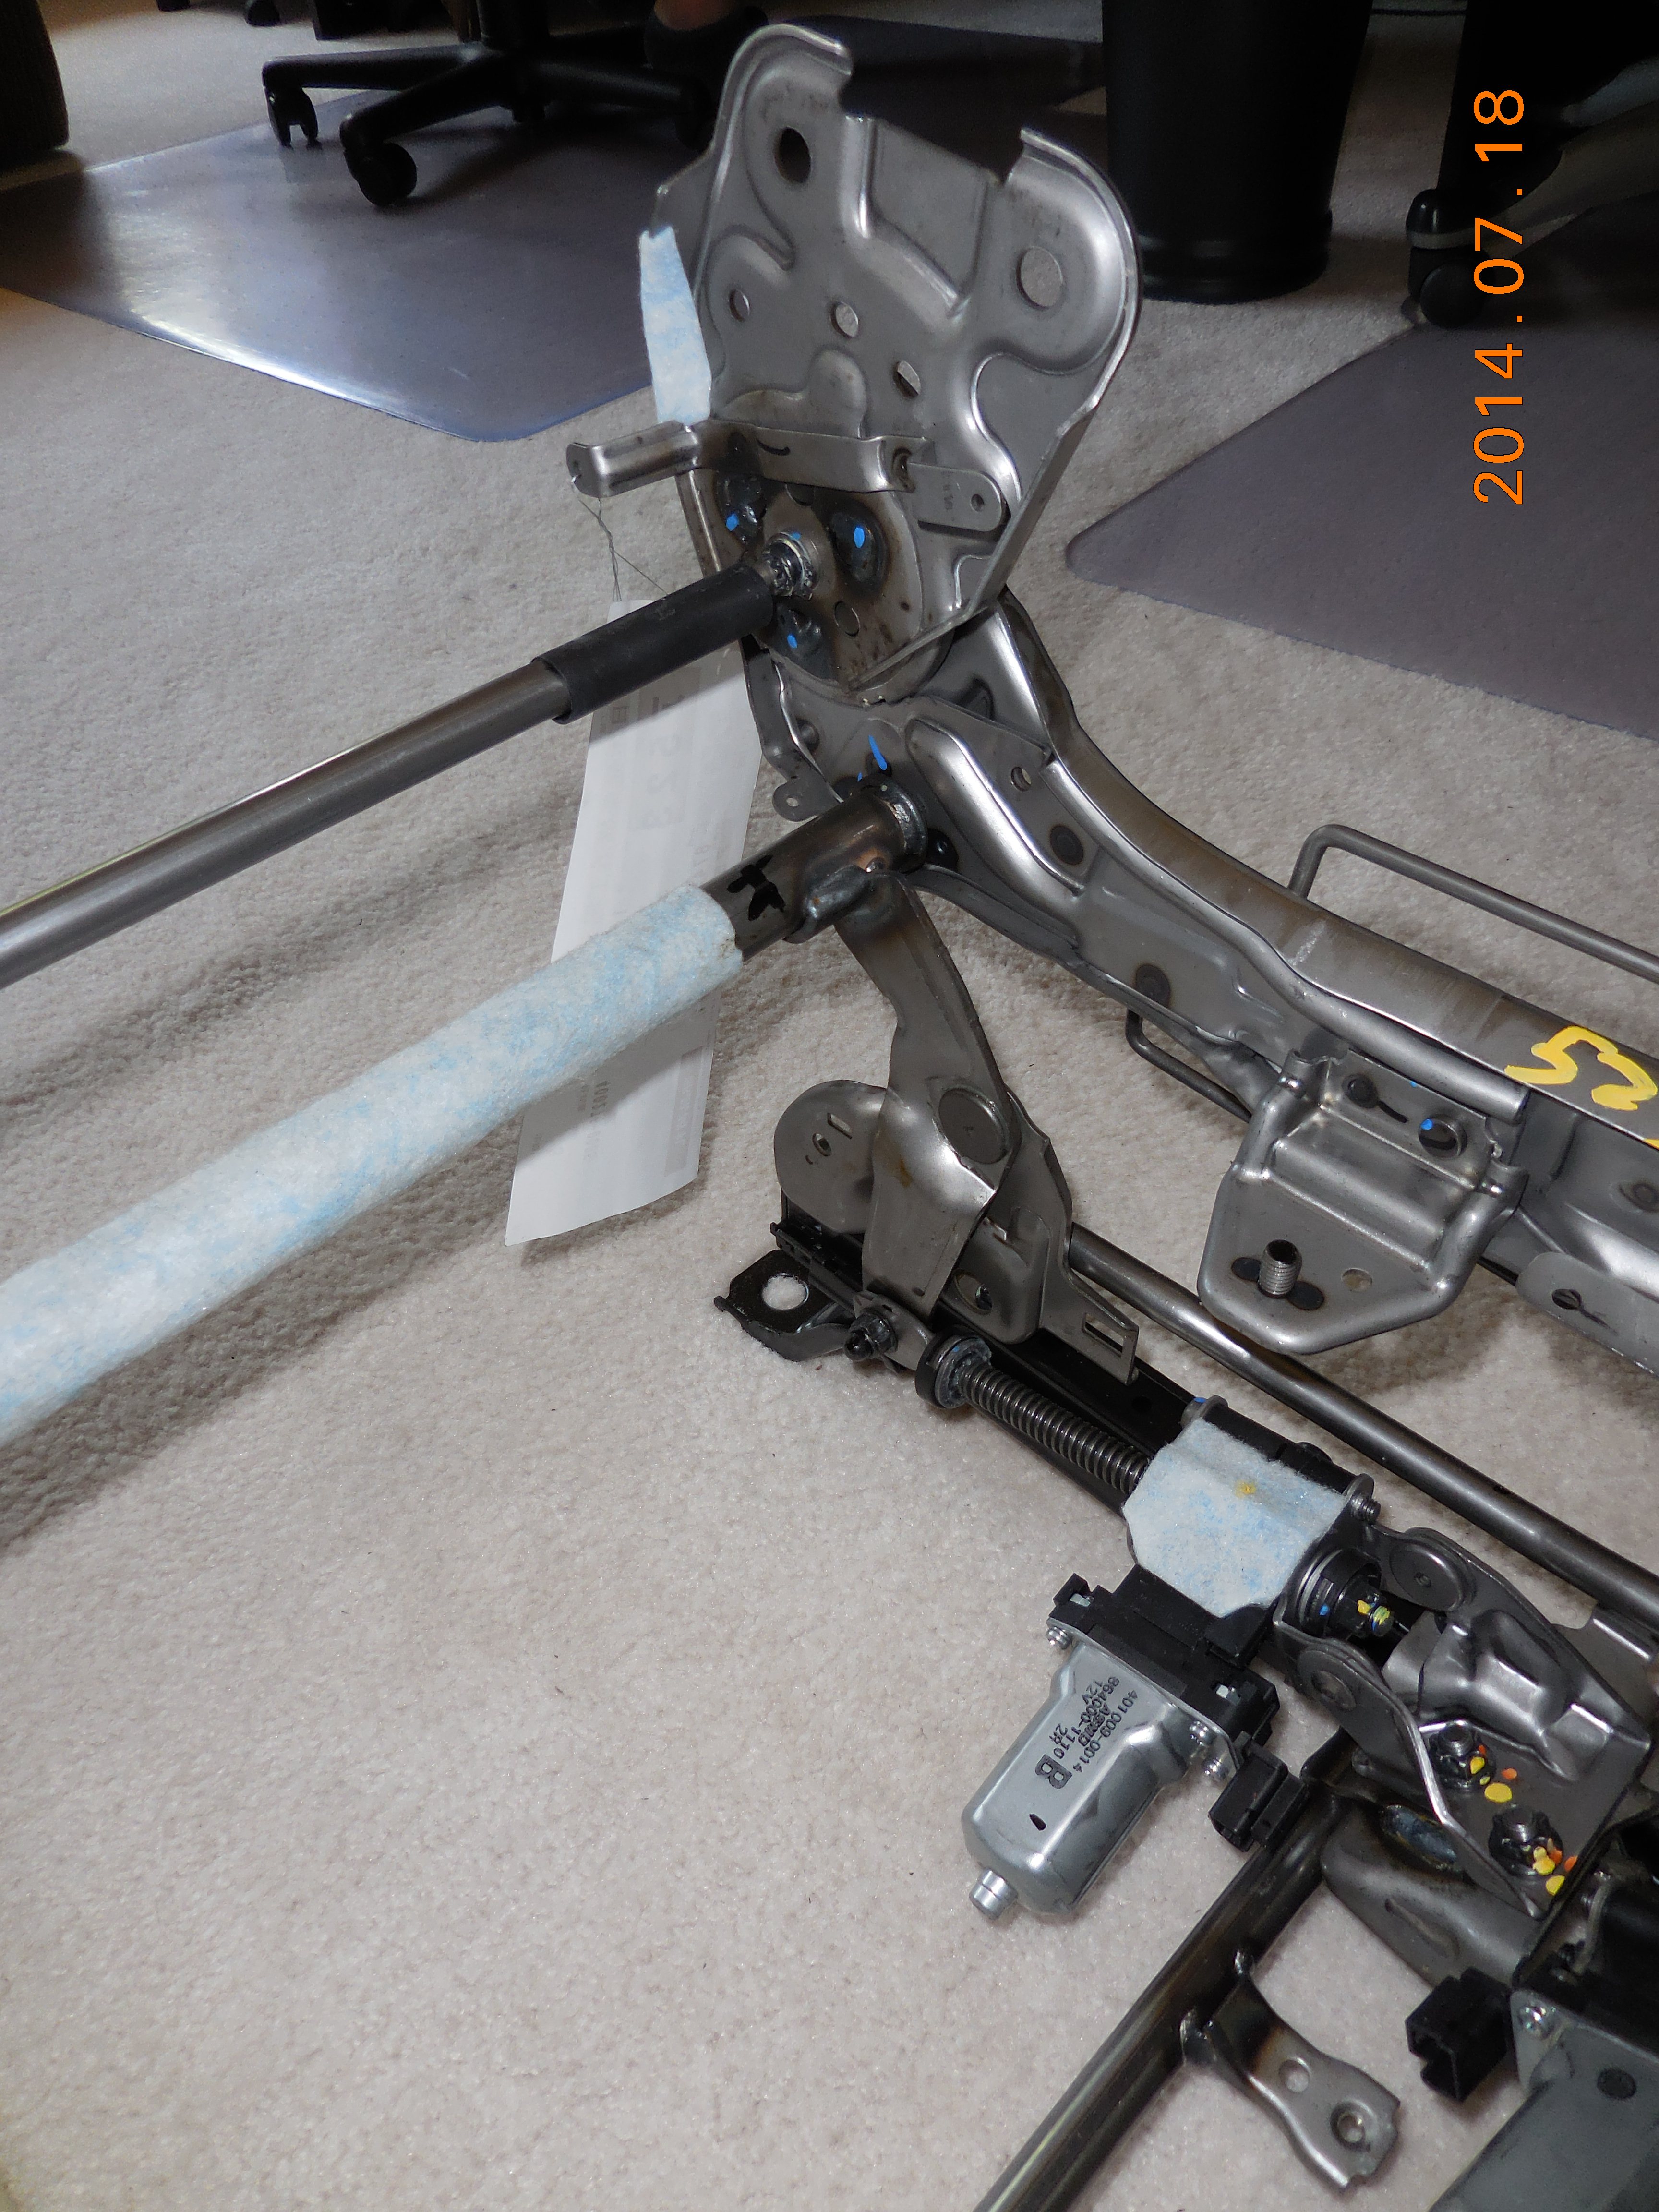
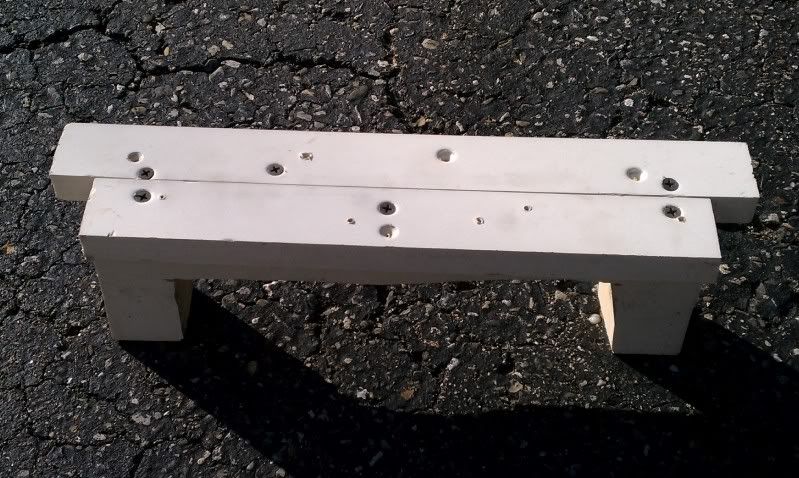
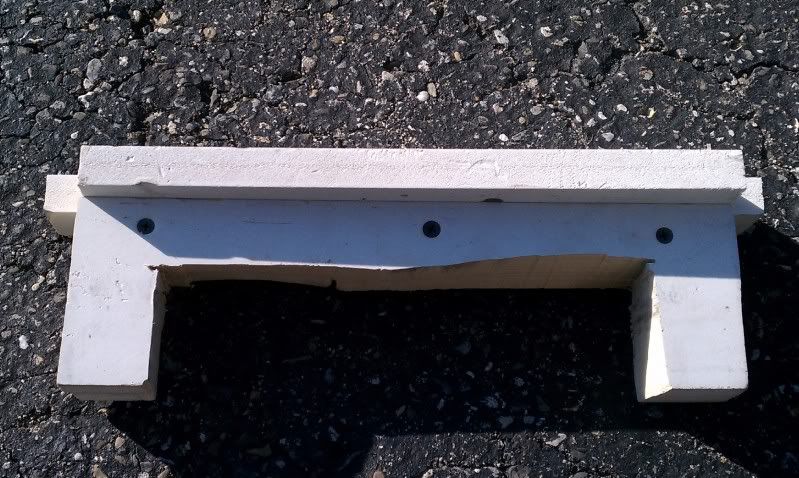
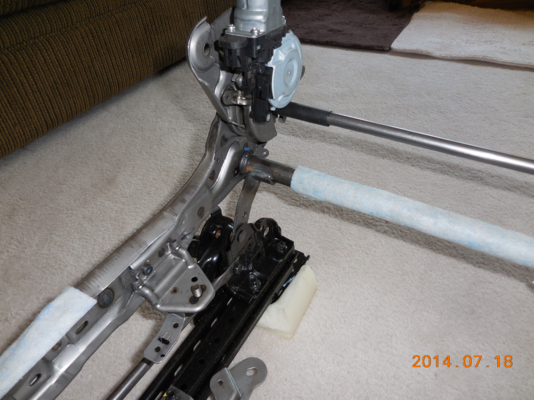
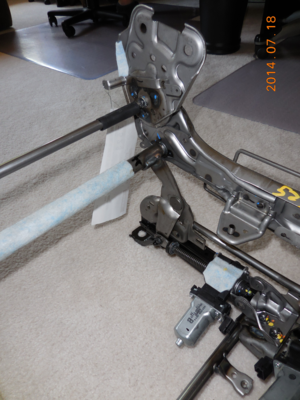
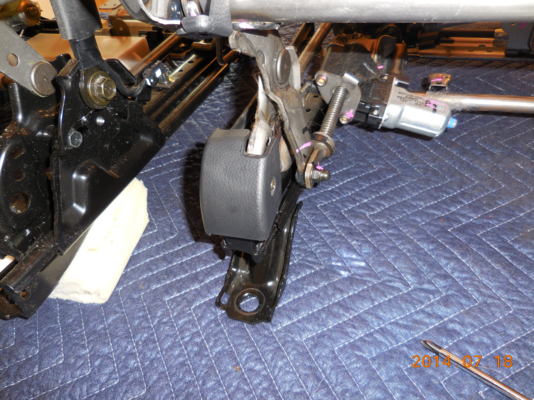
I was purchasing it because I couldn't repair the tracks, but it provided a good opportunity to check out what Infiniti has done about the all-too-common lift bracket breakage issue. The answer: nothing, except one additional 1" of weld filler on the "backside" of the bracket. So, each bracket is now welded to the cross tube in three places, rather than two.
Click HERE for larger
 Click HERE for larger
What follows is a tedious bunch of pictures I took as a way to figure out how to reassemble the seat while transferring everything over from old to new seat frame assy. Wire routing, covers placement, seat material folding, and especially harness clips . . . there are a hundred and more details to assembling this complex seat, and I needed to refer to several of these pics to get this job done. But unless you're actually
doing this job, these pics are just slowing down your day. Feel free to skip.
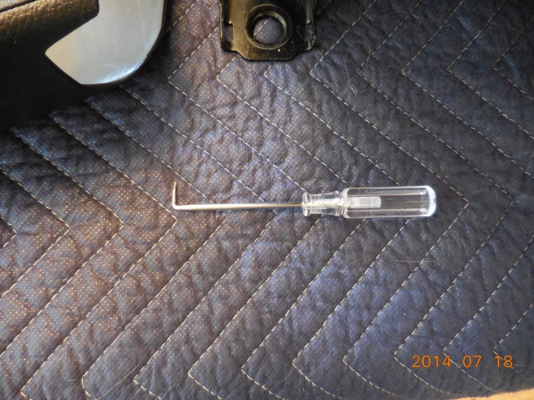
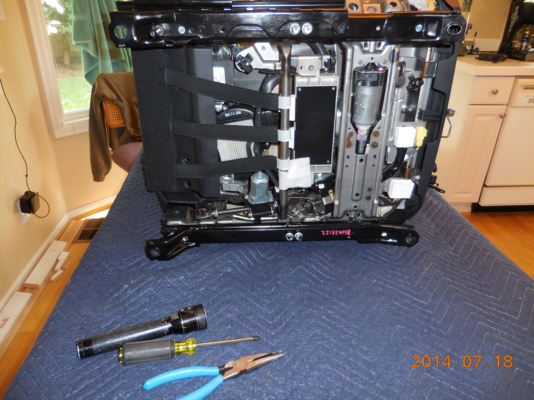
One of my favorite tools is this o-ring pick This is a Craftsman, but honestly I prefer the orange-handle set I got from Harbor Freight years ago, it's held up better than the Sears one. A right-angle-pokey tool like this is invaluable.
Click HERE for larger
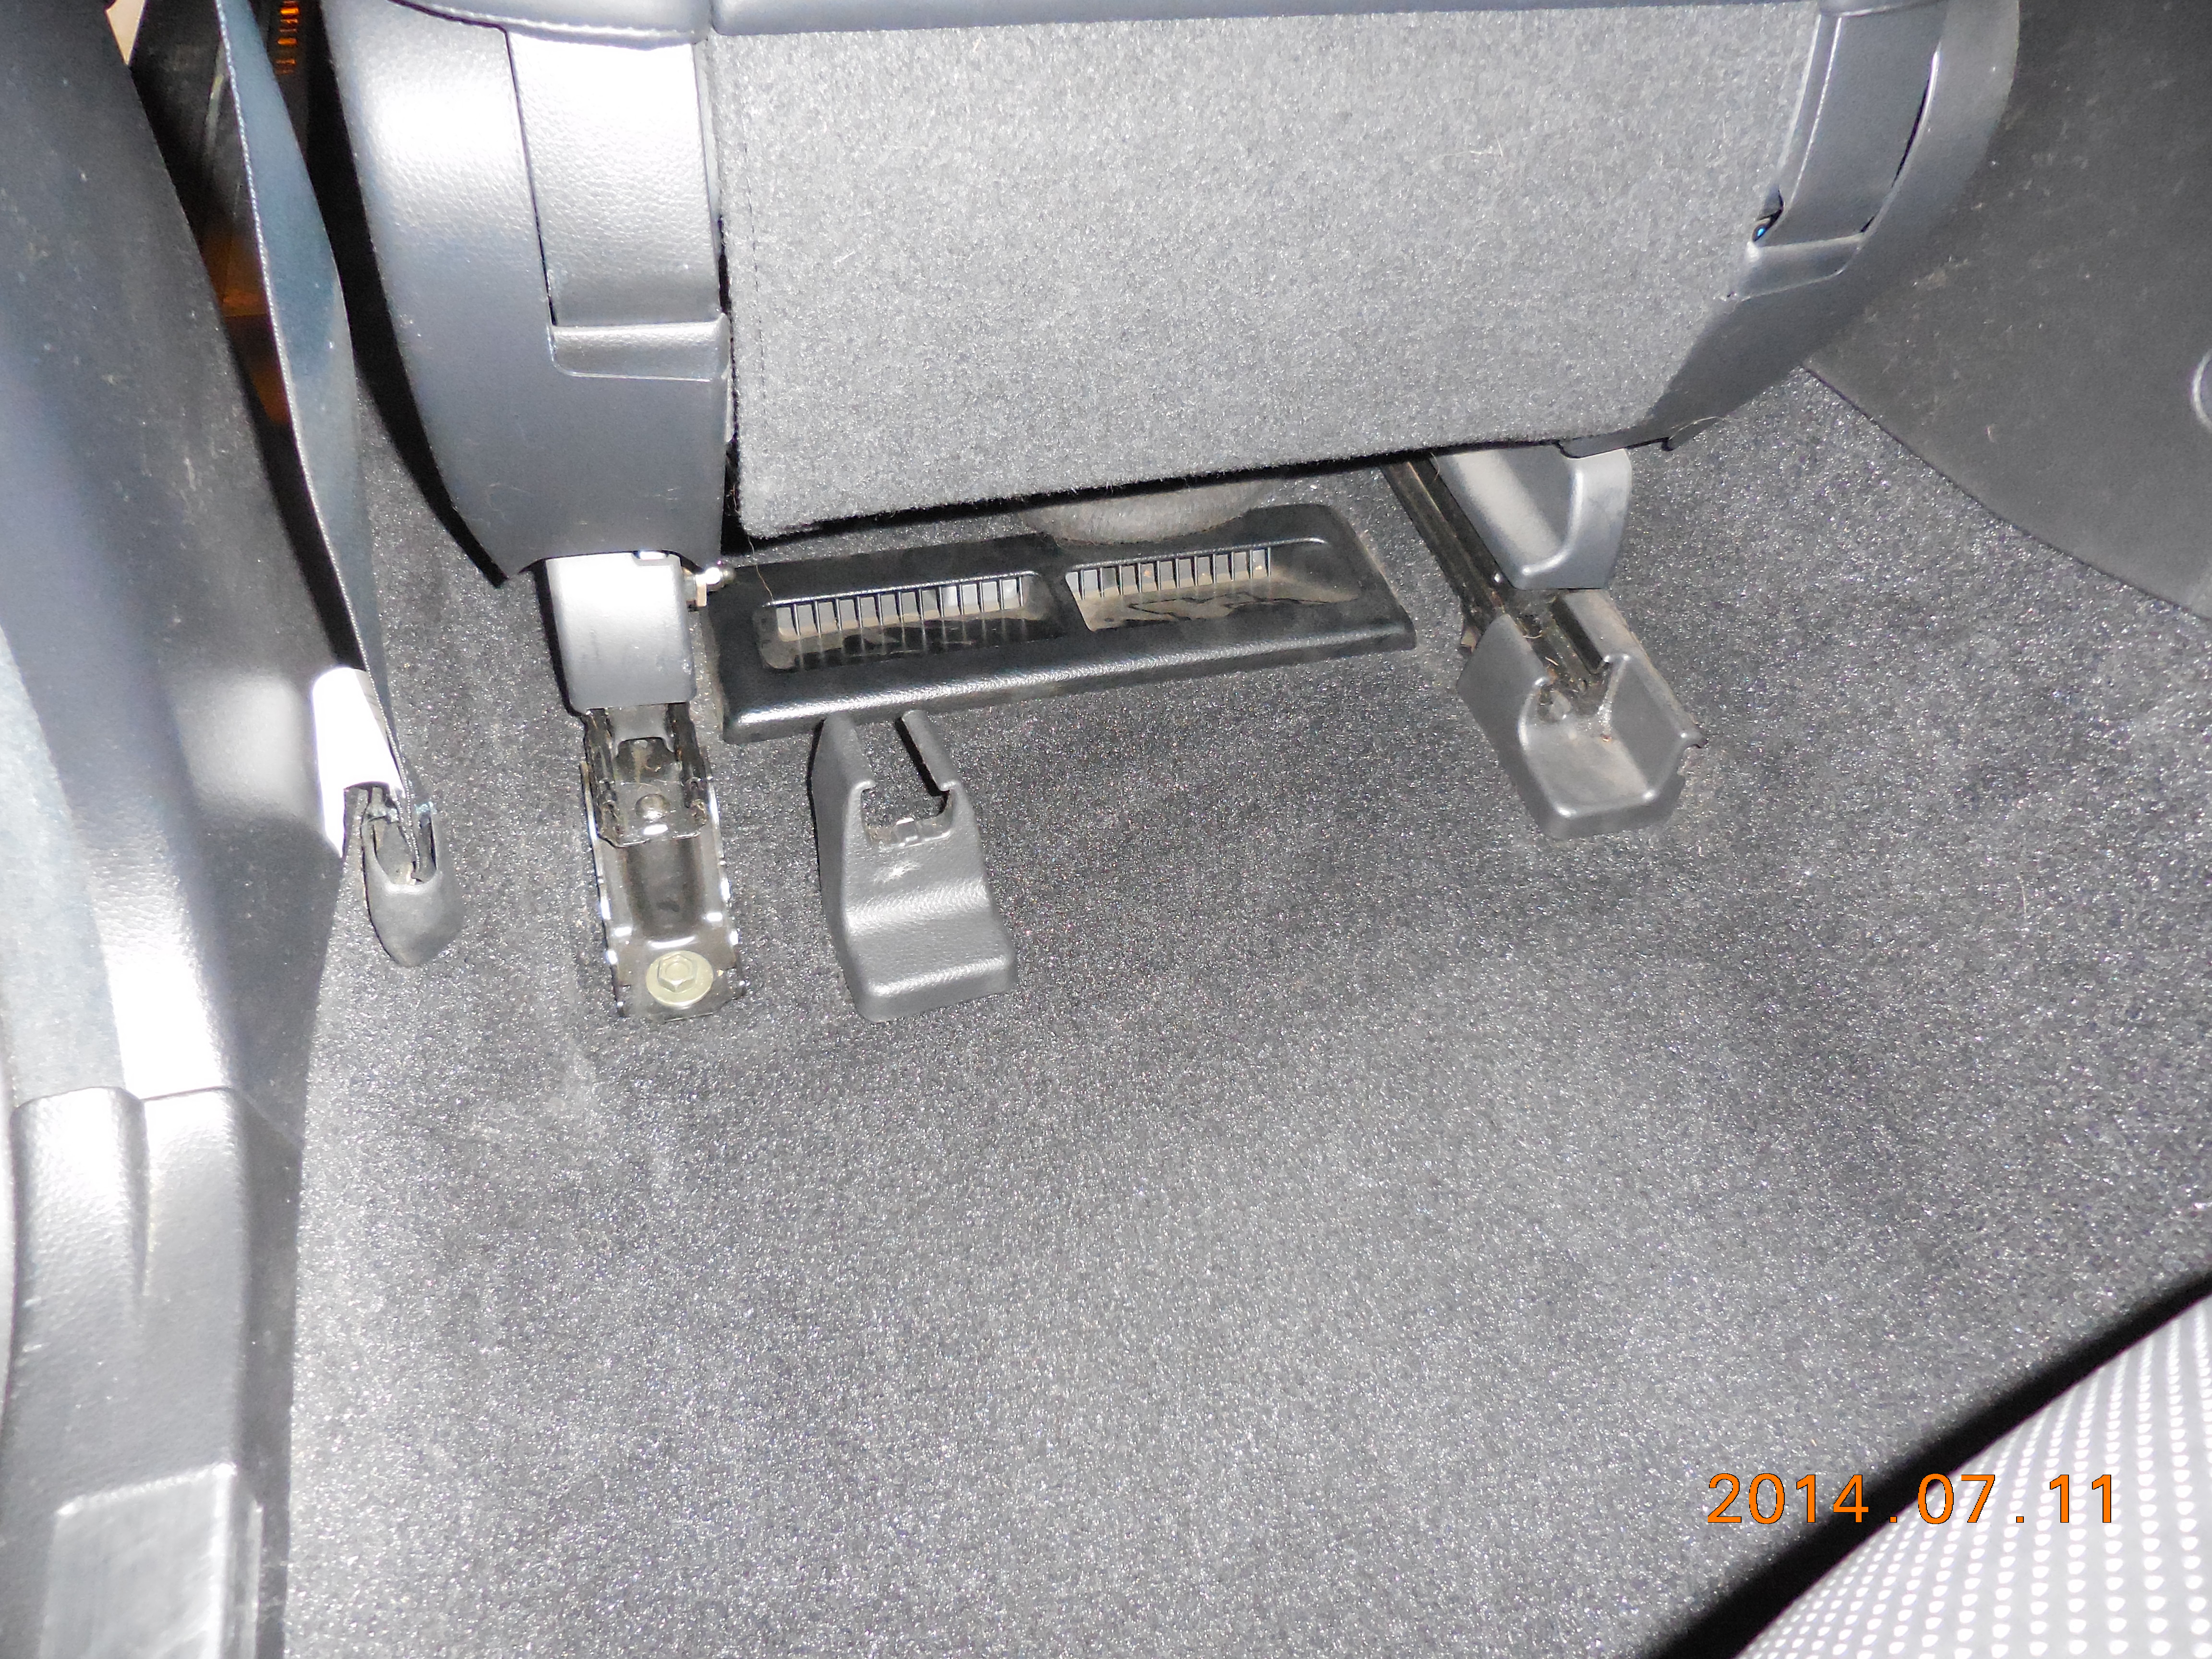
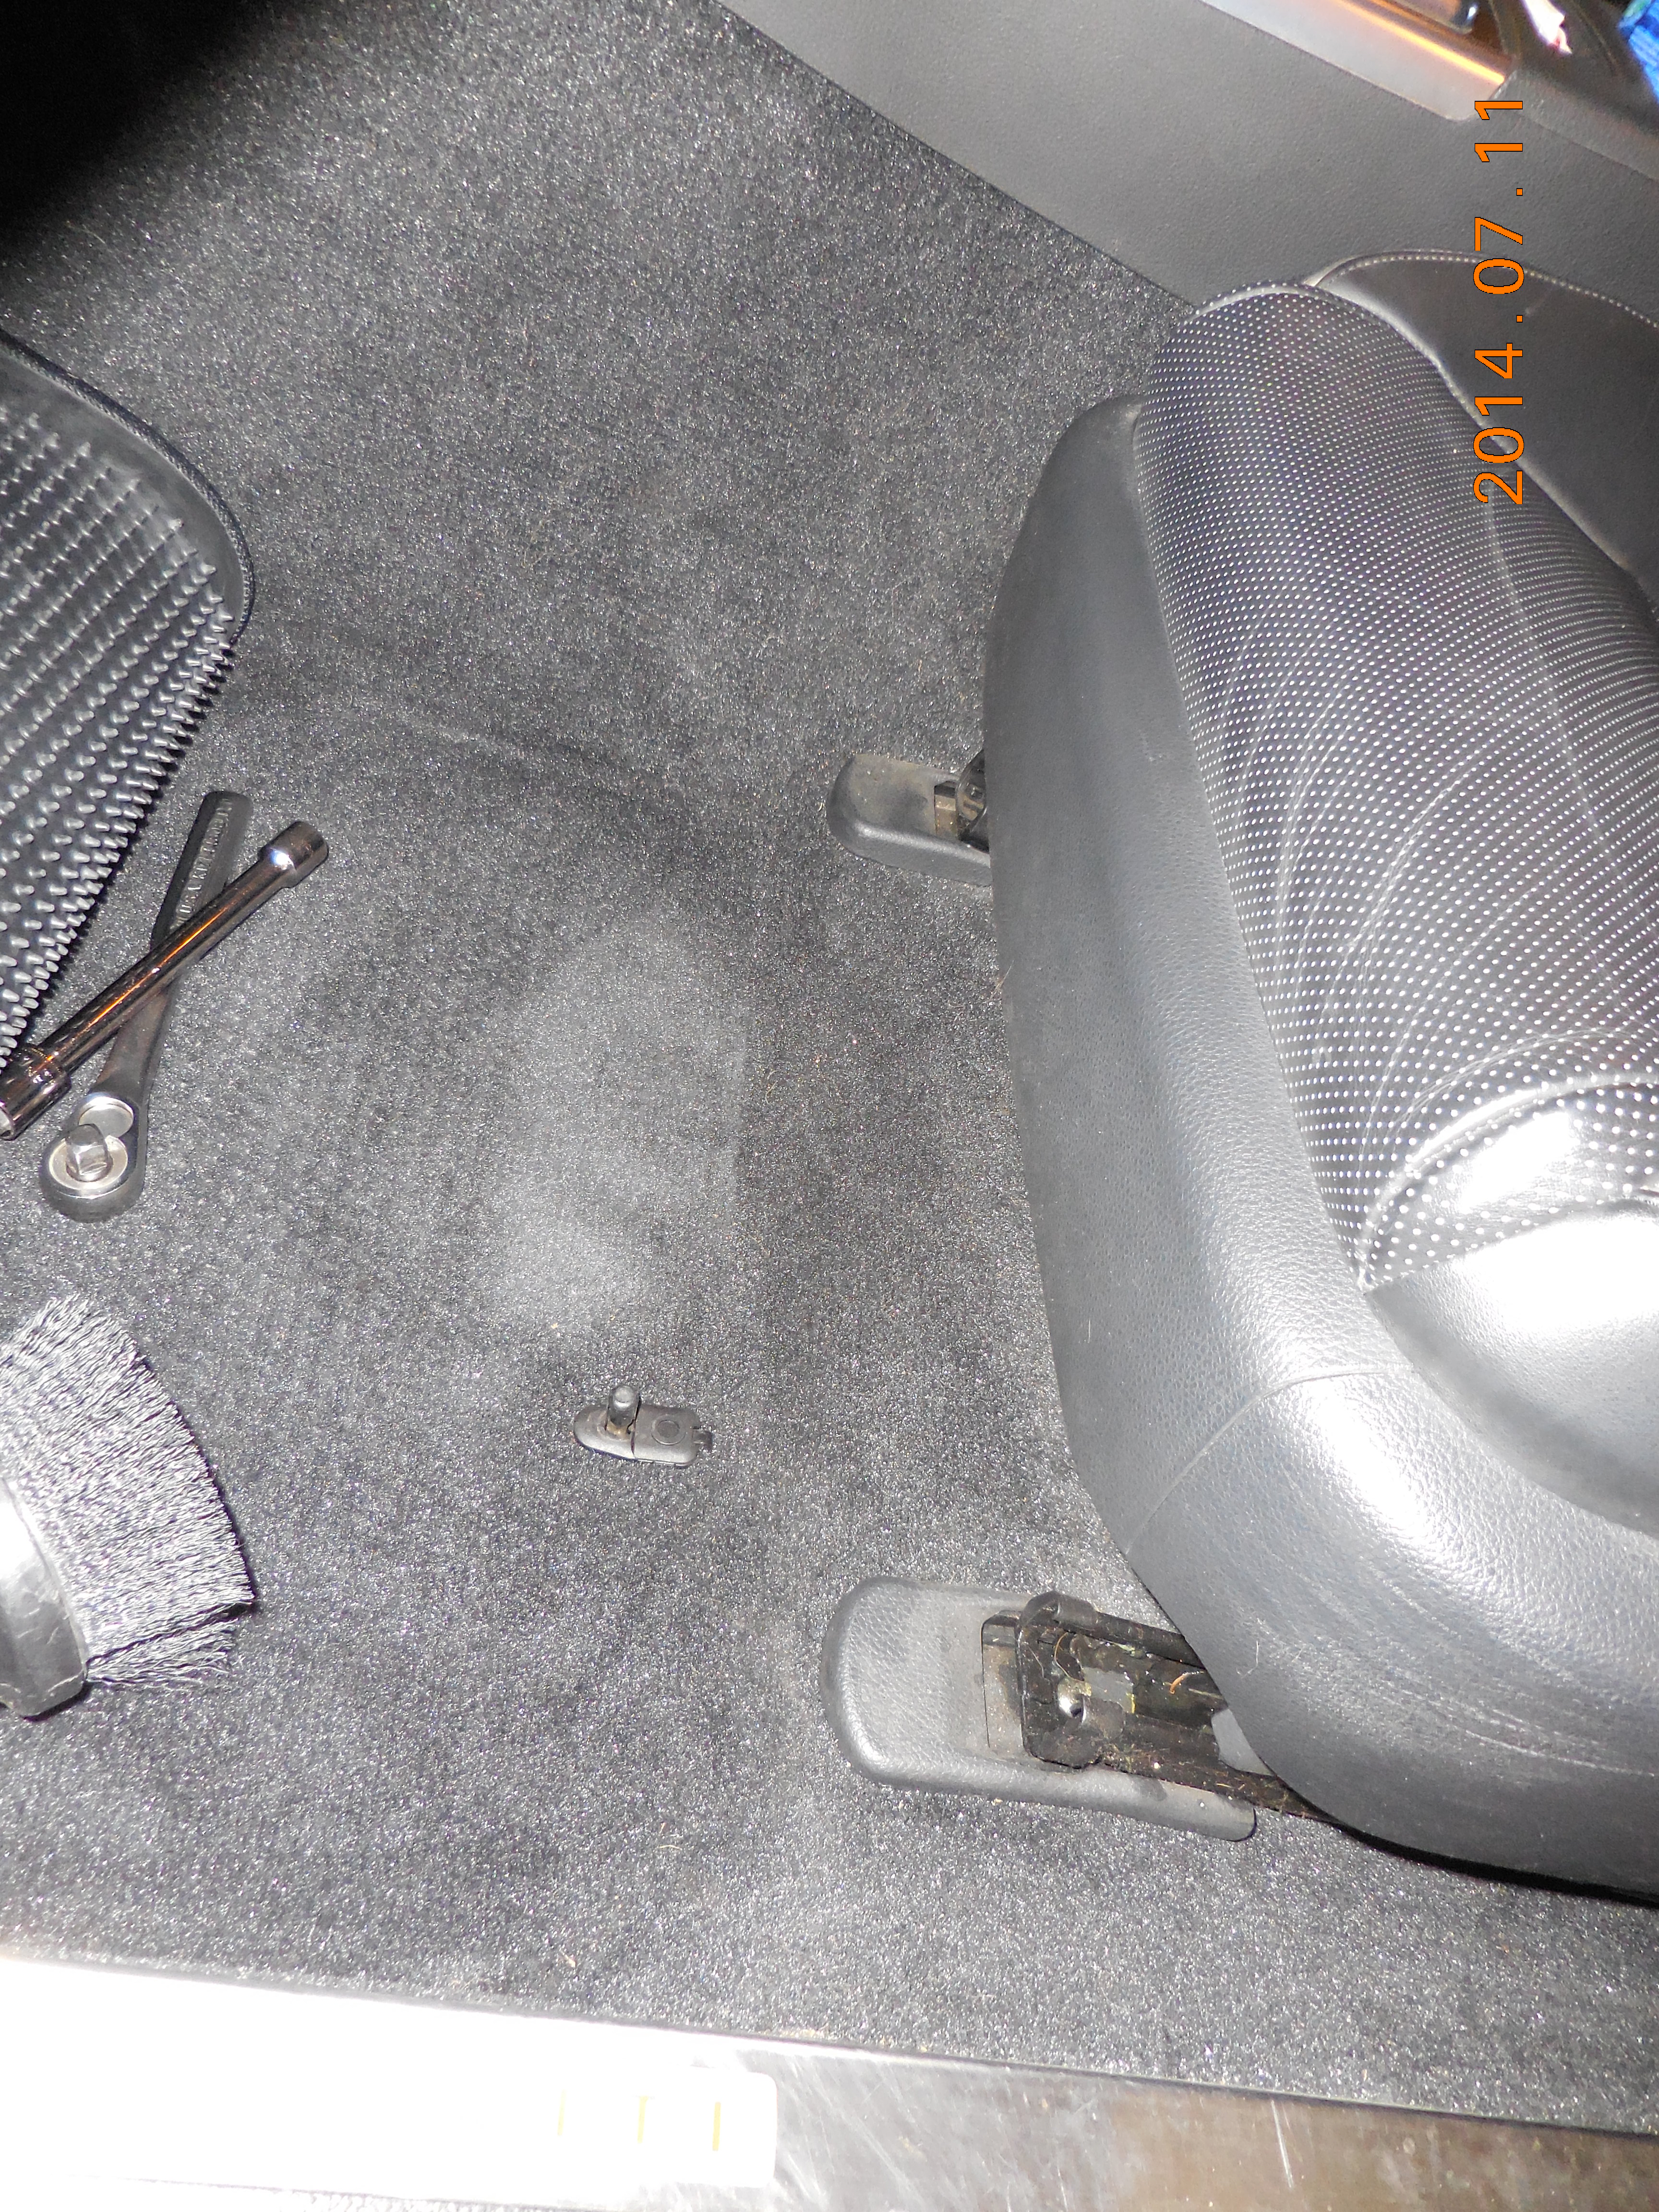
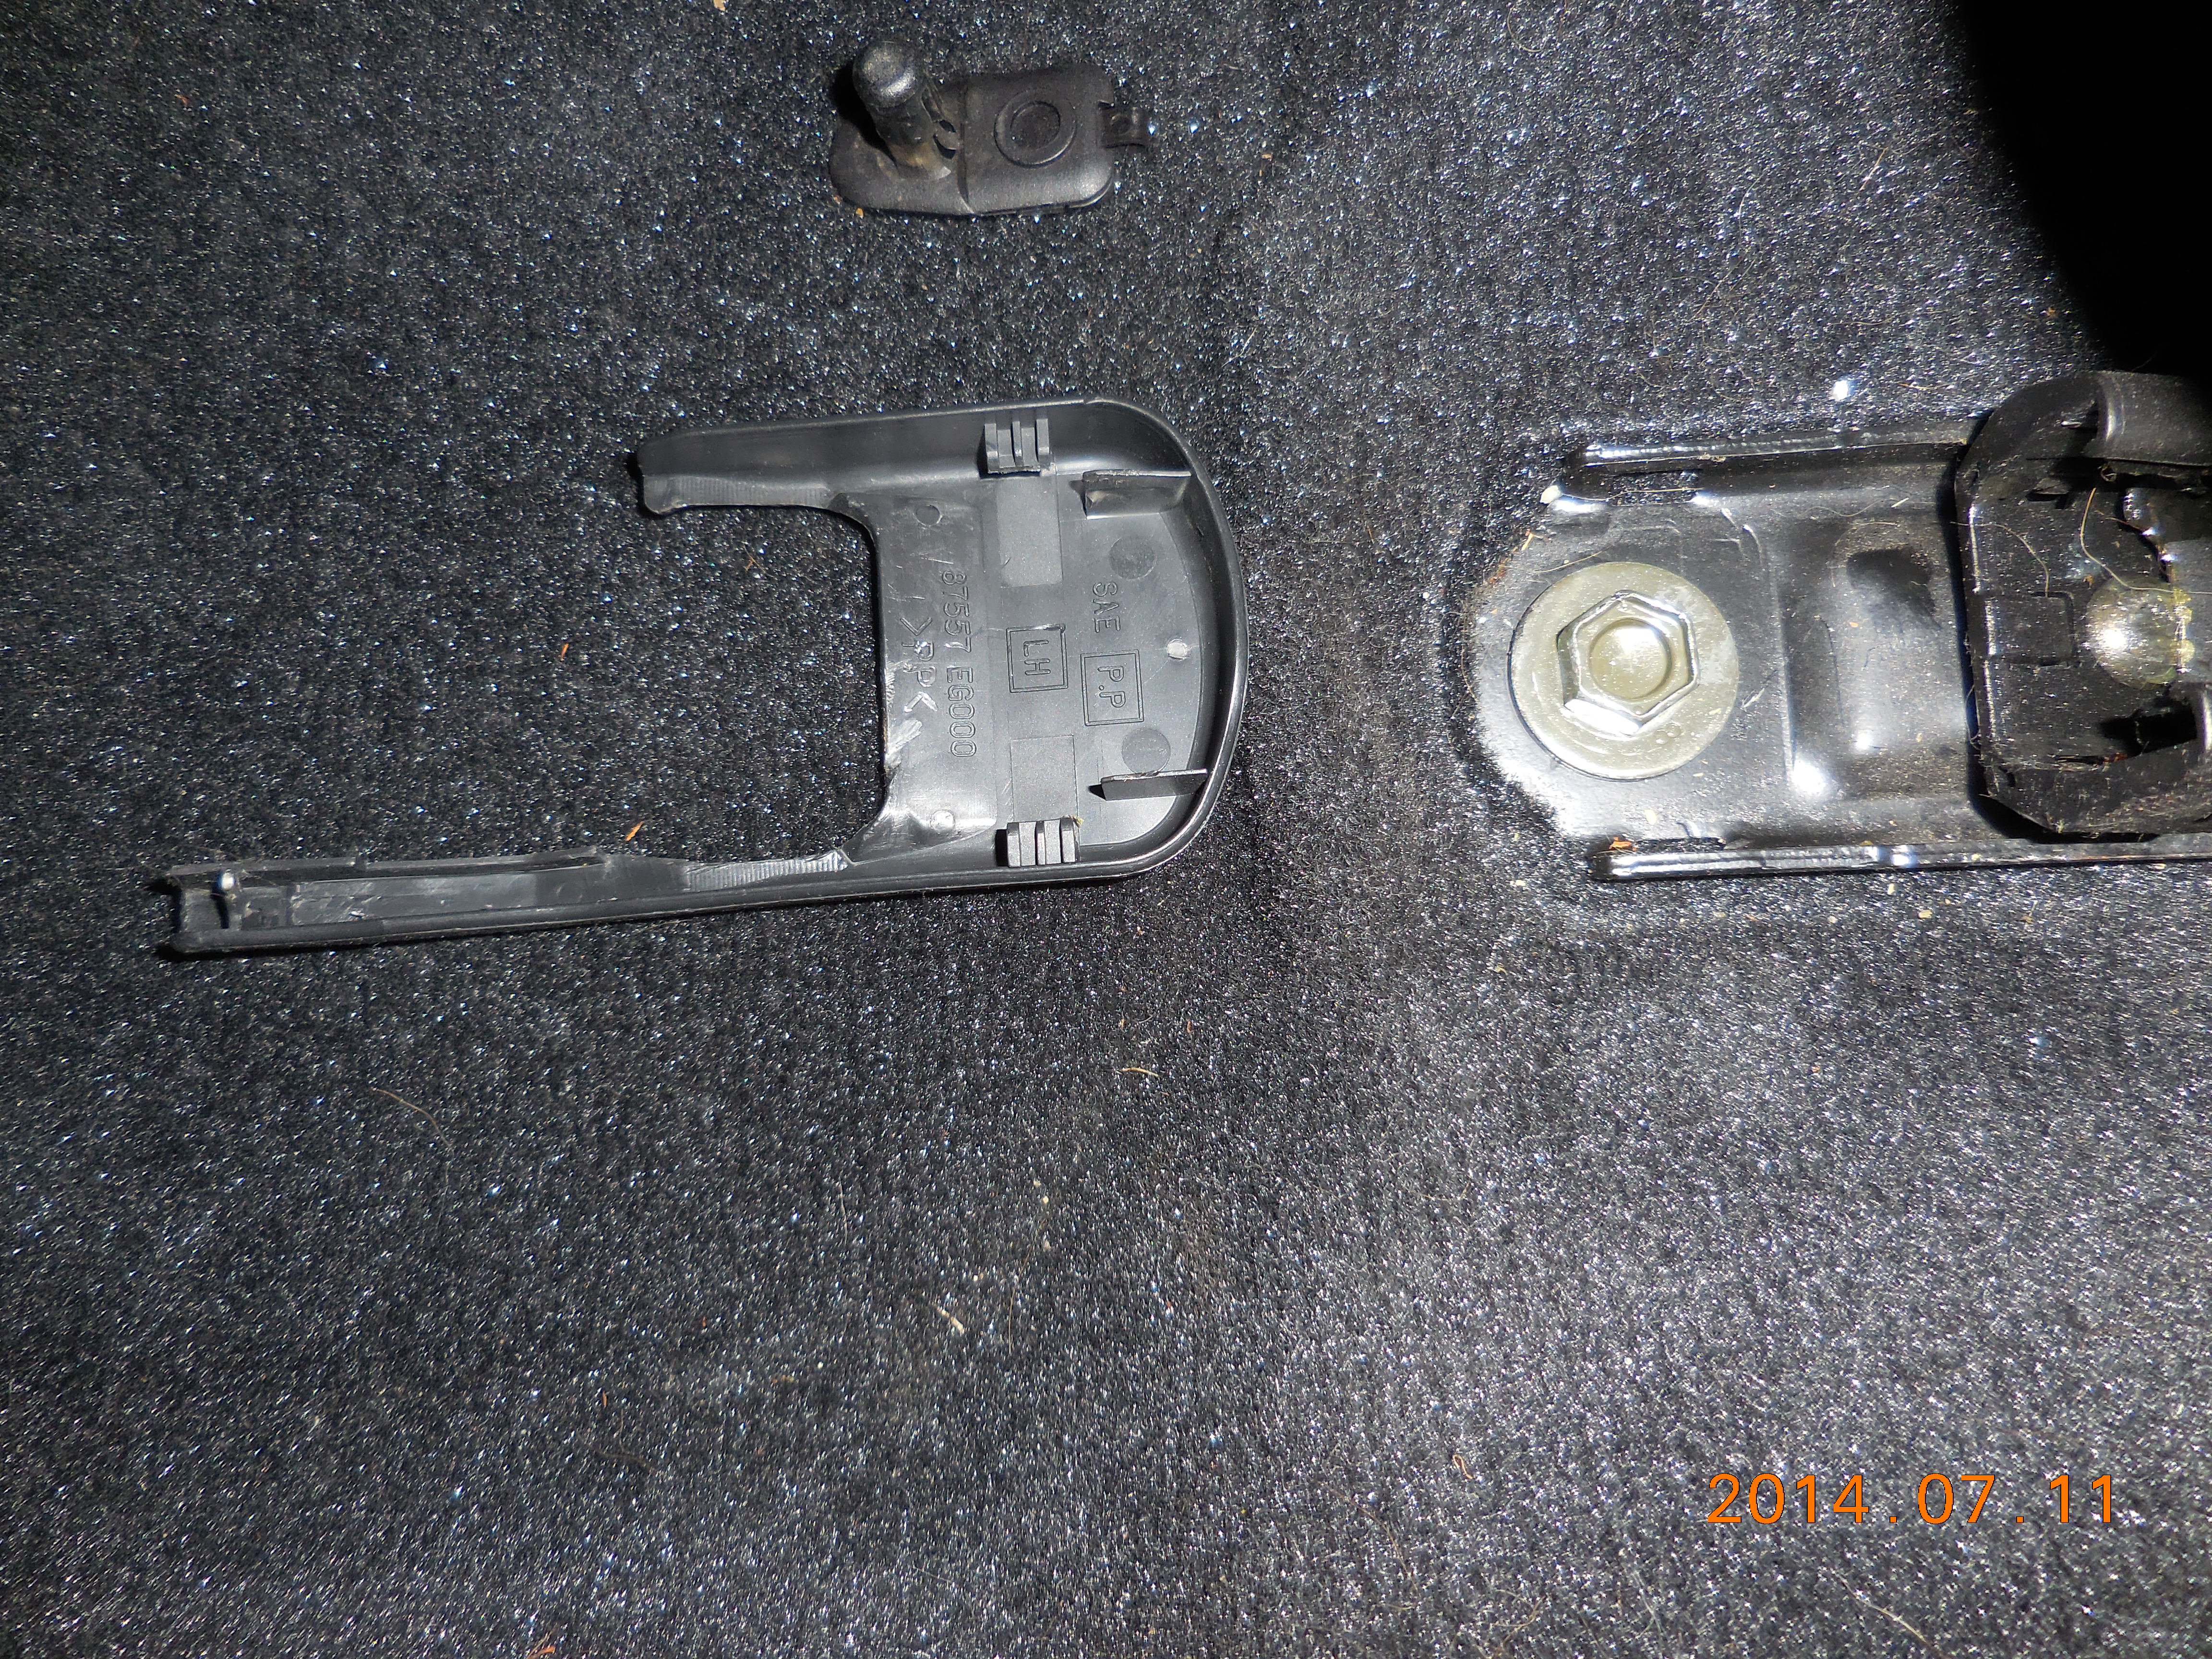
Removing the seat from the vehicle: this is easier if the seat will still move fore & aft under its own power. Each of the four bolts holding it to the floor are under removable plastic covers that more or less just pull off. Use the o-ring tool to work the integrated plastic hooks loose, but on these you can probably just manhandle them and yank.
Click HERE for larger
 Click HERE for larger
 Click HERE for larger

Use either a box-end wrench or (if the the seat can be slid fore/aft under its own power) you can use a socket & extension. 14mm bolt heads.
Remove the headrest! Do it now! It'll be in the way later, believe me.
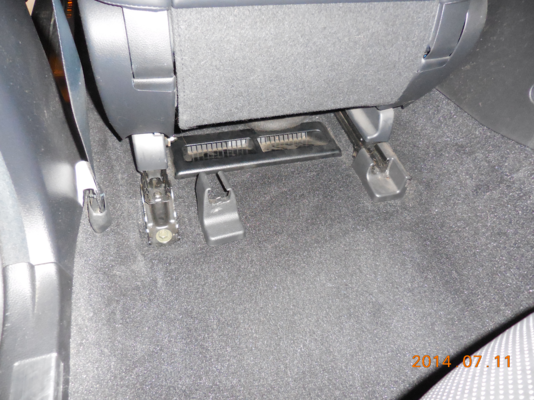
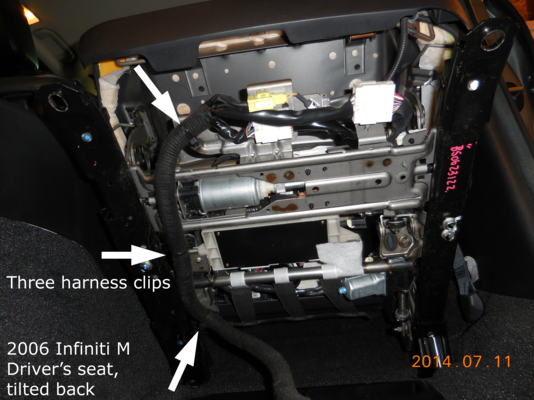
Tilt the seat back to expose the three wiring harness clips:
Click HERE for larger

These are three harness tie wraps that must be released without damage. These three are the ones that it's easier to take the harness out of the clip than to disconnect the clip from whatever it's clipped to.
Click HERE for larger
Use the o-ring tool or similar to lift up the plastic ratchet pawl, and the wrap will almost fall open for you.
Click HERE for larger

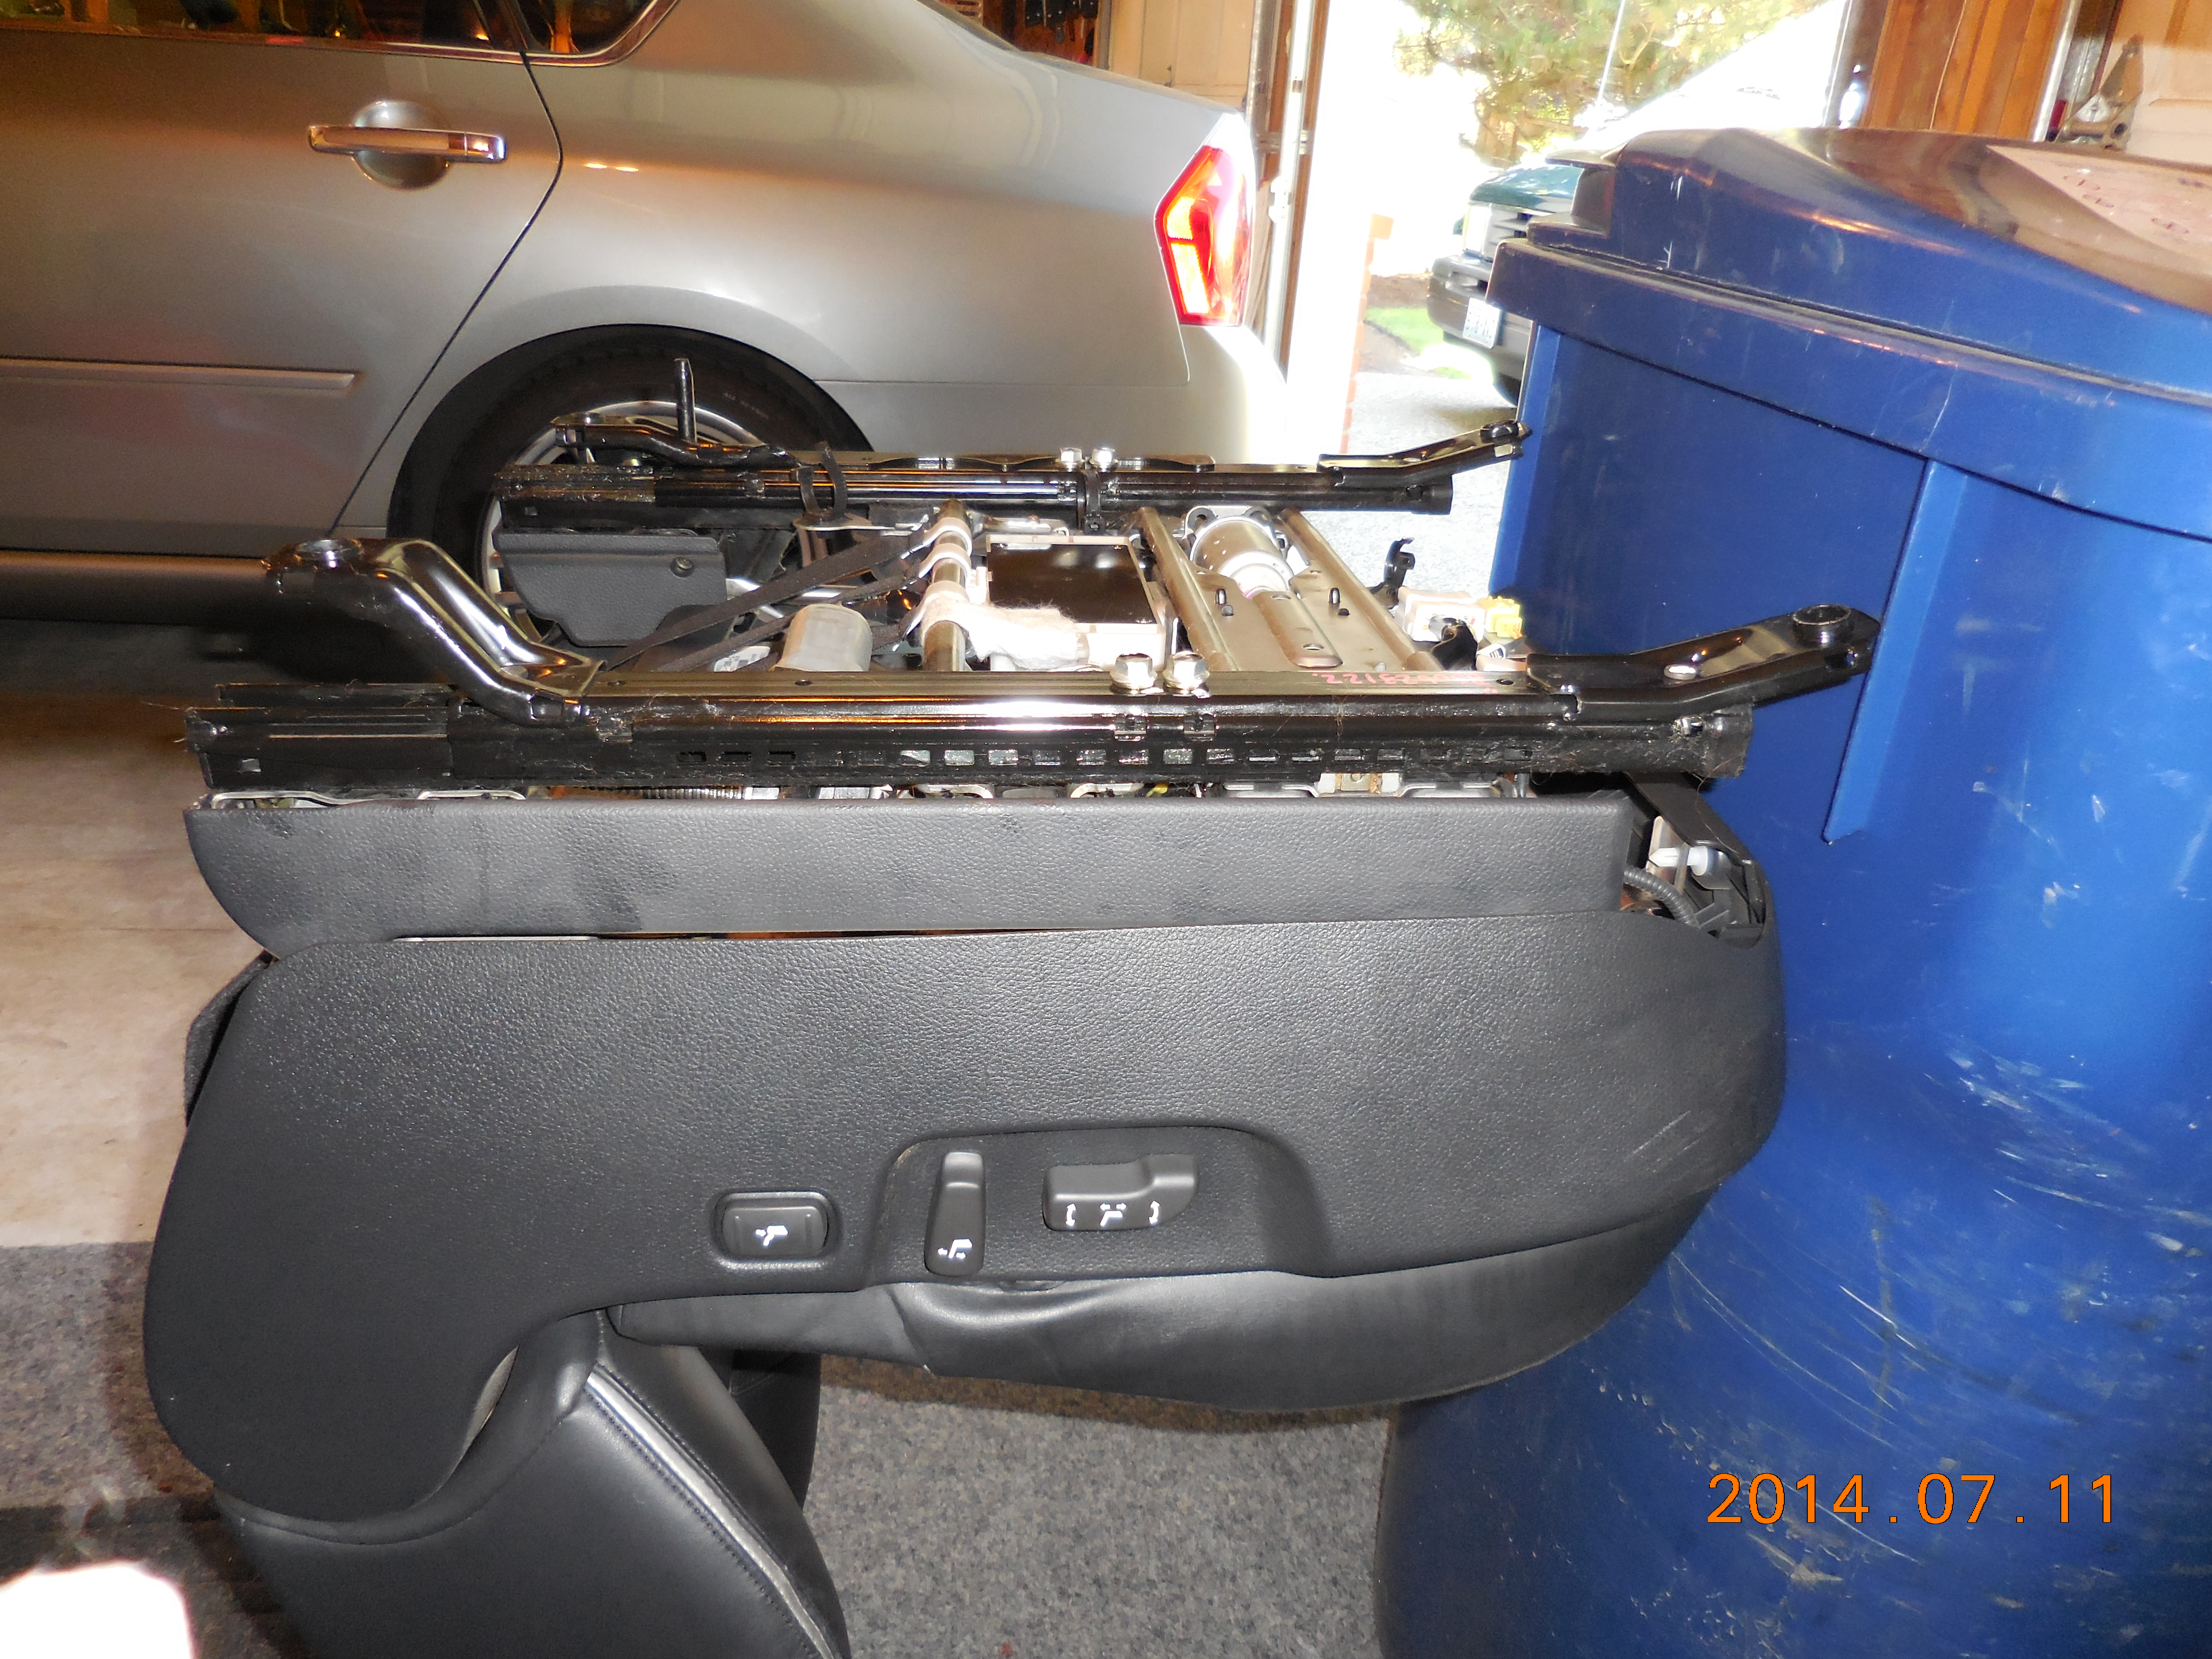
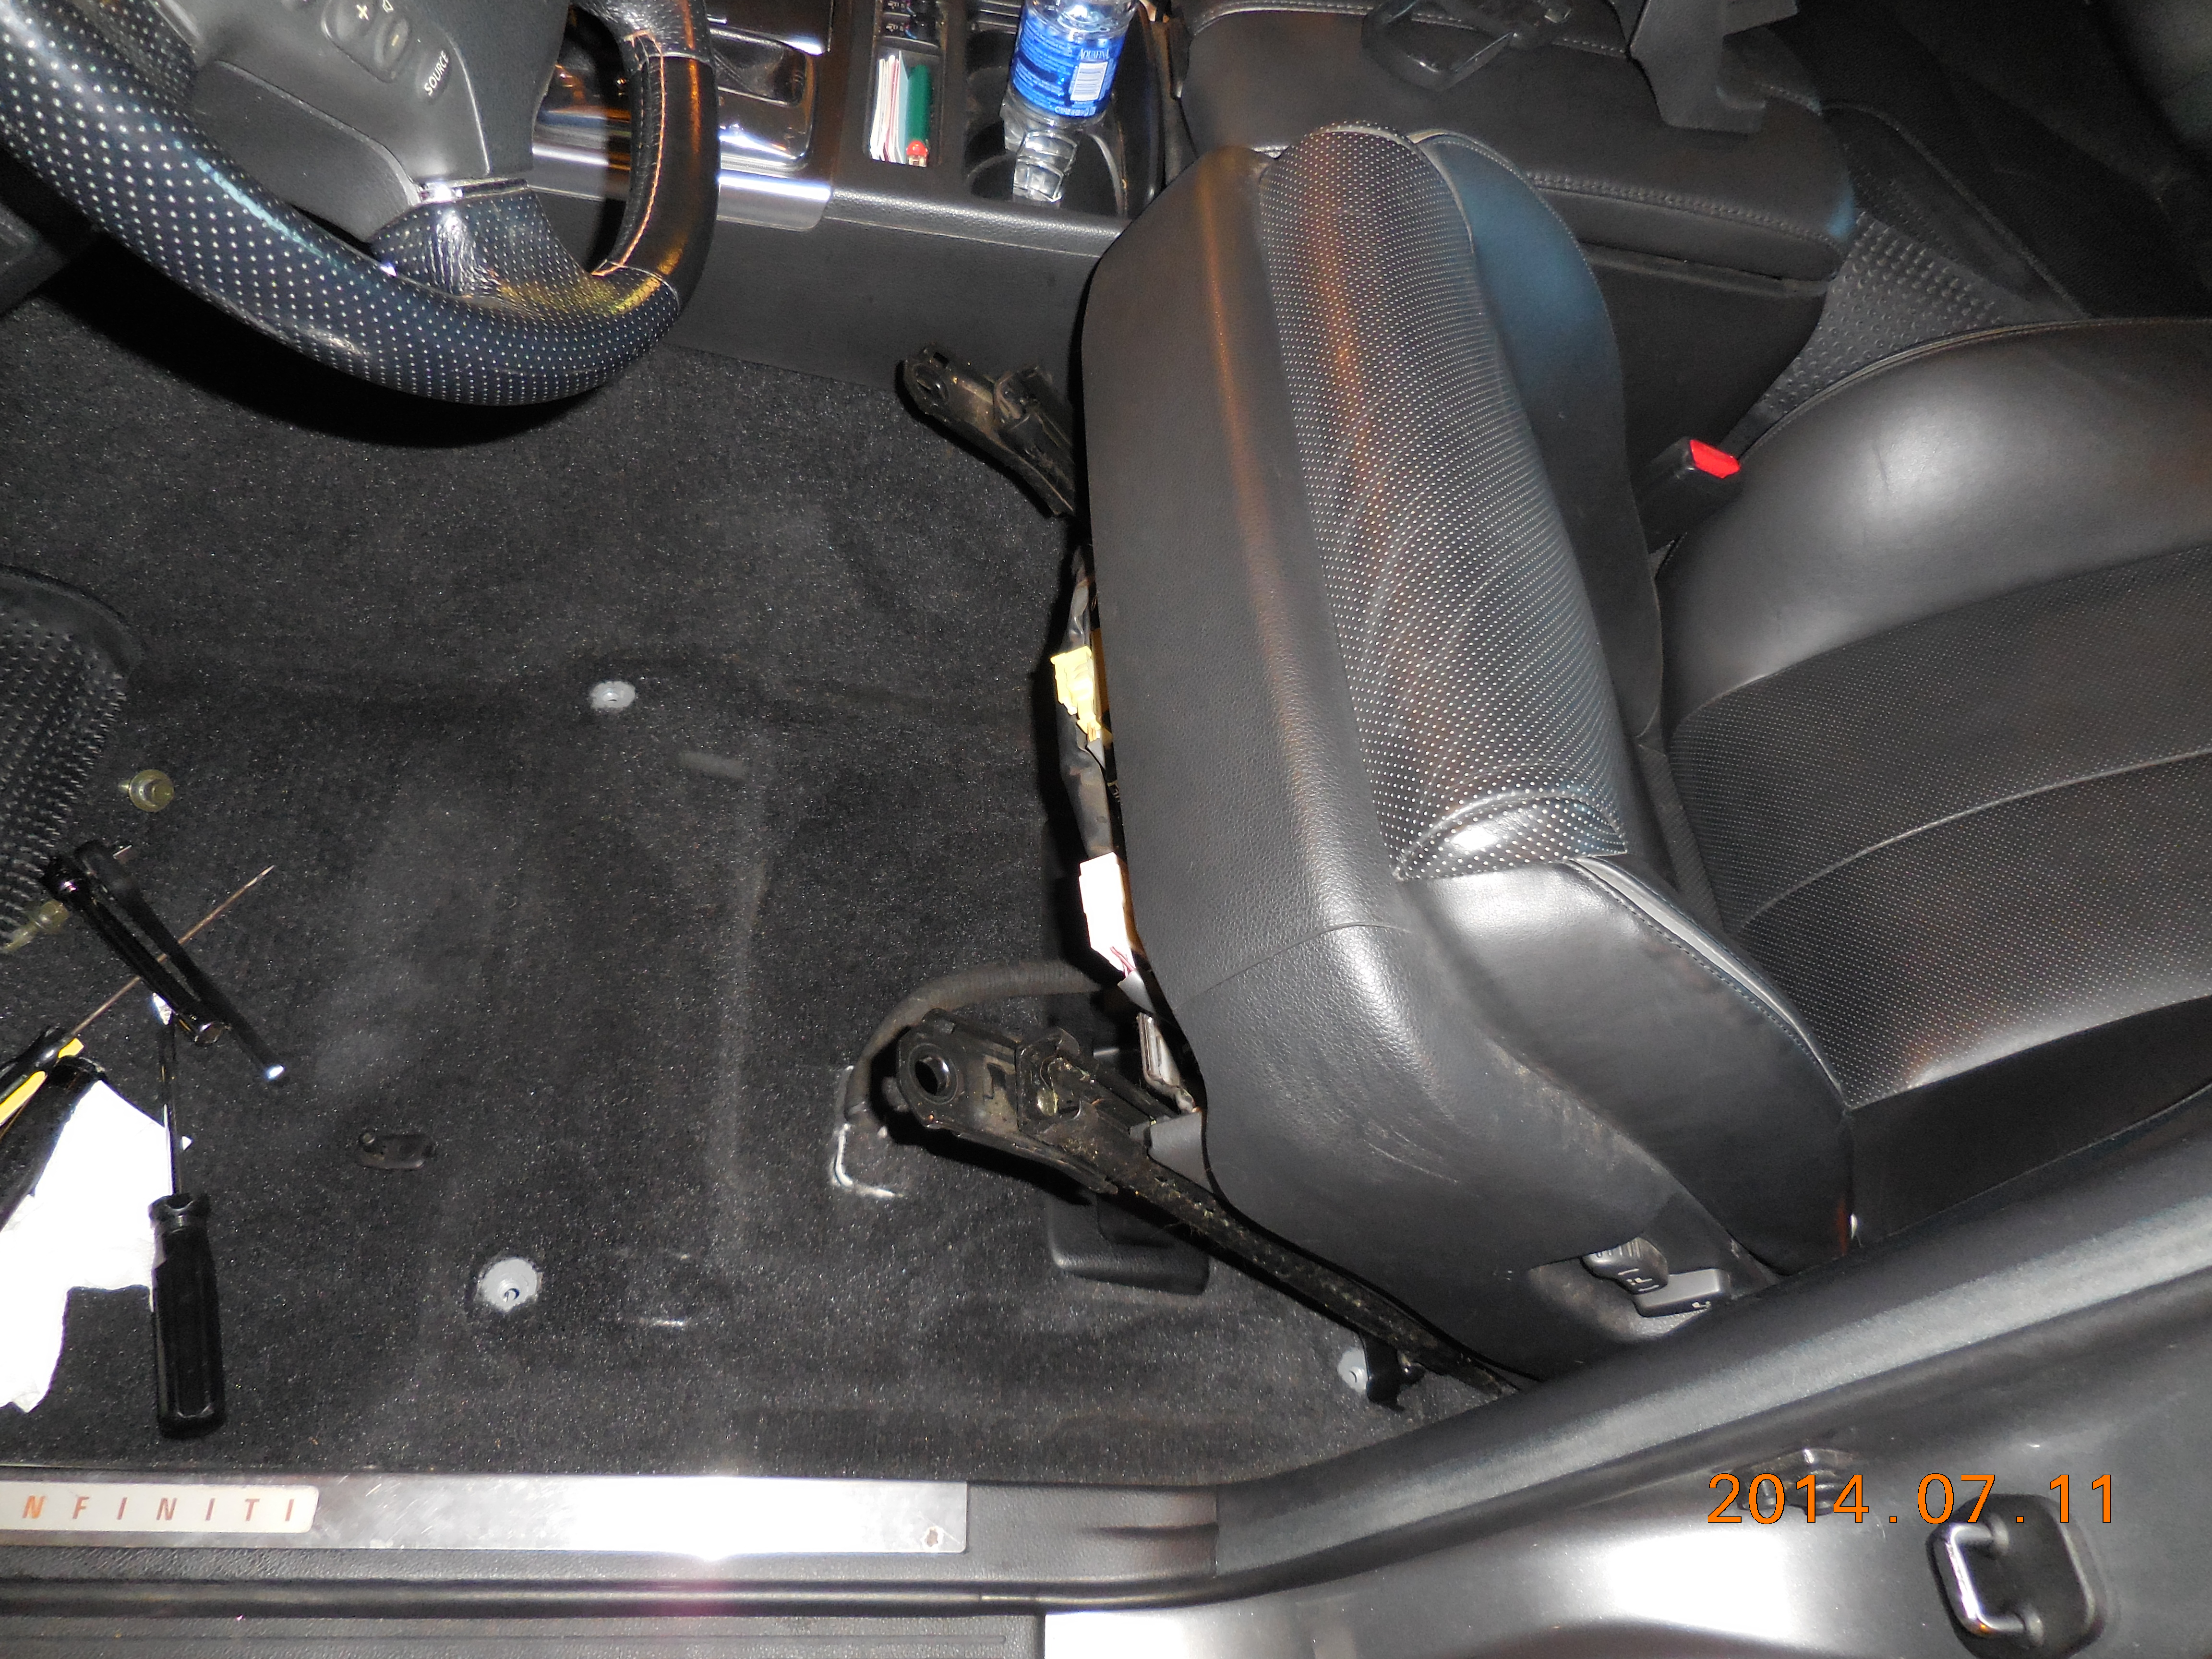
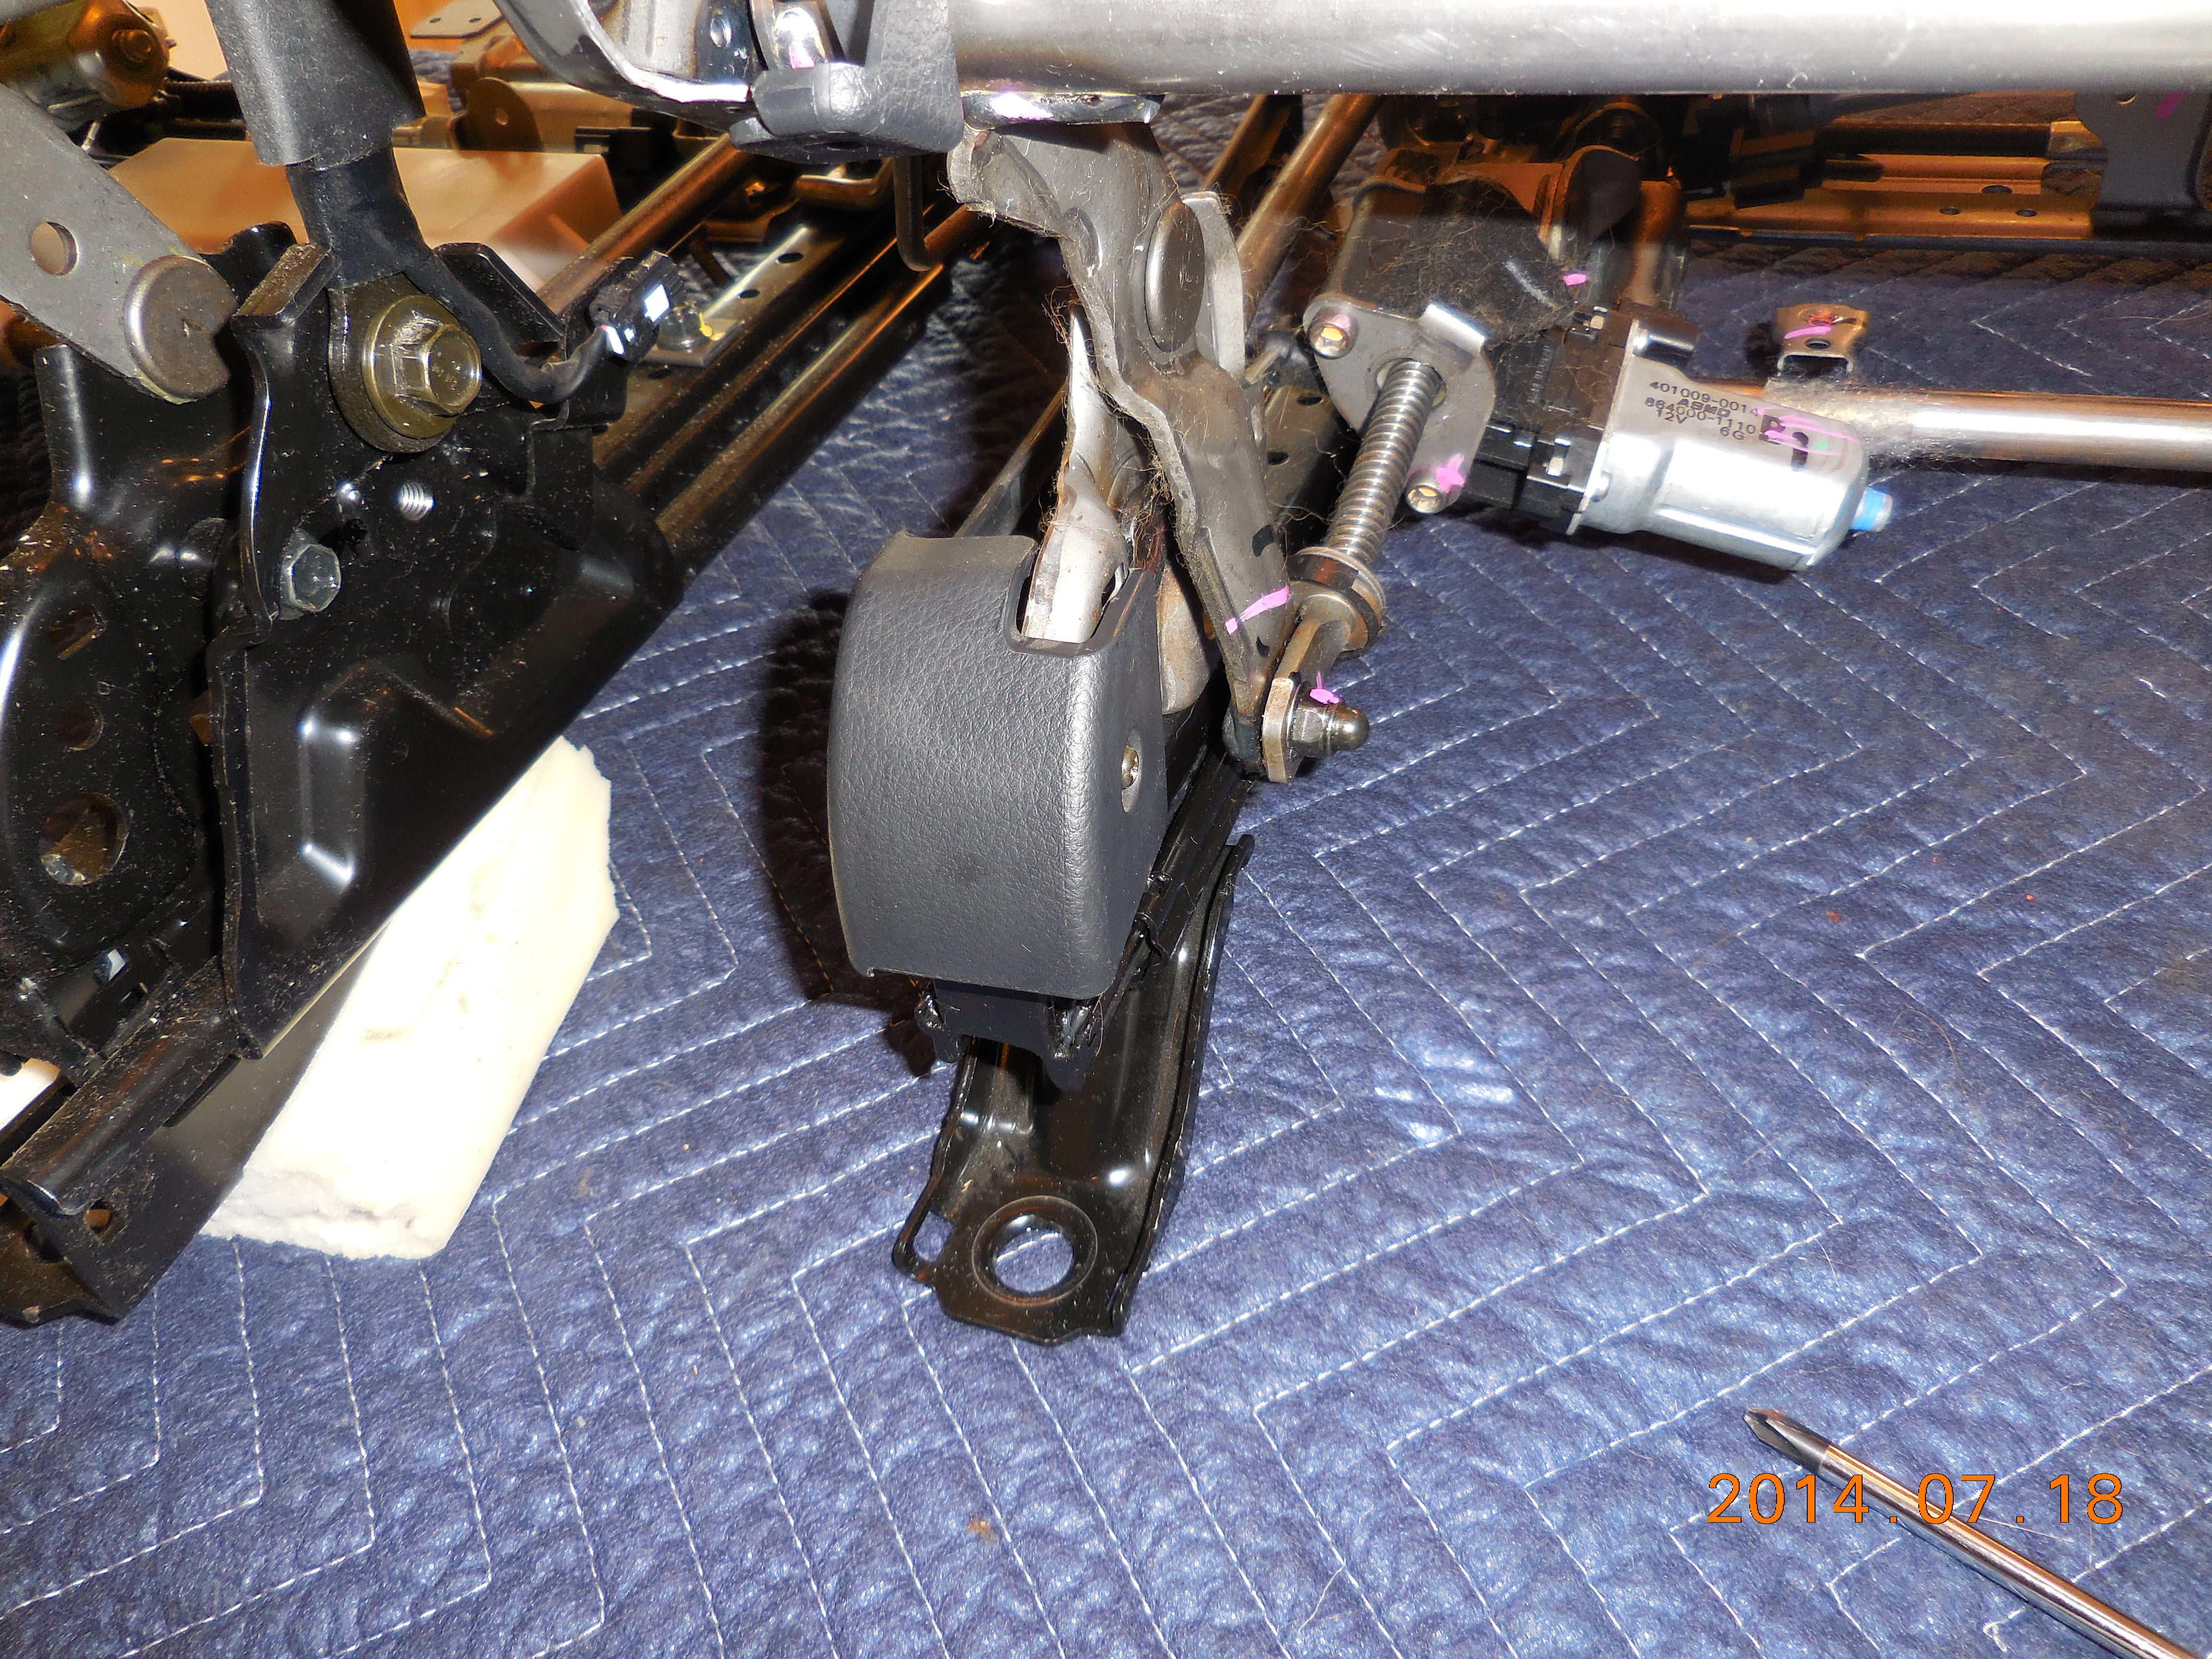
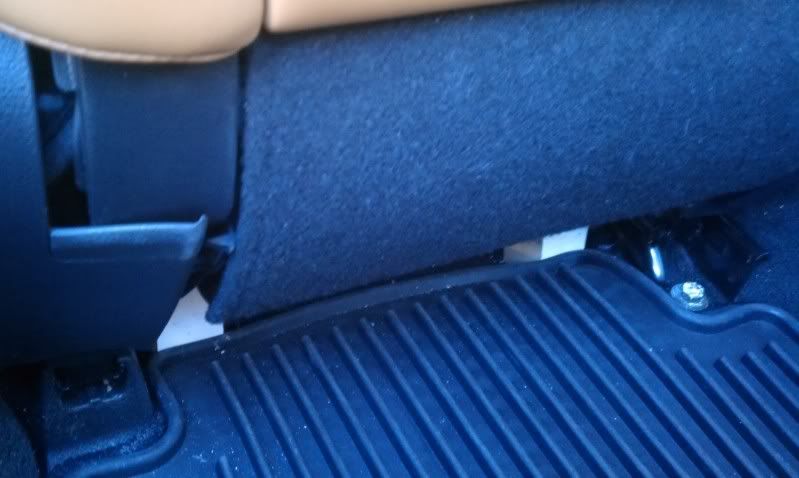
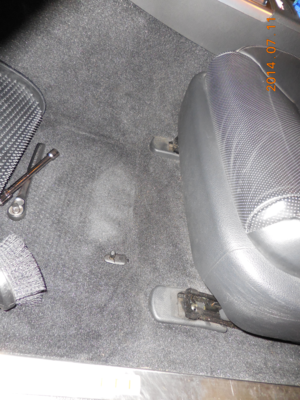
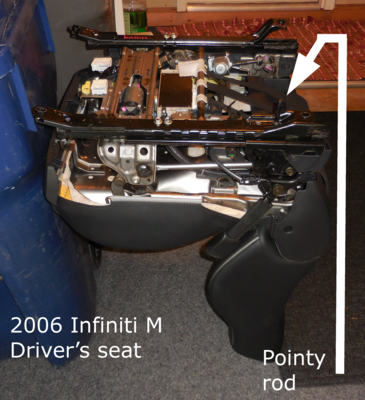
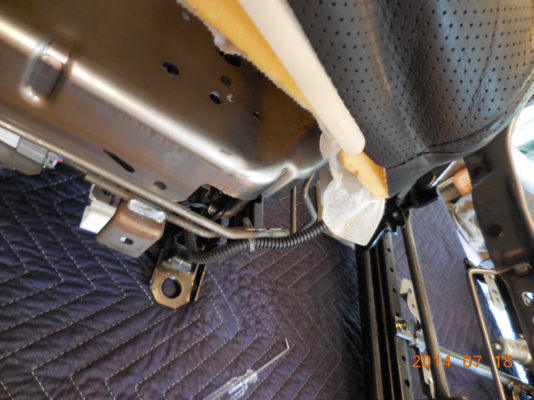
Before you try to move the seat, be aware of this 2" pointy rod that's part of the right lower track. It locks the seat track to the floor in addition to the four bolts, and you do not want this to poke a hole in the back seat while you are removing it.
Click HERE for larger
I have a small helper, so we opened both left doors, he picked up the front of the seat, I the rear, and we maneuvered it out of the vehicle through the rear left door. Easy, if you have a short helper. This is not a light seat, and there is some potential to have the sharp edges of the seat tracks or the pointy rod to damage your console or interior, so try to find a helper, or pad everything with a moving pad and wrap the sharp bits of the seat with duct tape to blunt the sharp edges.
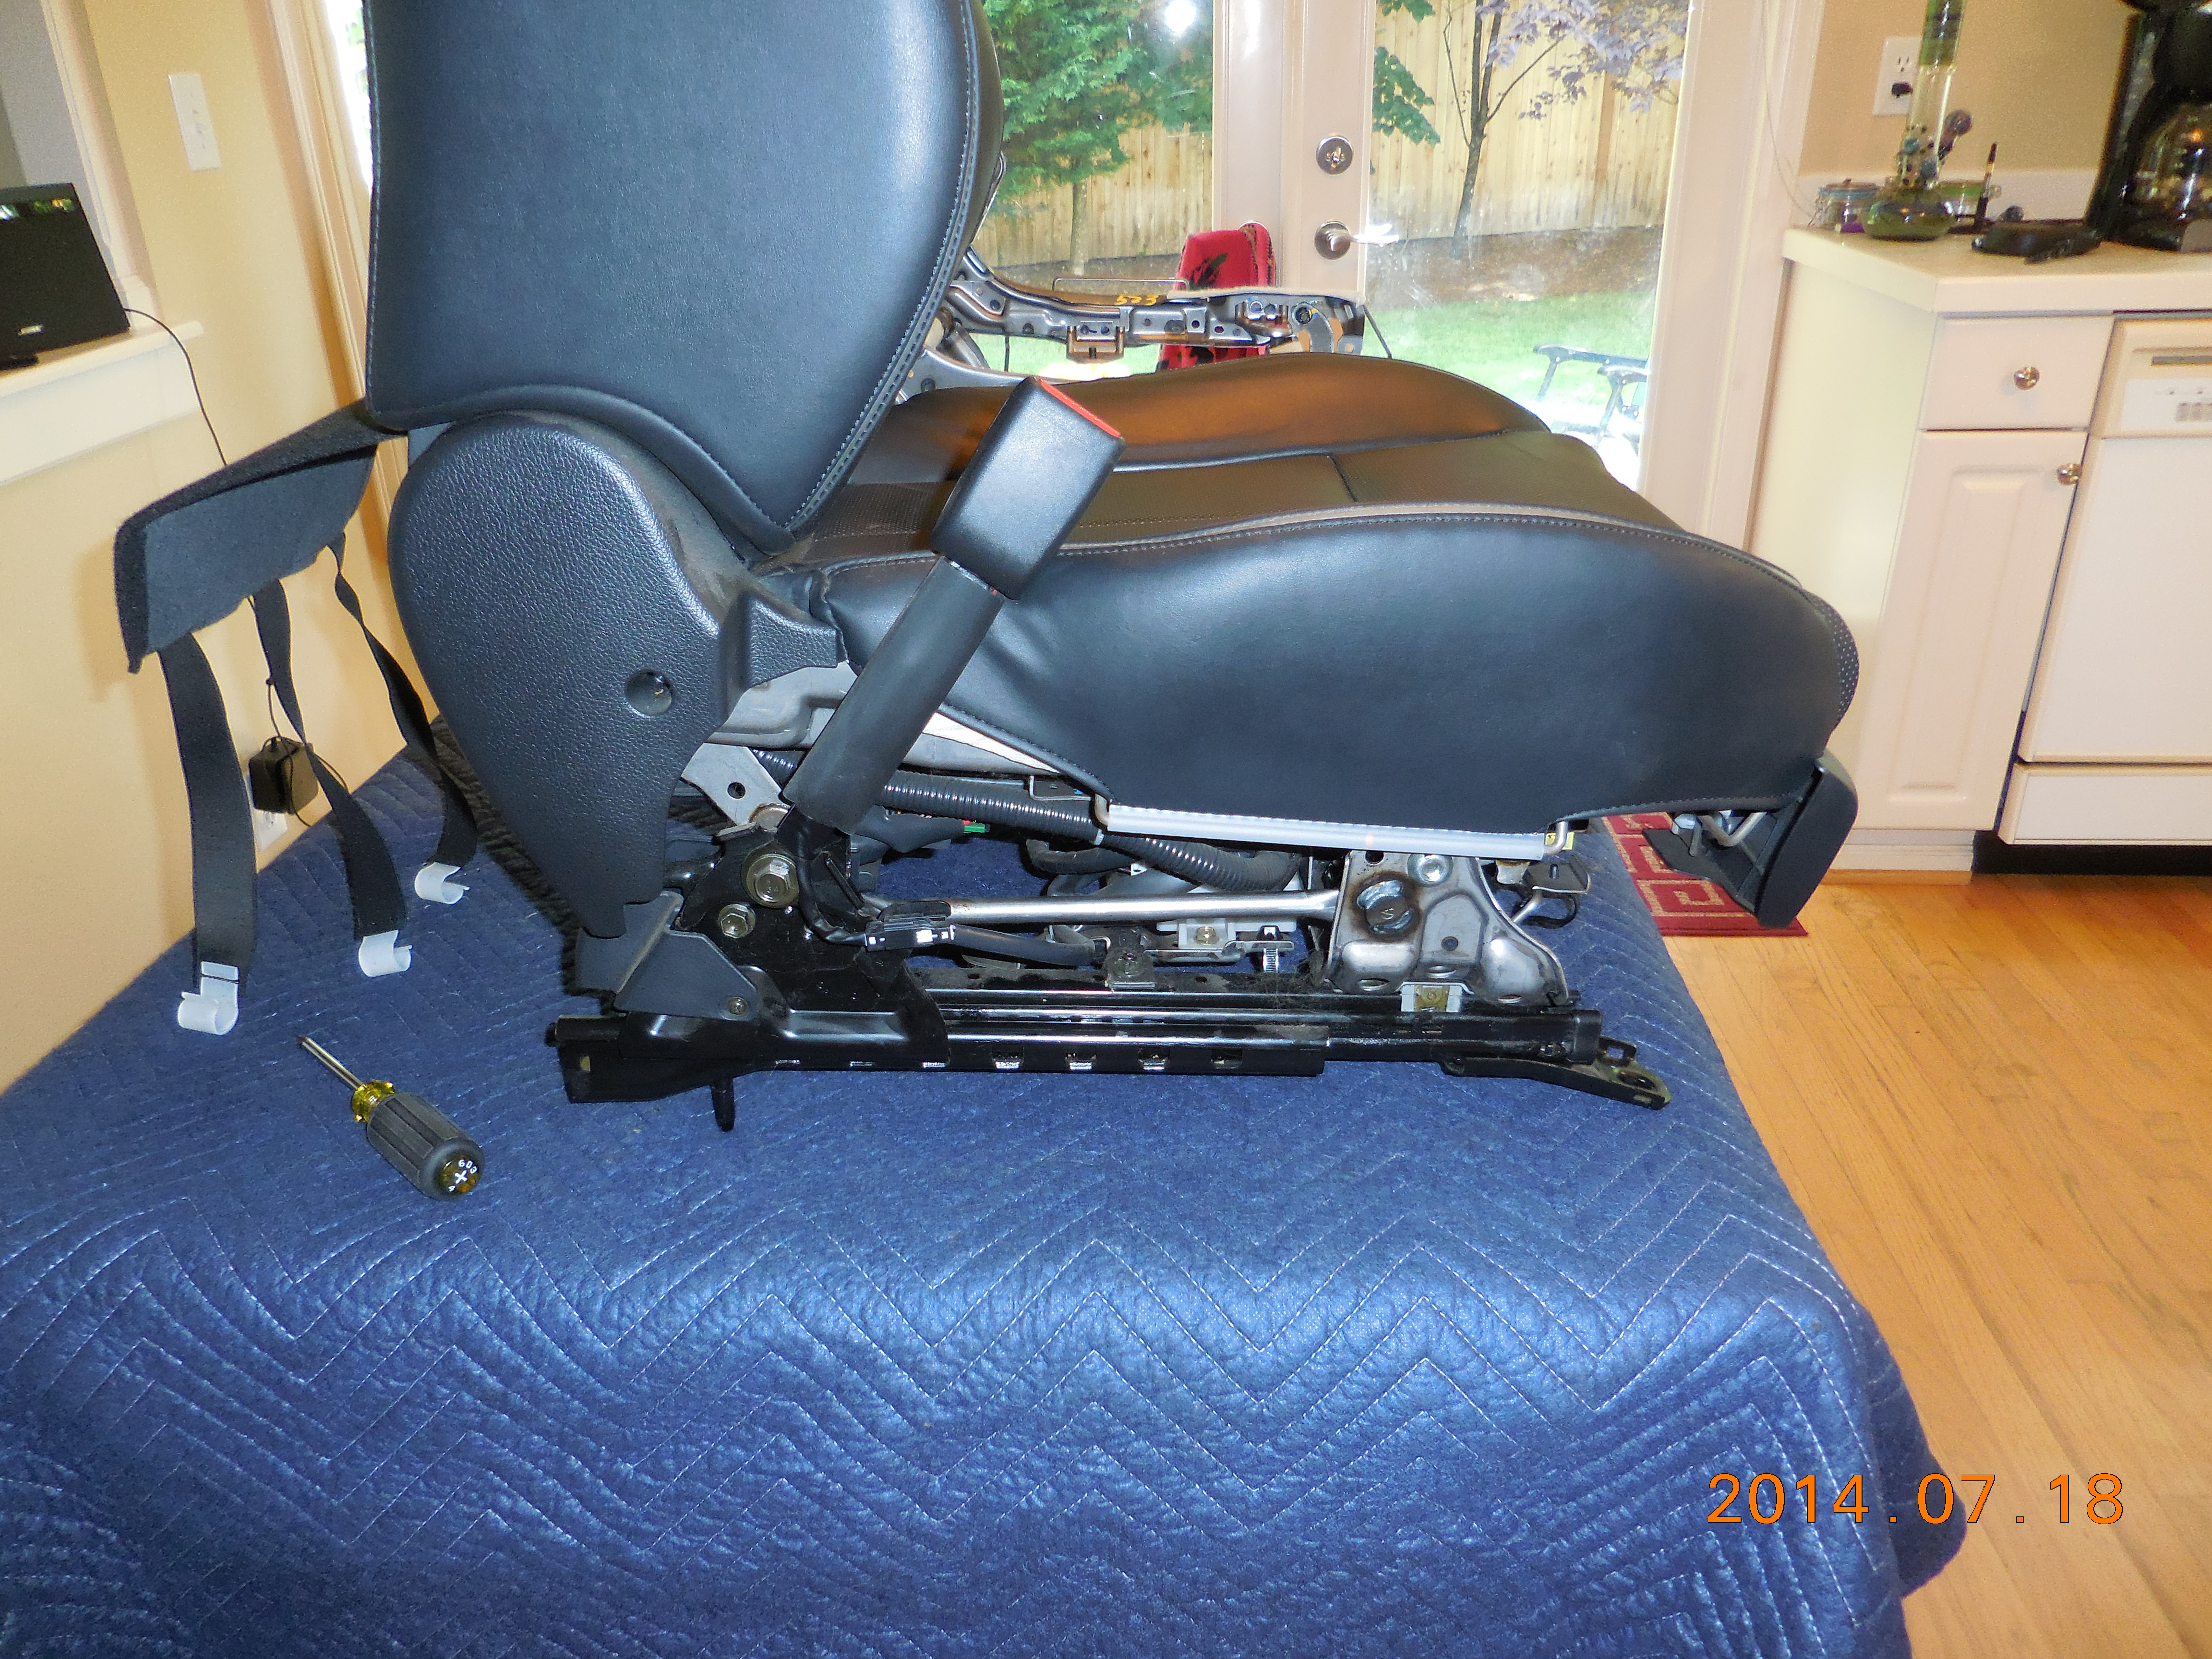
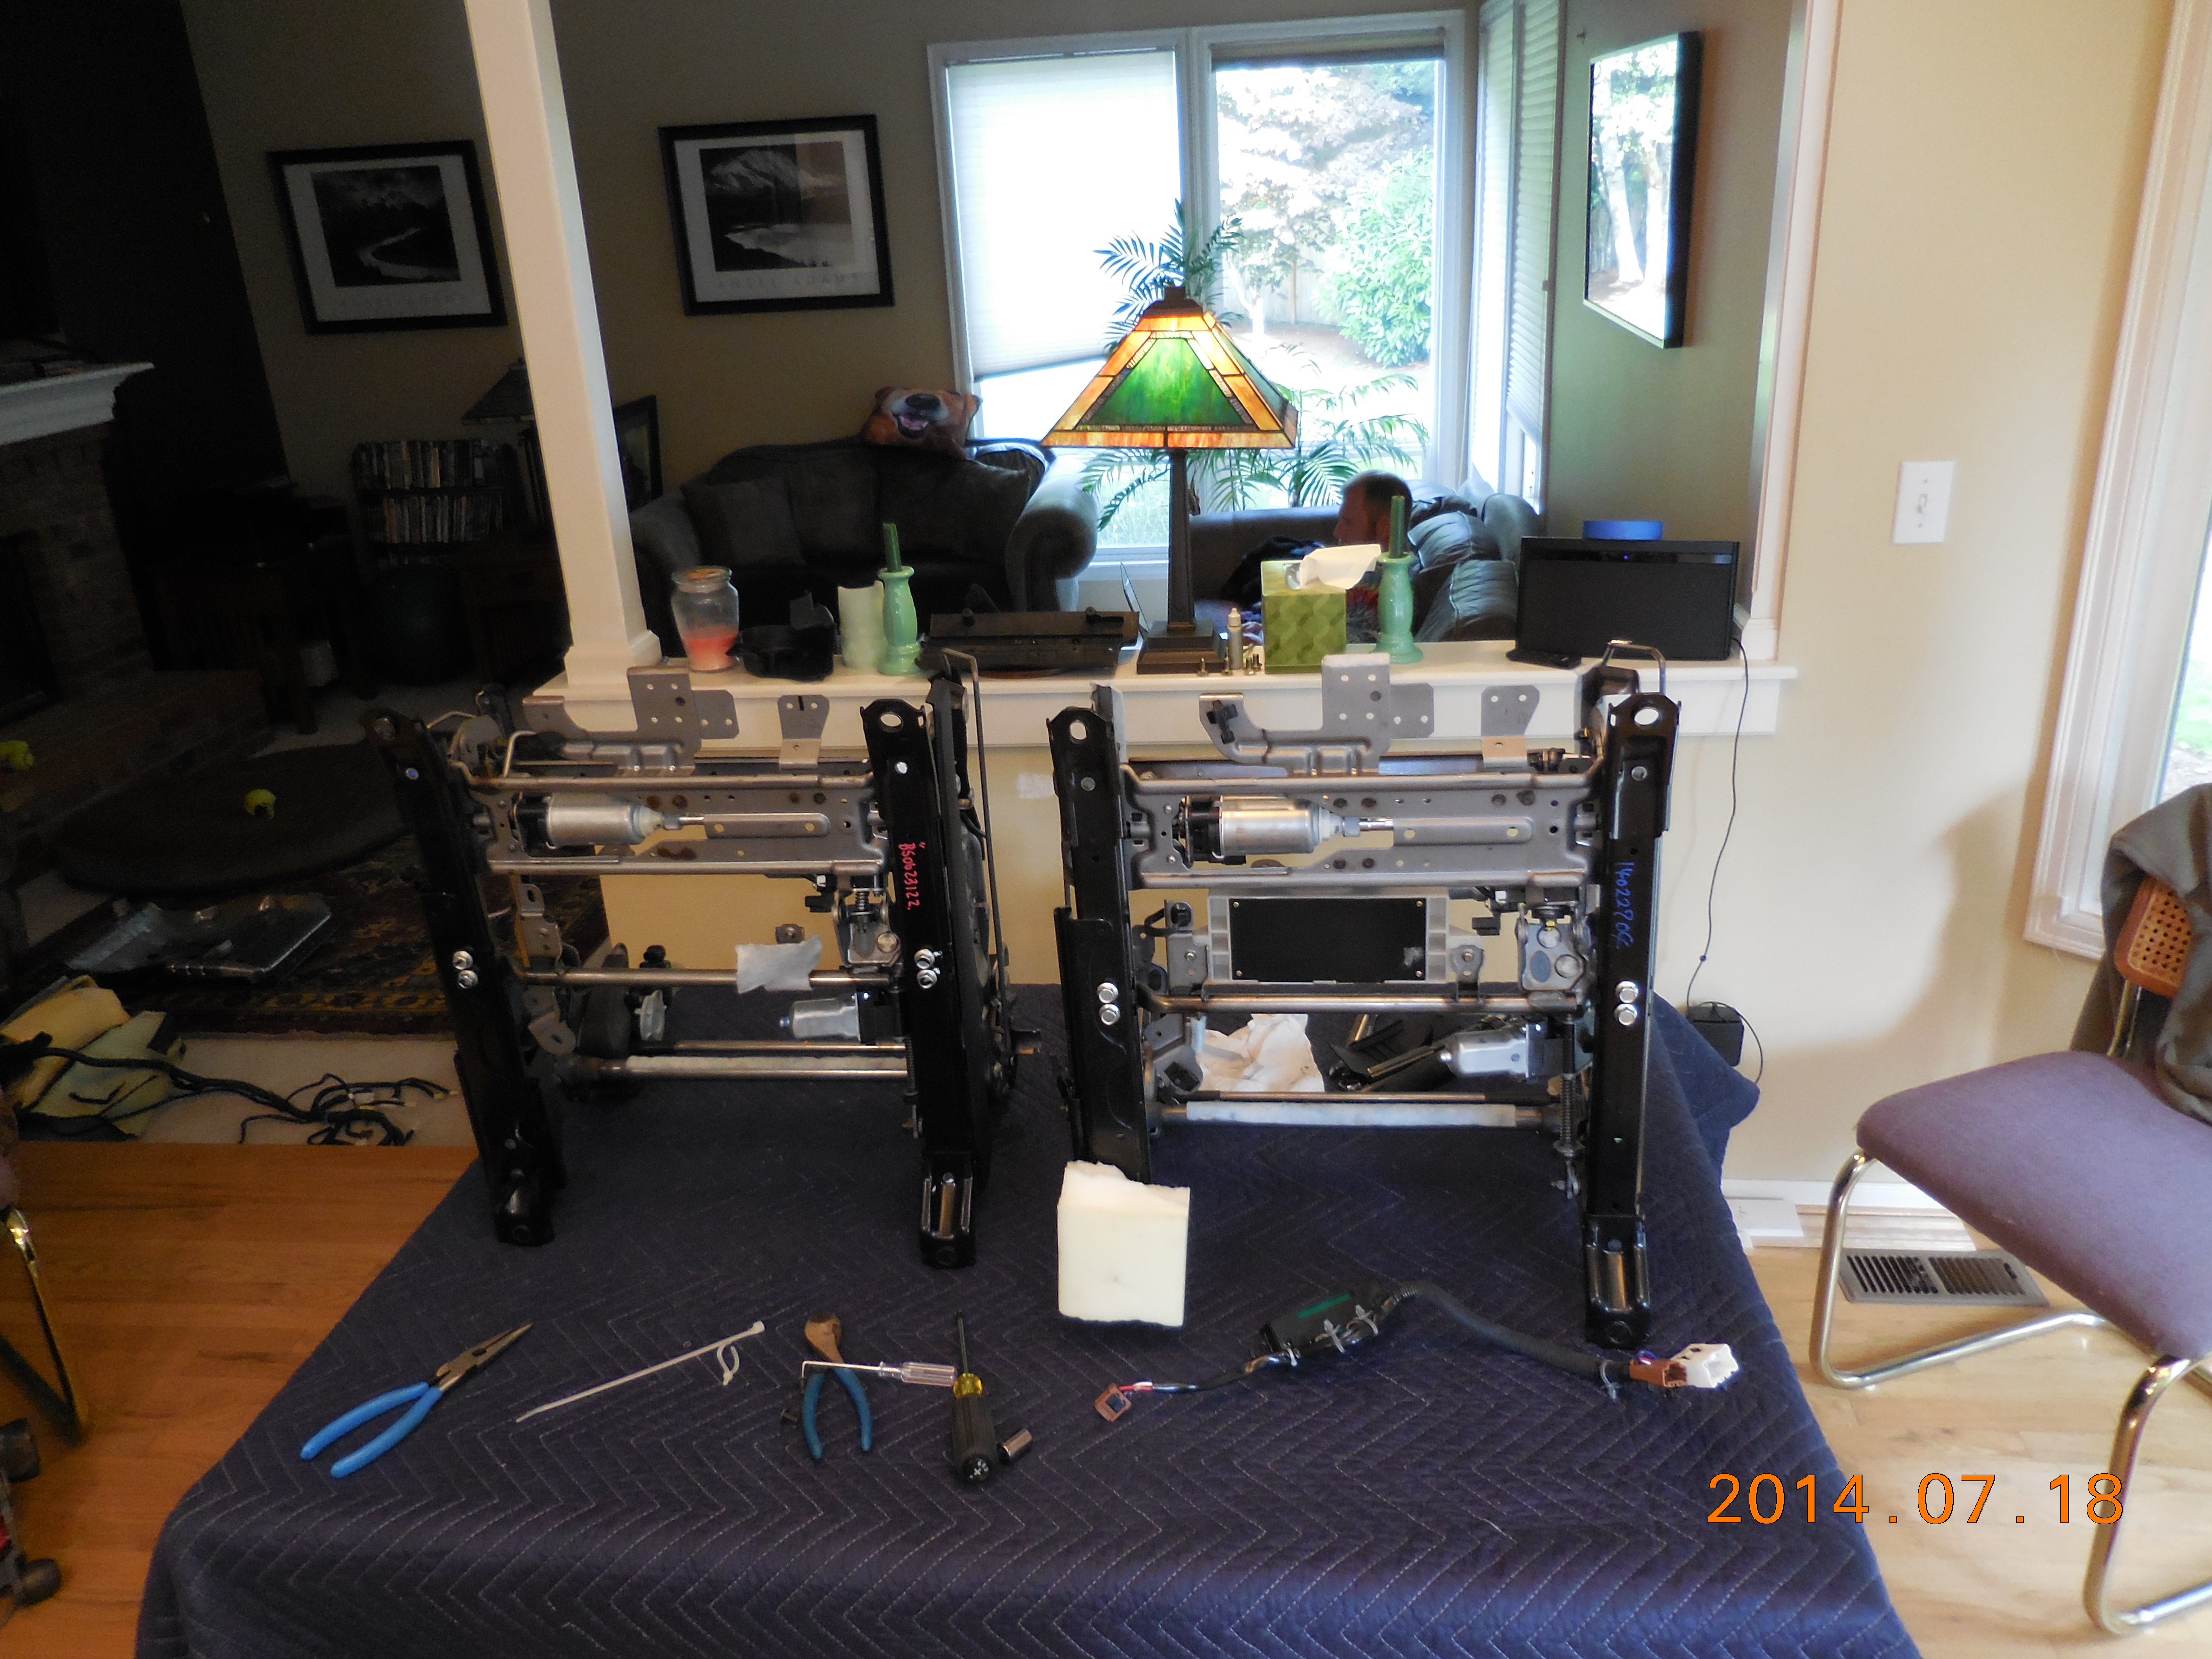
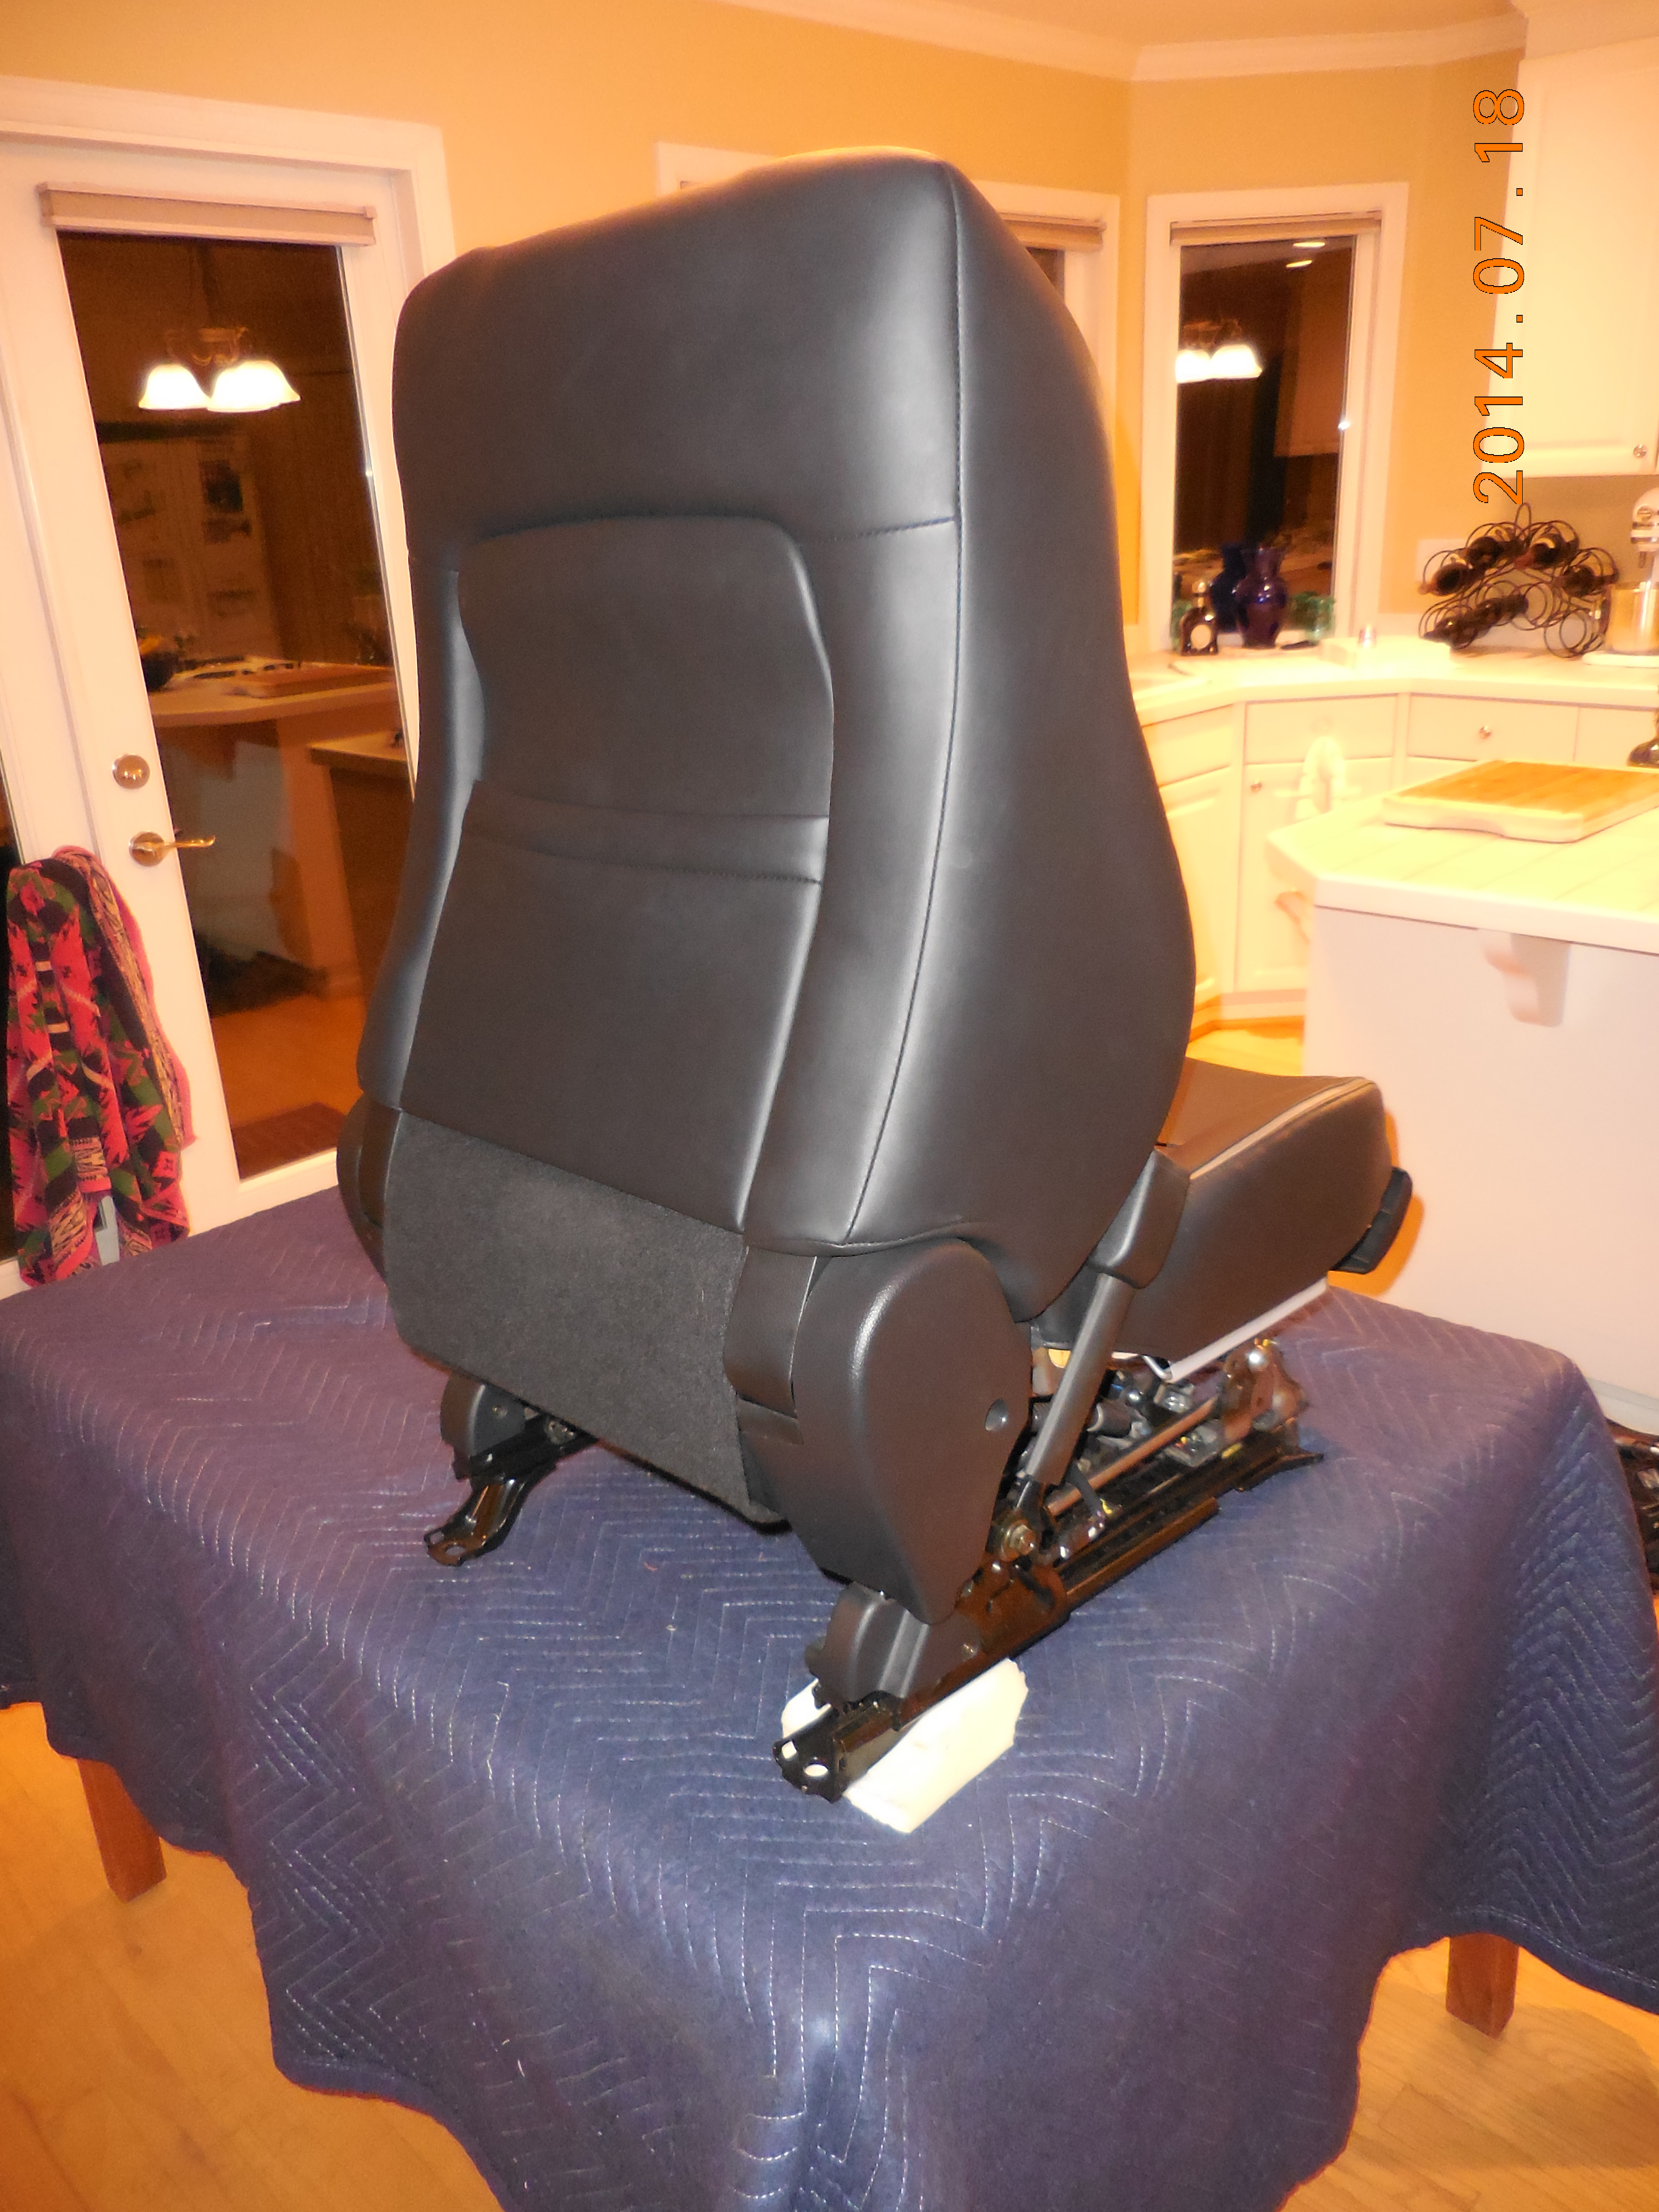
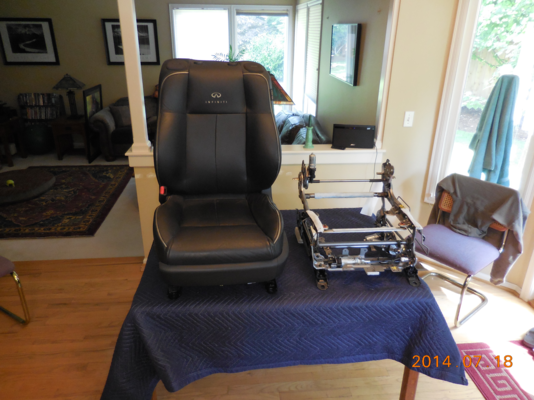
Kitchen table time. Saved my back big-time. And the lighting's good in the kitchen. And it's close to the snacks
 Click HERE for larger
 Click HERE for larger
 Click HERE for larger
 Click HERE for larger

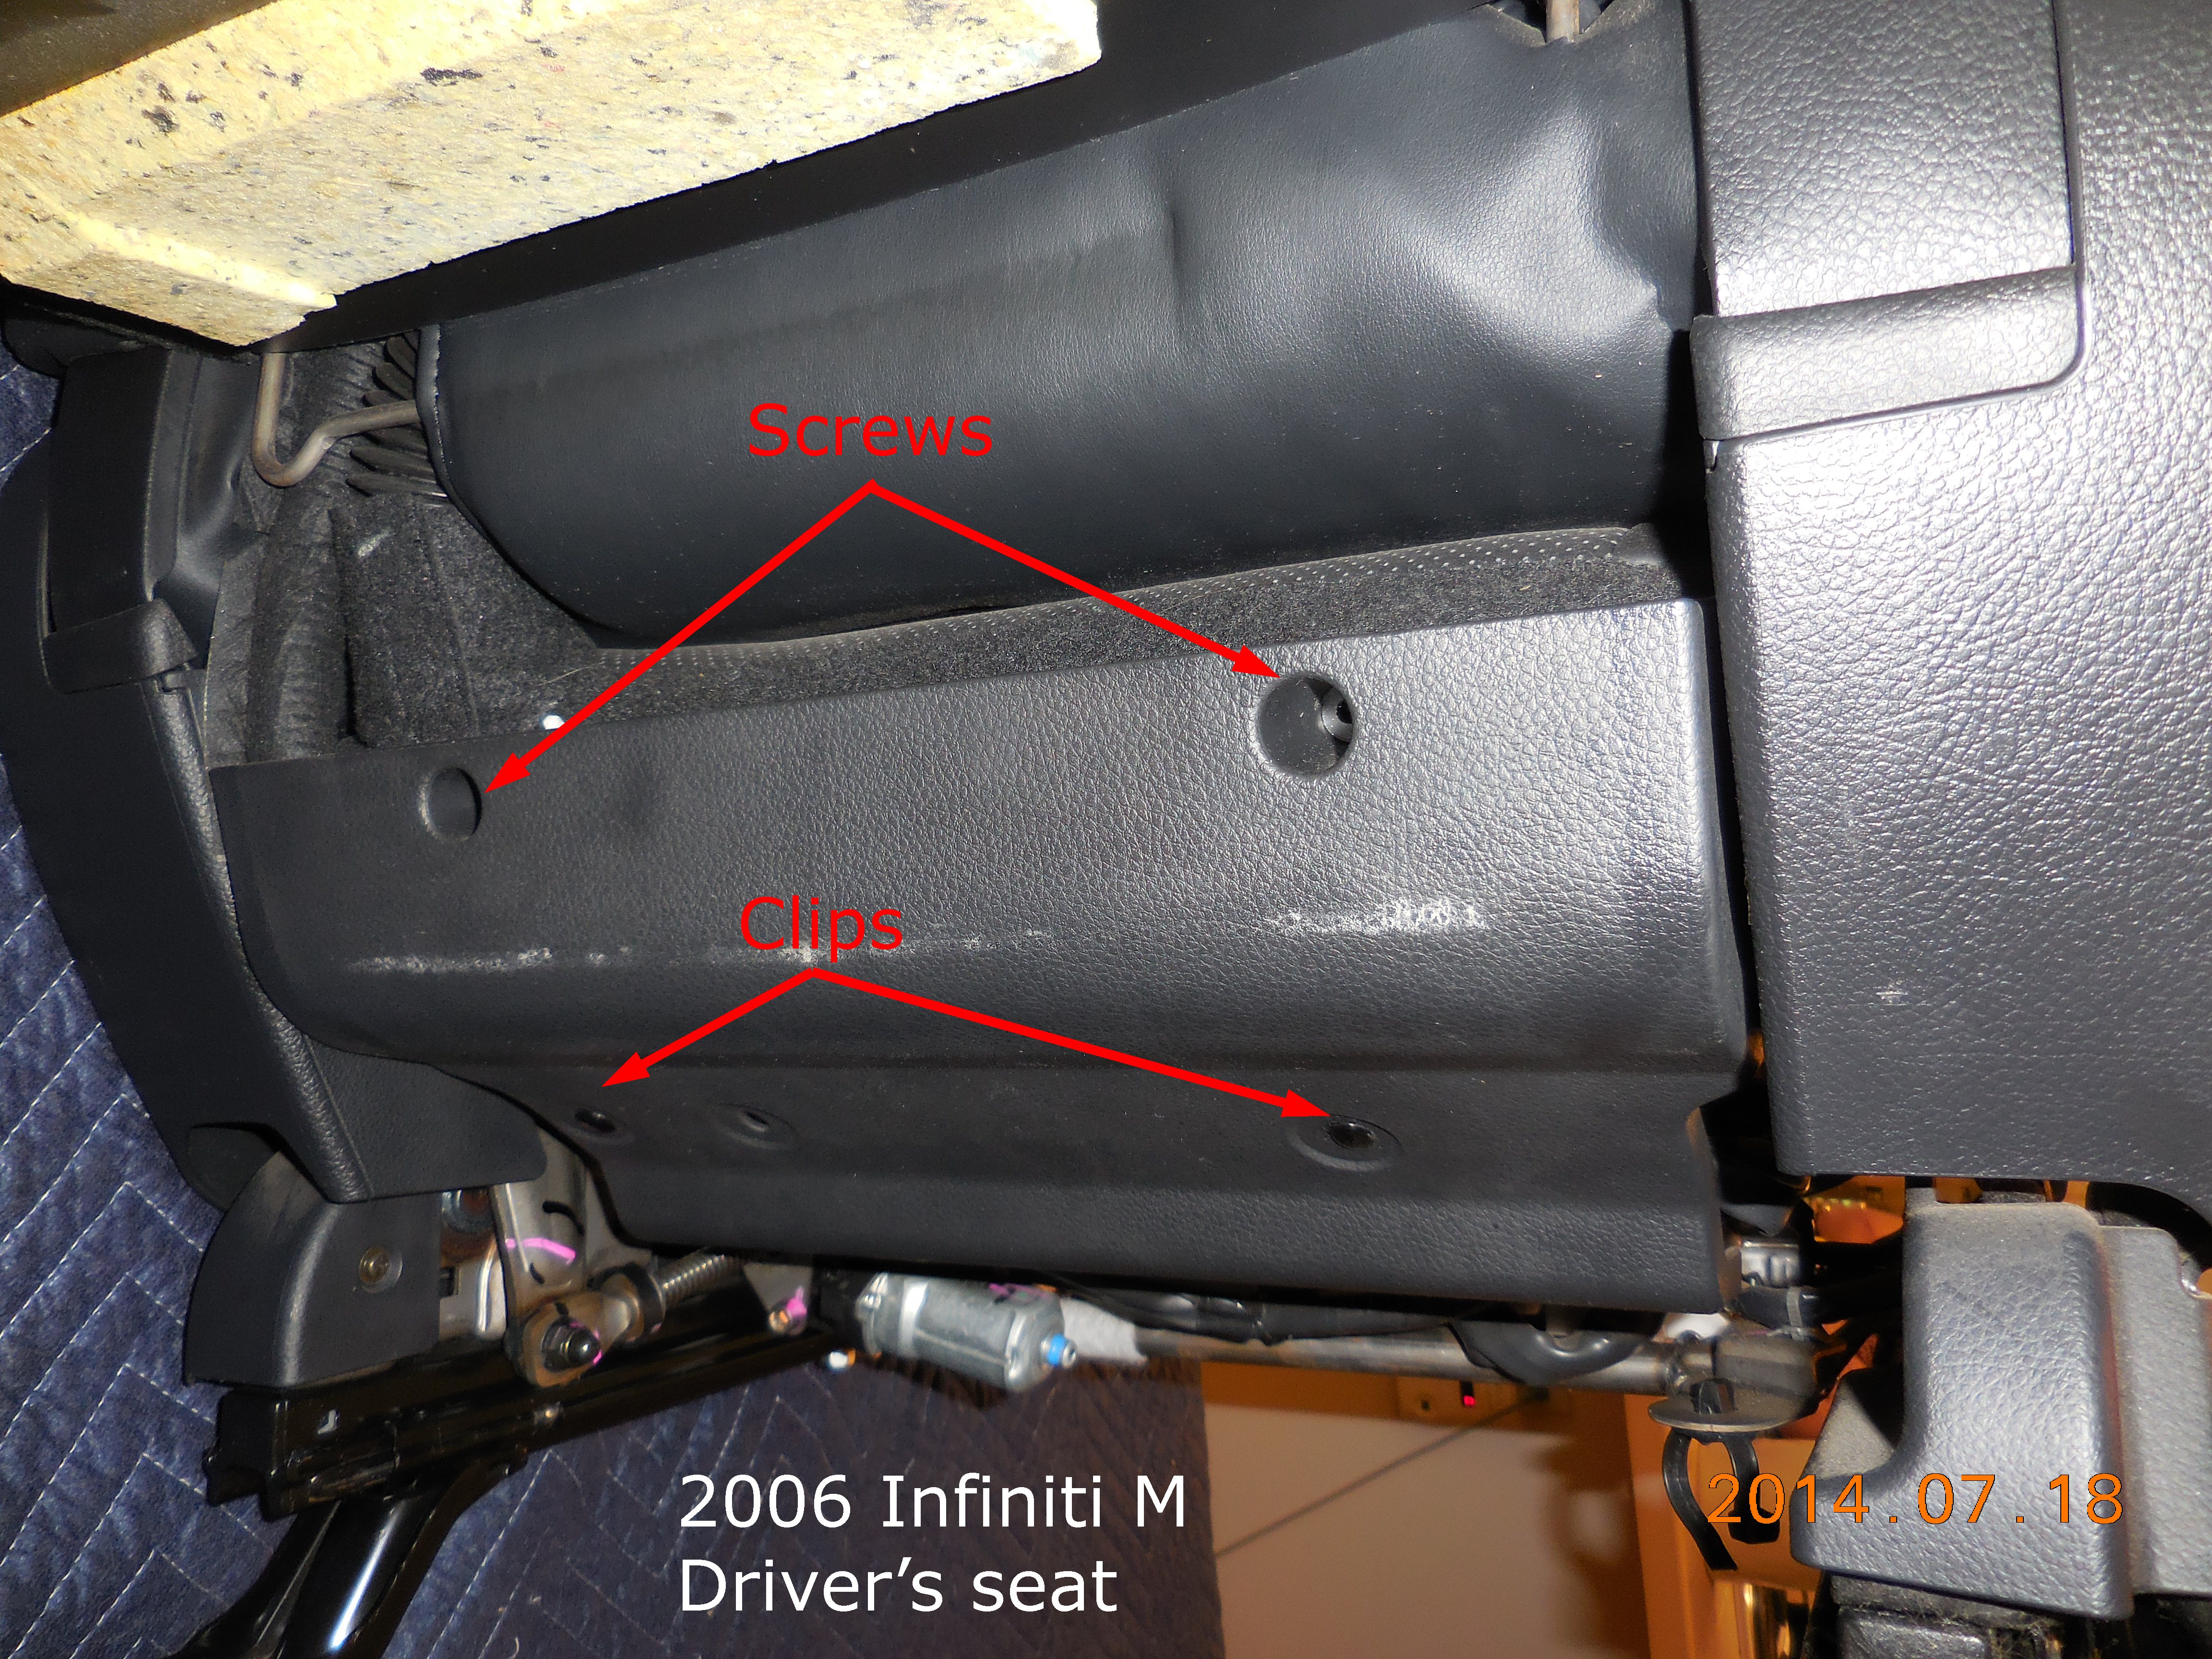
Removing this panel, there's two upper screws . . .
Click HERE for larger

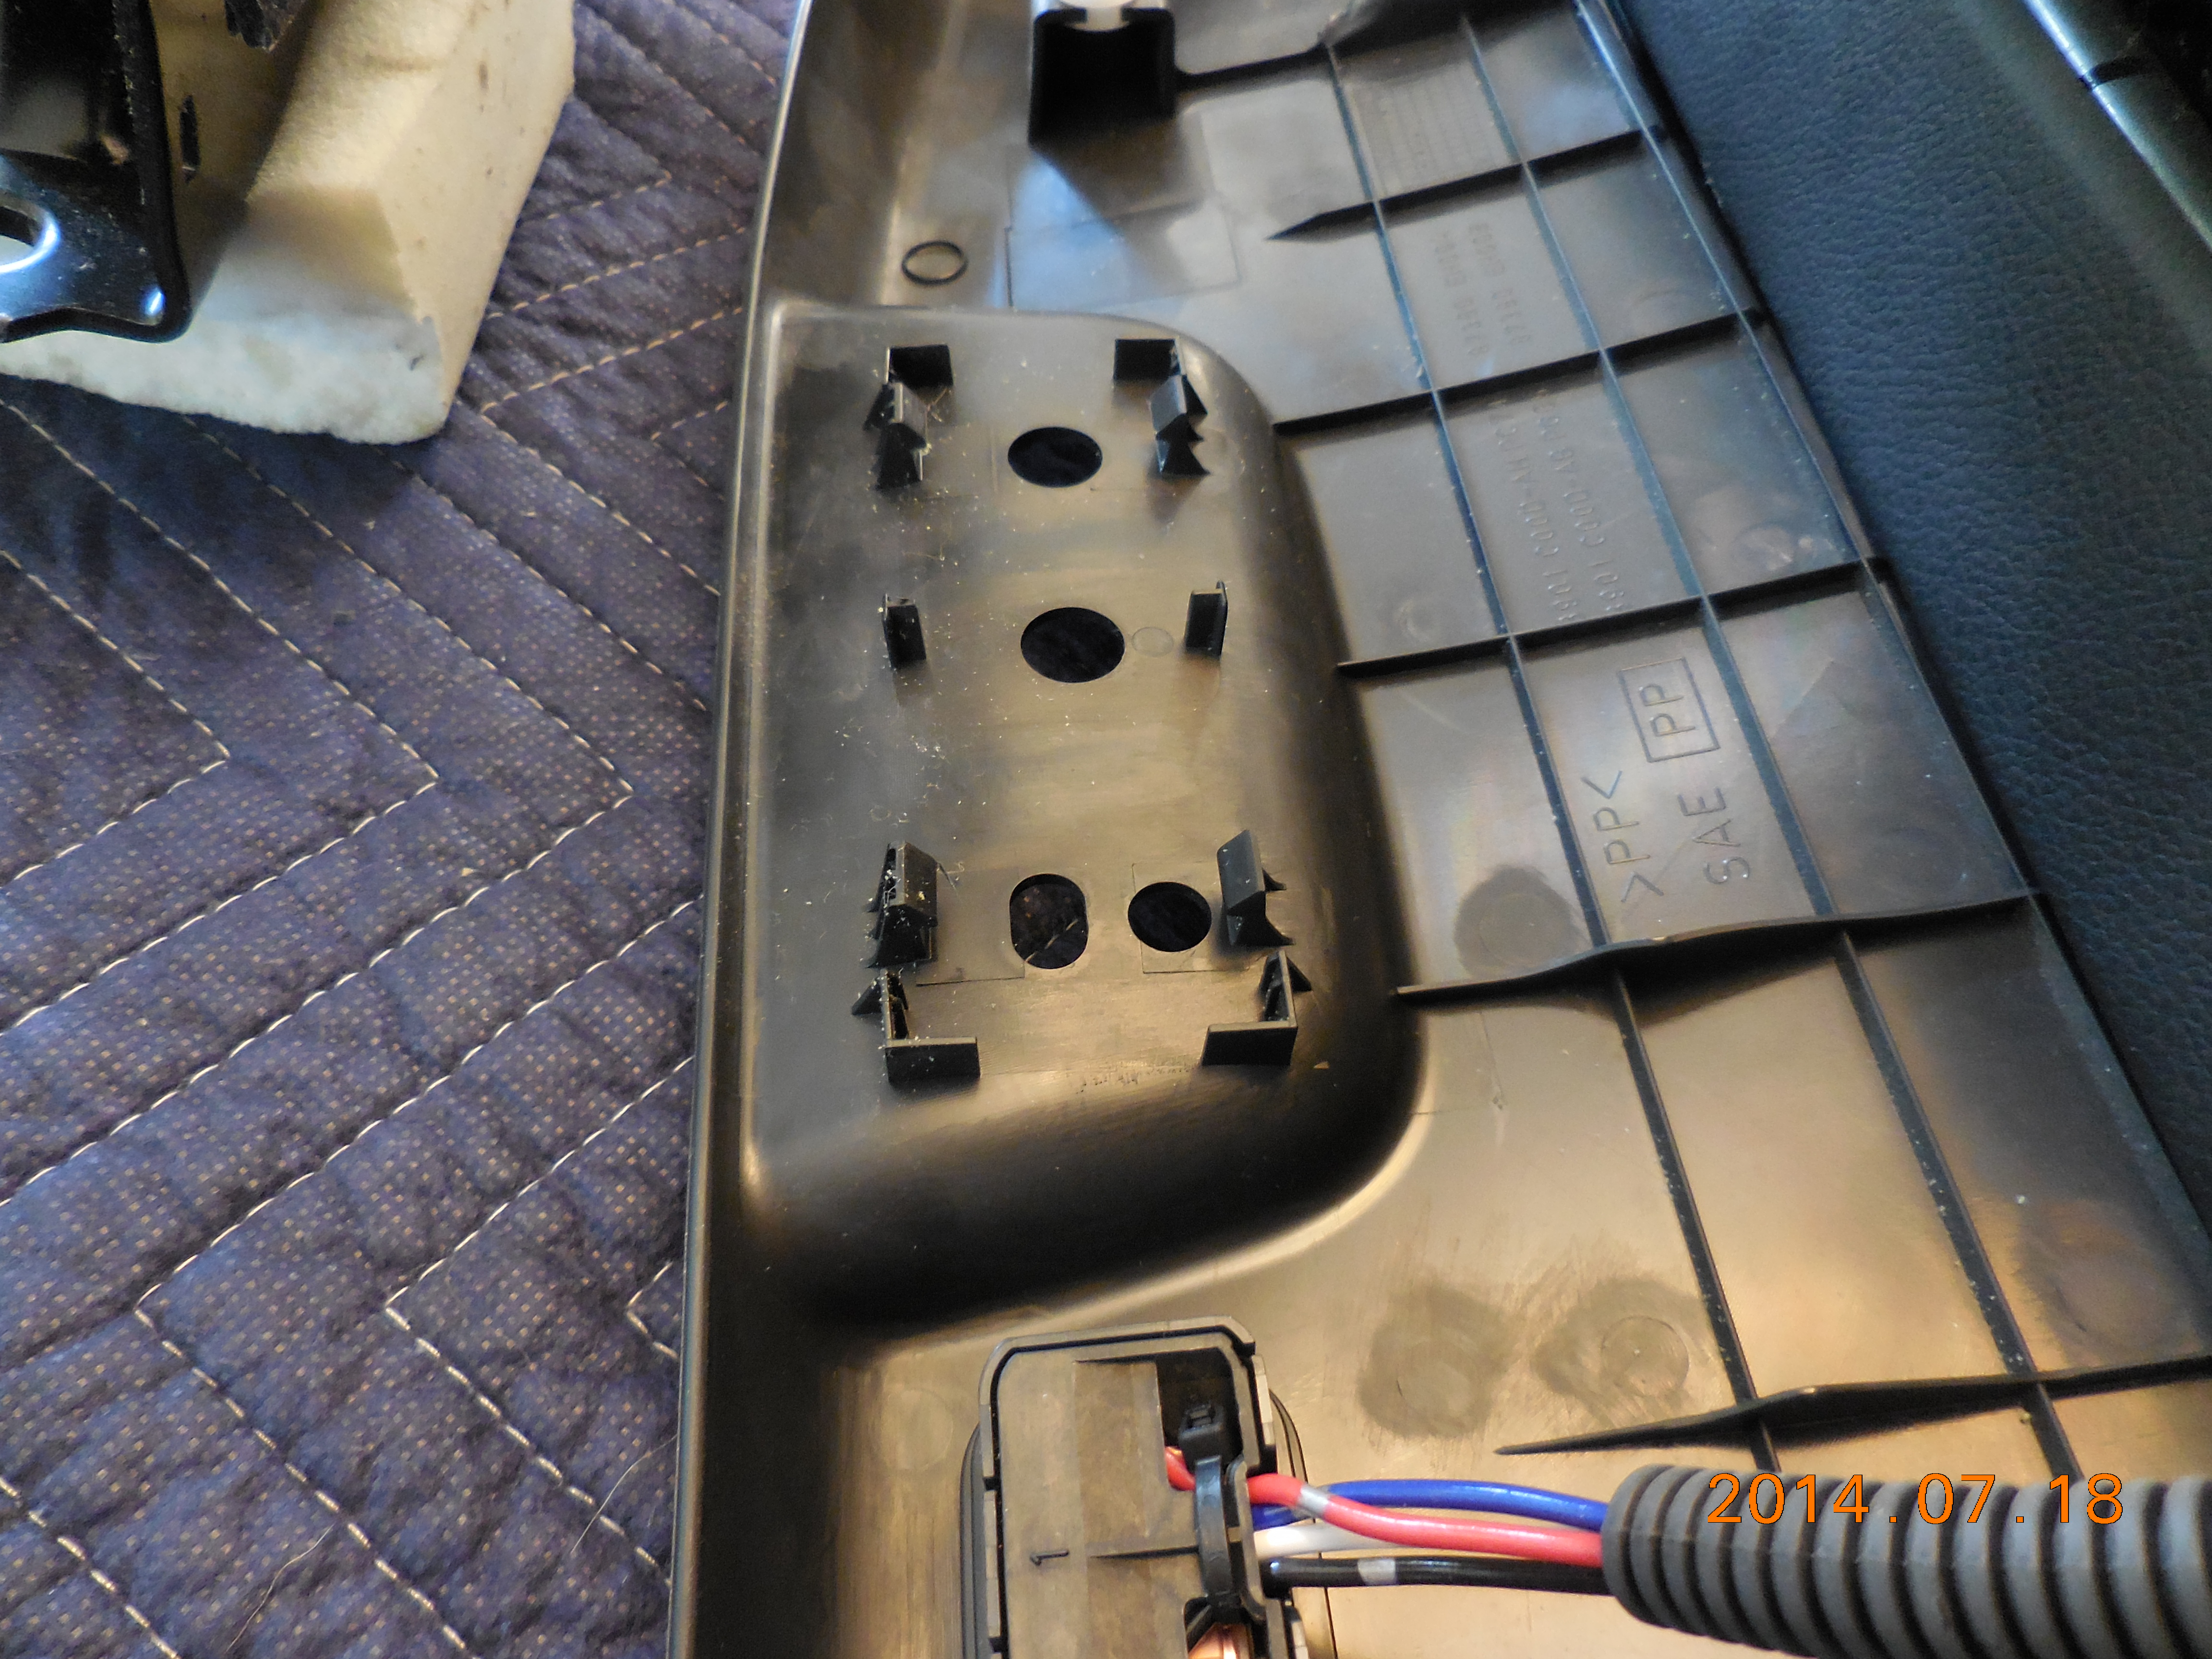
. . . but the bottom edge has two of these clips . . .
Click HERE for larger

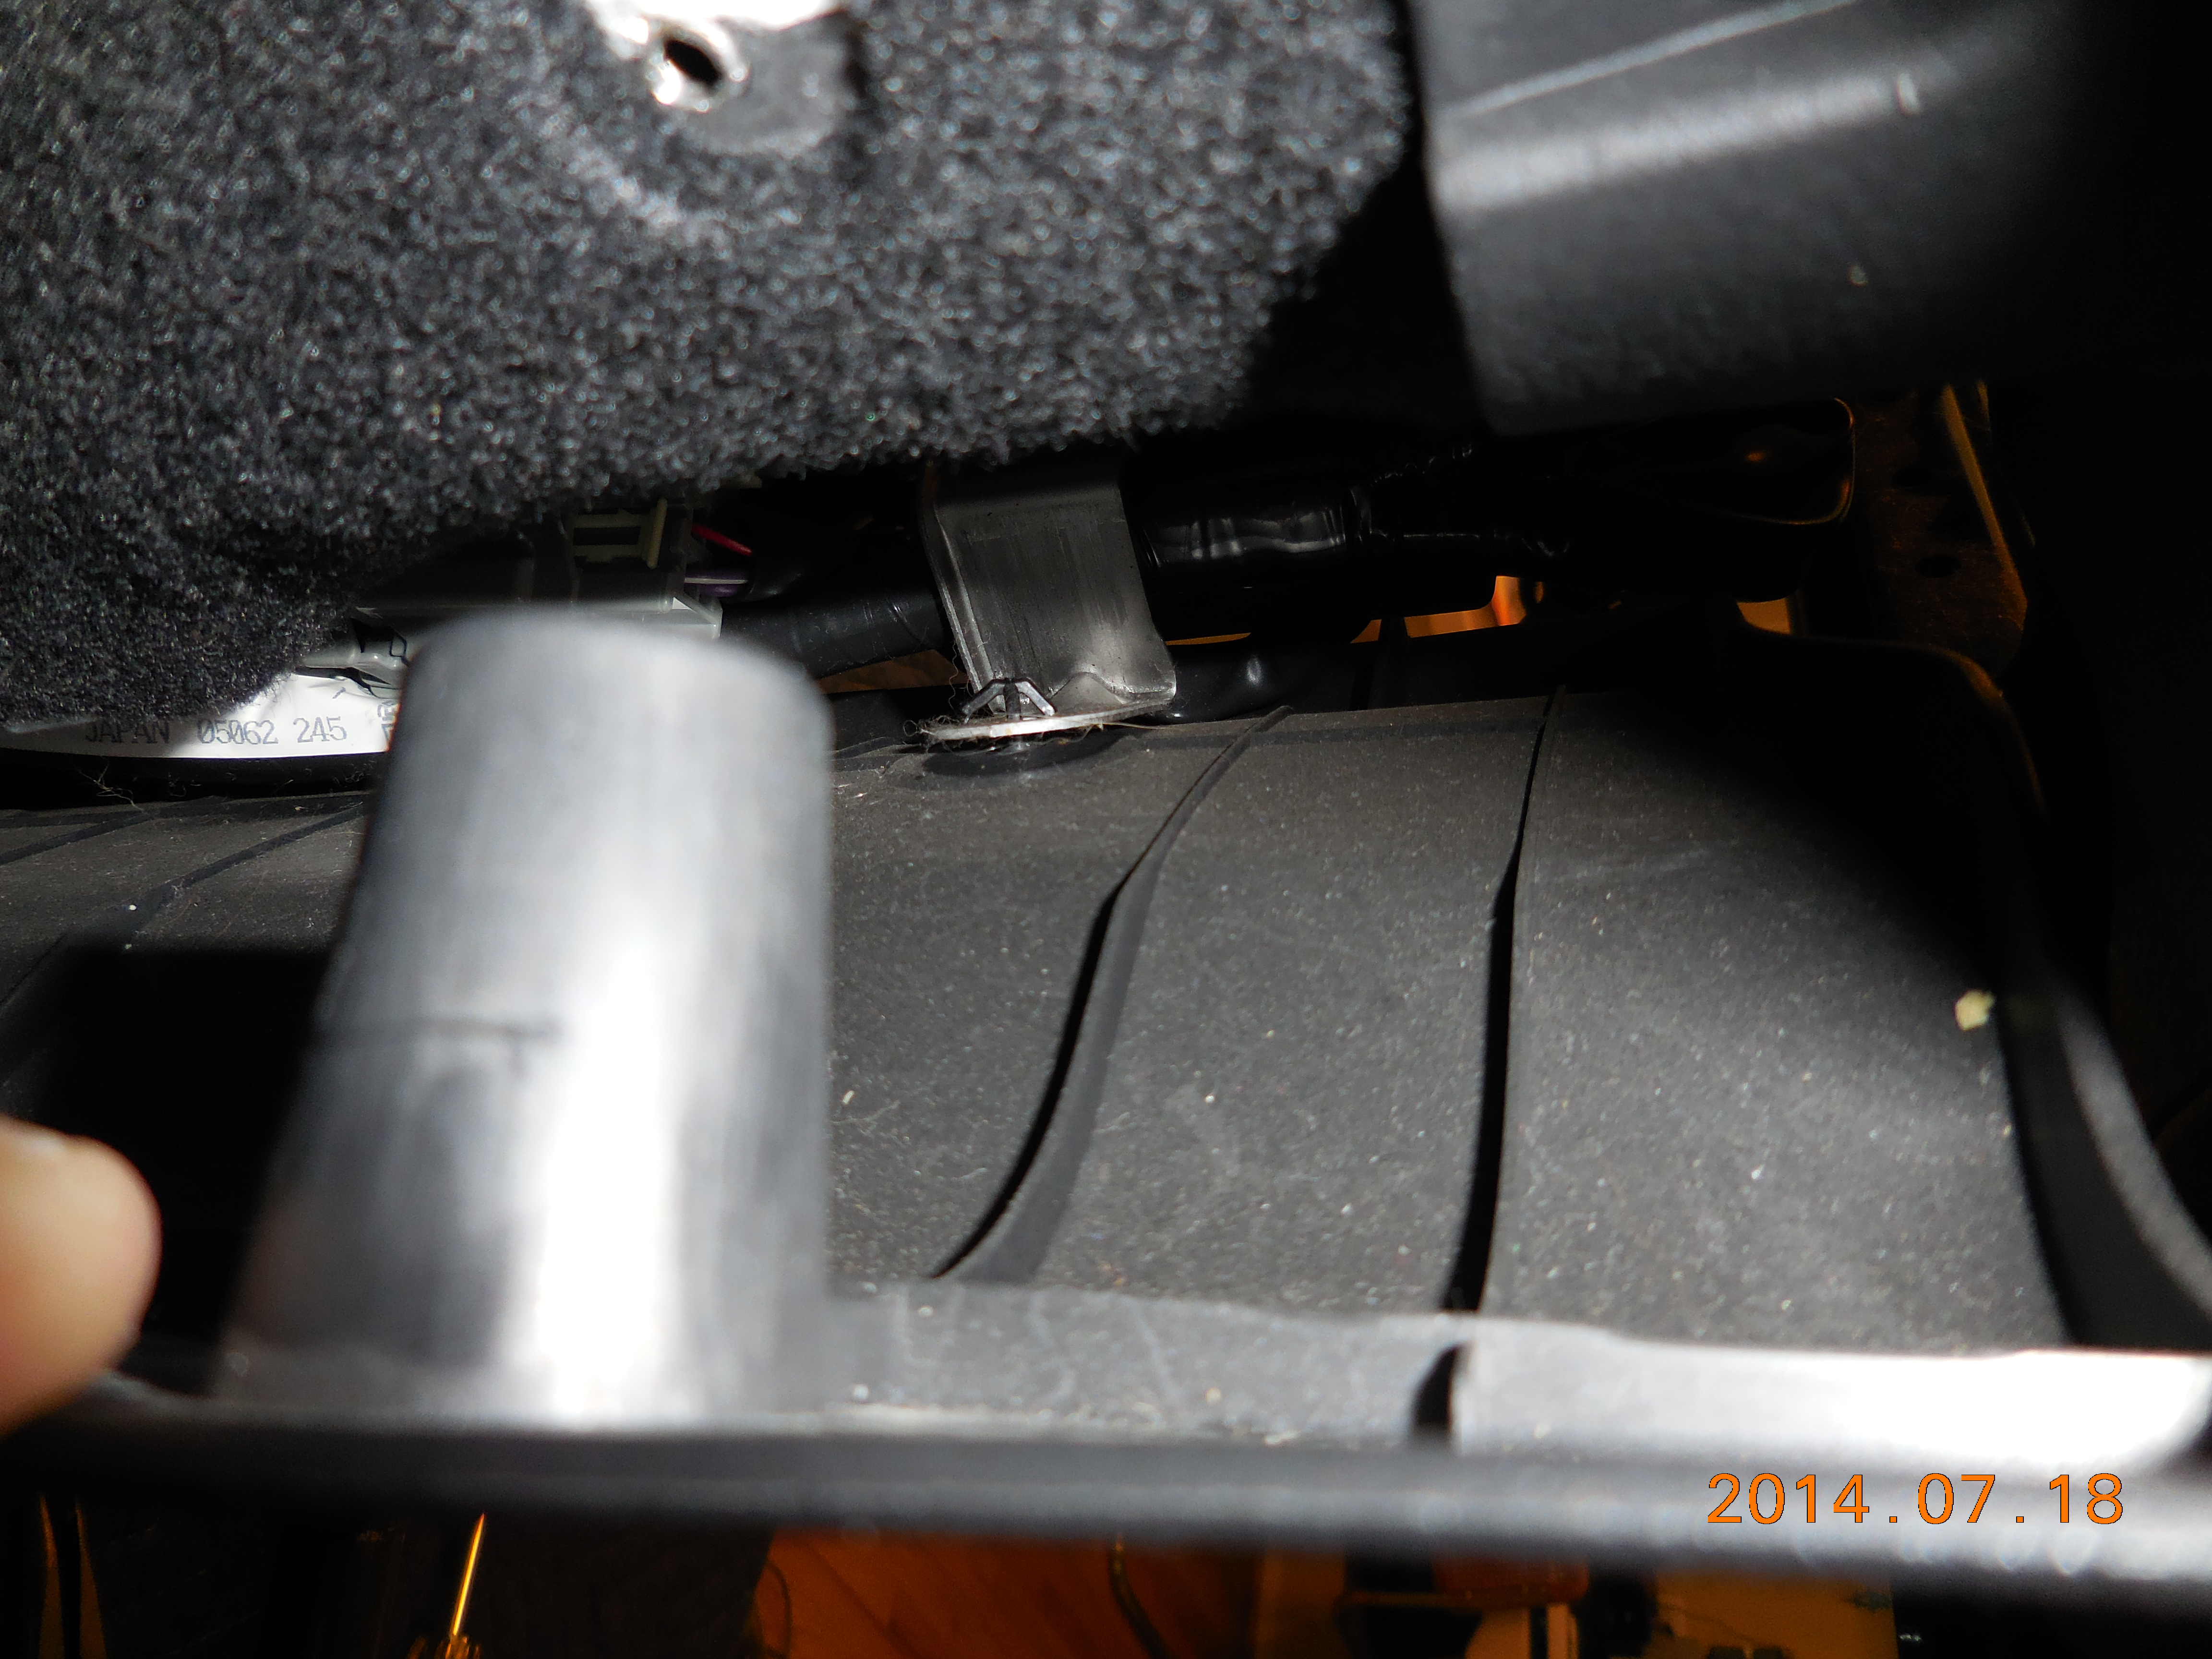
Here's what you're fighting:
Click HERE for larger
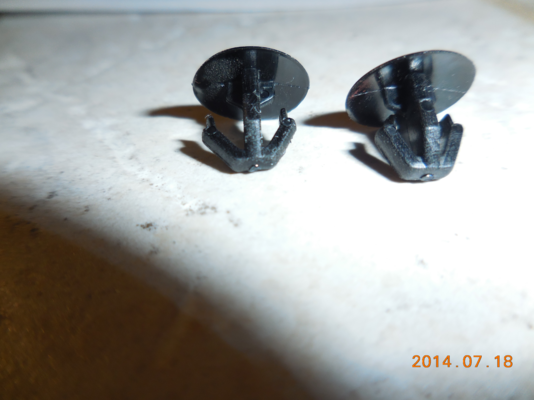
Using the o-ring pick, the "wings" can be pressed back toward the hole, and the clip released without damaging it. This is a technique you'll use a LOT on this project.
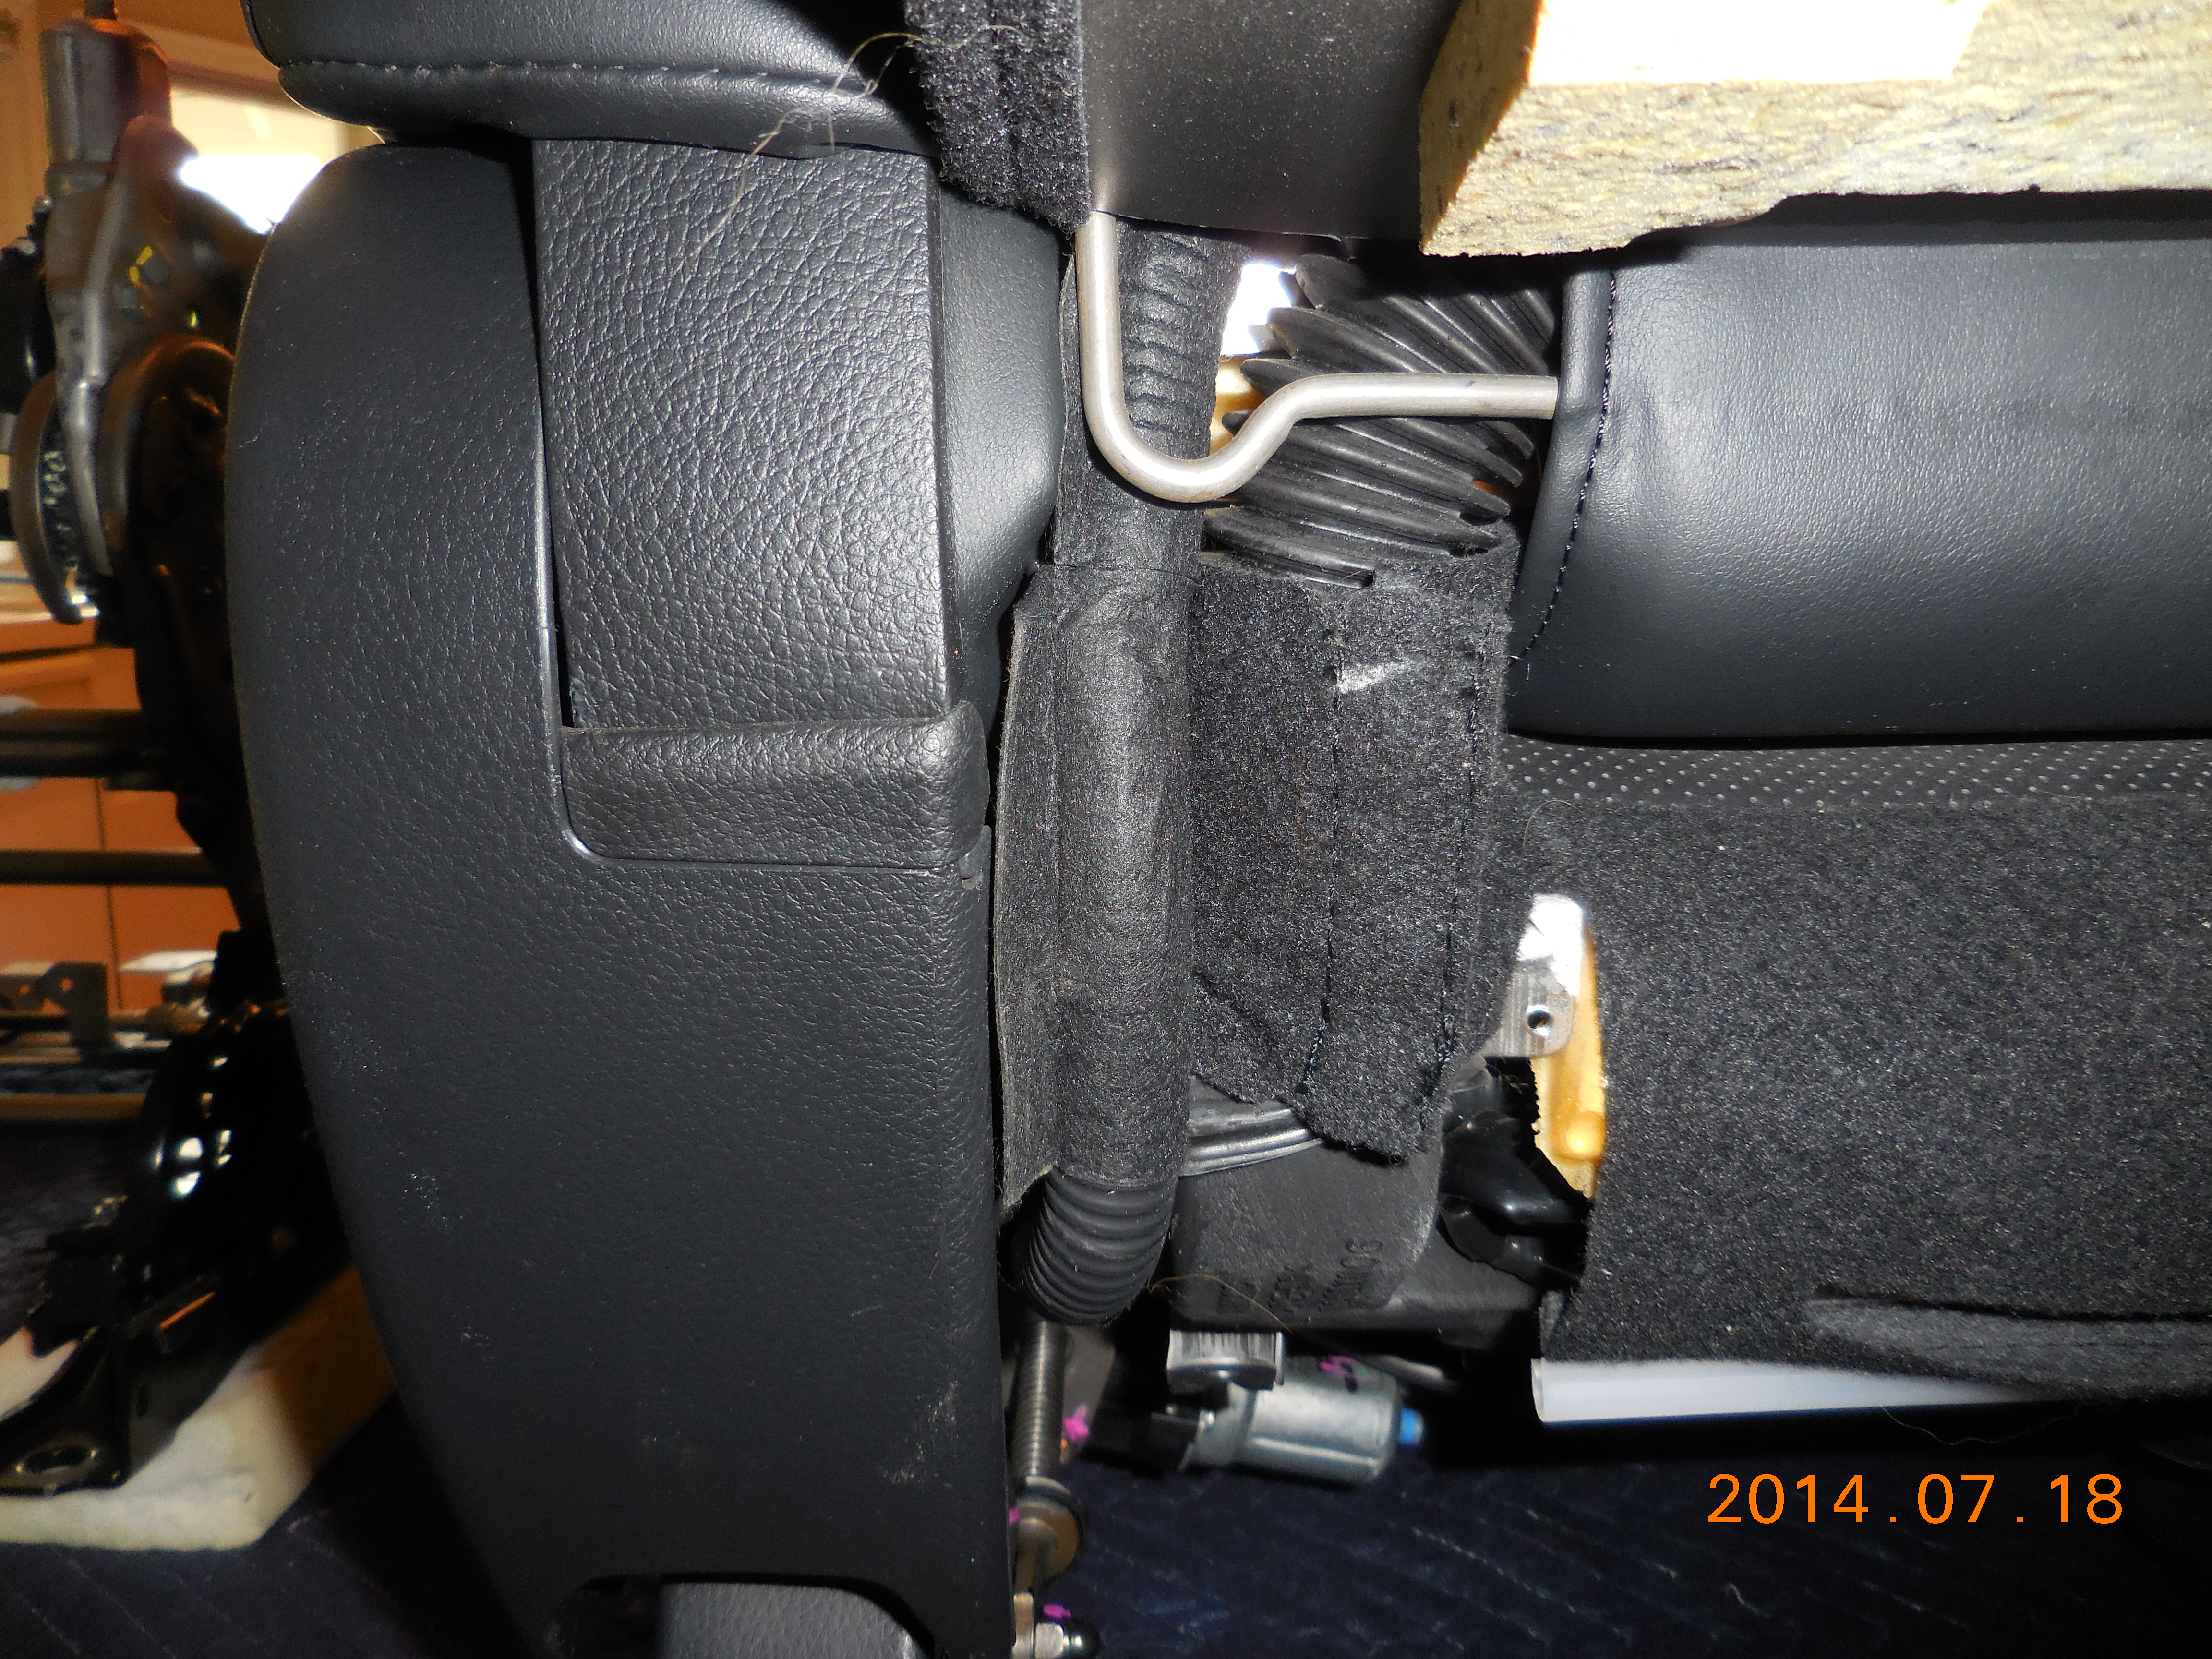
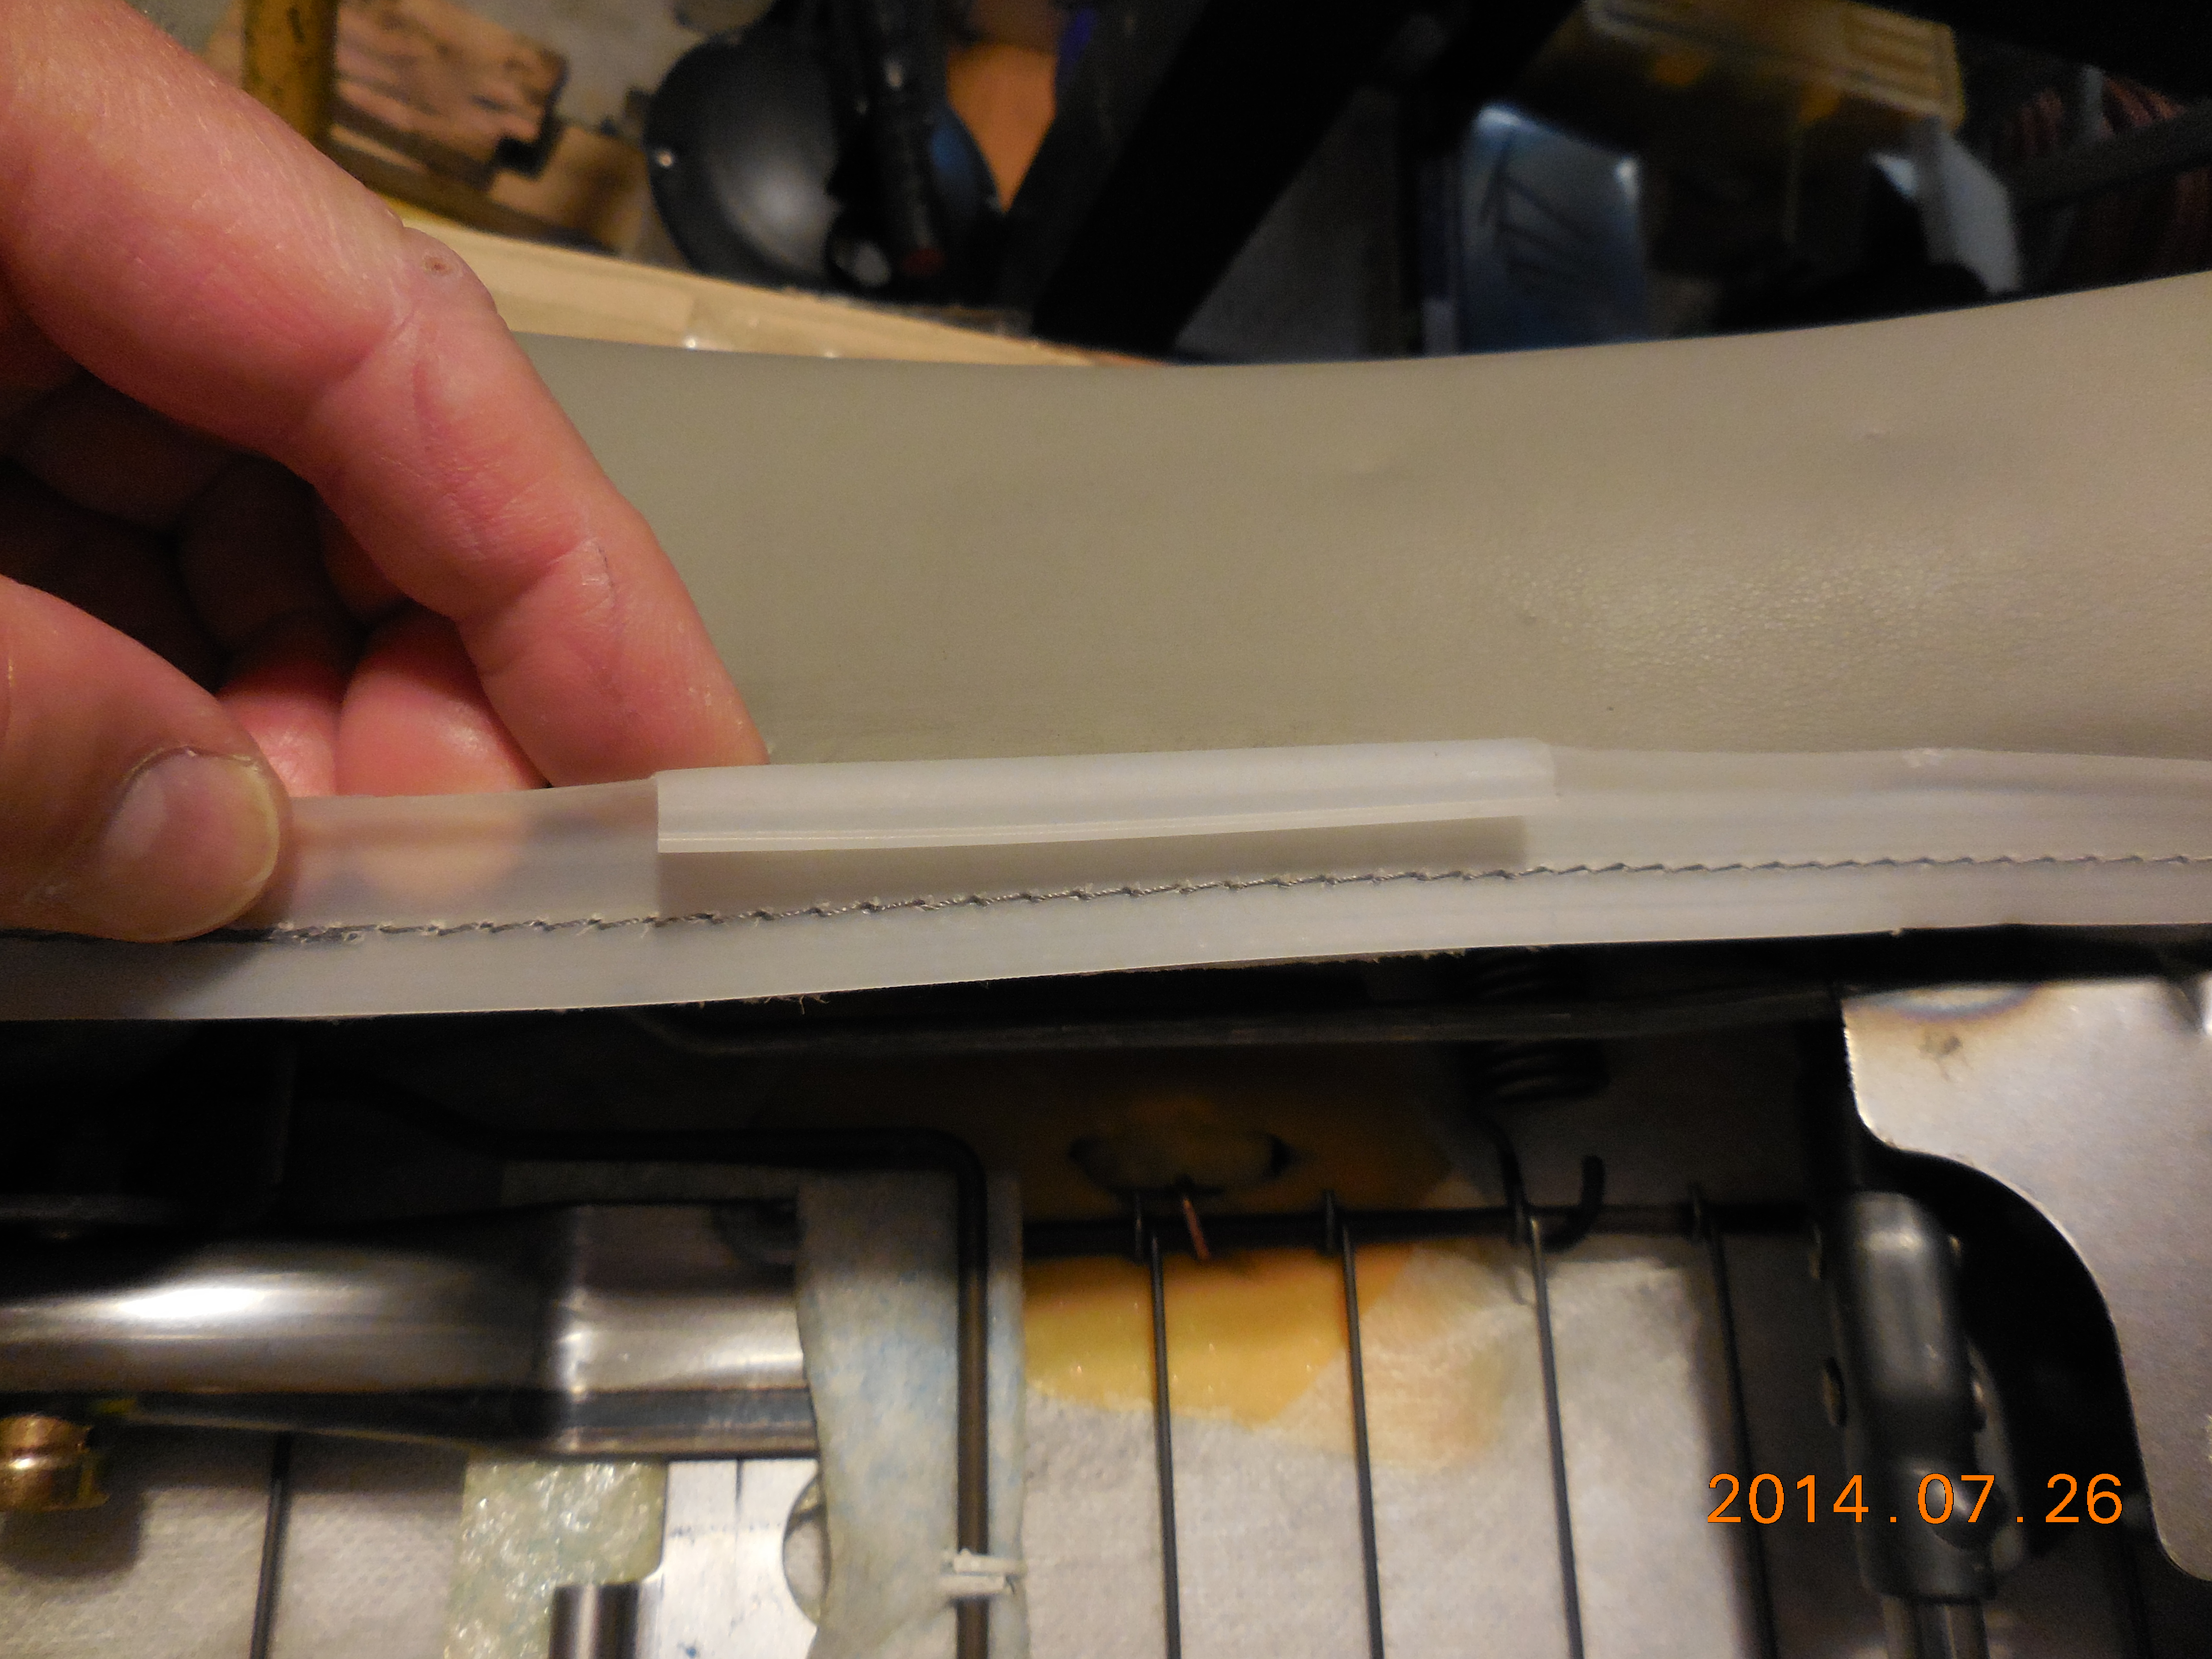
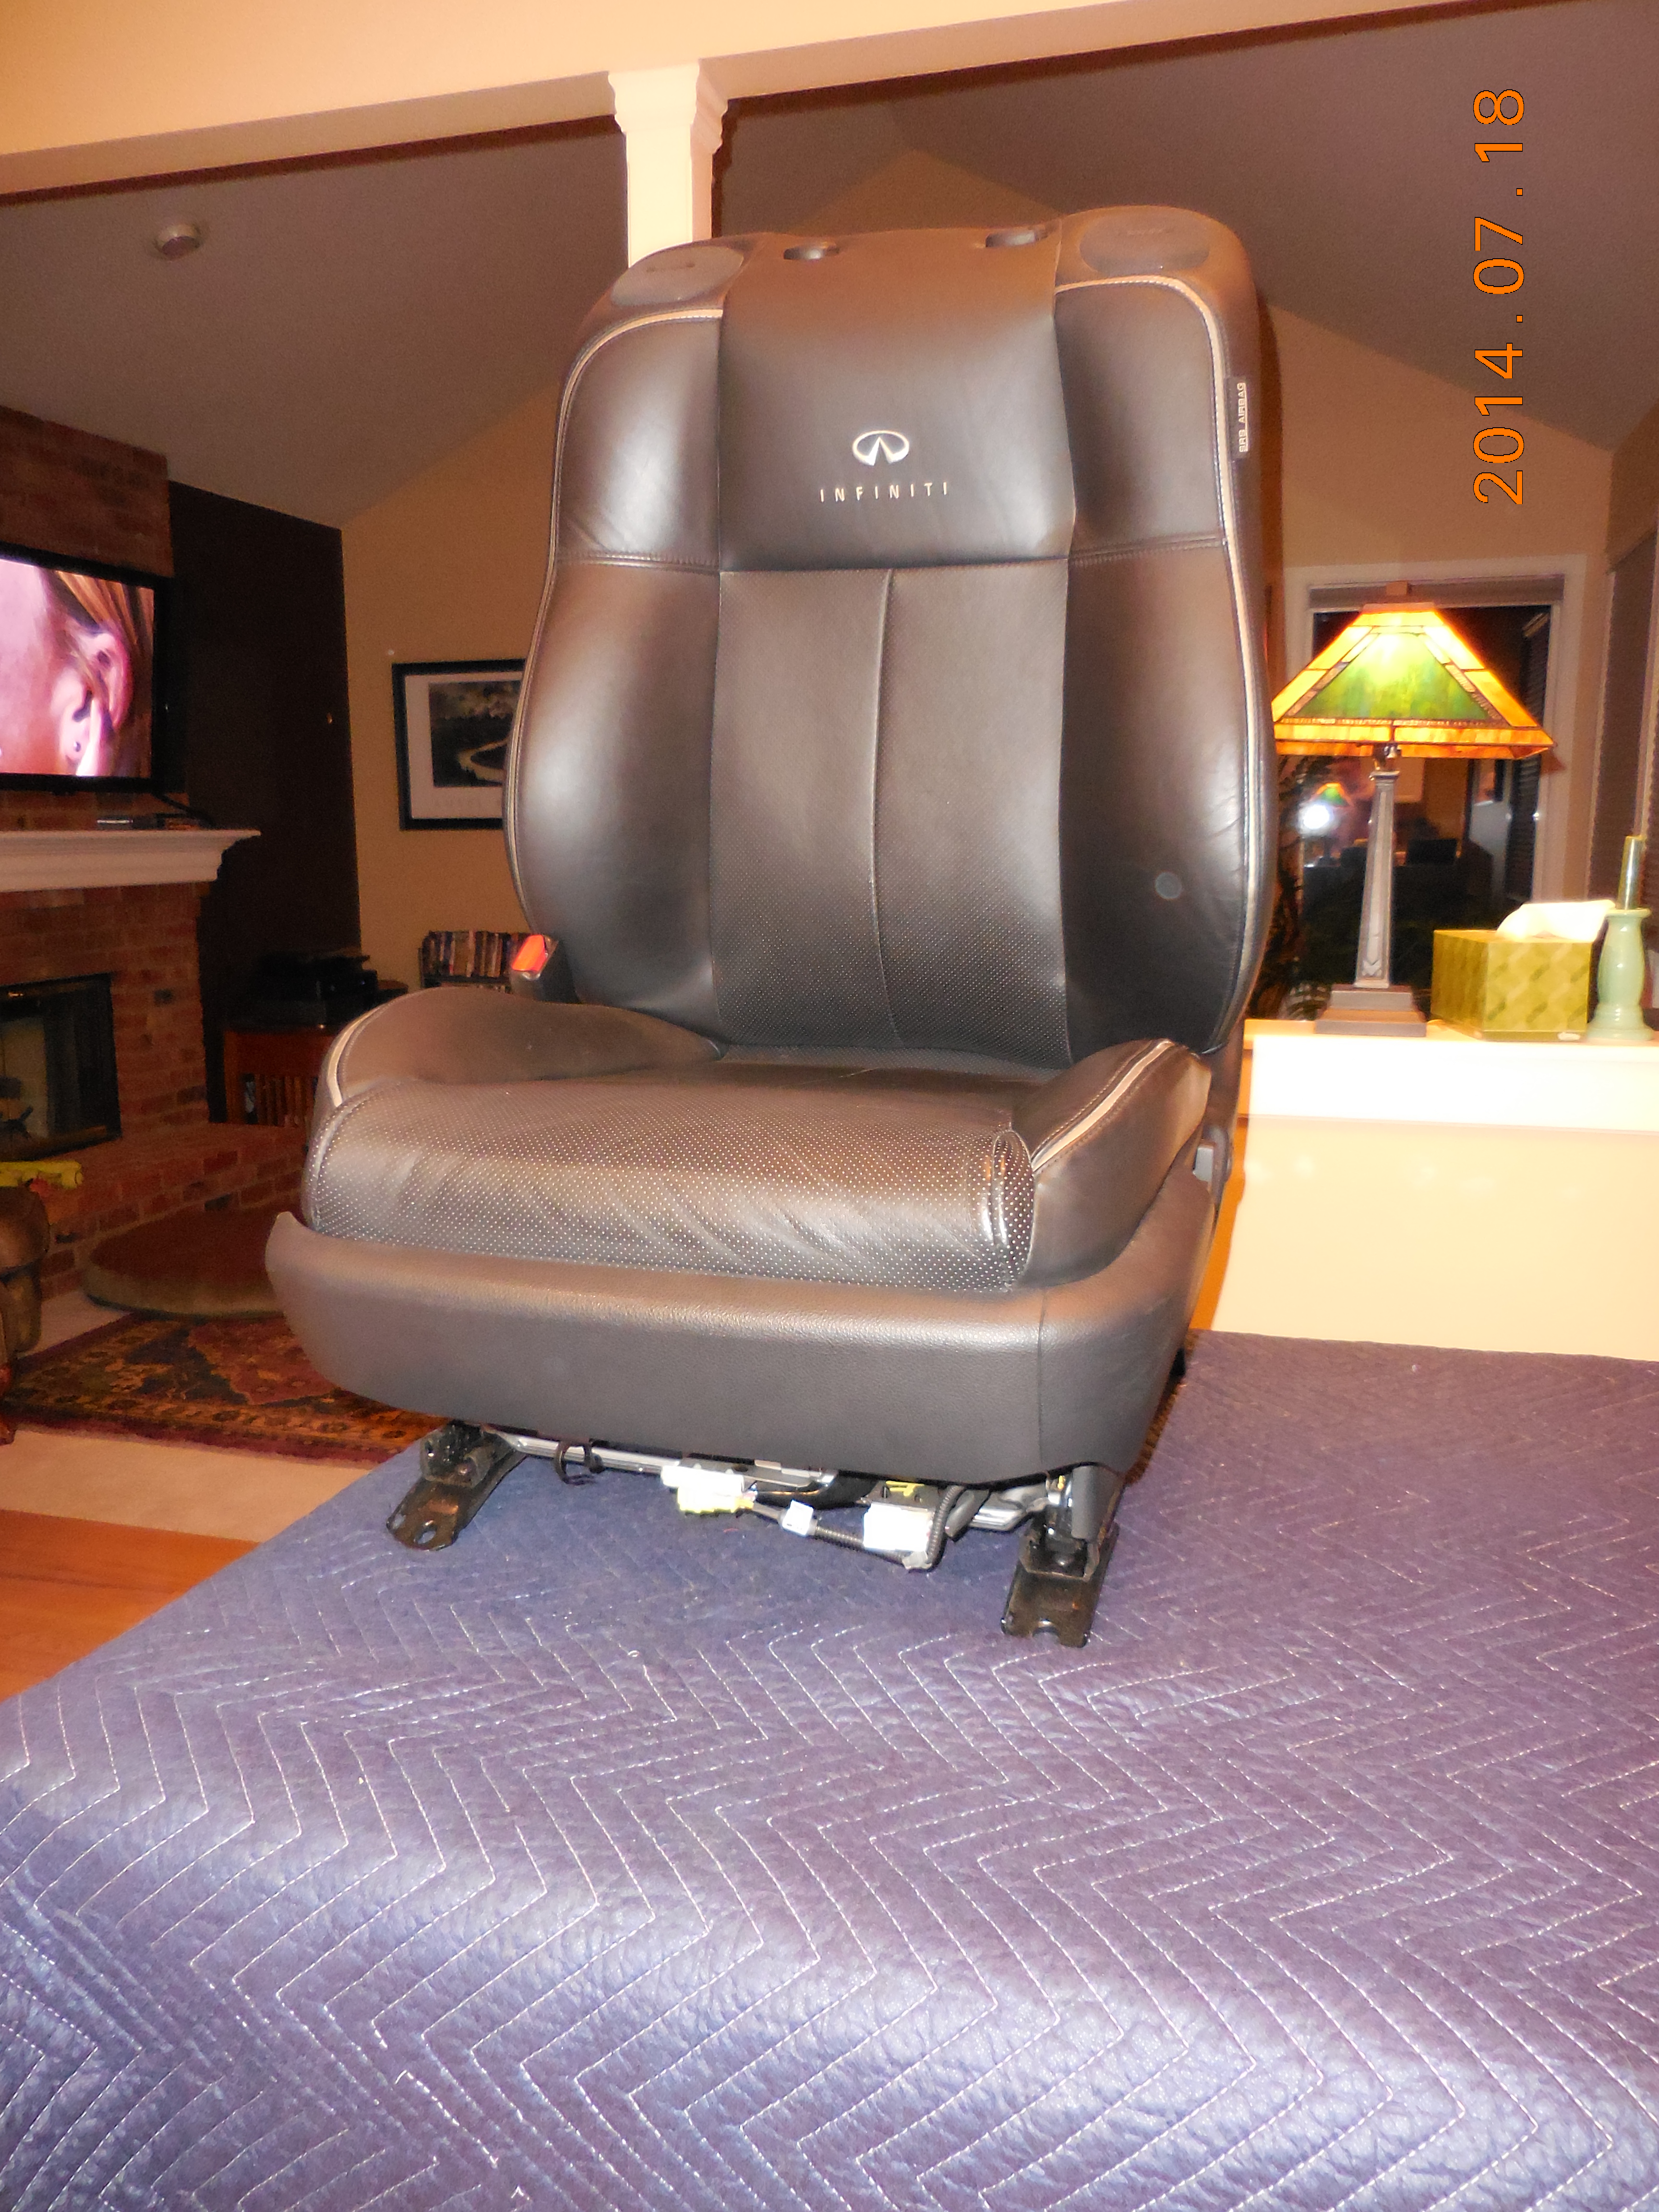
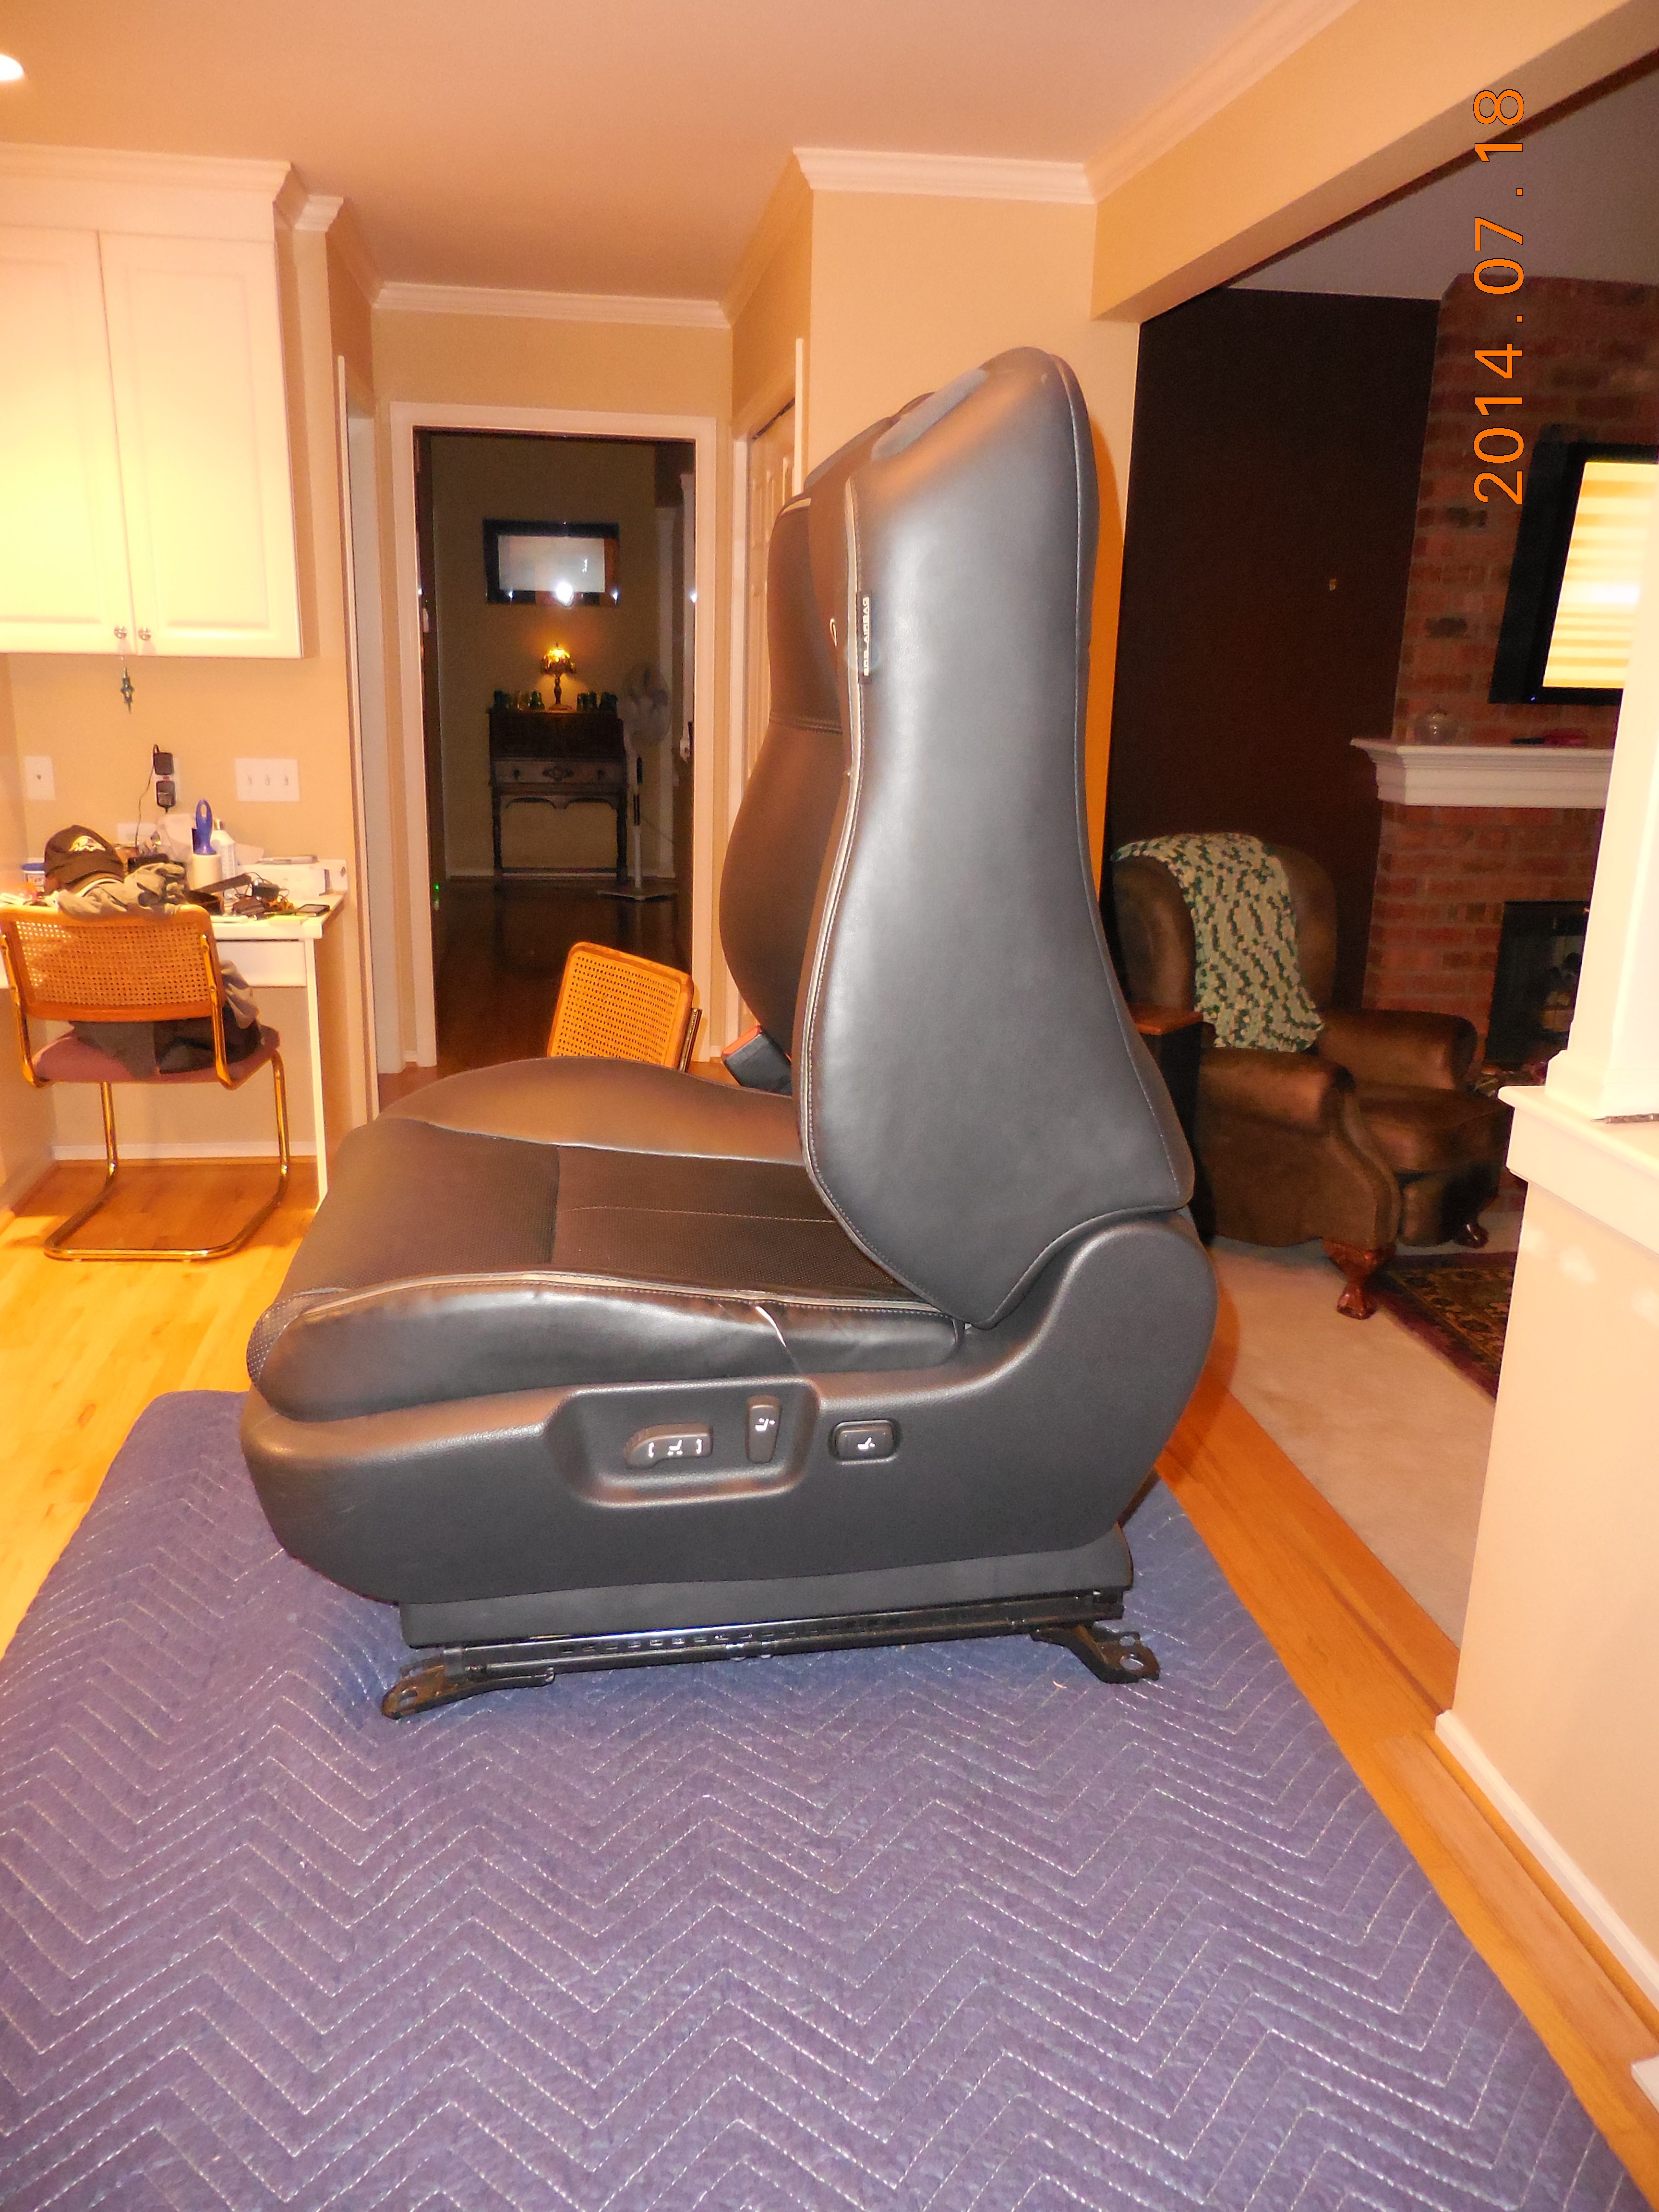
Our seat is from a 2006 M35 Sport with Bose speakers in the seats and the heated/cooled seats options, so there's a bit more wiring up the seatback and a duct for the air that runs up the rear of the seat.
The seat bottom cushion has some material with velcro fastening that wraps the heated seat duct up to the seat back:
Click HERE for larger
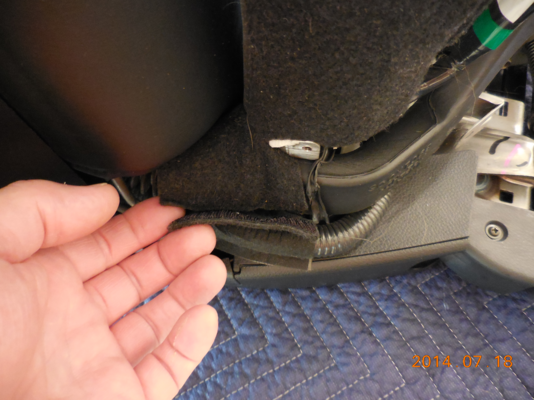 Click HERE for larger
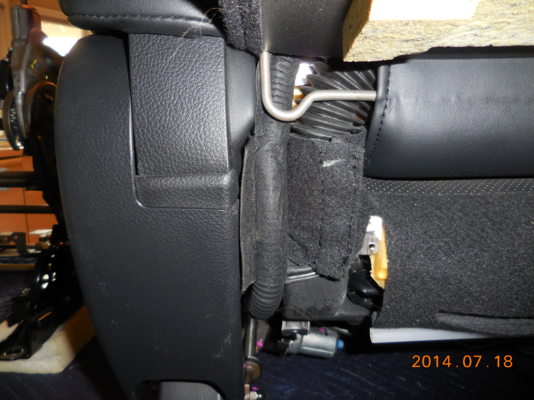
The right hinge cover presents no problems removing:
Click HERE for larger
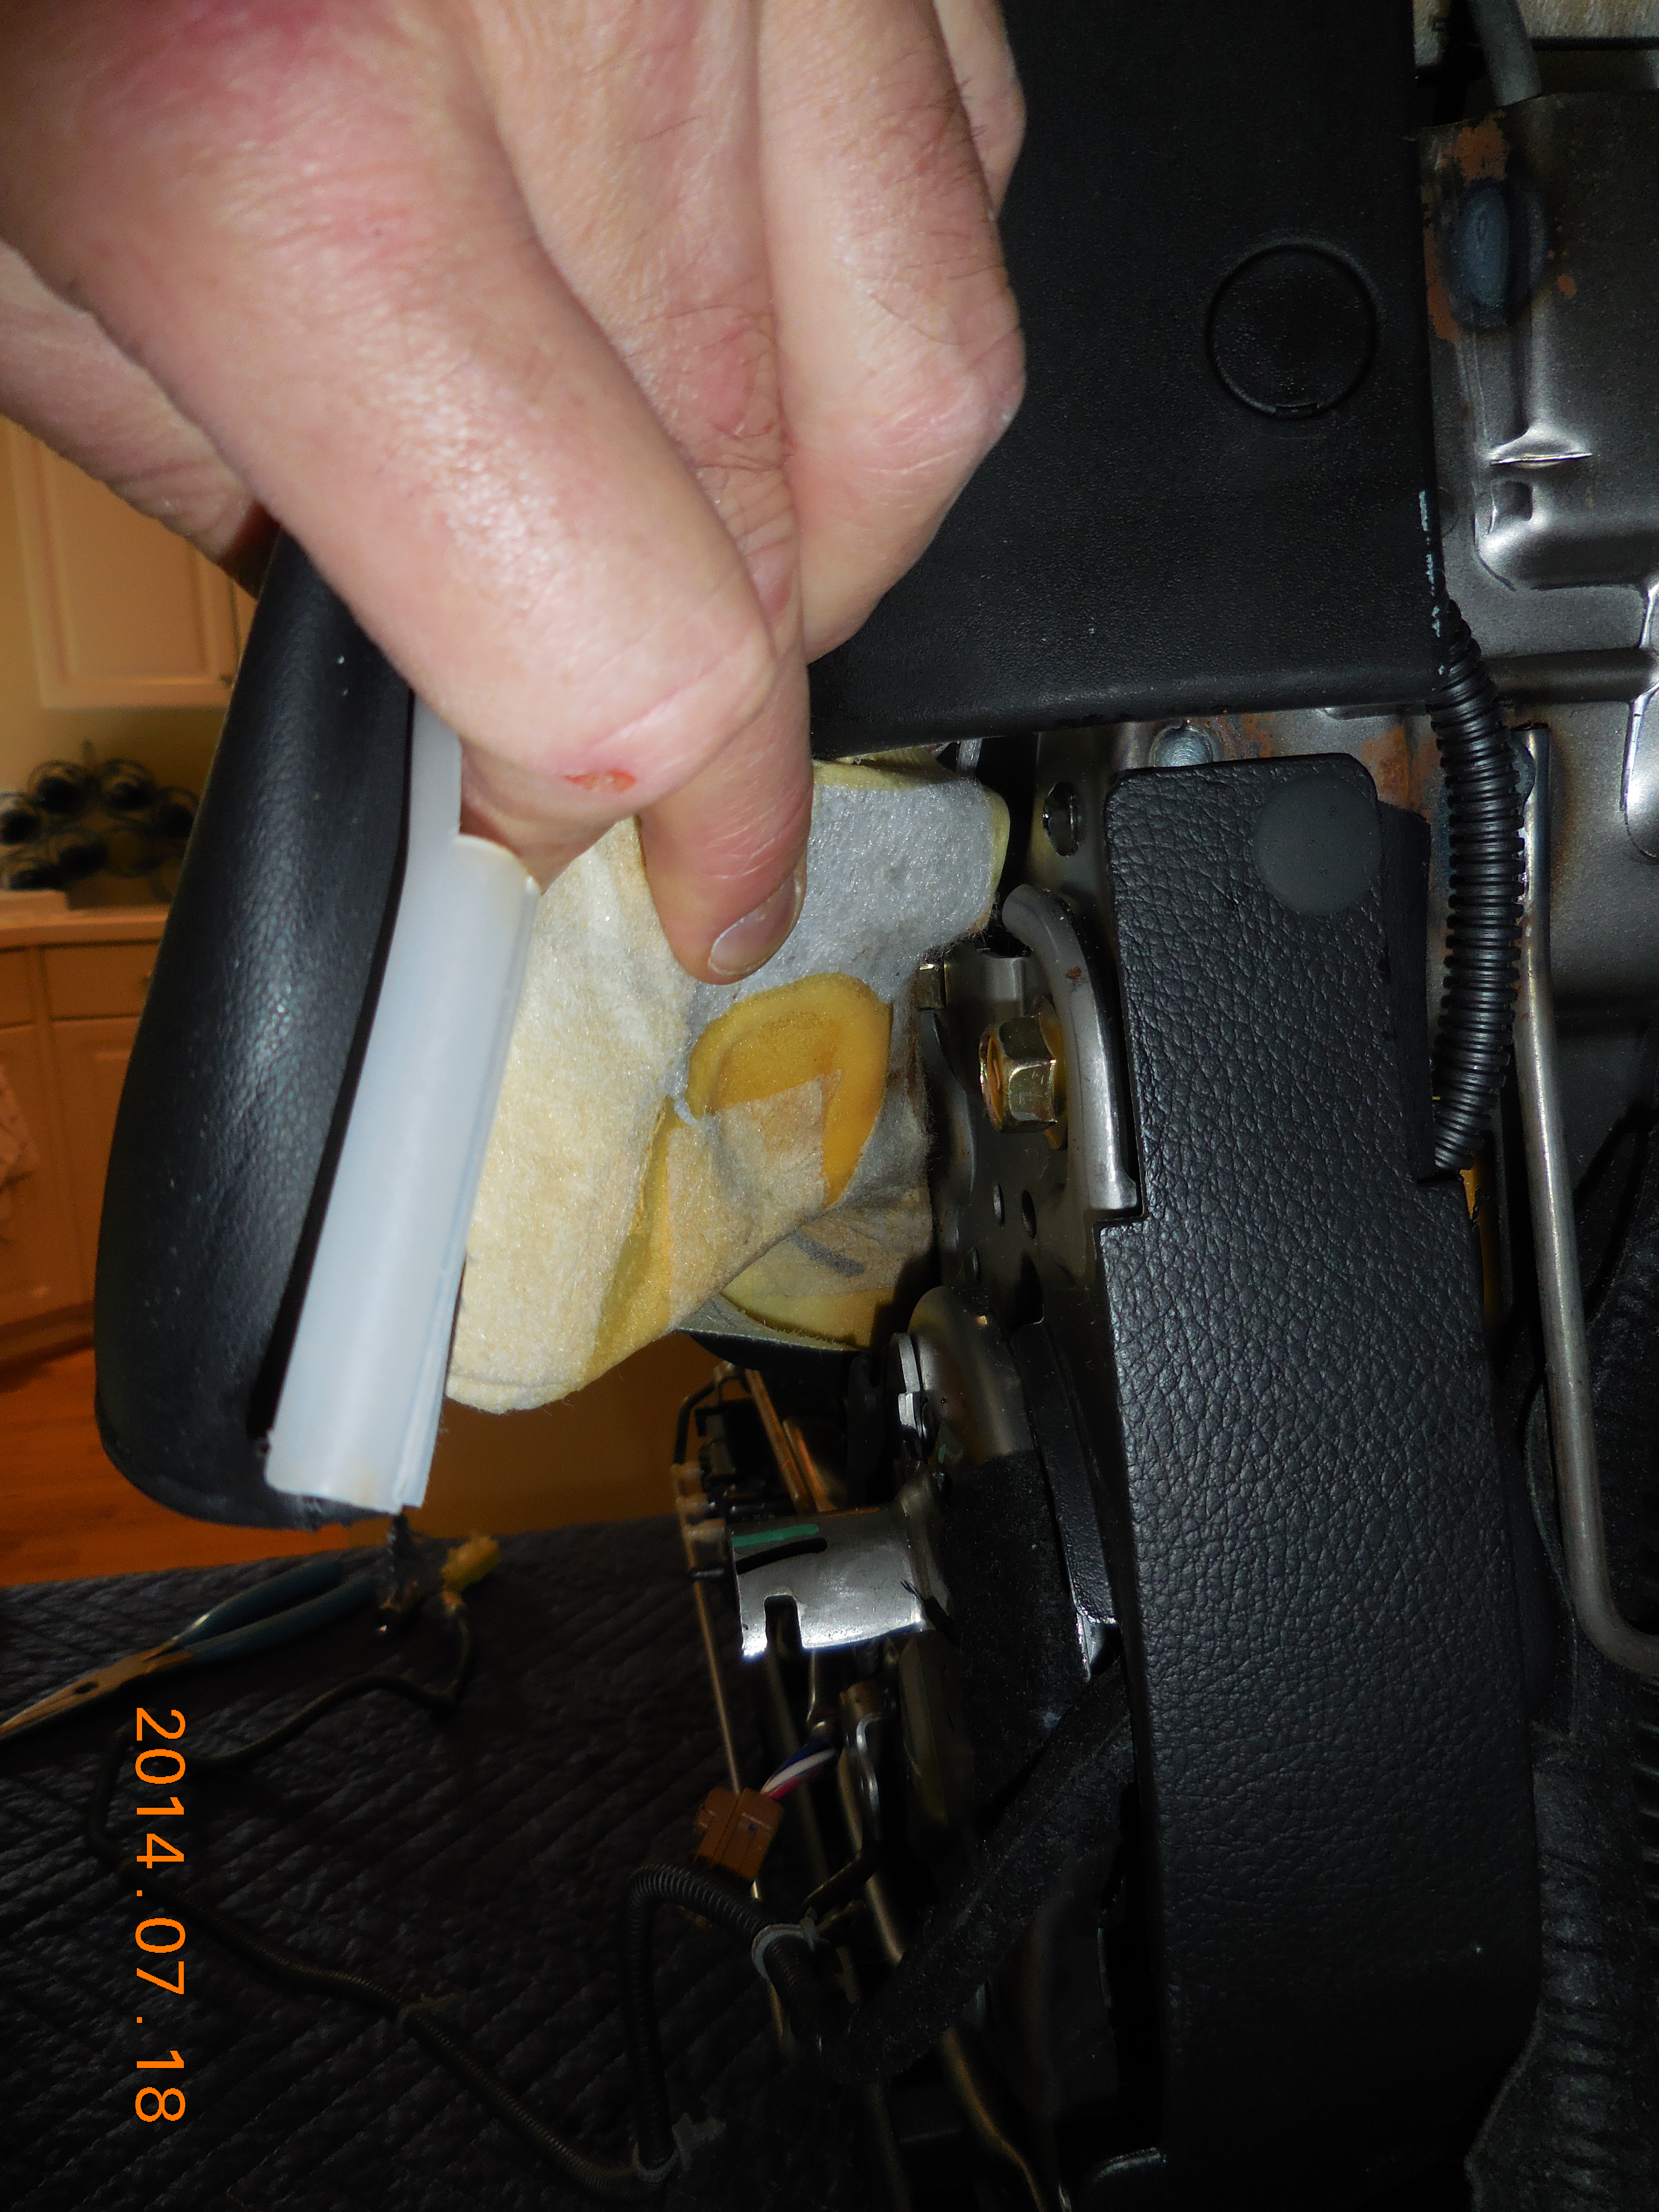
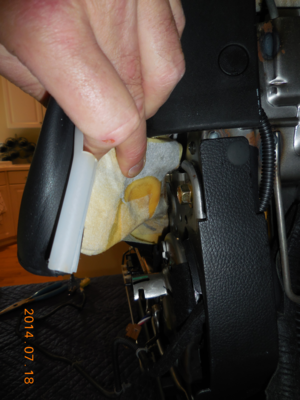
But there's a screw hidden for the left one, behind the velcro (if you have heated/cooled seats):
Click HERE for larger
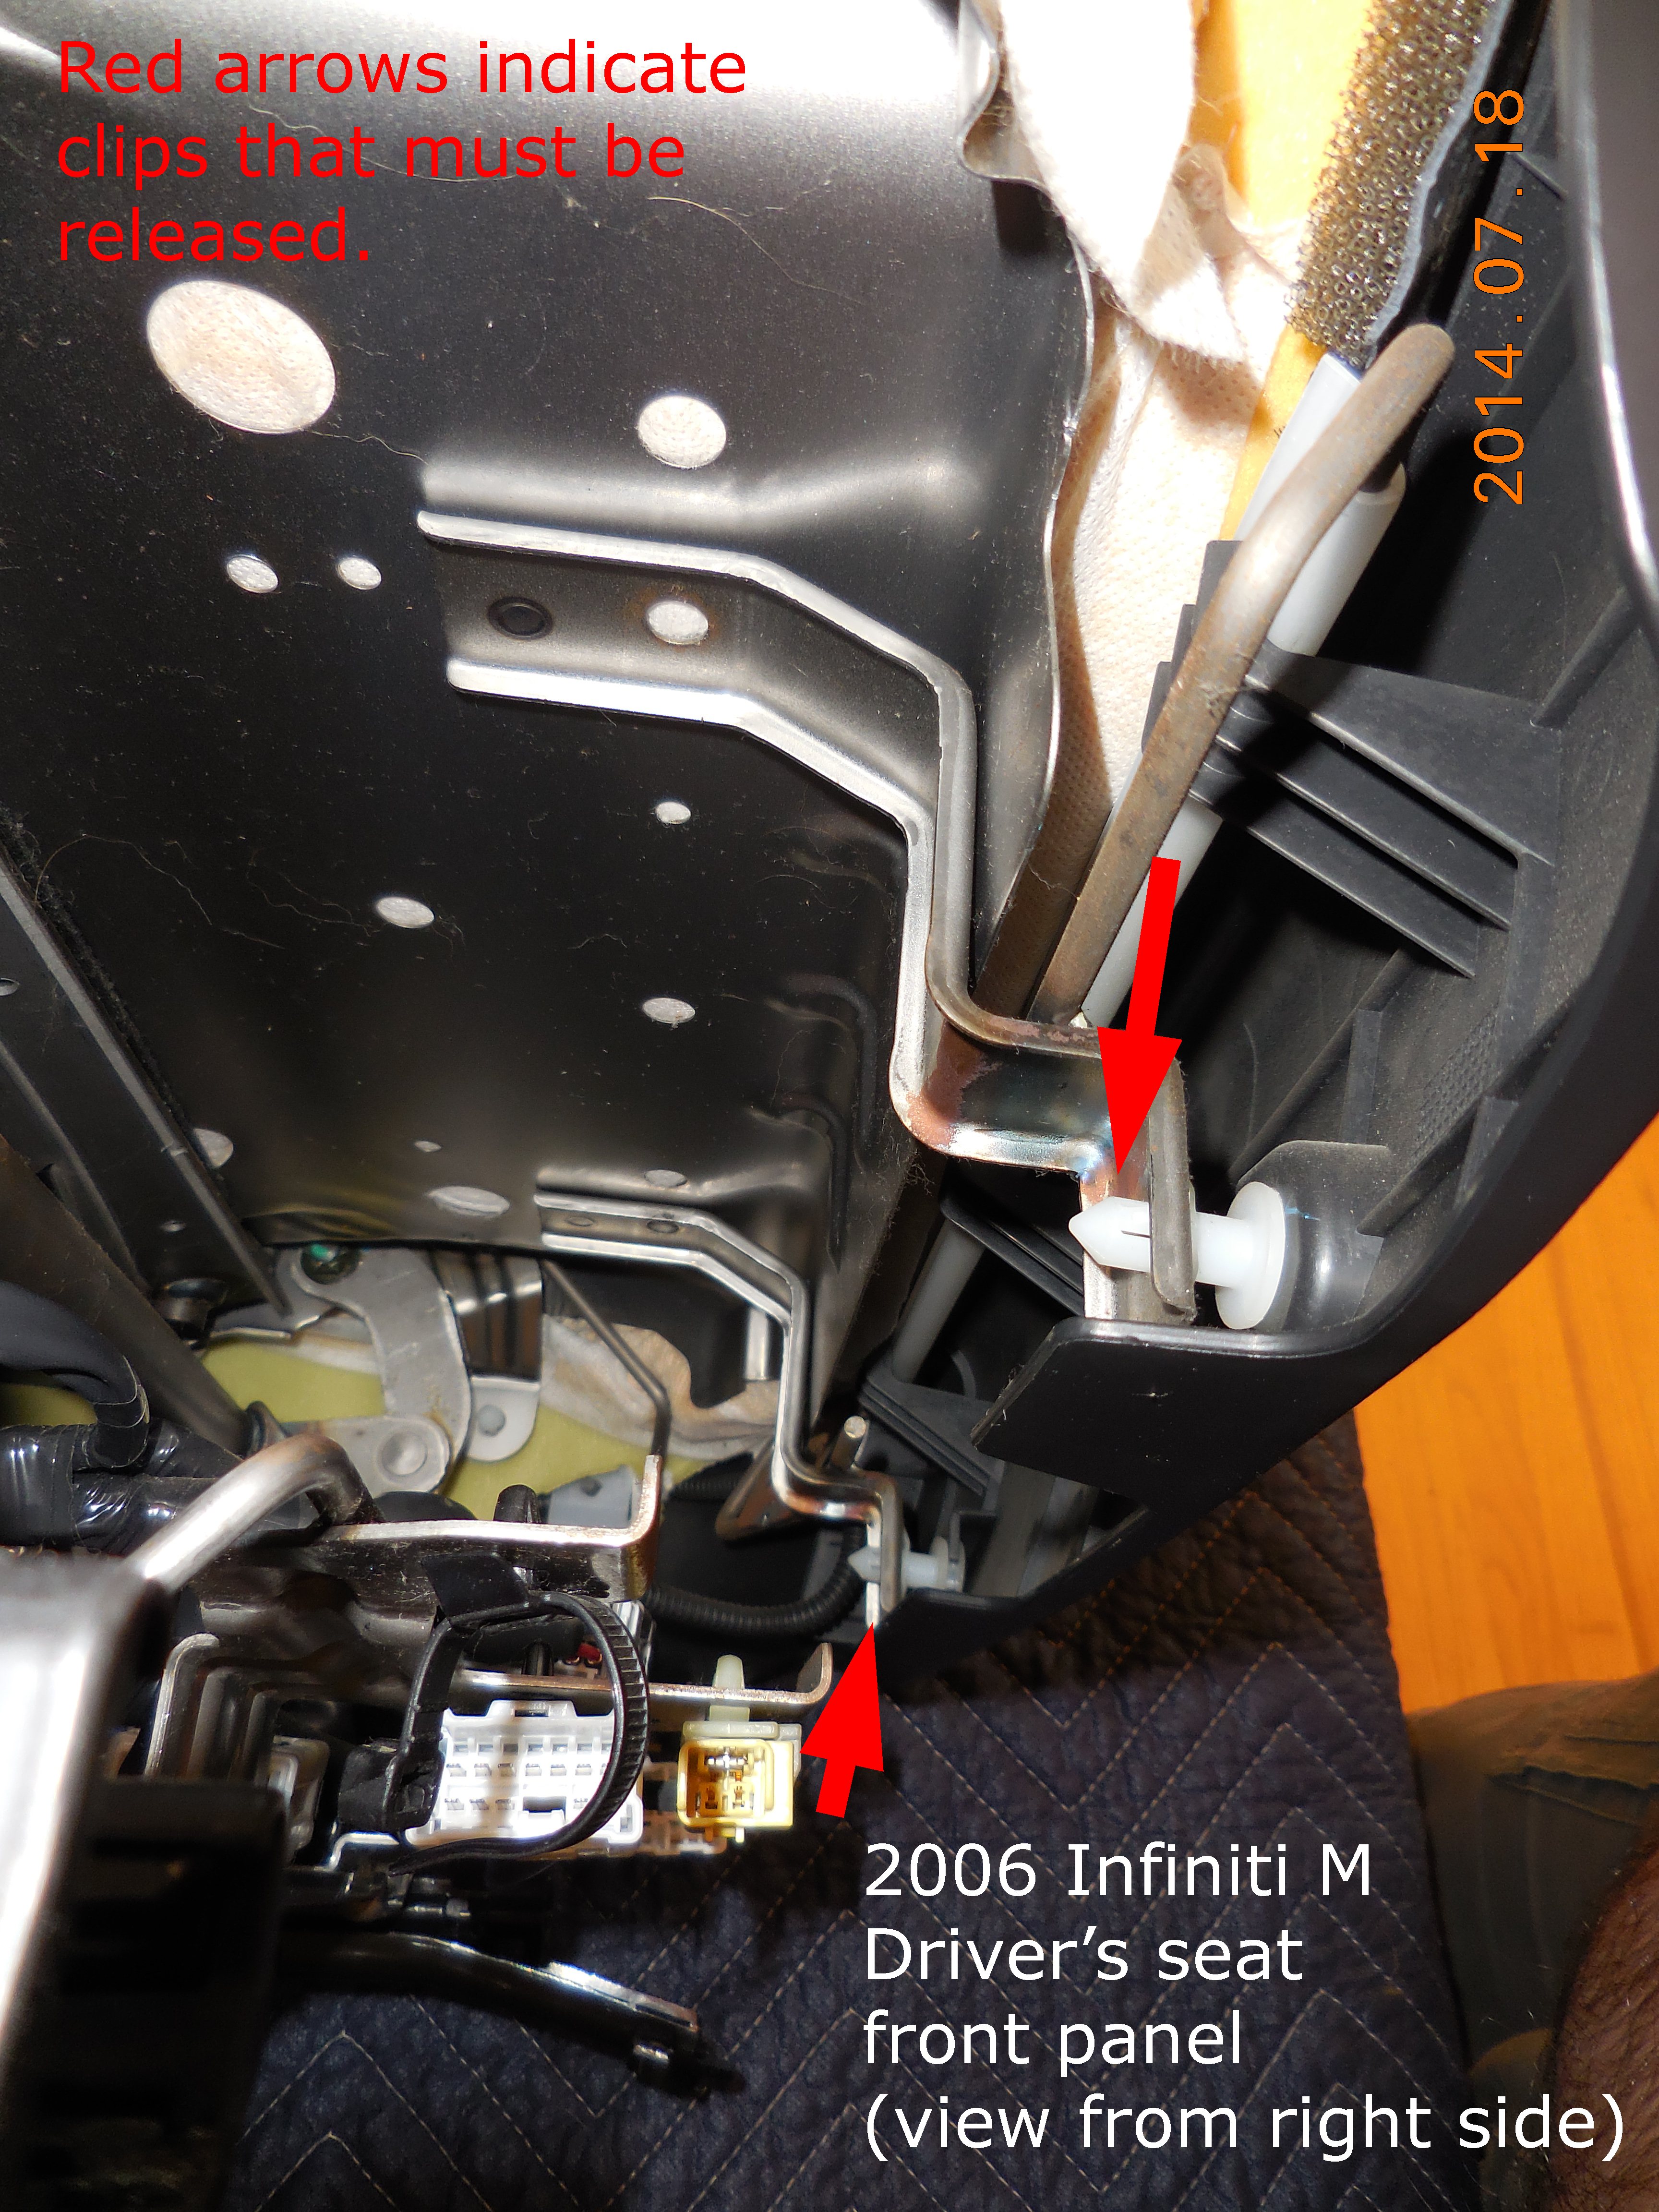
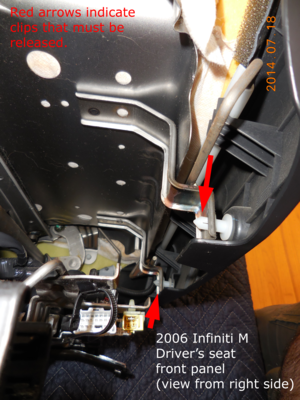
Moving to the front, the front valence has two heavy-duty white plastic clips whose "wings" can be manipulated with the o-ring tool. Once released, the panel comes off without fuss. It sort of plugs in to the left side panel.
Click HERE for larger
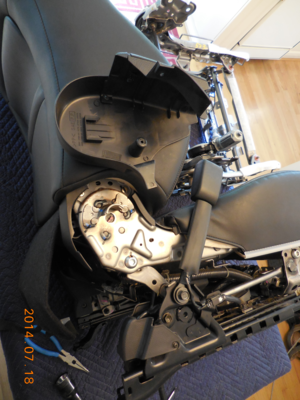
The left side panel has the manual switchgear for the power seat. The switch "knobs" pop on, but require a bit of force to pop off the switch stems. I used the o-ring tool to lever/pry the "knobs" off the stems, which left no damage. In the past, I've pried using a small screwdriver. The o-ring tool worked better.
Once the switch "knobs" are off, there's another heavy-duty white plastic retainer -- use the o-ring tool and a flashlight to release, and then lift the hinge end of the side panel to swing it up and lay it down.
Click HERE for larger

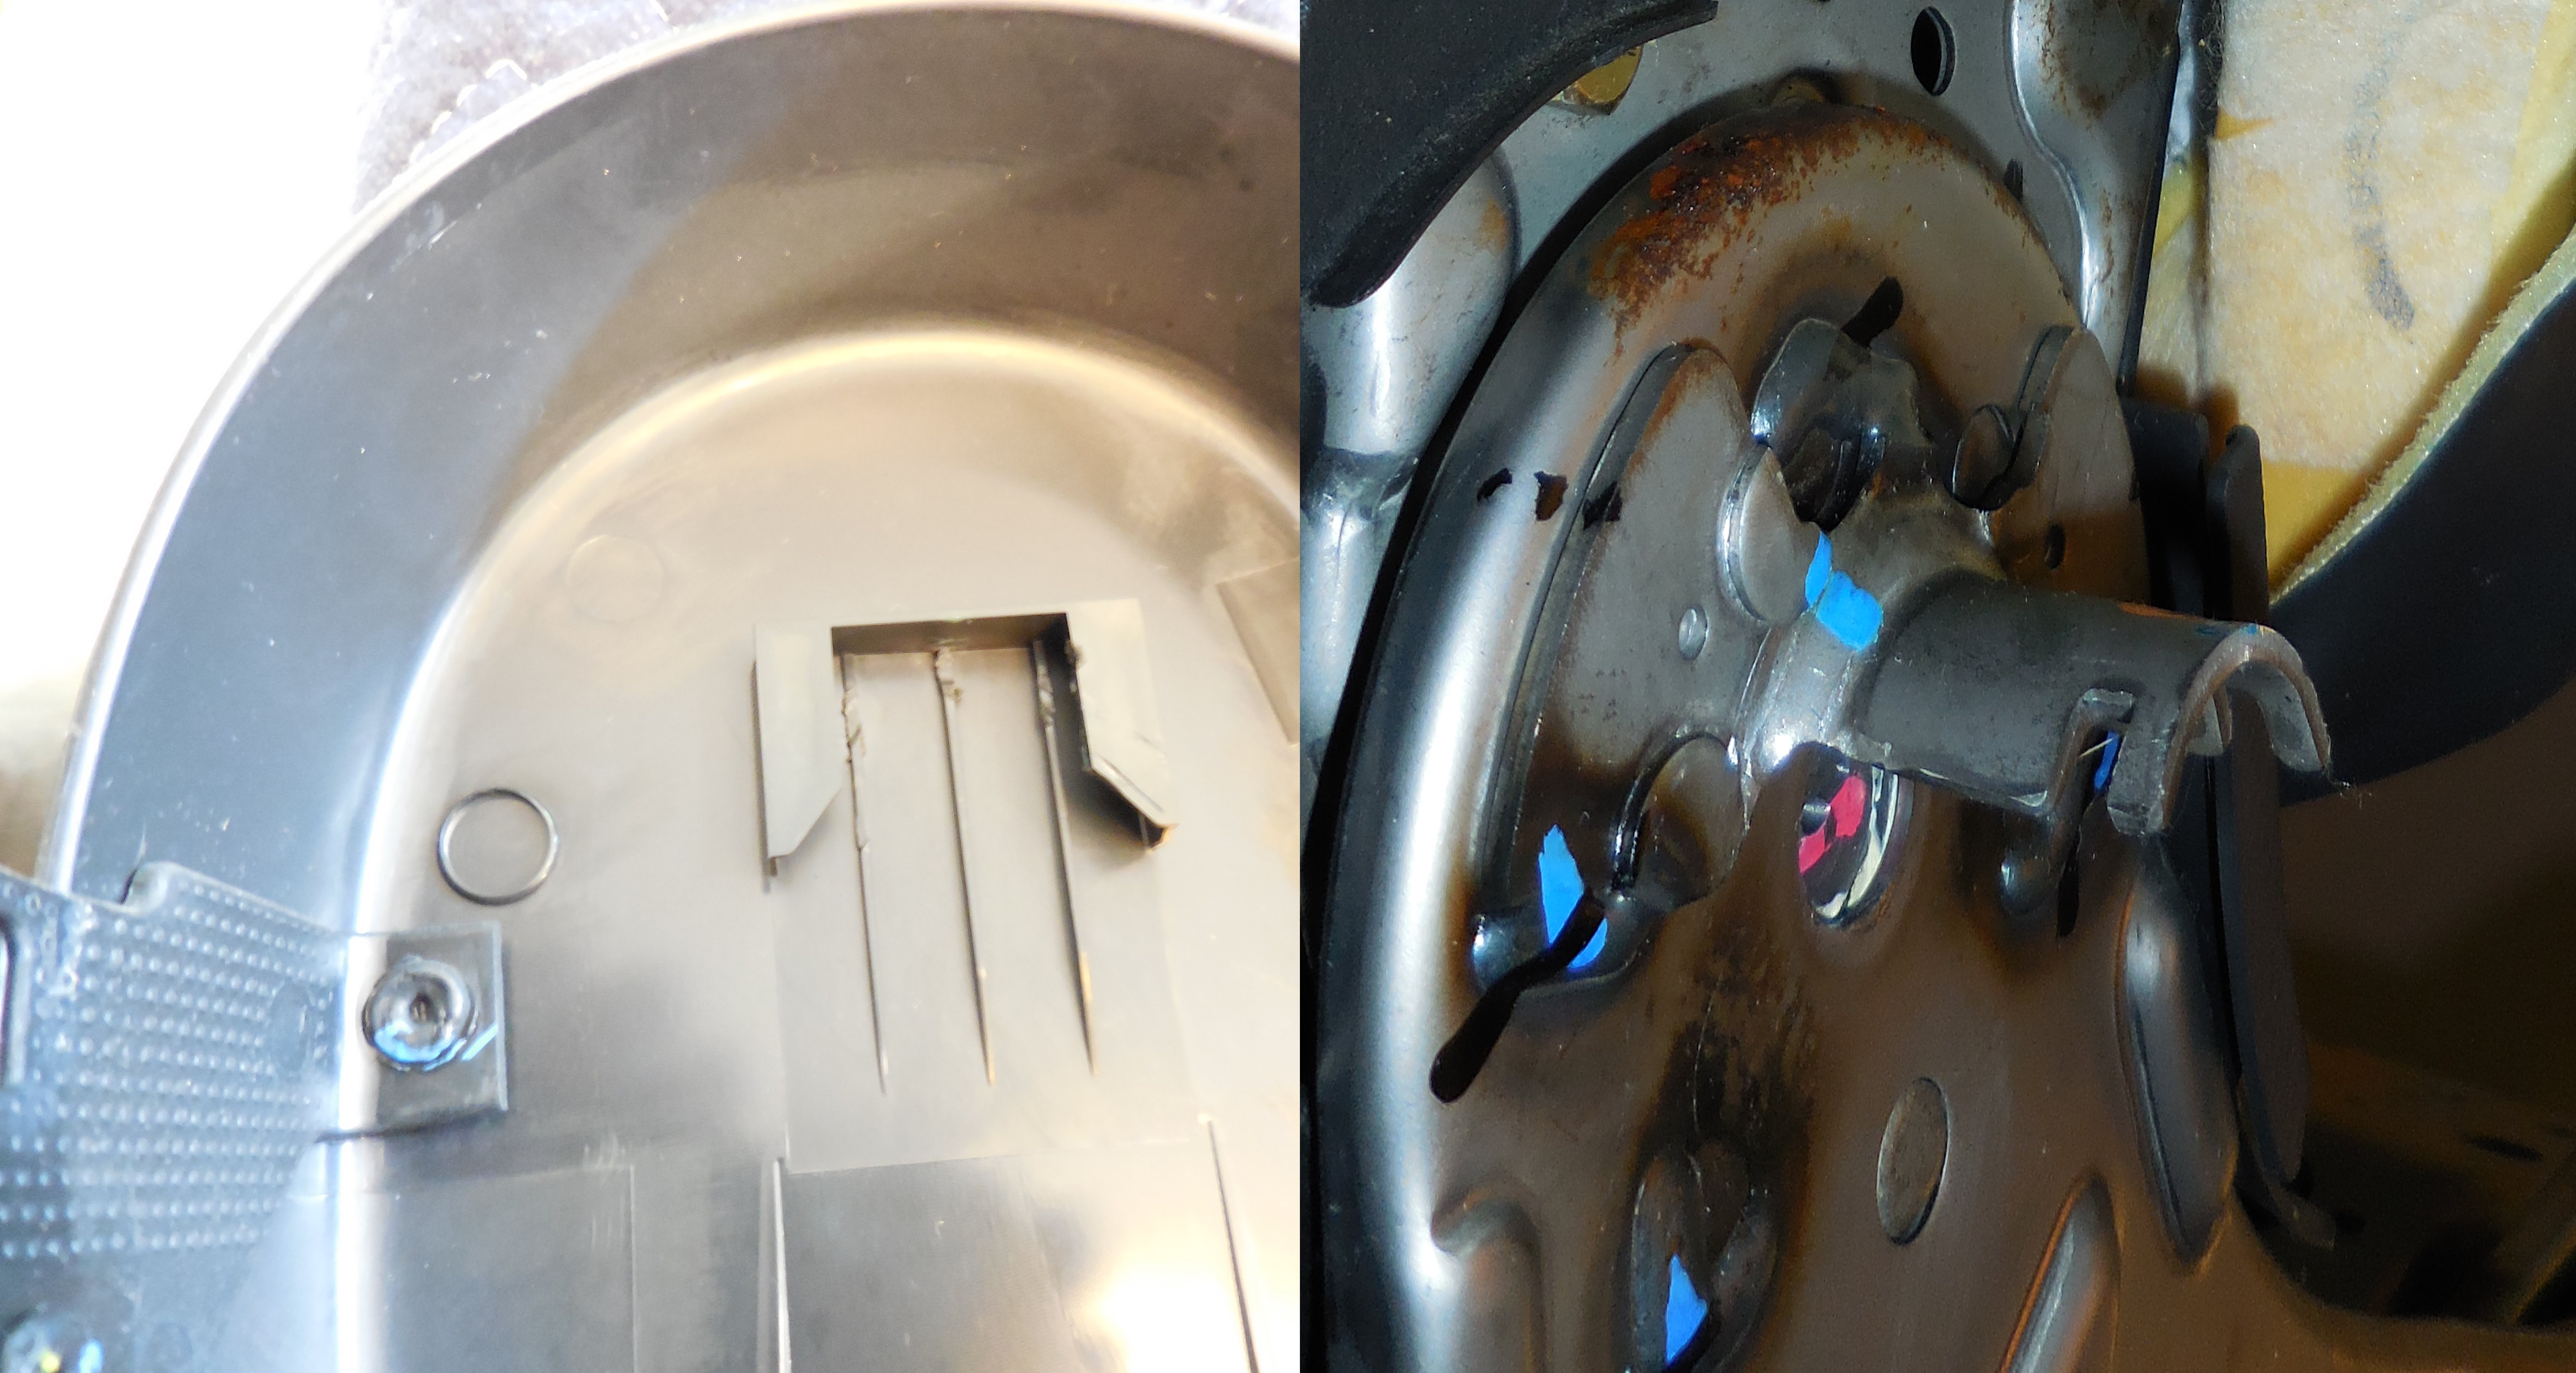
The side panel snaps over the switches with four fairly heavy plastic integrated clips, and there's no good way to release them, so you must just pull harder to the left to have them give up and release.
Click HERE for larger

Here's how the hinge covers interface with the seat: grooves in the half-pipe on the seat, engage the tabs on the hinge covers:
Click HERE for larger

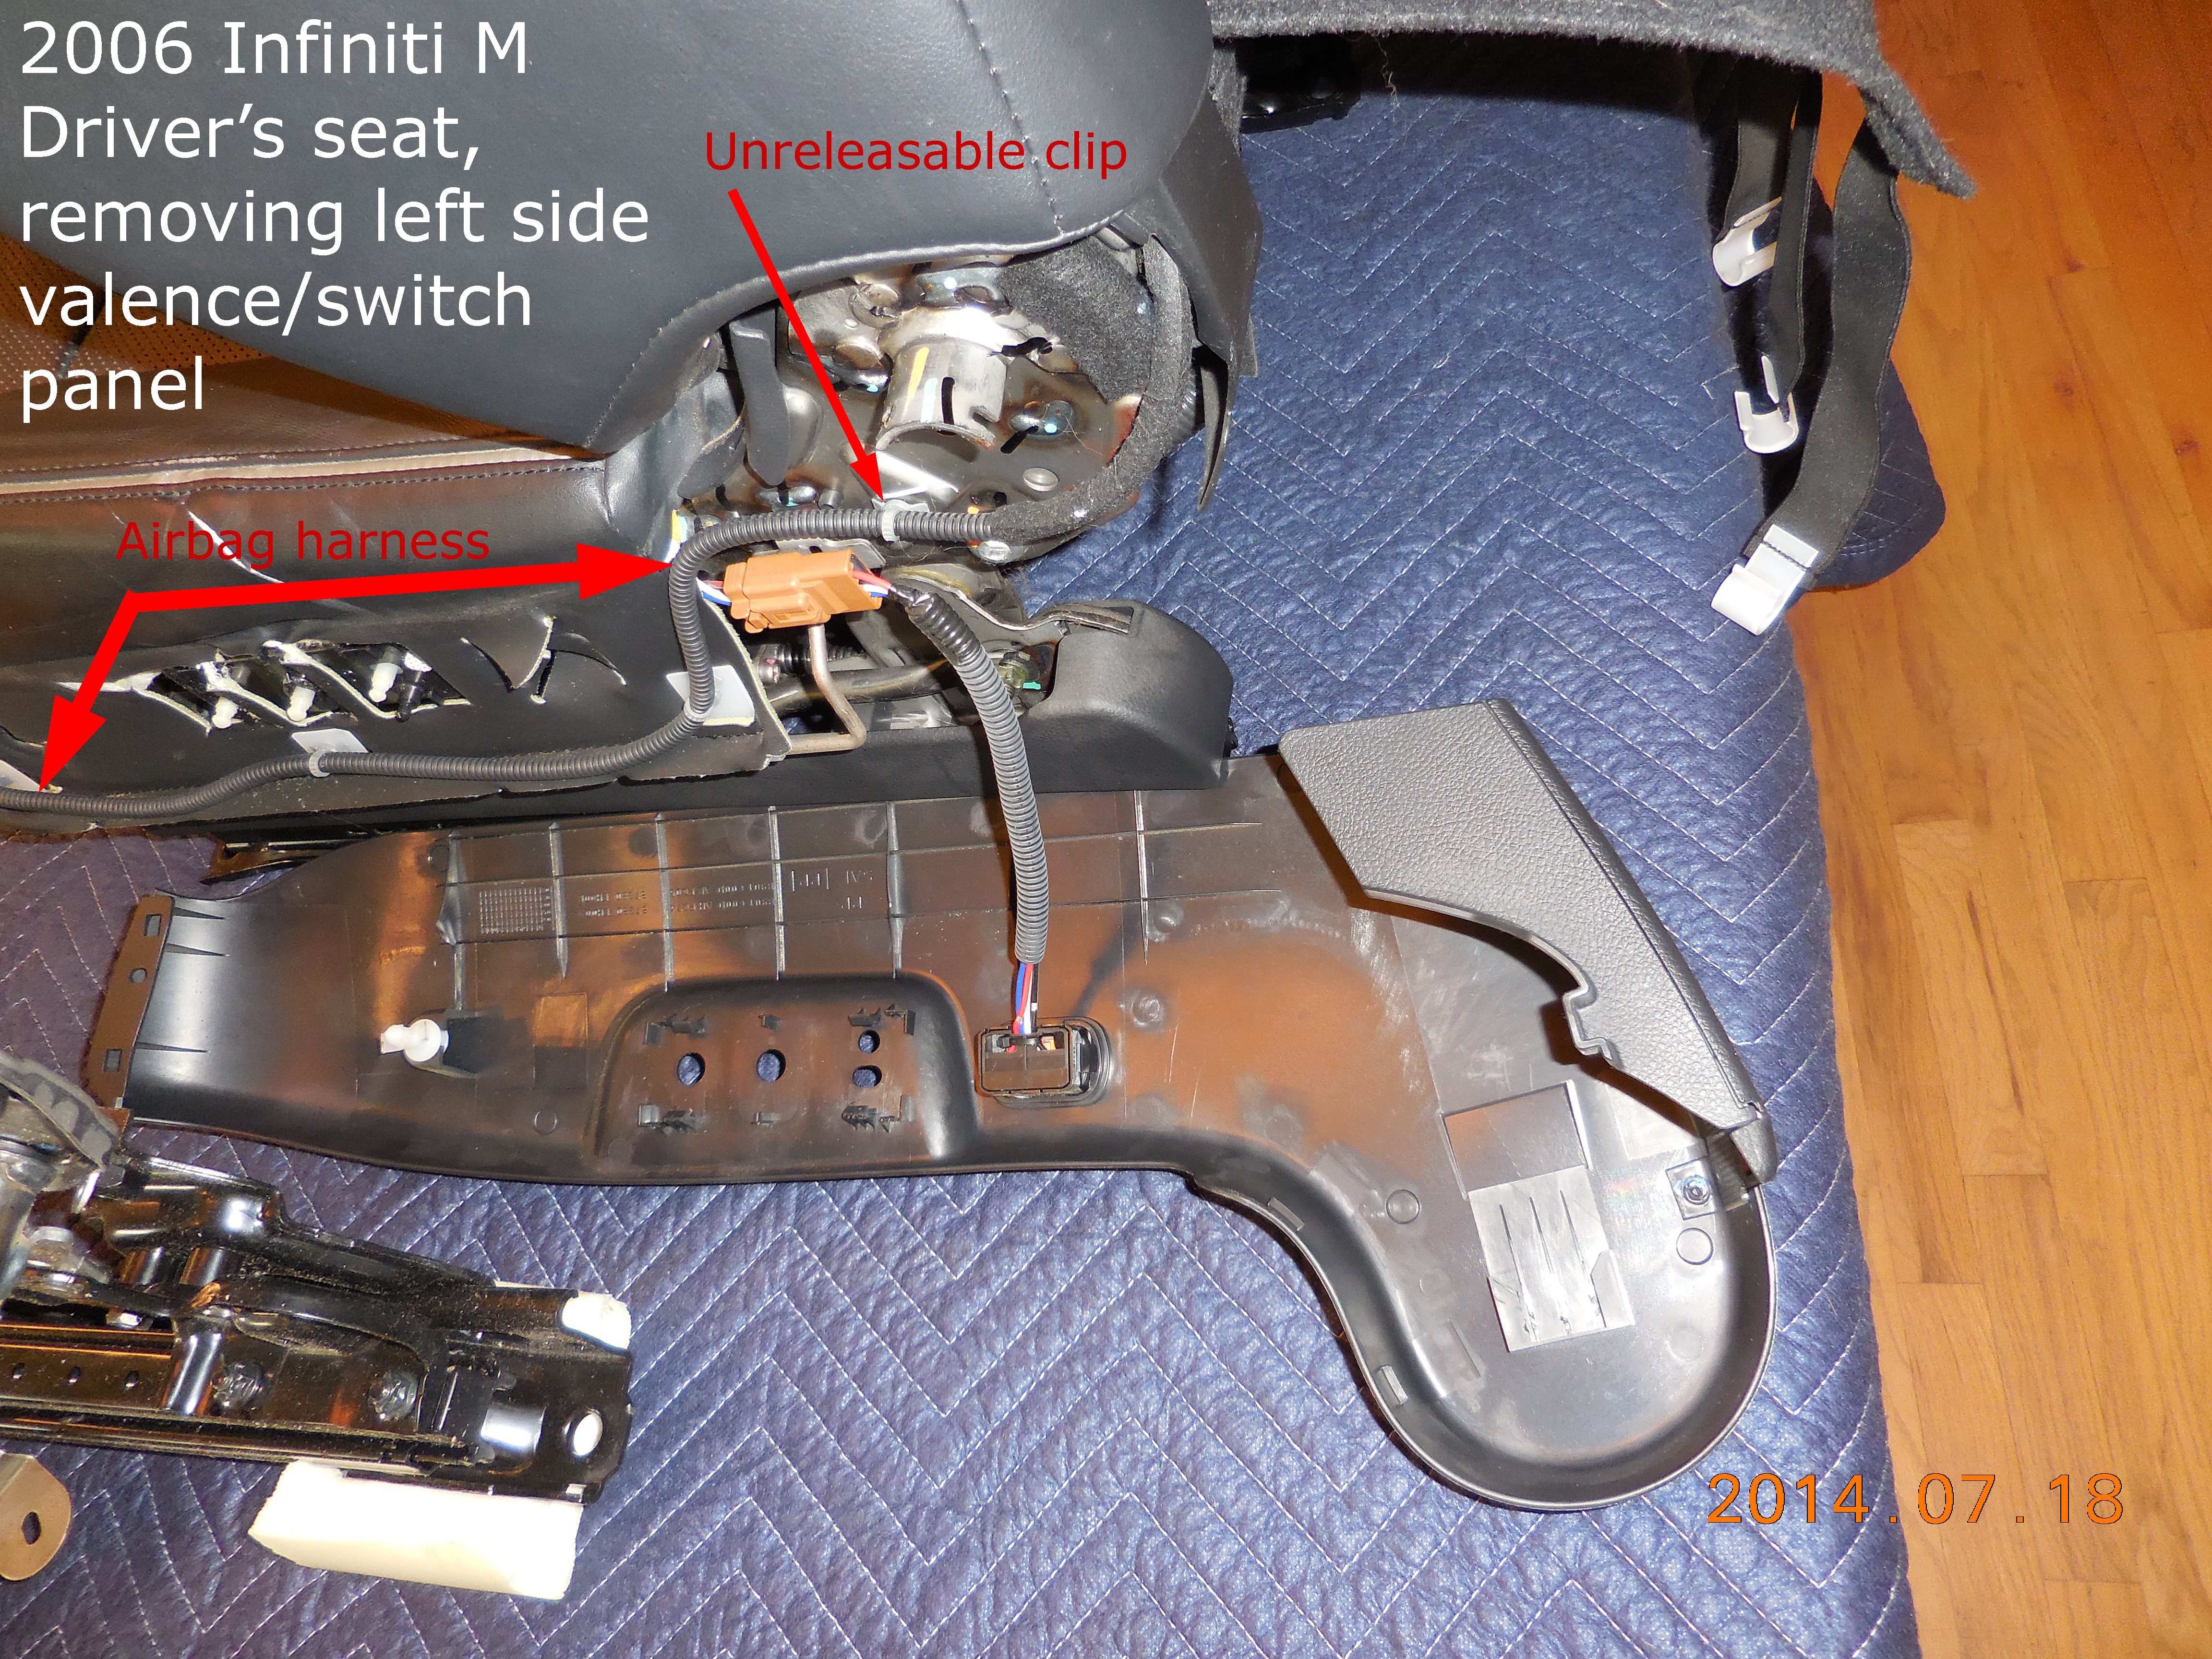
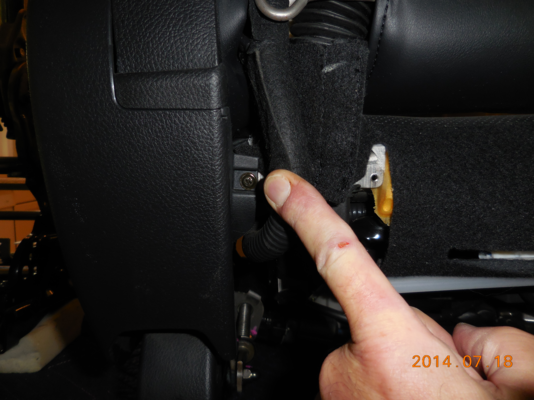
Before the left side panel can be taken away, this harness clip must be released from the frame:
Click HERE for larger

Working at the front left of the seat, release the airbag harness clips. There's one at the rear that clips into a blind hole and cannot be released. Just rip it out, nothing for it.
Click HERE for larger
This is NOT the unreleasable clip, you can get to this one at the front. See about three pics up for the bad one.
Click HERE for larger

Remove the seat bottom cushion by detaching the white plastic tube hooks that hold it to the base rods on both sides & the front. The o-ring tool works really well for this, too. I didn't capture a good pic of these, but this is the type:
Click HERE for larger

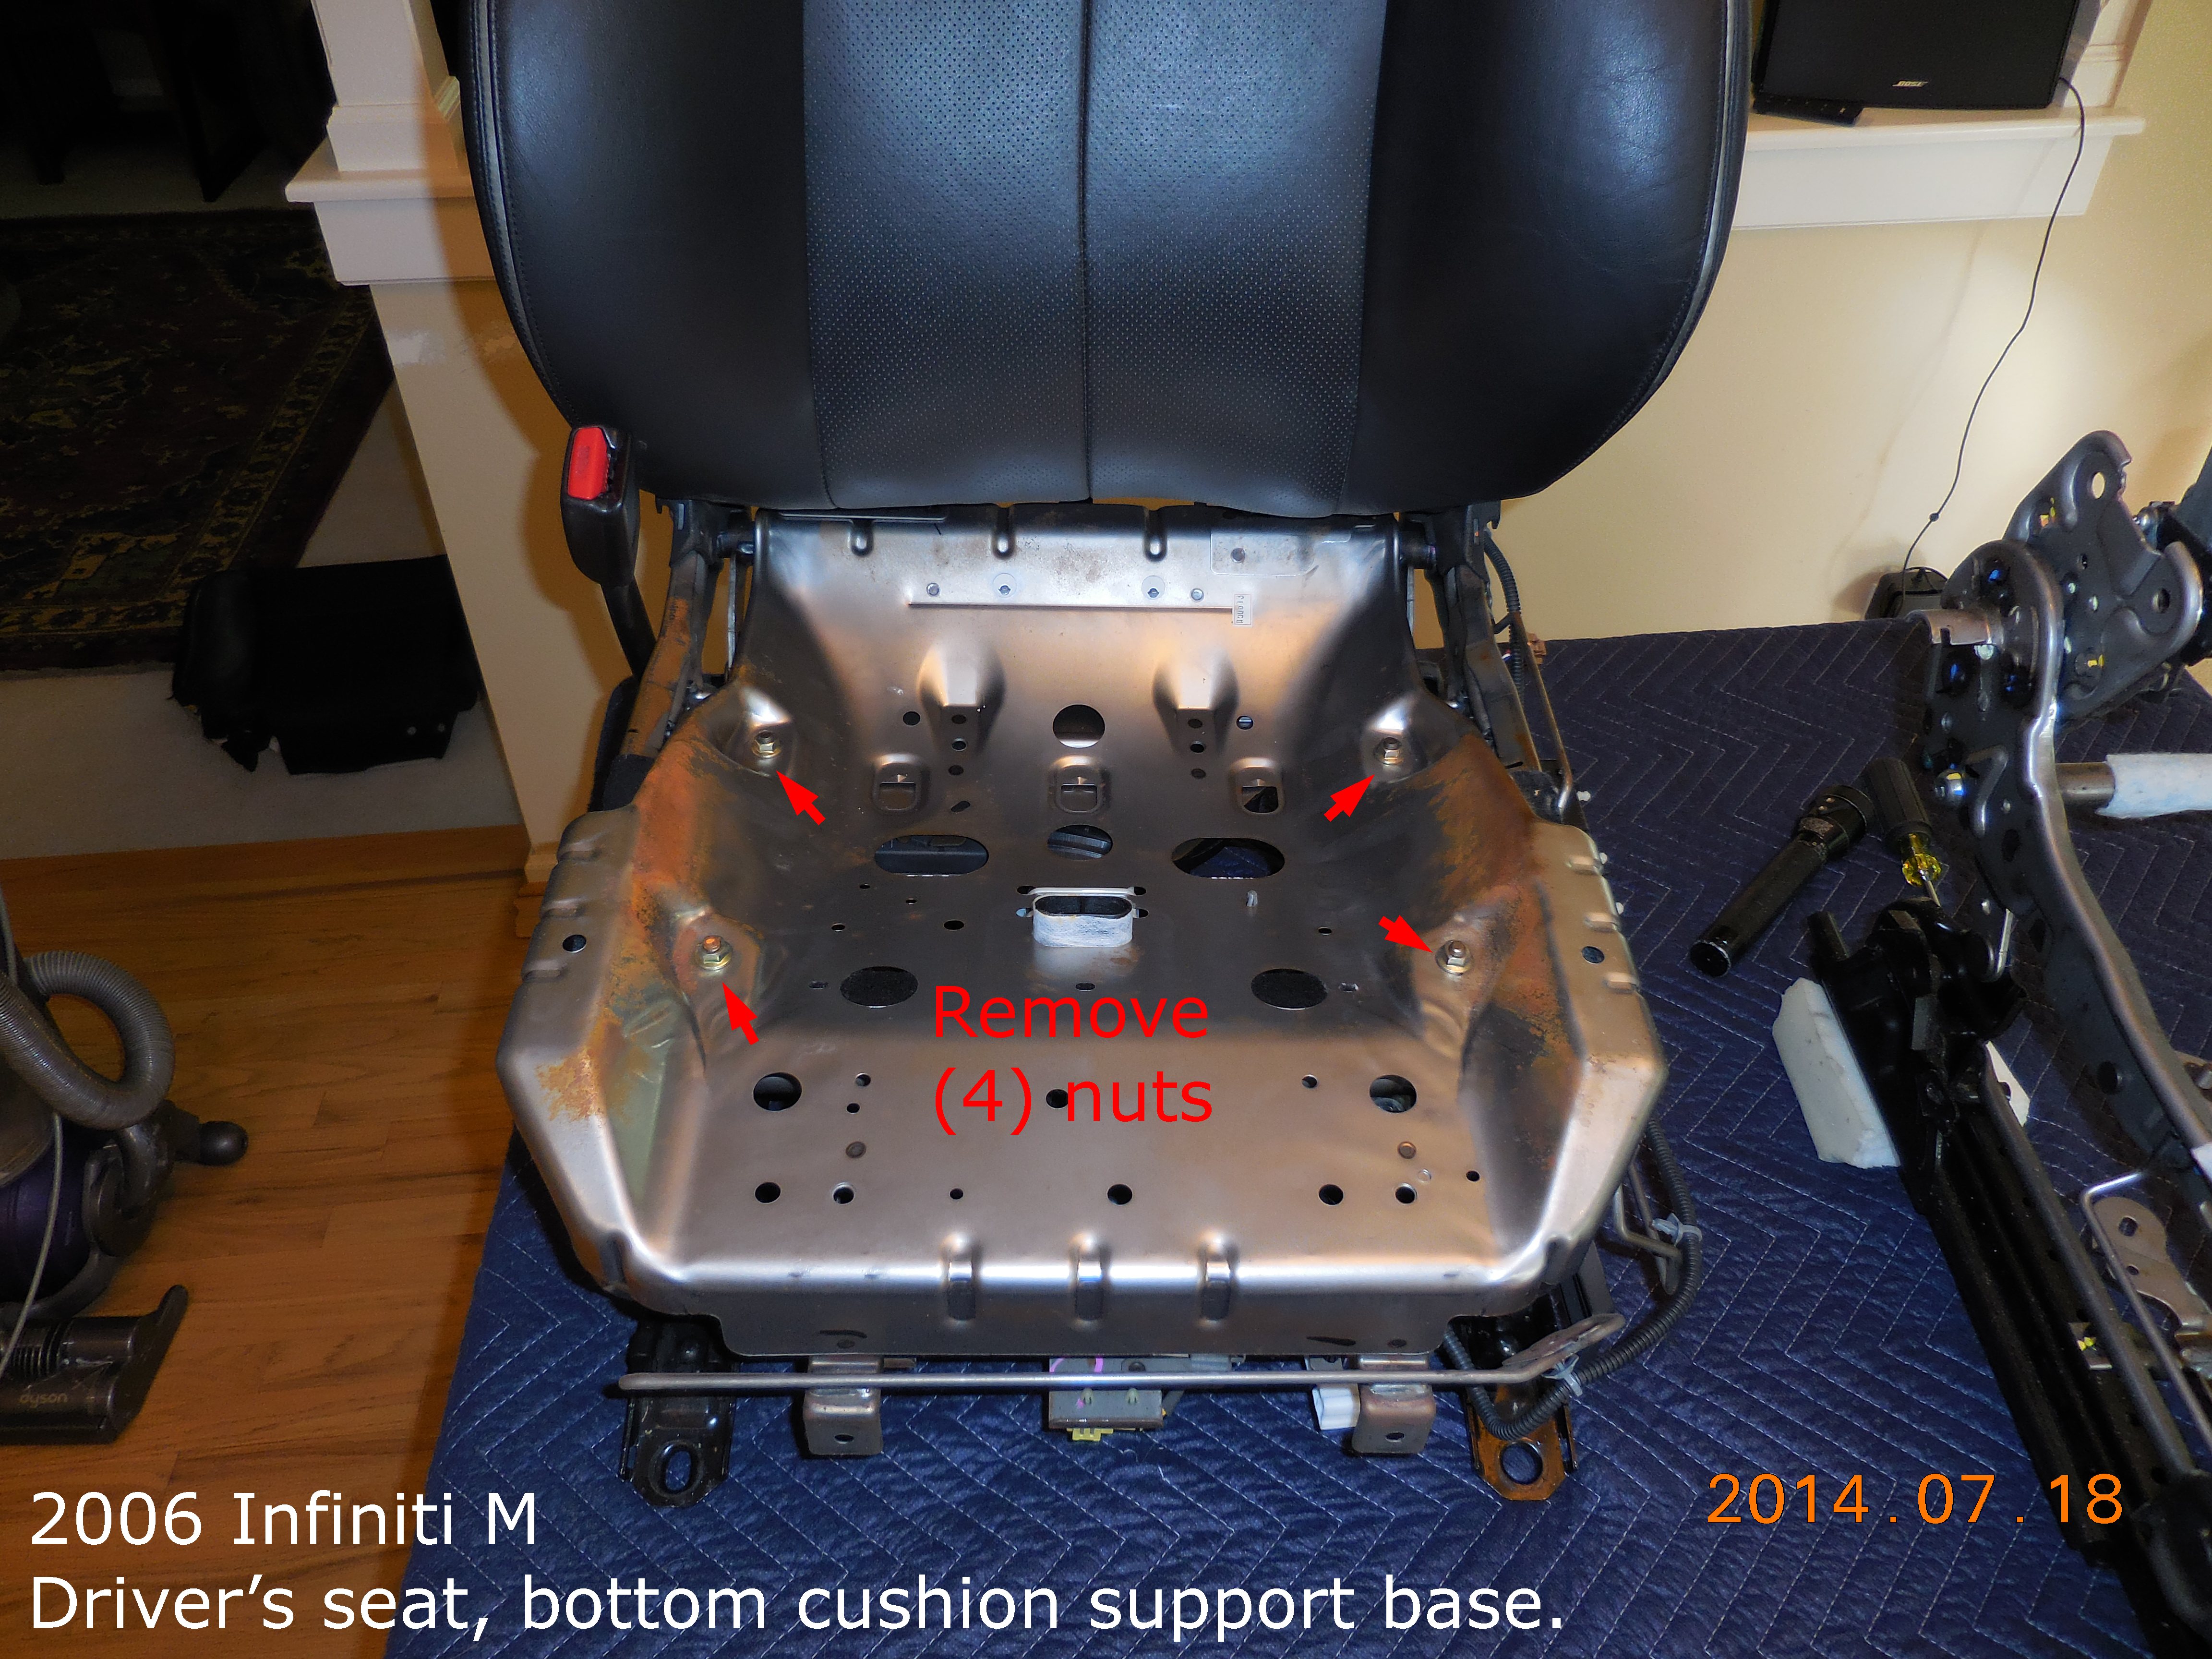
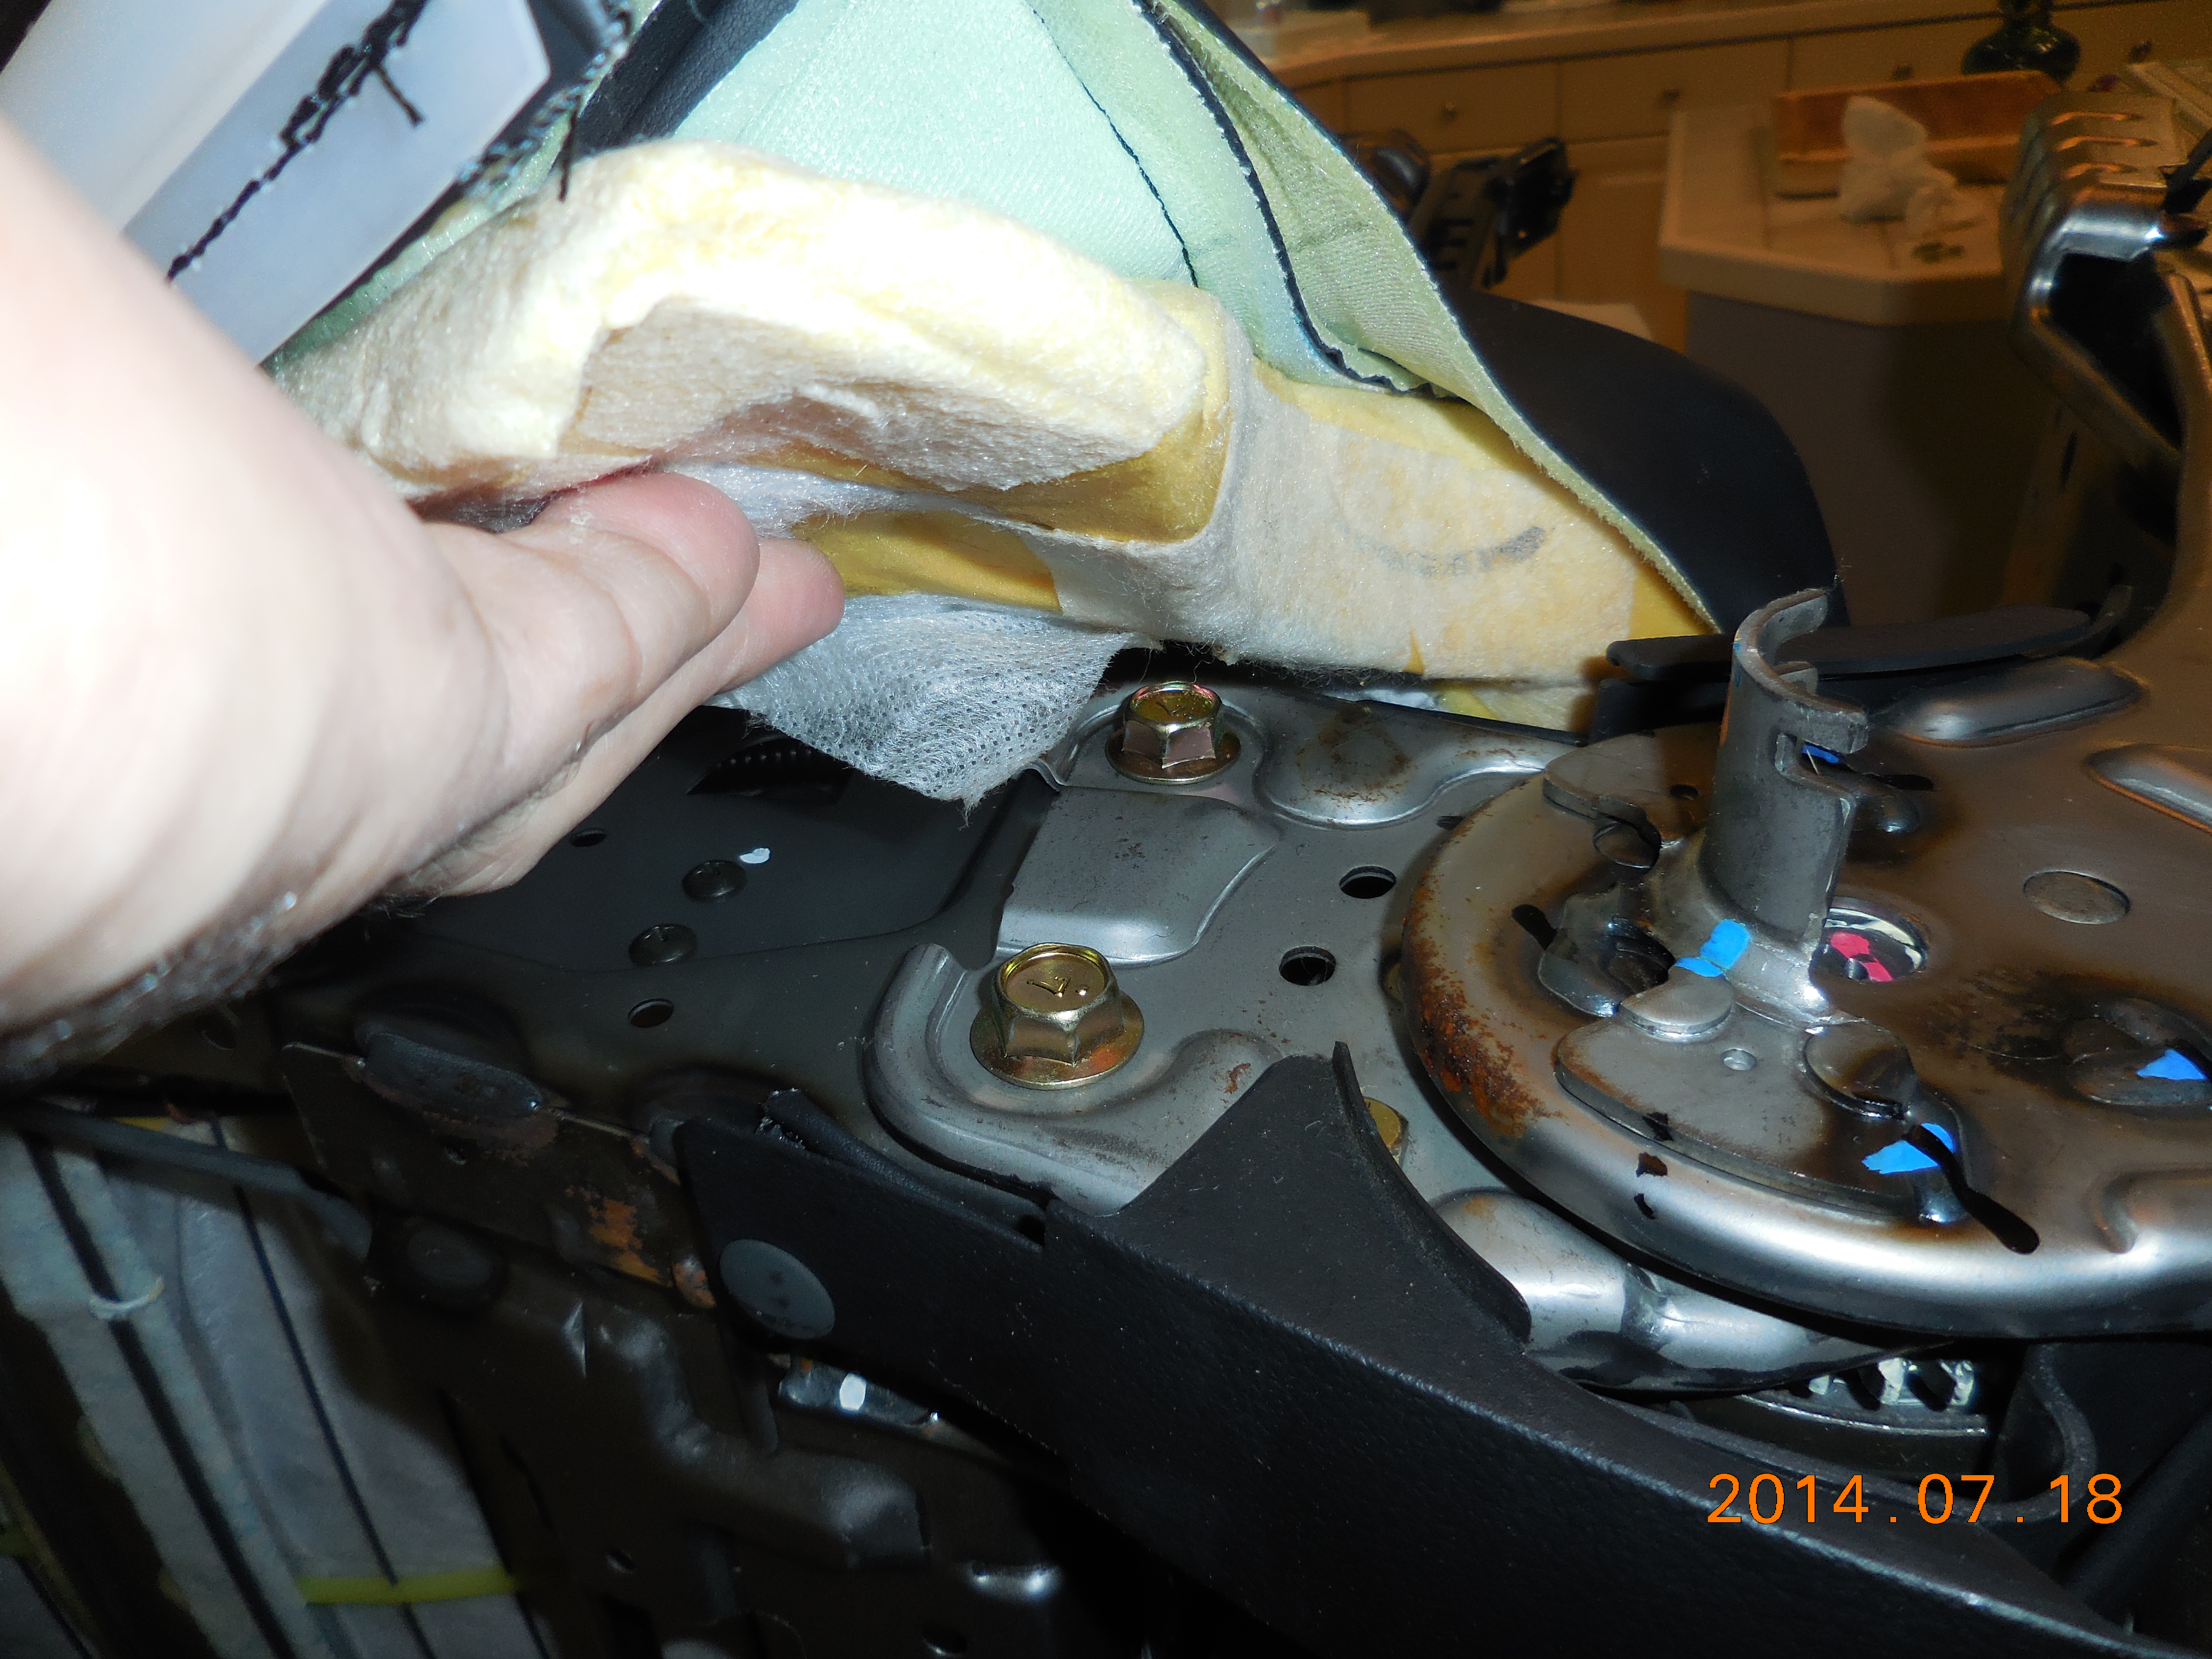
Now the seat bottom cushion can be pulled out, leaving the metal cushion base. Remove the four nuts (12mm, I think):
Click HERE for larger
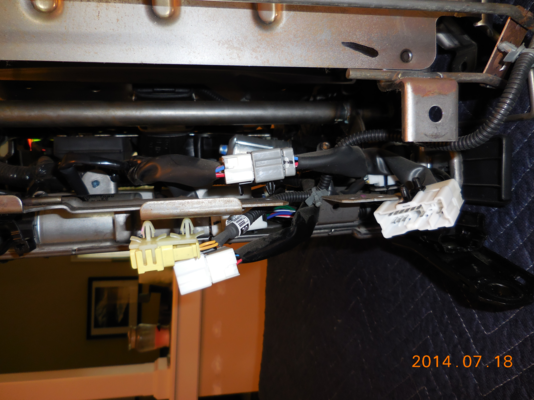
Now there's a bazillion harness clips to detach to get the internal harness disconnected from the motors, the motor controller and memory module, and the optical encoders (on some of the motors). Use the o-ring tool and work each one loose.
Click HERE for larger
 Click HERE for larger
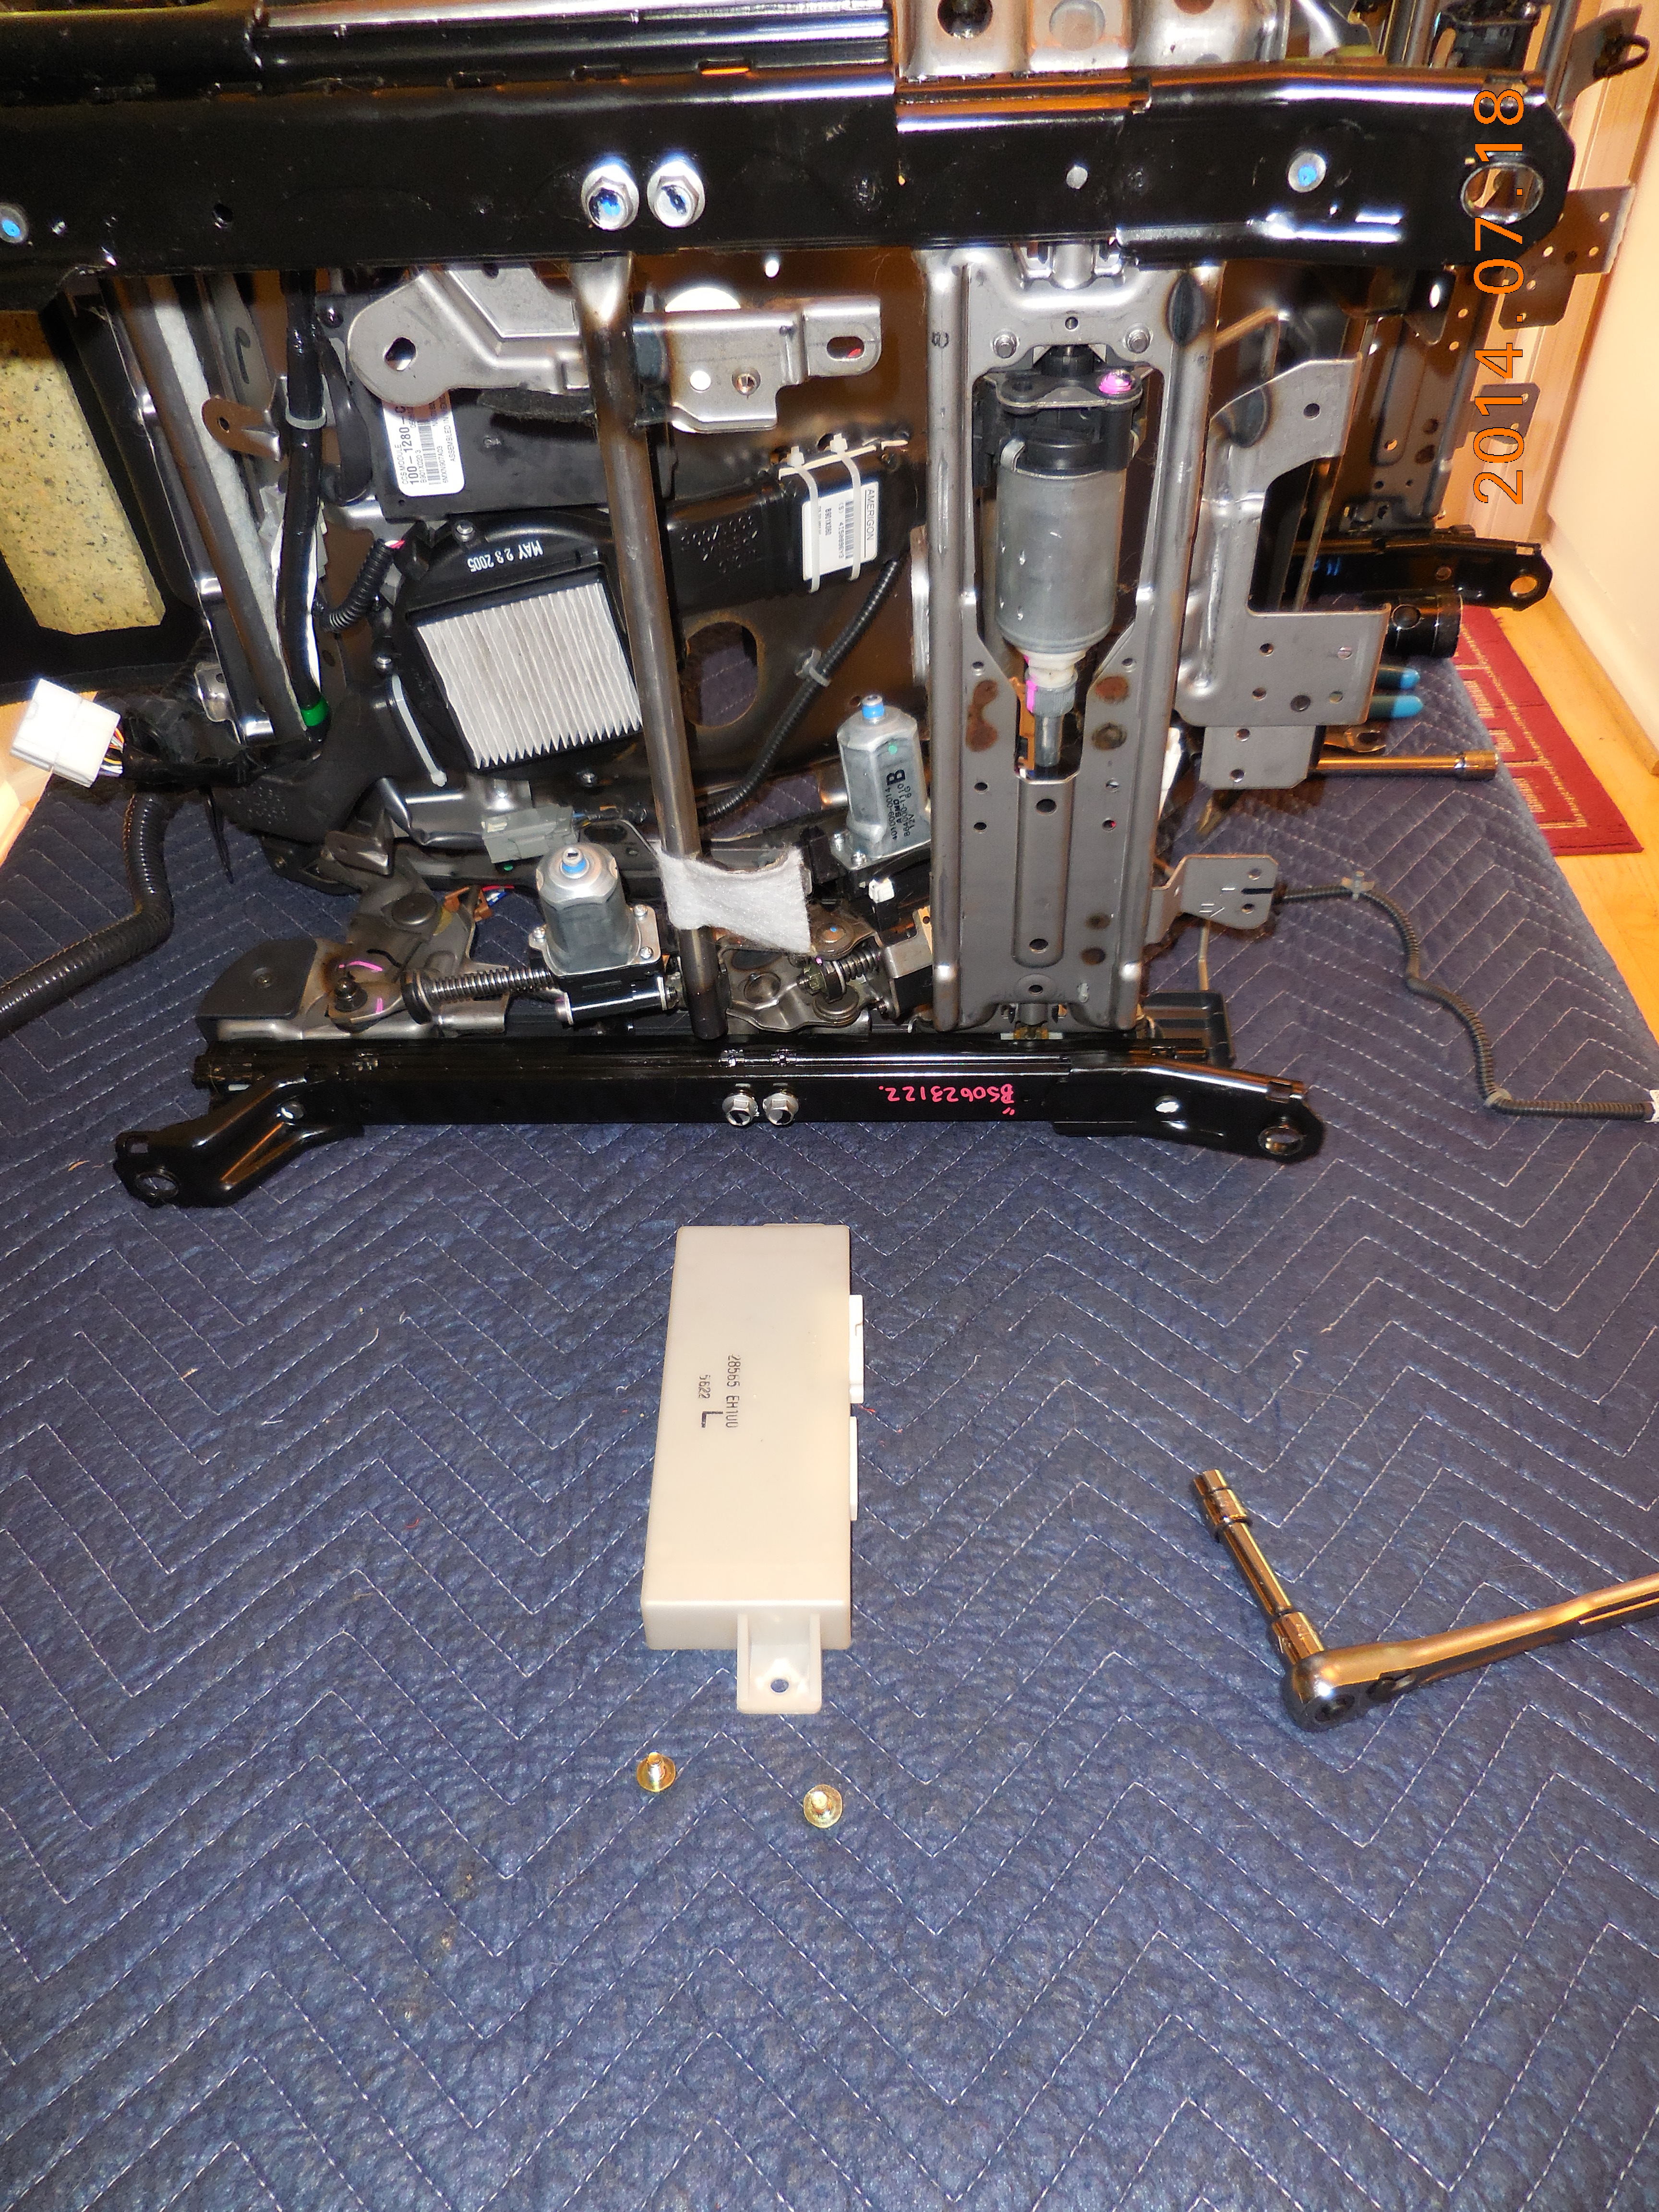
This module can be unbolted now or later, it doesn't matter. All the heater/cooled seat stuff stays with the metal cushion base, so there's no need to remove any of that.
Click HERE for larger

The magazine pocket in the back is held on with two more of the heavy-duty white plastic retainers, but I couldn't release them, so just pull outward on the bottom, hard. The whole thing just slides off after that:
Click HERE for larger

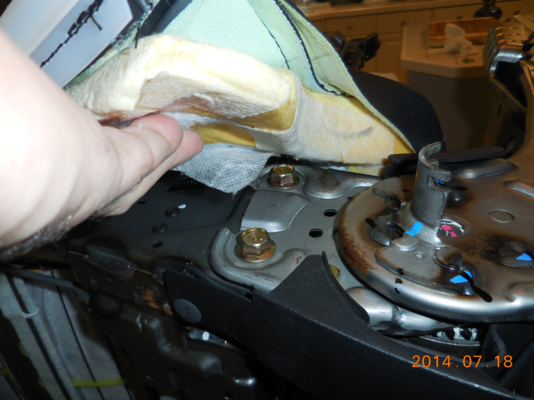
Pull the side upholstery aside and get a 14mm box-end wrench on these bolts. I had to use a cheater on all of them to break them loose, they are seriously tight. Access on the left side forward bolt head is not ideal, but it can be done.
Click HERE for larger
 Click HERE for larger
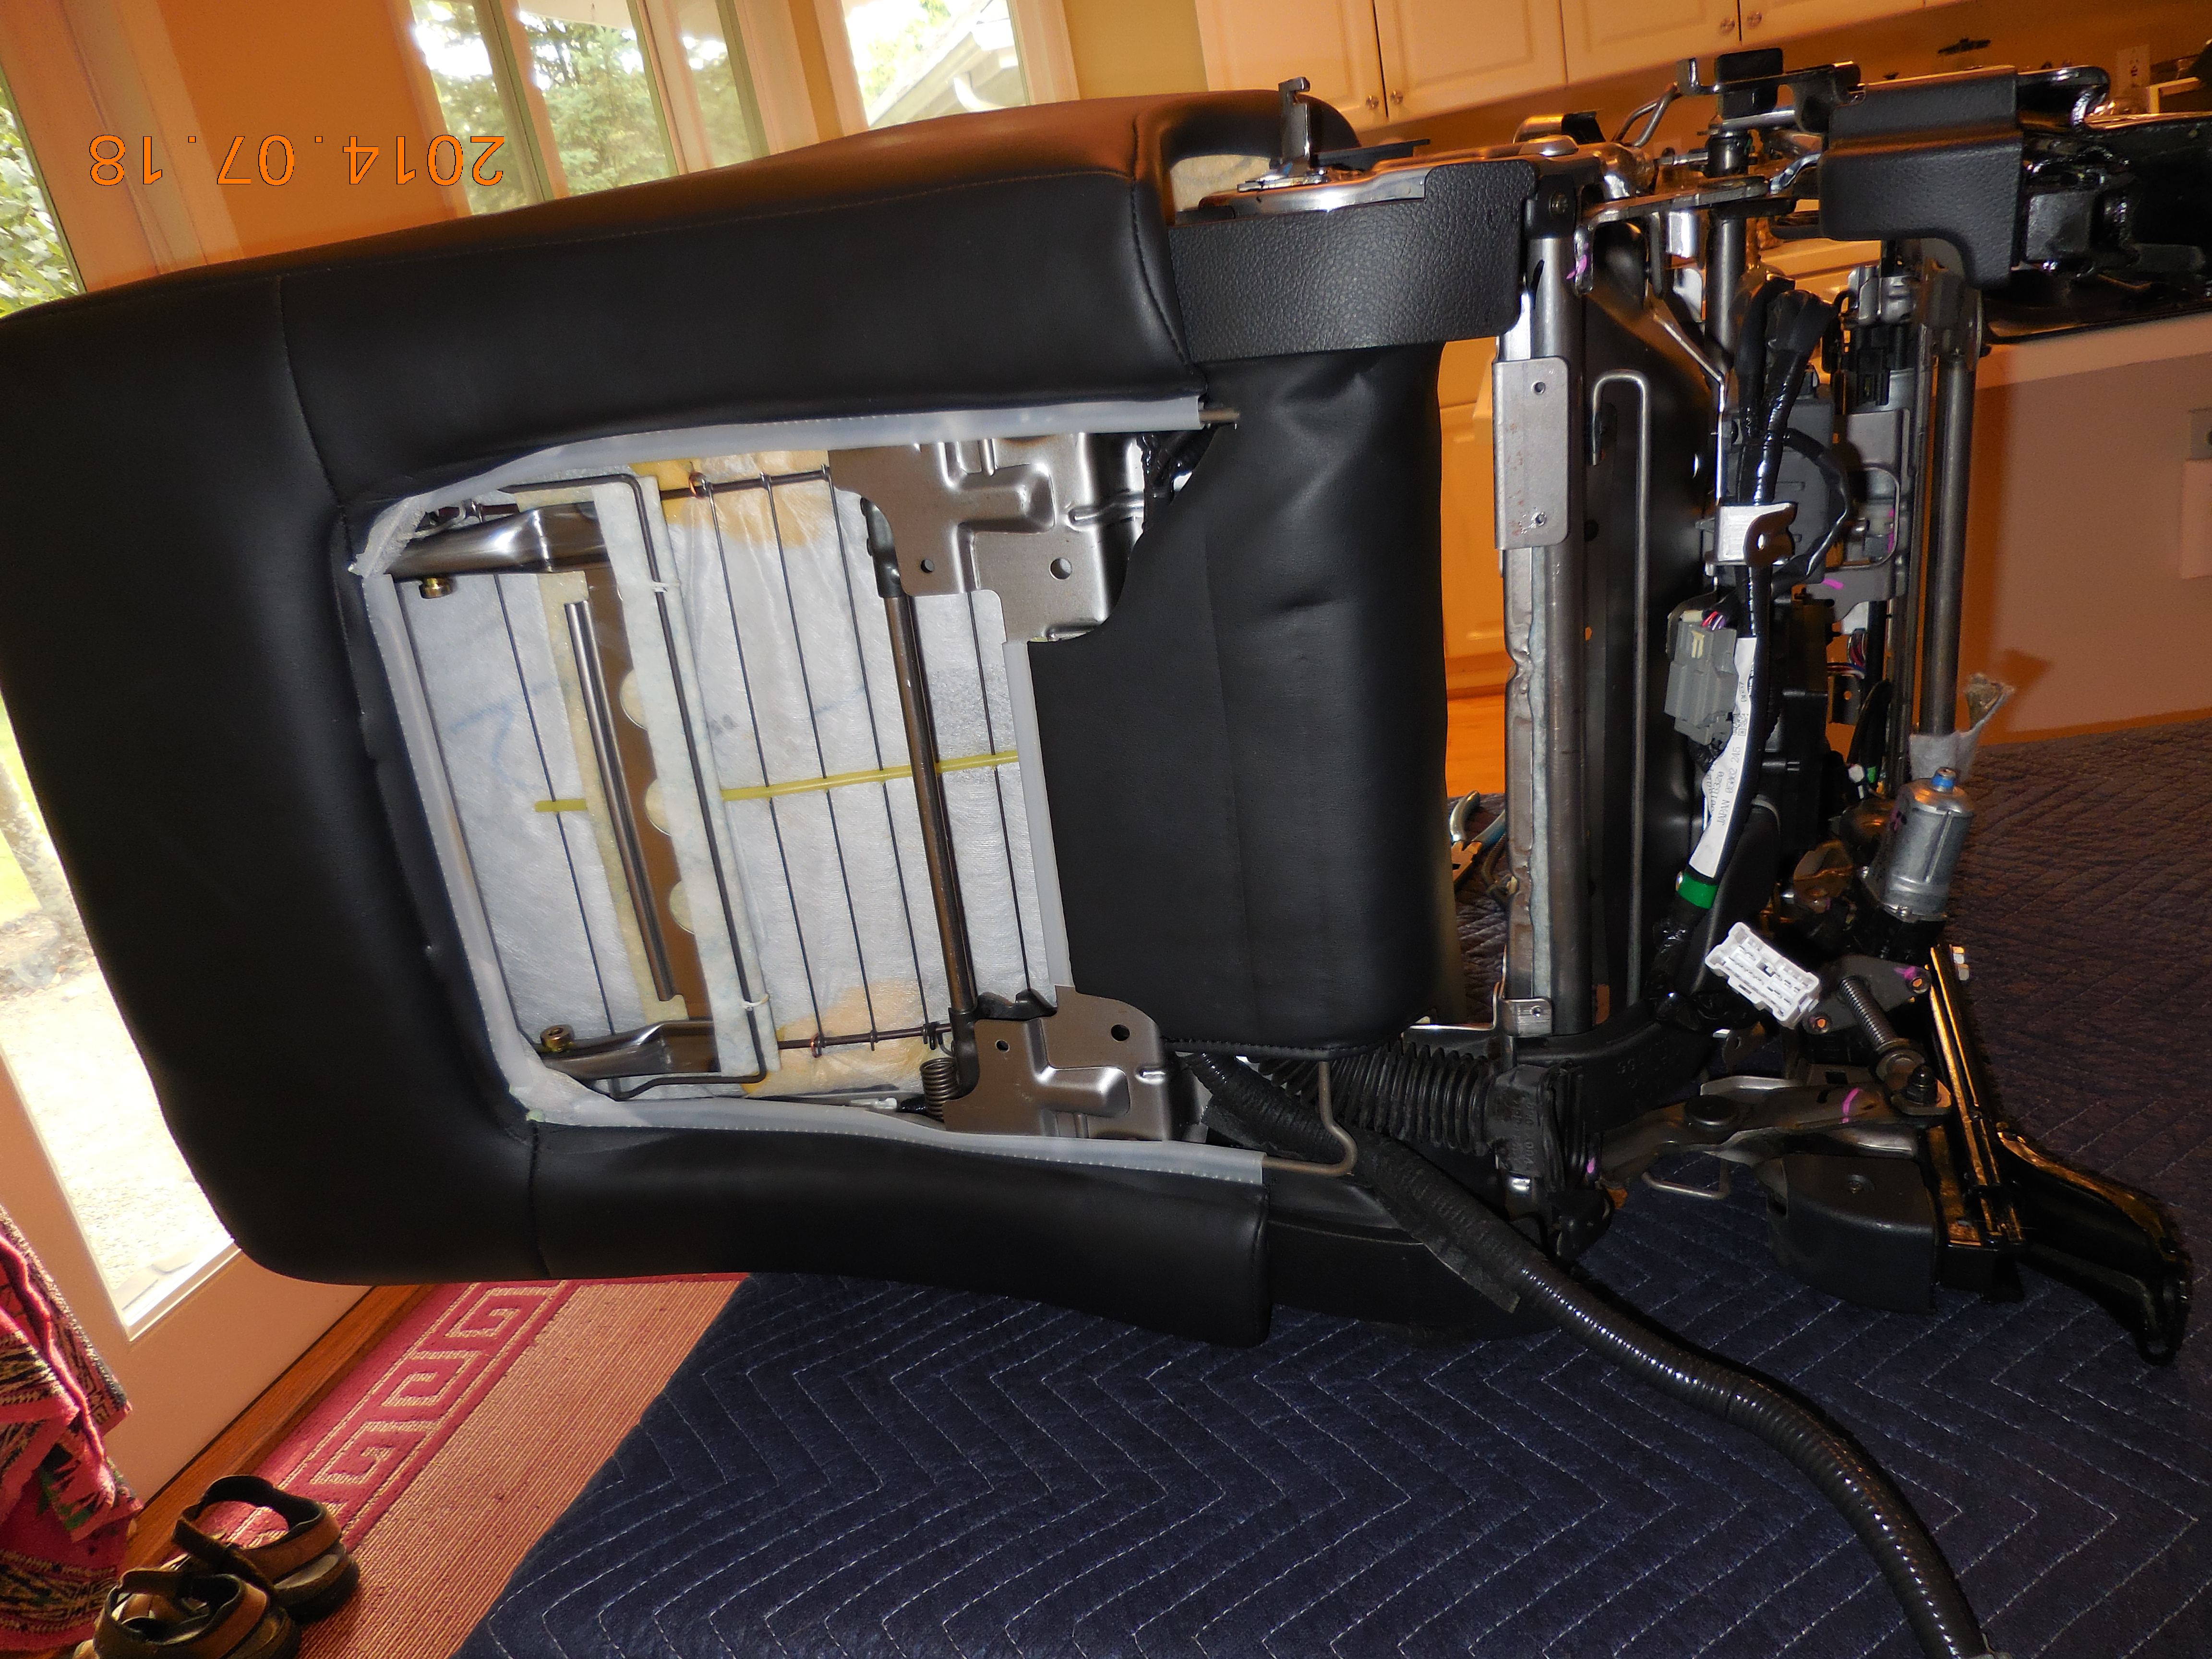
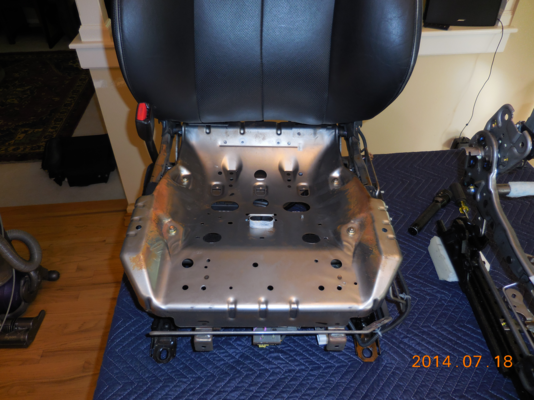
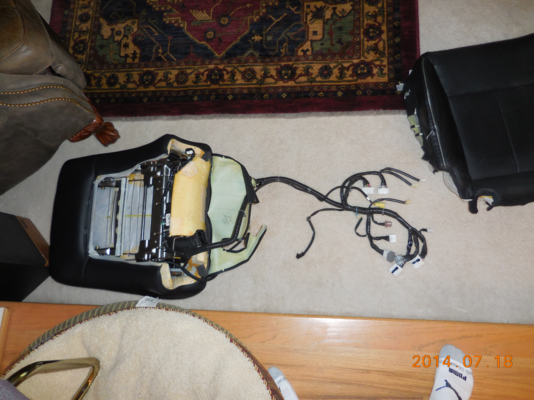
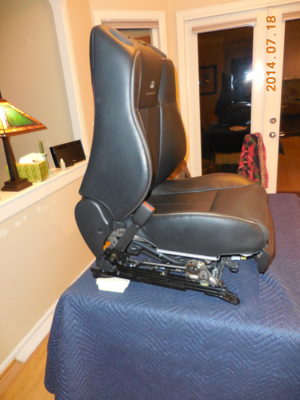
With the four bolts that hold the seatback to the base frame/hinges removed, I'll skip ahead a bit to show you what you are removing: the seatback and the wire harness.
Click HERE for larger
You'll want a helper to pull the seatback up while you feed the wire harness up and, more importantly, disconnect the optical encoder and power wires to the seatback tilt motor on the right side. There is very little slack, so somebody has to hold the (heavy) seatback up about 3-4" while you use the o-ring tool to disconnect the two connectors. It's a bit fussy, you can't see much without a flashlight, and there's not a lot of slack in the harness. Again, you need a helper for this.
Click HERE for larger
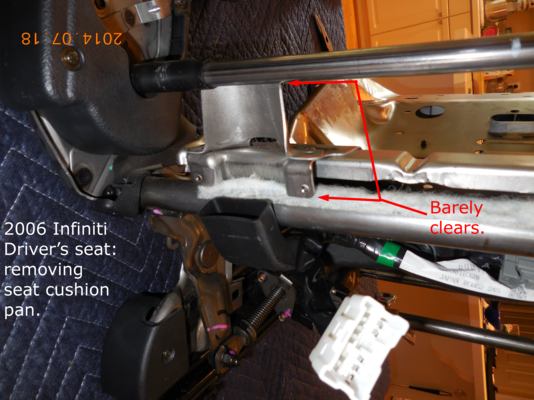
Coming back to the metal seat cushion base, you can now see why it doesn't want to slide out the front easily: this metal "chimney" barely clears. You have to work it out (wiggle up & down) and the same for installing it on the new base frame.
Click HERE for larger
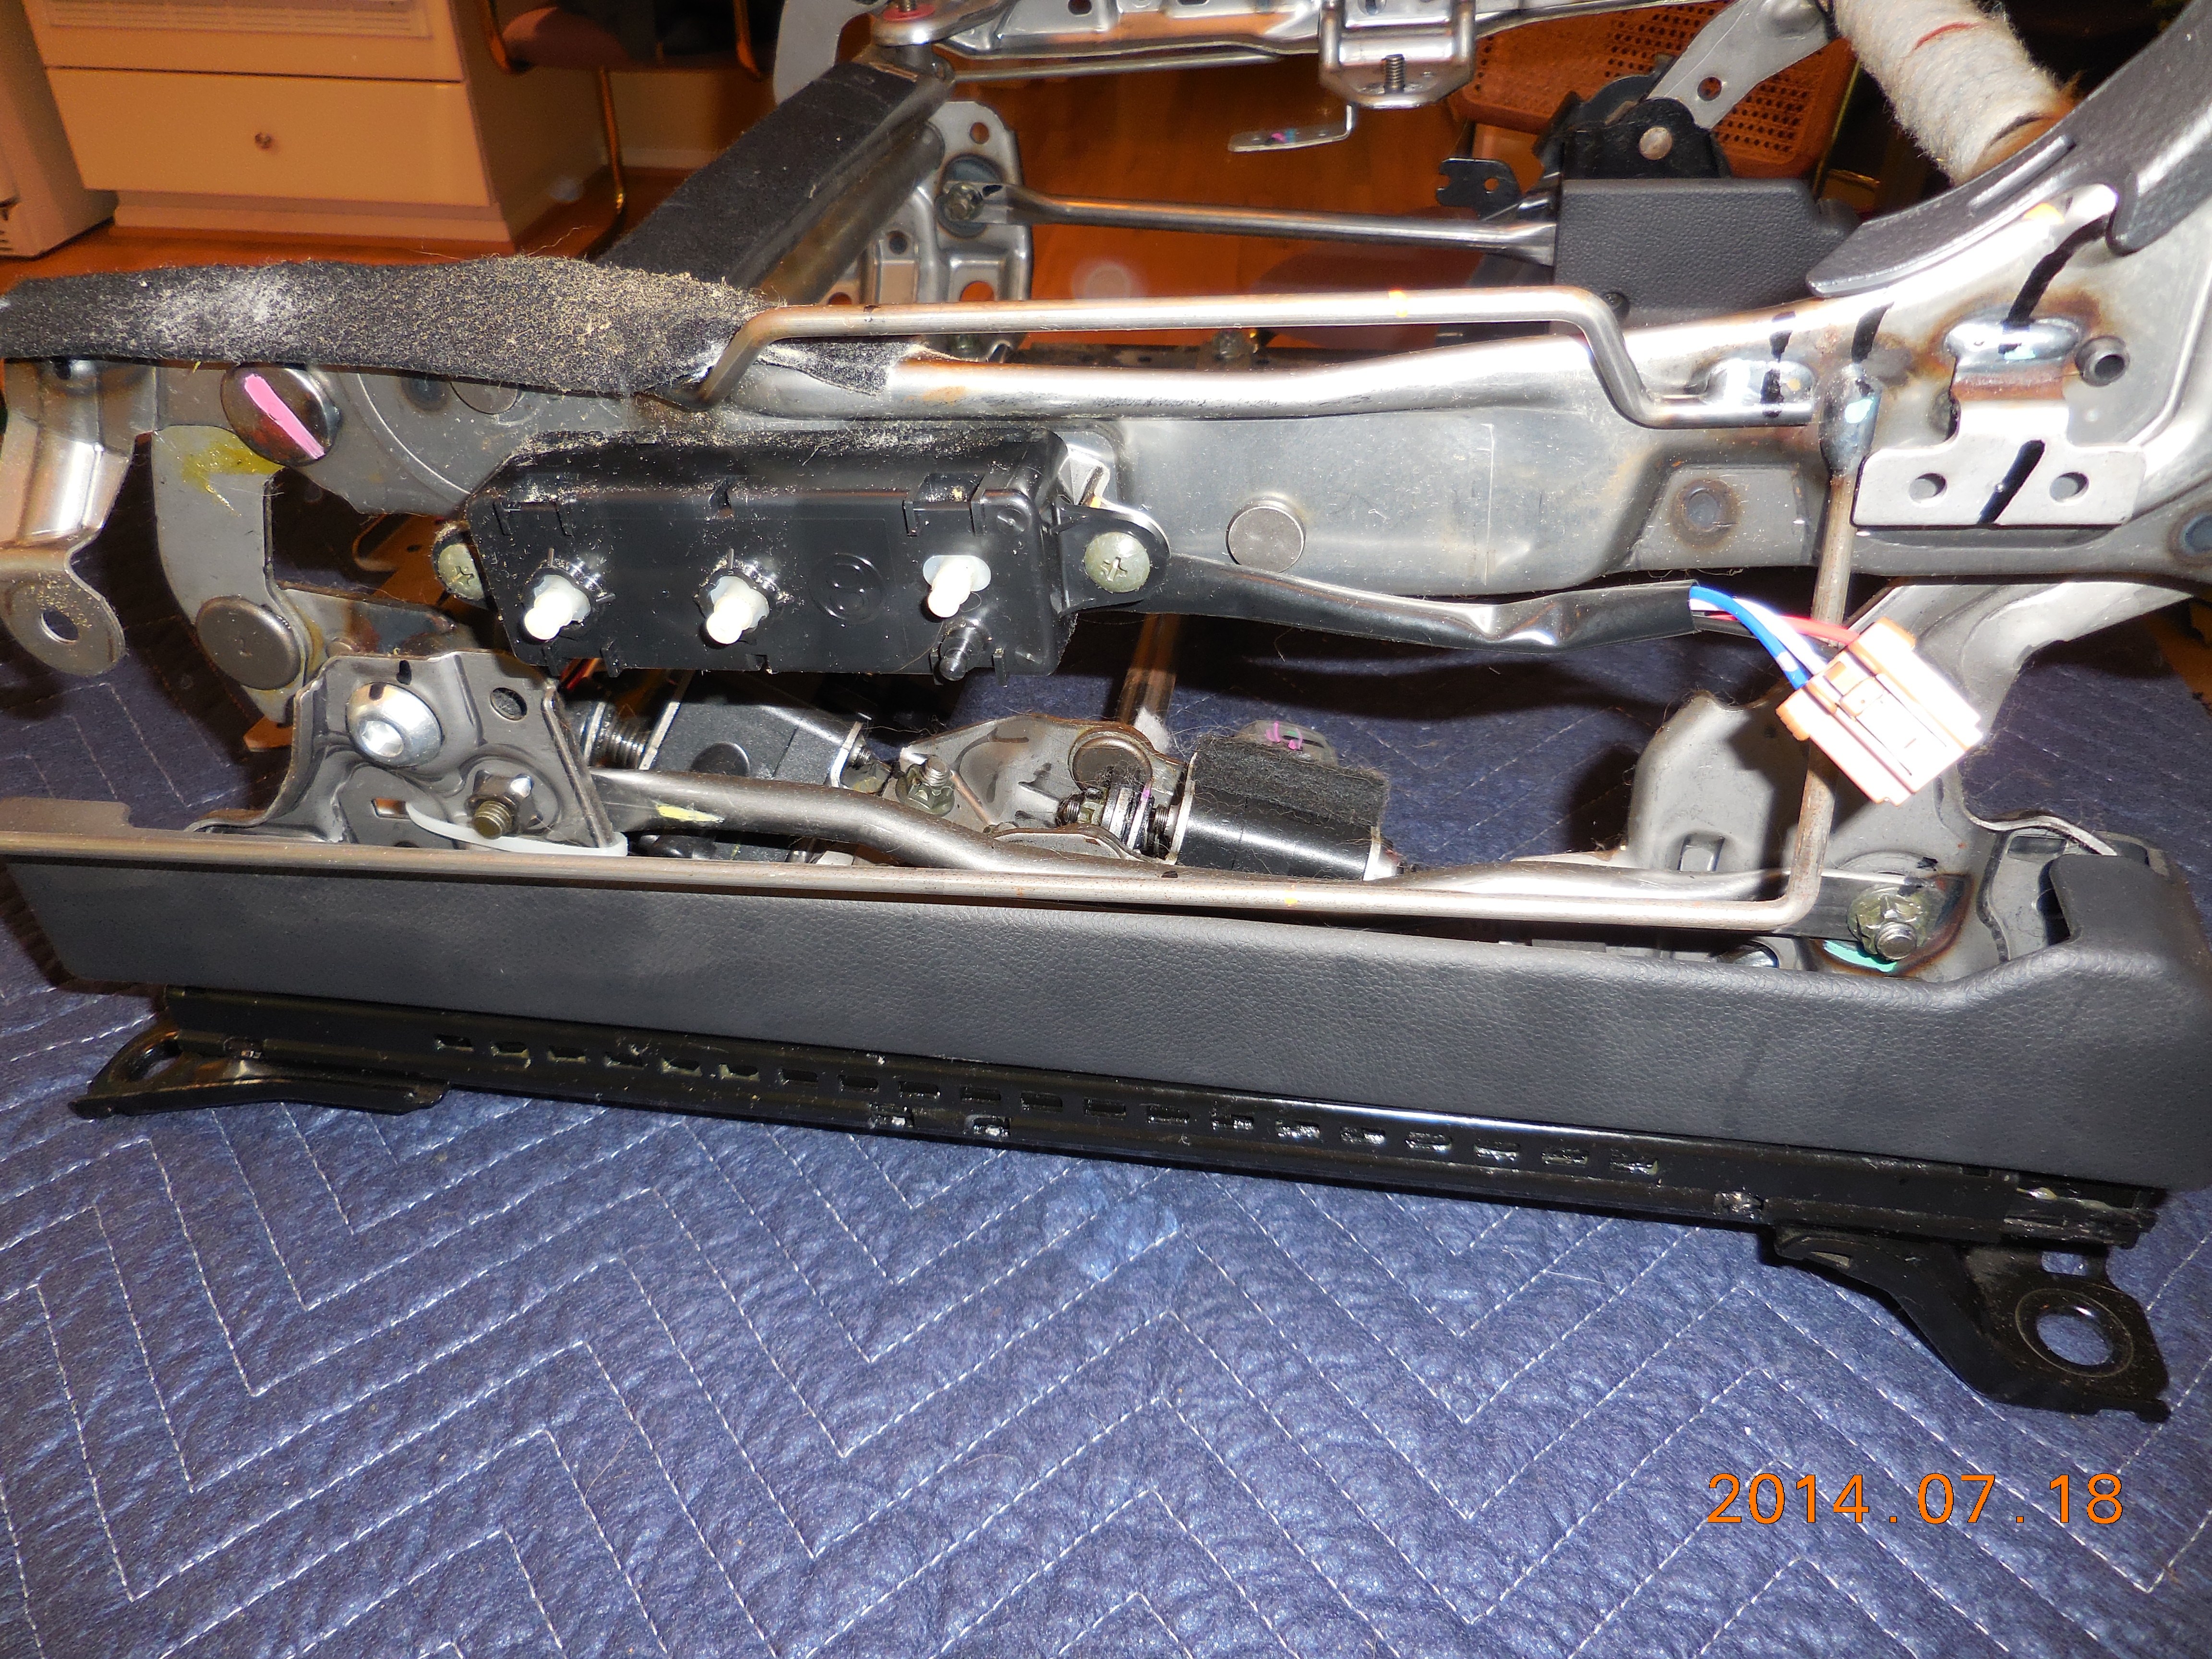
Transfer the seat manual switches over to the new base frame:
Click HERE for larger
 Click HERE for larger
Move over miscellaneous plastic cover bits:
Click HERE for larger
 Click HERE for larger
 Click HERE for larger
The rest is mostly just reverse of disassembly, paying attention to getting every harness clip reattached, every connector plugged in. You'll need a helper to lower the seat back onto the hinges mounts, so you can reconnect the tilt motor power & encoder connectors, and some attention is needed when you slide the bottom cushion's rear flap under the seat back, to get the bit of material that velcros around the metal "chimney" so it fits well where it meets with the wire harness up the back, but it just requires patience.
Click HERE for larger
 Click HERE for larger
 Click HERE for larger
 Click HERE for larger

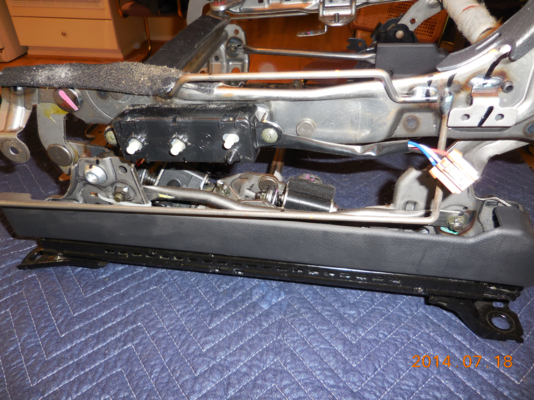
The original, old seat base frame, stripped of all transferred parts:
Click HERE for larger
 Click HERE for larger
 Click HERE for larger
 Click HERE for larger