I have had some oil consumption issues with this engine so far, at random increments I'll get home and check the dip stick to find that sometimes it's full, sometimes it's almost down a quart. It doesn't seem to matter how I drive the car (heavy footed, or just simple highway cruising speeds), and it was not a consistent loss of oil, so now I've just gotten used to checking it every day before I take it out.
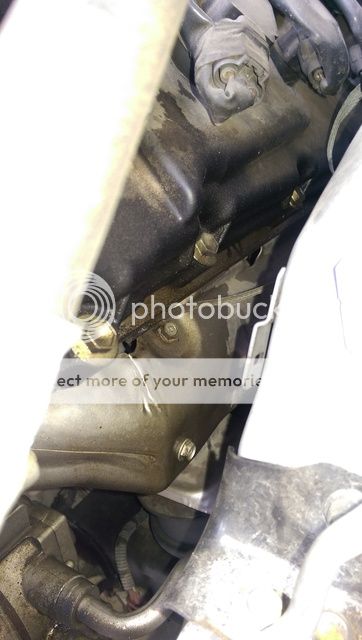
I had started to notice some smoke coming out from under the hood once I parked the car, and it was definitely oil burning. So I poked around and found that the right side valve cover was dripping a little bit of oil down on the the heat shield of the exhaust. Time for a fix!
Anyways, I'll kind of just write what i did according to each picture, I'll try to keep everything in order of how I took things apart and put them back
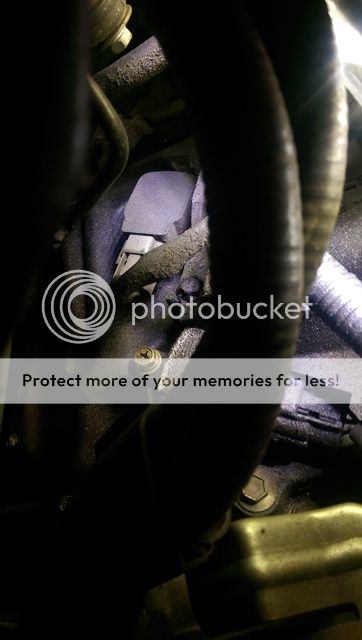

These first 2 pictures just show the dampness that had occured from the oil being dripped on the heat shields and burning off.
First thing that needs done is to take all the 3 big plastic cover pieces off the top of the engine. I've had mine off for a while already due to replacing left side cam angle sensor, I just never put them back on...Once you remove those pieces, you will have to take apart all the connectors from the main wiring harness that comes from behind the intake runners in the back of the engine bay. If youre unsure of getting them back together correctly, you can lable each side of the connector, but when you get to putting things back together, everything pretty much only reaches to where it came apart from. So this harness stretches all the way around to the front of the engine bay and has the connectors for the coils and some other things that will all need taken apart
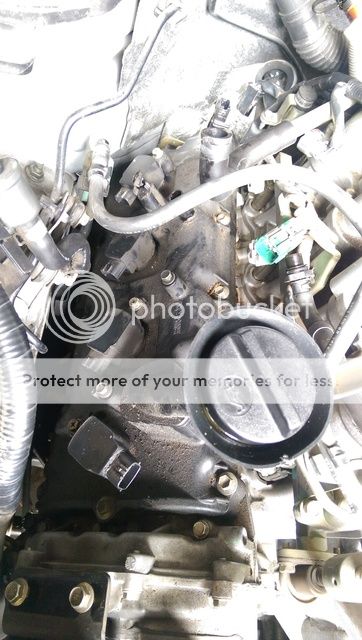
You can work the harness towards the back of the engine bay and lay it on top of the intake manifold to keep it out of the way

I also figured this out later than I should have, but you will need to remove the right side of the cowl at the bottom of the windshield, remove the battery, and then remove the battery tray. All the plastic cowl pieces and the covers around the battery compartment just have plastic push in fasteners, the battery tray has 3 12mm bolts that you will have to remove

Once the battery is out of the way, you will see a small black rubber plug in the side of the battery compartment. This needs to be removed to gain access to the lower rear bolt on the valve cover.

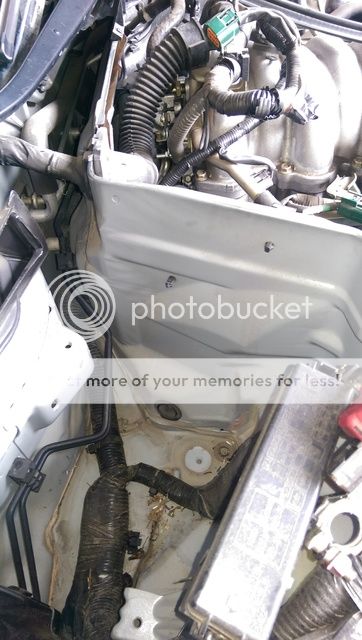
Screwdriver in this photo is pointing to where the rubber plug is located

You will want to take all the ignition coils out. They're all 10mm bolts for them, and once loosened youll kind of have to wiggle them back and forth while slightly pulling them up through the valve cover. Please take care not to snap them, cause I'm sure they're not cheap, but they do have a slight amount of flex in them that makes is pretty easy to get them in and out.
Once the coils are out, you can take all the bolts out that hold the valve cover on, I think there were 12 of them, all 10mm. You will definitely want a couple 3" socket extensions, and a 6" extension, and a wobble joint (U-Joint, Flex Joint) socket extension Some of the bolts are a real pain to get to. For the lower rear bolt, it's easiest to put your socket and extension through the little hole in the battery compartment where that little rubber plug was.
There are 2 hoses that need taken off the valve cover as well, one goes right to the PCV valve, the other larger one just goes to a port on the valve cover.
I had to use a flathead screwdriver to pry the valve cover back and forth a bit, it was pretty stuck on there due to the old gaskets, but just work it back and forth in any direction and it will eventually losen up. Take care in this part as well, cause these valve covers are made from a plastic composite of some type, and I'm sure they'd crack if too much pressure was exherted on them.
Once you get the cover off, you'll have to check the entire surface for any pieces of old gasket, or any silicon that might have been put on at some point. It takes some time and alot of gentle scraping to get any of that stuff off.
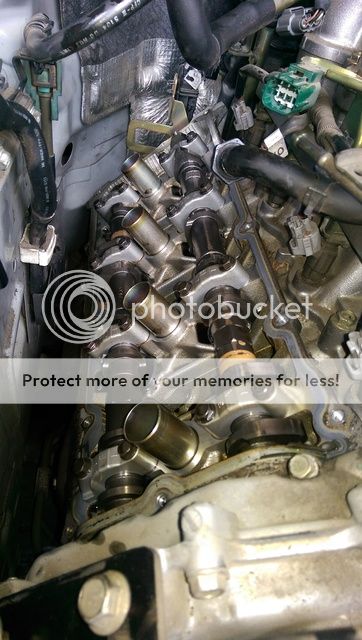
This picture is just to indicate where my gasket was leaking the most, you can see all the residue on the outer edge of the metal.

This is the old gasket, as you can see it was very brittle, to the point where it cracked apart just taking it out

AR000 is the gasket for the right side, AR010 is the left side

I wiped the valve cover down and made sure it was free of dirt before installing the new gasket. There's a little channel in the valve cover that the gasket kind of seats into, it makes it pretty easy to put back together. When putting the cover back on with the new gasket, make sure everything is lined up, and feel all the way around the valve cover to make sure the gasket stays in place, and hasnt folded over or anything. Once you are confident that your gasket is in the proper location, you will have to give a somewhat forceful shove to the valve cover to seat it over the spark plug grommets. Once it's seated, you can start putting everything back together, get all the valve cover bolts tightened up, I had them all hand tight and then did 1 turn at a time on each bolt until I had all the bolts snugged up. I'm sure there's a torque spec on the bolts, but the way you have to bend the ratchet around to get to all those bolts, I'm sure a torque wrench wouldn't fit where you need it. So I just tightened everything down, not extremely tight, but pretty firmly fastened.
Re-route the harness back towards the front of the engine, making sure to connect everything that you have taken apart. Put the battery tray back in, instal the battery, make sure any hoses that may have been taken apart or accidentally pulled off are reconnected, then start the car up! I let it idle for about 15-20 mins, just enough time to grab a beer and sit down and relax for a bit. I revved the engine to 2500rpm and held that for a minute or 2, then checked as best as I could visually for any signs of drips or anything. Once you're satisfied with the right side, it's time to get started on the left side.
I hadn't had any drips on the left side gasket, but you can see some seepage
For the left side, you'll have to remove the air box, pull the MAF out of the flexible intake tube part, and then take the intake tube off.


Again, you will have to get the main harness out of the way, disconnect all the connectors. There is a bracket that mounts to the valve cover that holds a portion of the harness, remove this 2 10mm bolts. There is a little blue wire connector on the very back of the engine that needs taken apart, and it was the worst part of the entire project. It's almost impossible to reach, and it's fastened down to a bracket that you cant get access to remove, so you'll have to probably break the back of the fastener off. I did this with a very long flathead screwdriver and a bunch of whacks with a hammer....I was getting pissed.....but it did come apart.

Once the harness is out of the way, remove all the ign. coils.
You'll have to pull this hose off, which is full of coolant. I taped off the end of the metal part where the hose went so that coolant didn't keep dripping out of there

Again, there will be a rubber plug that needs removed from the brake resivior compartment so you can gain access to the lower back valve cover bolt

Same as the side before, take care prying the valve cover off. There is an A/C line that's kind of in the way, but you can flex it out of the way as you start pulling the valve cover off

Again, check all surfaces of the metal and the inside of the valve cover for any old gasket material or silicone. Left side gasket is AR010

Work your way around the valve cover tightening all the bolts a little bit at a time, reconnect all the wire connectors and hoses. And I think that's about it! Once it's all bolted back together, fire up the engine and let it idle for a while, grab another beer. After I let the car idle for a bit and felt confident in zero leaks, I took it up and down the road for a bit, putting it under heavy load. Full throttle all the way through the rpm's in 2nd and 3rd. No leaks!
I know I'm not the best writer, and if you guys have any questions, please dont hesitate to ask. This is pretty much an all day job for 1 person. I'm a pretty competent mechanic and it took me 8 hours start to finish. Definitely work saving the labor cost to have a shop do it though. I guess that's it. CHEERS!


