This posting does not in any way or fashion advocate the modification of your vehicle. Any information presented here is for your entertainment purposes. The readers acknowledge that should they attempt an HID installation, they do so at their own risk, and I (nor this website) am not responsible for personal injury or monetary damages resulting from YOUR activity.
As with all car work, this project should be left to a professional.
on to the installation
It SHOULD HAVE BEEN a 20minute job, but the H11 connector on the HID ballasts was bit lacking, so I decided to get an H11 extension with a beefier/nicer plug and splice cables. It took about an hour, in pouring rain.
I got the HID set from DDMtuning.com. I have tried Ebay kits on my Hyundai, and every one of the Ebay ones blew out after few months.
The DDM kits are also from China, but DDM has a lifetime replacement warranty, and out of four HID installations that I have done for myself and friends, only two ballasts (out of eight) had problems after 6 months, and they were replaced.
I also got an H11 extension, because some guy on youtube video said it is a good idea, but I am not sure why, because there is plenty of cable slack. But i was glad I did, as I said before, the H11 end of the DDM harness was bit lacking in quality. The H11 extension had gold-plated connectors.
Normally, I also use a relay and direct wire the ballasts to battery, and then use the vehicle's headlamp harness to trigger the relay. But as this is a lease vehicle, I decided to make it easy for removal. Furthermore, the way I set this up, if a ballast/HID bulb fails, I can just remove the bulb, put halogen, and then by pass the harness. The way this is setup, I can remove the entire HID kit and not leave a trace in under 20 minutes.
And now for the installation.
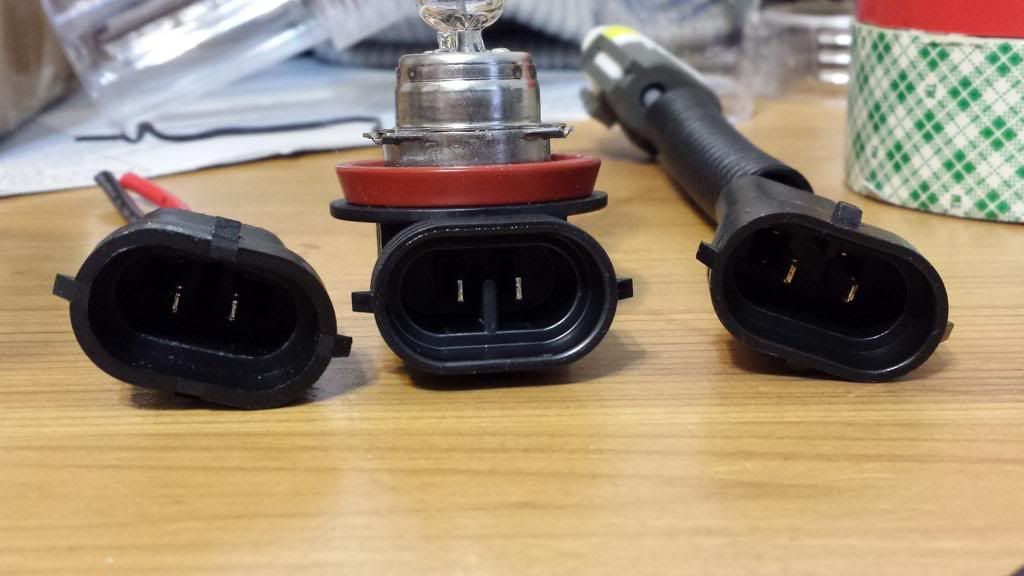
The picture below are the three connectors.
Left : the connector that came WITh the HID ballast,
Center: The H11 OEM Bulb removed from the Pathfinder
Right: The nicer connector from the H11 Extension (from Ebay)
The two plugs on left and right are flipped upside down. Notice the actual bulb has a notch inside to keep the harness from connecting in the wrong way. The HID ballast harness did not have this, and the H11 extension does.
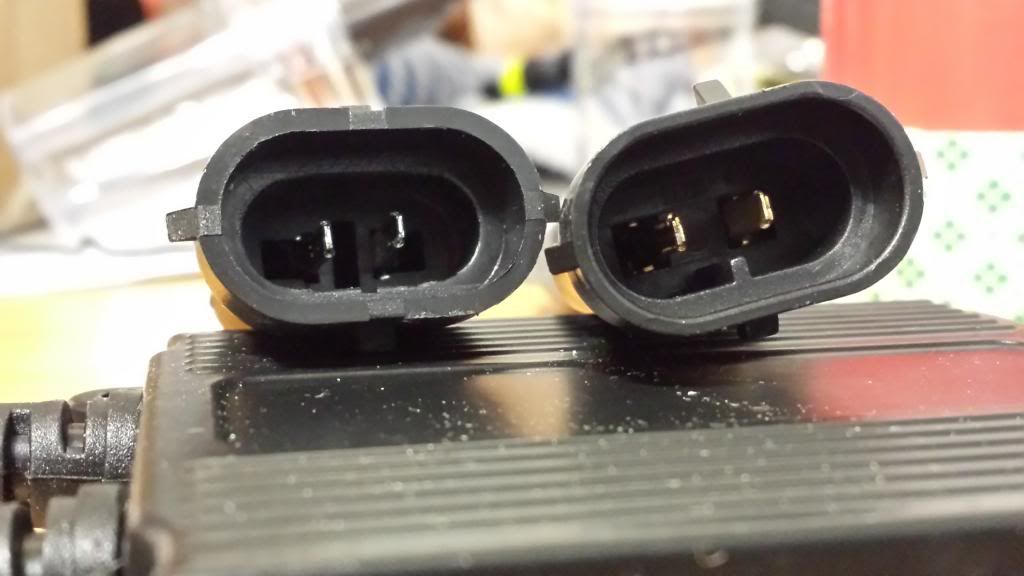
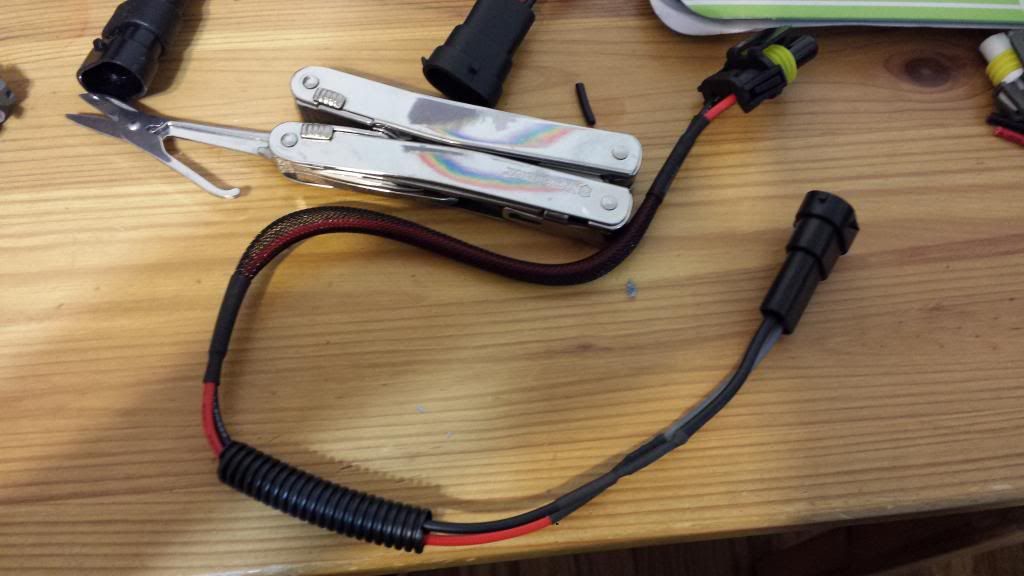
Close-up of the two harness
The one on the left was from the HID ballast, it was cut off, and I spliced on the one on the right.
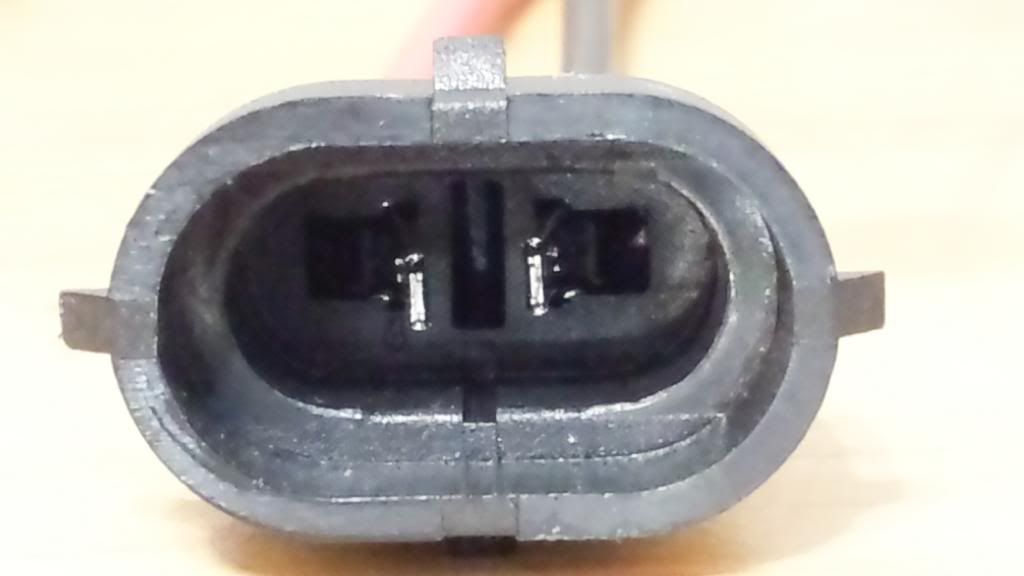
Another close-up of the HID hardness. notice the pins are bent towards the center. I first thought DDM had sent me the wrong harness. If you decide to use this one, make sure that the pins are straightened out, and since this does not have the "notch" be sure that the polarity is correct before you plus in the vehicle's H11 harness.
The H11 extension that I purchased from Ebay. The left black plus is the one I am splicing to the DDM's HID Ballast harness.

The two cables, ready to be soldered.
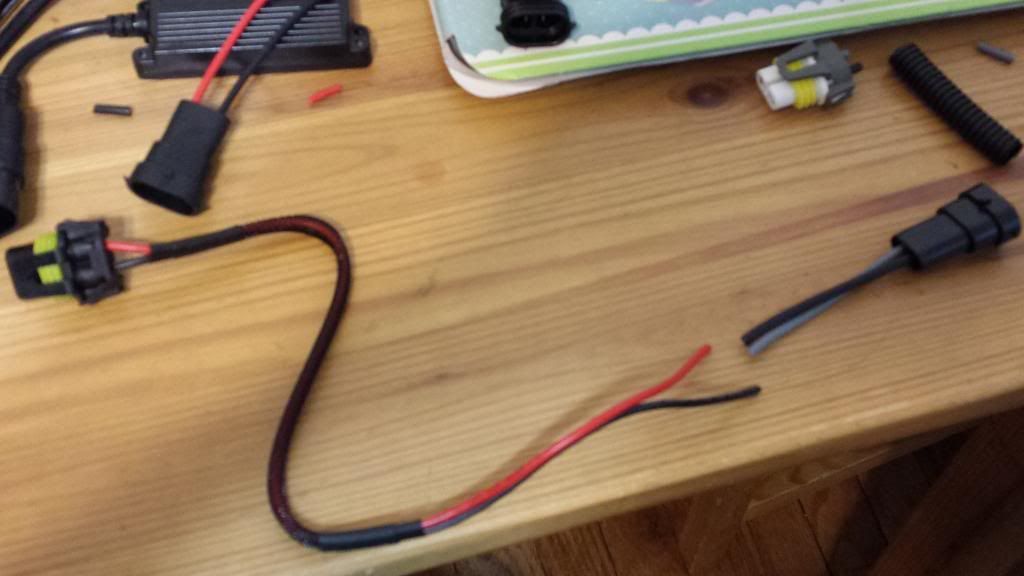
The cables all spliced up. I made two, one for each side.
If you decide to go with the DDM Harness, you can skip all the steps up to here.
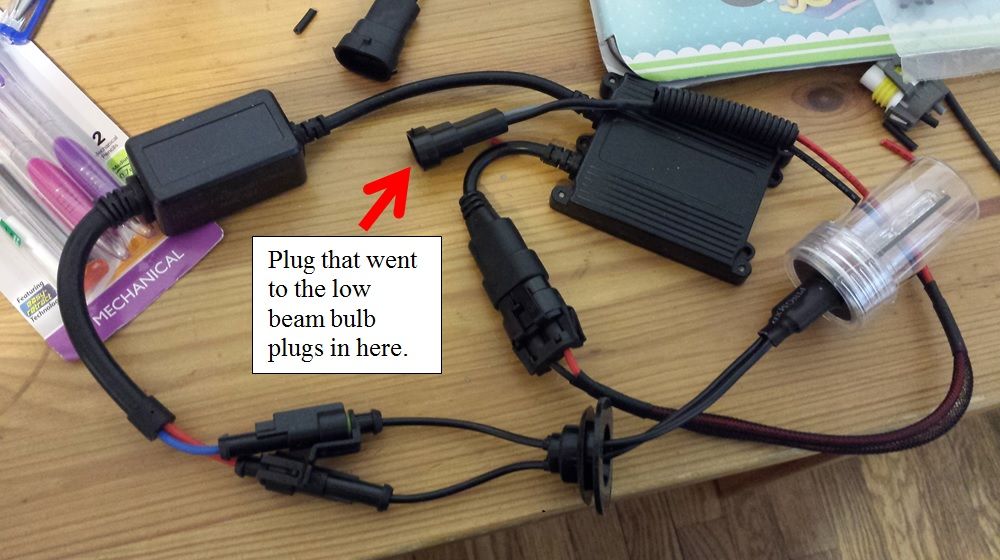
The cable and the HID bulb plugged into the ballast, ready to go out to the car! The H11 hardness from the car unplugs from the halogen bulb, and then is plugged into the black plug (that has the arrow pointing to it).
Bulb modification
The white plastic washer was for shipping, but I decided to wedge it between the bulb and the red gasket, because without it, the red gasket wasn't thick enough and the bulb was bit loose. BTW, the red gasket works loose during shipping. You have to make sure it is properly seated.

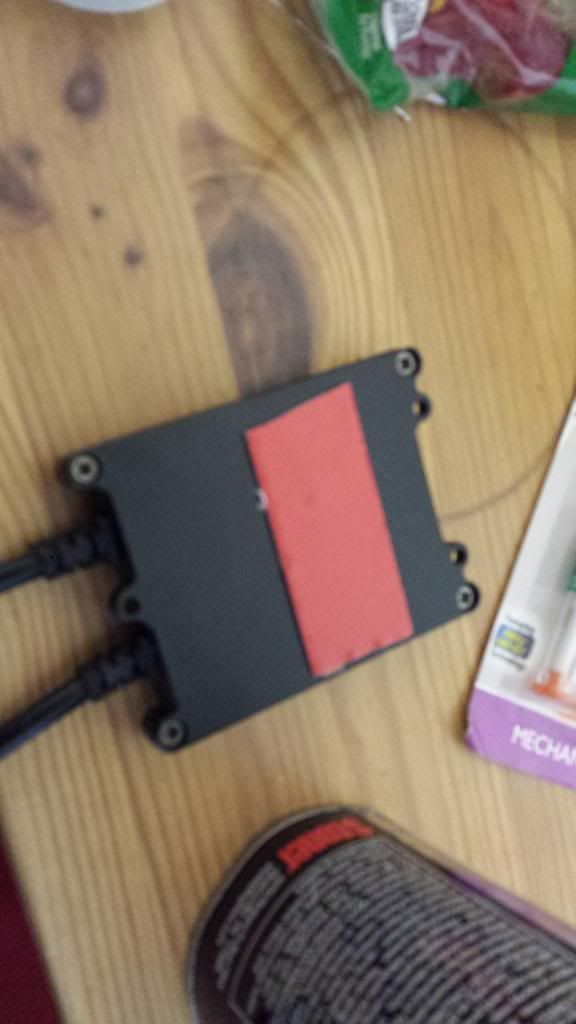
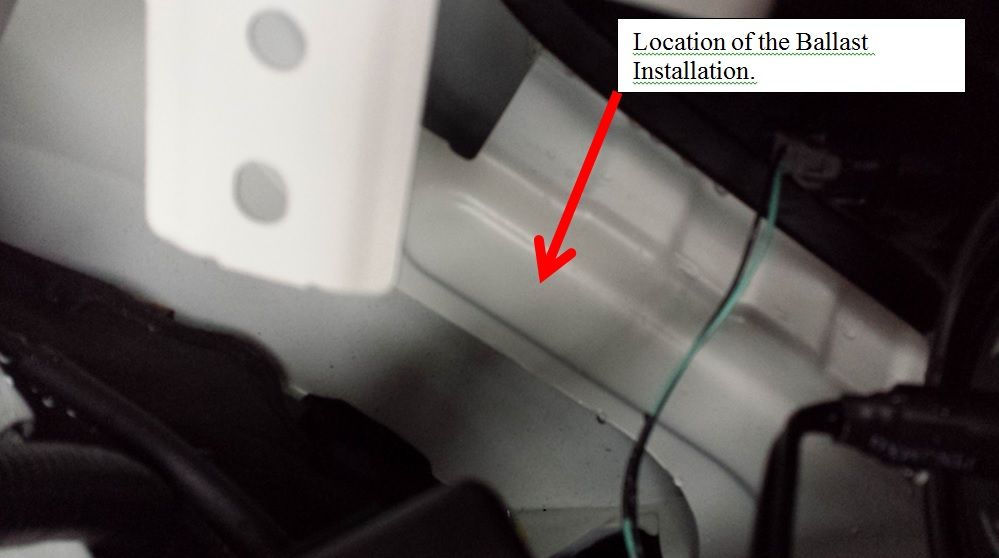
Ballast mount:
I got a 3M VHB double-sided tape from Home Depot, wiped the back of the ballast with alcohol.
Driver's side ballast mounting location
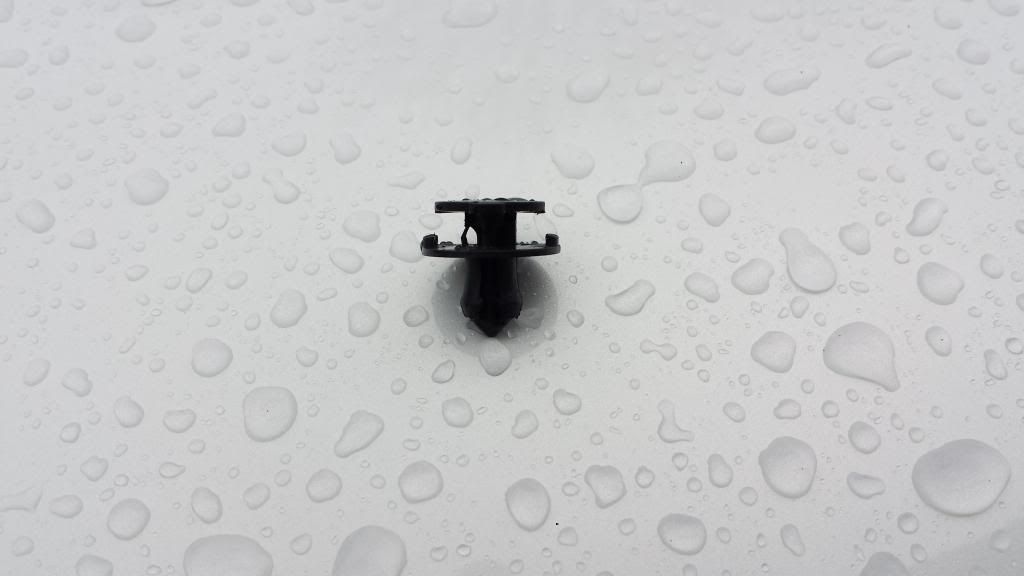
The arrows point to the two plastic retainer pins that need to be carefully removed. Once removed, you can carefully pry up the right-side portion of that "skirt". it is rubbery and it is flexible.

picture of the pin
You have to carefully "pop" up the inner piece and then grab the outer part and pull.
Ballst mounting location
This is what it looks like behind the rubber curtain. In the lower right corner, you can see the H11 HID bulb already mounted.
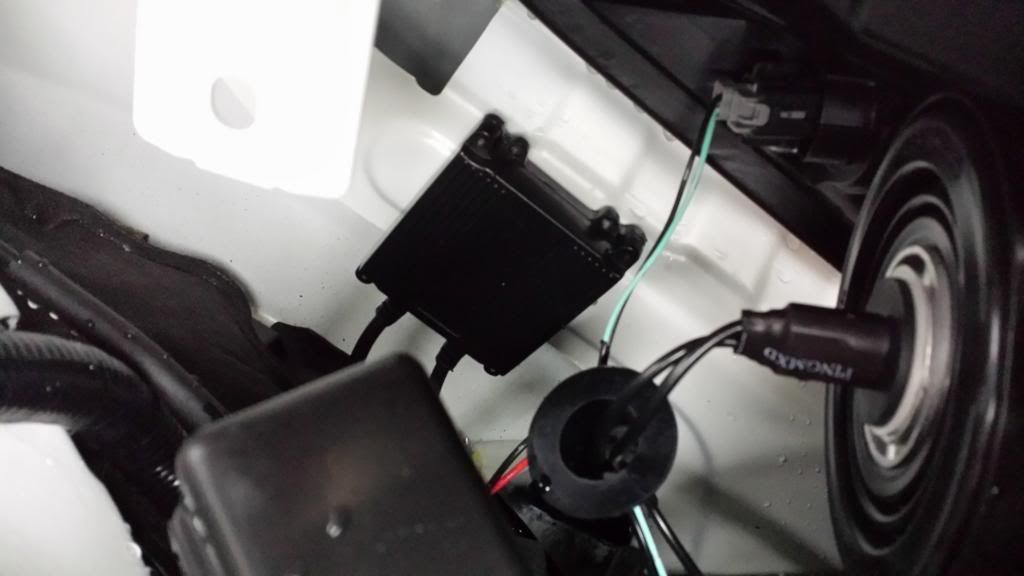
Ballast mounted/taped
Make sure you press it down (the white bracket is flexible, be careful and don't bend it) and apply pressure for 10 seconds or more.
 [/img]
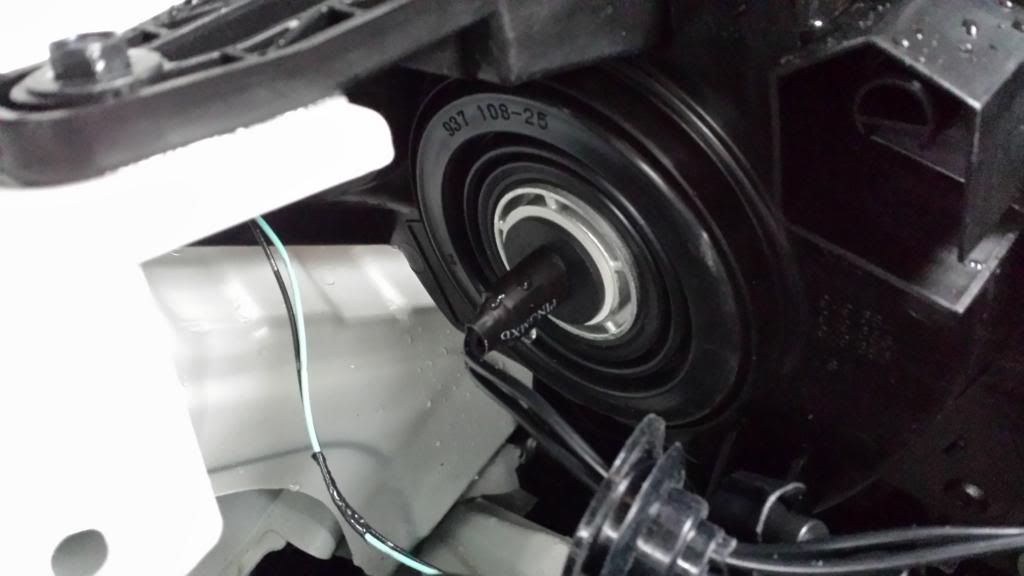
Close-up of the bulb
This is the HID bulb, already installed. Don't worry about that big black rubber grommet. It is normally used if you have to drill into the back of the headlamp housing (like in the Hyundai's), which isn't the case here.
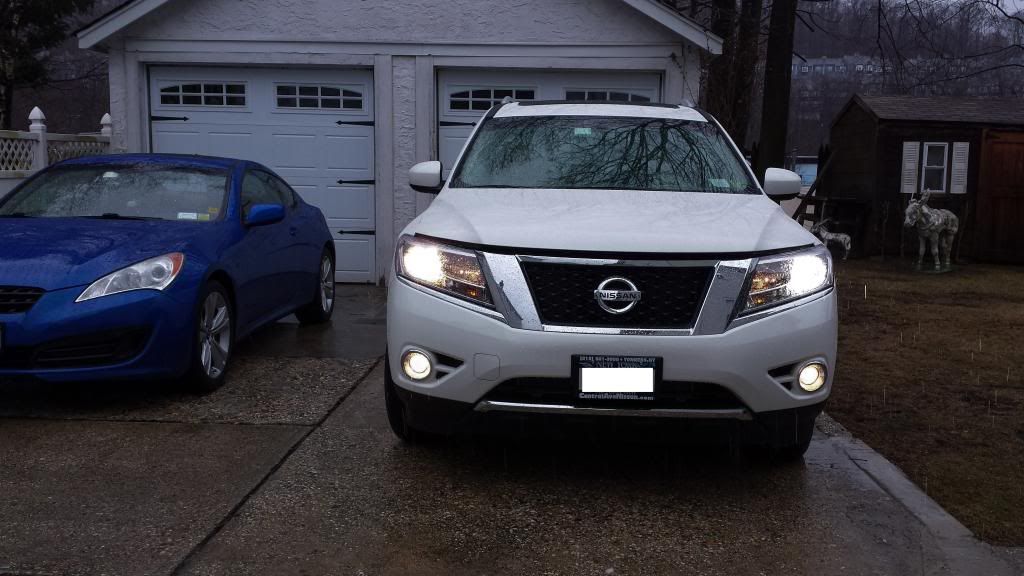
results!
The left side is on OEM halogen, right side is the new HID. It looks whiter (factory xenon white) than it does in this photo.

more results
Can't really tell in this photo, but right side is old halogen. It is dramatically different in real-life. The halogen looks almost orange compared to the new HID's.
Next on the list?
Installating LED Highbeam bulbs and dual headrest DVD players.