Help Removing Suspension member on 03 M45

Forum for Infiniti M35 and M45, and Nissan Fuga owners.
IIXtremeHansen
Posts: 8
Joined: Sun Feb 23, 2014 6:51 pm
Car: 05 S2000
03 M45

Post

Image
Image

So im trying to remove the suspension member and towards the back of the car the member drops easily. Towards the front, it seems to be like a locking washer on there where the arrow is pointing, close up picture on the bottom with nut removed and don't know what tool to use to remove it. I think that what keeps it from dropping it. Never seen it before. Any infiniti tech can help? Dont have any room to hammer to get that washer to spin off.
Last edited by IIXtremeHansen on Sun May 18, 2014 5:39 pm, edited 1 time in total.


User avatar
audtatious
Moderator
Posts: 37008
Joined: Sun Oct 27, 2002 5:31 pm
Car: 2017 Q60 Red Sport. Gone: 2014 Q50s, 2008 G37s coupe, 2007 G35s Sedan, 2002 Maxima SE, 2000 Villager Estate (Quest), 1998 Quest, 1996 Sentra GXE
Location: Stalking You
Contact:

Post

Go through the FSM and see if it shows how to remove it...

http://www.nicoclub.com/archives/infini ... m56-2.html

IIXtremeHansen
Posts: 8
Joined: Sun Feb 23, 2014 6:51 pm
Car: 05 S2000
03 M45

Post

audtatious wrote:Go through the FSM and see if it shows how to remove it...

http://www.nicoclub.com/archives/infini ... m56-2.html
same what Alldata shows. Doesnt show or tell a good discription.

IIXtremeHansen
Posts: 8
Joined: Sun Feb 23, 2014 6:51 pm
Car: 05 S2000
03 M45

Post

nevermind...got it off...Image

User avatar
audtatious
Moderator
Posts: 37008
Joined: Sun Oct 27, 2002 5:31 pm
Car: 2017 Q60 Red Sport. Gone: 2014 Q50s, 2008 G37s coupe, 2007 G35s Sedan, 2002 Maxima SE, 2000 Villager Estate (Quest), 1998 Quest, 1996 Sentra GXE
Location: Stalking You
Contact:

Post

What's the reason for removing the whole thing? Just curious.

IIXtremeHansen
Posts: 8
Joined: Sun Feb 23, 2014 6:51 pm
Car: 05 S2000
03 M45

Post

audtatious wrote:What's the reason for removing the whole thing? Just curious.
Replacing cracked oil pan and going to change tie rods and mounts. Want fresh or upgrade mounts to help absorb my stiff static setup.https://flic.kr/p/nwow9k
https://flic.kr/p/neTU6T
https://flic.kr/p/nwq4yb

Some reason won't let me link image, so did url.

User avatar
szh
Posts: 18857
Joined: Tue Jul 23, 2002 12:54 pm
Car: 2018 Tesla Model 3.

Unfortunately, no longer a Nissan or Infiniti, but continuing here at NICO!
Location: San Jose, CA

Post

IIXtremeHansen wrote:
audtatious wrote:What's the reason for removing the whole thing? Just curious.
Replacing cracked oil pan and going to change tie rods and mounts. Want fresh or upgrade mounts to help absorb my stiff static setup.https://flic.kr/p/nwow9k
https://flic.kr/p/neTU6T
https://flic.kr/p/nwq4yb

Some reason won't let me link image, so did url.
Hmmm ... most interesting!

Please, can you take lots of pictures and post your experiences in doing this work? Would be very useful to us 03 M45 owners ...

Z

User avatar
moedawg140
Posts: 175
Joined: Sat Jan 23, 2010 8:47 pm
Car: 06 M35 S (Adv. Tech)
LI Quad
G37 BBK with H&R DRS
(15mm F, 10mm R)
Focal 165KRX2 (F)
Infinity Kappa 63.9i (R)
Alpine Type-X 10"
JL HD900/5 (sub chnl.)
RF CPCD10-03
Morimoto 4,300K H11

Post

IIXtremeHansen wrote:
audtatious wrote:What's the reason for removing the whole thing? Just curious.
Replacing cracked oil pan and going to change tie rods and mounts. Want fresh or upgrade mounts to help absorb my stiff static setup.
https://flic.kr/p/nwow9k
https://flic.kr/p/neTU6T
https://flic.kr/p/nwq4yb

Some reason won't let me link image, so did url.
Hi IIXtremeHansen, very nice photos/parts you have!

Regarding posting photos, I use flickr as well, and before they changed the format, you could very easily retreive the BB code, html, img link, etc. you wanted...now you do not have the option to choose what you want. I had to find a way to do it manually. Trust me, once you do it a couple times, it becomes second nature. This is what I do currently (until they change it back to easily choosing formats we want):

Here is what each photo link should look like when you post them (delete stars): Image

This is how to post each image, using the Chrome web browser:

1. Navigate to your photo in flickr (click on it if you are in gallery view).
2. Right click on the photo and select: "Inspect element"
3. Press Ctrl-F and input ".jpg" Keep pressing "Enter" until you get to 2 image links that look like this:
<img width="680" height="454" src="//c1.staticflickr.com/3/2908/14127380875_69a848f921_n.jpg" class="low-res-photo" hidden="hidden" style="display: none;"> AND THIS:
<img width="680" height="454" src="//c1.staticflickr.com/3/2908/14127380875_69a848f921_c.jpg" class="main-photo" onload="registerFirstPhoto(this)" style="">
4. Now, the photo you want is the second one of these series, which is the one that has "c.jpg" at the end of the html link. You'll also see which photo is the correct one because when you hover over the "c.jpg" link, the entire photo above elements console will be highlighted.
5. Right click on the 'second link' and choose "Copy link address".
6. Paste it onto your post/reply box. It will look look something like this: https://c1.staticflickr.com/3/2908/1412 ... f921_c.jpg
7. Highlight entire pasted "link address": https://c1.staticflickr.com/3/2908/1412 ... f921_c.jpg
8. Press "Img" button (located above post/reply box, next to star/List item and before URL/Insert URL), so it looks like this (delete stars): Image

9. Repeat process for each photo you post on this forum.

Using this method, you also have the ability to save any type of photo, fortunately or unfortunately, if it is "restricted" from being downloaded or not!

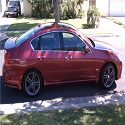
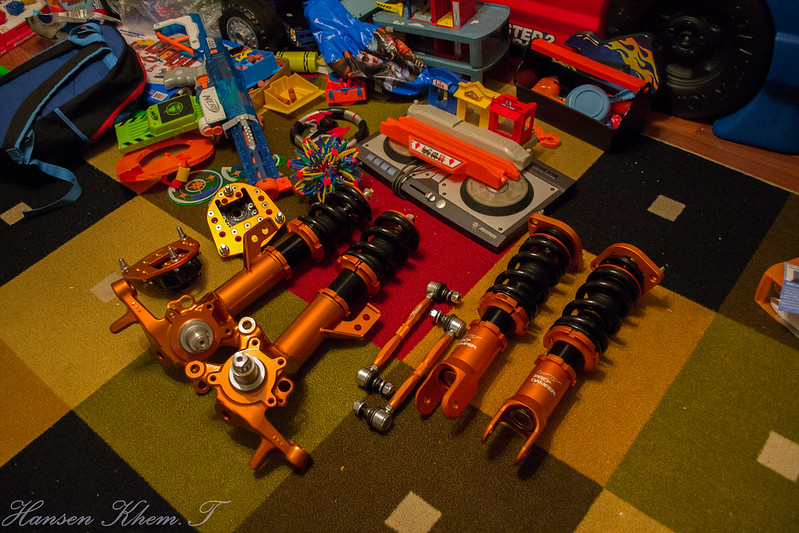
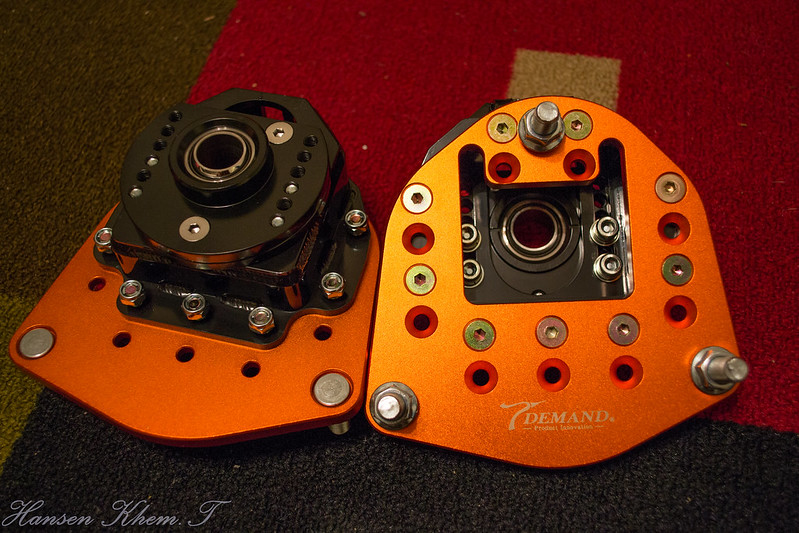
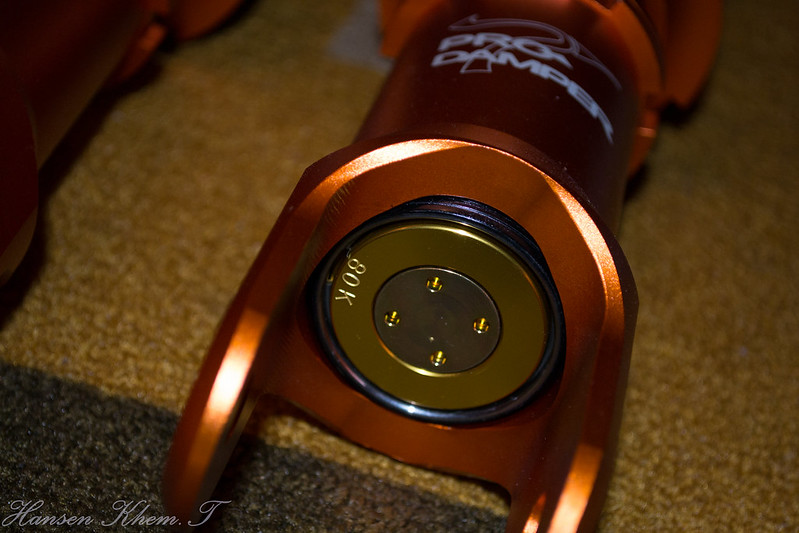
Here are your photos (hope you don't mind), using the method I described, in all its glory:

Image

Image

Image

I hope that you or anybody else who uses flickr, and wants to post photos onto this forum will be able to understand these directions. :luck:

IIXtremeHansen
Posts: 8
Joined: Sun Feb 23, 2014 6:51 pm
Car: 05 S2000
03 M45

Post

Sorry for late response and thanks^! Forum isn't phone friendly. I replaced motor mounts, oil pan, installed my Japanese suspension, rolled/pulled fenders, modified 350z rear links. Just need to dial and tighten the rear and try to test the suspension.

PS: I want to change the title to a build.

http://instagram.com/p/sdndR3Ho9h/
http://instagram.com/p/r-B4OPno3o/
http://instagram.com/p/rE59maHo2J/
http://instagram.com/p/qcyCU6no-h/
http://instagram.com/p/qXkQybno6a/
http://instagram.com/p/o7C7cunozF/

EdBwoy
Moderator
Posts: 3507
Joined: Tue Dec 25, 2012 12:47 am
Location: Indiana, USA
Contact:

Post

I think my M45 suspension might be original from 2002, so needs some freshening up. I stumble (re-stumble?) upon this in my search.

I tried to play with the pictures in the previous post.
Moedawg, thanks for the lesson. That screen is something that I just landed on accidentally sometimes, but I used your instructions to post the instagram pictures here. Not as simple as IMGUR for me, but when I started looking for n.jpg, it flew fast (trial and error to start). Sticky worthy? :gotme


Image

Image

Image

Image

Image

Image


Return to “Infiniti M35 and M45 Forum”